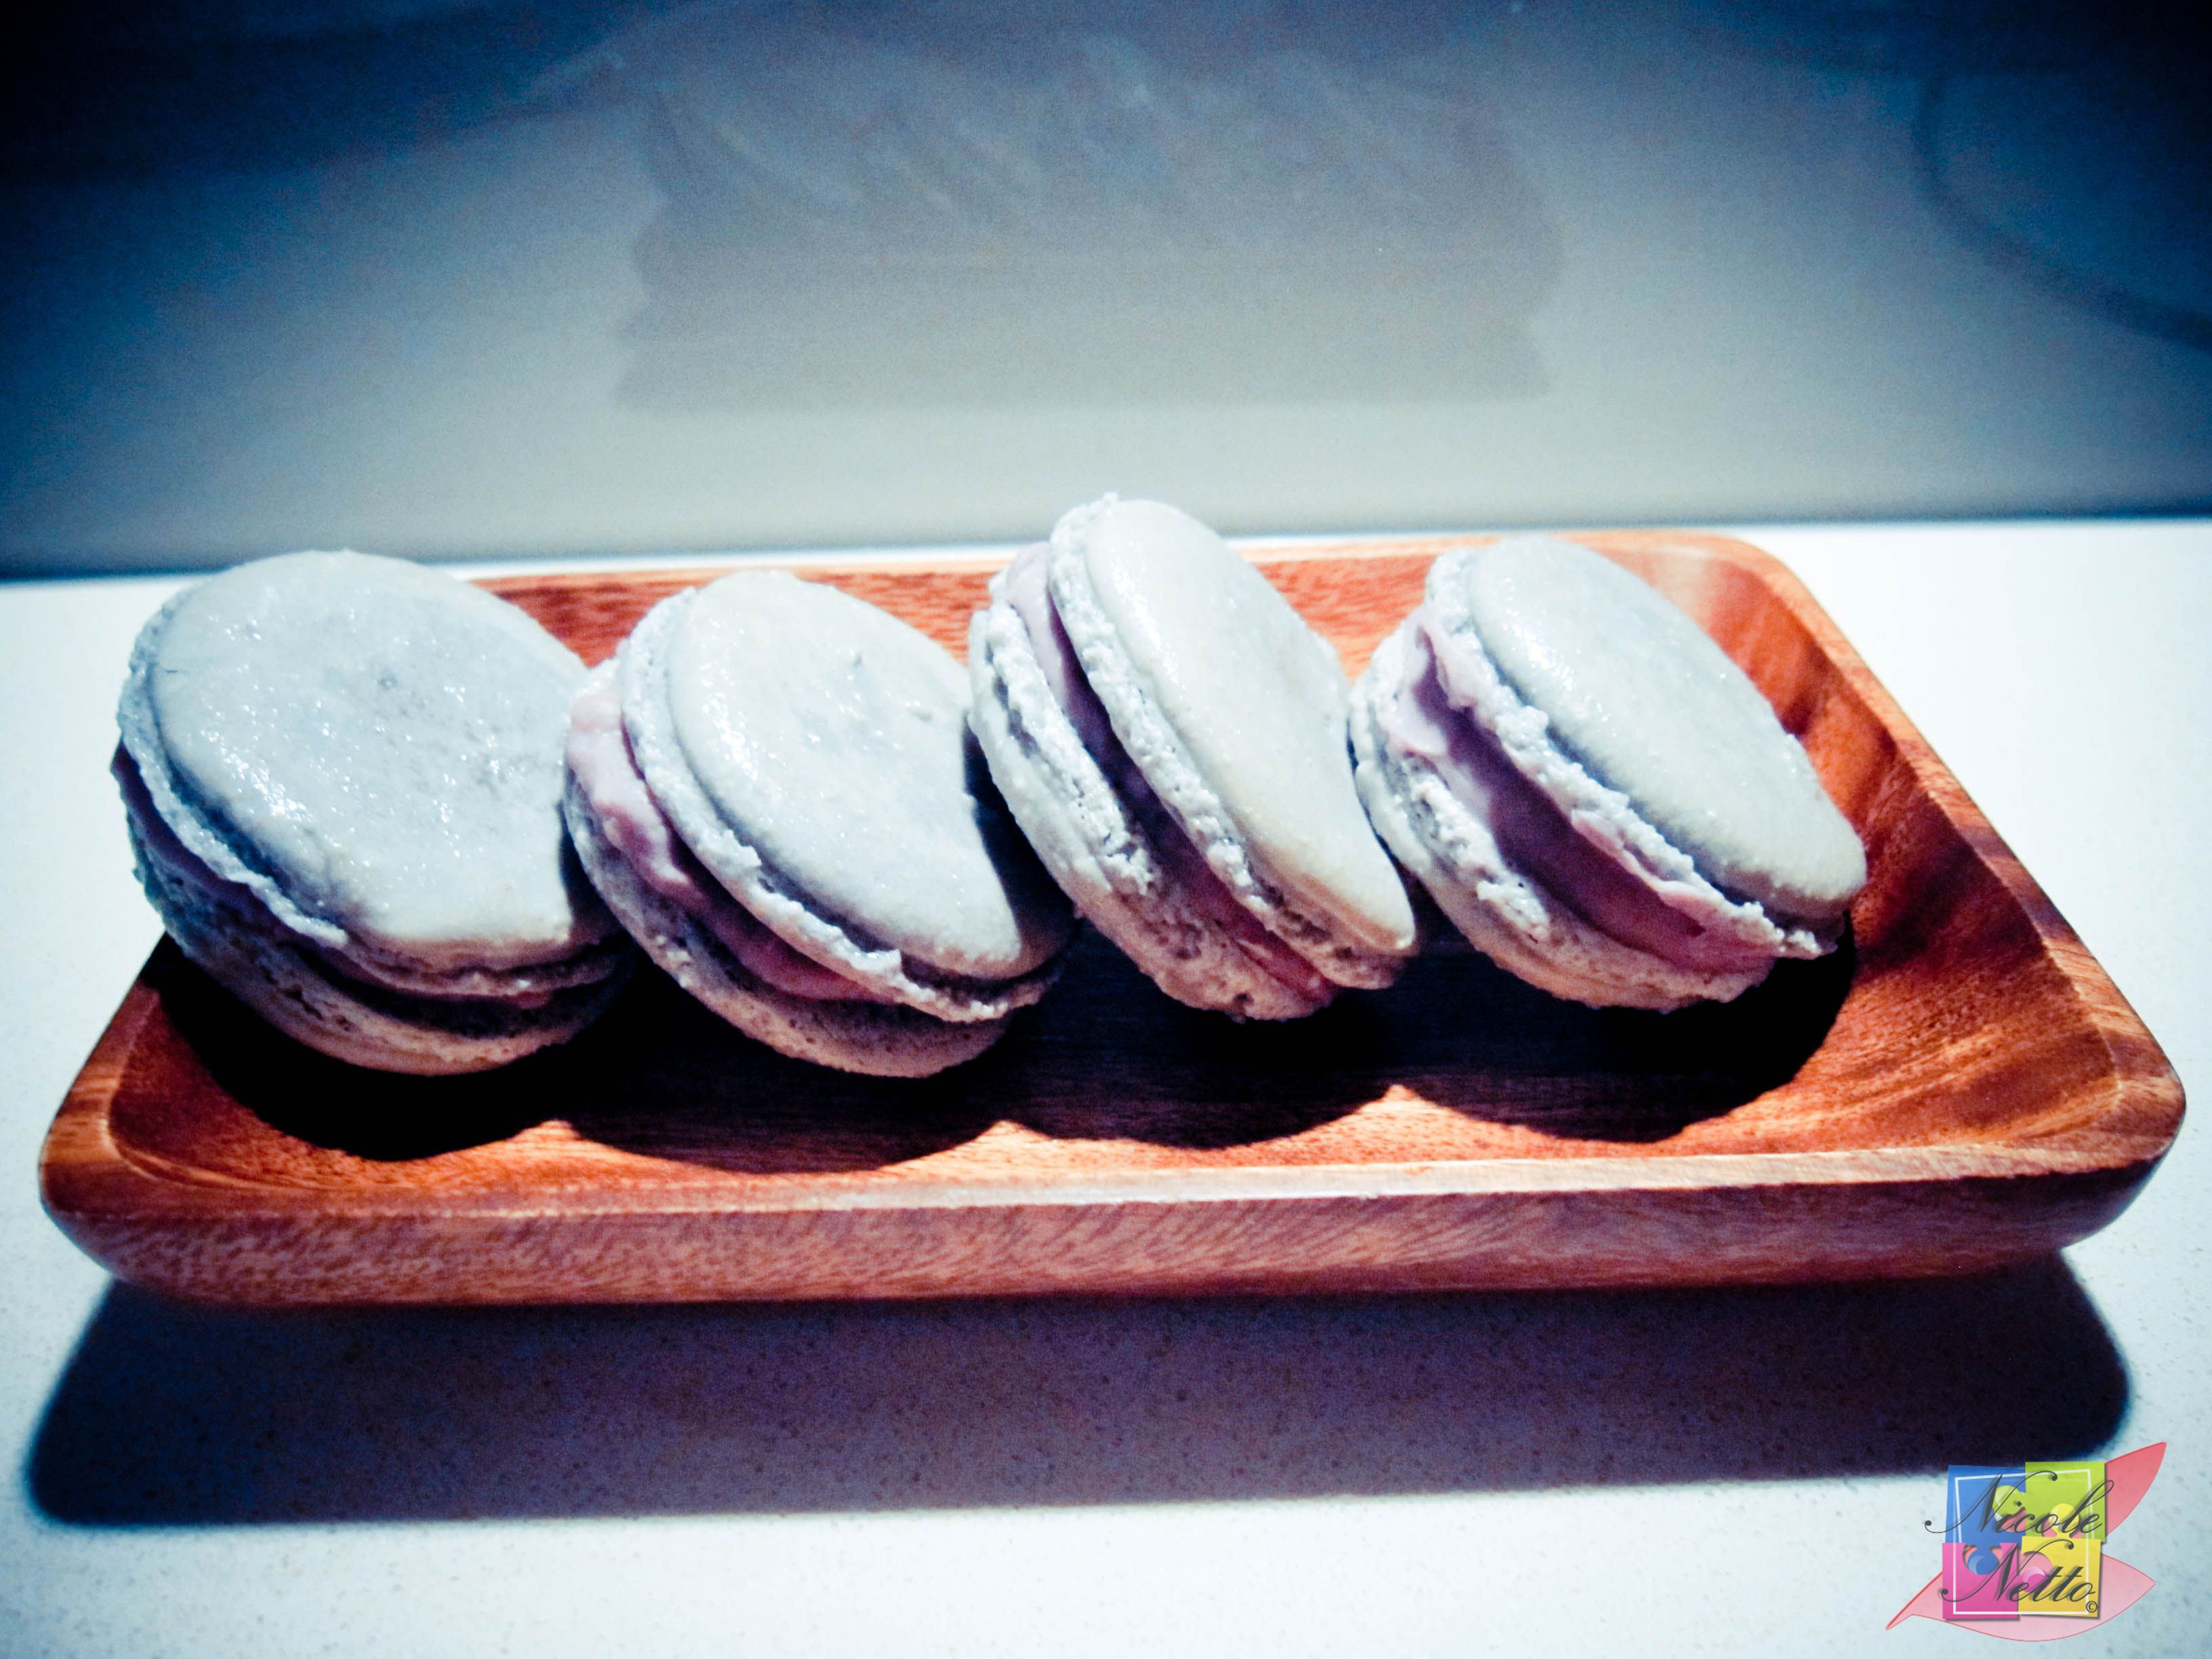
Lavender and Blueberry Macarons
Lavender and Blueberry Macarons
Ahhh the french Macaron! (Pronounced “Mah-cah-rohn” – Not to be confused with ‘Macaroon’, which is a coconut based cookie)
A delectable treat to suit any occasion. These sugar filled clouds of flavor are definite crowd-pleaser’s.
So what makes them so special, apart from the great taste, you ask? Making Macarons involves a good level of technical skill, patience and TLC. It certainly has been on my list of “I wonder if I will stuff these up when I try to make them” recipes – but I decided to take the plunge and finally make my very first batch of Macarons. I remember the first time I tasted a macaron at a french bakery in Brisbane – the combination of soft, chewy and crumbly textures, the high concentration of flavor, it was all very fascinating and unique for a cookie – needless to say, they made it very quickly to my list of favorite foods!
Macarons are a meringue (Italian meringue (with sugar syrup) or French meringue (with sugar gradually added in)) based cookie made of egg whites, caster sugar and TPT (‘Tant pour tant’- mixture of equal amounts of almond meal and icing sugar). Macaron’s typically comprise of smooth shells, characterized by their smooth top with feet (ruffled bottom) and flat base, and a ganache, buttercream or jam filled center. The shell’s are generally the same for every Macaron, with the exception of a change in color to represent the filling. The filling is what contains all the flavor.
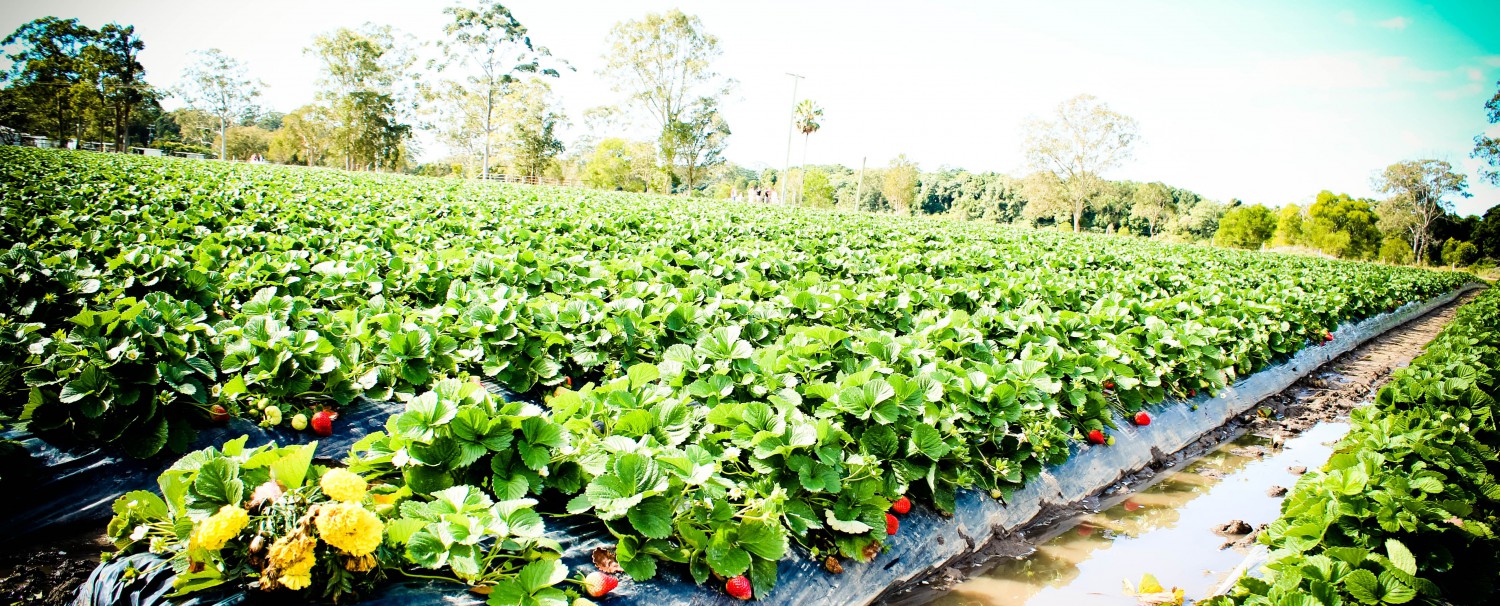
I decided that I wanted to try making a unique flavour of macaron, instead of a common flavor. While sifting through several recipes, I felt the urge to have a Lavender latte. I first came across Lavender latte’s at a Japanese tea place in Sunnybank, and it was love at first taste. This was always my delicious “pick me up” cup of tea that I consumed quite frequently when I lived close to Sunnybank. You wouldn’t think the lavender flower would make a great flavor base, but it is really good with milk products and a sweetener. In fact, for a while now, I’ve been wanting to make some sort of dessert with lavender. So I thought – why not try to look up a Macaron recipe that includes lavender? And with that thought, I stumbled across an Adriano Zumbo recipe for Lavender Blueberry macarons!
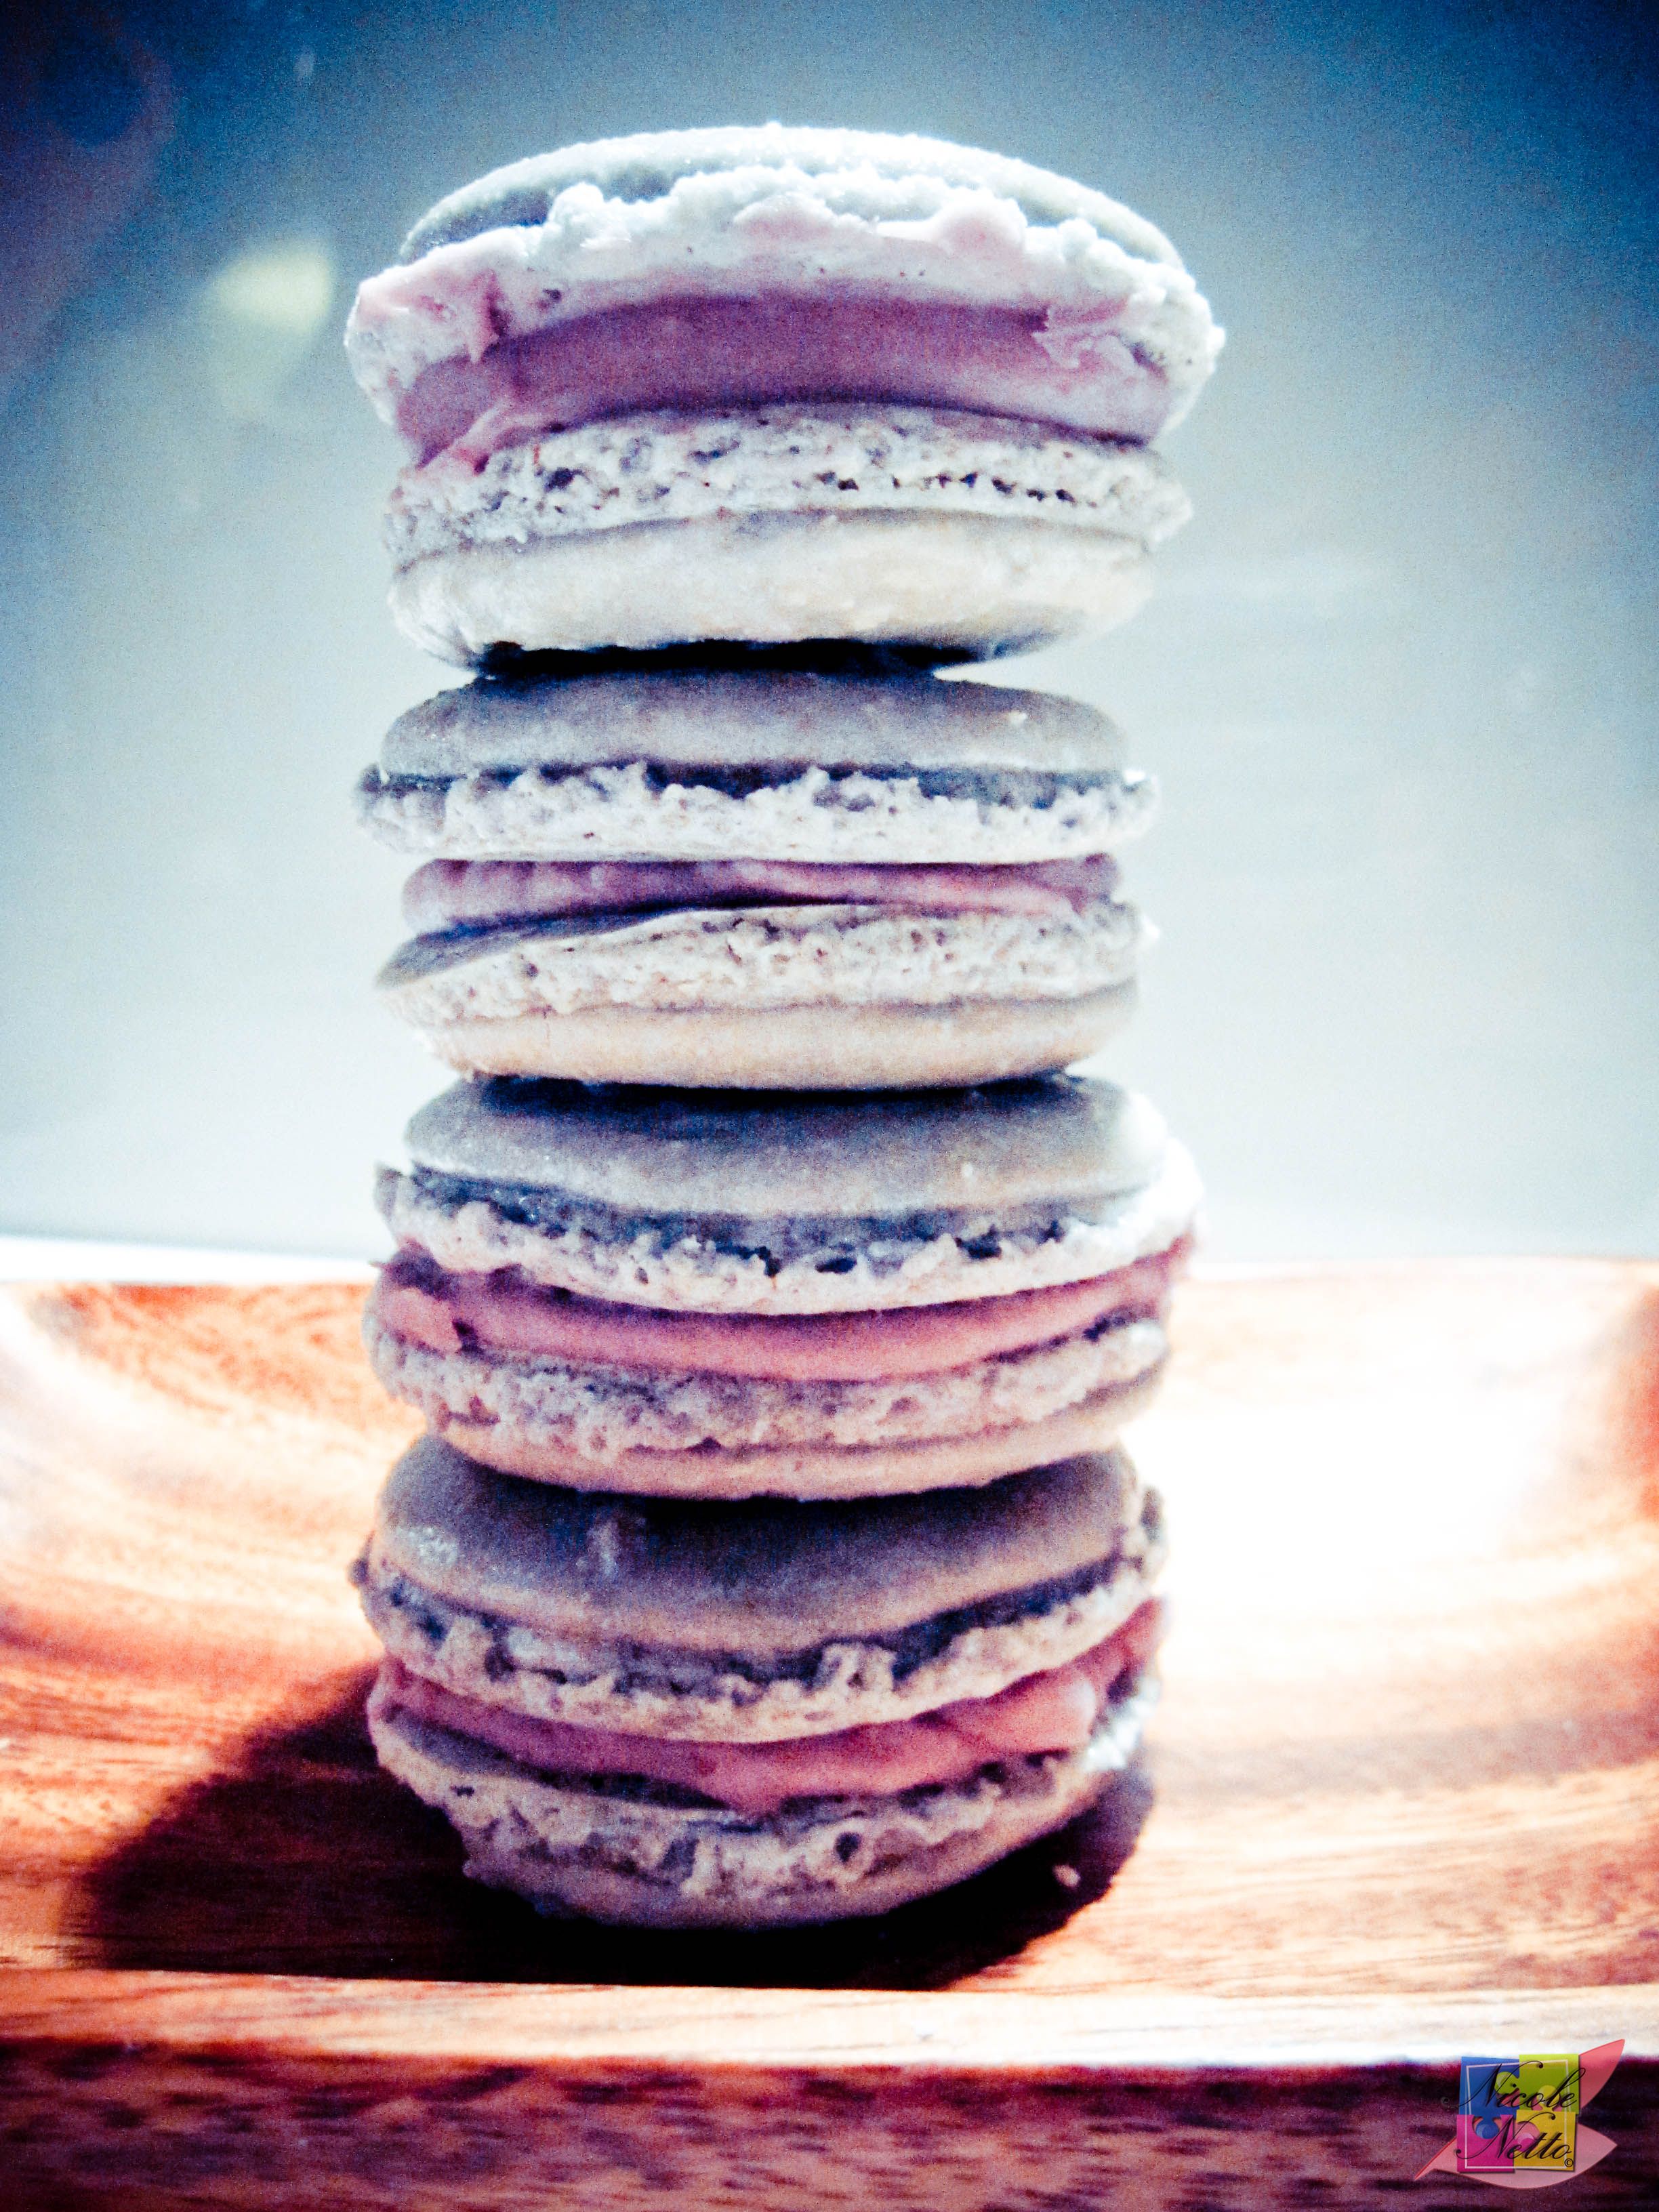
While Zumbo is a highly acclaimed Australian patissier and chef for several of his amazing dessert creations, he is most popularly known for his incredible ‘Zumbarons’. For those of you that aren’t familiar with Zumbo or ‘Zumbarons’, I highly recommend that you sample some of these and other goodies at his stores the next time you’re in Sydney or Melbourne. If you aren’t convinced as yet, here are a few photos that might help from my visit to Zumbo’s in Melbourne with K and C:
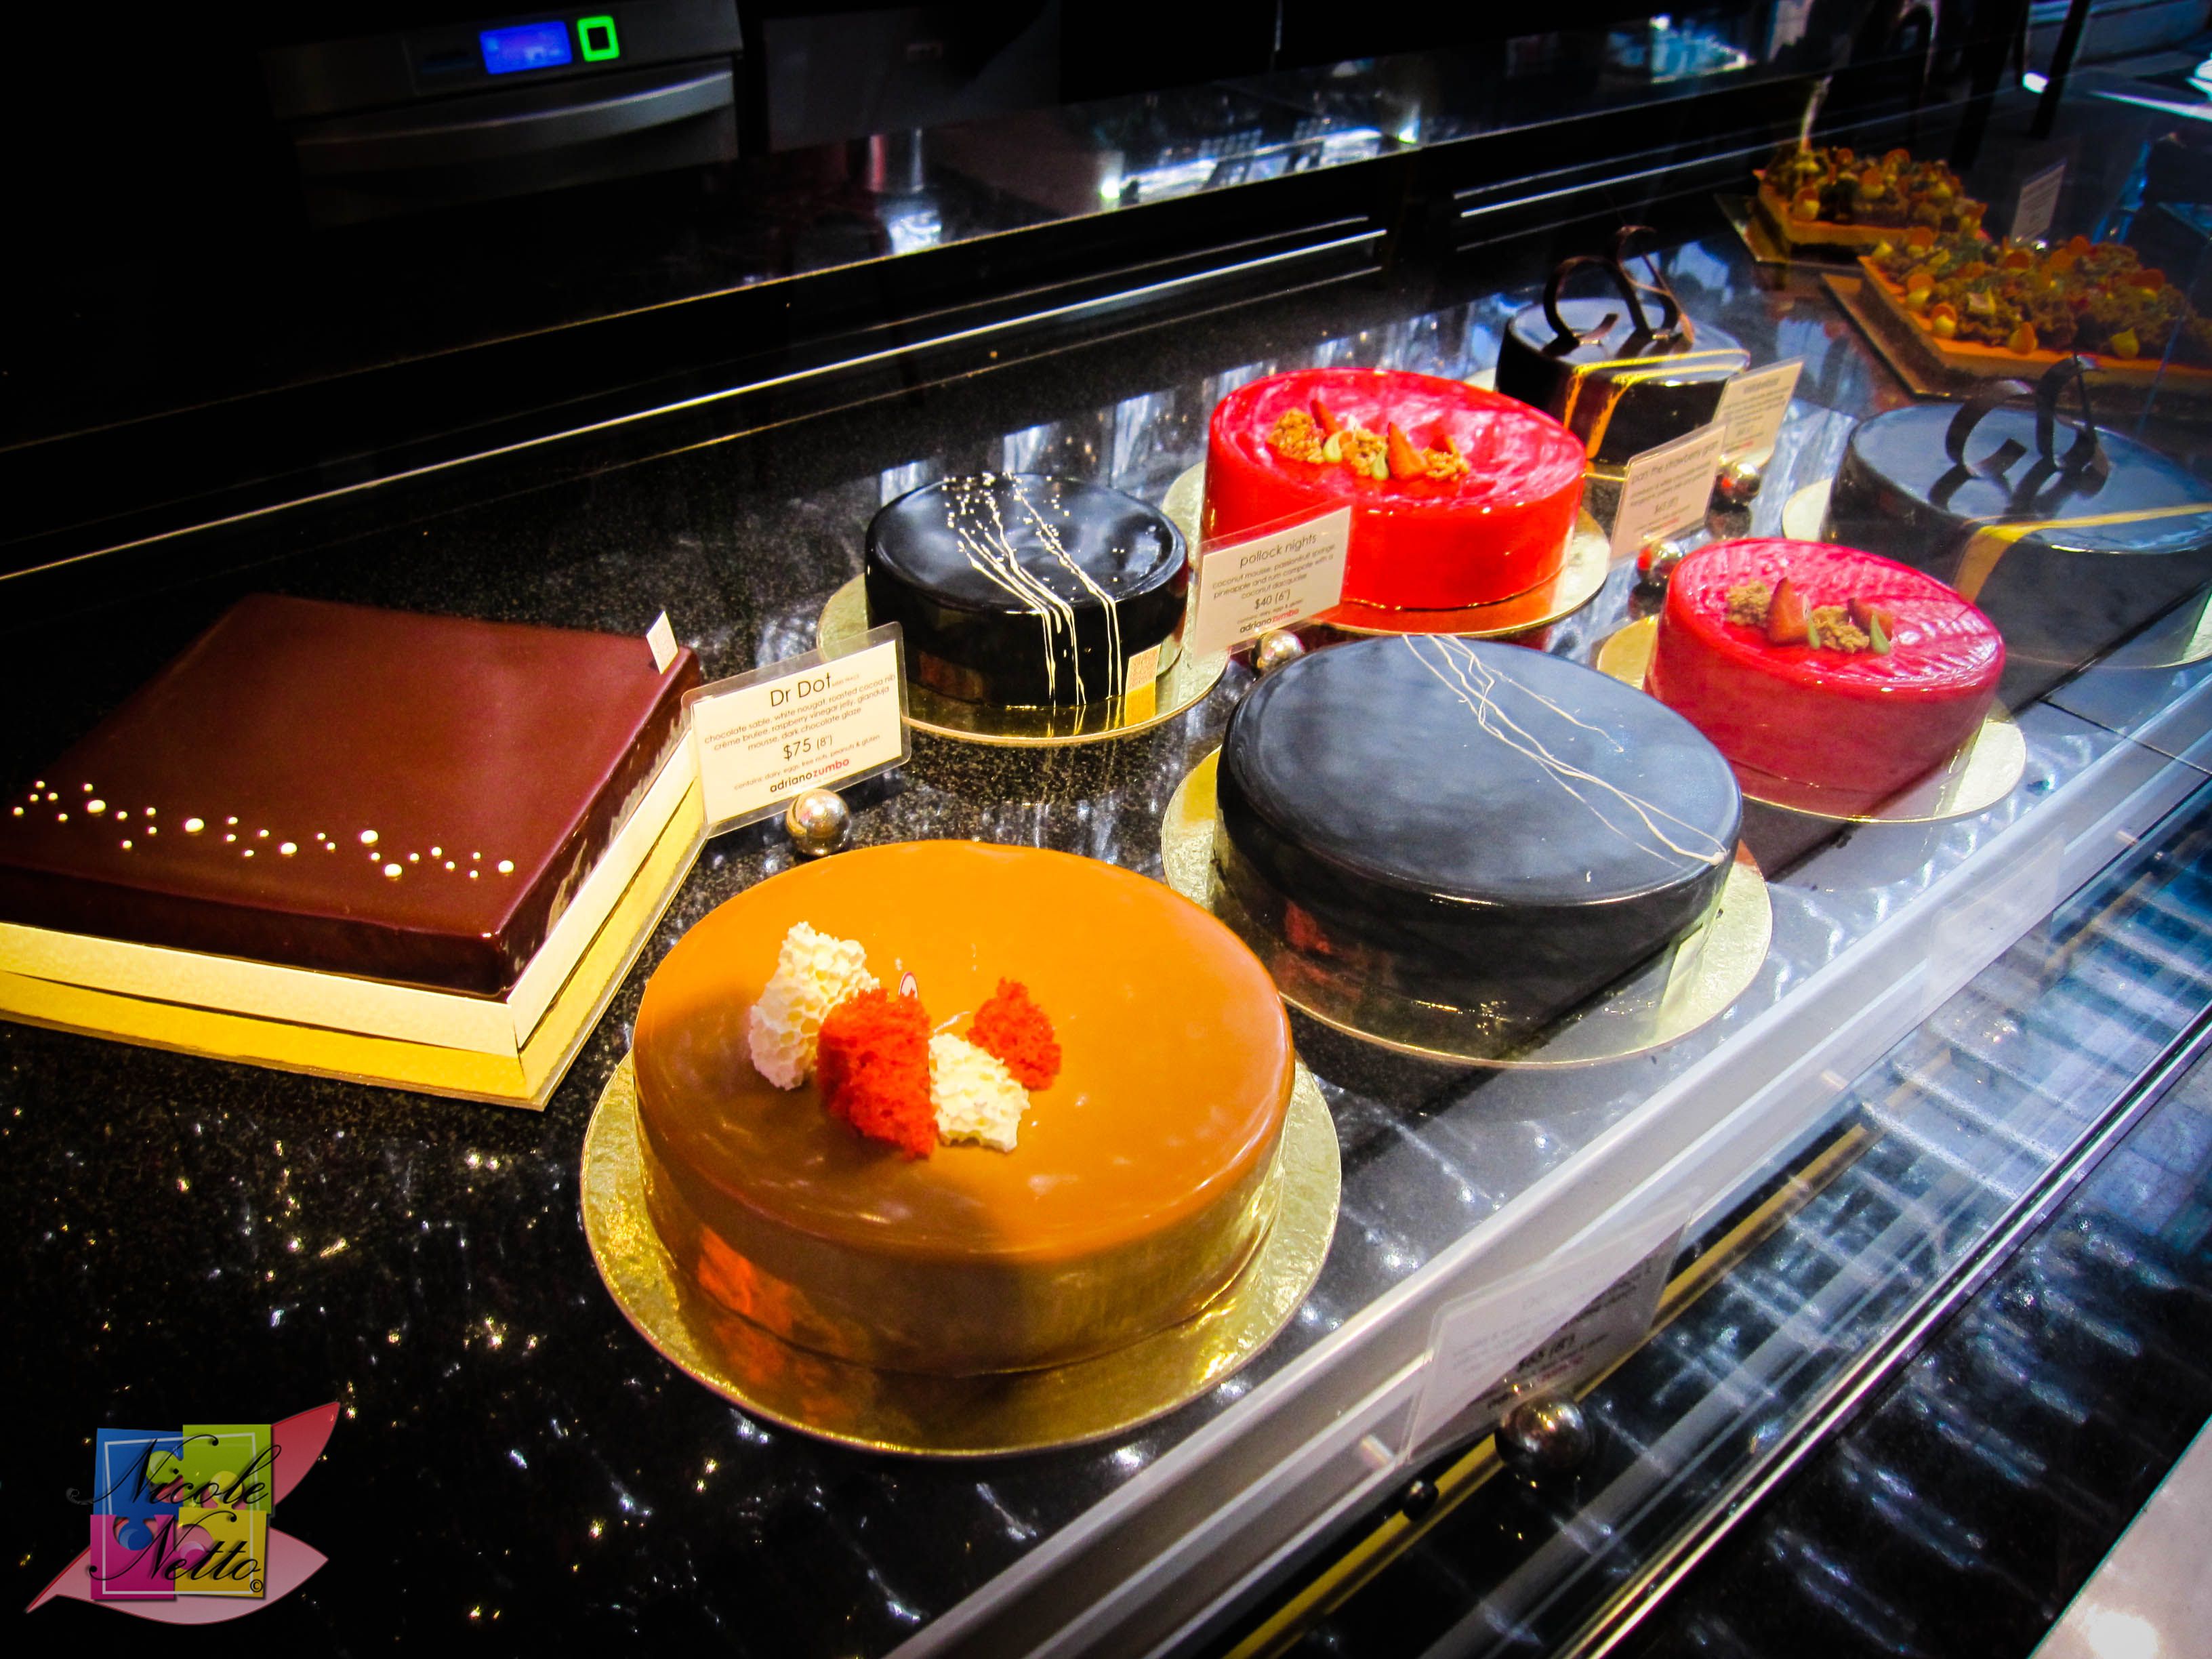
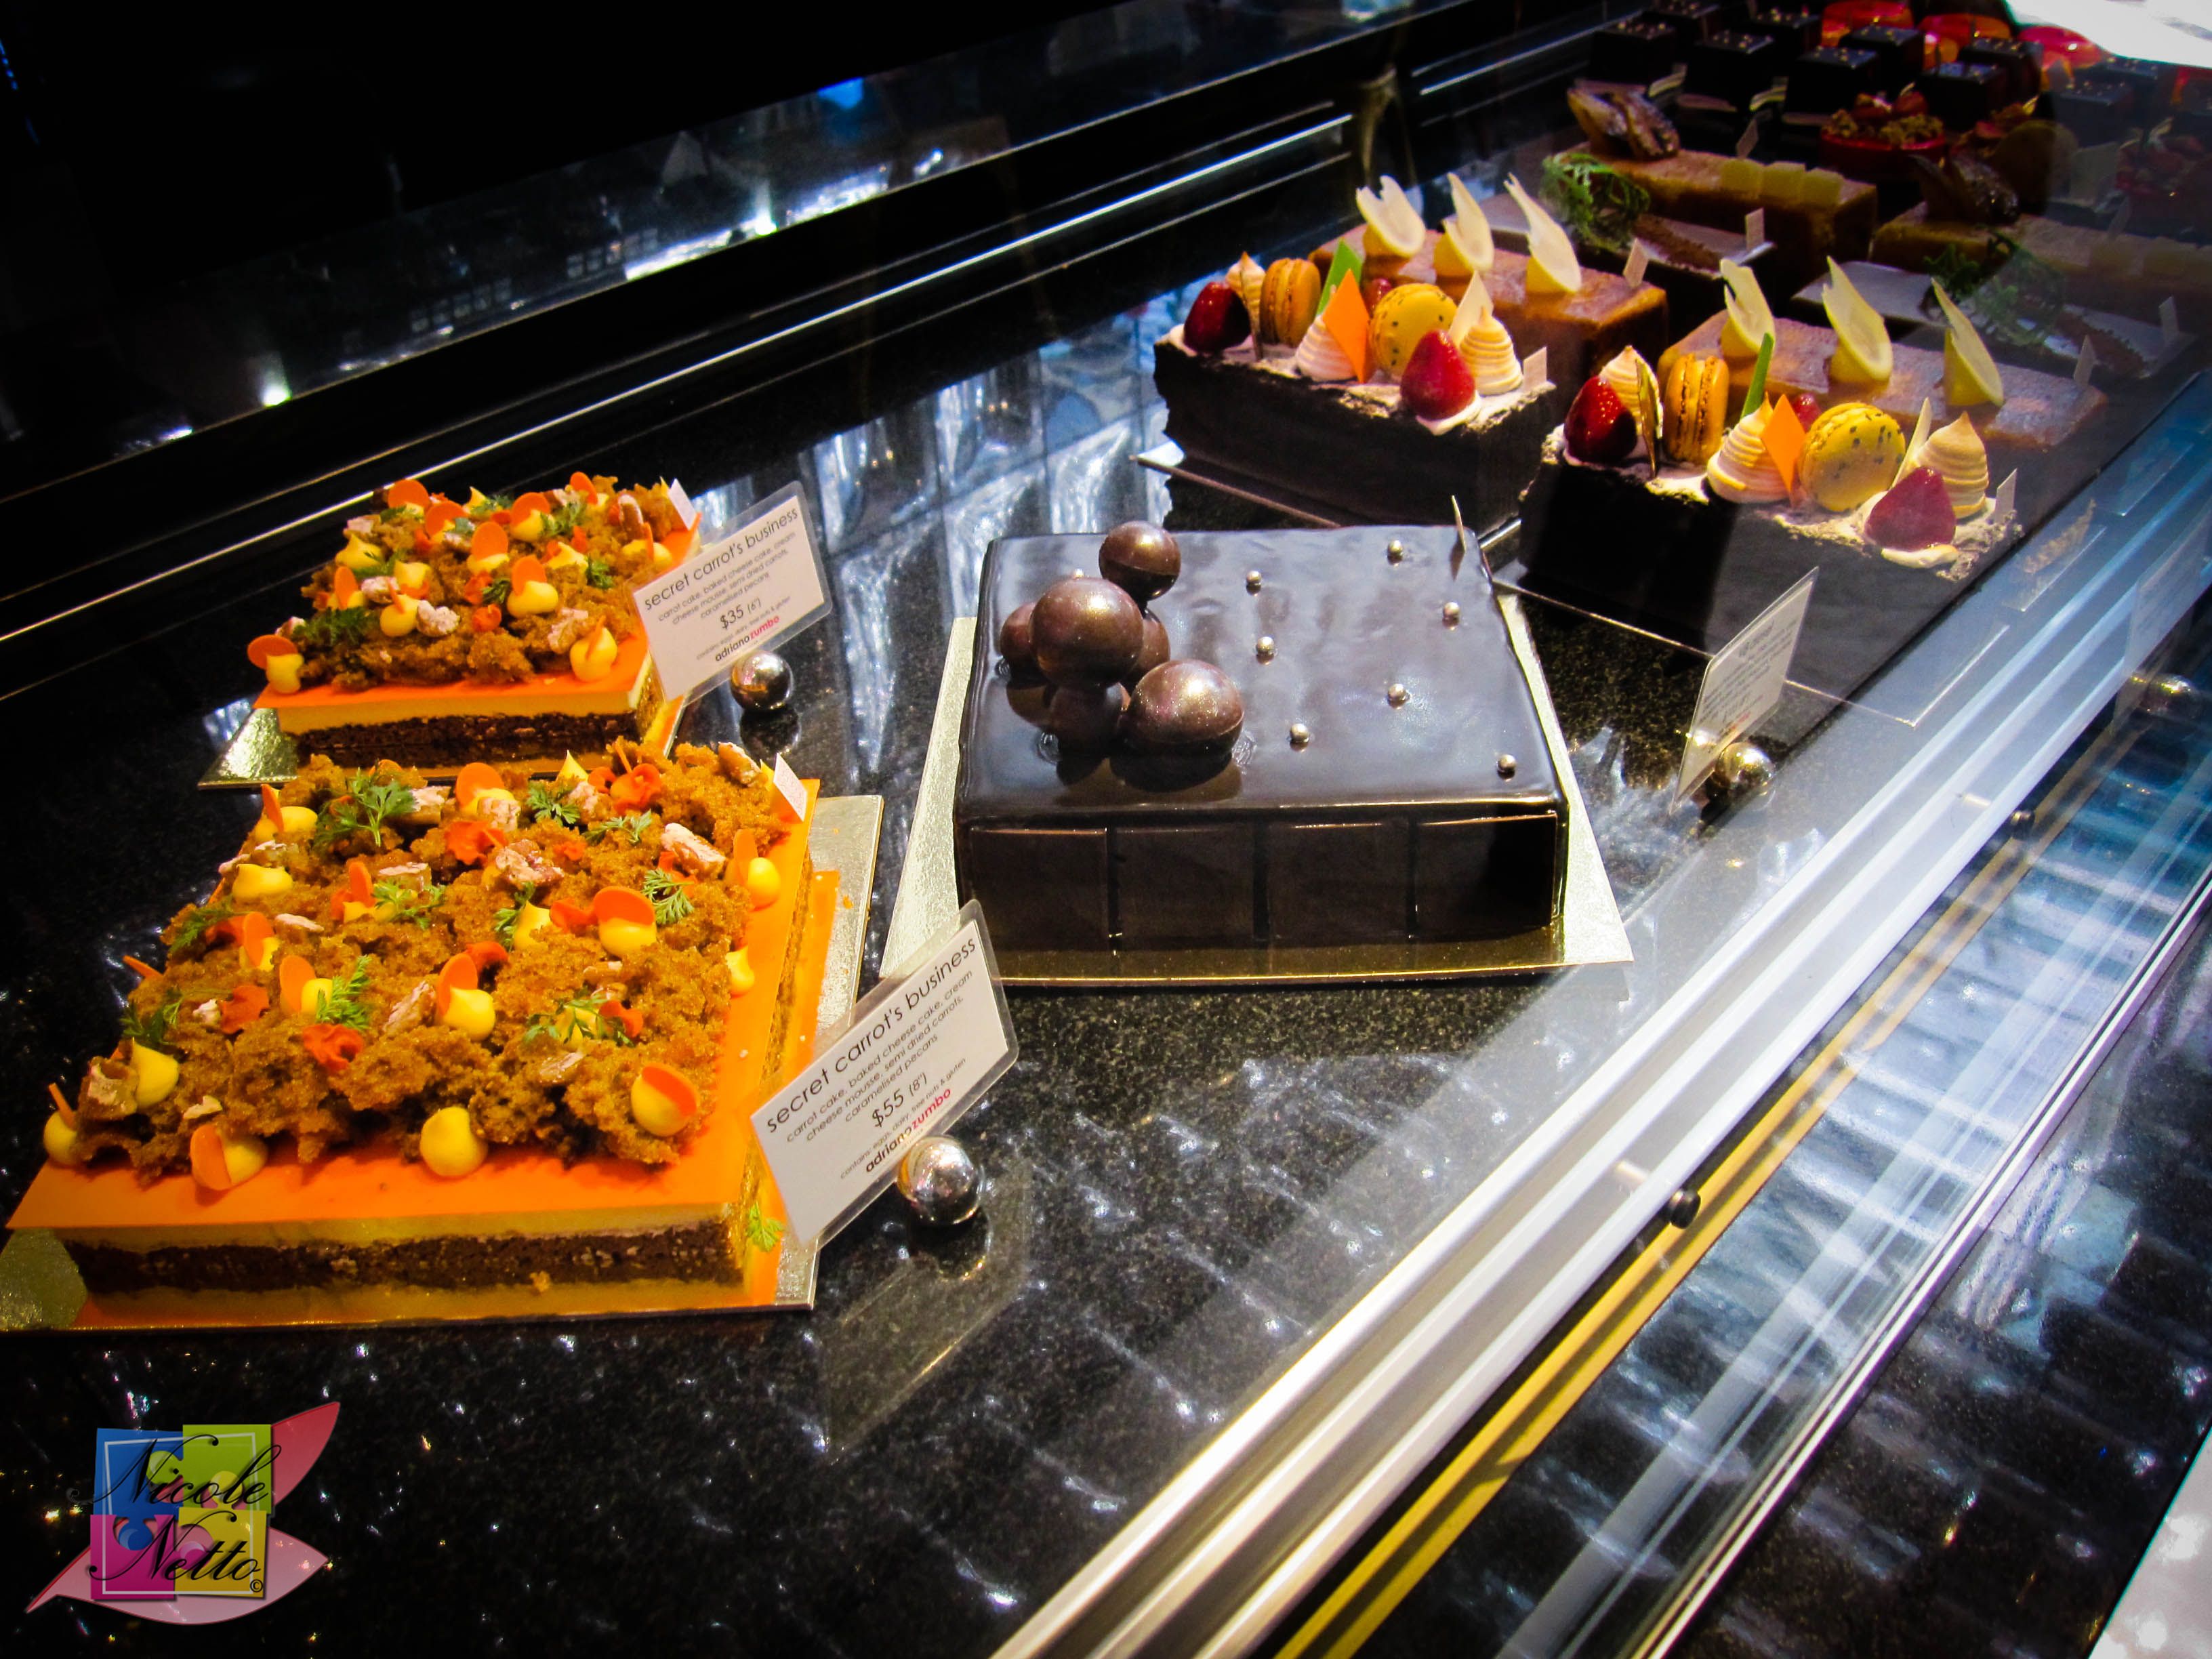
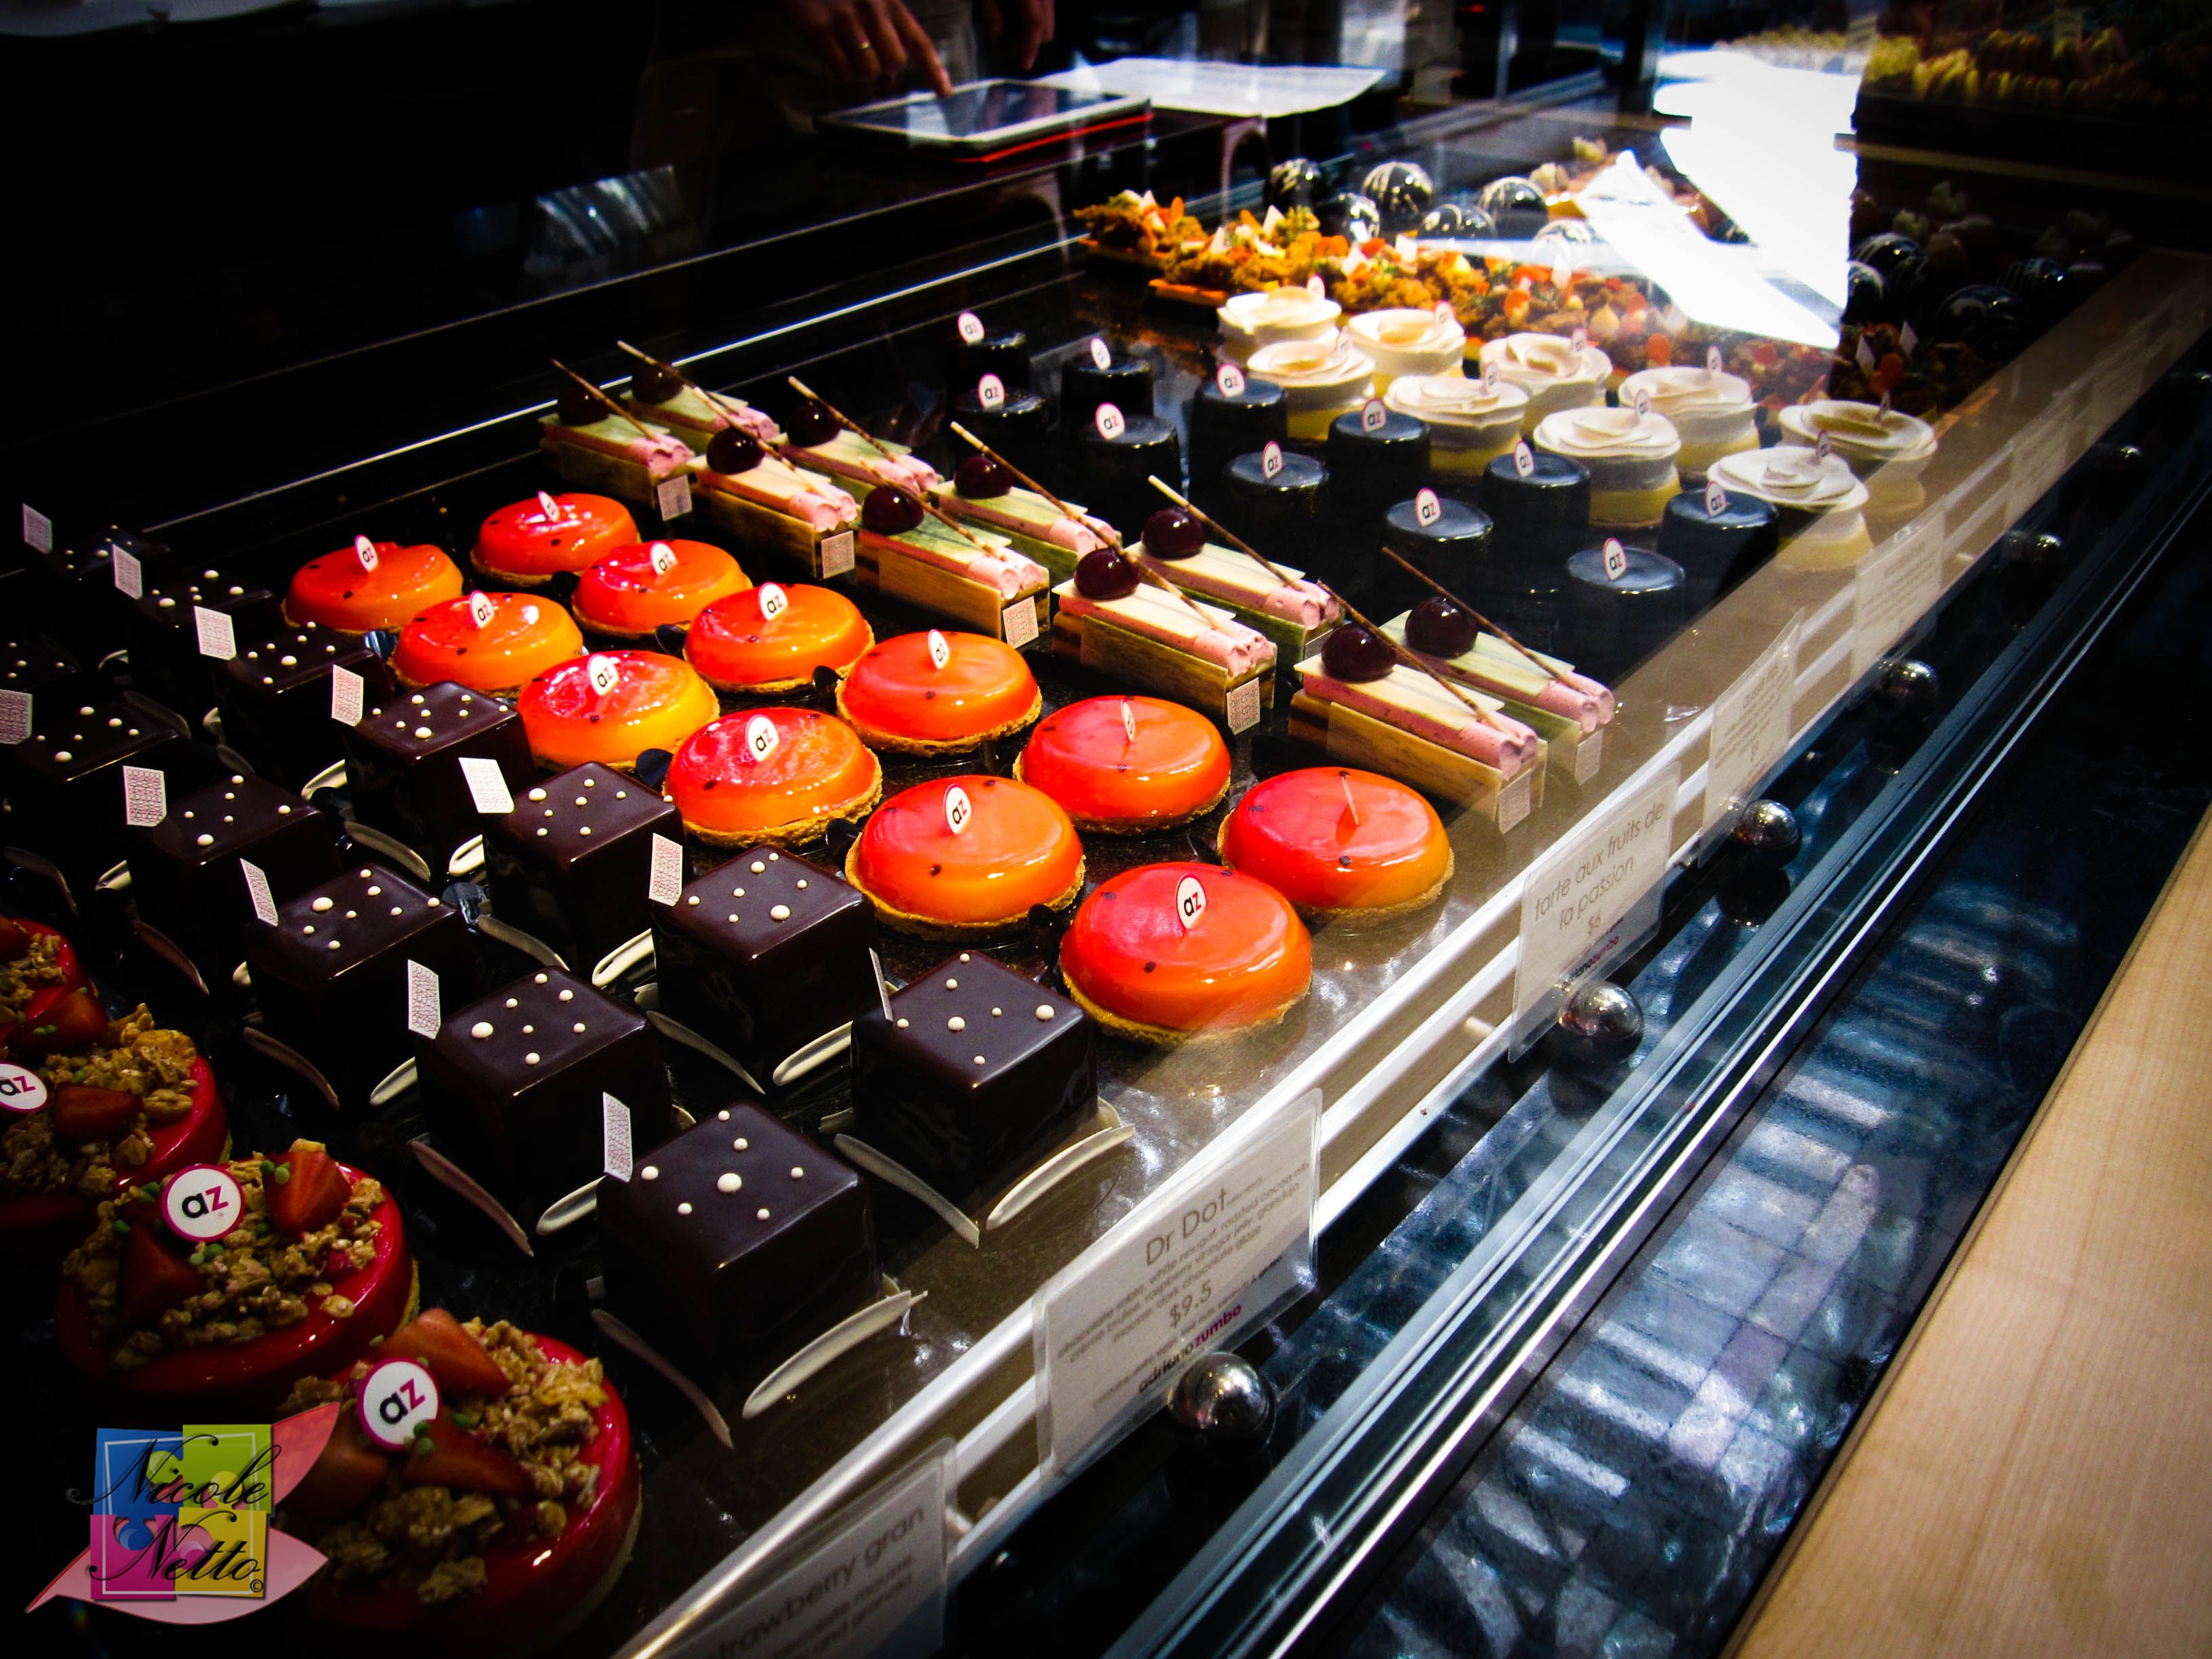
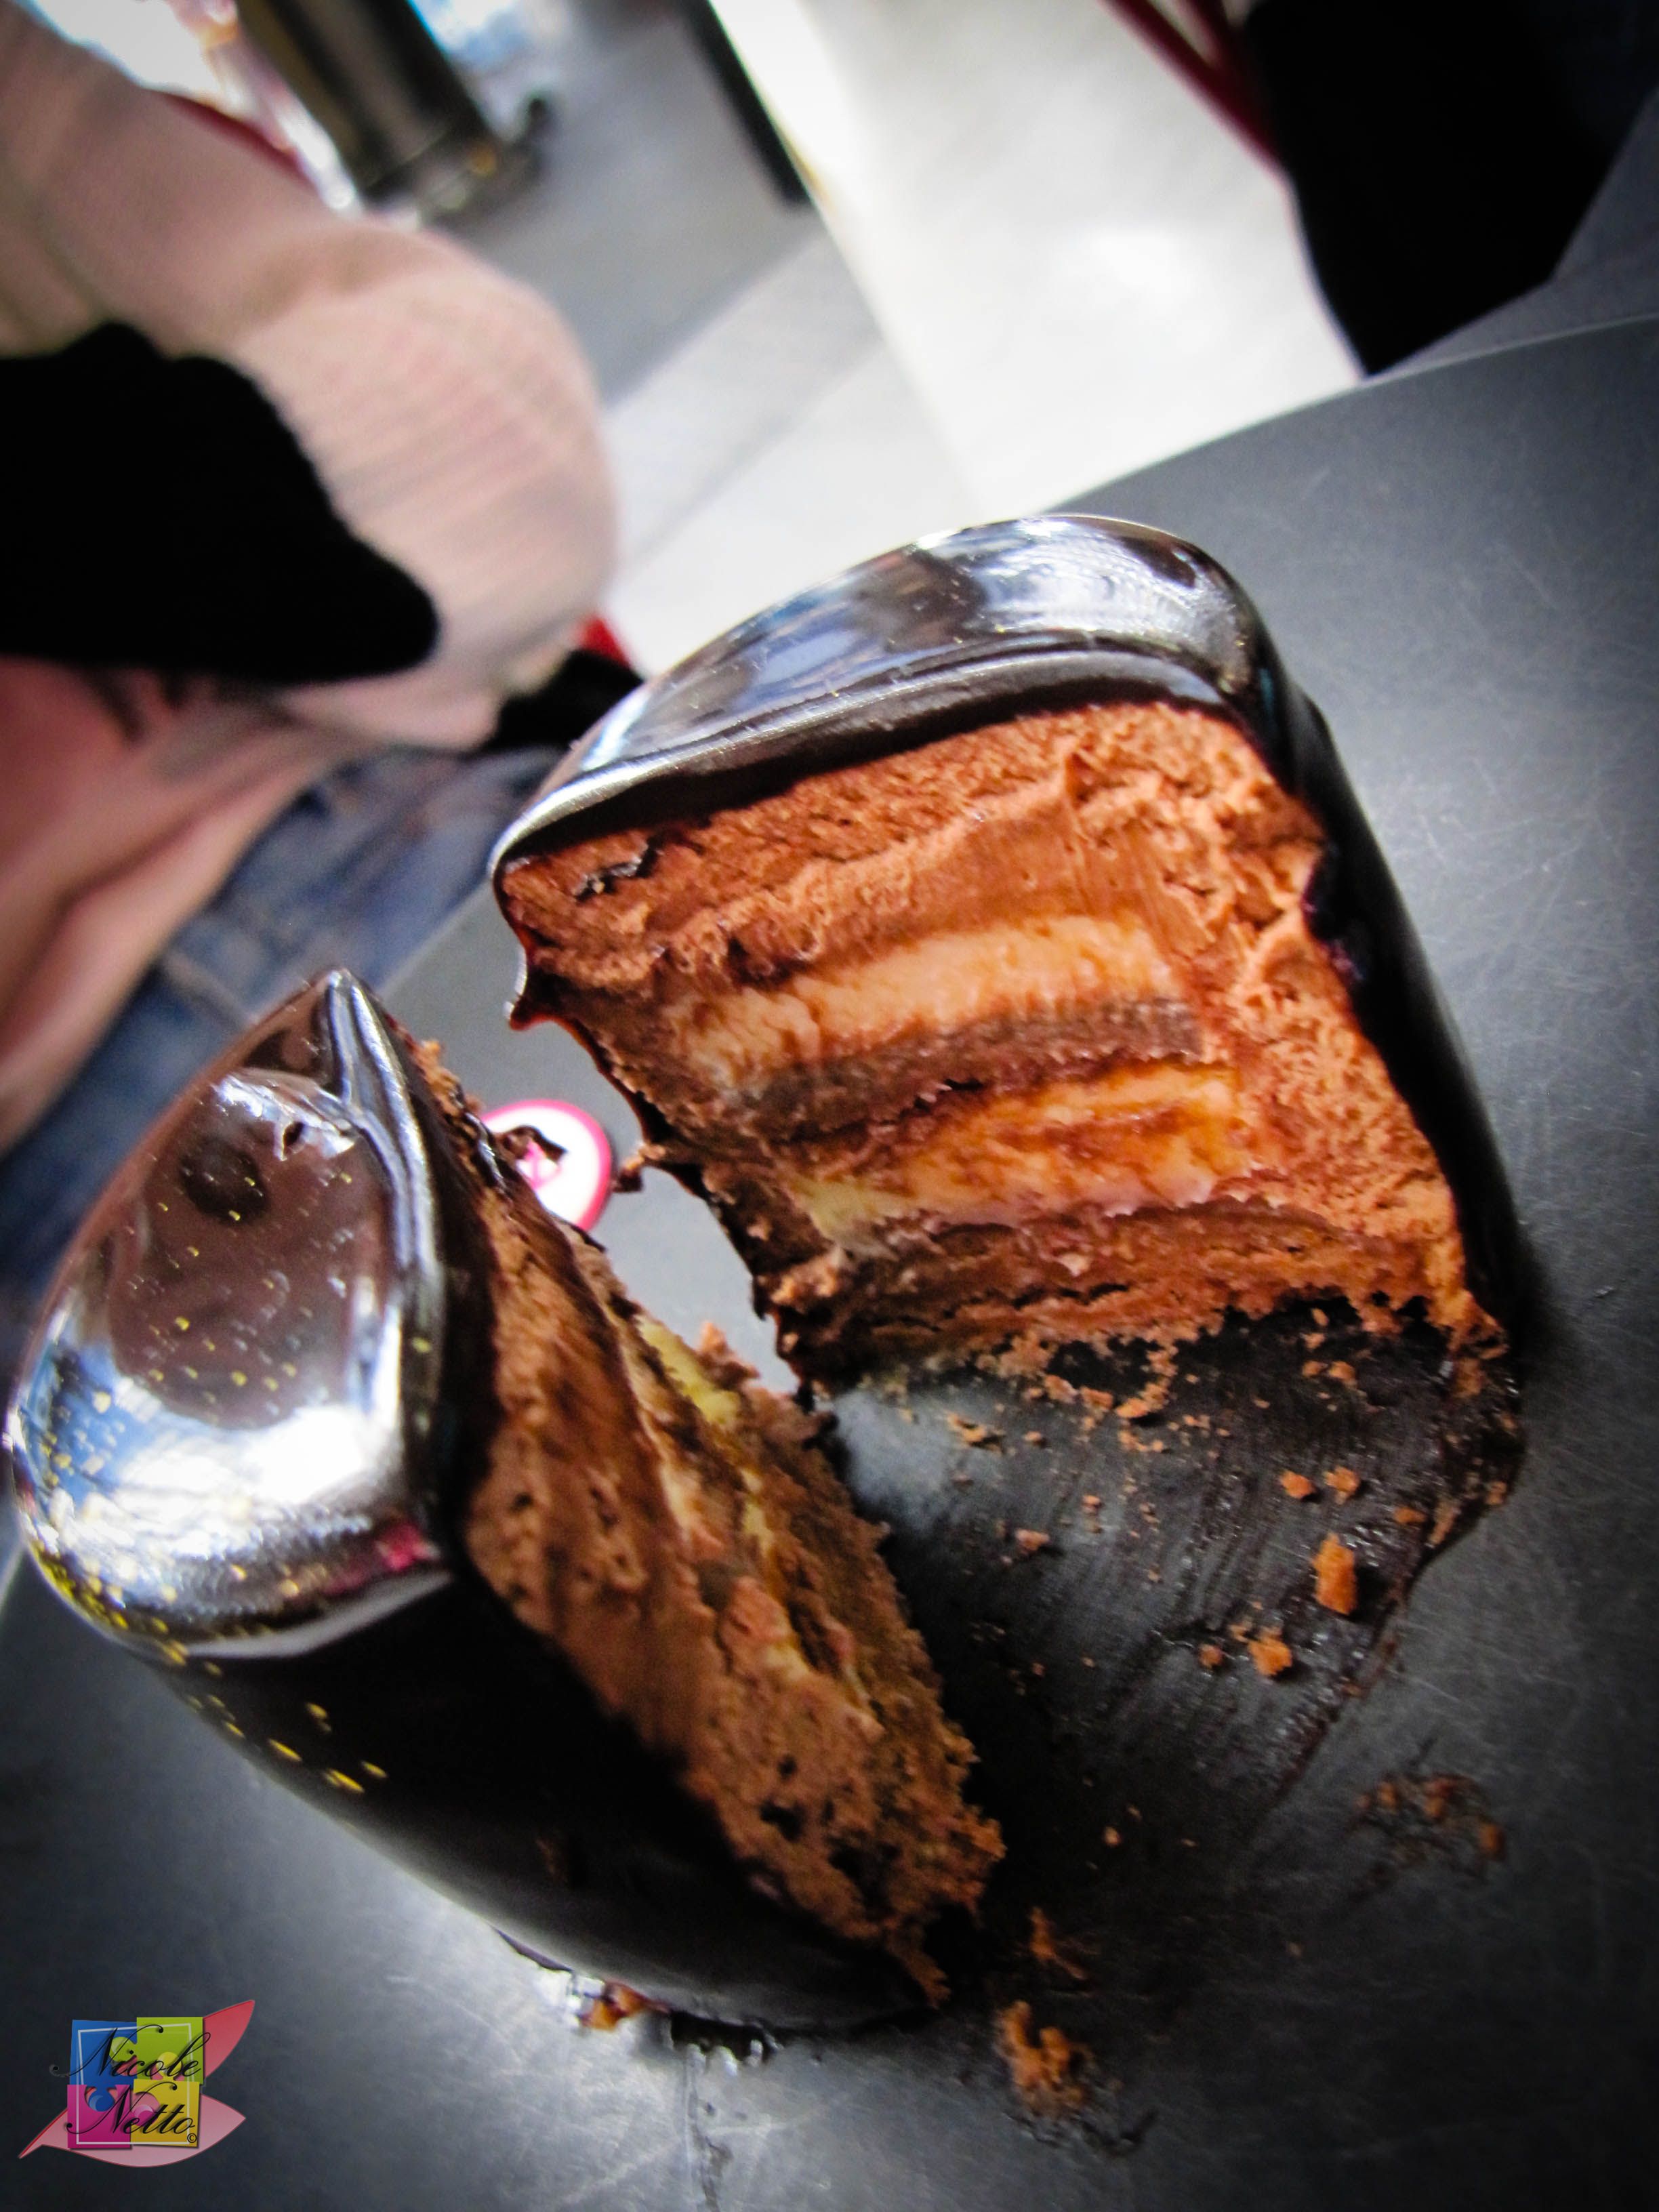

Zumbarons
Soooo – yeahhhh – a Zumbo recipe – phew! – I knew it wasn’t going to be easy and it was going to be a bit of a challenge. But I have to say, if you follow each step precisely, you’ll be laughing! I did change up the filling recipe a little bit, but it worked out well.
A couple of pointers-
- I recommend measuring the suggested quantities precisely – you need a kitchen scale.
- I recommend a kitchen thermometer to make sure you attain the appropriate temperature with the sugar syrup prior to combining it with the egg whites to make the meringue.
- I recommend a piping bag and appropriately sized nozzle to pipe the macaron shells and filling – this ensure’s a perfectly smooth shell and even piping out of the filling. I didn’t have these, so I improvised by using spoons and tried to smooth out the shells as much as I could.
- If you don’t know where to find dried lavender flowers, try a specialty tea shop. I obtained a box of “Lavender tissane” from T2.
- I did use aged egg whites, but there is a lot of debate about if it makes a difference or not. Personally I feel that it does because the texture of my macaron’s turned out quite good. The reason for aging egg whites is to reduce the moisture content as much as possible from the egg whites while keeping its protein bonds the same. This is thought to increase the whites’ elasticity, better for whipping.
This recipe makes 11 -12 large Macarons. You can vary the macaron’s size as you desire by creating the macaron template to your desired sized. I recommend 1, to a maximum of 2 macaron’s per person, as they are quite sweet due to their high sugar content. Be sure to adjust your quantities according to the servings you require!
Lavender and Blueberry Macarons
Adapted from “Zumbarons” by Adriano Zumbo
(Serves 11-12)
Ingredients – Macaron Shell
150 gm Almond meal (fine preferred)
150 gm Icing sugar
150 gm Caster sugar
38 gm Water
Food coloring (as per your desired color)
2 x 55 gm egg whites (at room temperature)
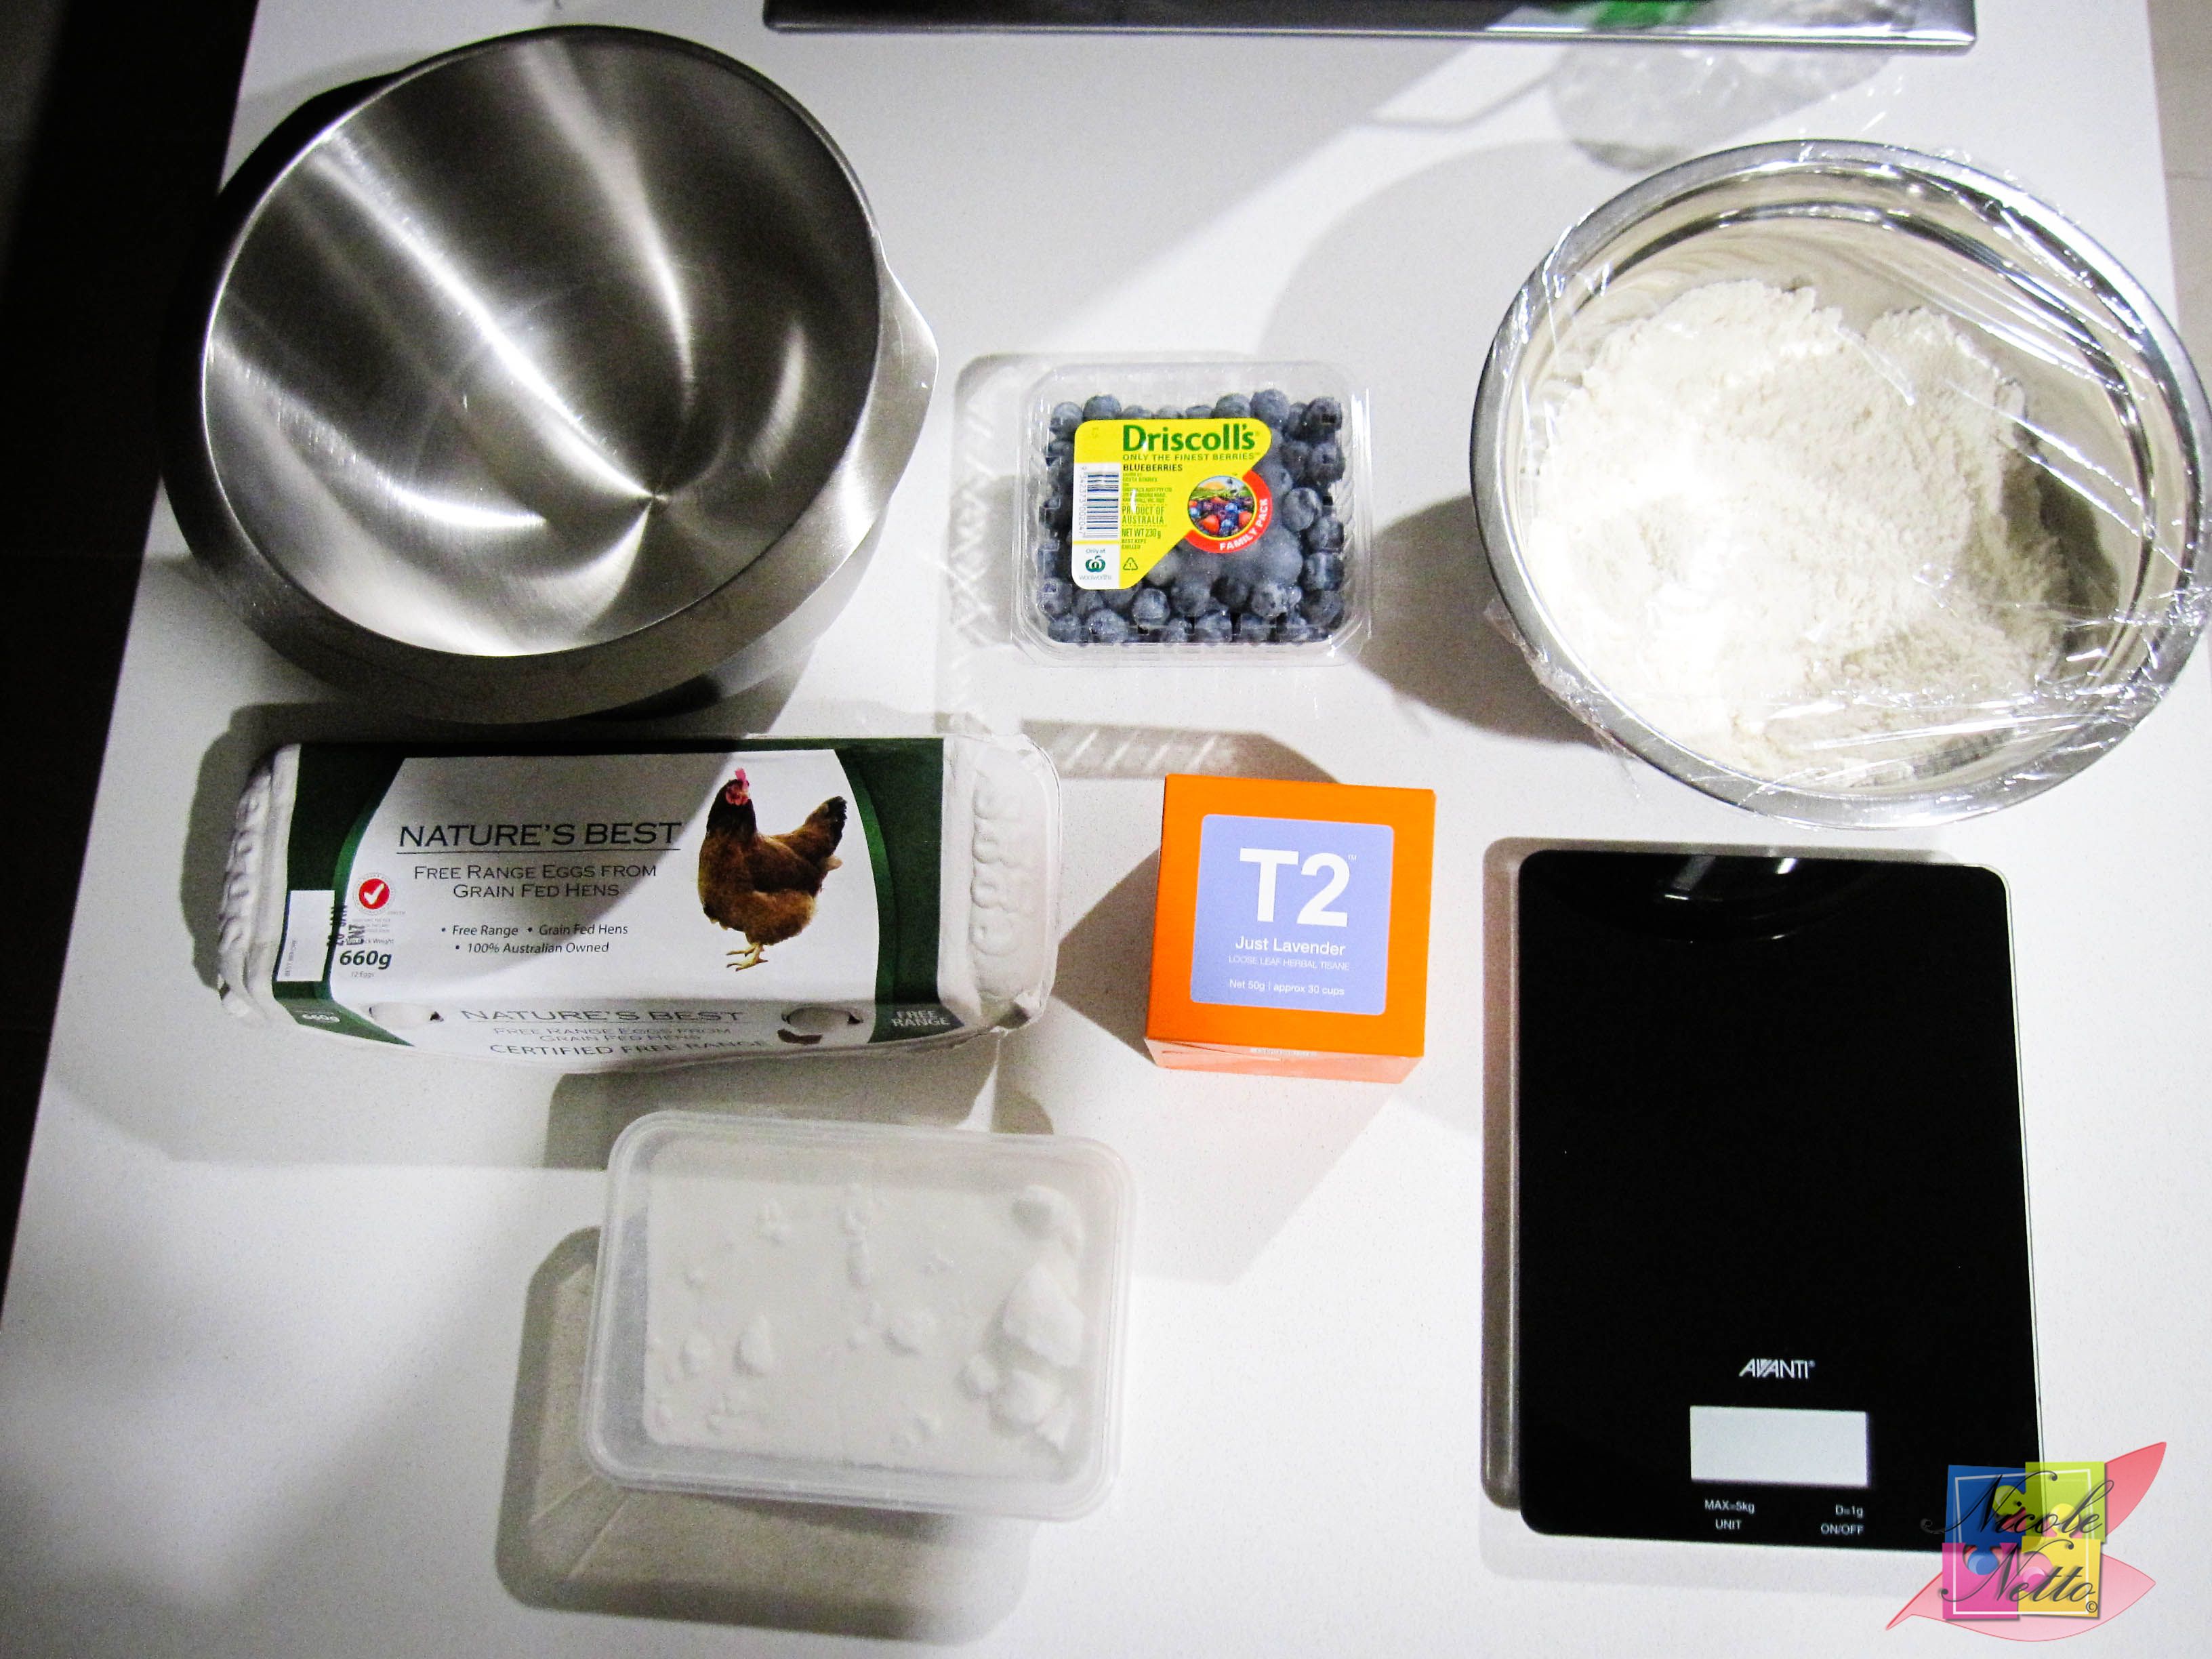
TPT, Blueberries, Eggs, Caster Sugar and Lavender
Method – Macaron Shell
Grease a baking sheet and line with appropriately sized non-stick baking paper.
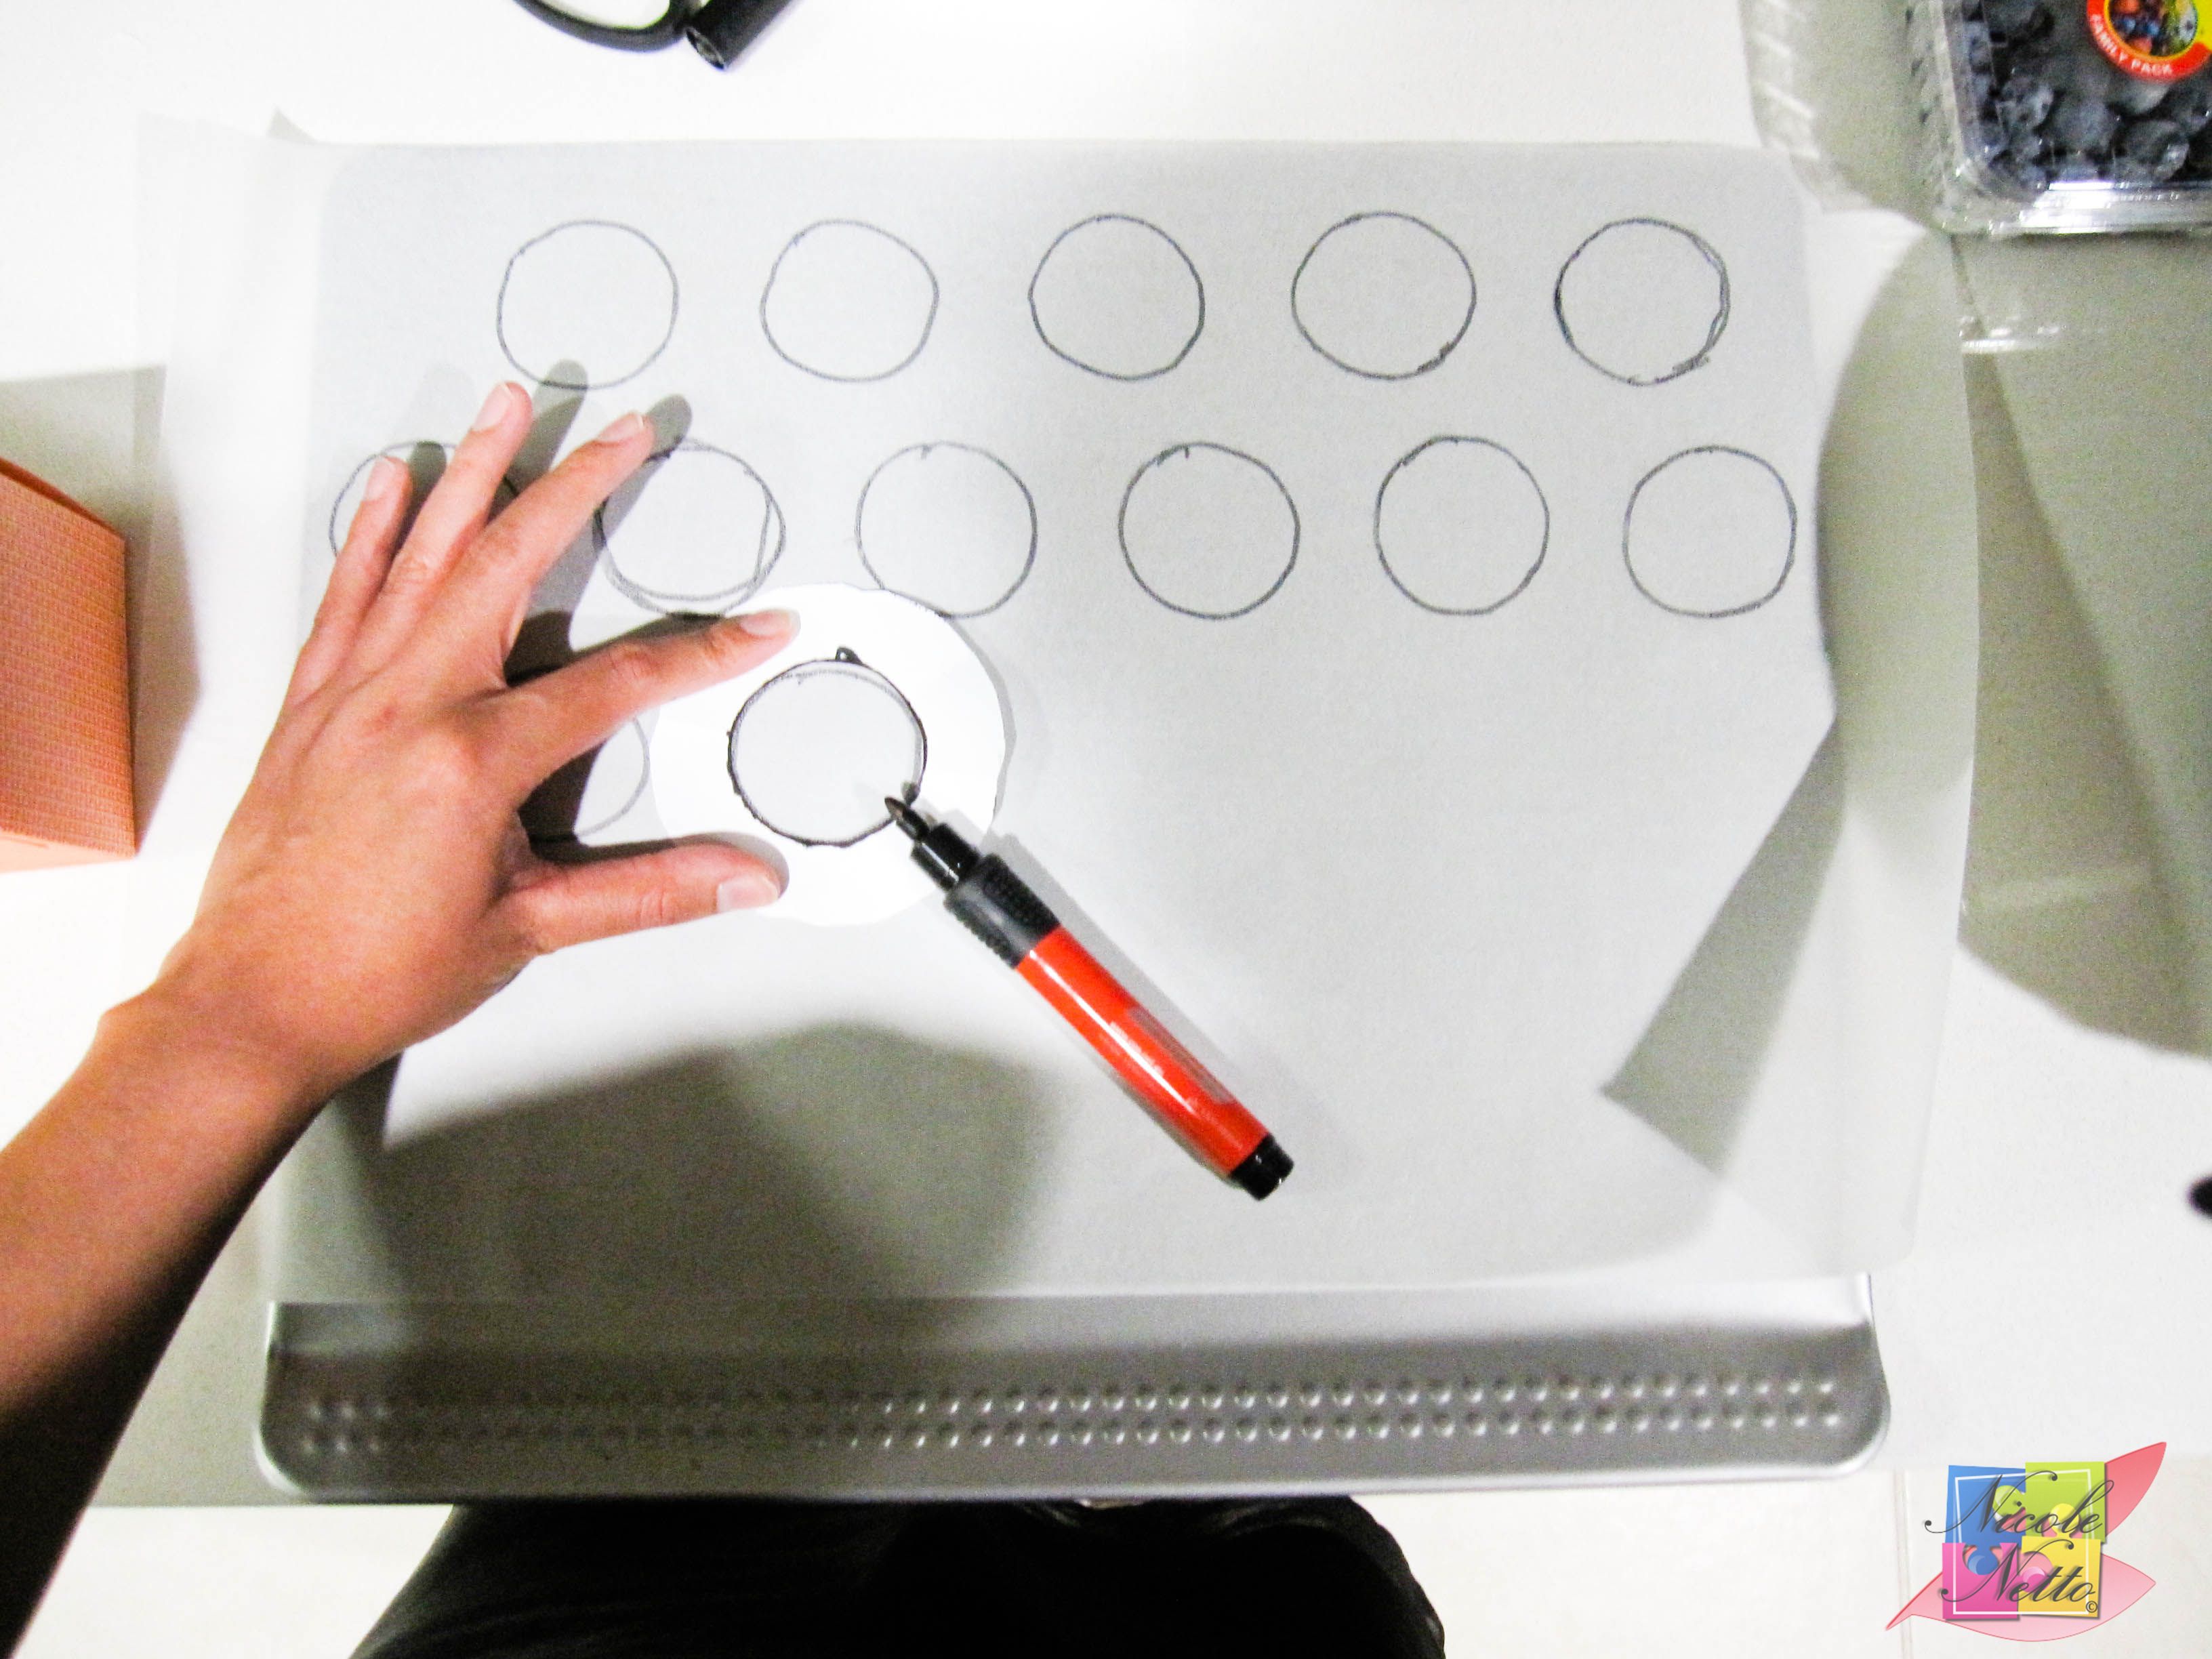
Create a circular template with a diameter of 8cm and cut out an inner circle of diameter 4 – 6 cm. I cut it to 5 cm. Use this template to draw circles on the curvy side of the baking paper, with enough of spacing (use the template as a guide). Flip the baking paper over and set the prepped baking sheet and paper aside.
Note: Using the curvy side ensures that the paper stays in place when flipped over for piping. You can also seal the paper to the baking sheet temporarily by using some of the macaron shell batter in all 4 corners.
Combine the almond meal and icing sugar in a bowl (TPT mixture). Using a spoon or nylon/ silicone kitchen scraper to push this mixture through a fine sieve into a large bowl. This ensure a smooth mixture.
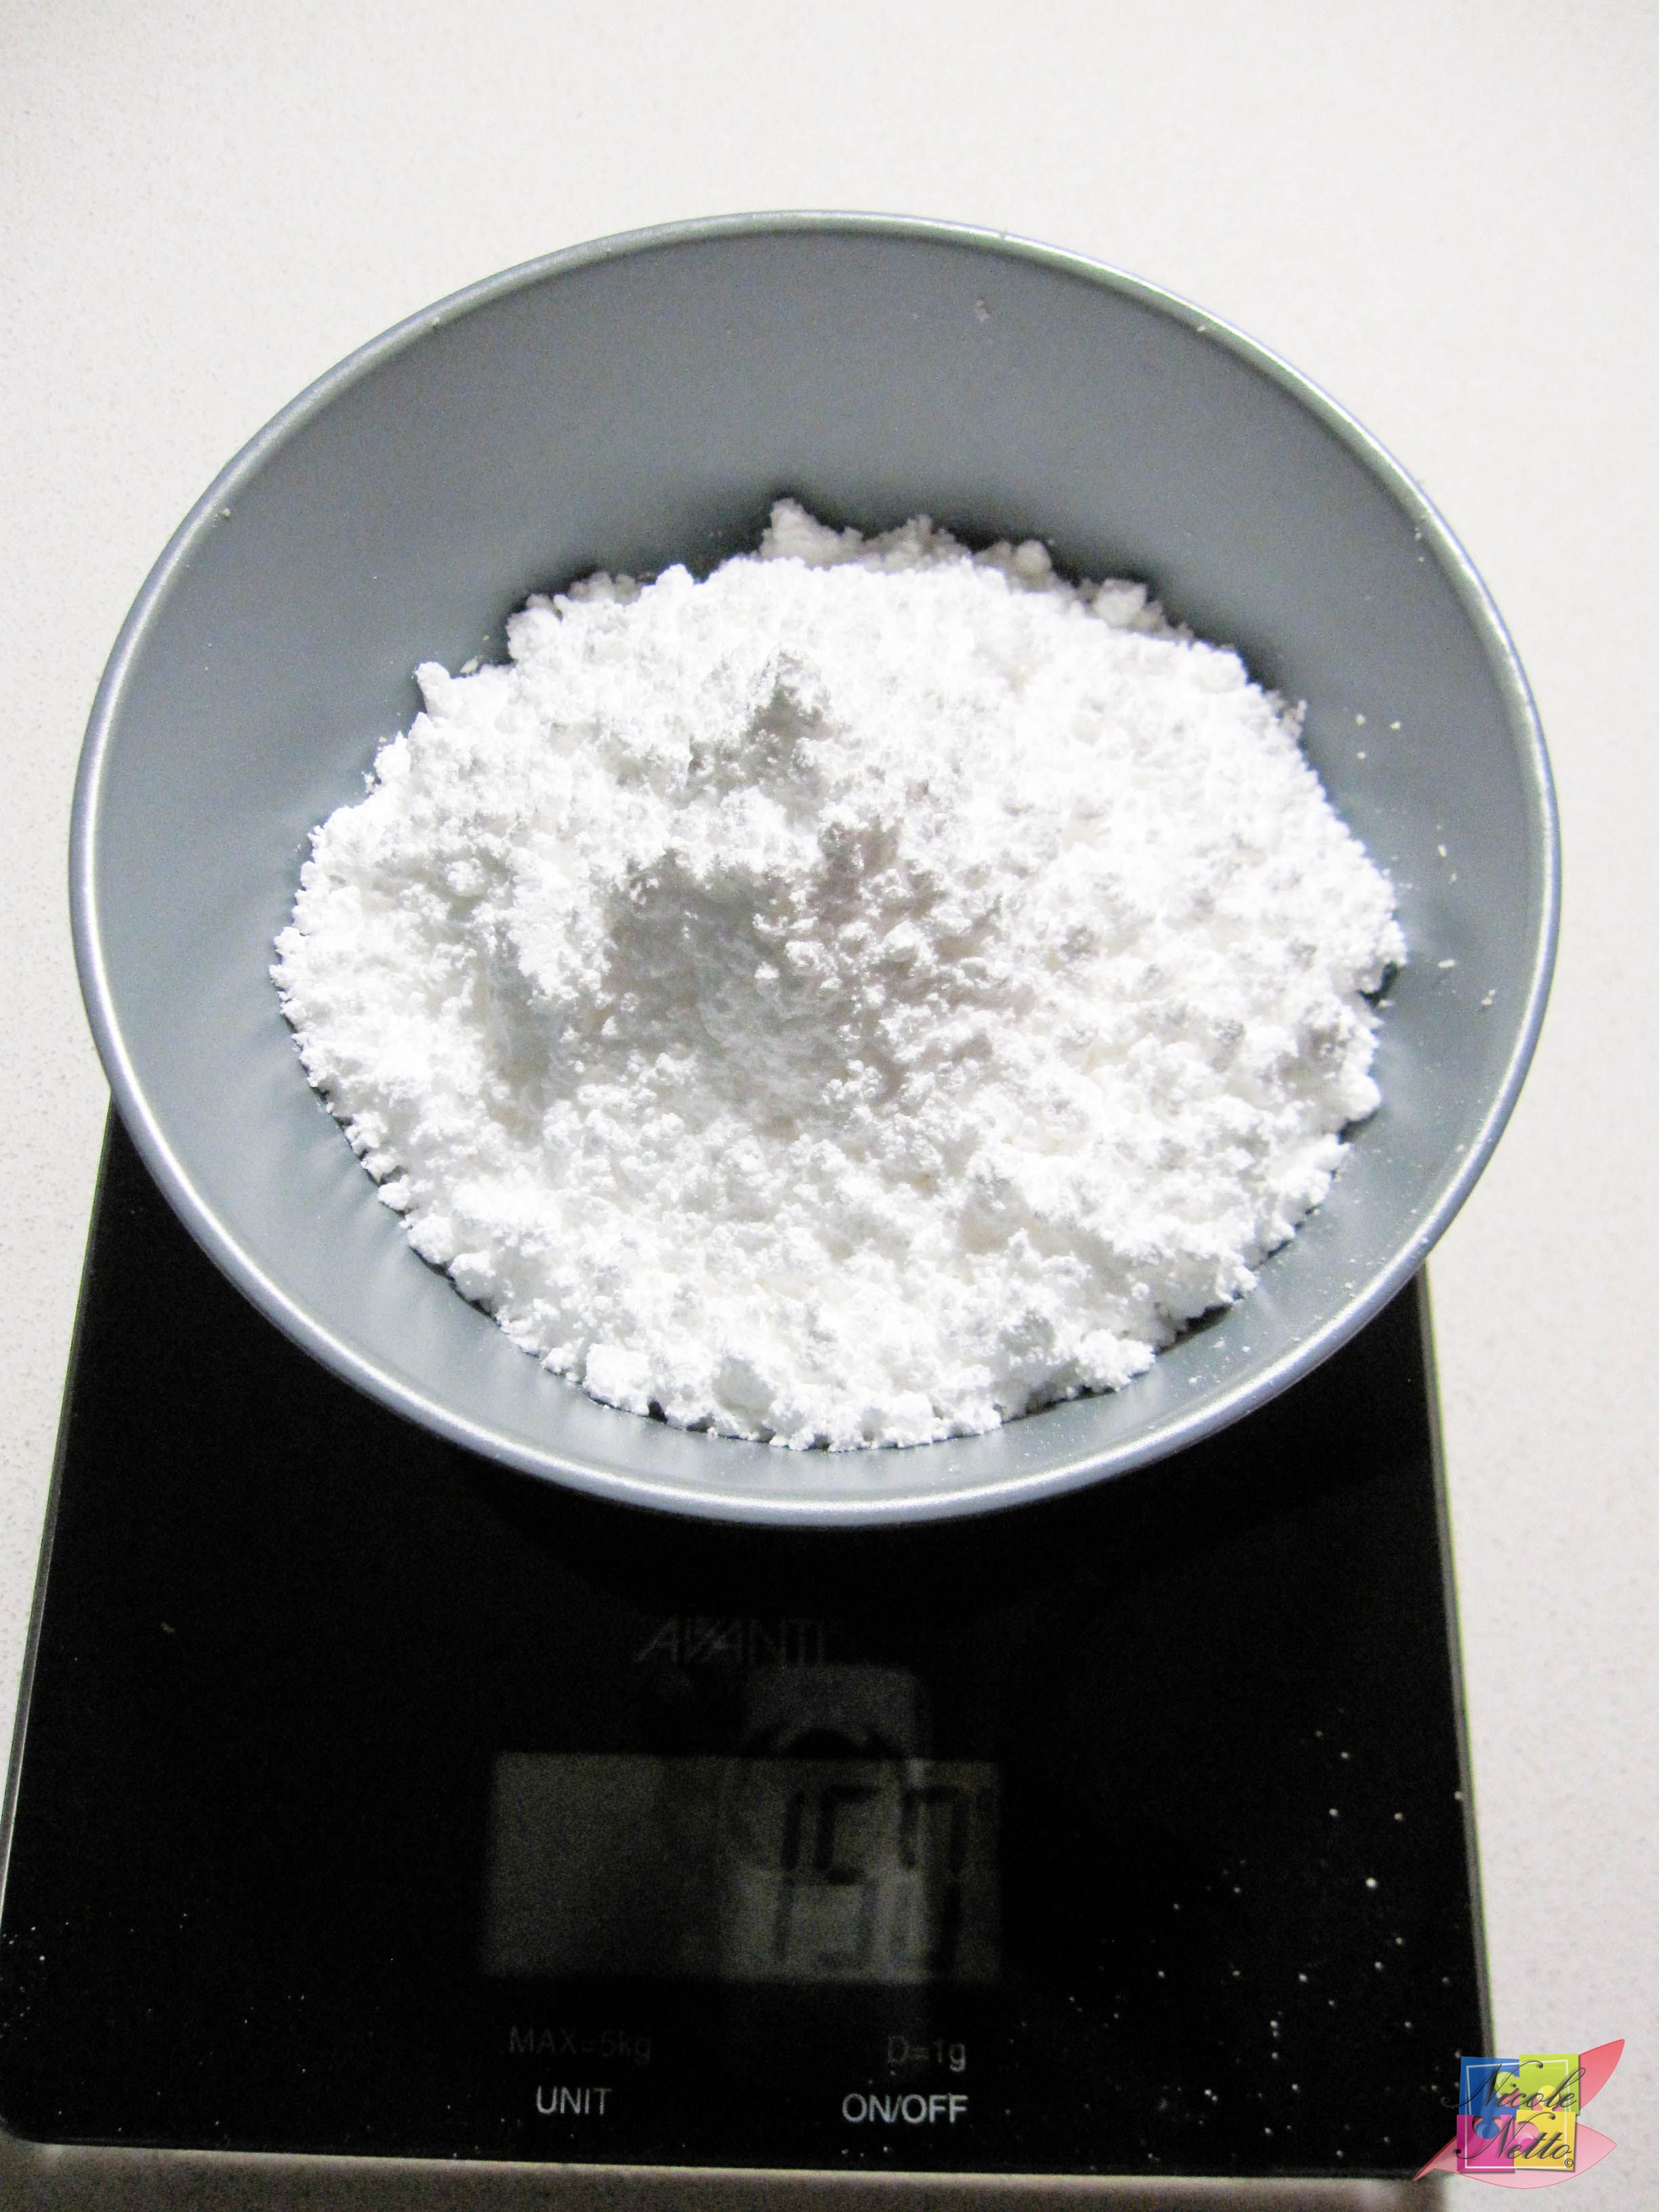
150 gm Icing sugar
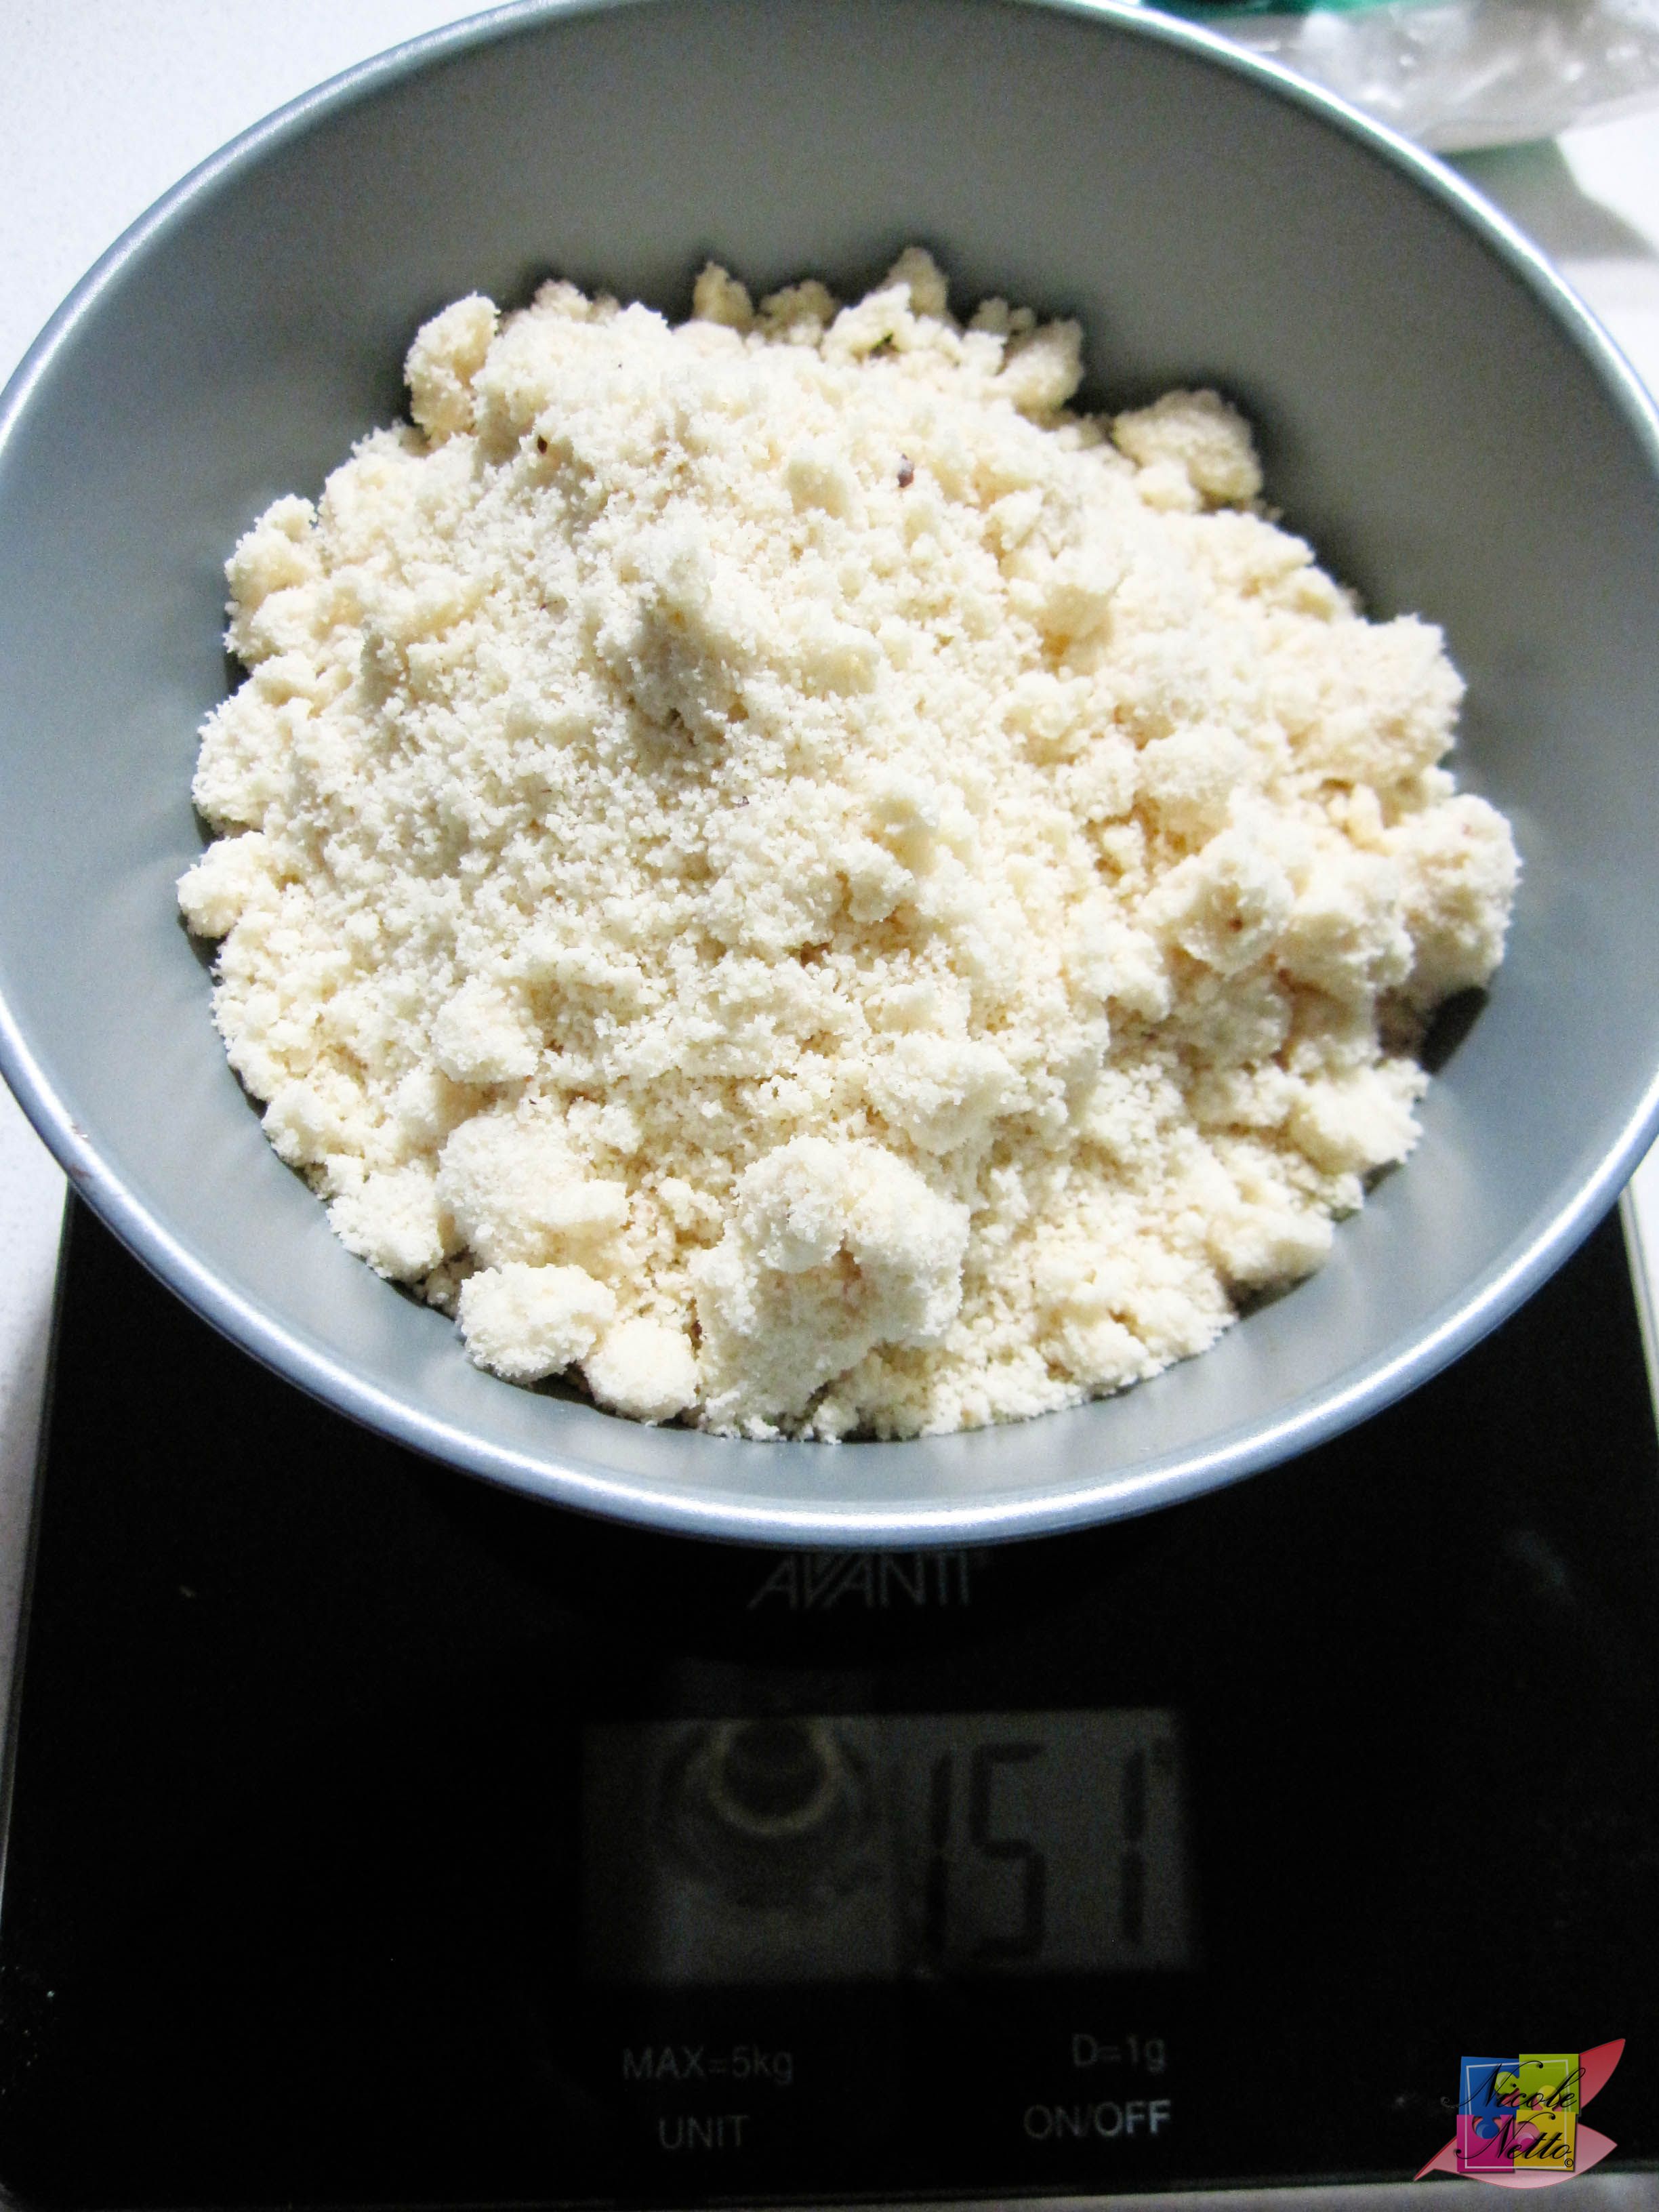
150 gm Almond Meal
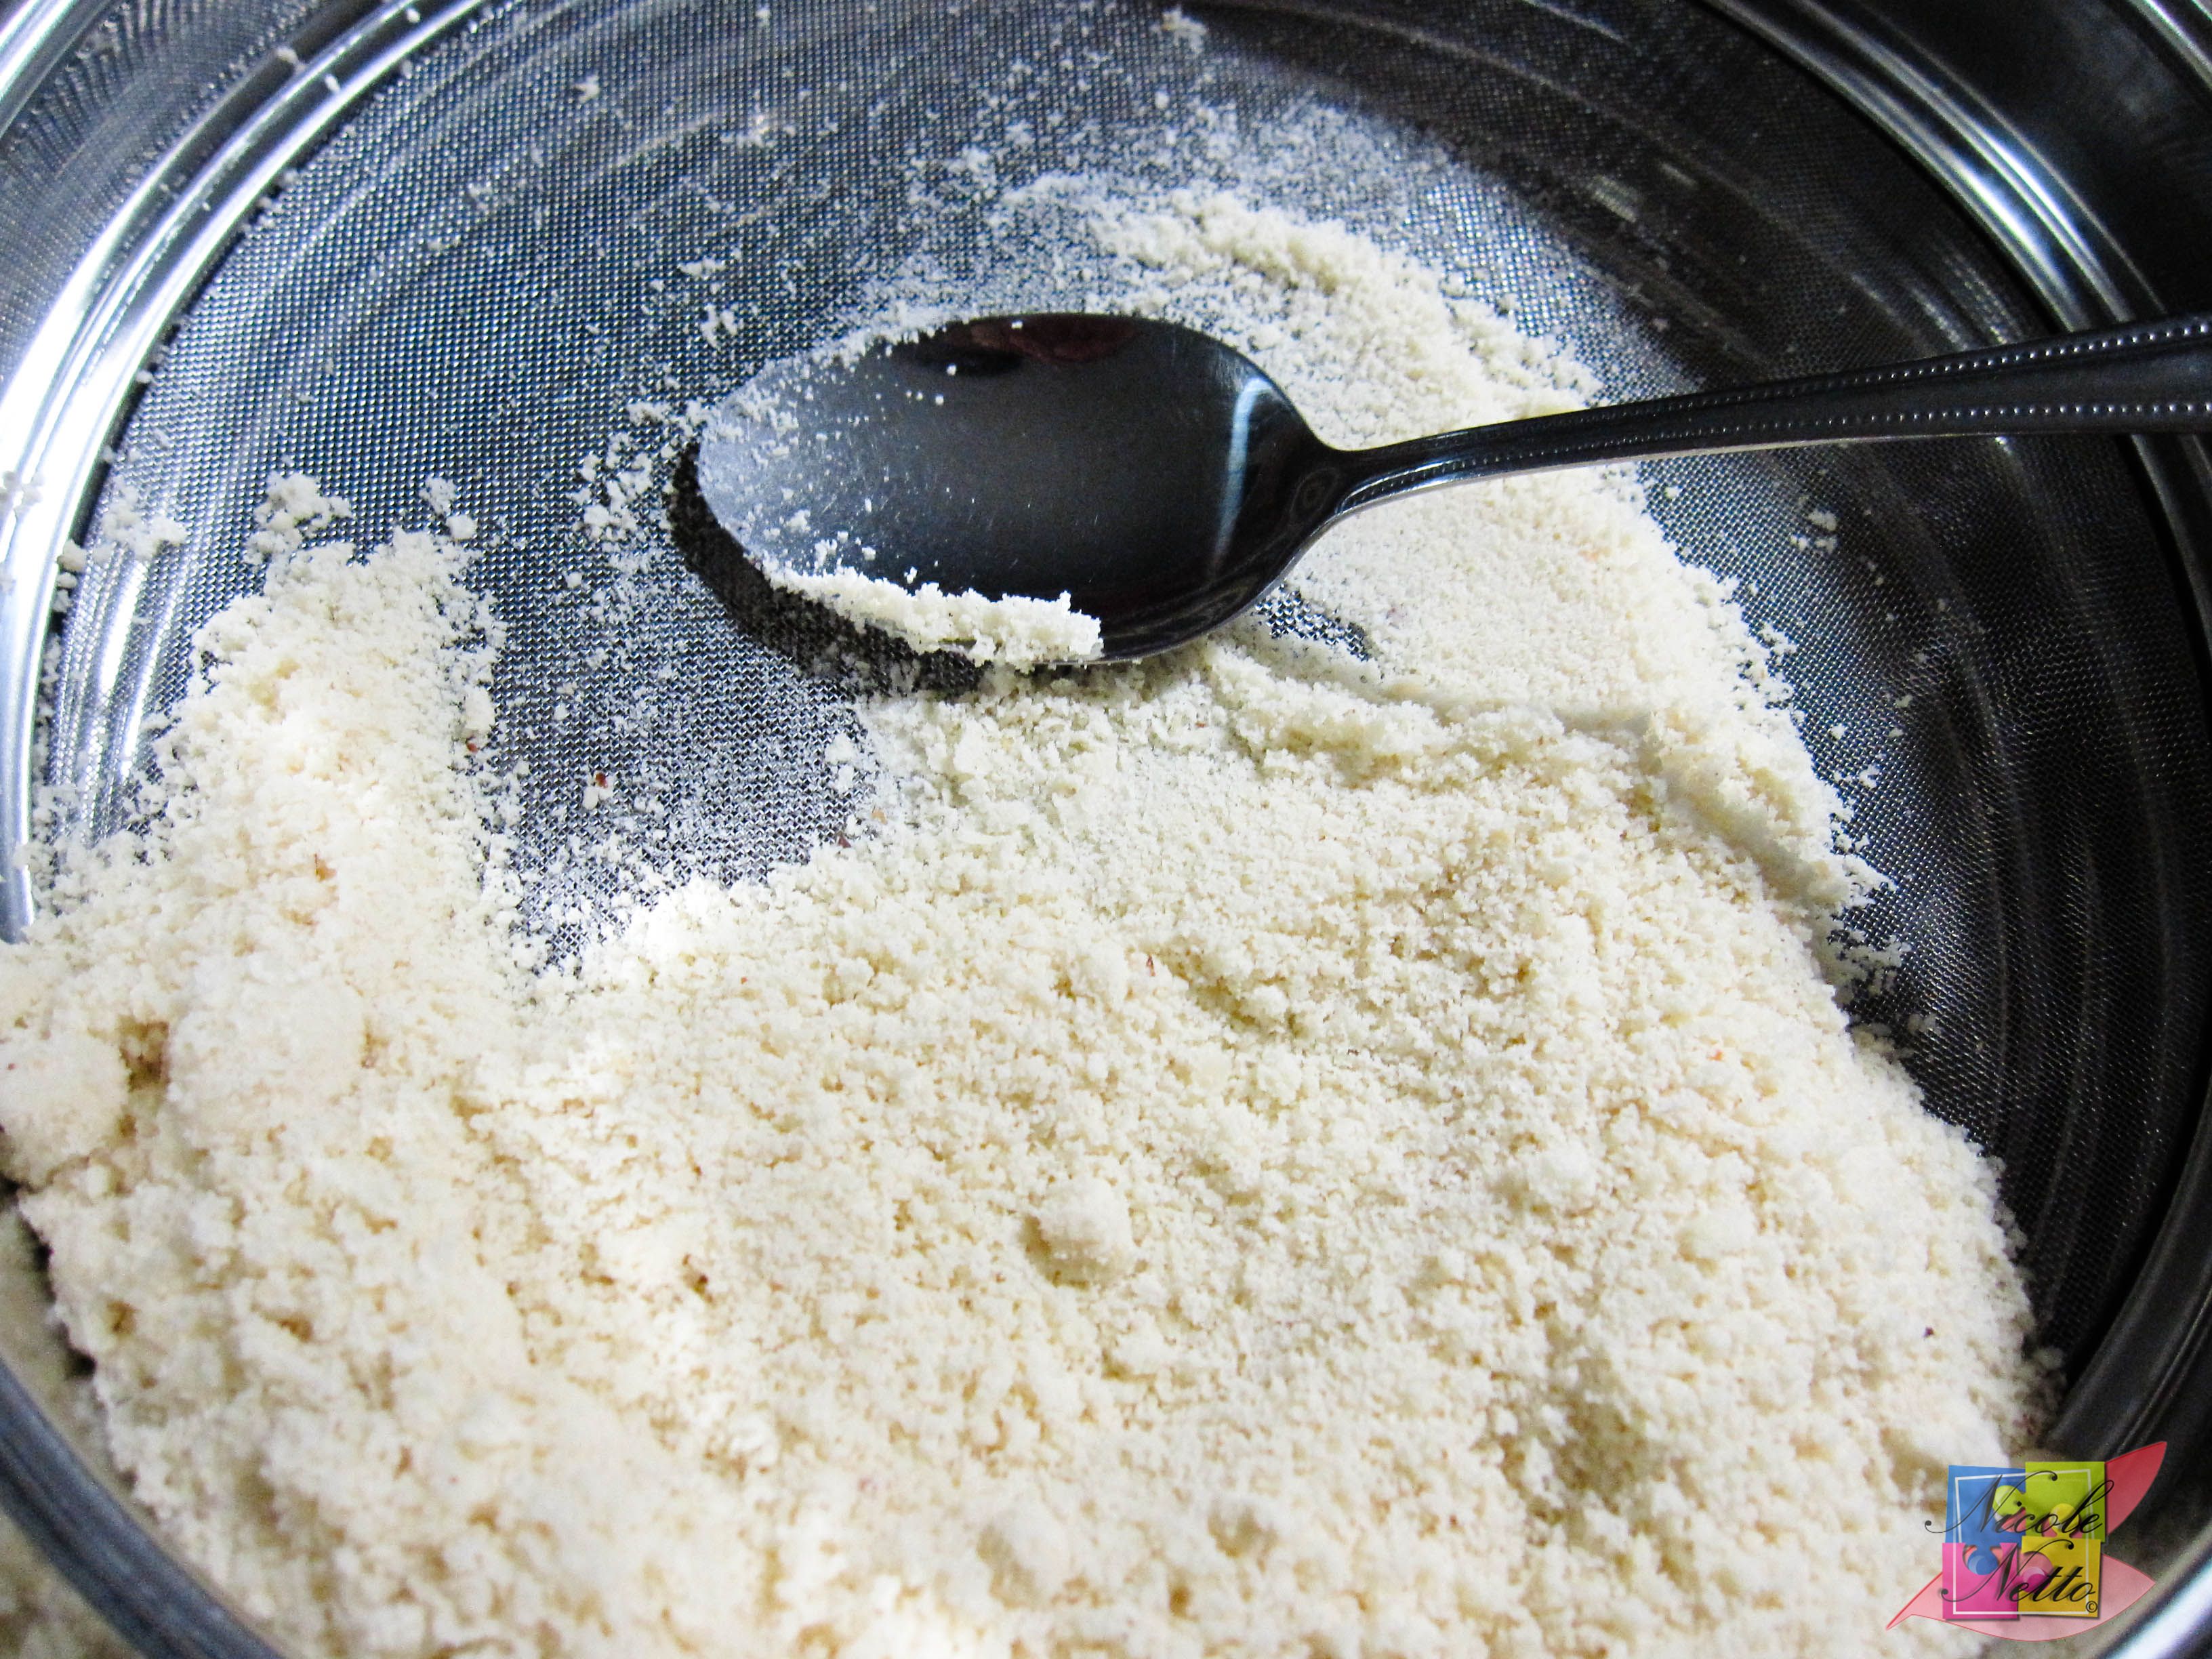
Passing the TPT mixture through a fine sieve with a spoon

Passing the TPT mixture through a fine sieve with a nylon scraper
Put 55 gm of the egg whites in an electric mixer (or by hand) with a whisk attachment and begin whisking until the egg whites are frothy and lightly peaked – keep an eye on this.

Egg whites and yolks seperated
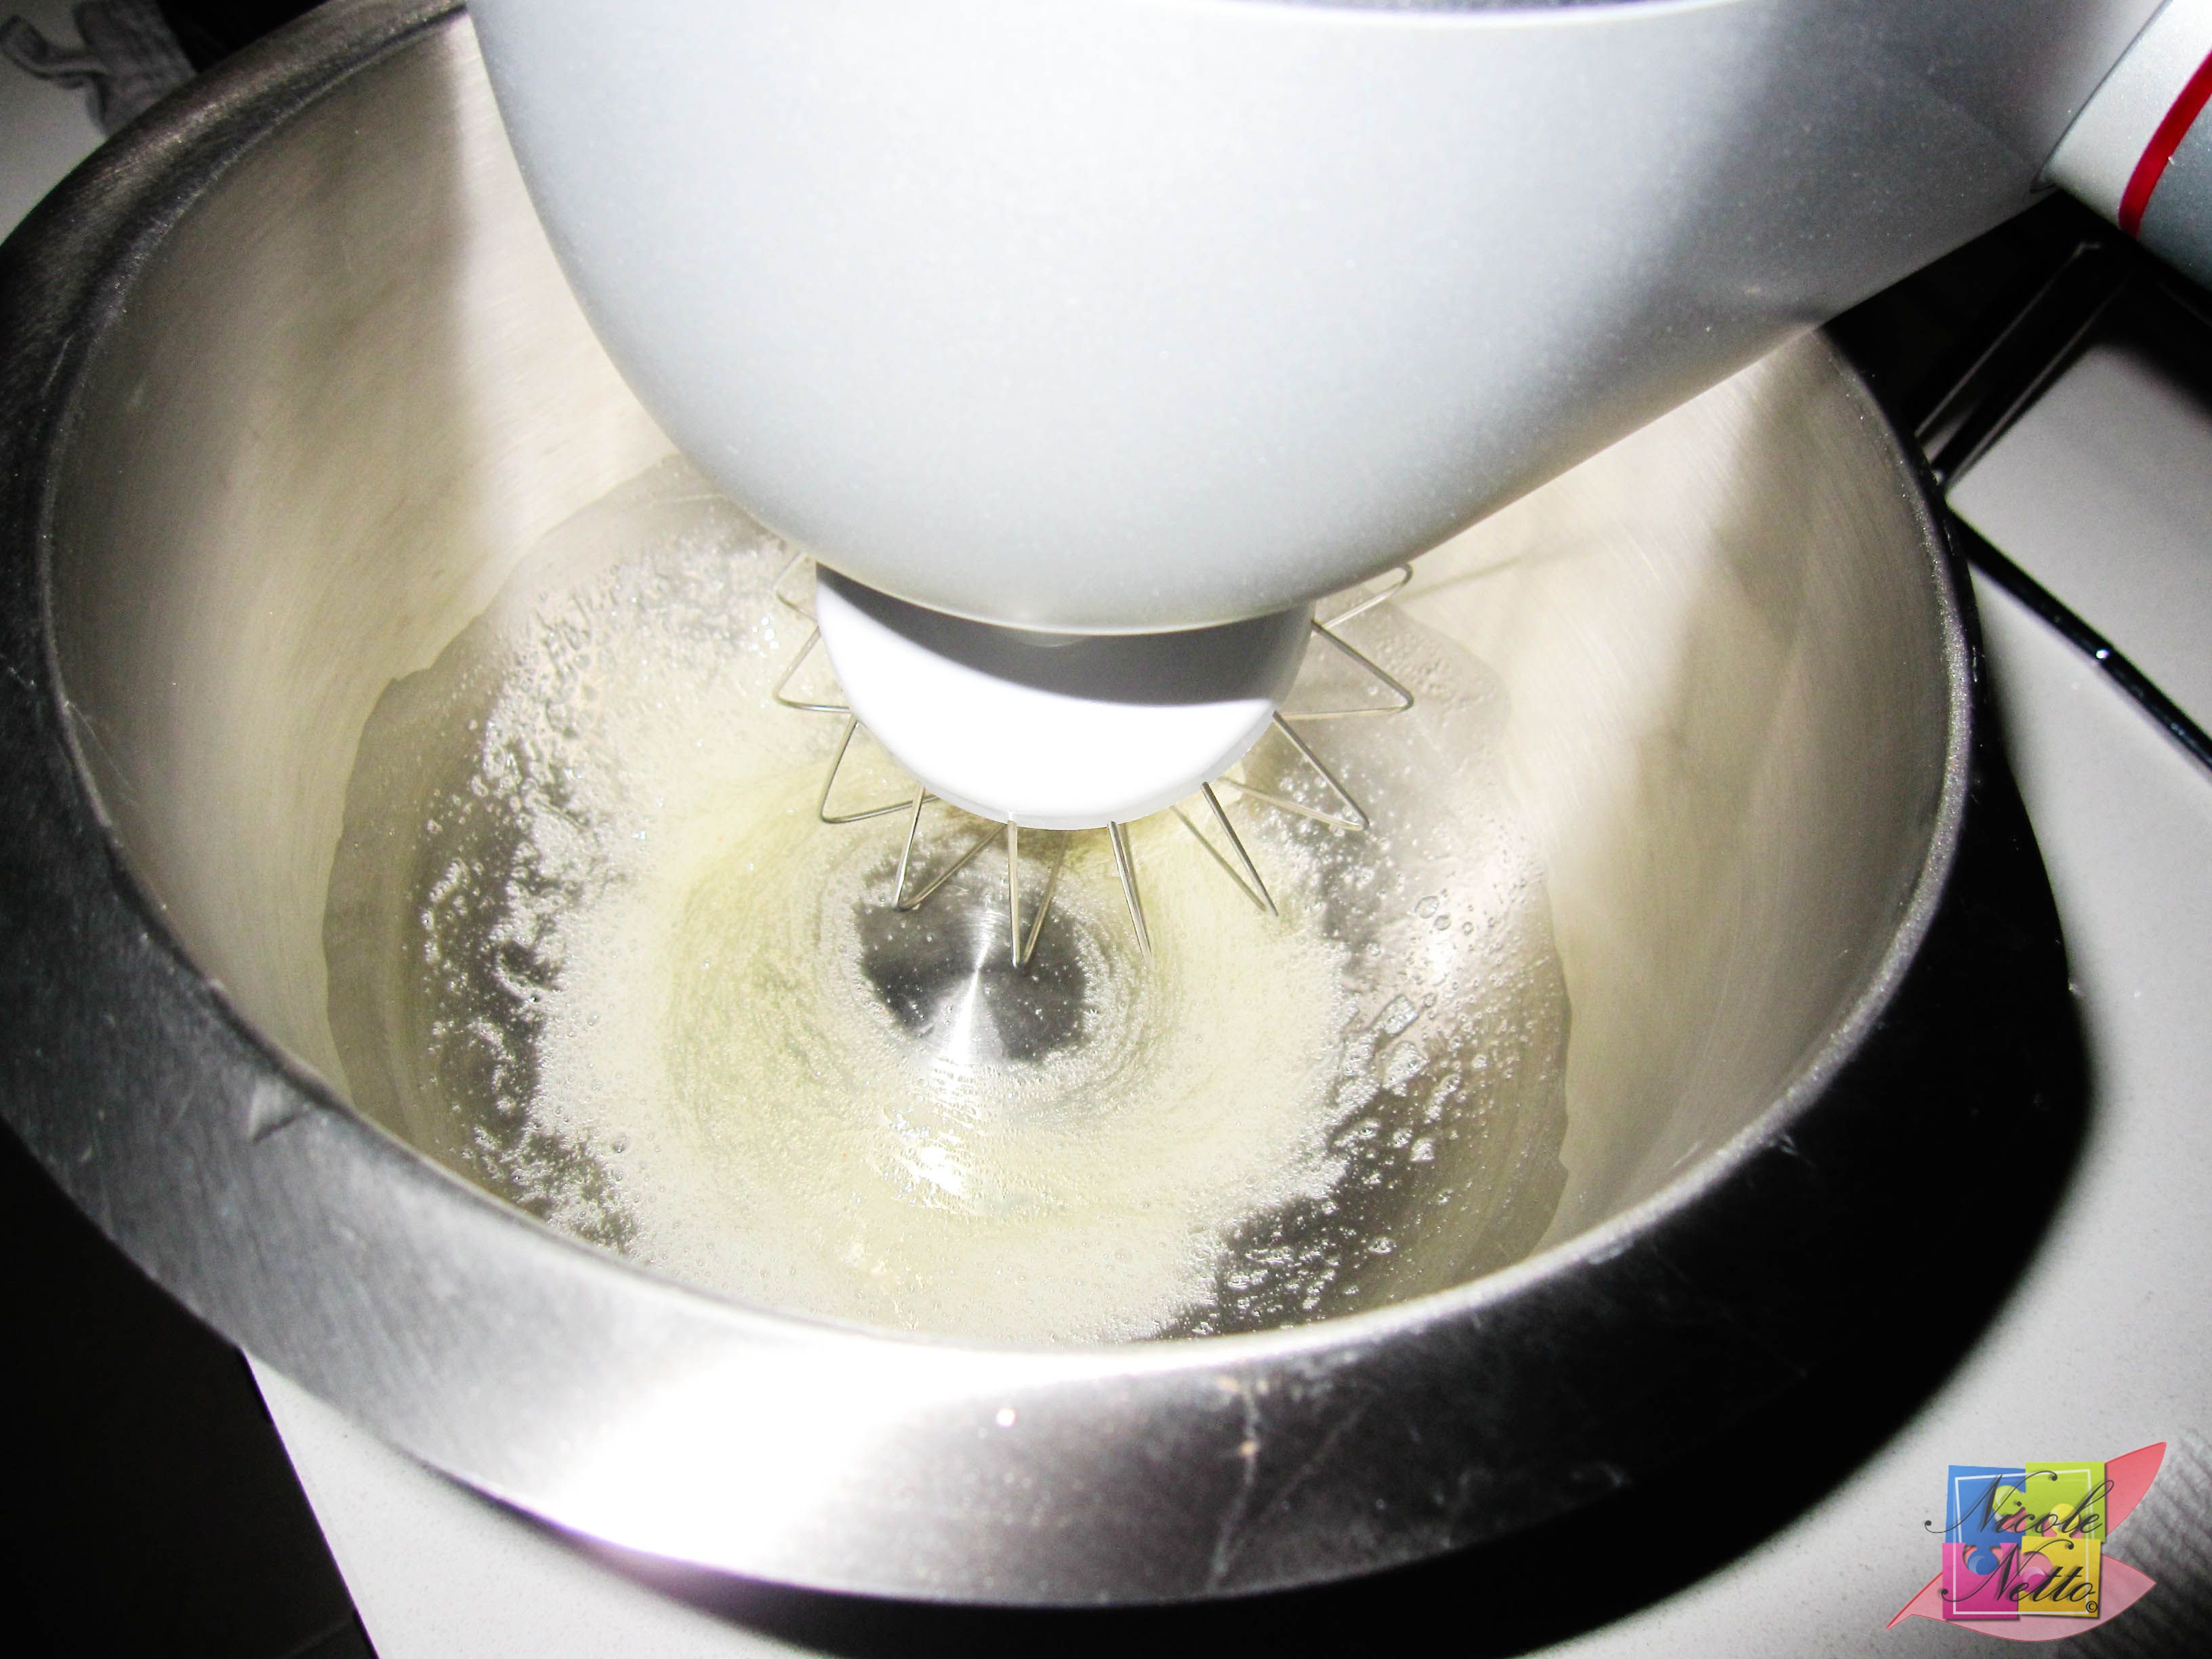
Whisking 55 gm of the egg whites
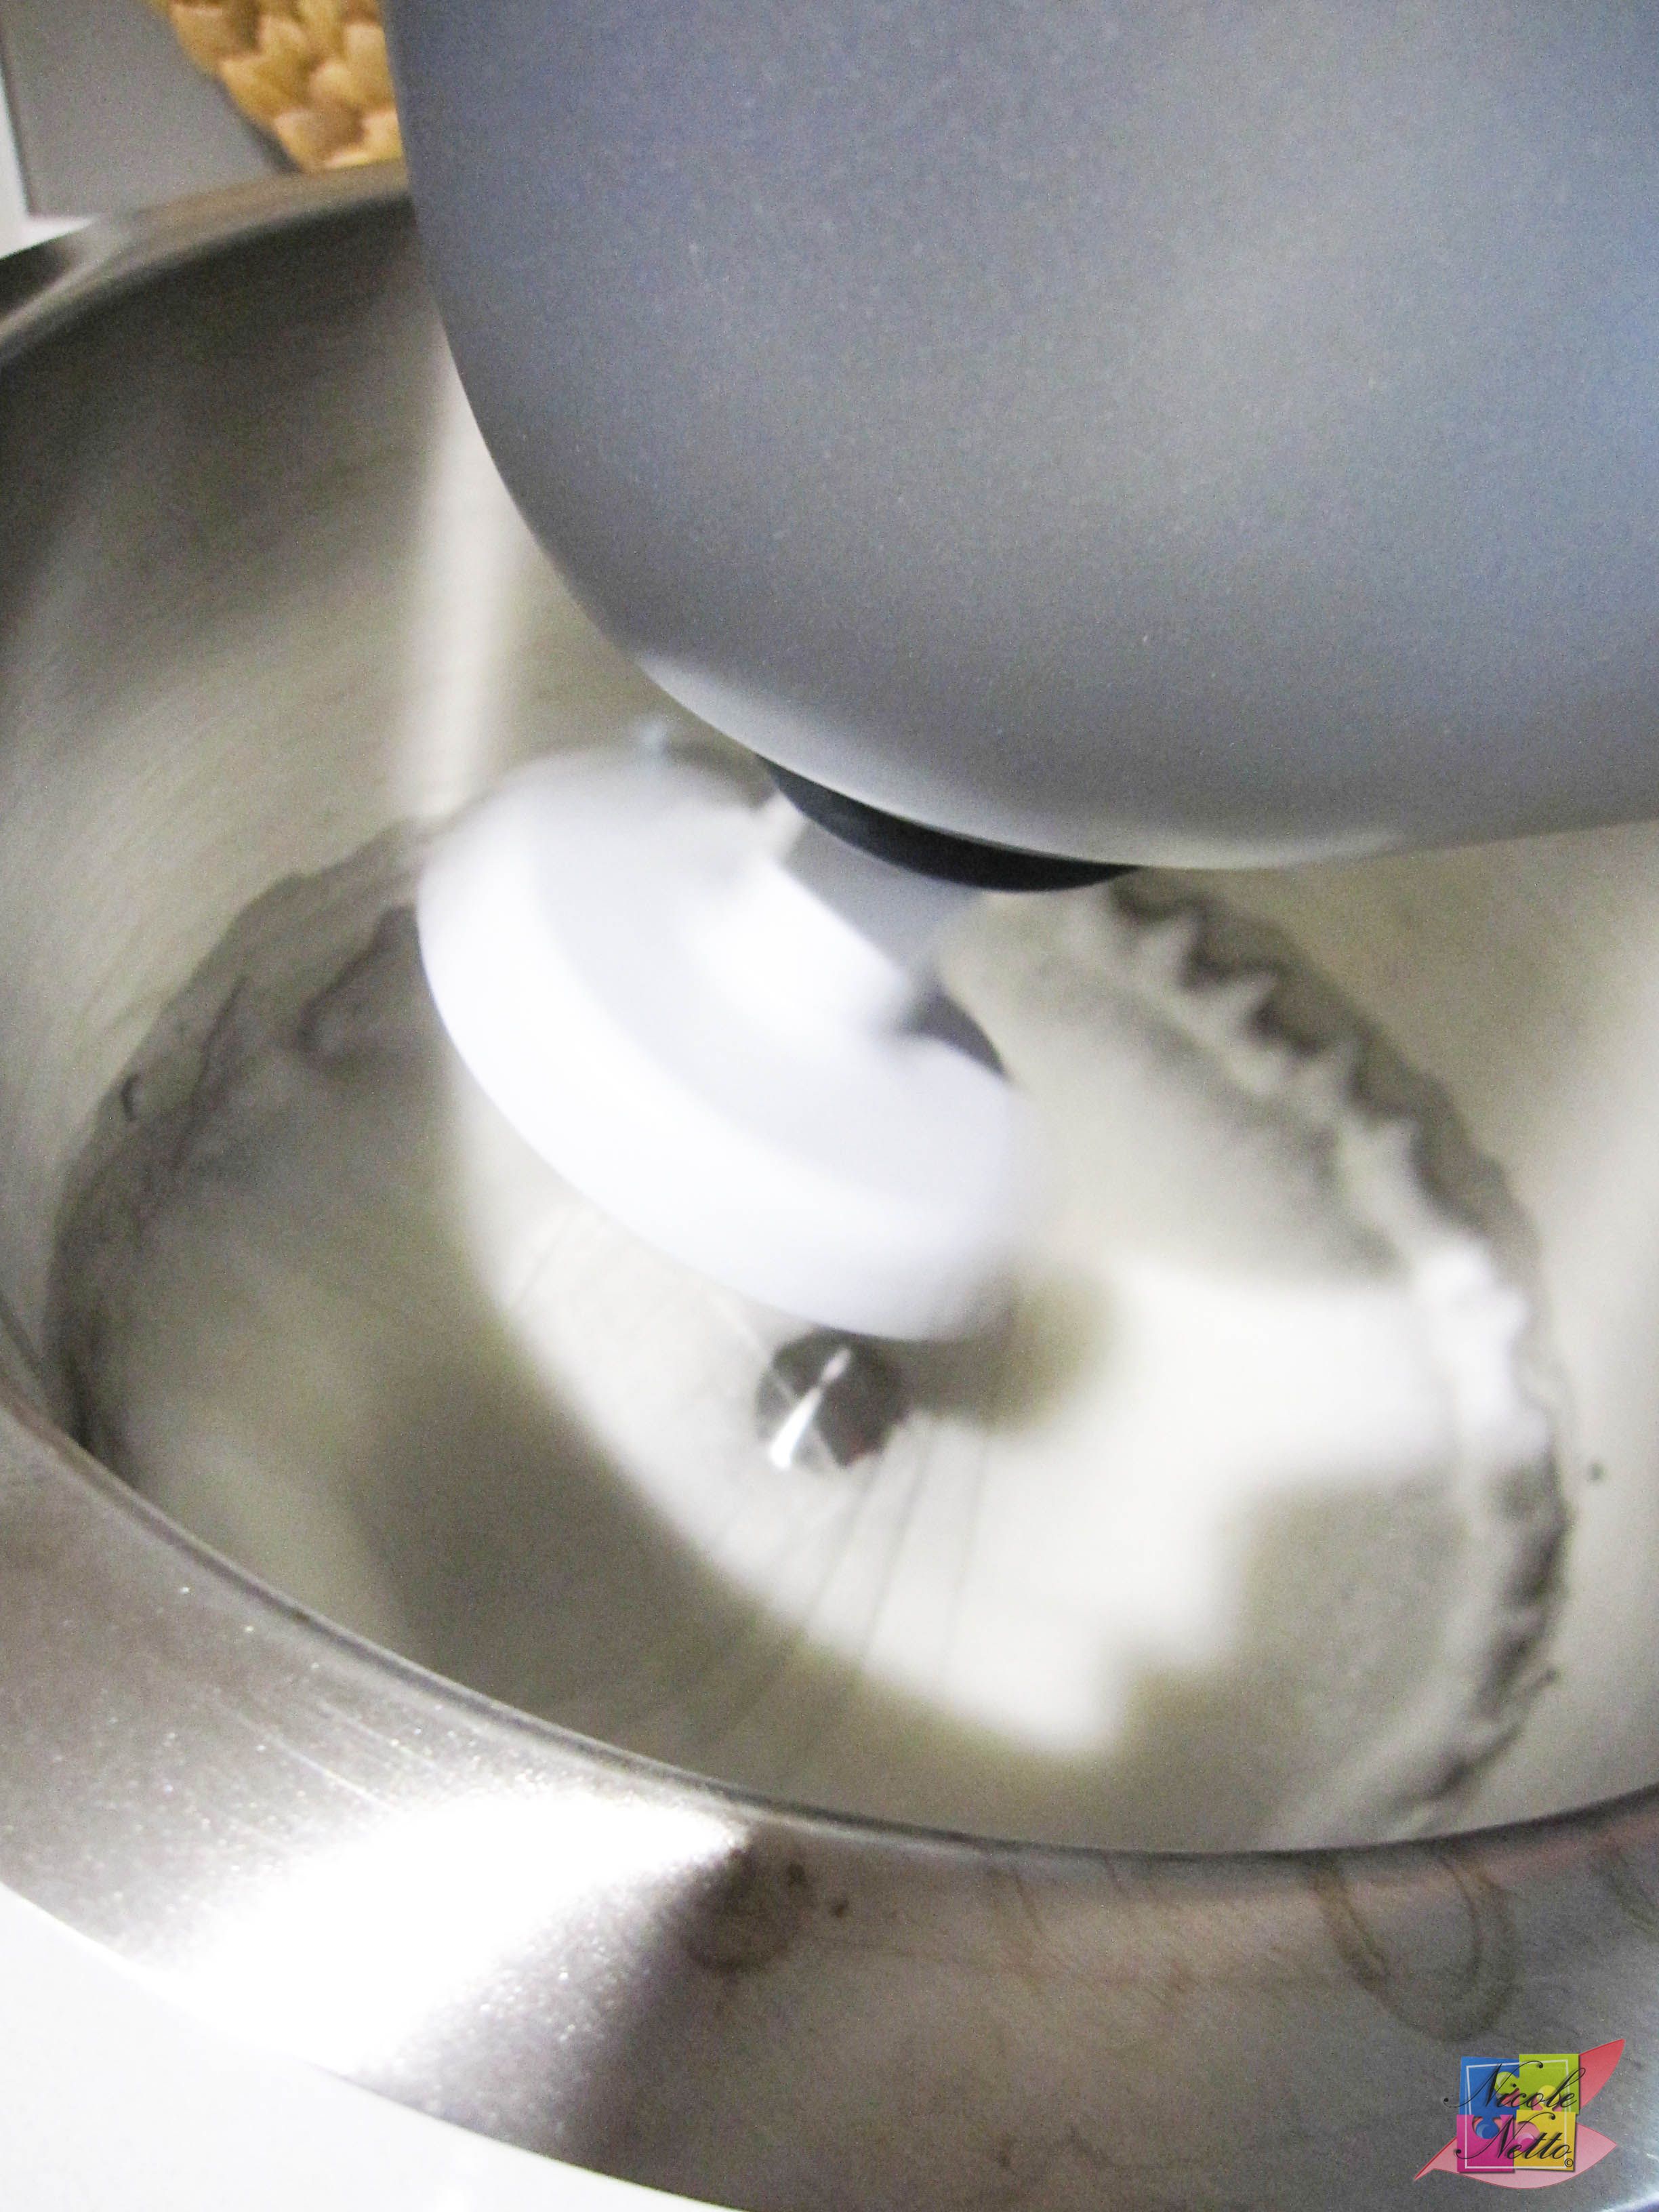
Whisking egg whites
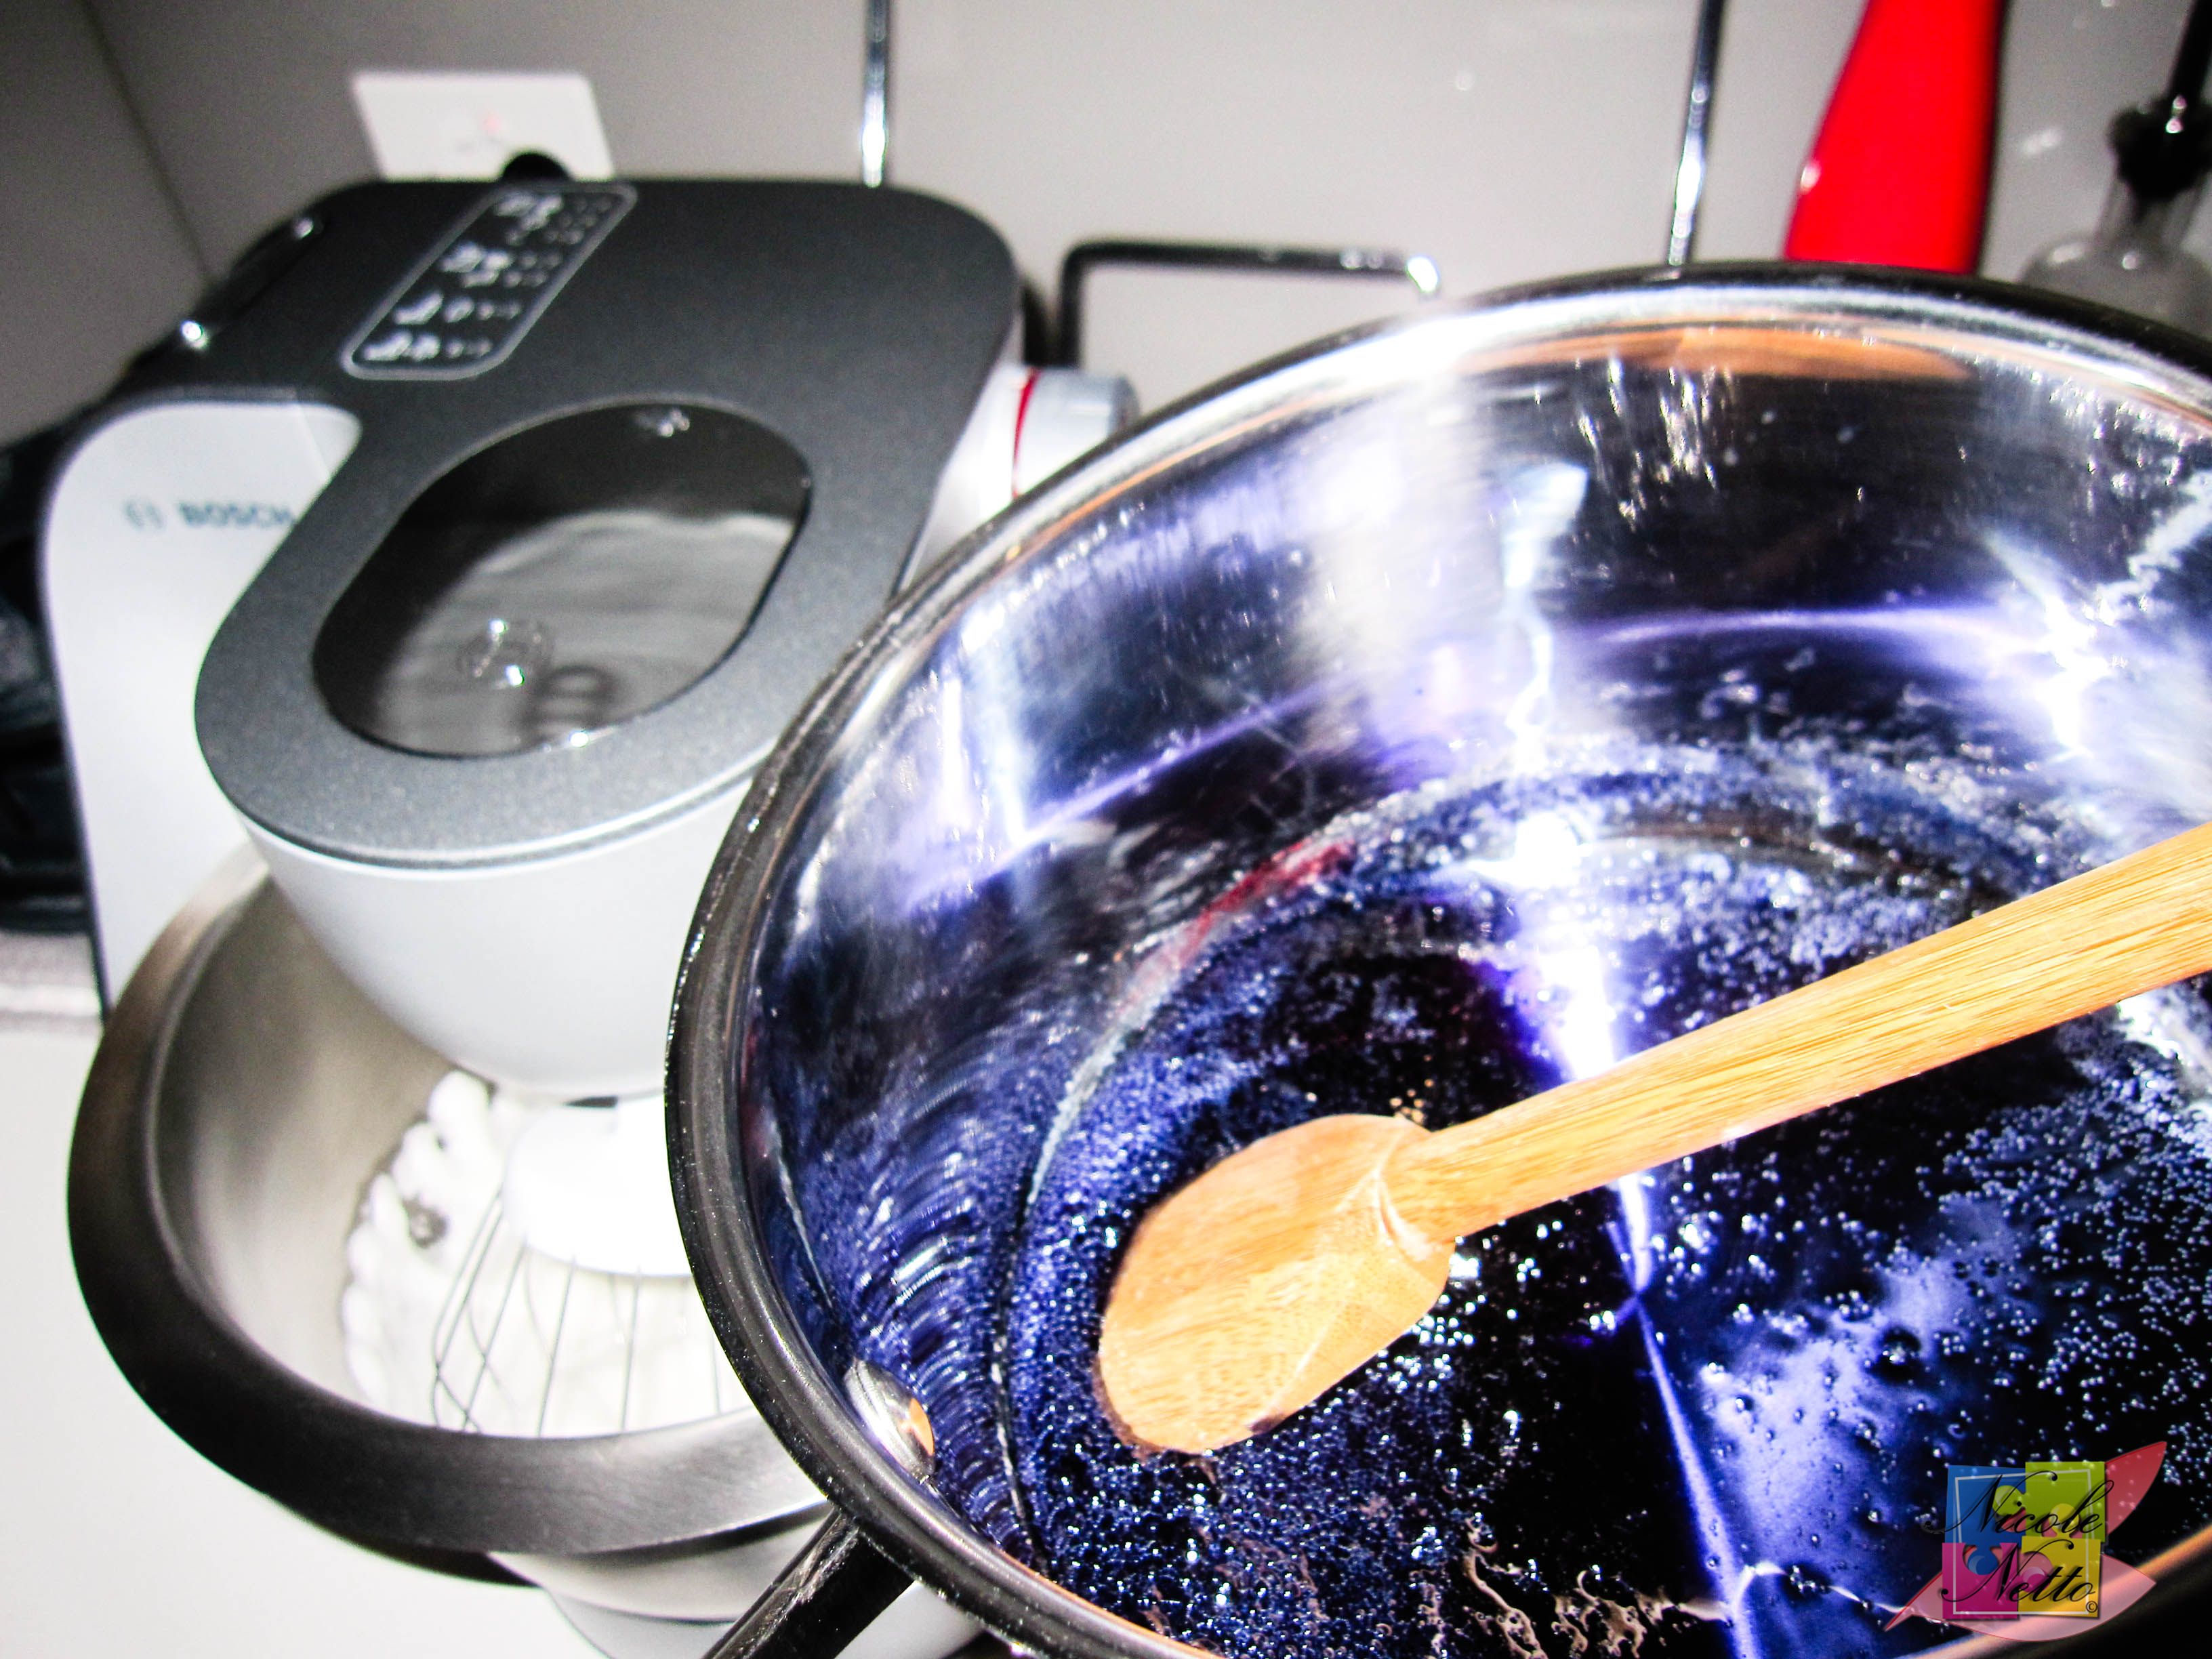
While the eggs are being whisked, put the caster sugar and water in a small saucepan over low heat and stir until the sugar has dissolved completely. Then increase the heat and bring to the boil while stirring constantly. Any desired food coloring should be added in at this stage. I added in 1 Tbsp of red food coloring and 1 Tbsp of blue food coloring to create a purple sugar syrup. Continue to cook the mixture until the mixture reached 118ºC. Turn off the heat and stir well, in preparation to be added to the whisking egg whites mixture.
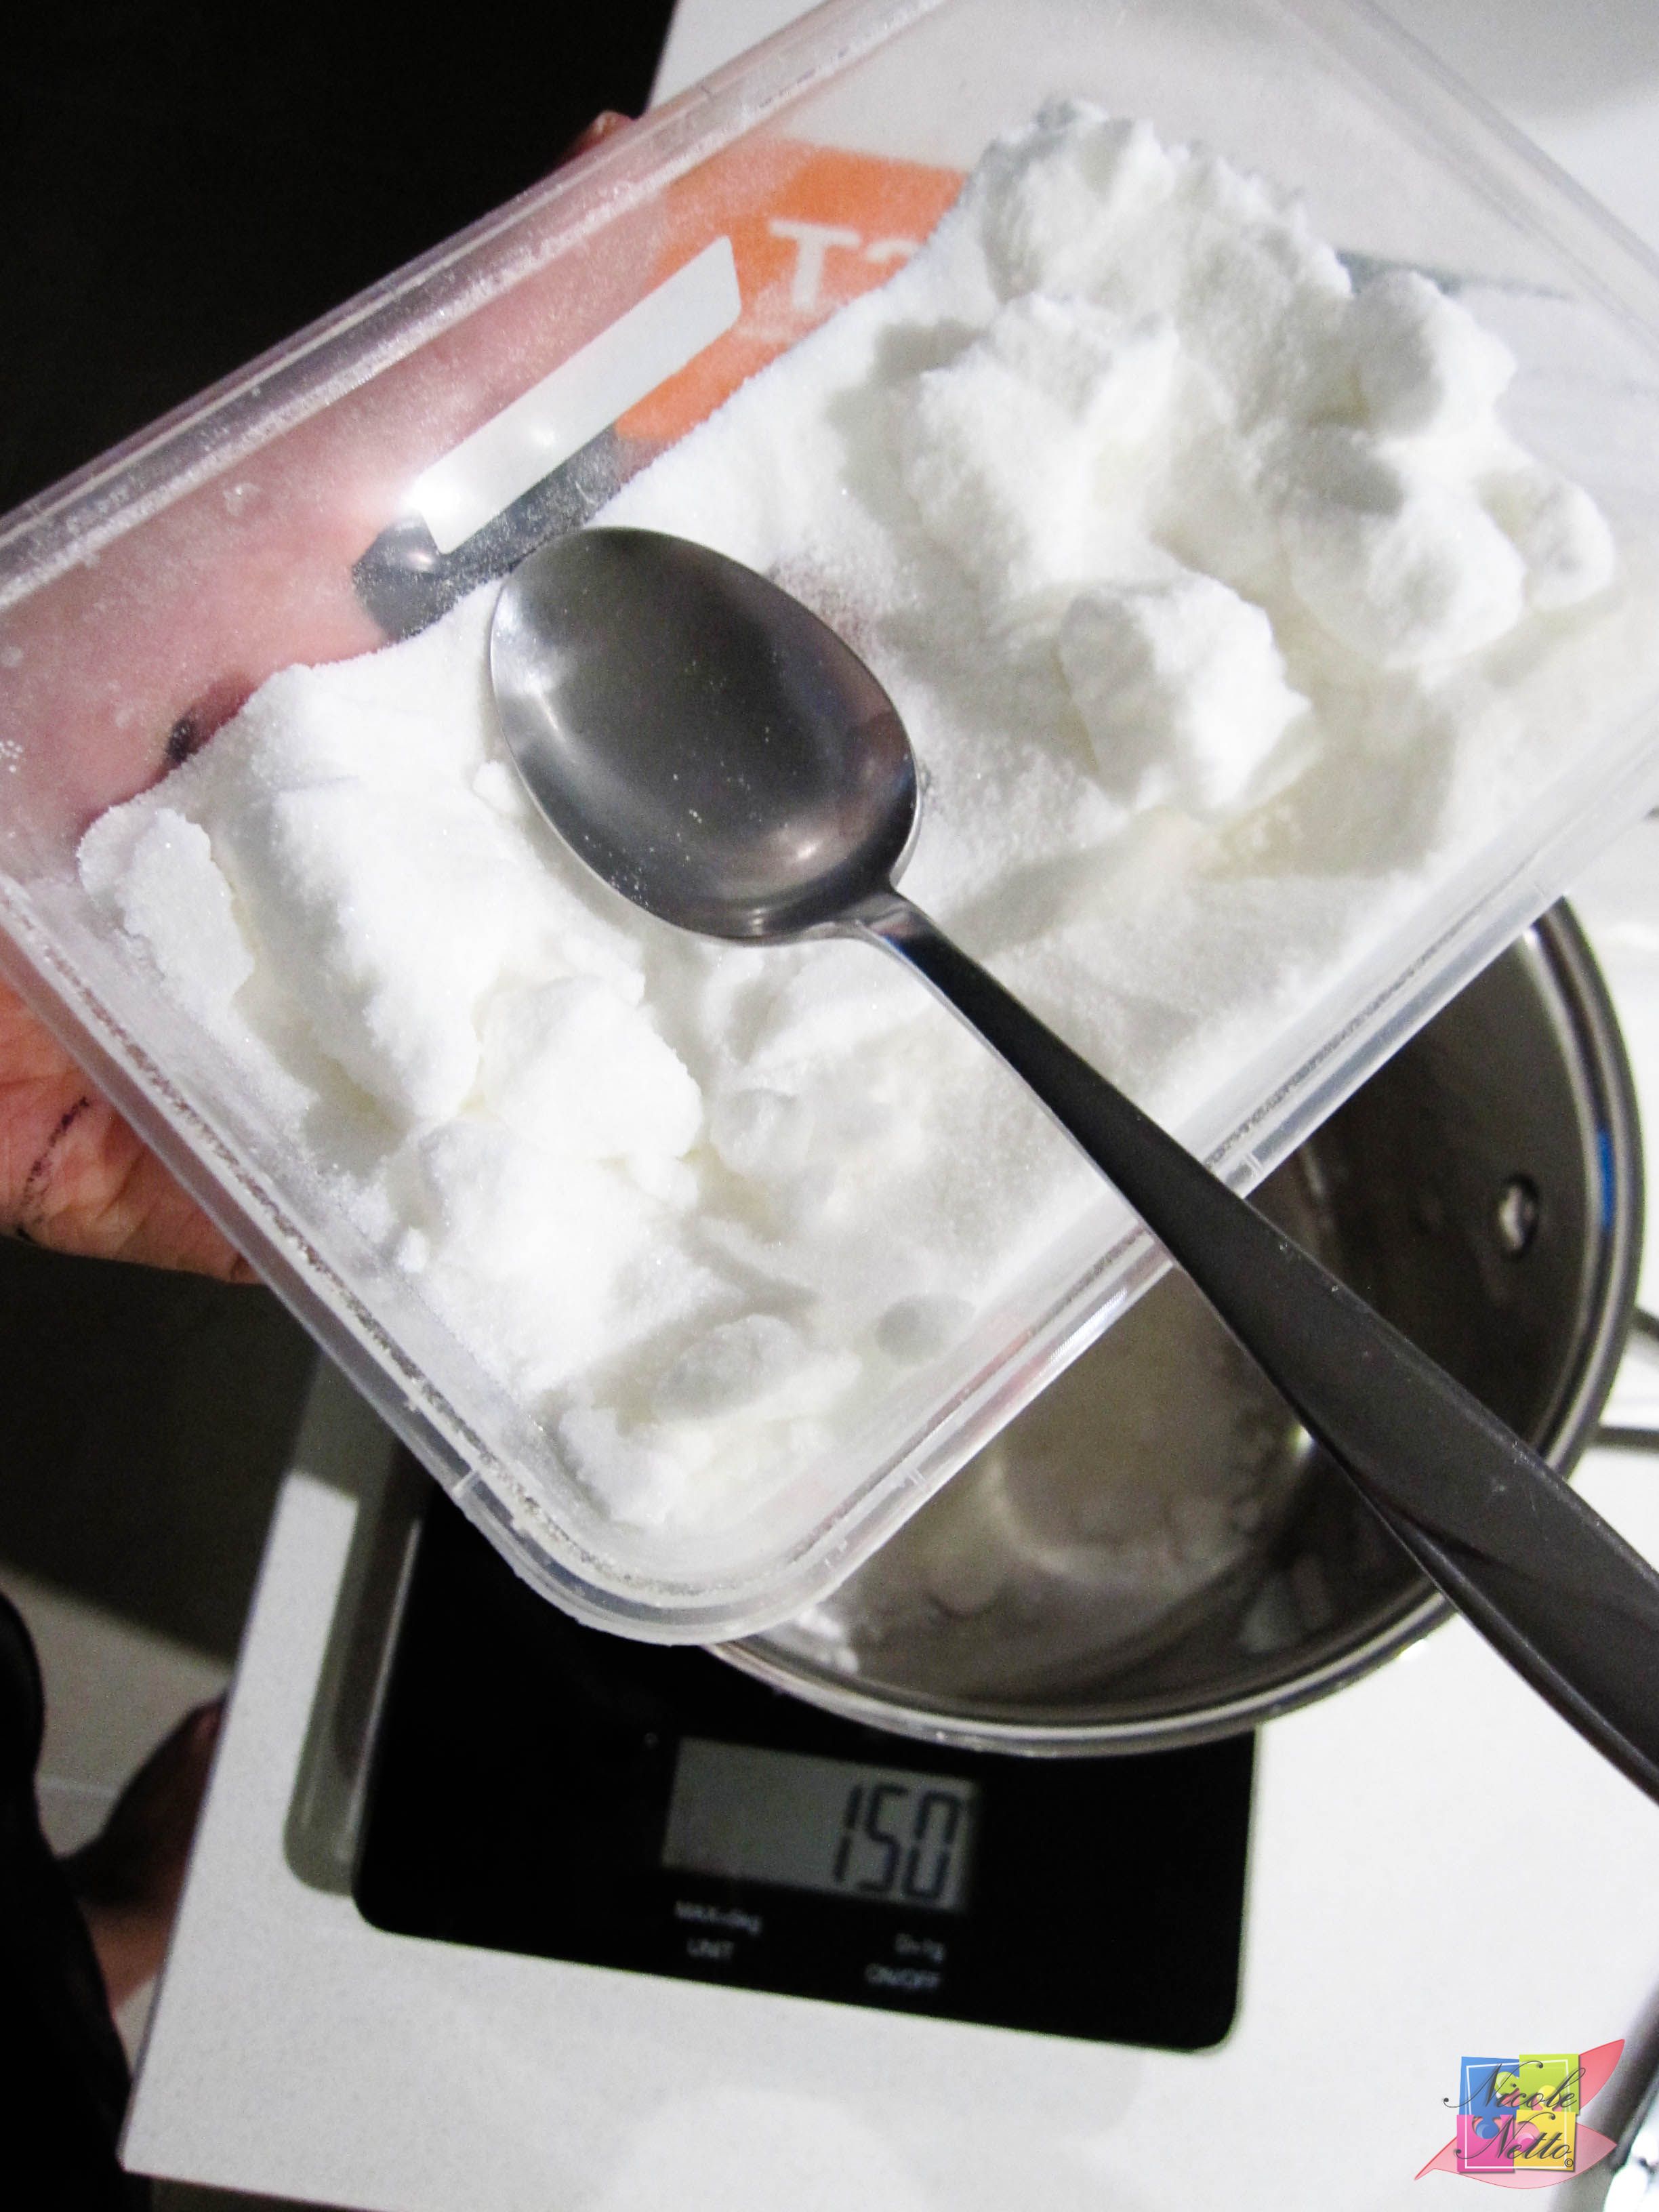
Measured out caster sugar for sugar syrup
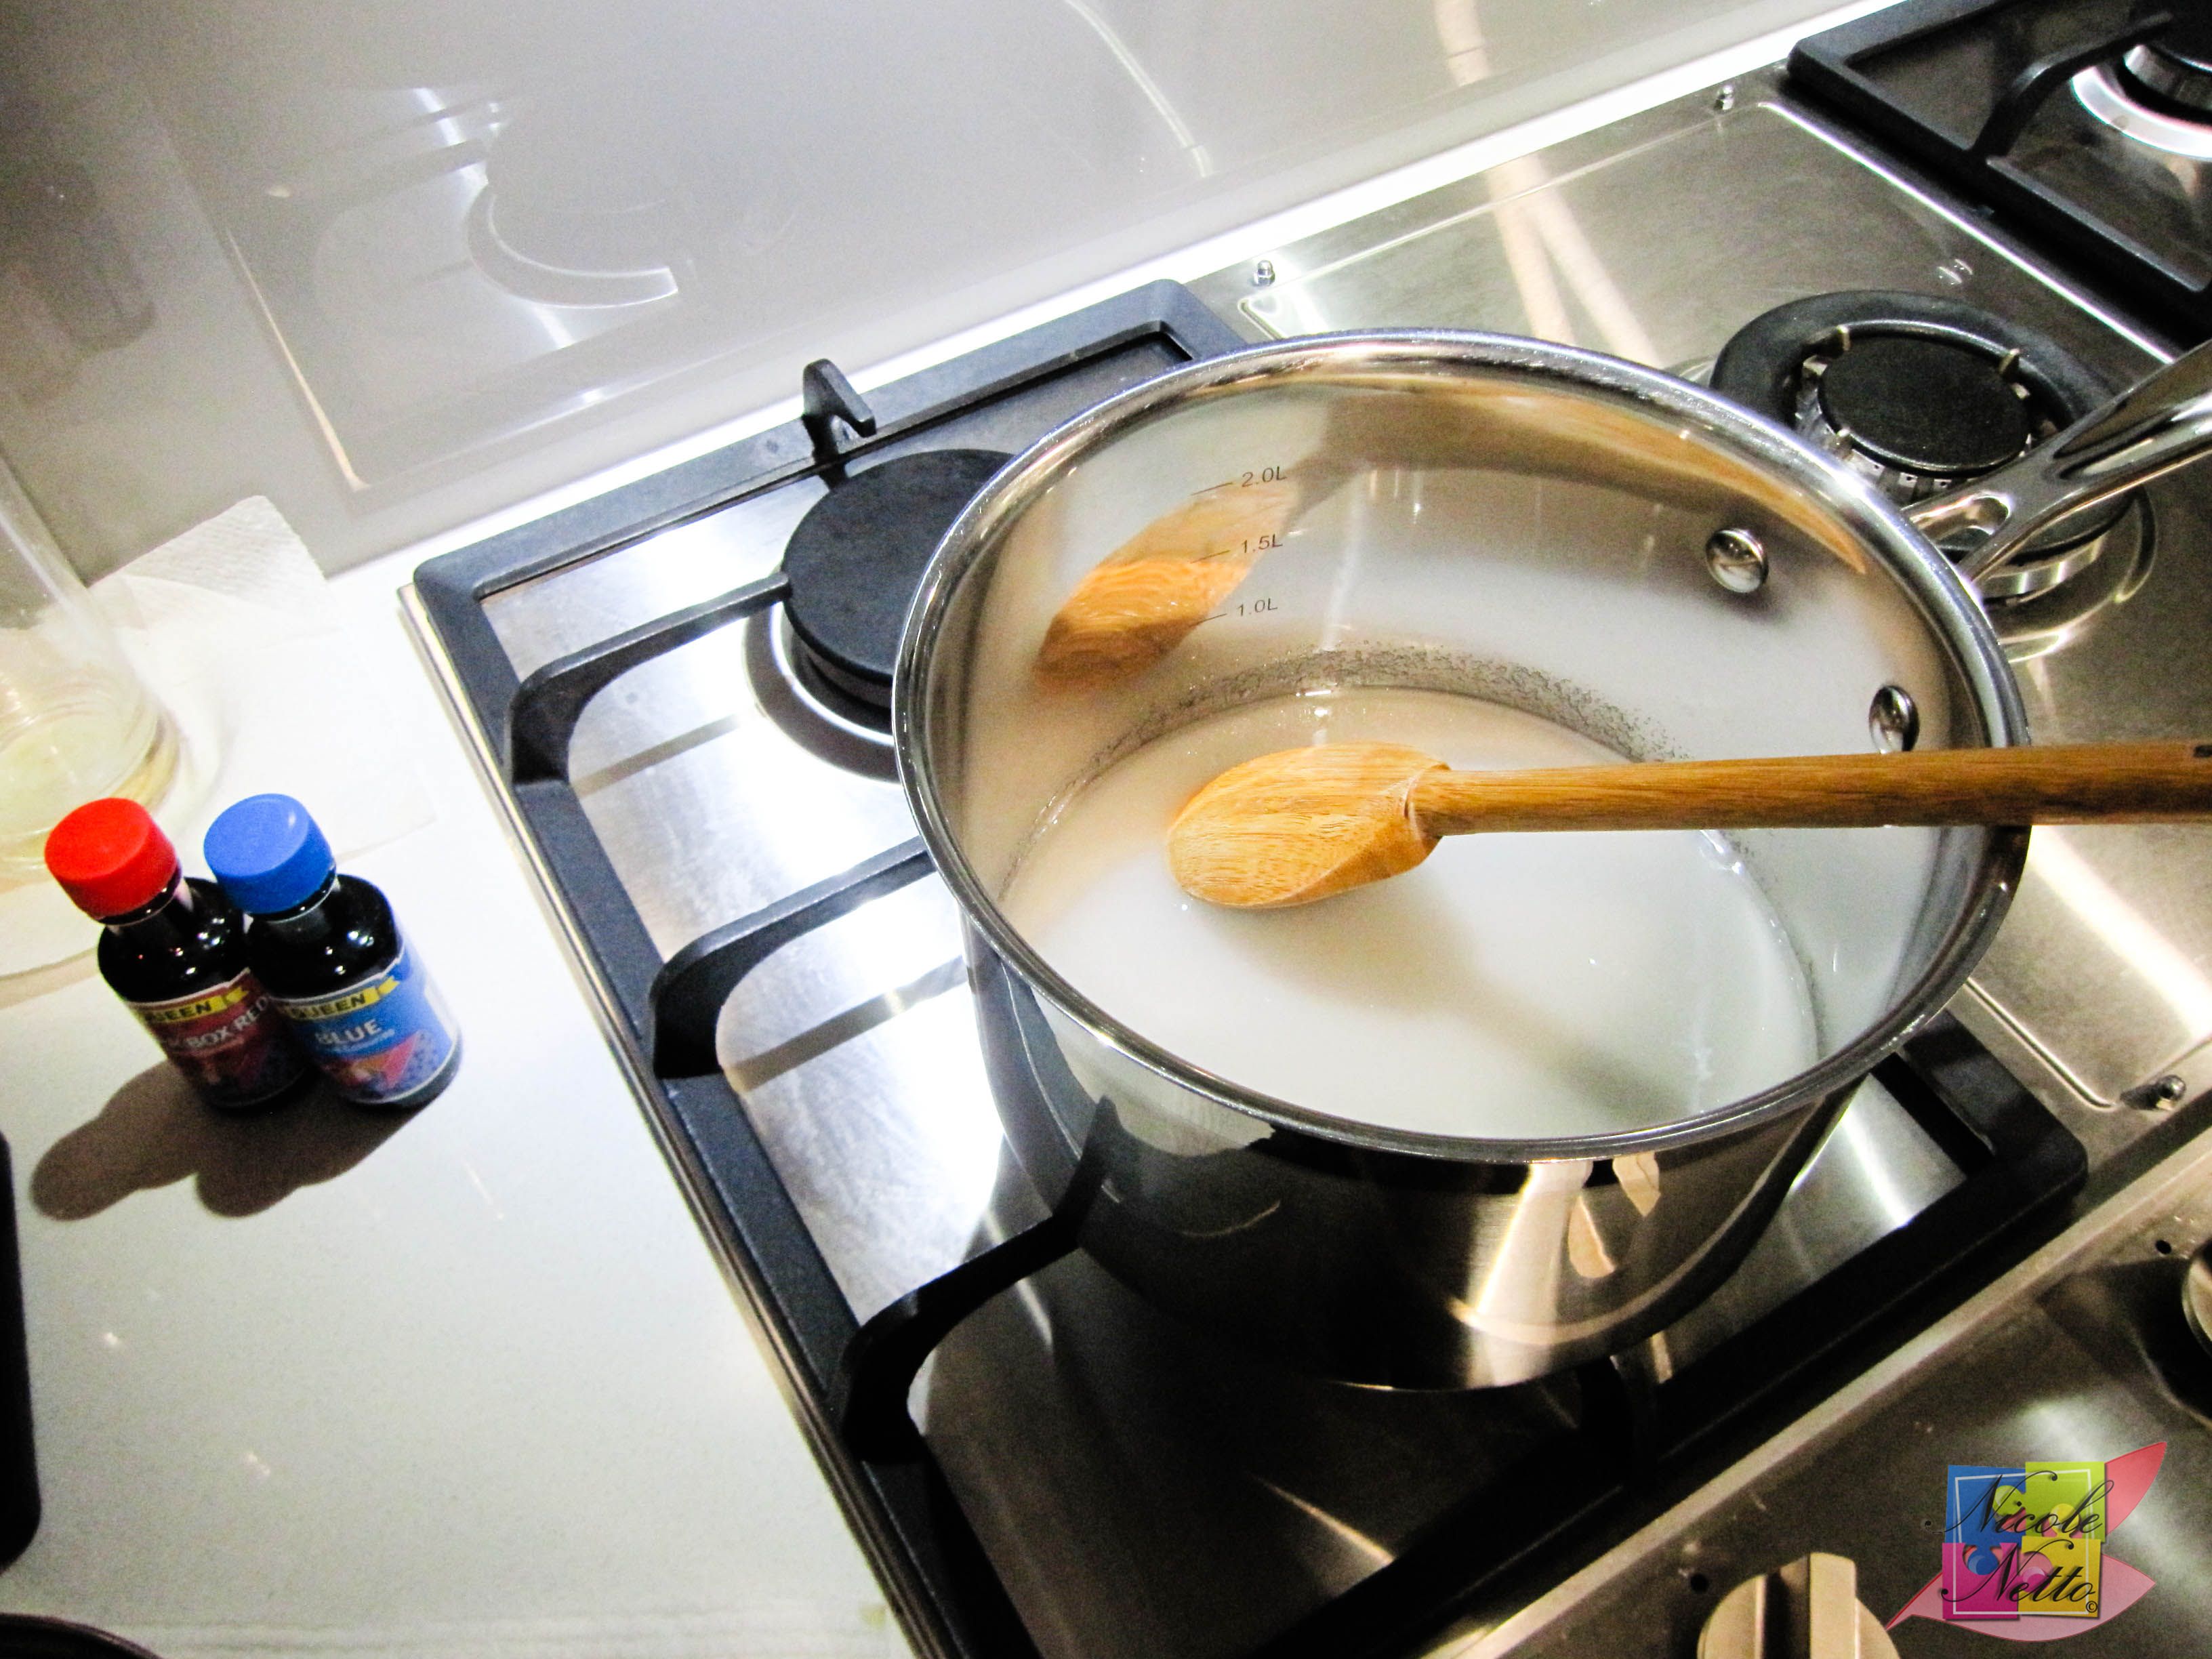
Dissolved sugar syrup and red and blue food colouring
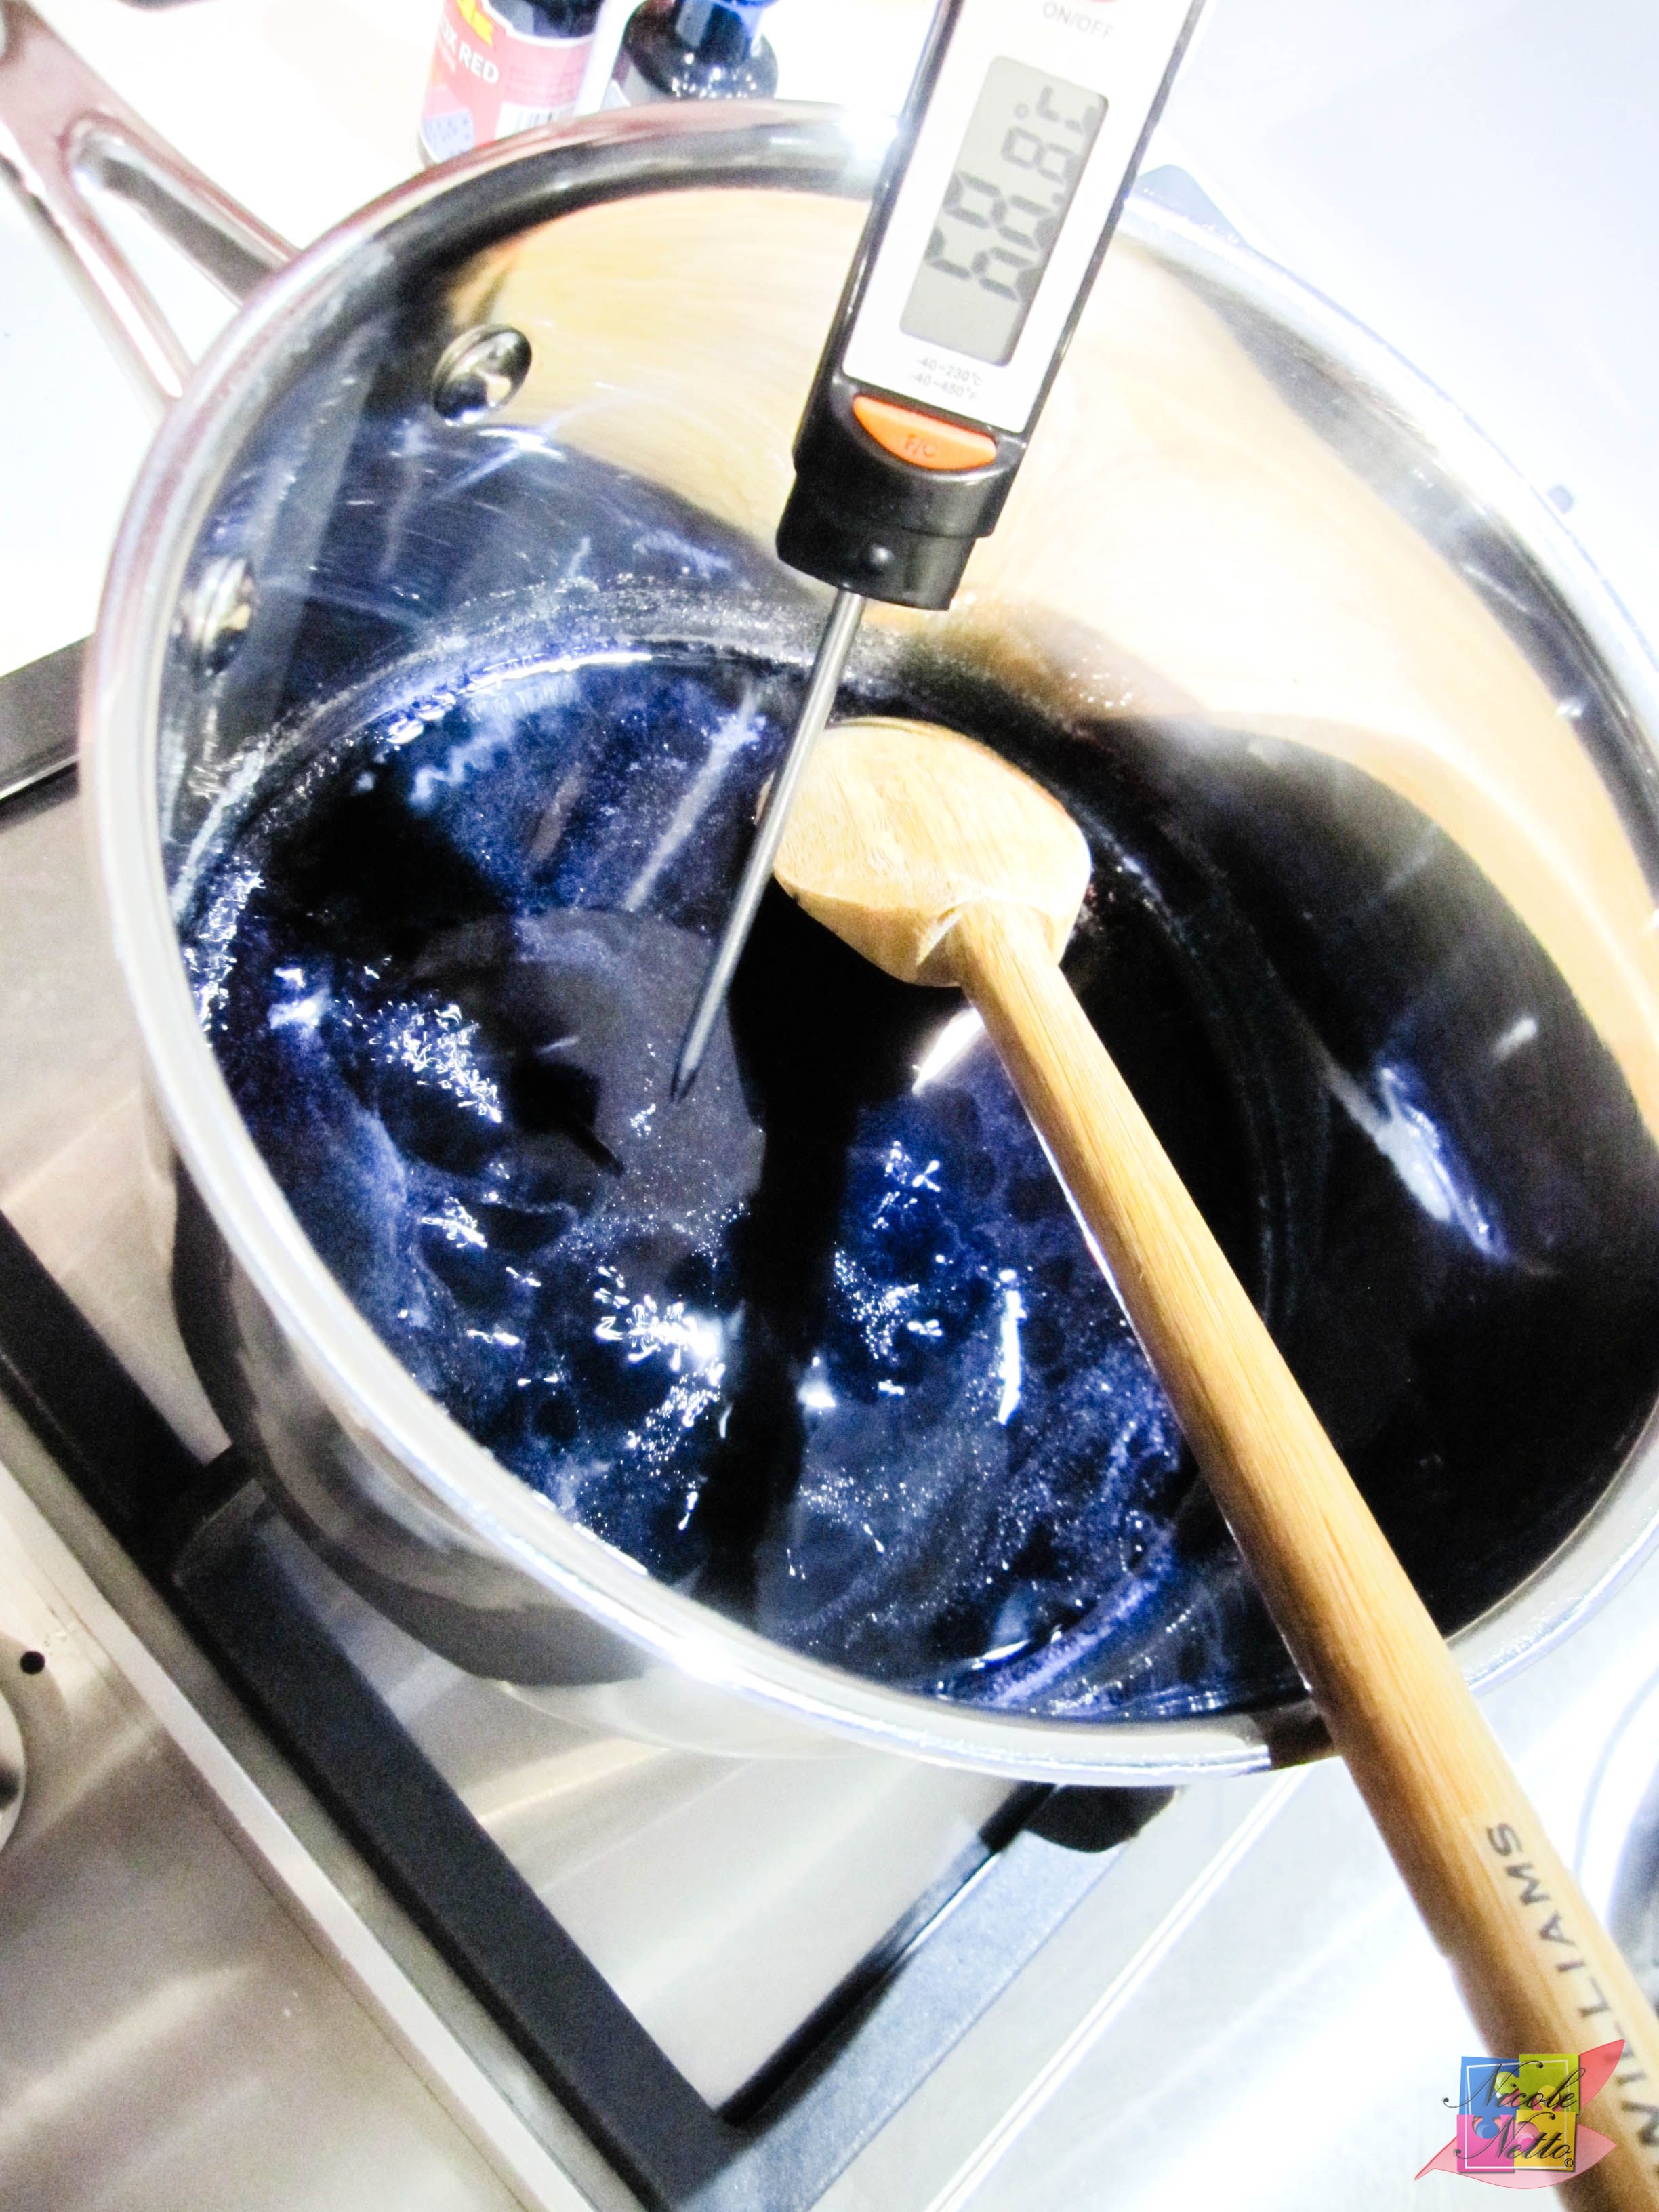
Boiling sugar syrup to 118 deg C
At this stage the egg whites should be frothy and lightly start to peak. Increase the speed of your electric mixer speed to high and add in the sugar syrup slowly, a little at a time, down the side of the electric mixer, until you have added in all of the sugar syrup. You should start seeing a beautiful lavender color come through and the meringue starting to form. Mix for about 5 mins until the mixture reaches about 55ºC and forms a nice and glossy meringue mixture forms stiff peaks.
Adding sugar syrup to frothed soft peaked egg whites

Meringue being formed
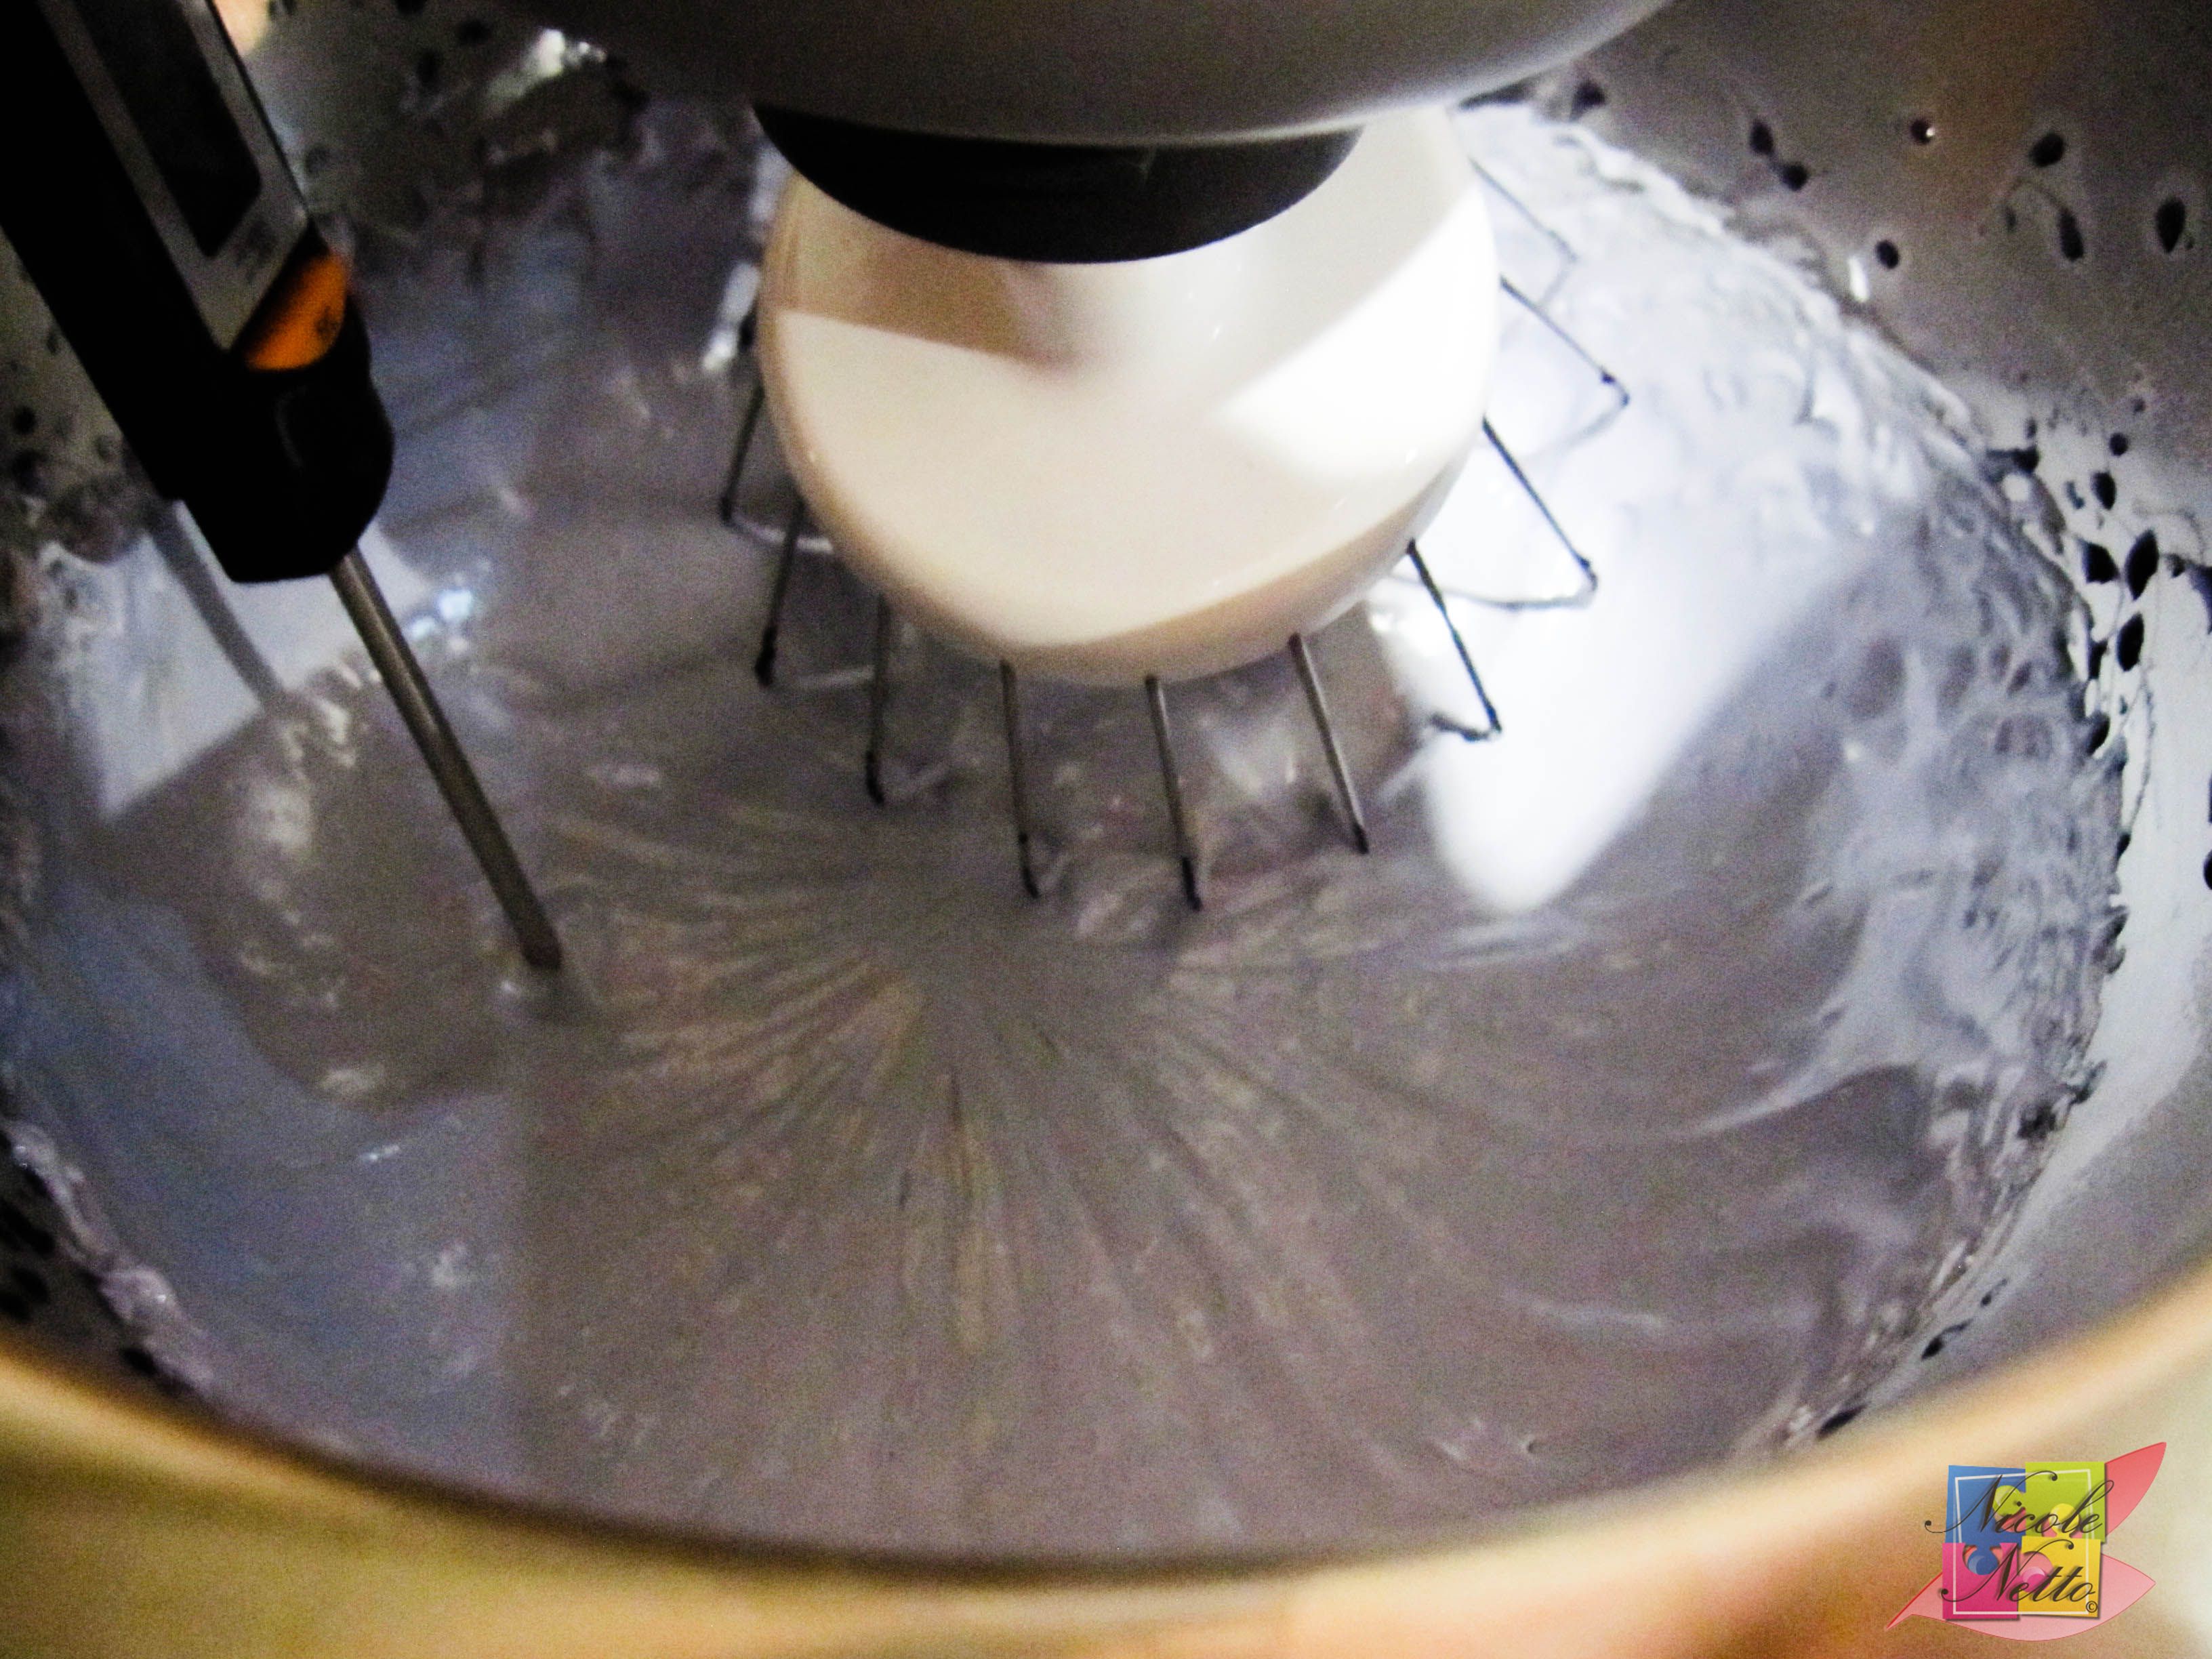
Bring meringue to about 55 deg C
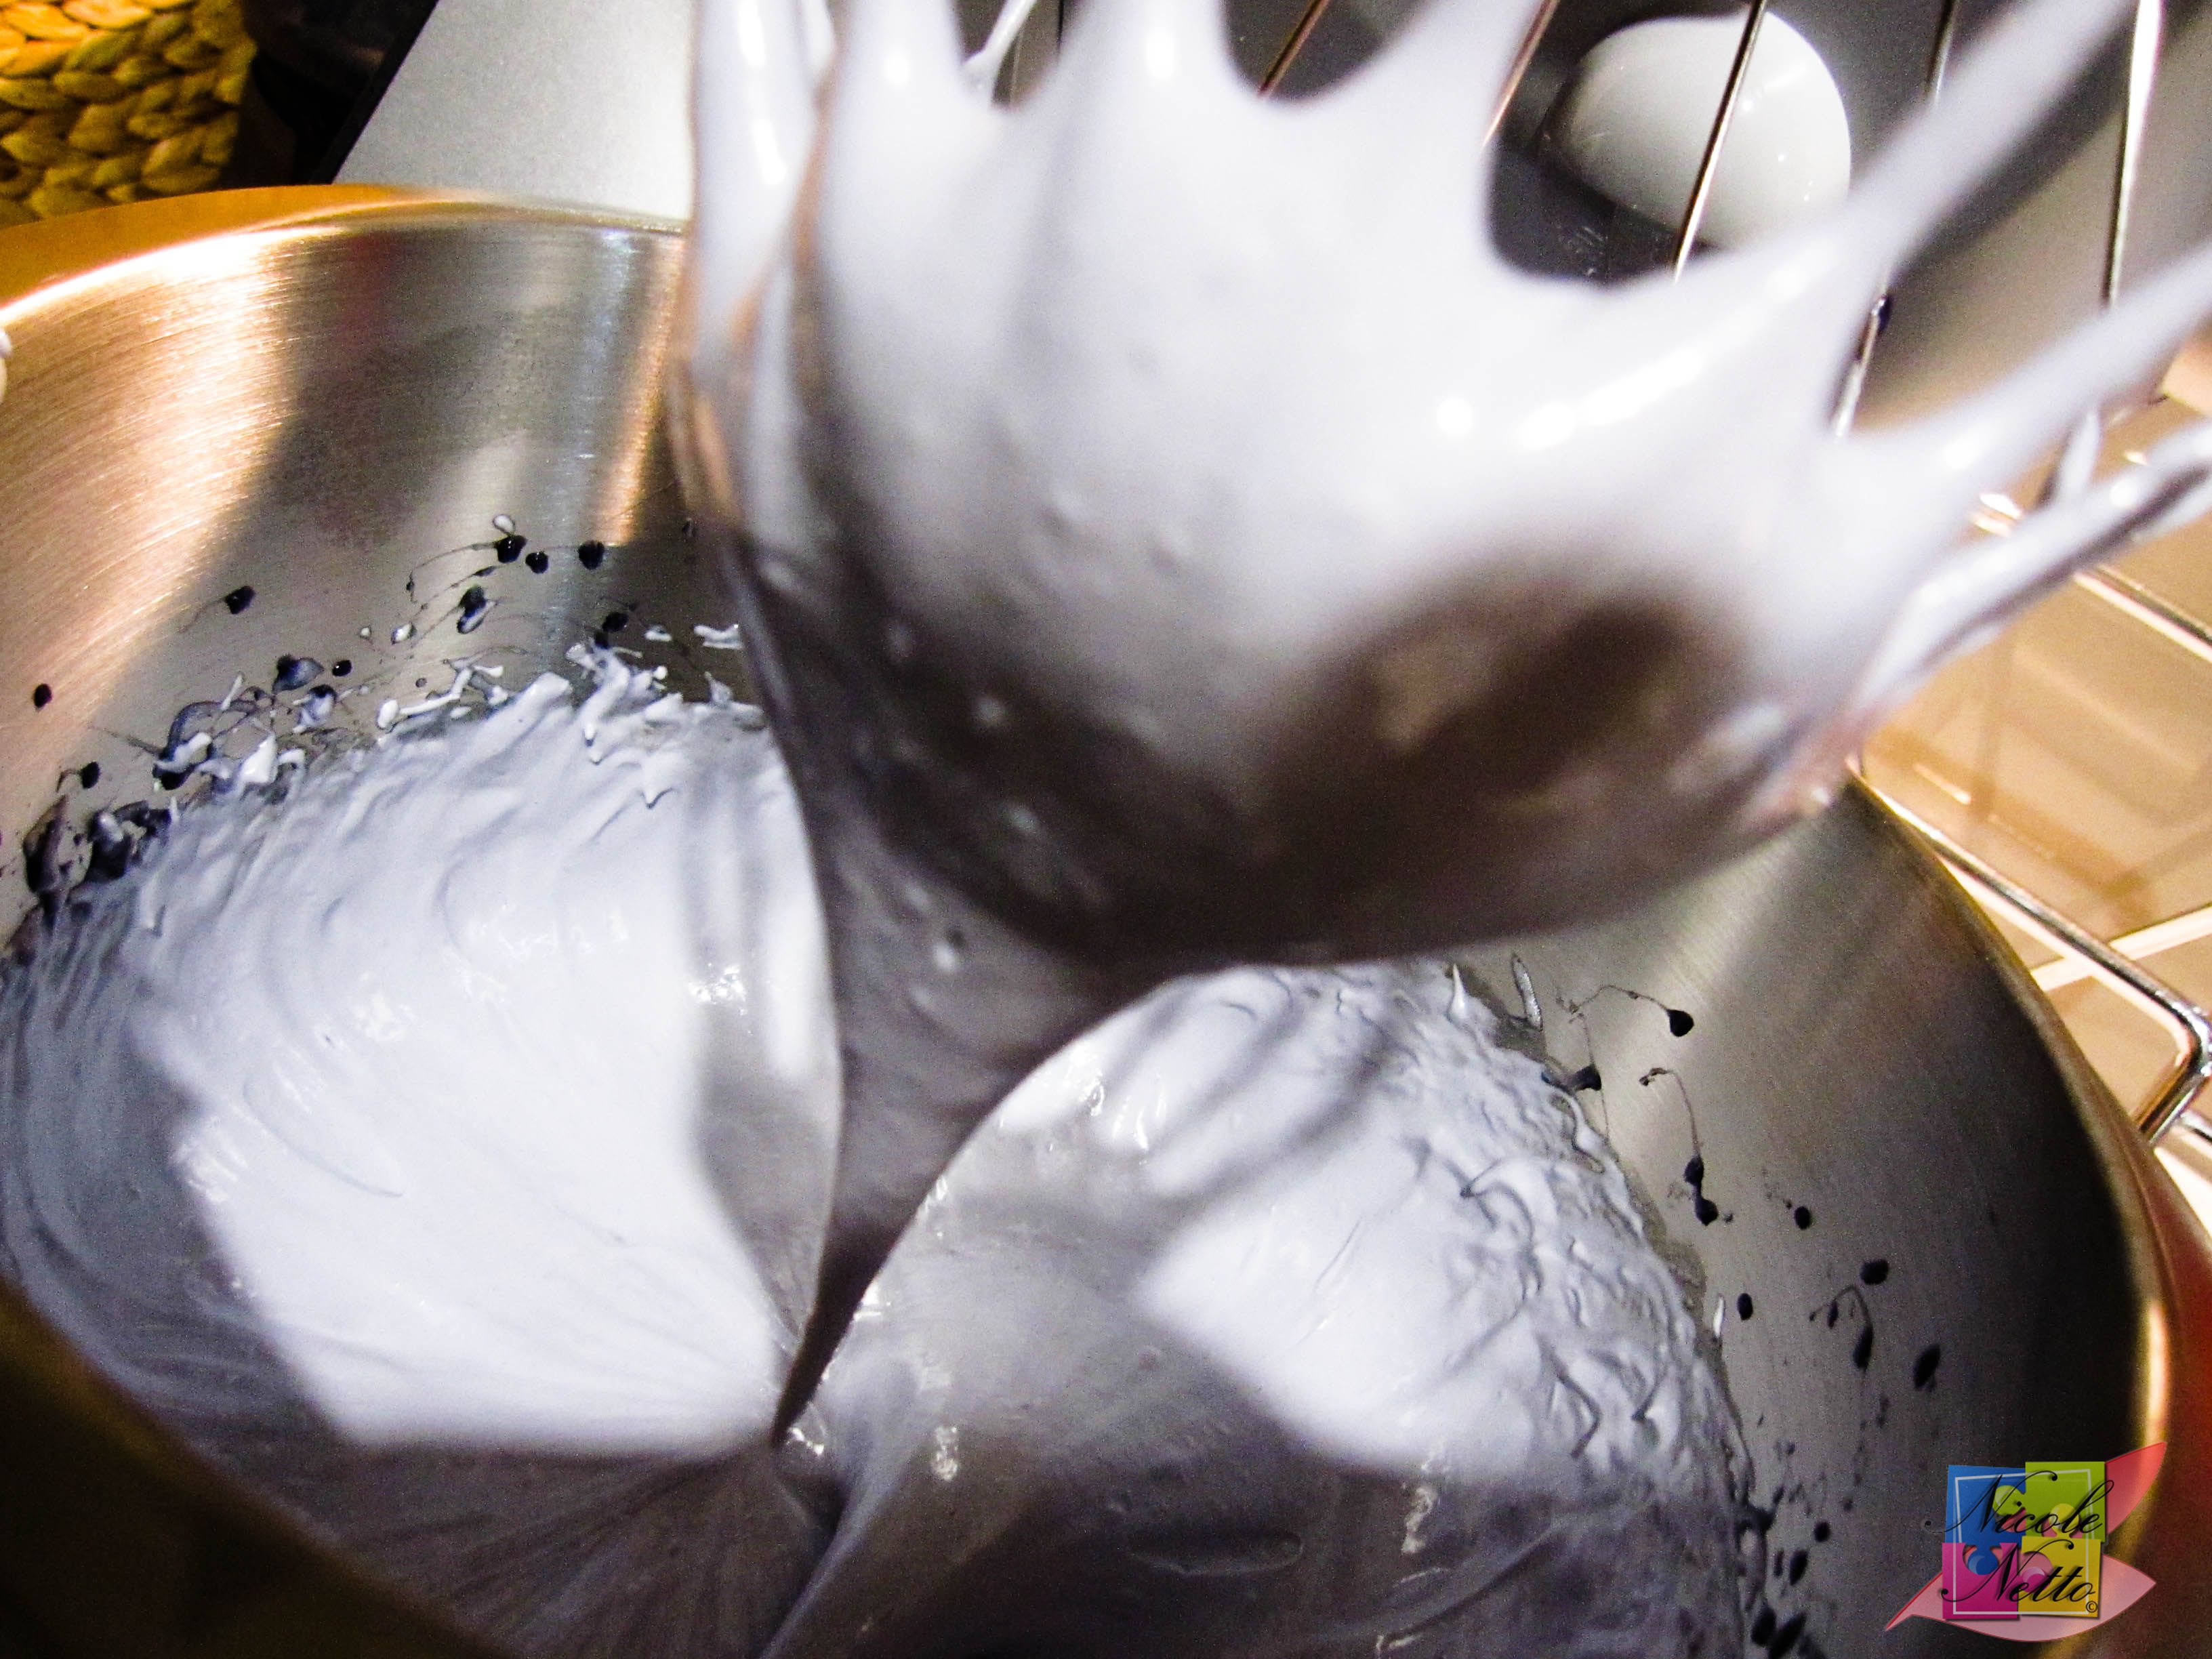
Glossy stiff peaked meringue
Add the remaining 55gm egg whites to the center of the TPT mixture.
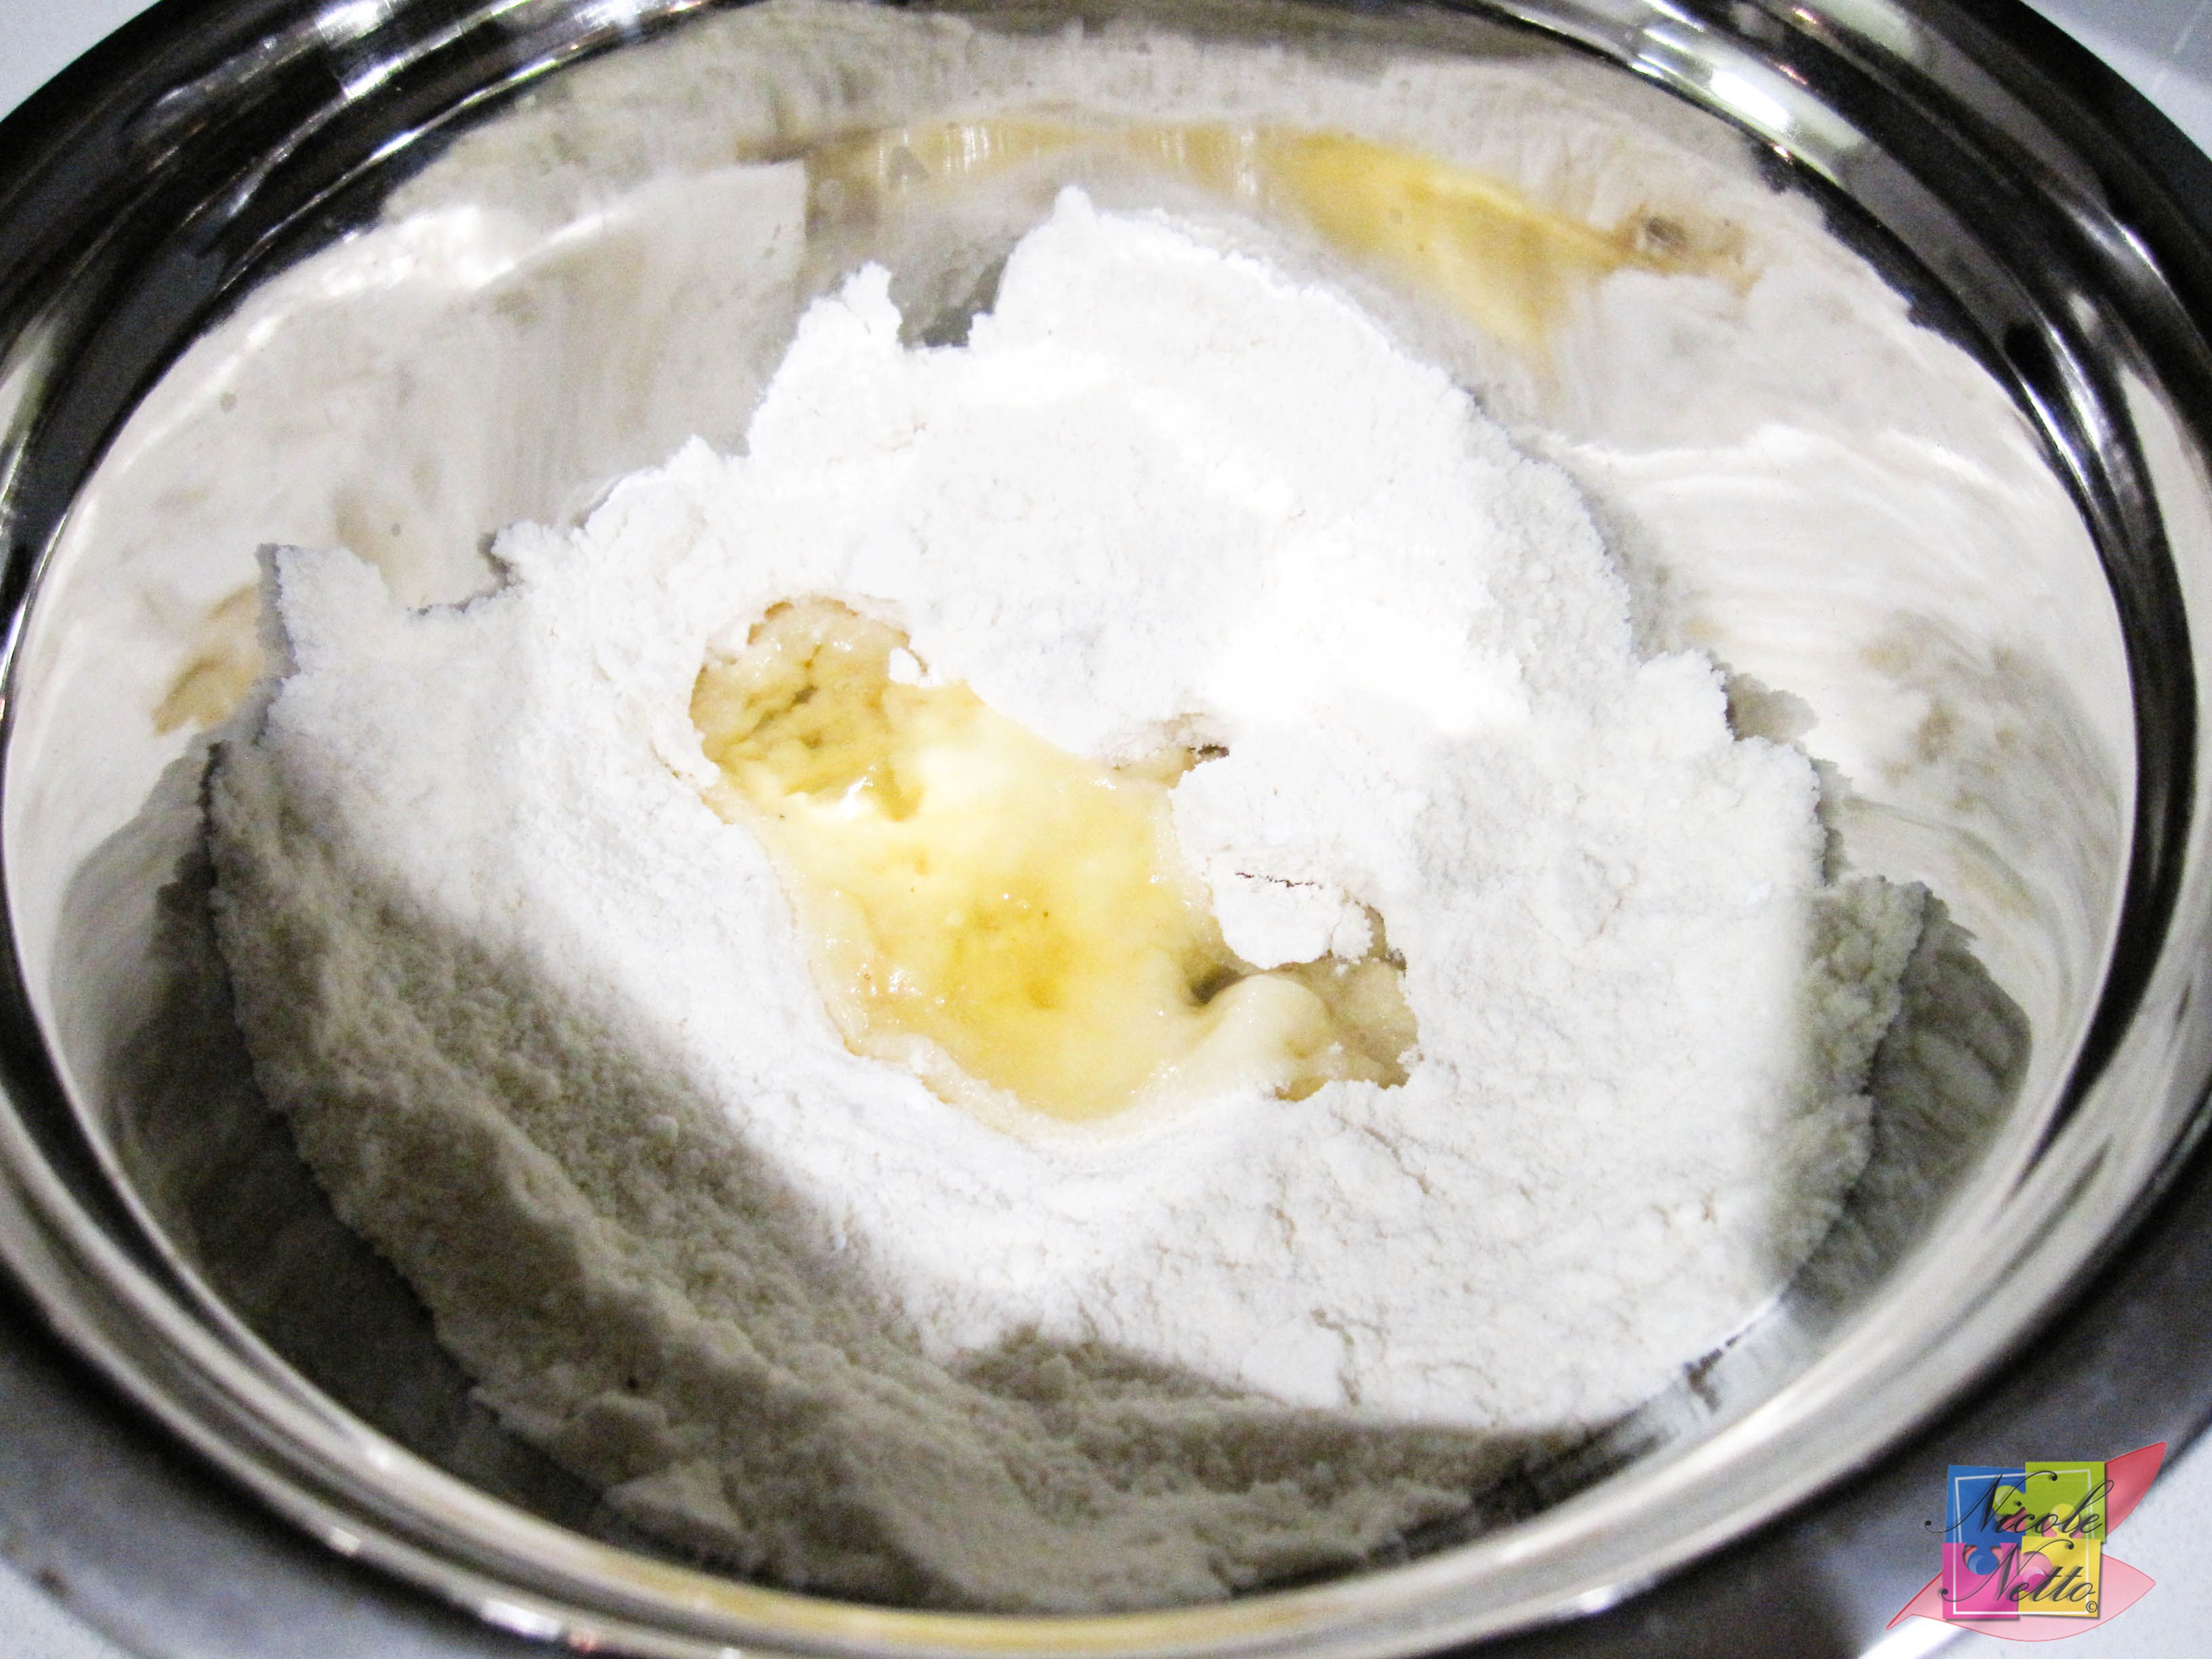
Remaining 55 gm of egg whites
Next add the meringue and use a large spatula to gently fold the mixture through. Mix until the batter has been mixed evenly and is smooth and like the consistency of lava. You’re looking for the batter to fall into itself – this is important for piping.
Note: It is possible to over mix and under mix the batter, so be careful.
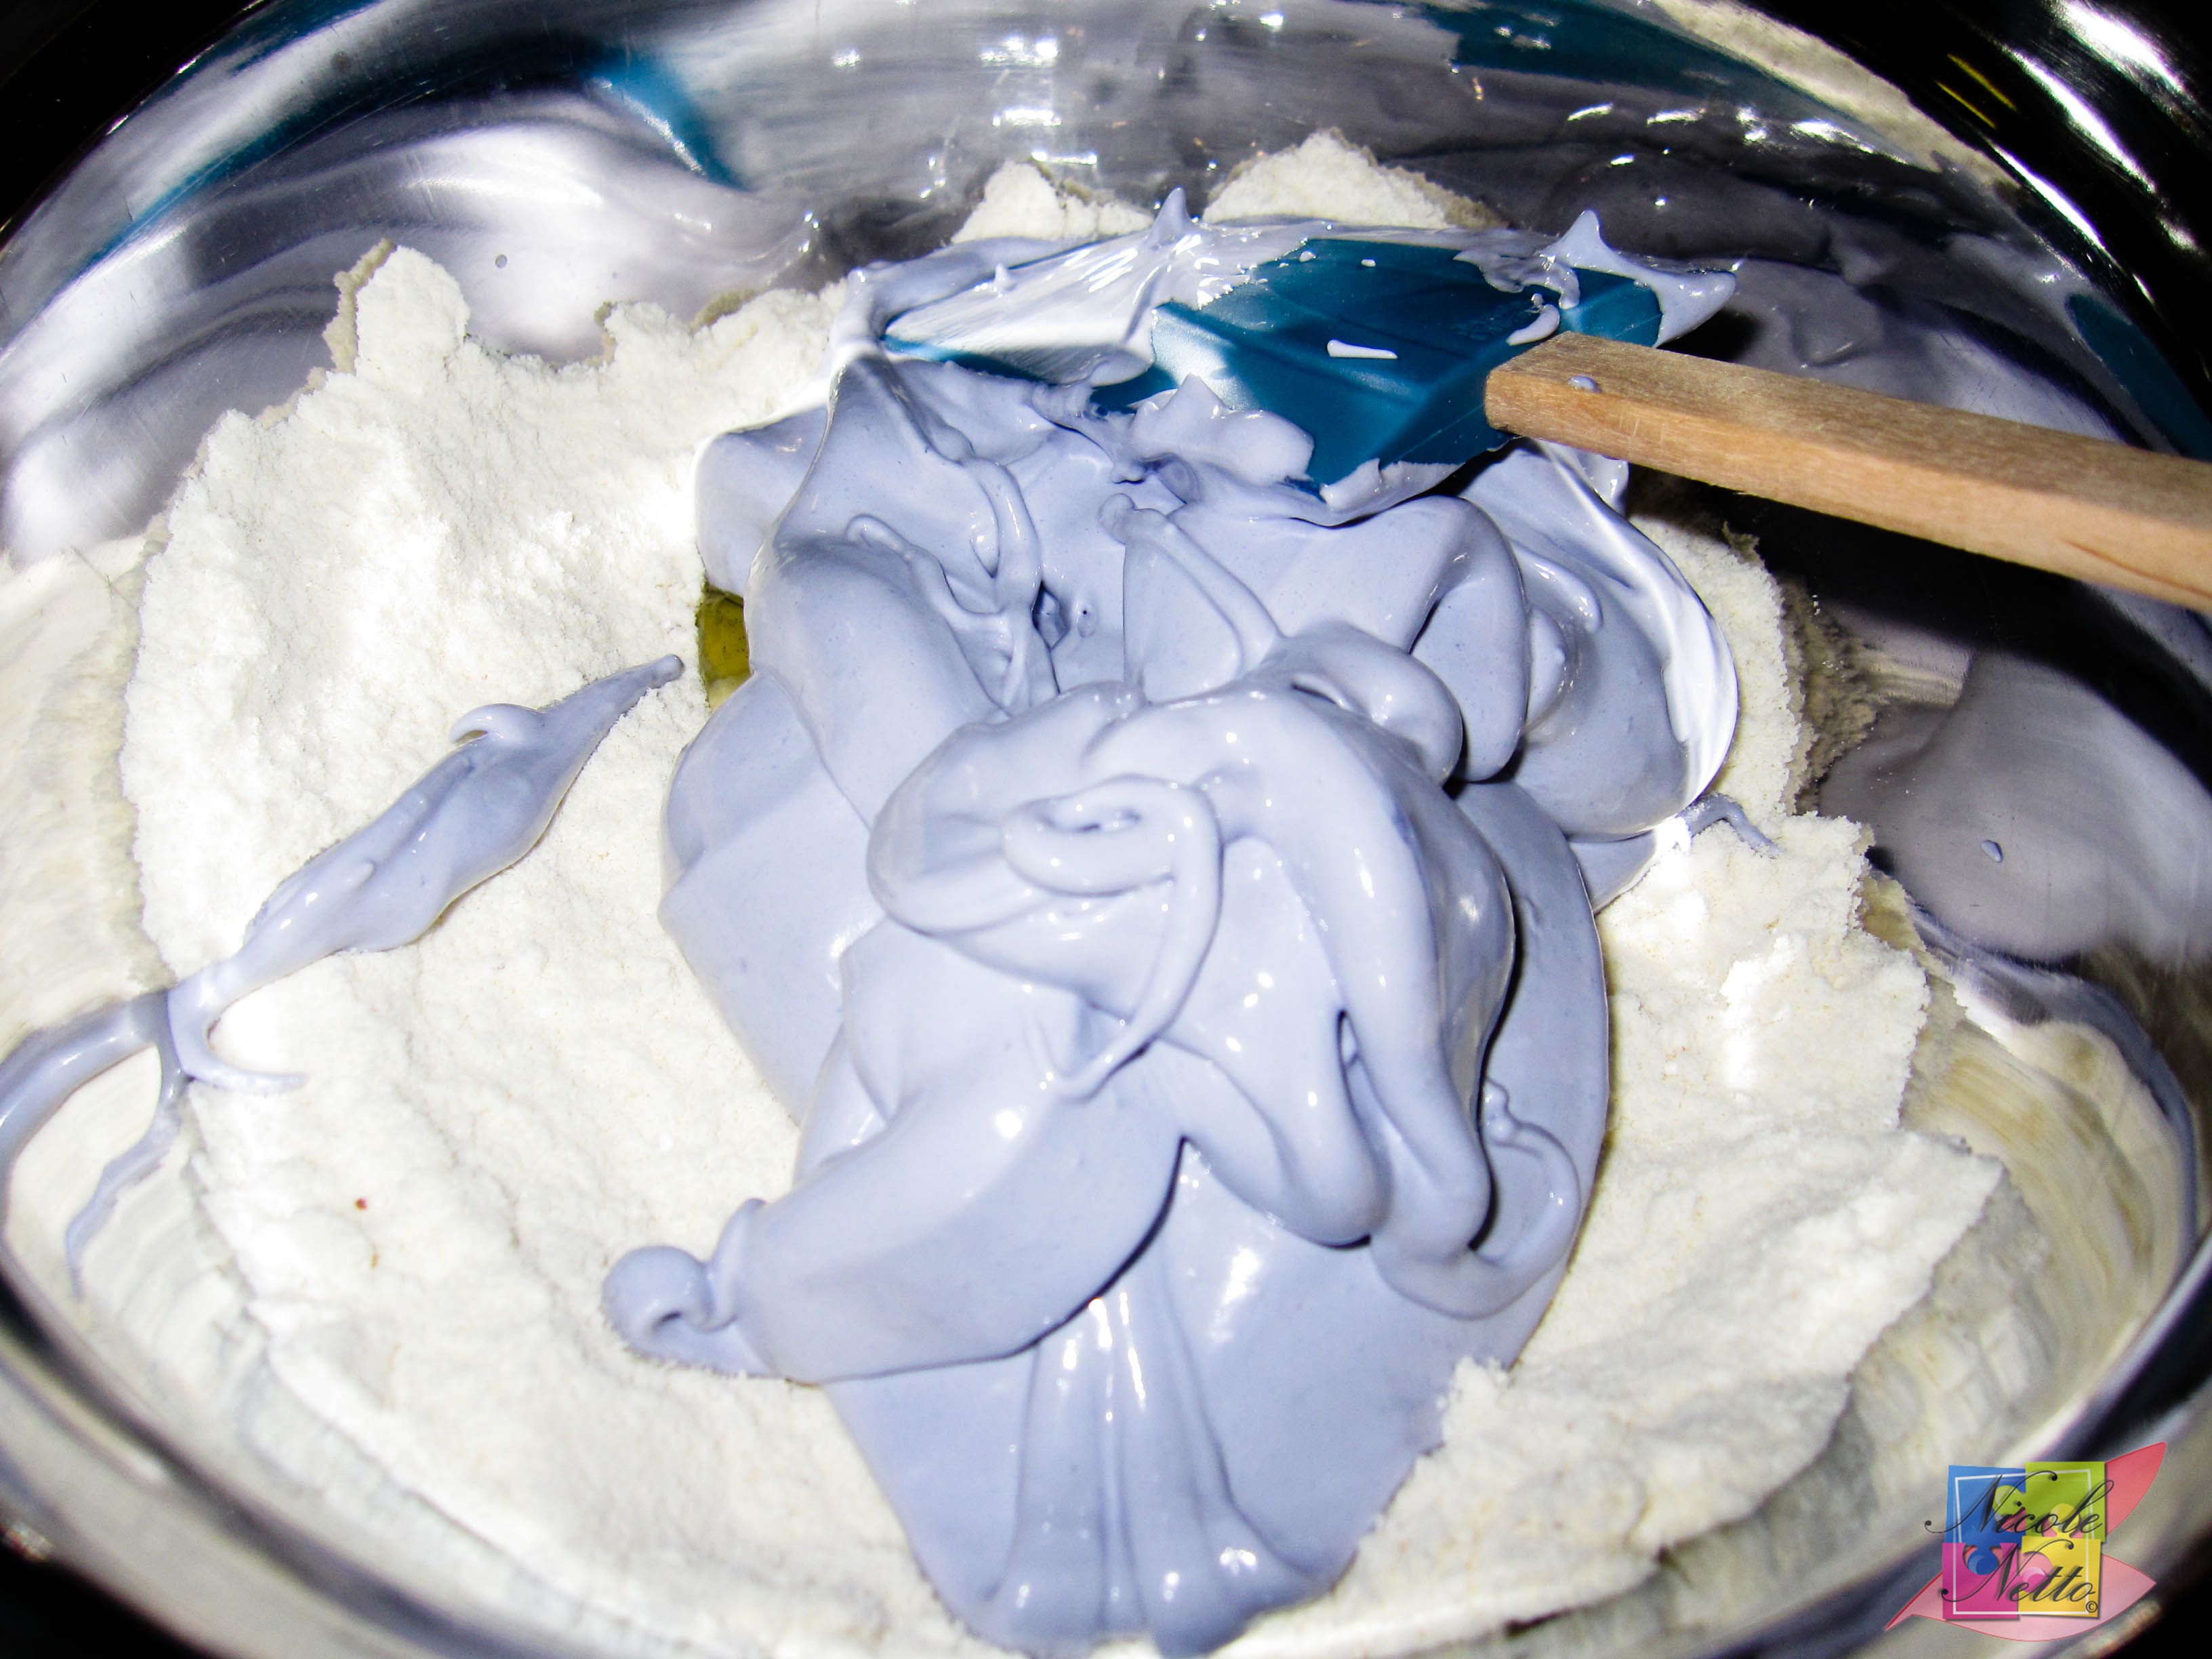
Glossy prepped meringue added to TPT and egg whites
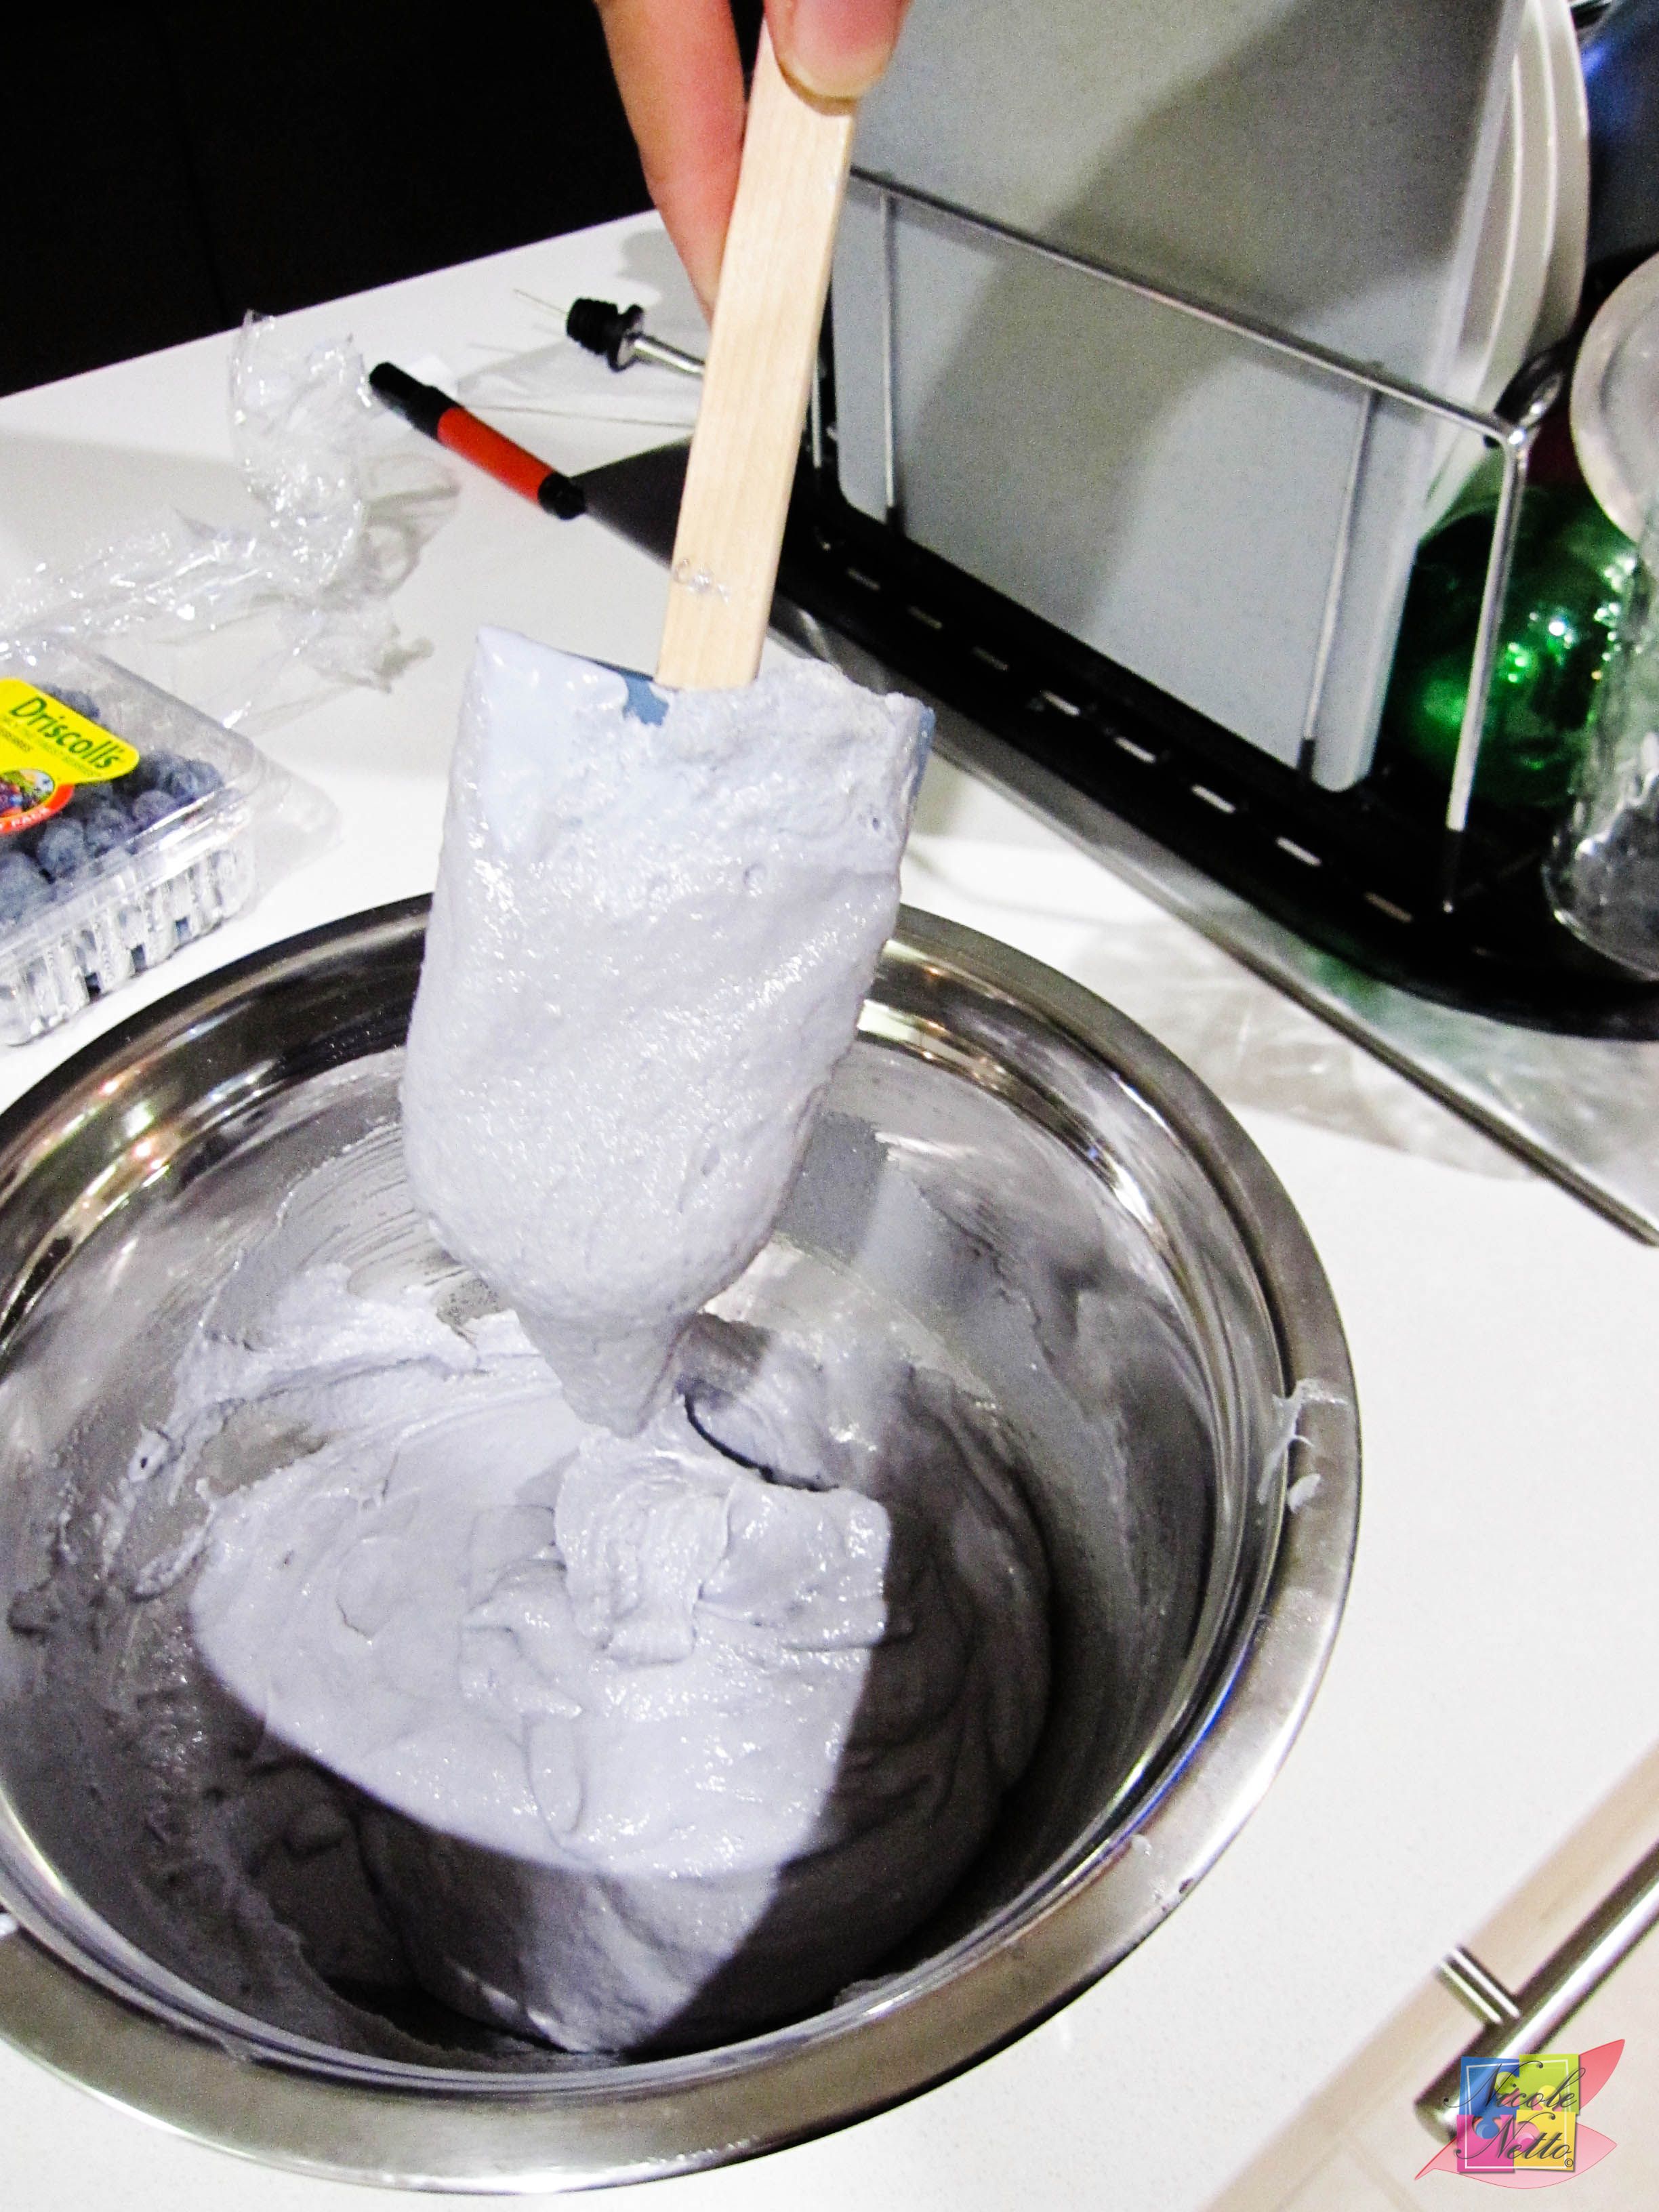
Mixed macaron batter to consistency of lava
At this stage –
If you have a piping bag:
With a 13 mm (1/2 inch) plain nozzle, at this stage you would fill the mixture into the piping bag and pipe the mixture onto the baking paper, using the drawn on 5 cm circles as a guide. Leave a 3 cm gap between each macaron (this should already be allowed for when you have drawn your circles using the macaron template). As you finish piping each macaron, move the nozzle from a 12 o’clock to 6 o’clock position quickly to finish piping action. If your macaron texture is perfect, the tip left on the top should soften and drop down, giving you a smooth top.
If you do not have a piping bag:
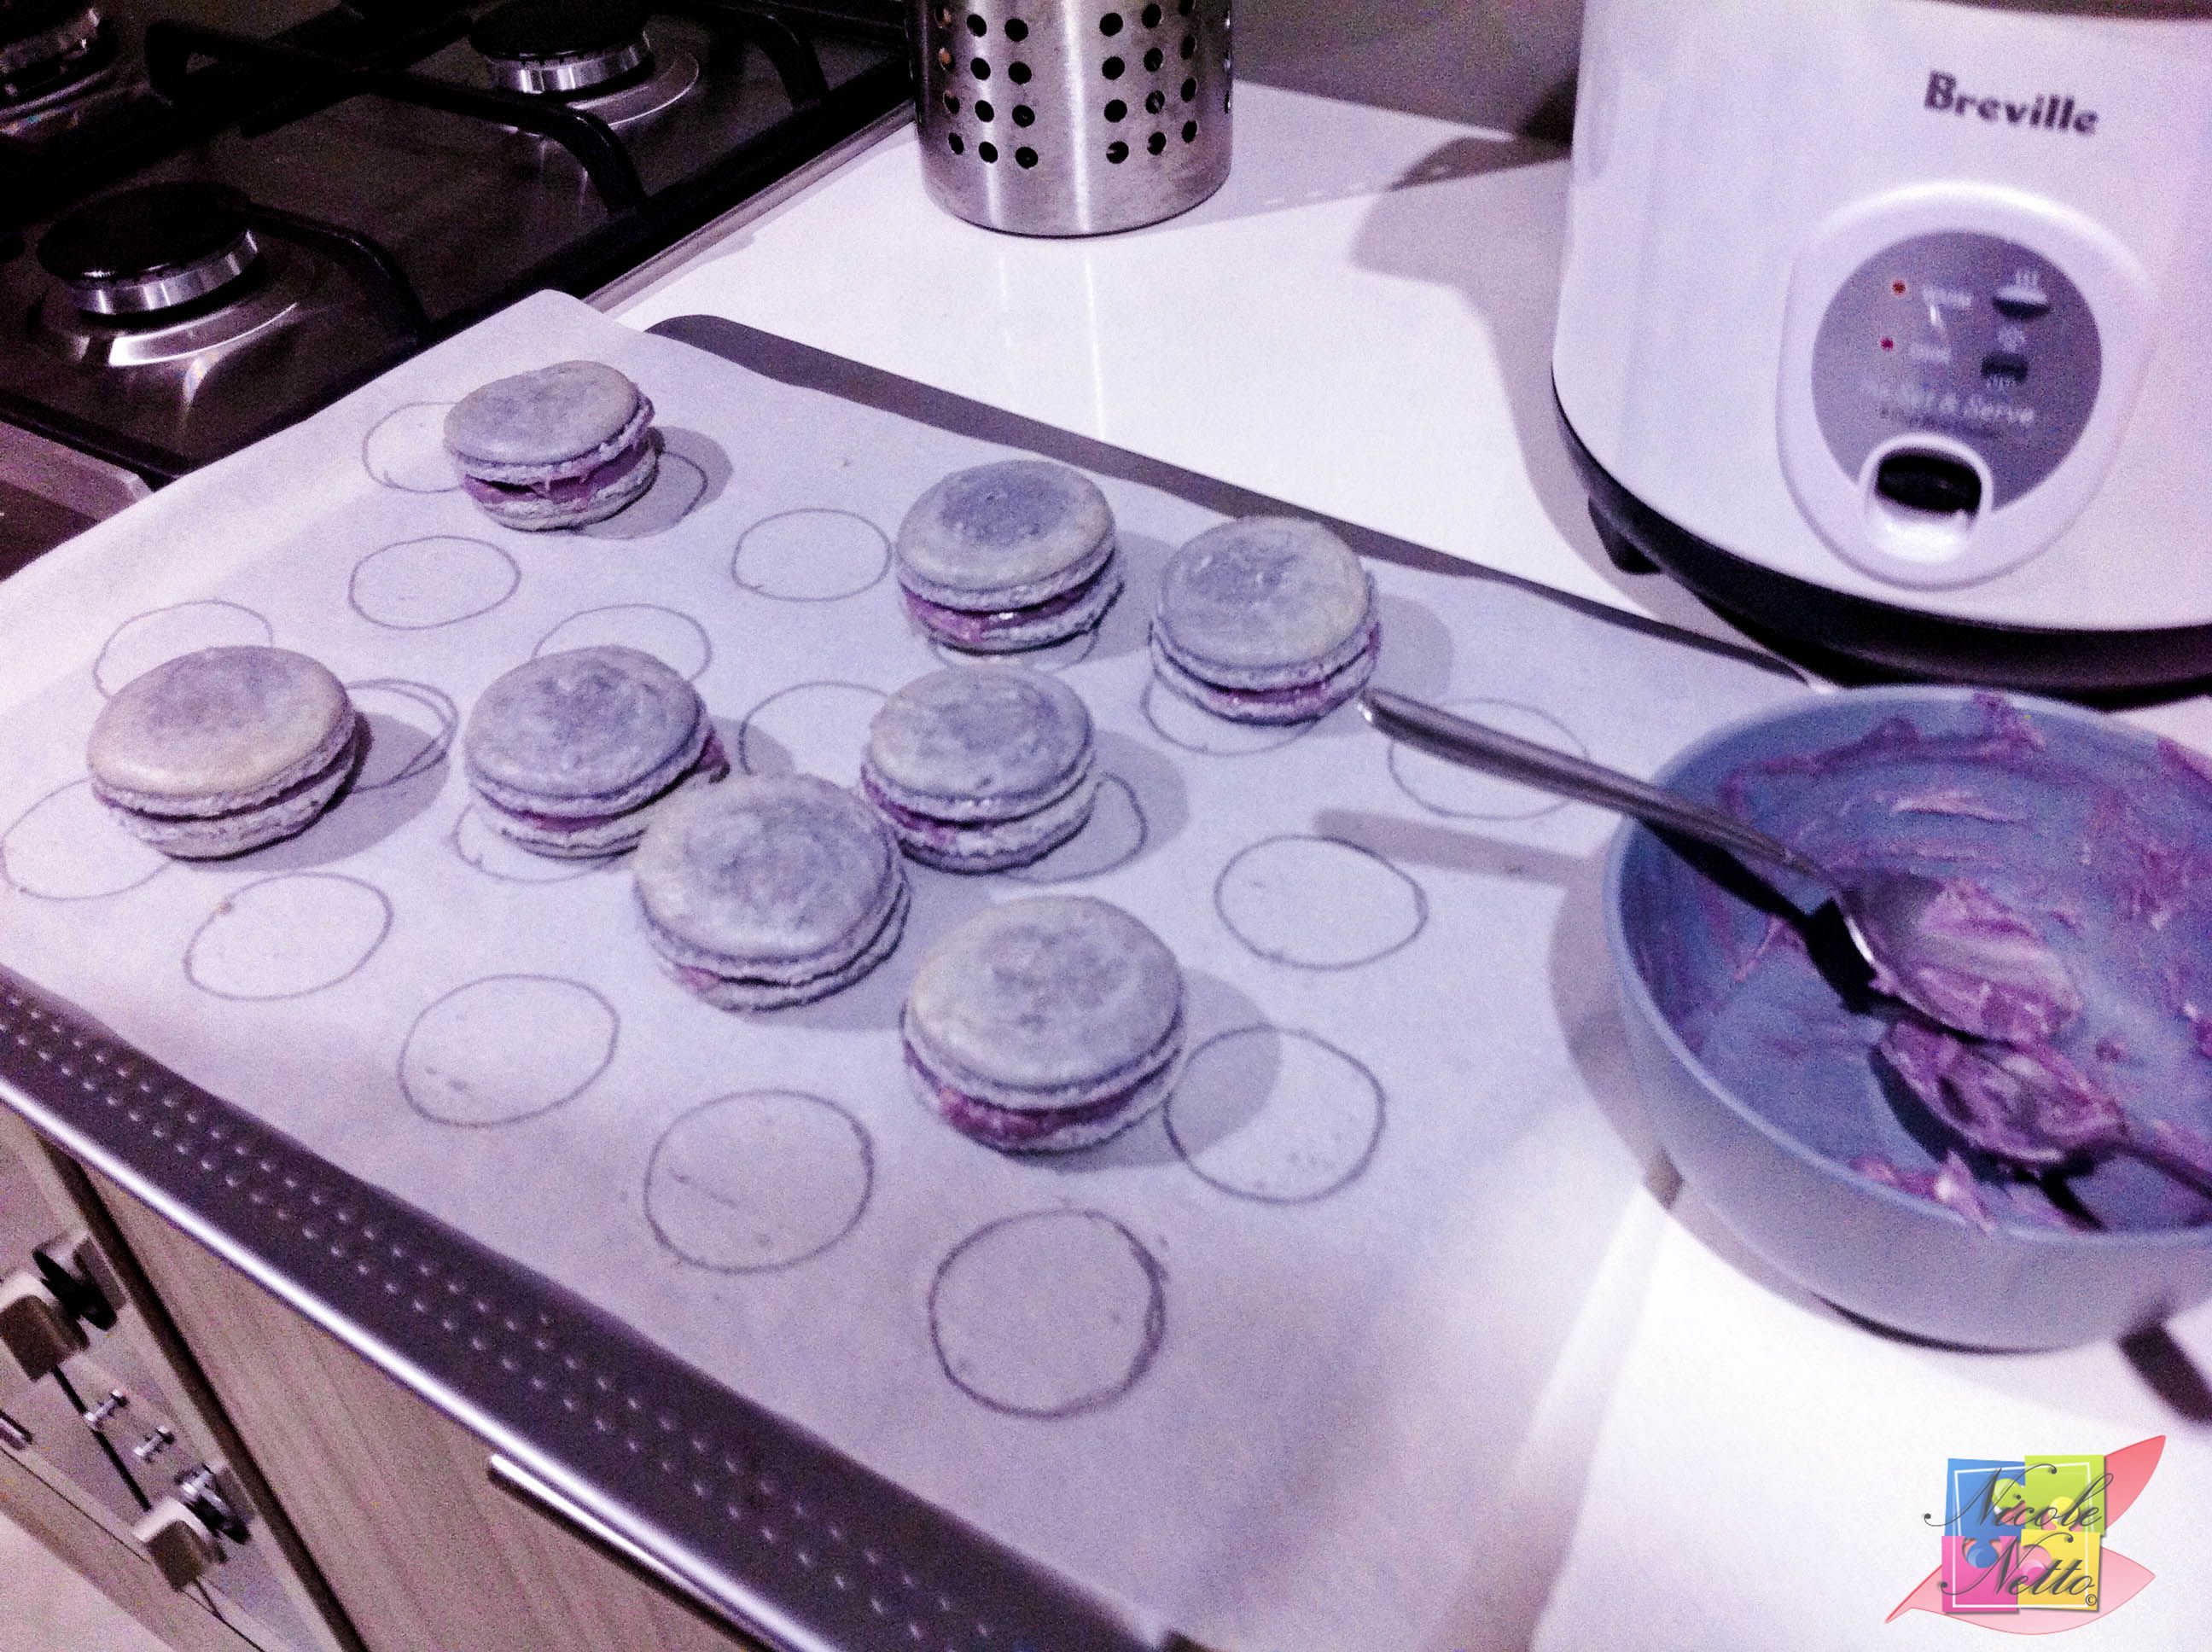
Take 2 Spoons. Use one to scoop up a sufficient amount of the mixture and the other to drop the mixture into the drawn on circle to take the shape of the circle. Continue until you have used up all the batter and filled in all the circles.
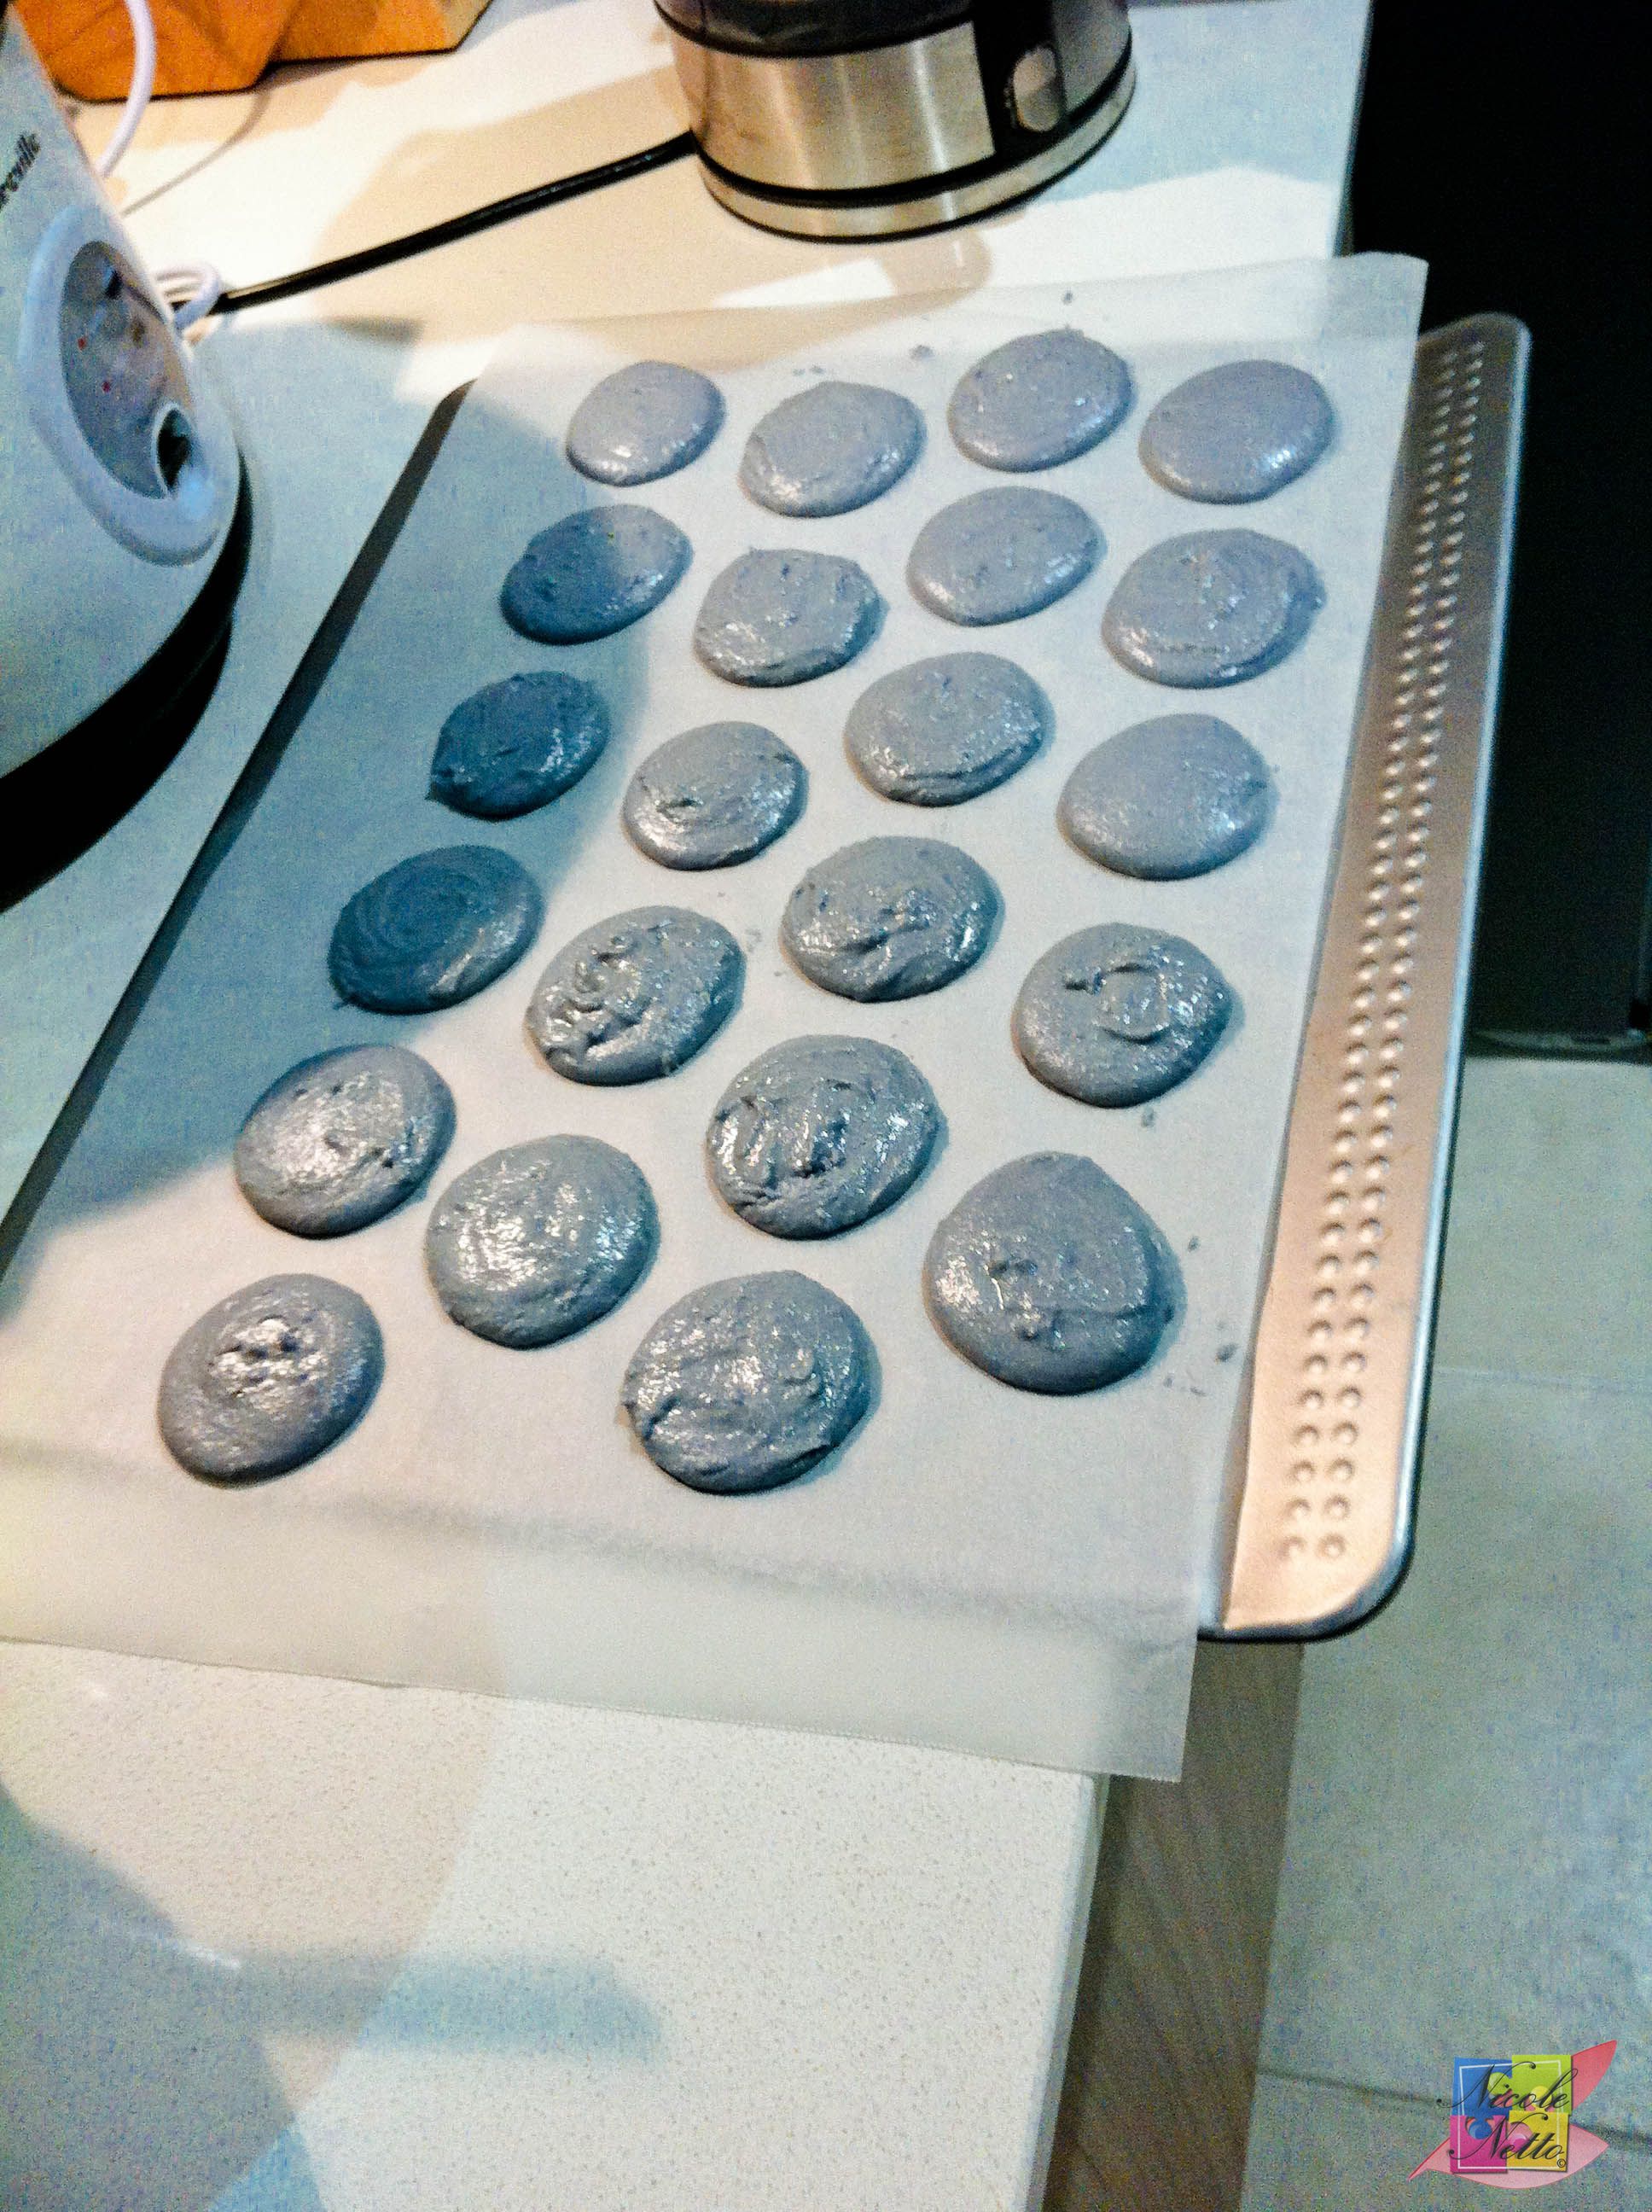
Spooned mixture
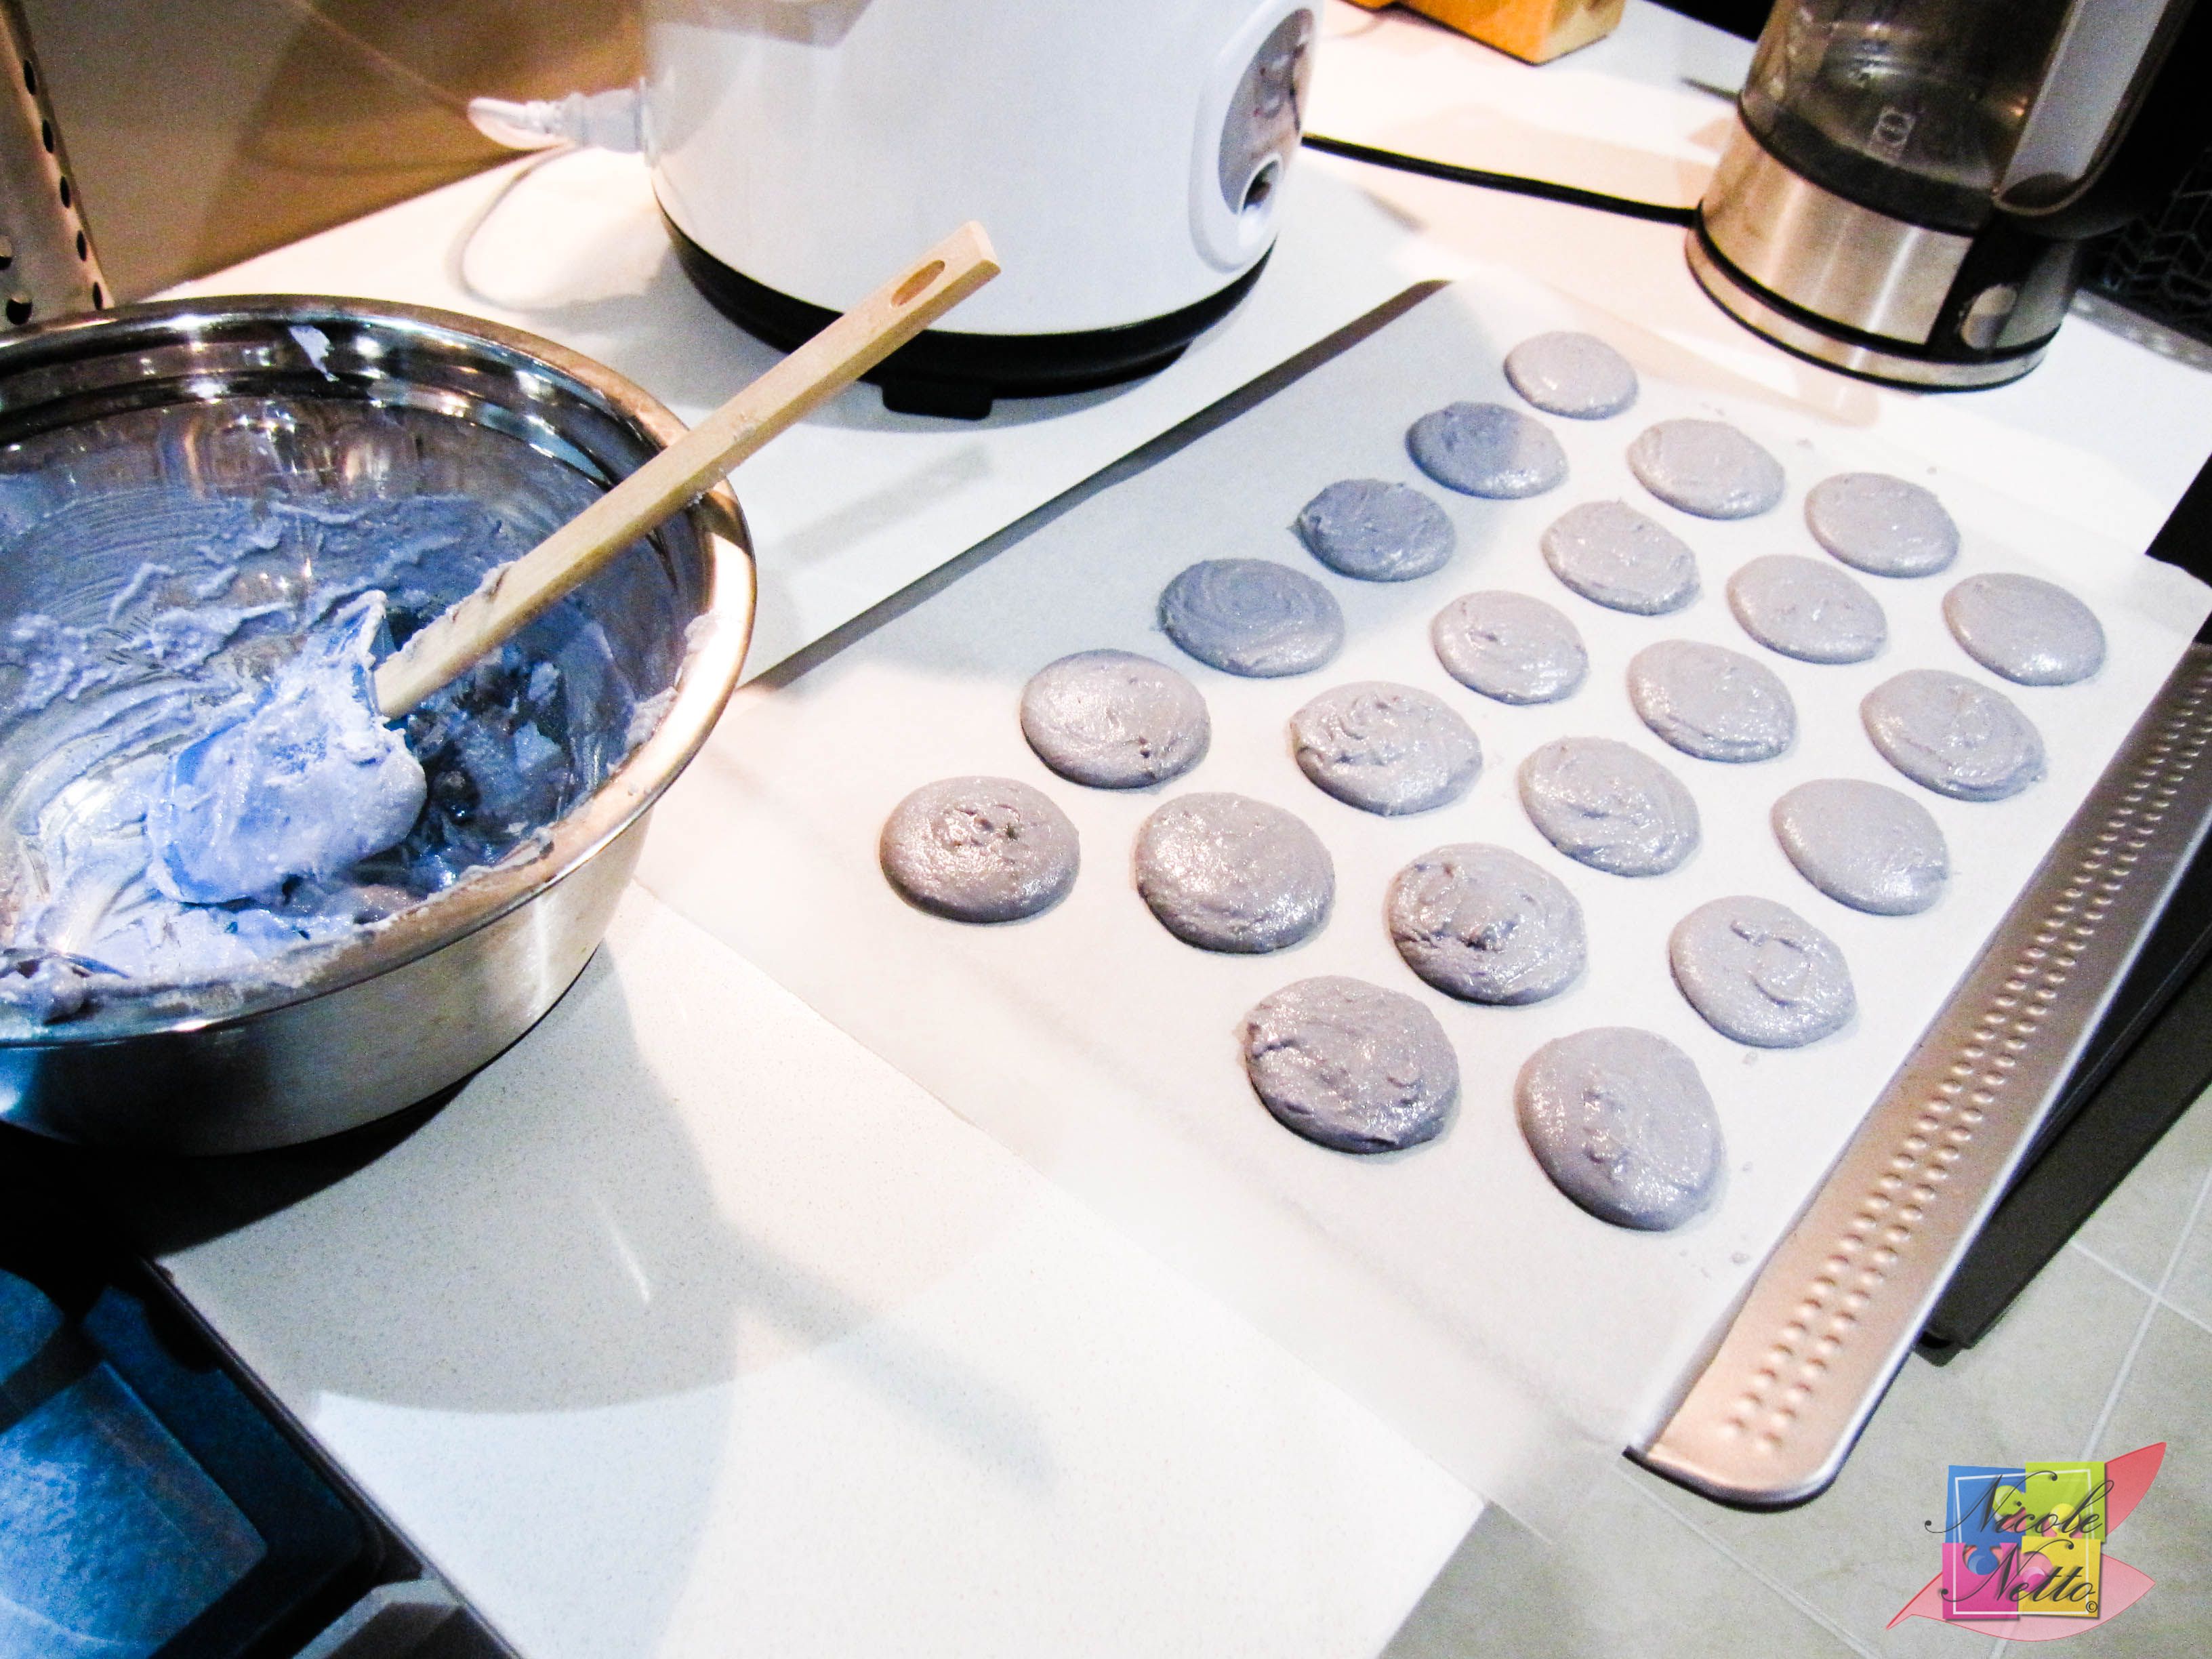
Spooned mixture with all batter used up
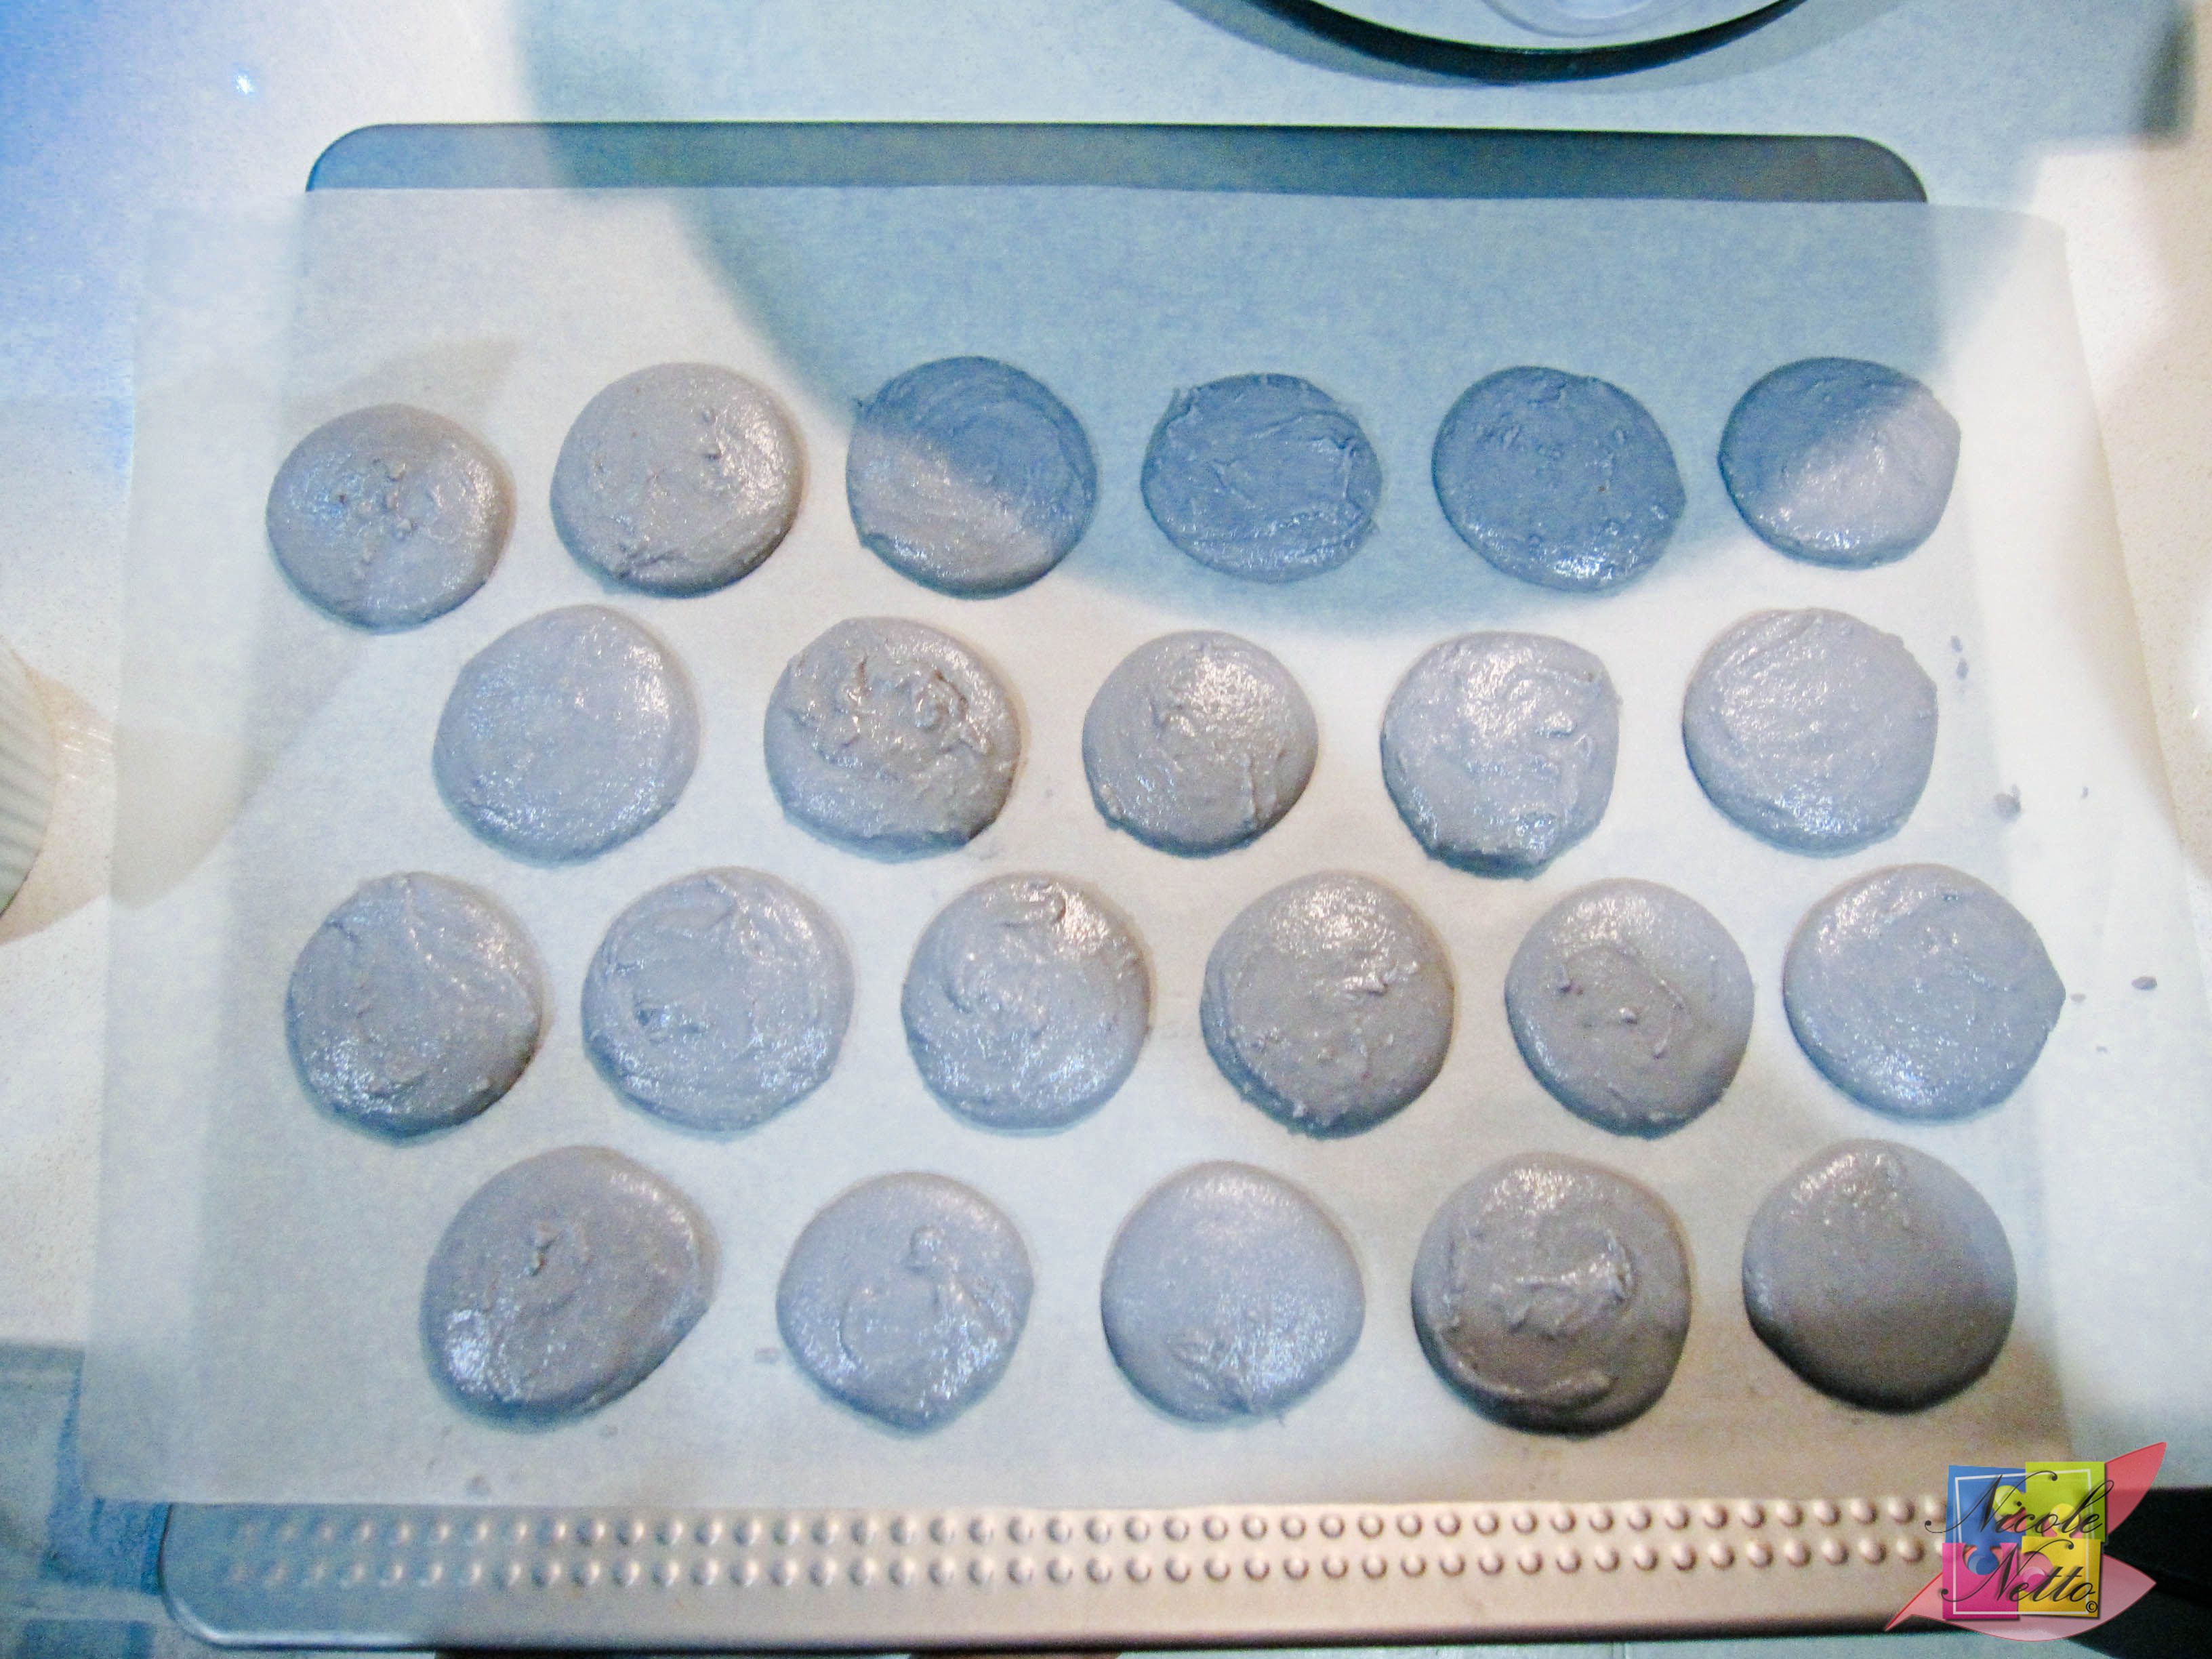
Tapped out batter with air released, prepped for skin formation
Tap the bottom of the tray (or tap the tray onto your kitchen work bench carefully) well a few times until you see the air bubbles pop out of the macarons and the mixture settle down into perfectly smooth tops. Leave the macaron at room temperature for a minimum of 30 minutes until the skin forms. This is important as the formation of the skins ensures a good shell structure and the formation of the distinctive macaron feet.
Preheat the oven to 135ºC. To test if the macaron skins have formed, touch one lightly with your fingertip – the macaron’s should not feel sticky. If the skin has formed, put the baking sheet into the oven and bake for 16 minutes, until they have formed a firm outer shell with the beautiful soft center. Make sure to keep a watch on these because if the macaron shells overcook, they get dry and crack and if the macaron shells are undercooked, they would be too soft.
Note: If you are baking larger quantities and have more trays of macaron shells, make sure to only bake one tray at a time.
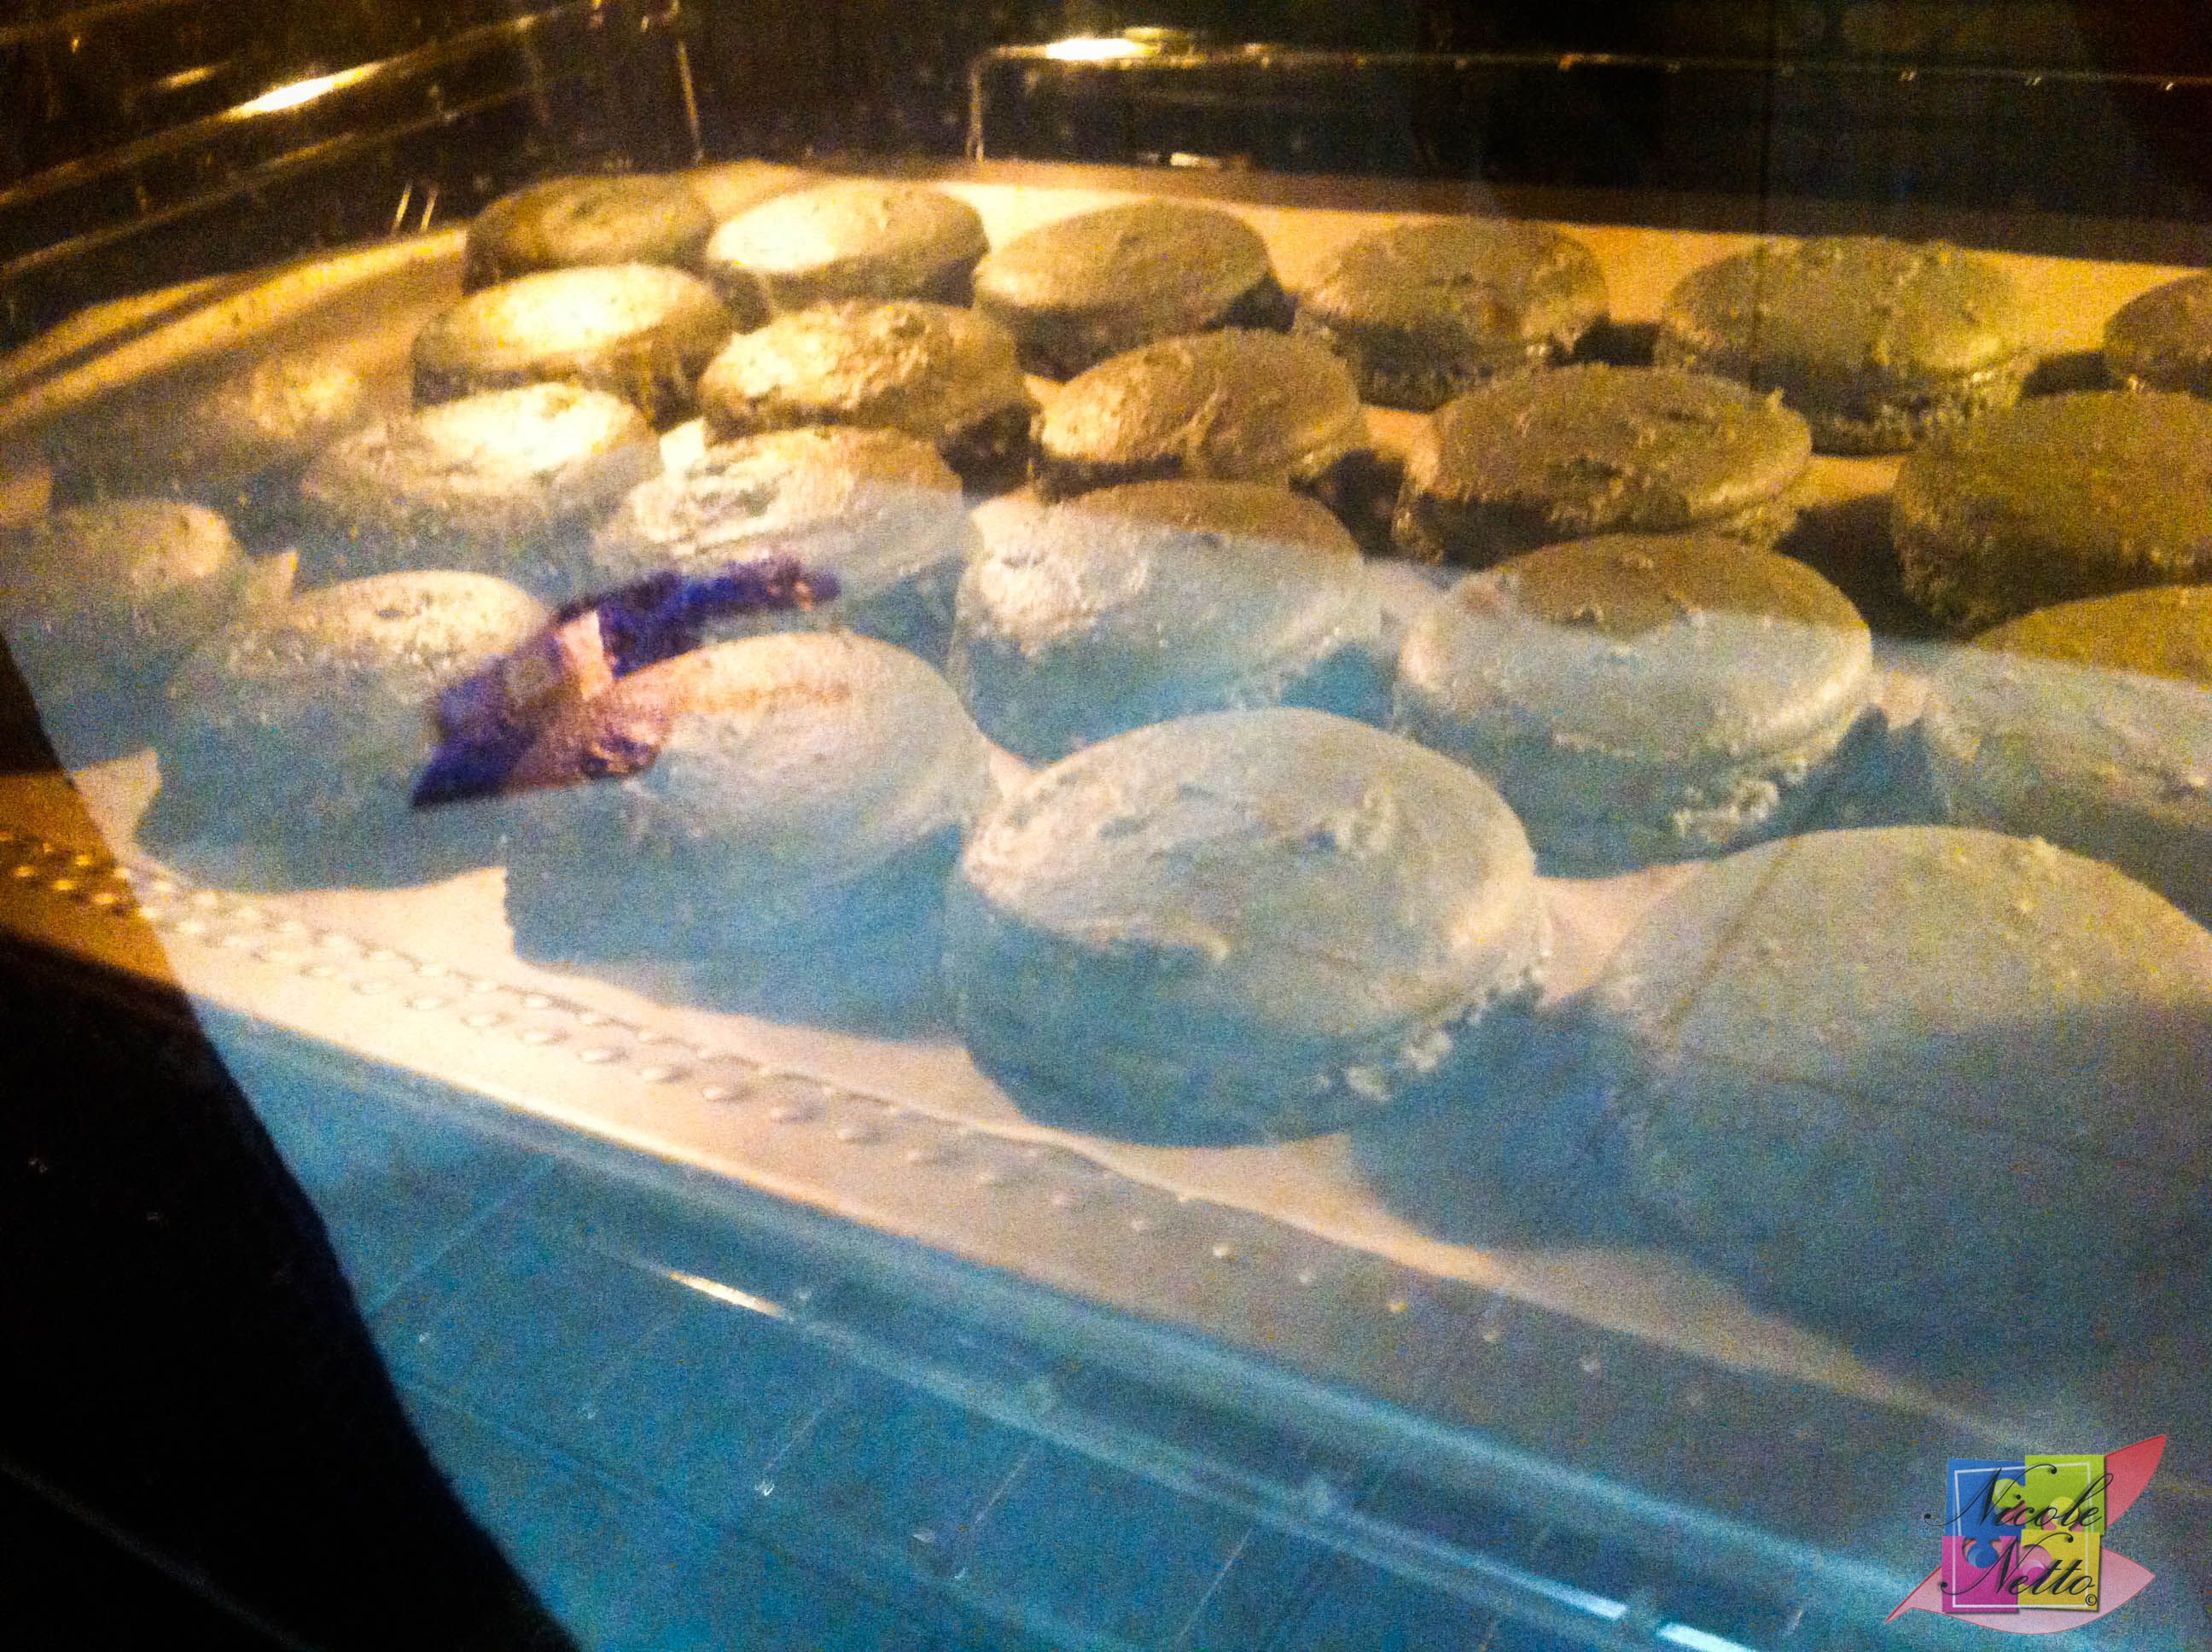
Macaron shells being baked
When they are ready, remove the baking tray from the oven and set aside for 2 minutes. Carefully lift each macaron shell to make sure it’s cooked. If it is still slightly sticky, return the macarons to the oven for 2 to 3 minutes, the check again.
Cool the macarons completely prior to adding on the filling. Select matching sets and set aside prepped for the macaron assembly.
Ingredients – Lavender and Blueberry ganache (filling)
38 gm of thickened OR pouring cream
2 gm of dried culinary lavender flowers
125 gm of white couverture chocolate, chopped or buttons
38 gm of blueberries
Method – Lavender and Blueberry ganache (filling)
I started to make the ganache while the macaron’s were being baked.
Put the cream and lavender flowers in the same saucepan that you did the sugar syrup in, the residual sugar and color should infuse with the filling mixture. Bring the saucepan over medium heat to the boil. Turn off the heat and set aside to cool.
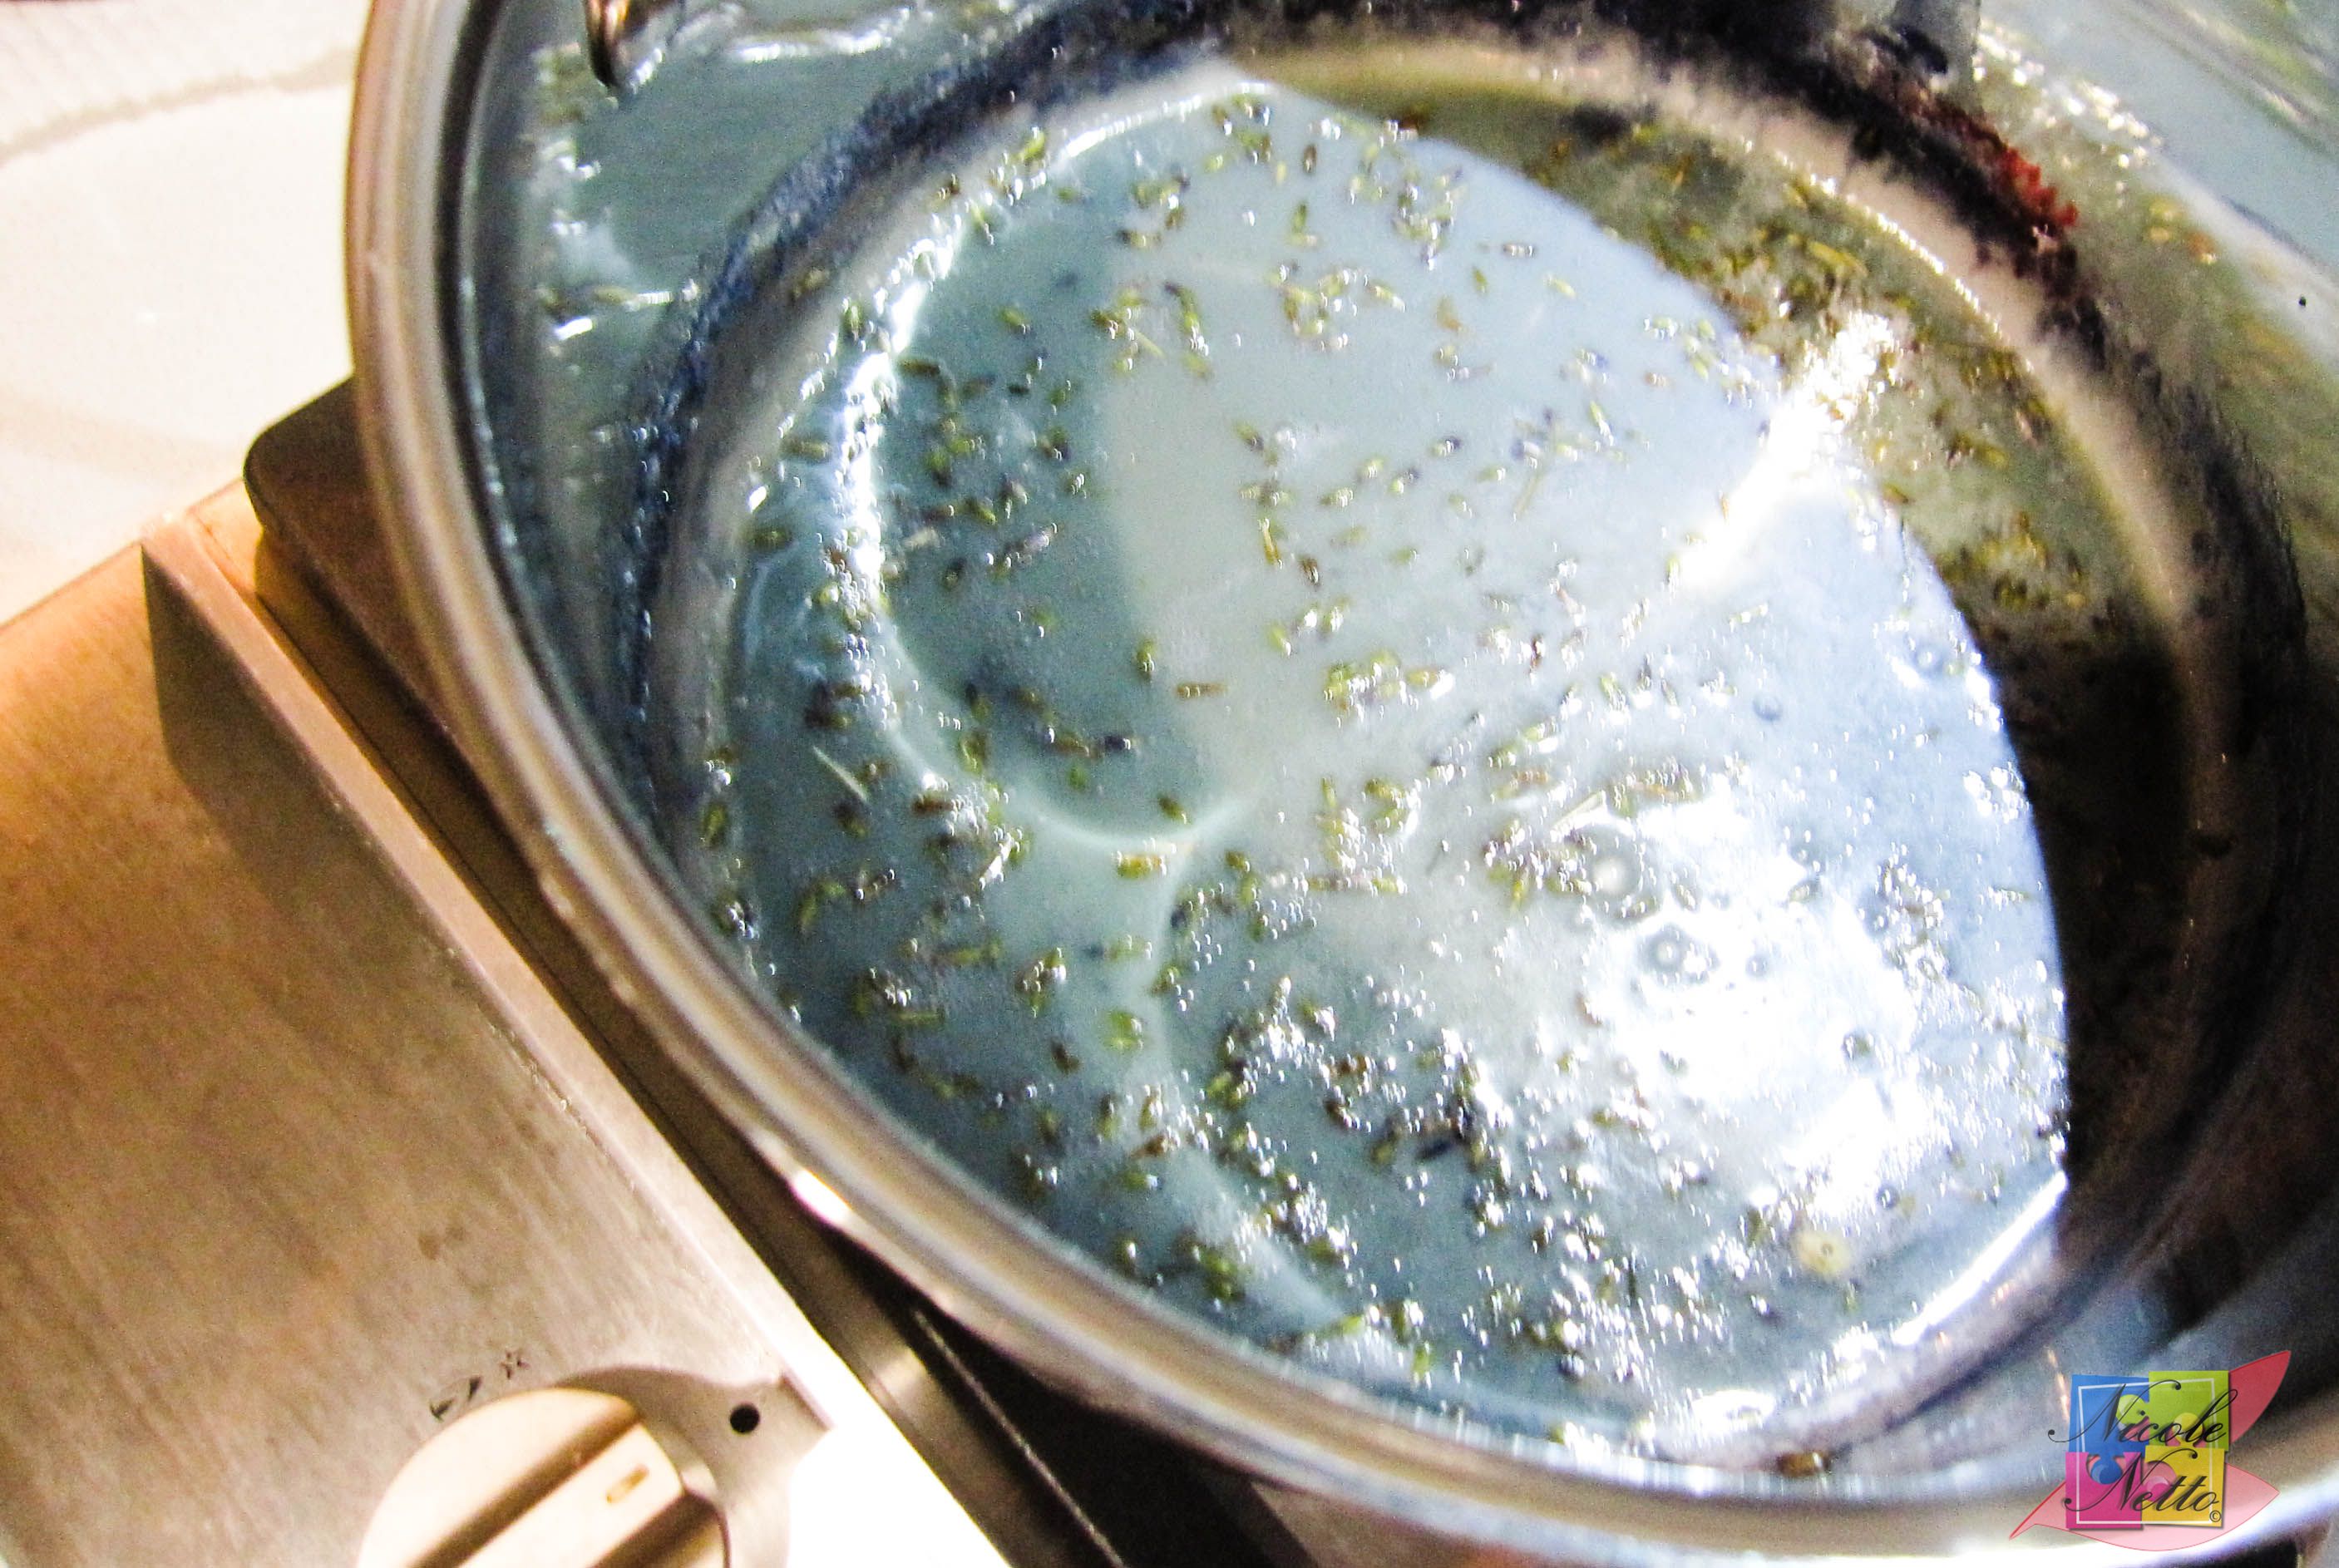
Lavender and cream mixture, being brought to the boil.
Measure out the white chocolate and keep it prepped in a bowl with a strainer OR fine sieve.
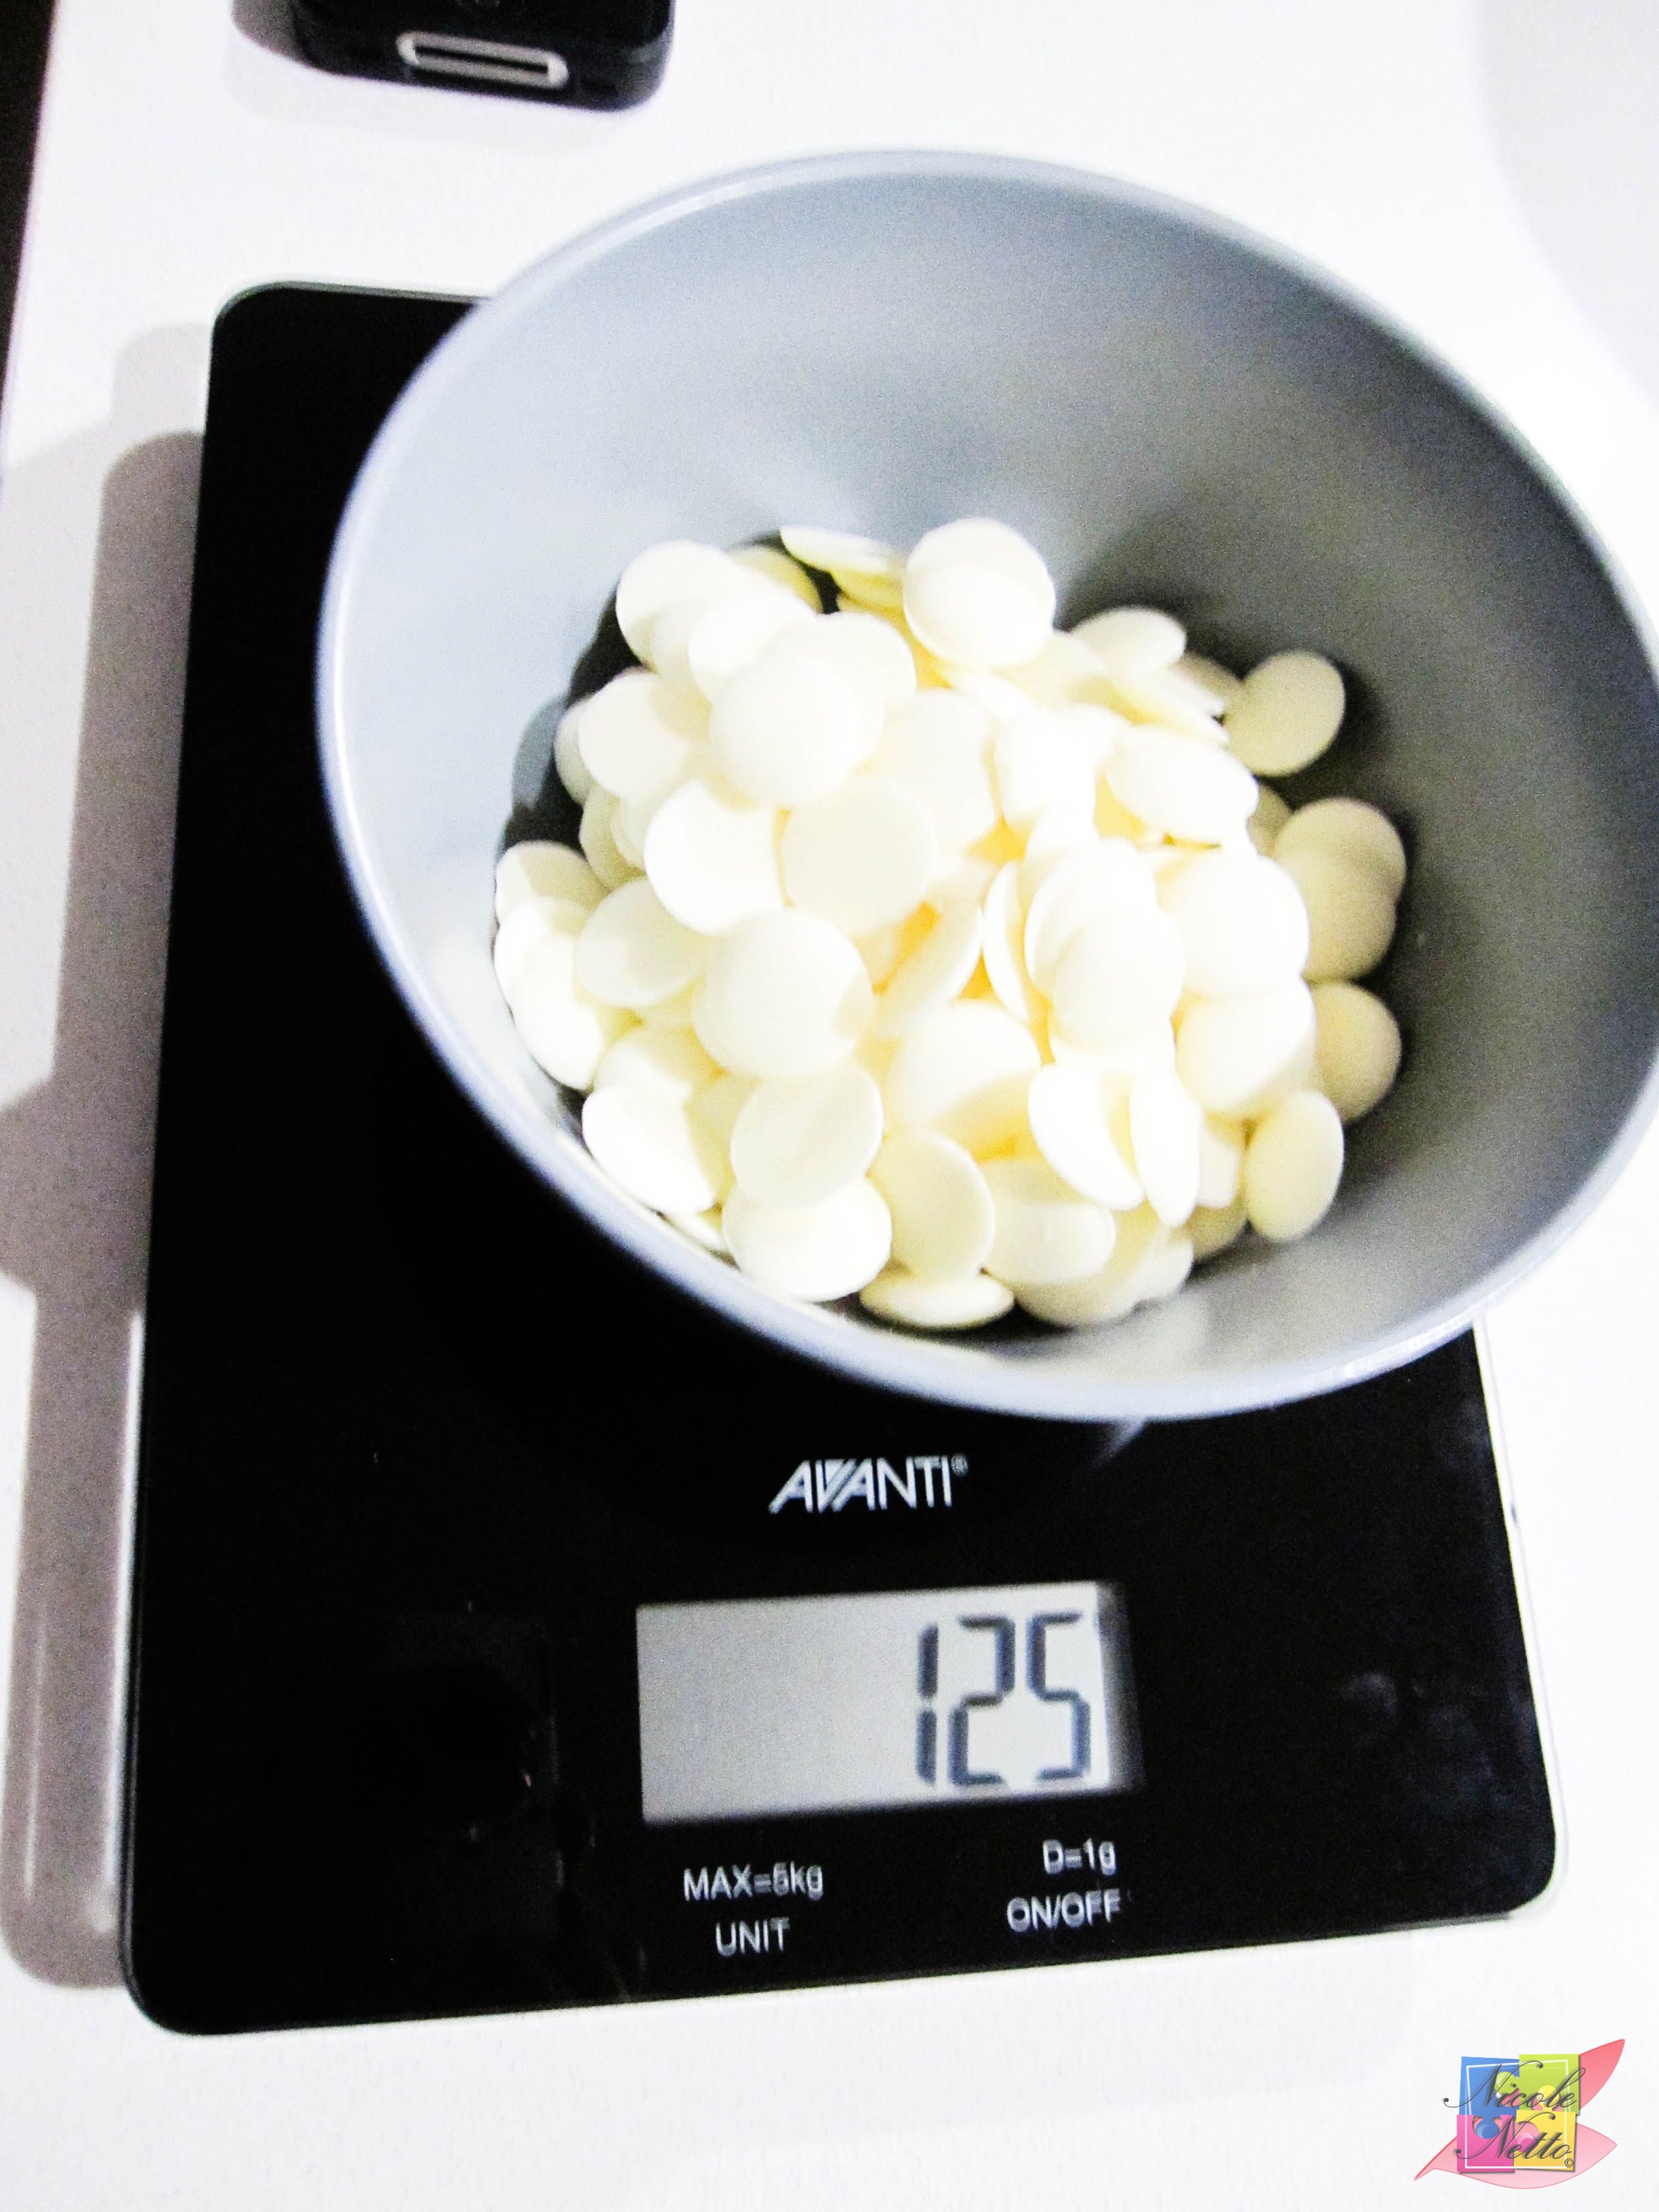
125 gm white chocolate
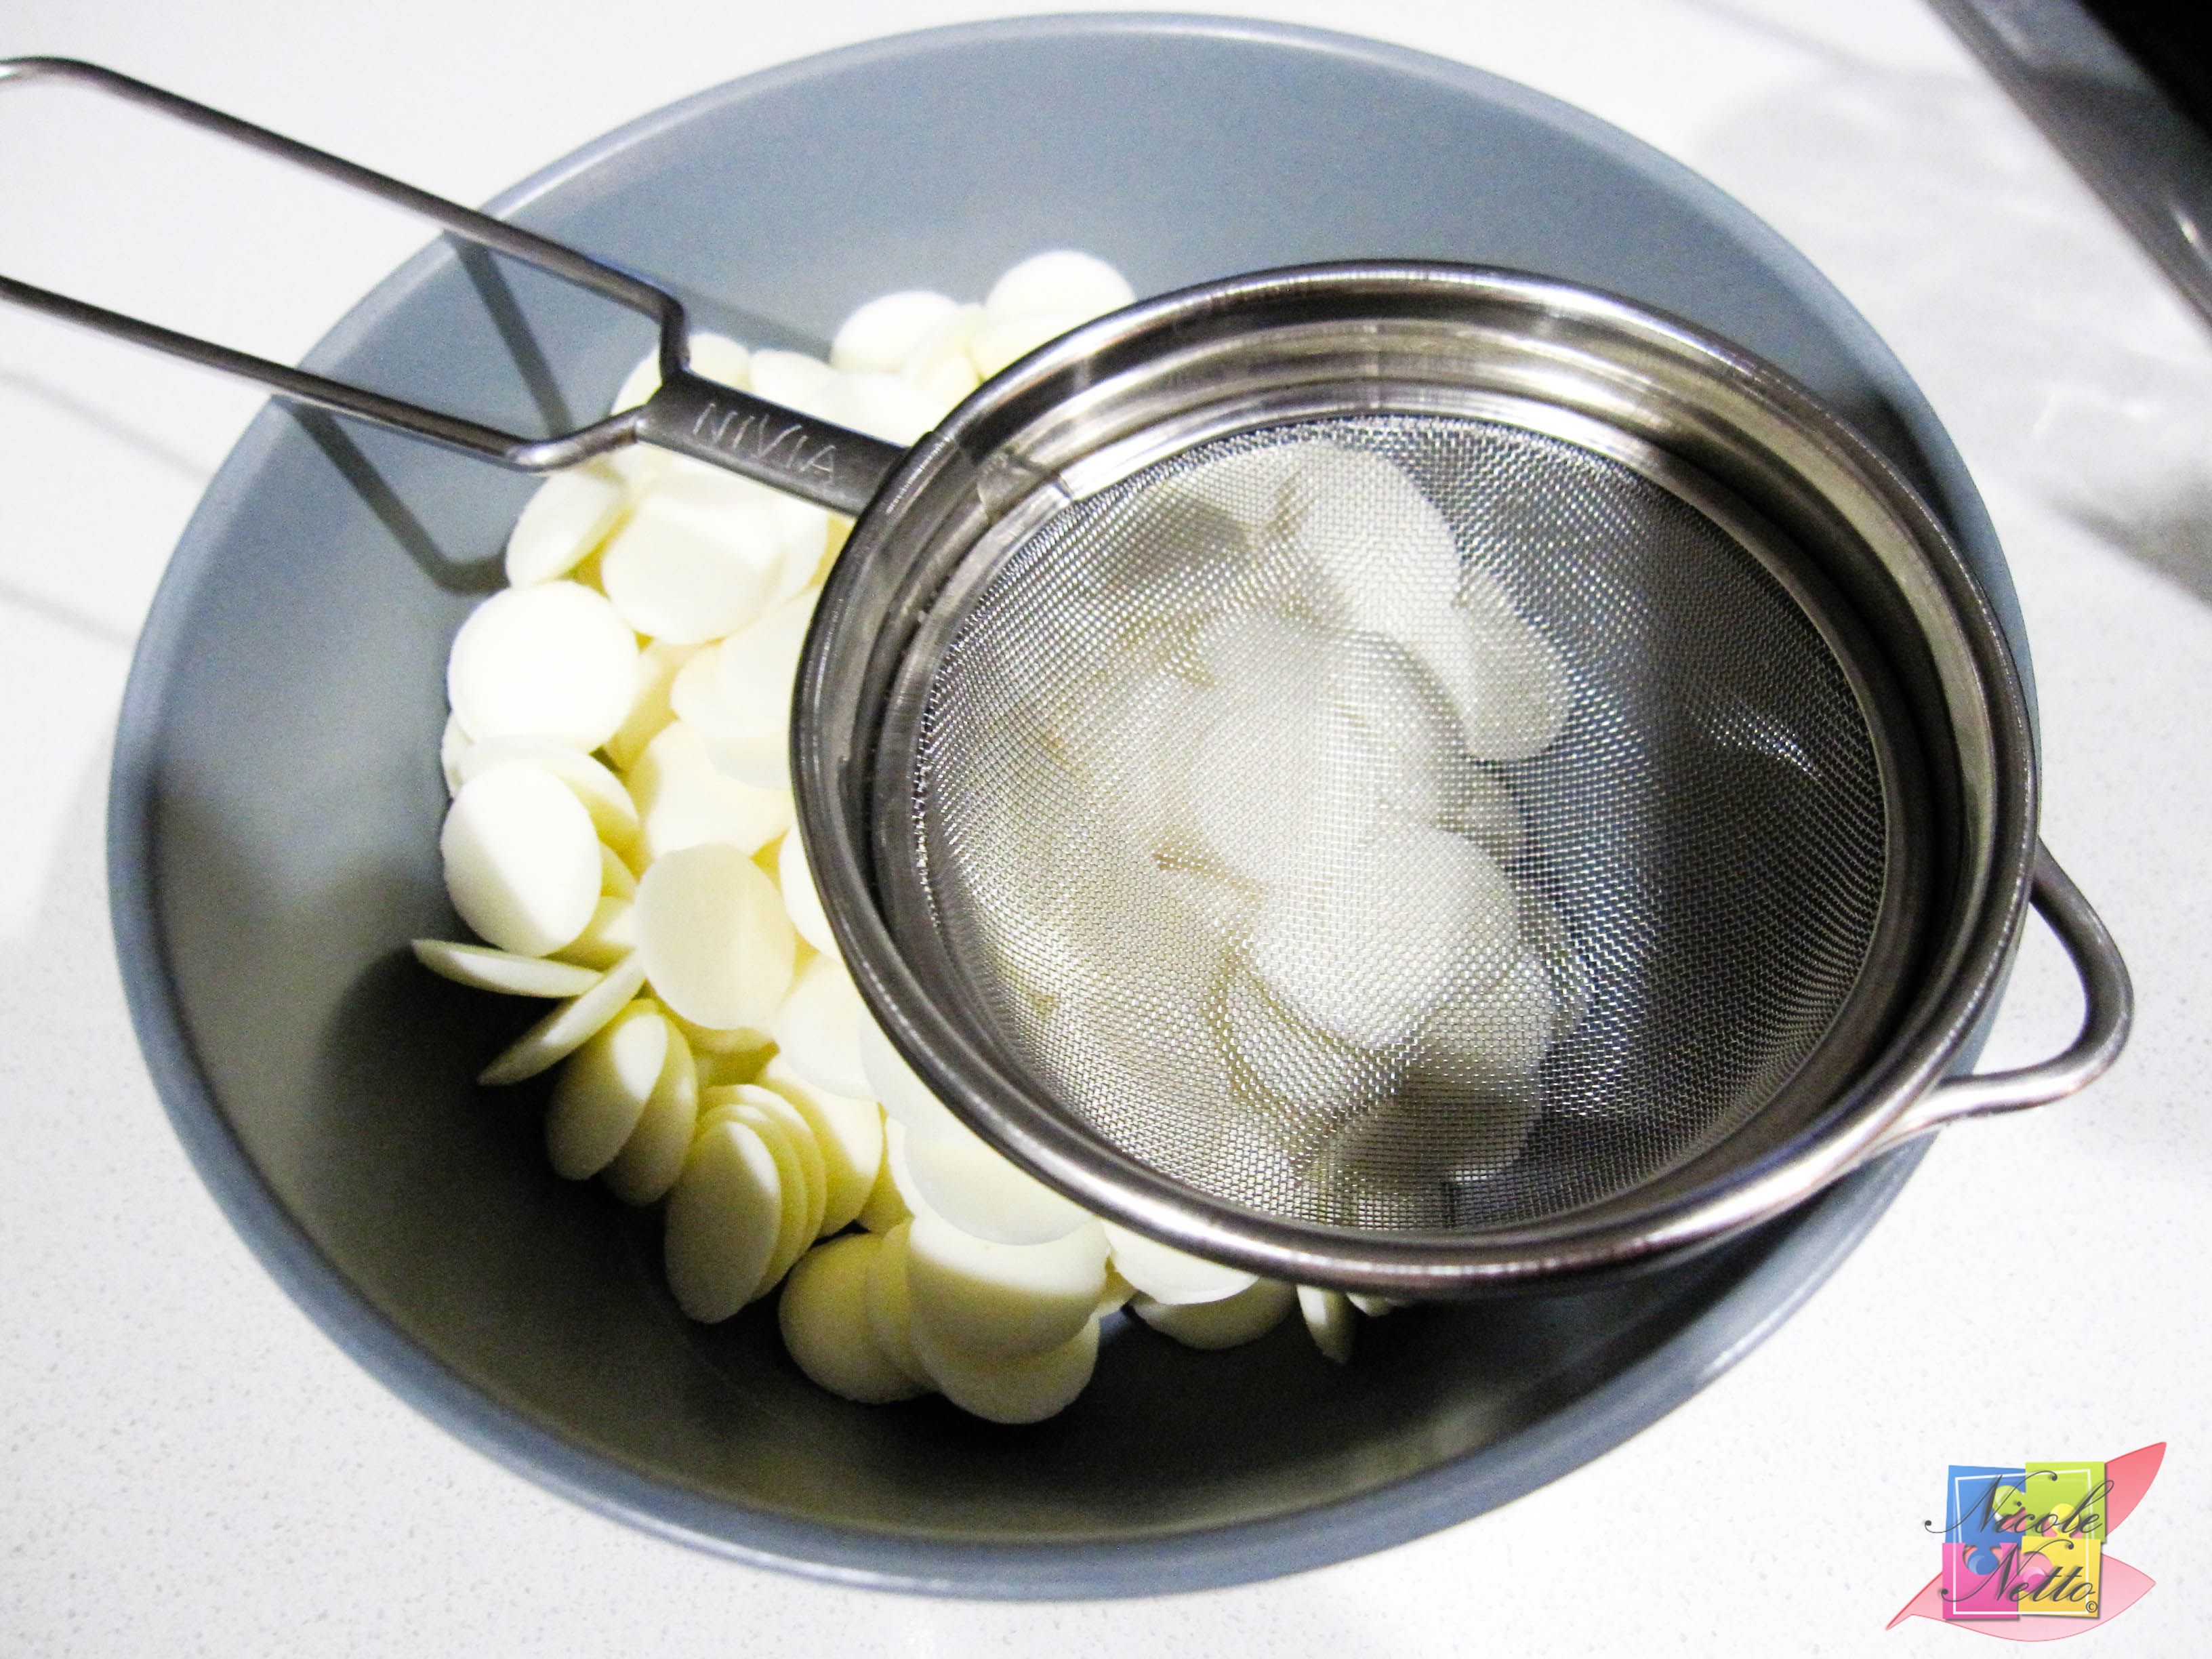
Prepped white chocolate with strainer
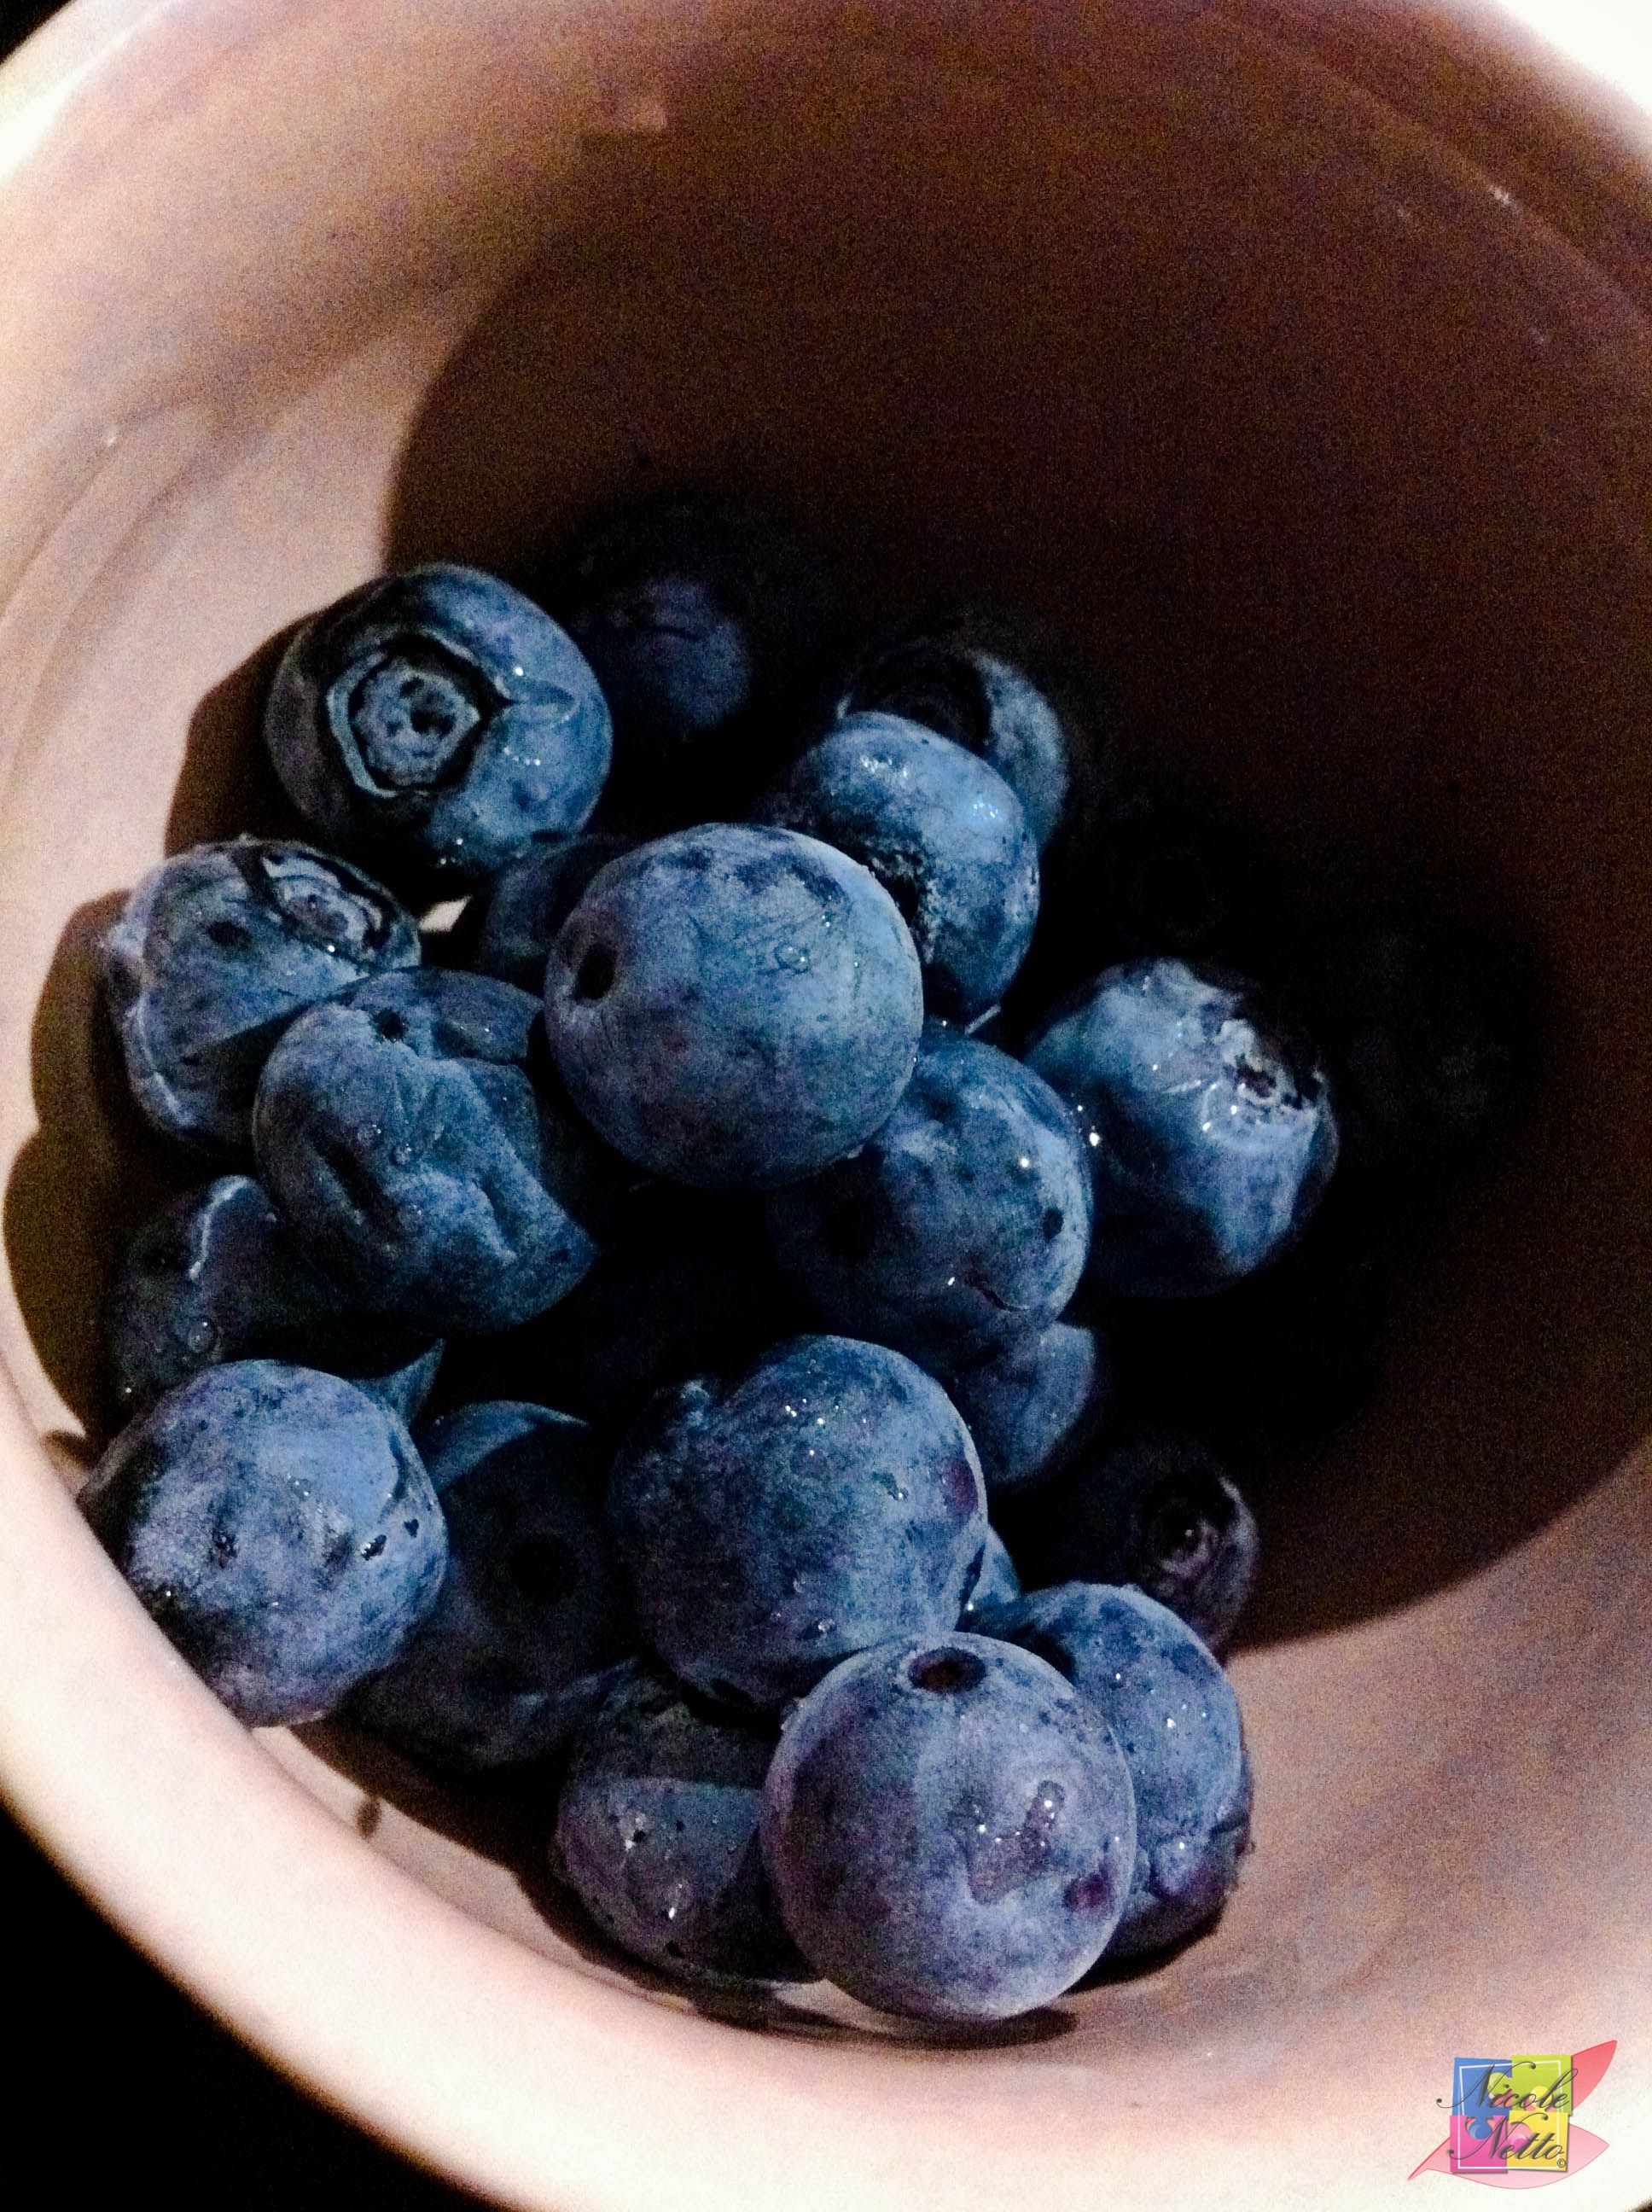
40 gm Fresh Blueberries
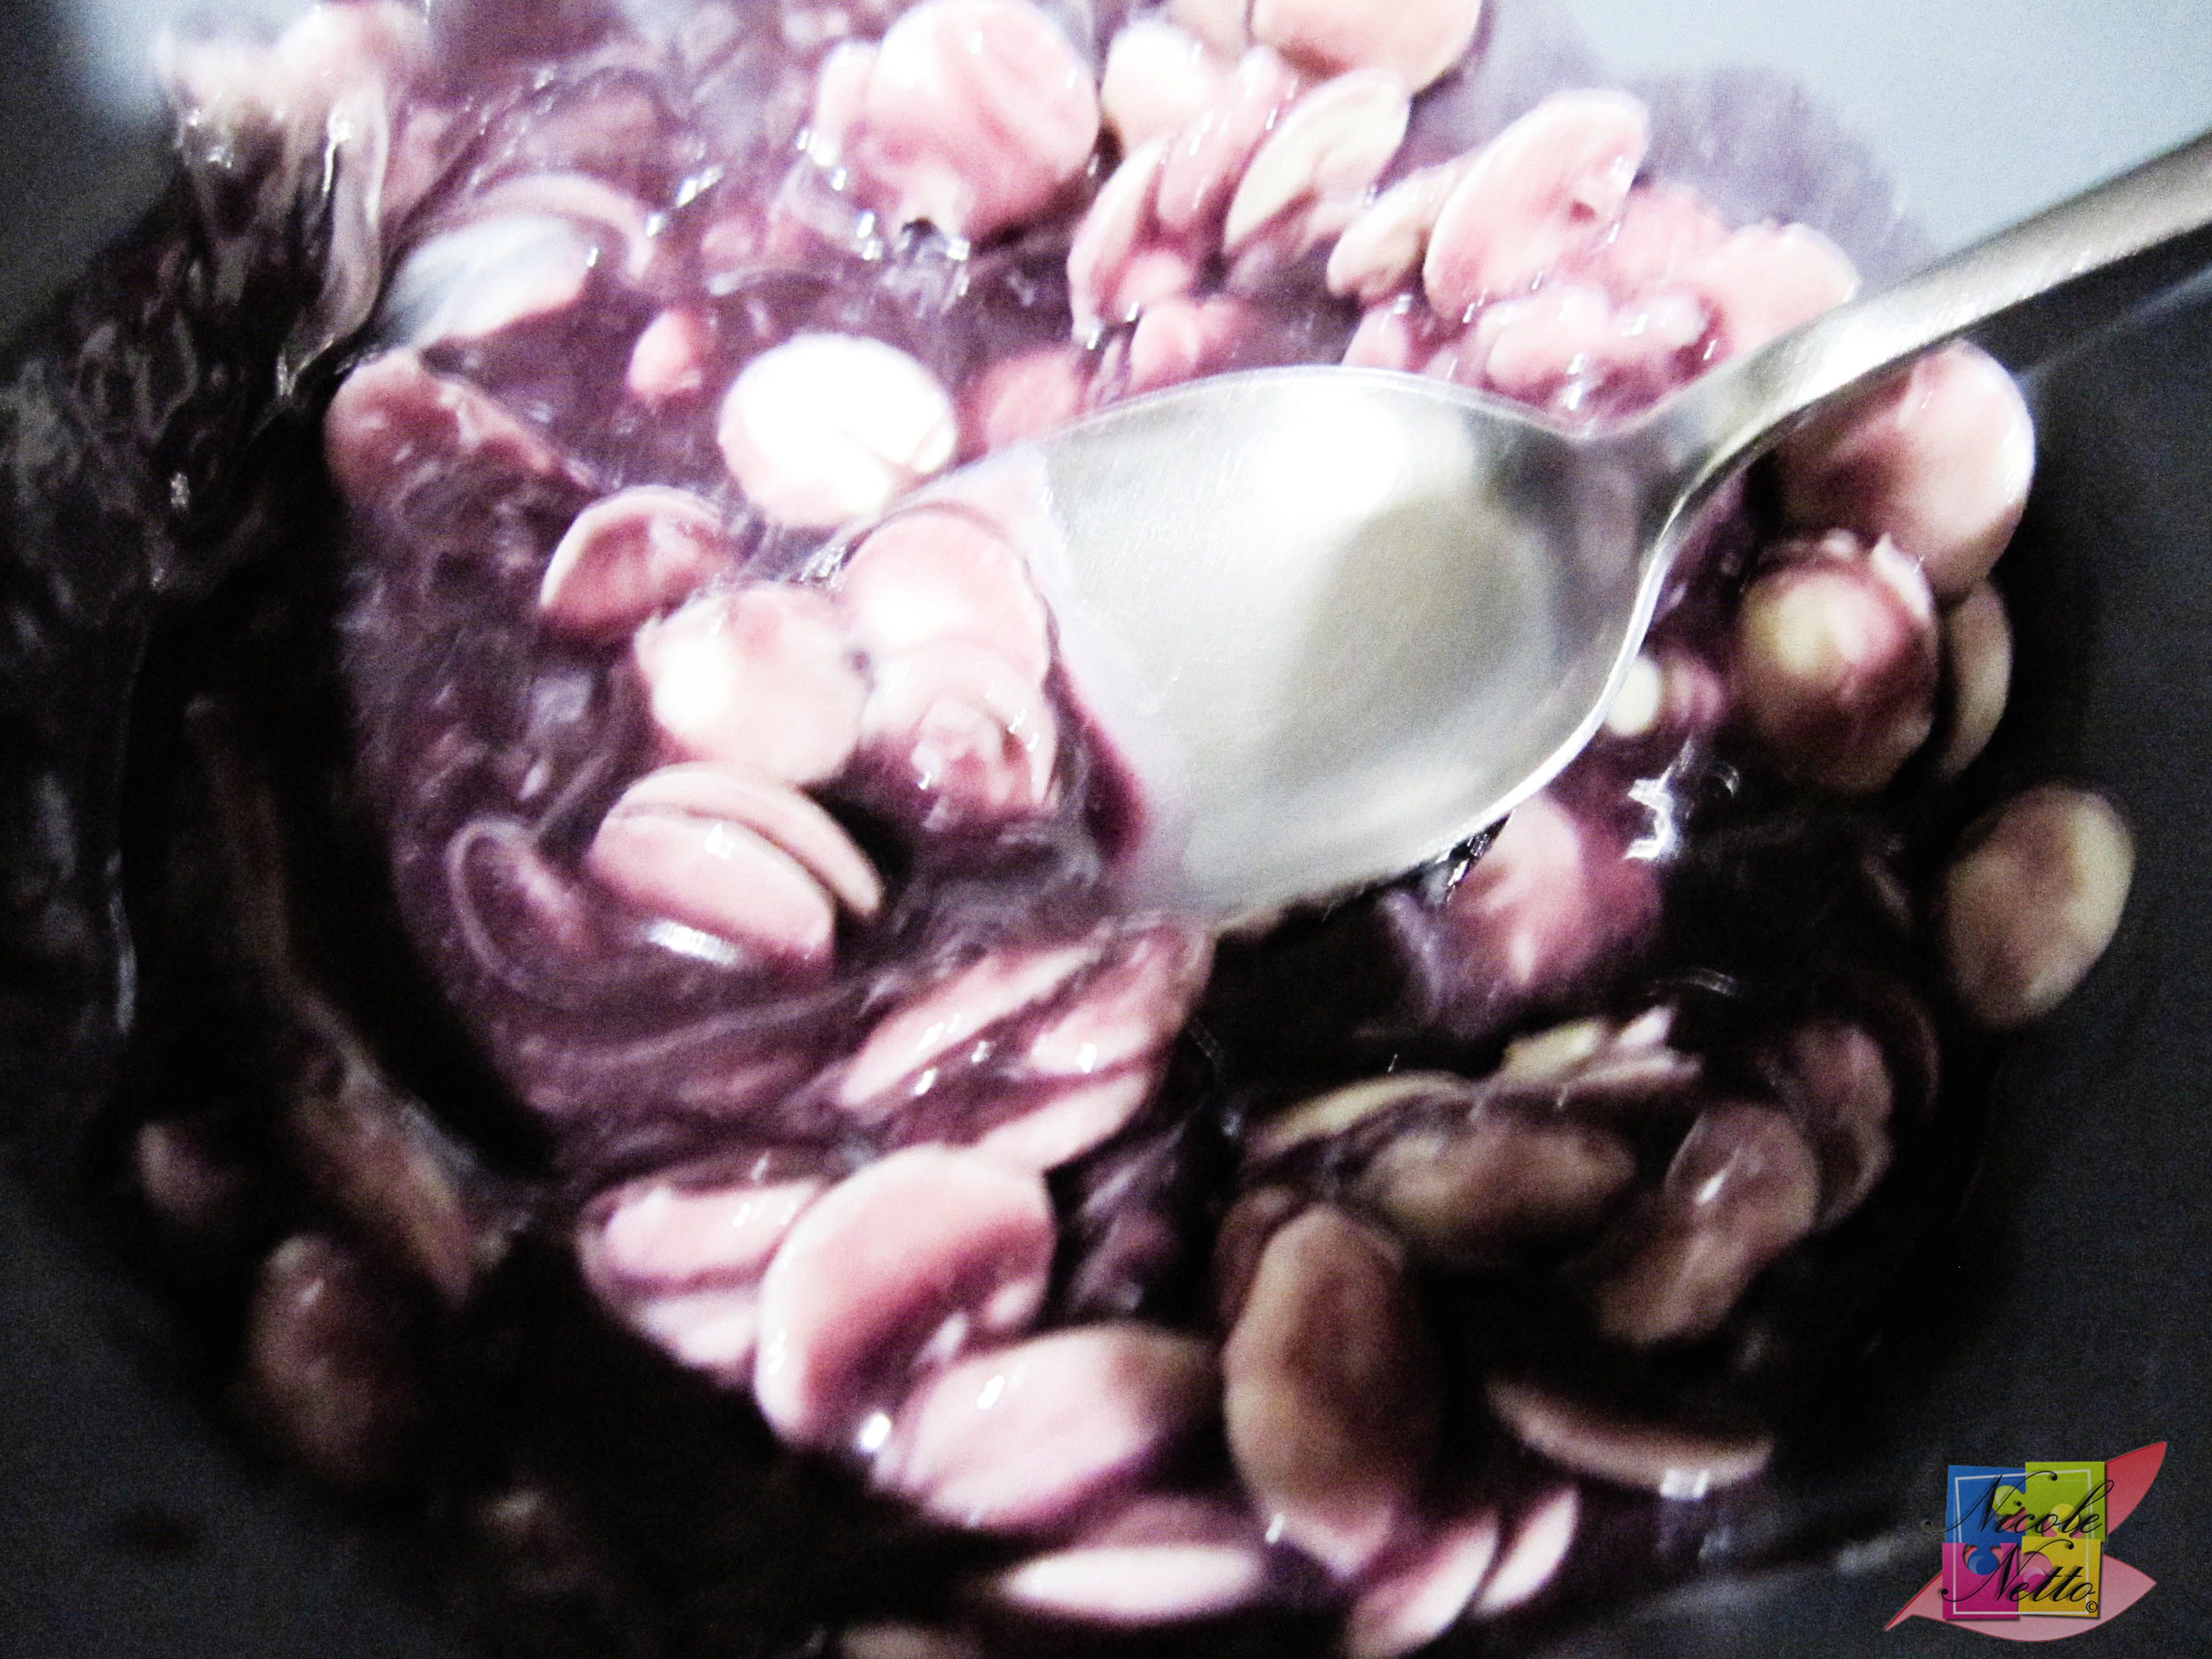
Mash up the fresh blueberries to a fine pulp. Add this mixture to the lavender cream mixture and bring to the boil on medium heat until the mixture reached 60ºC.
Note: Should you wish to modify the colour of the ganache further, this would be the point to add the color in, prior to bringing the mixture to 60ºC.
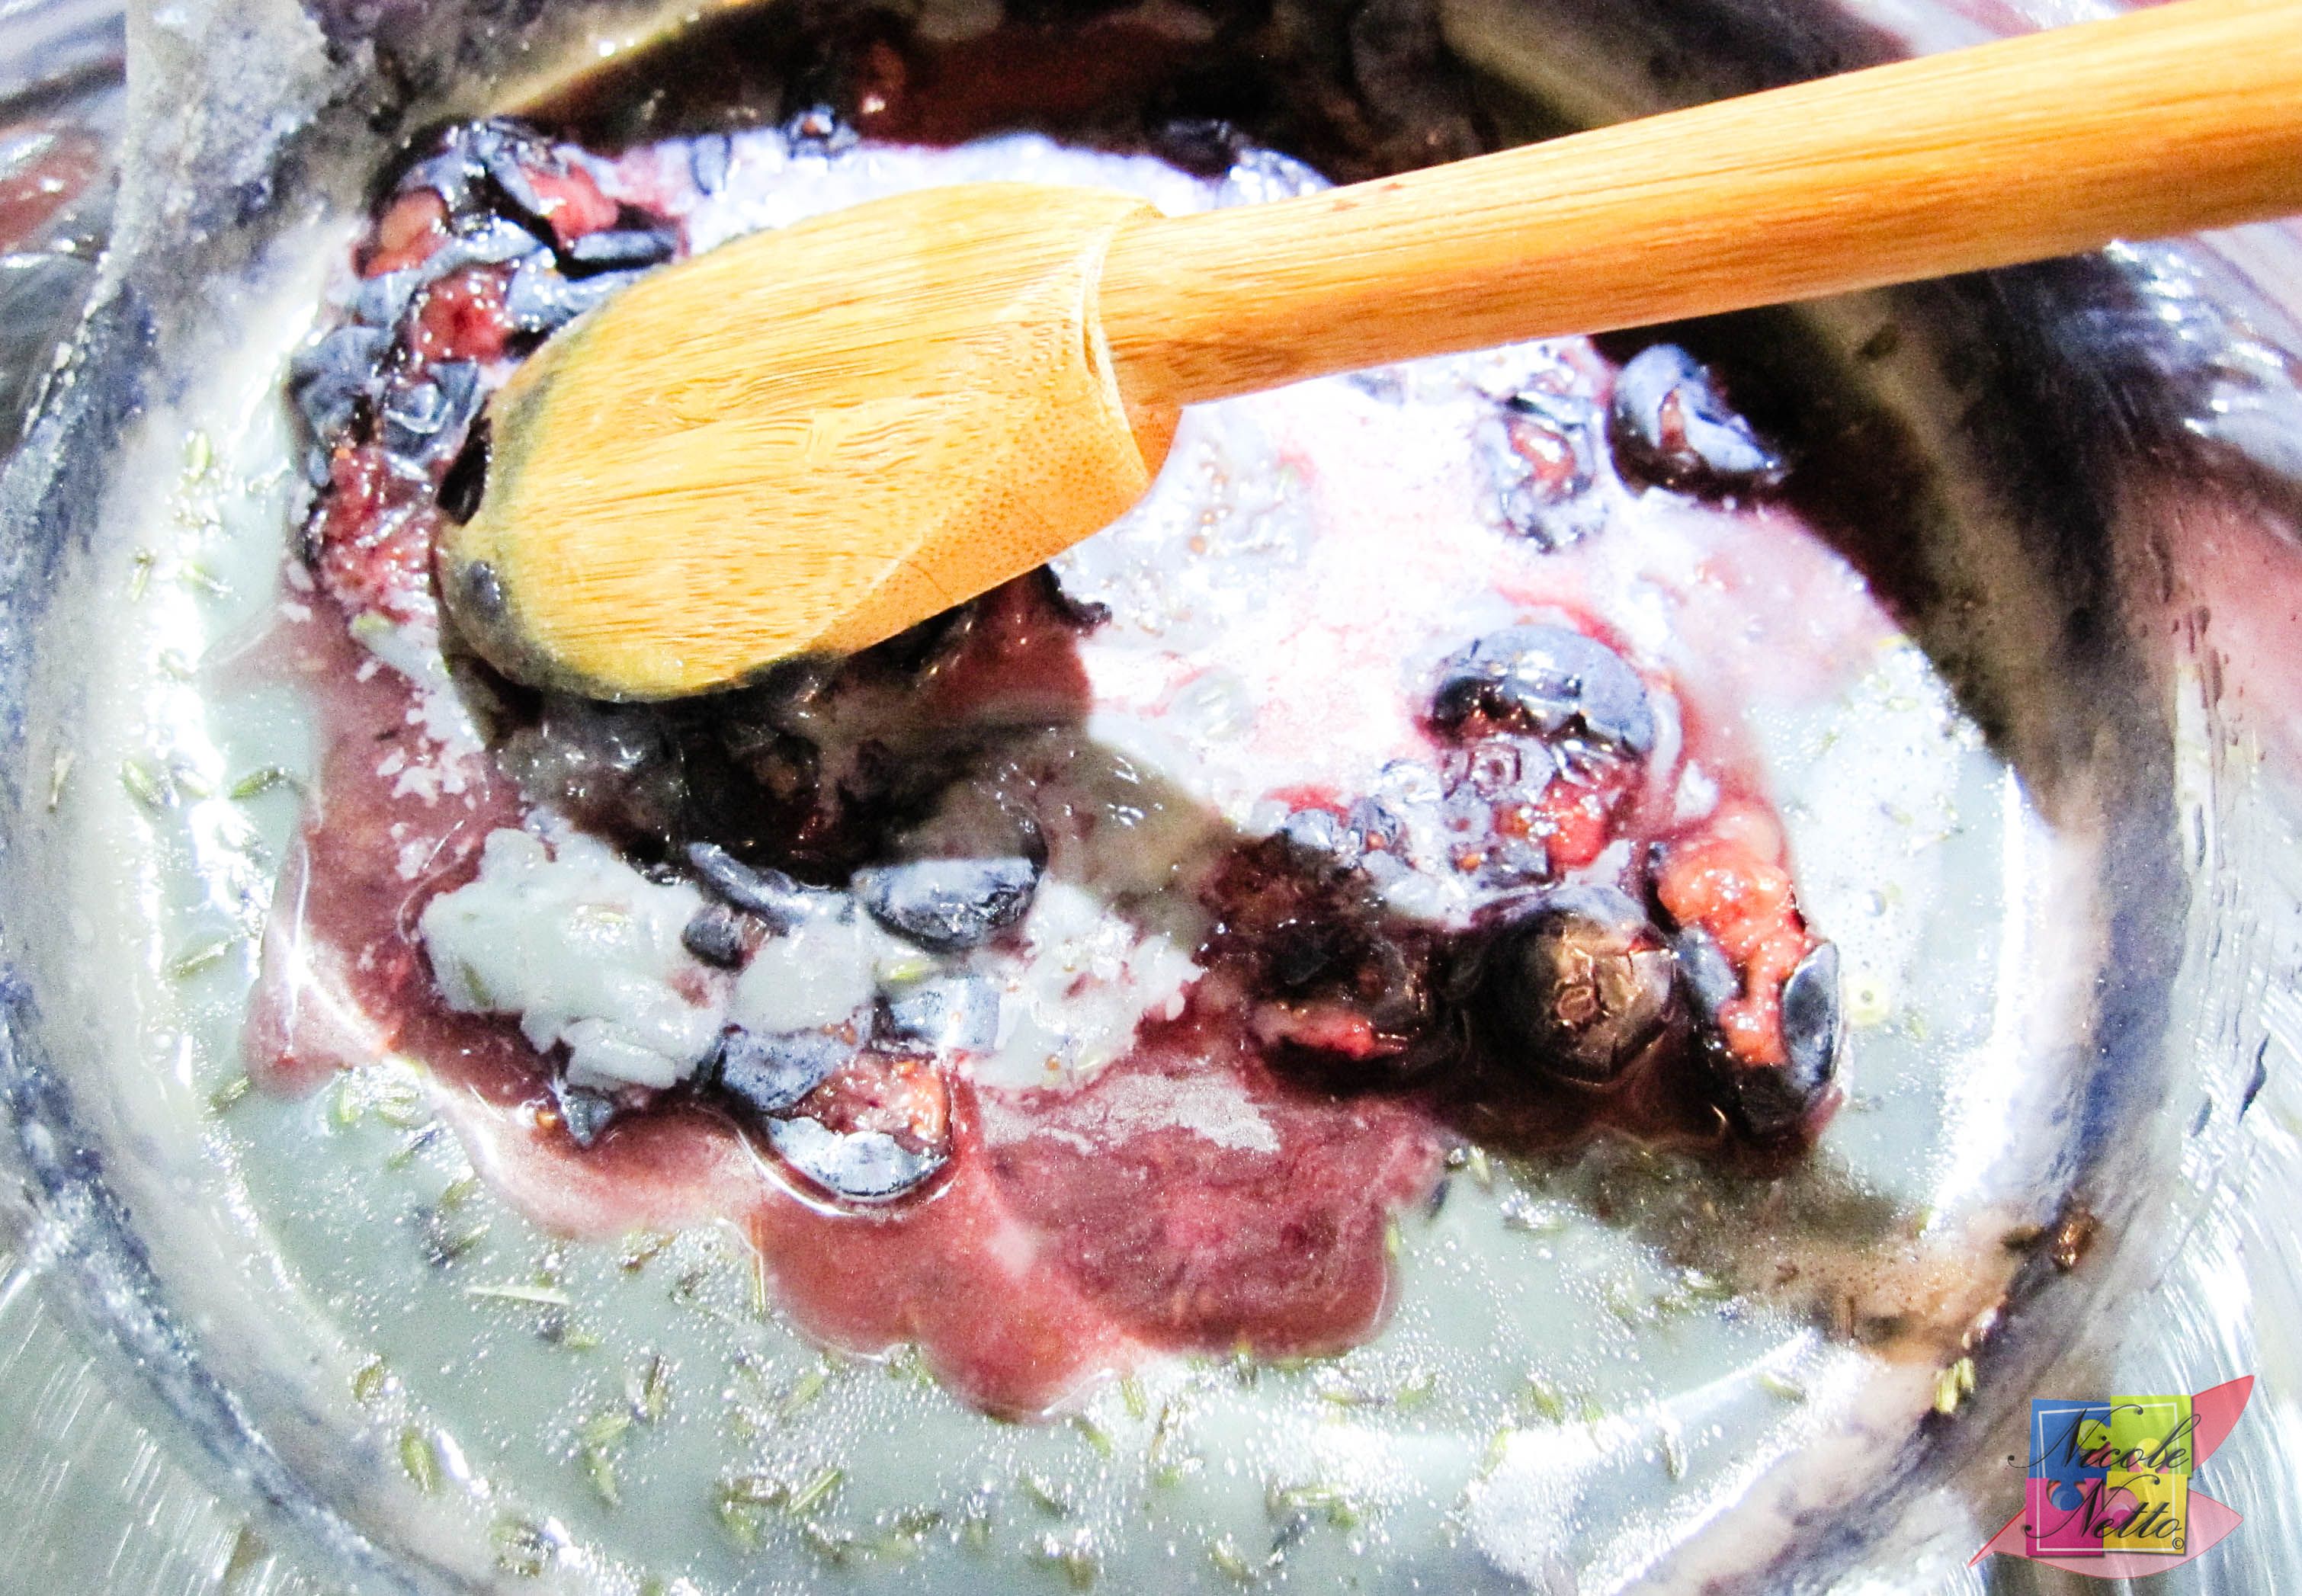
Added blueberry pulp to lavender and cream mixture
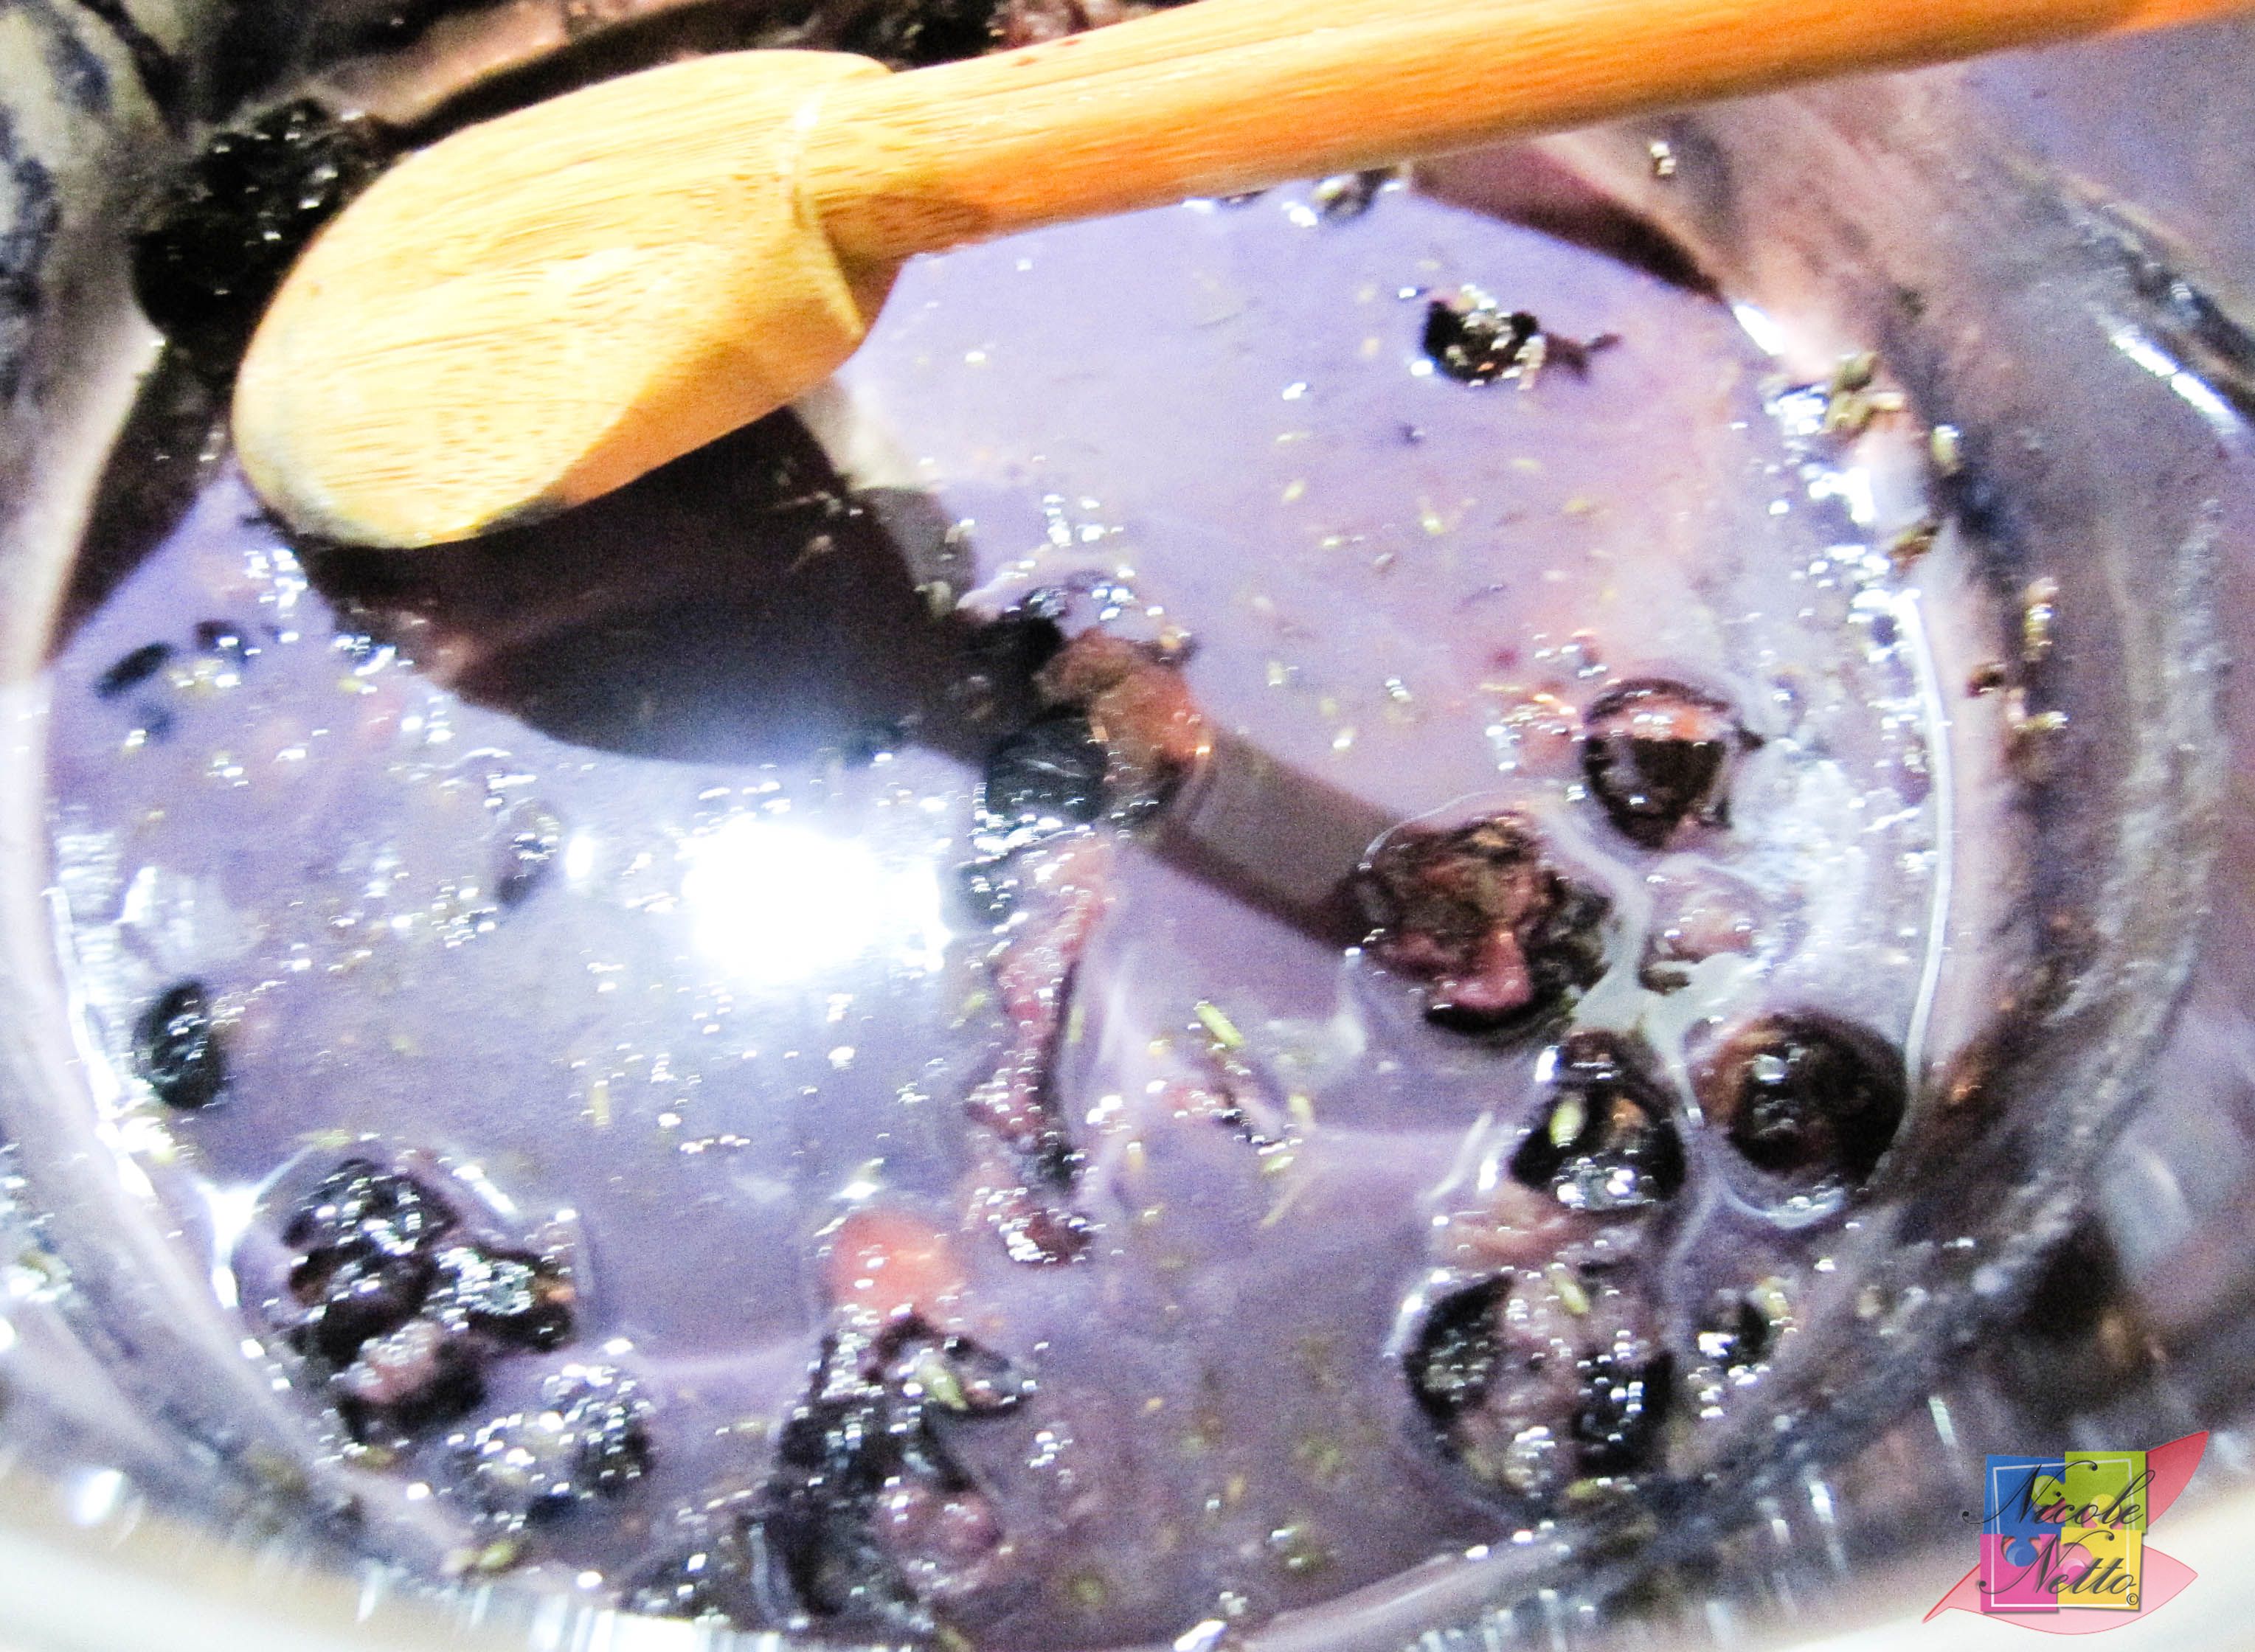
Lavender, cream and blueberry pulp mixture being bought to the boil
Strained mixture into white chocolate
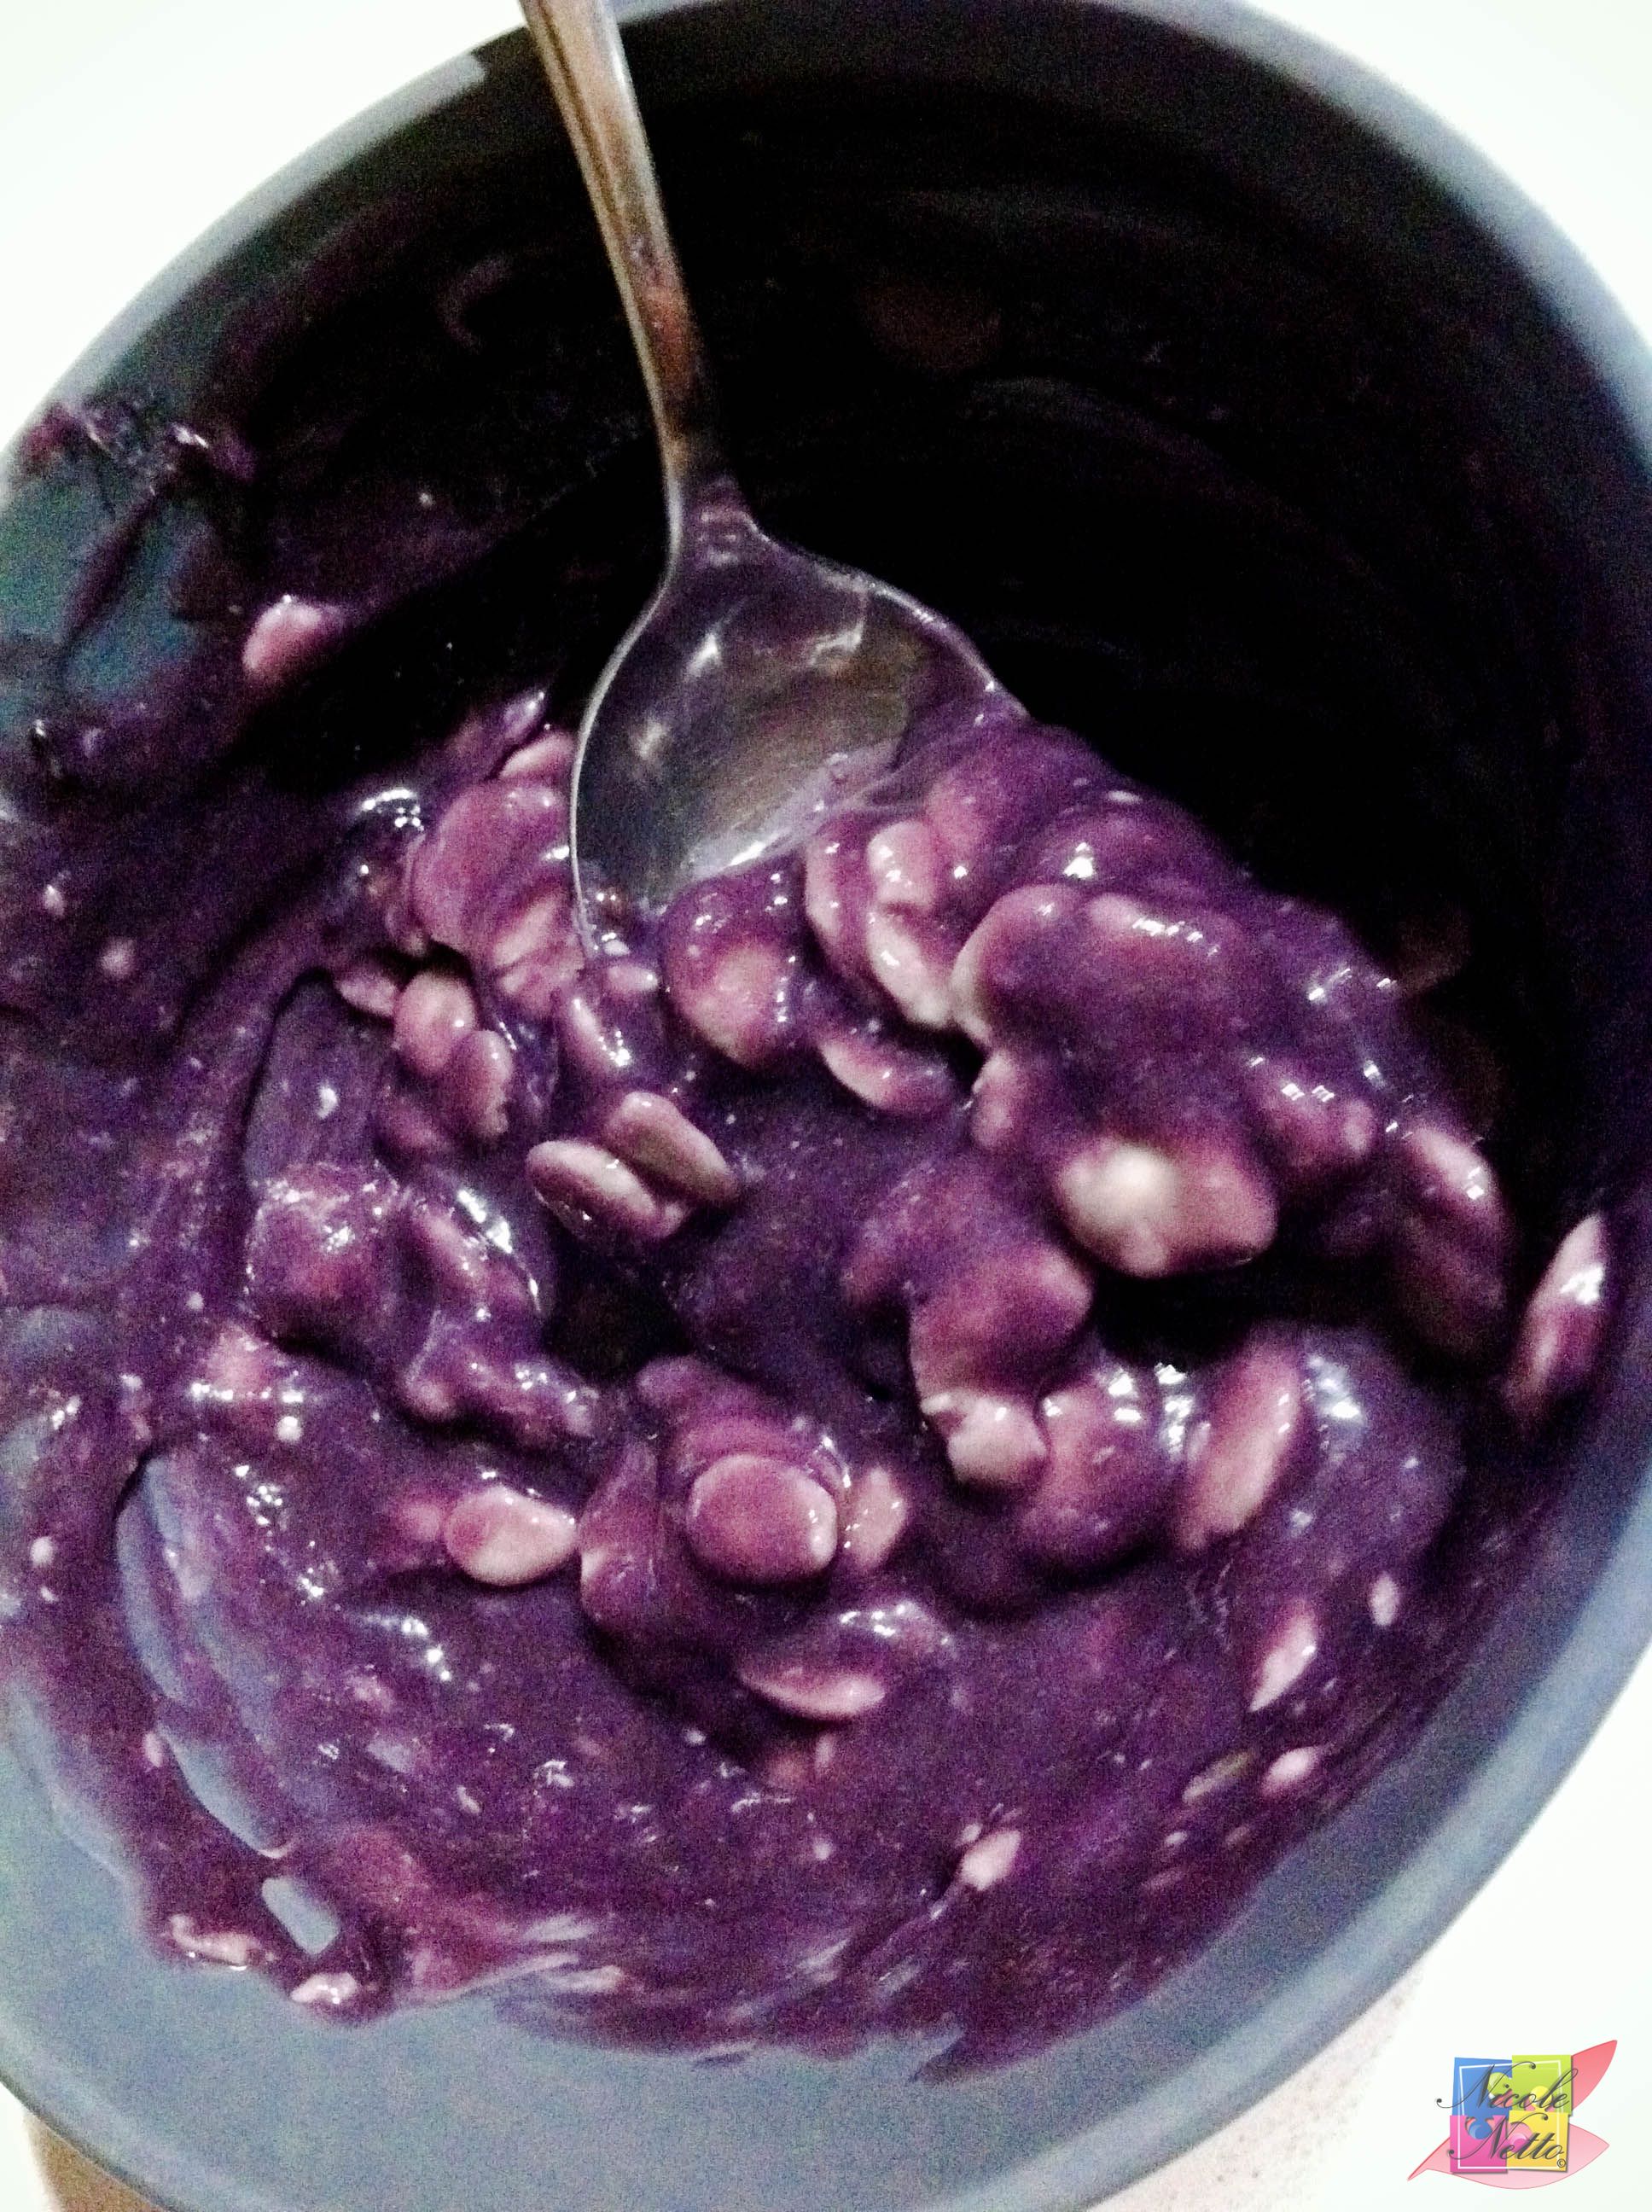
Lavender and Blueberry white chocolate ganache mixture
Pour this entire mixture through the strainer OR sieve over the white chocolate. Push as much as you can through the sieve and discard the remains in the sieve.
Mix the white chocolate and hot lavender and blueberry cream mixture well to form the ganache. Set the ganache aside to cool and become firm enough to pipe.
At this stage:
If you have a piping bag:
Fill a piping bag with a 7 mm plain nozzle with the ganache and set aside.
If you do not have a piping bag:
Set aside until you are ready to assemble the macarons. Again you can use 2 spoons to fill in the mixture by scoop an appropriate amount of the mixture with one spoon and pushing it out onto the macaron shell with another.
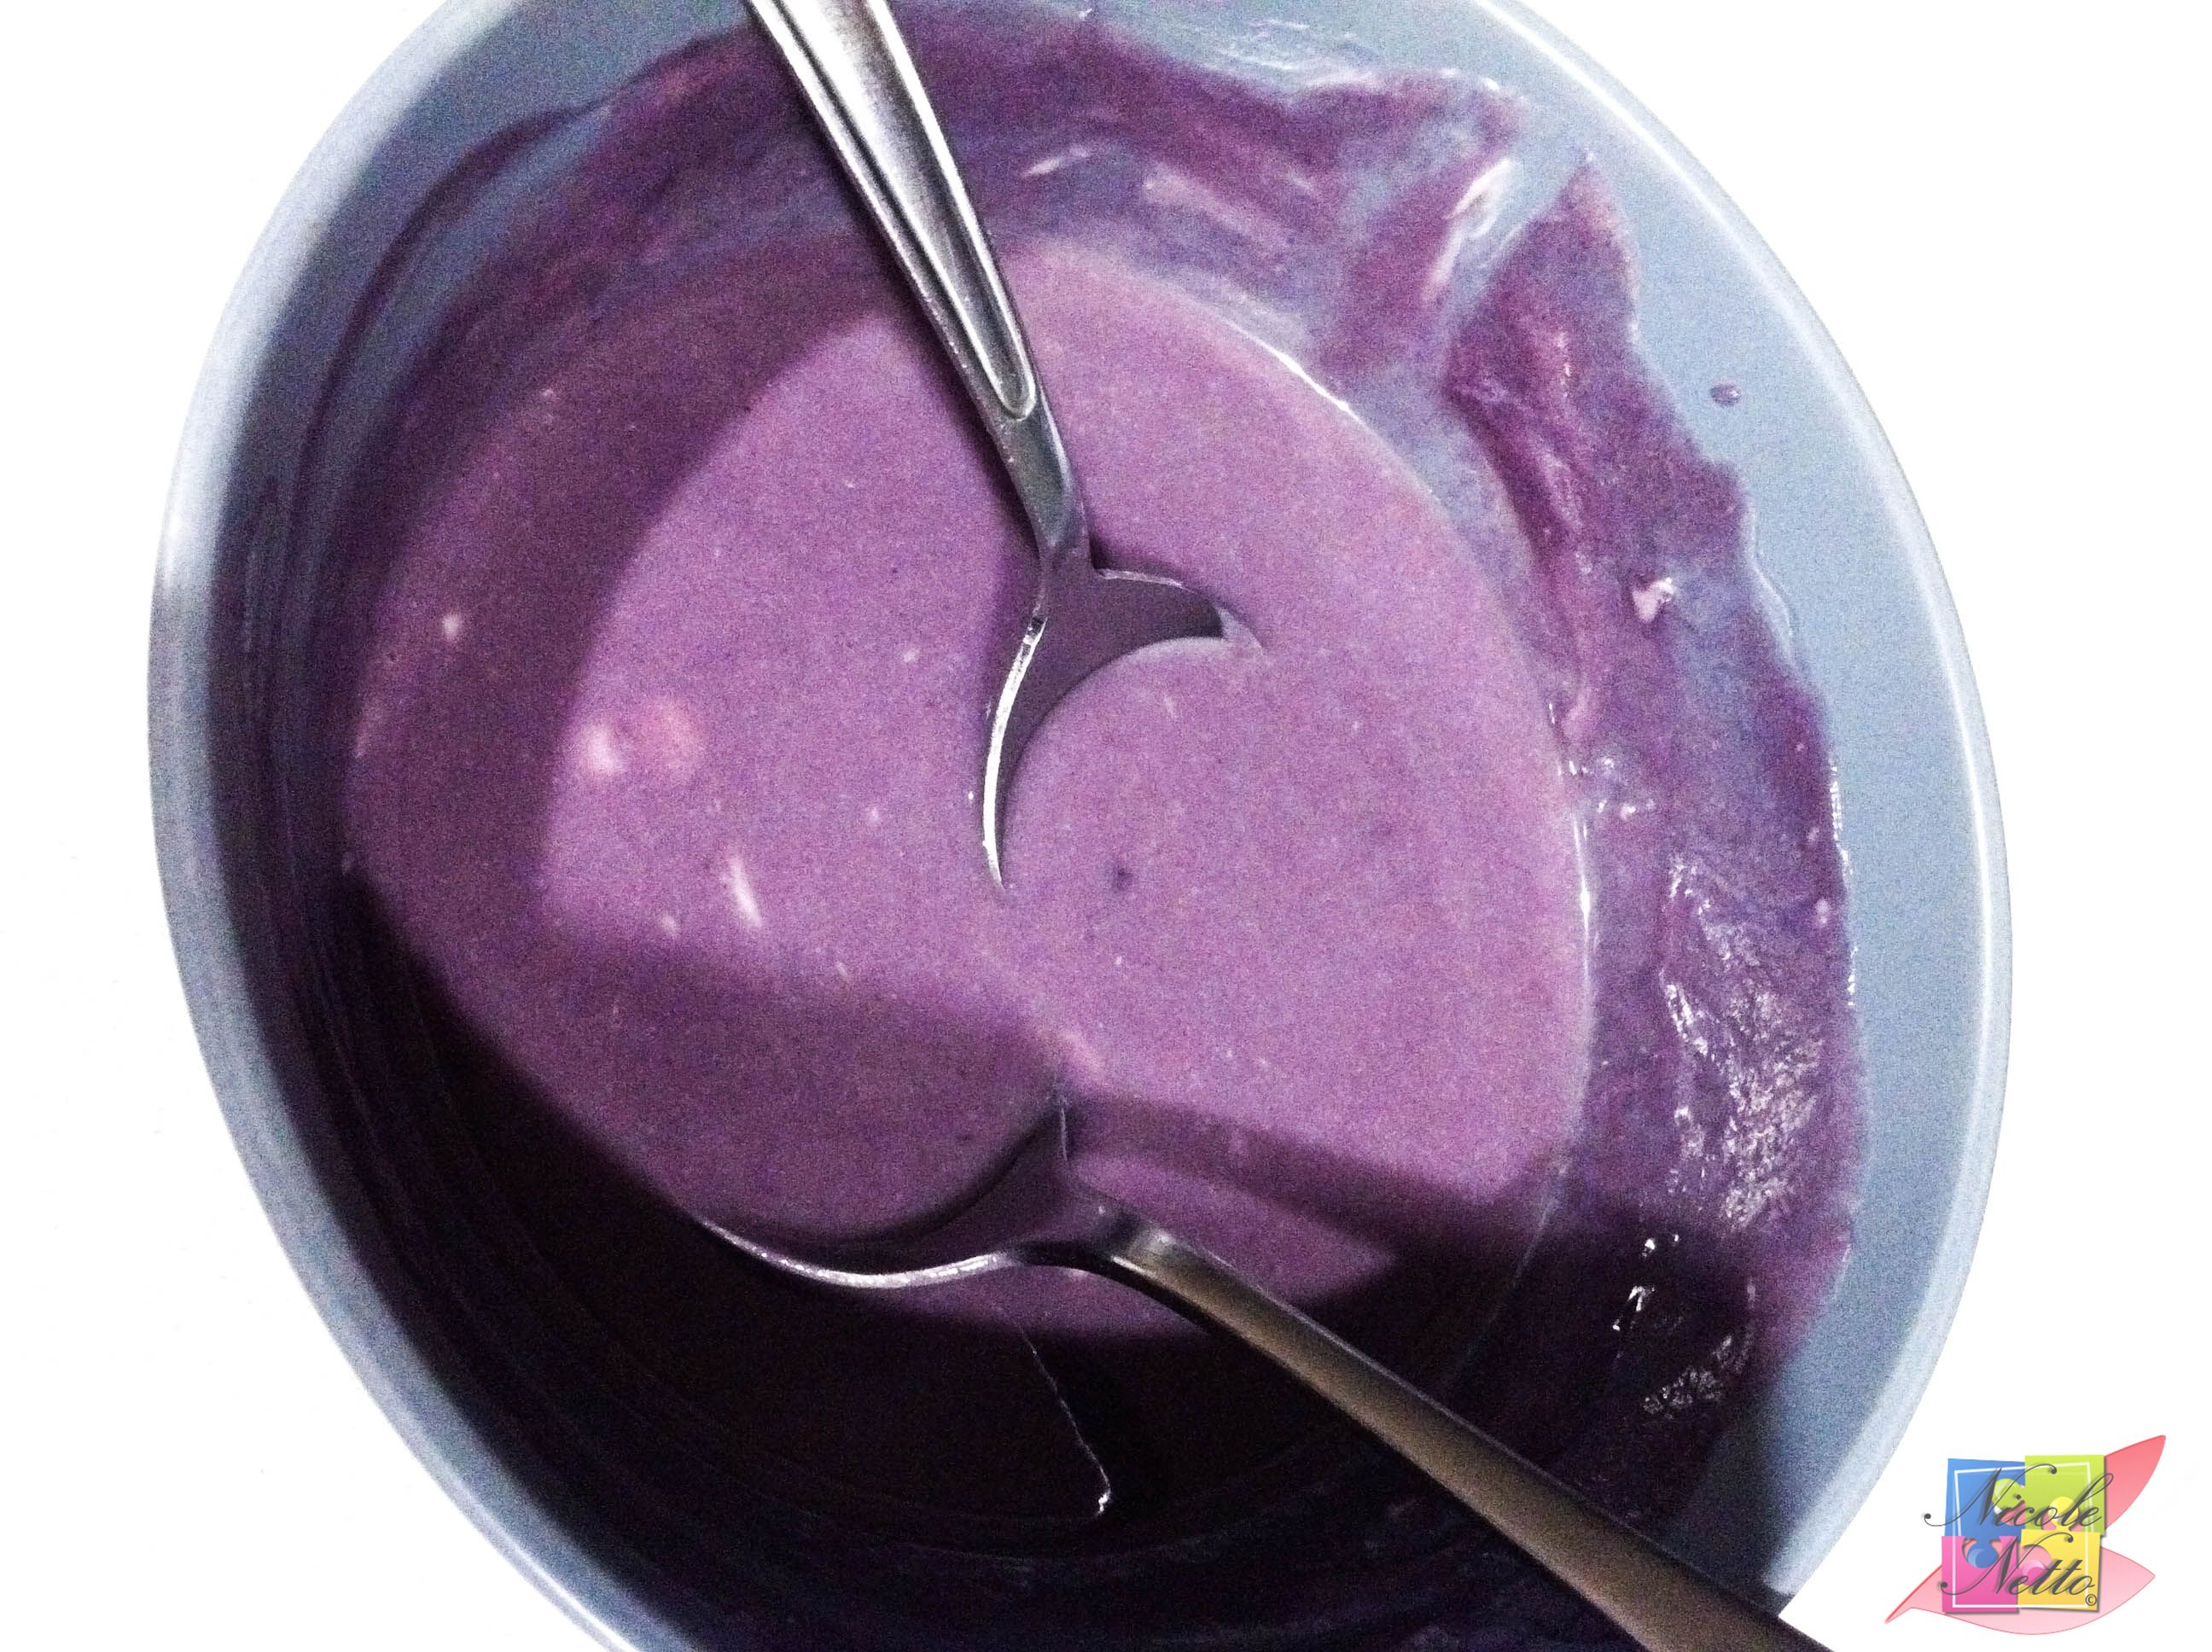
Prepped, cooled and thickened Lavender and blueberry white chocolate ganache
Method – Lavender and Blueberry Macaron
When your macaron shells are sufficiently cooled, take one pair of matched up macaron shells that you have set aside, and pipe OR spoon in a good amount of the ganache.
Gently press the macaron shells, while avoiding cracking the shells, squeezing the ganache filling to evenly spread out in the center.
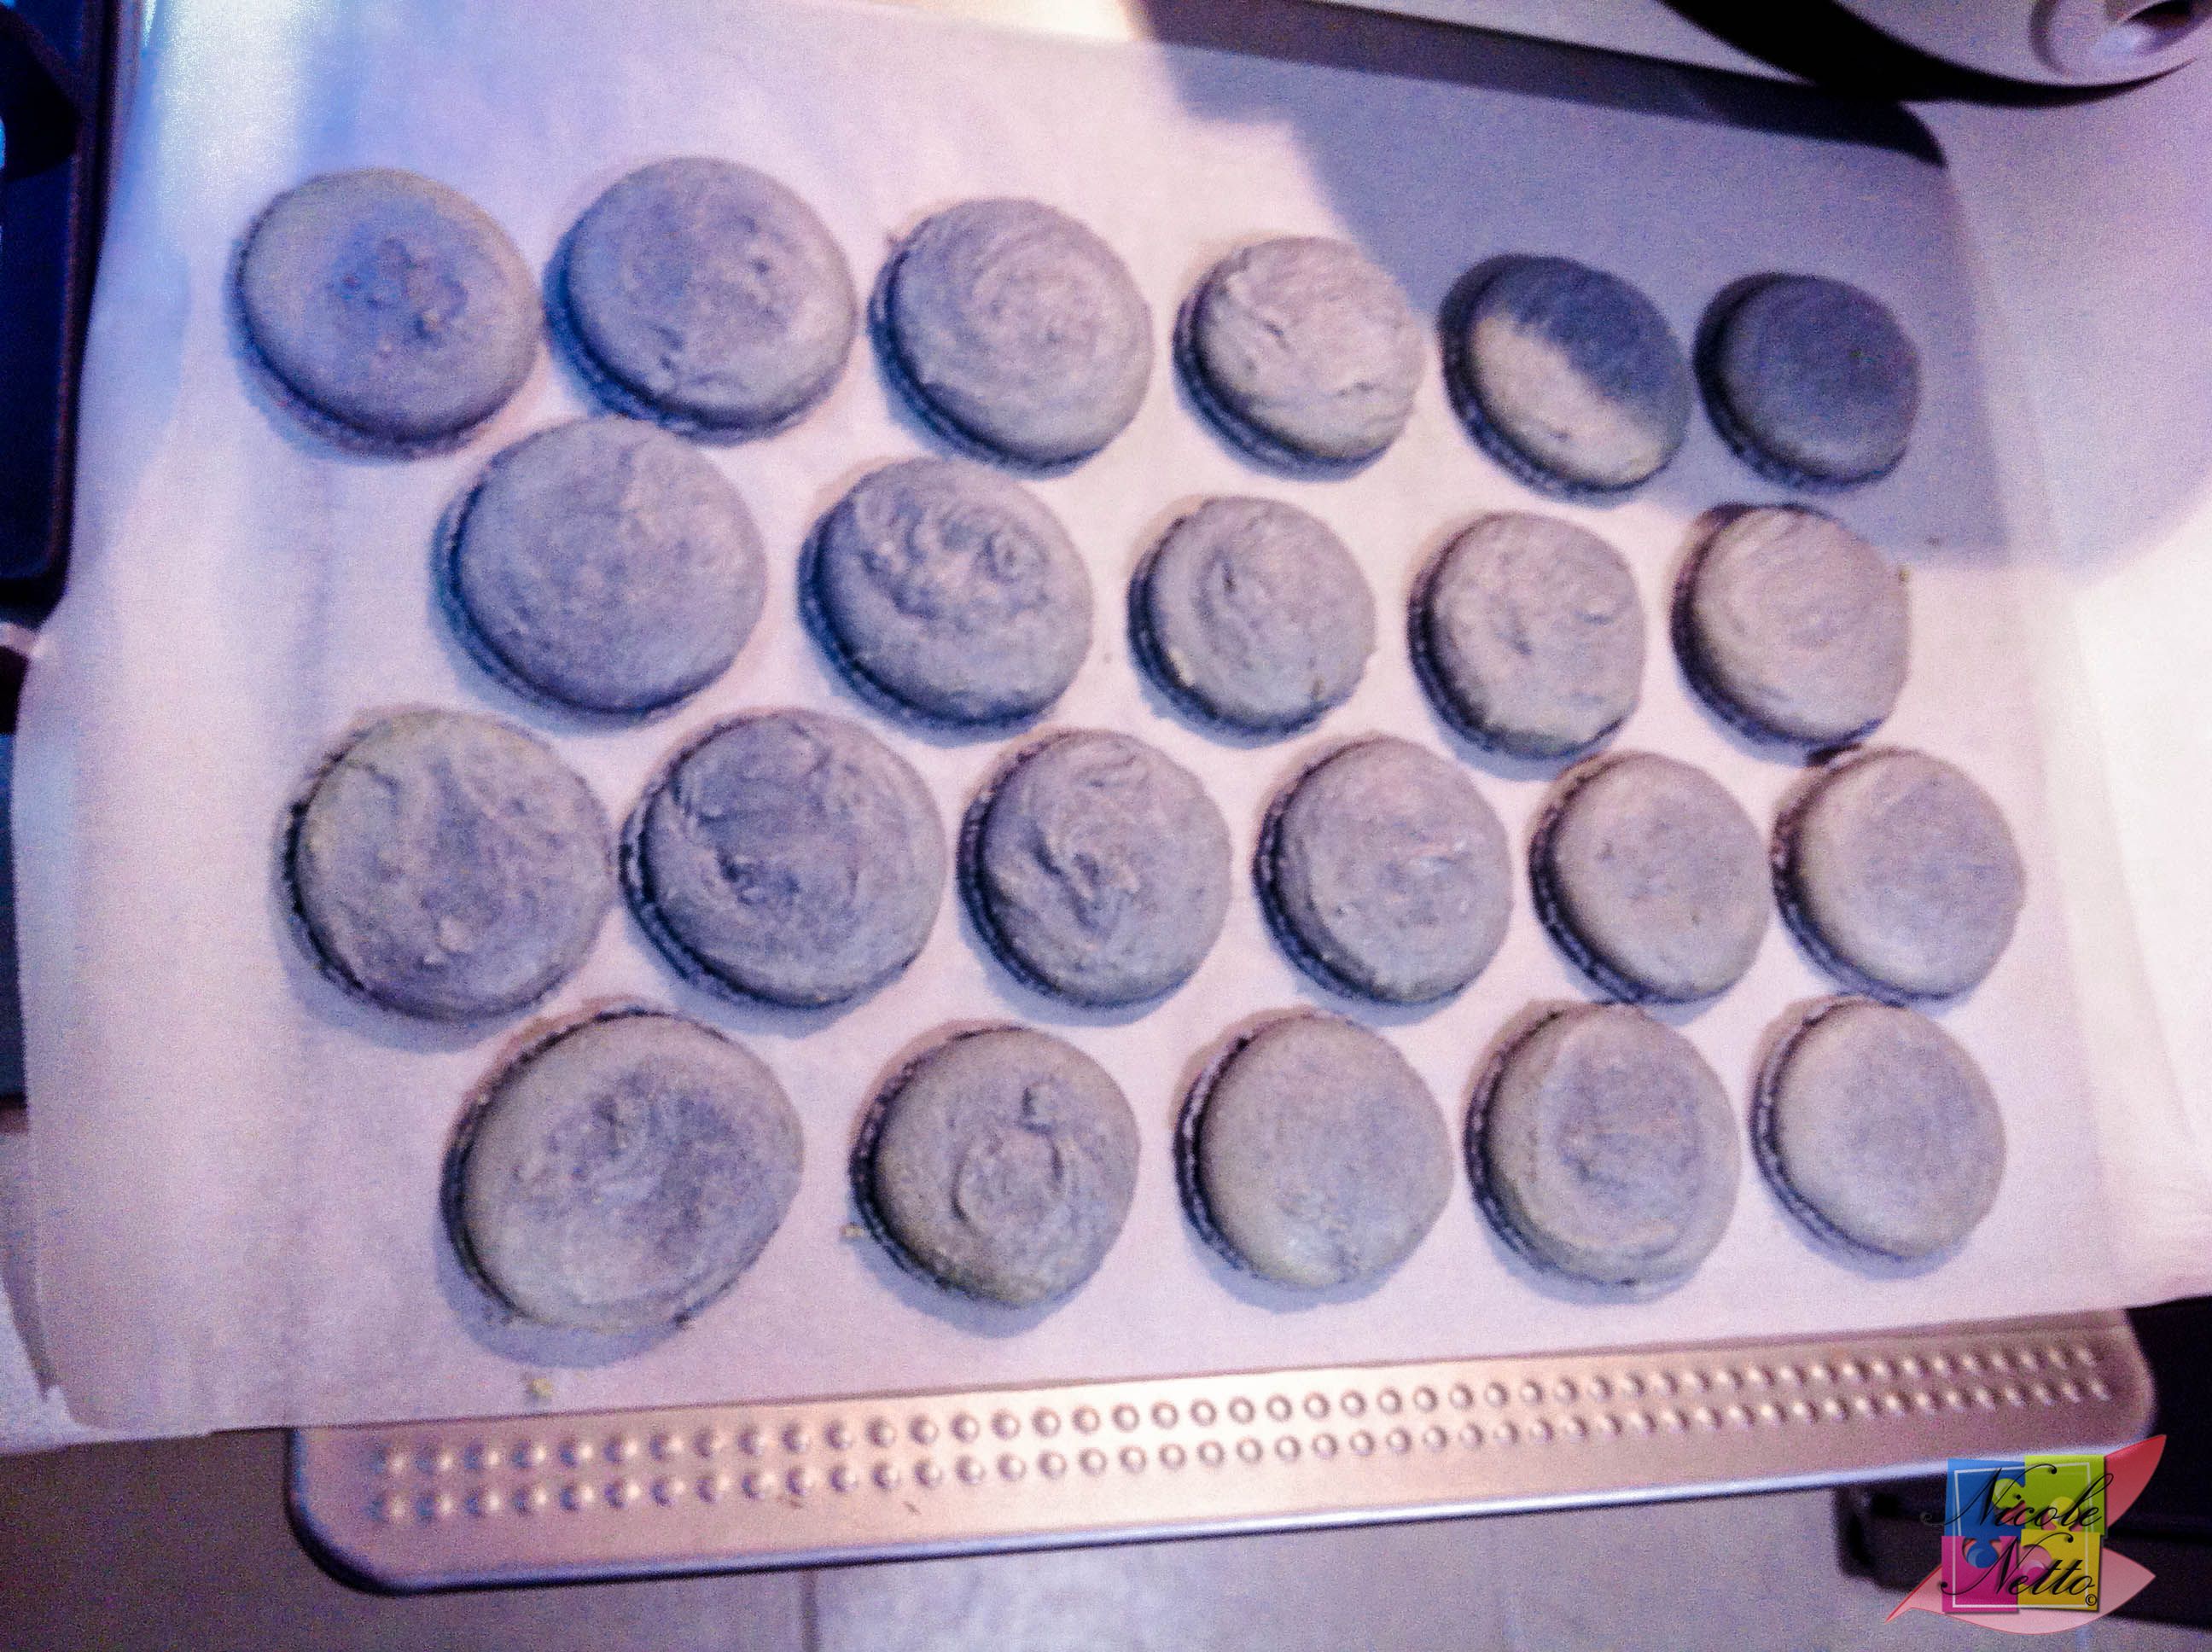
Baked macaron shells left for cooling
Assembled macarons
Ganache just filled between macaron shells
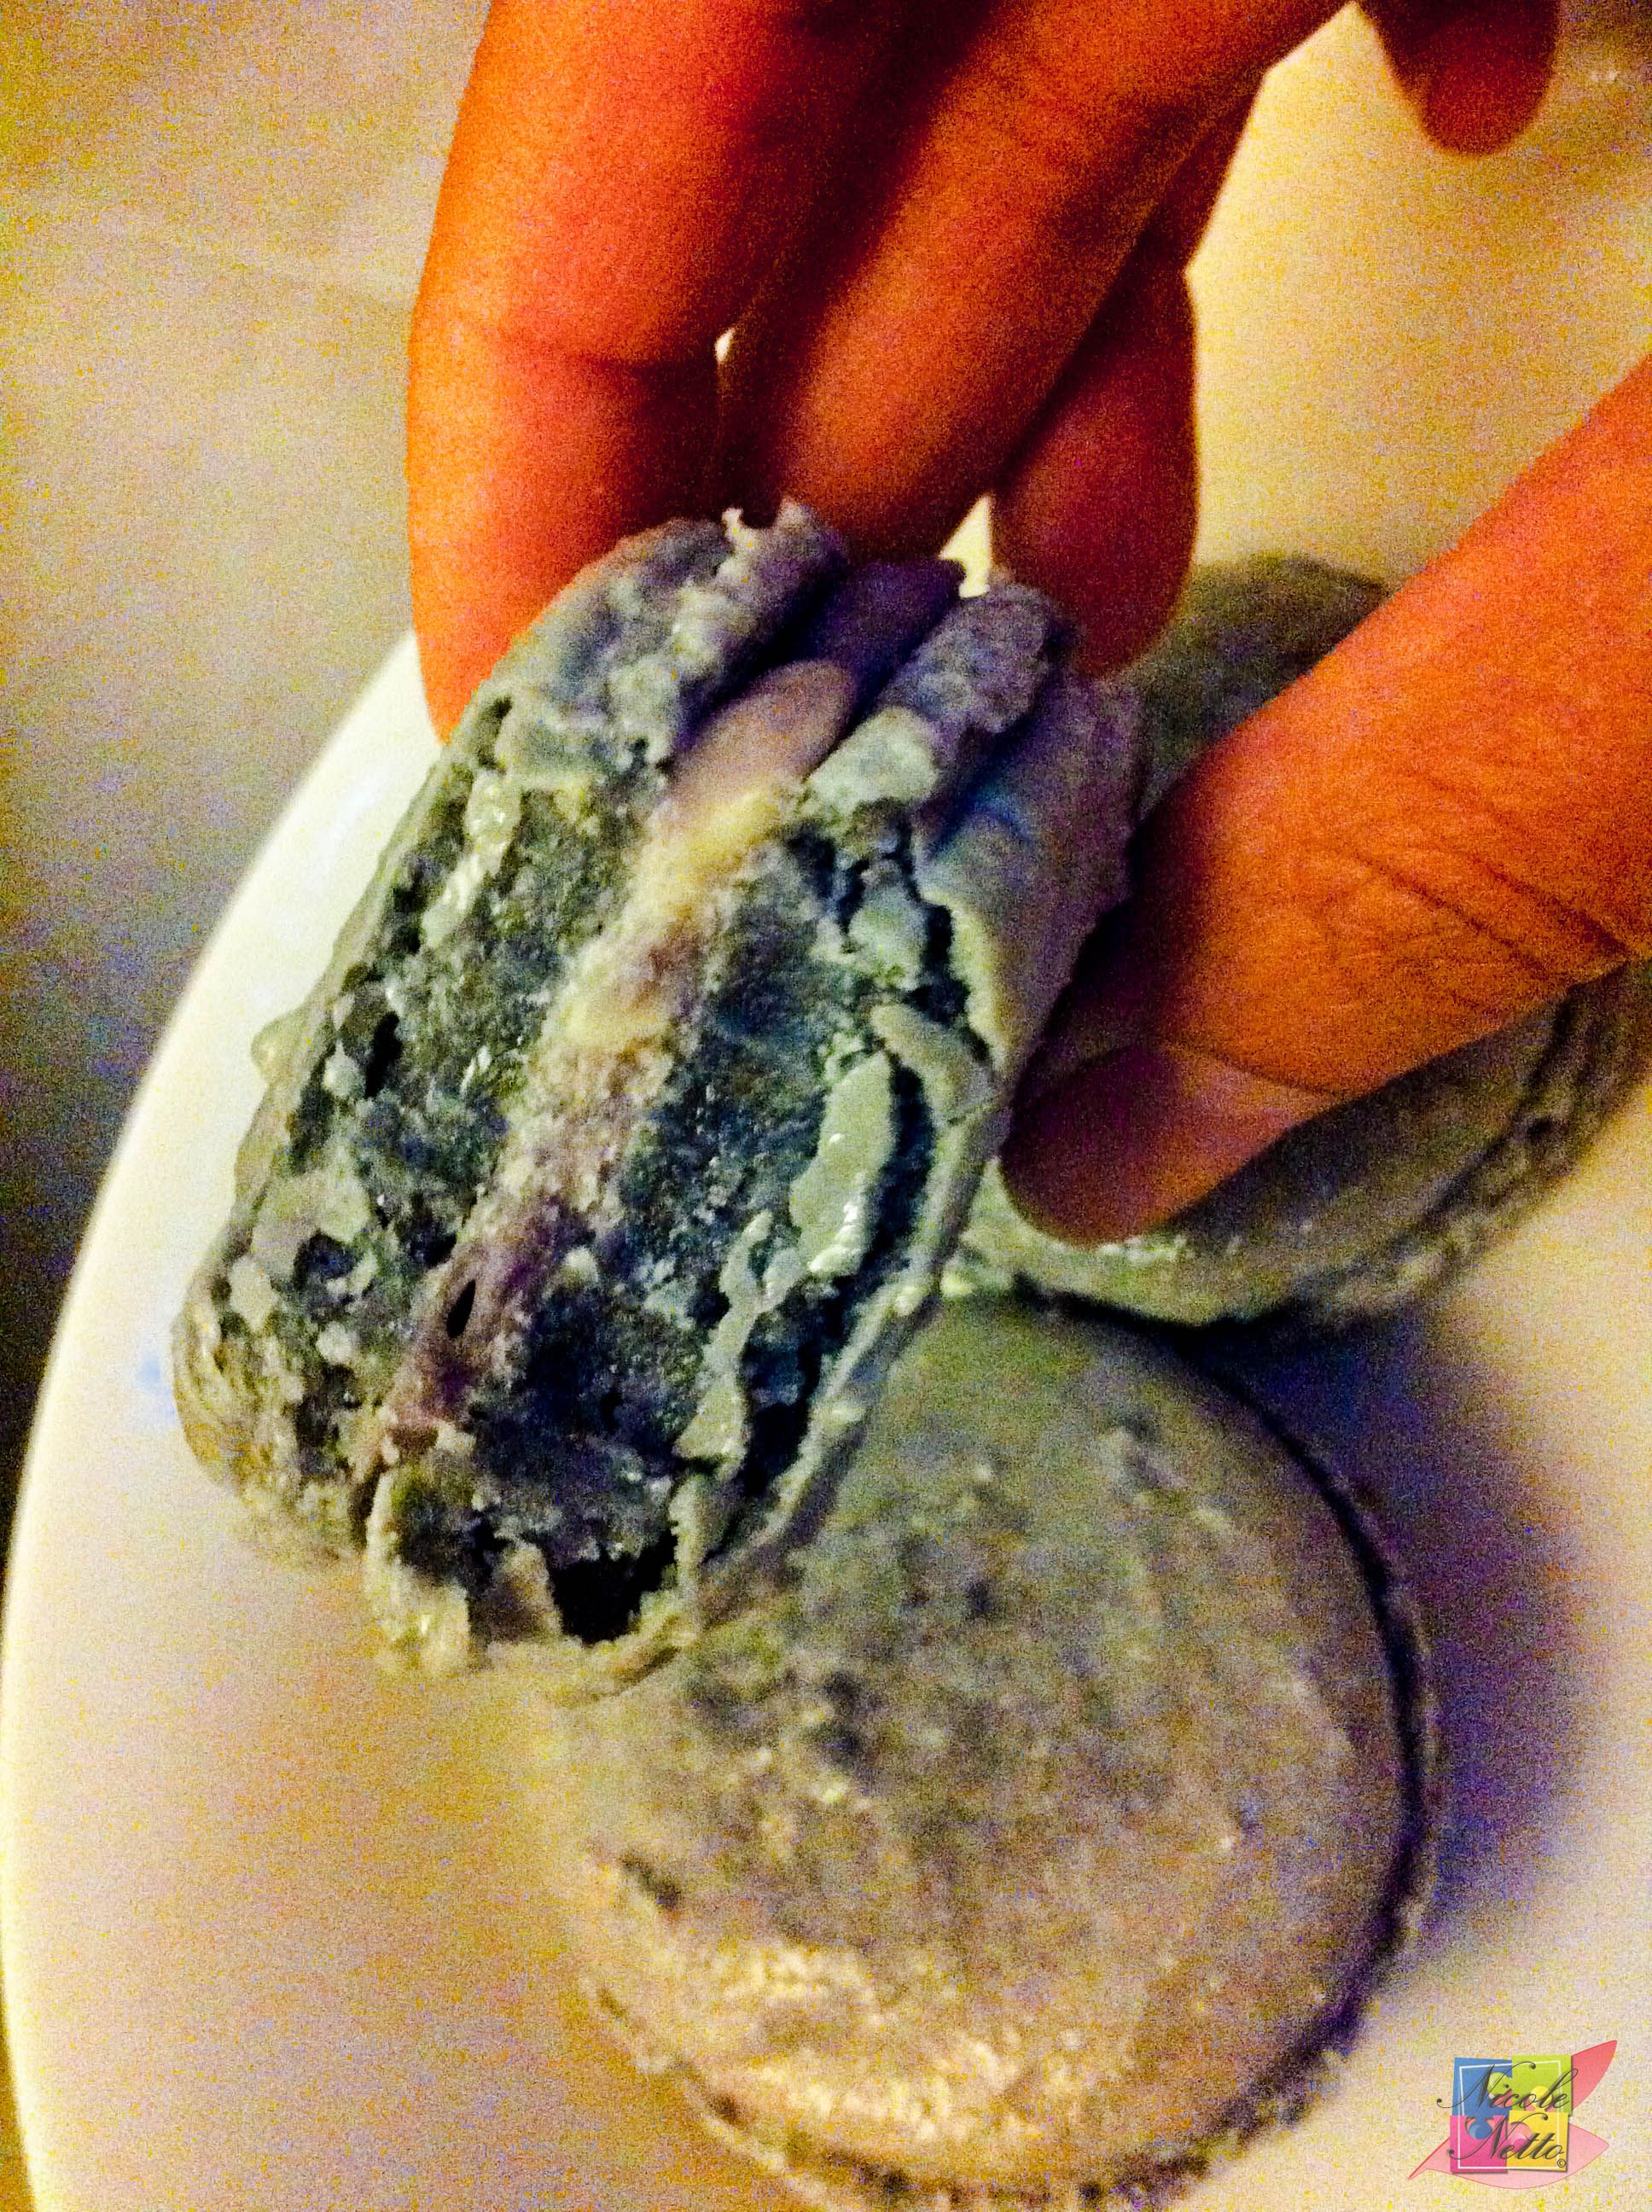
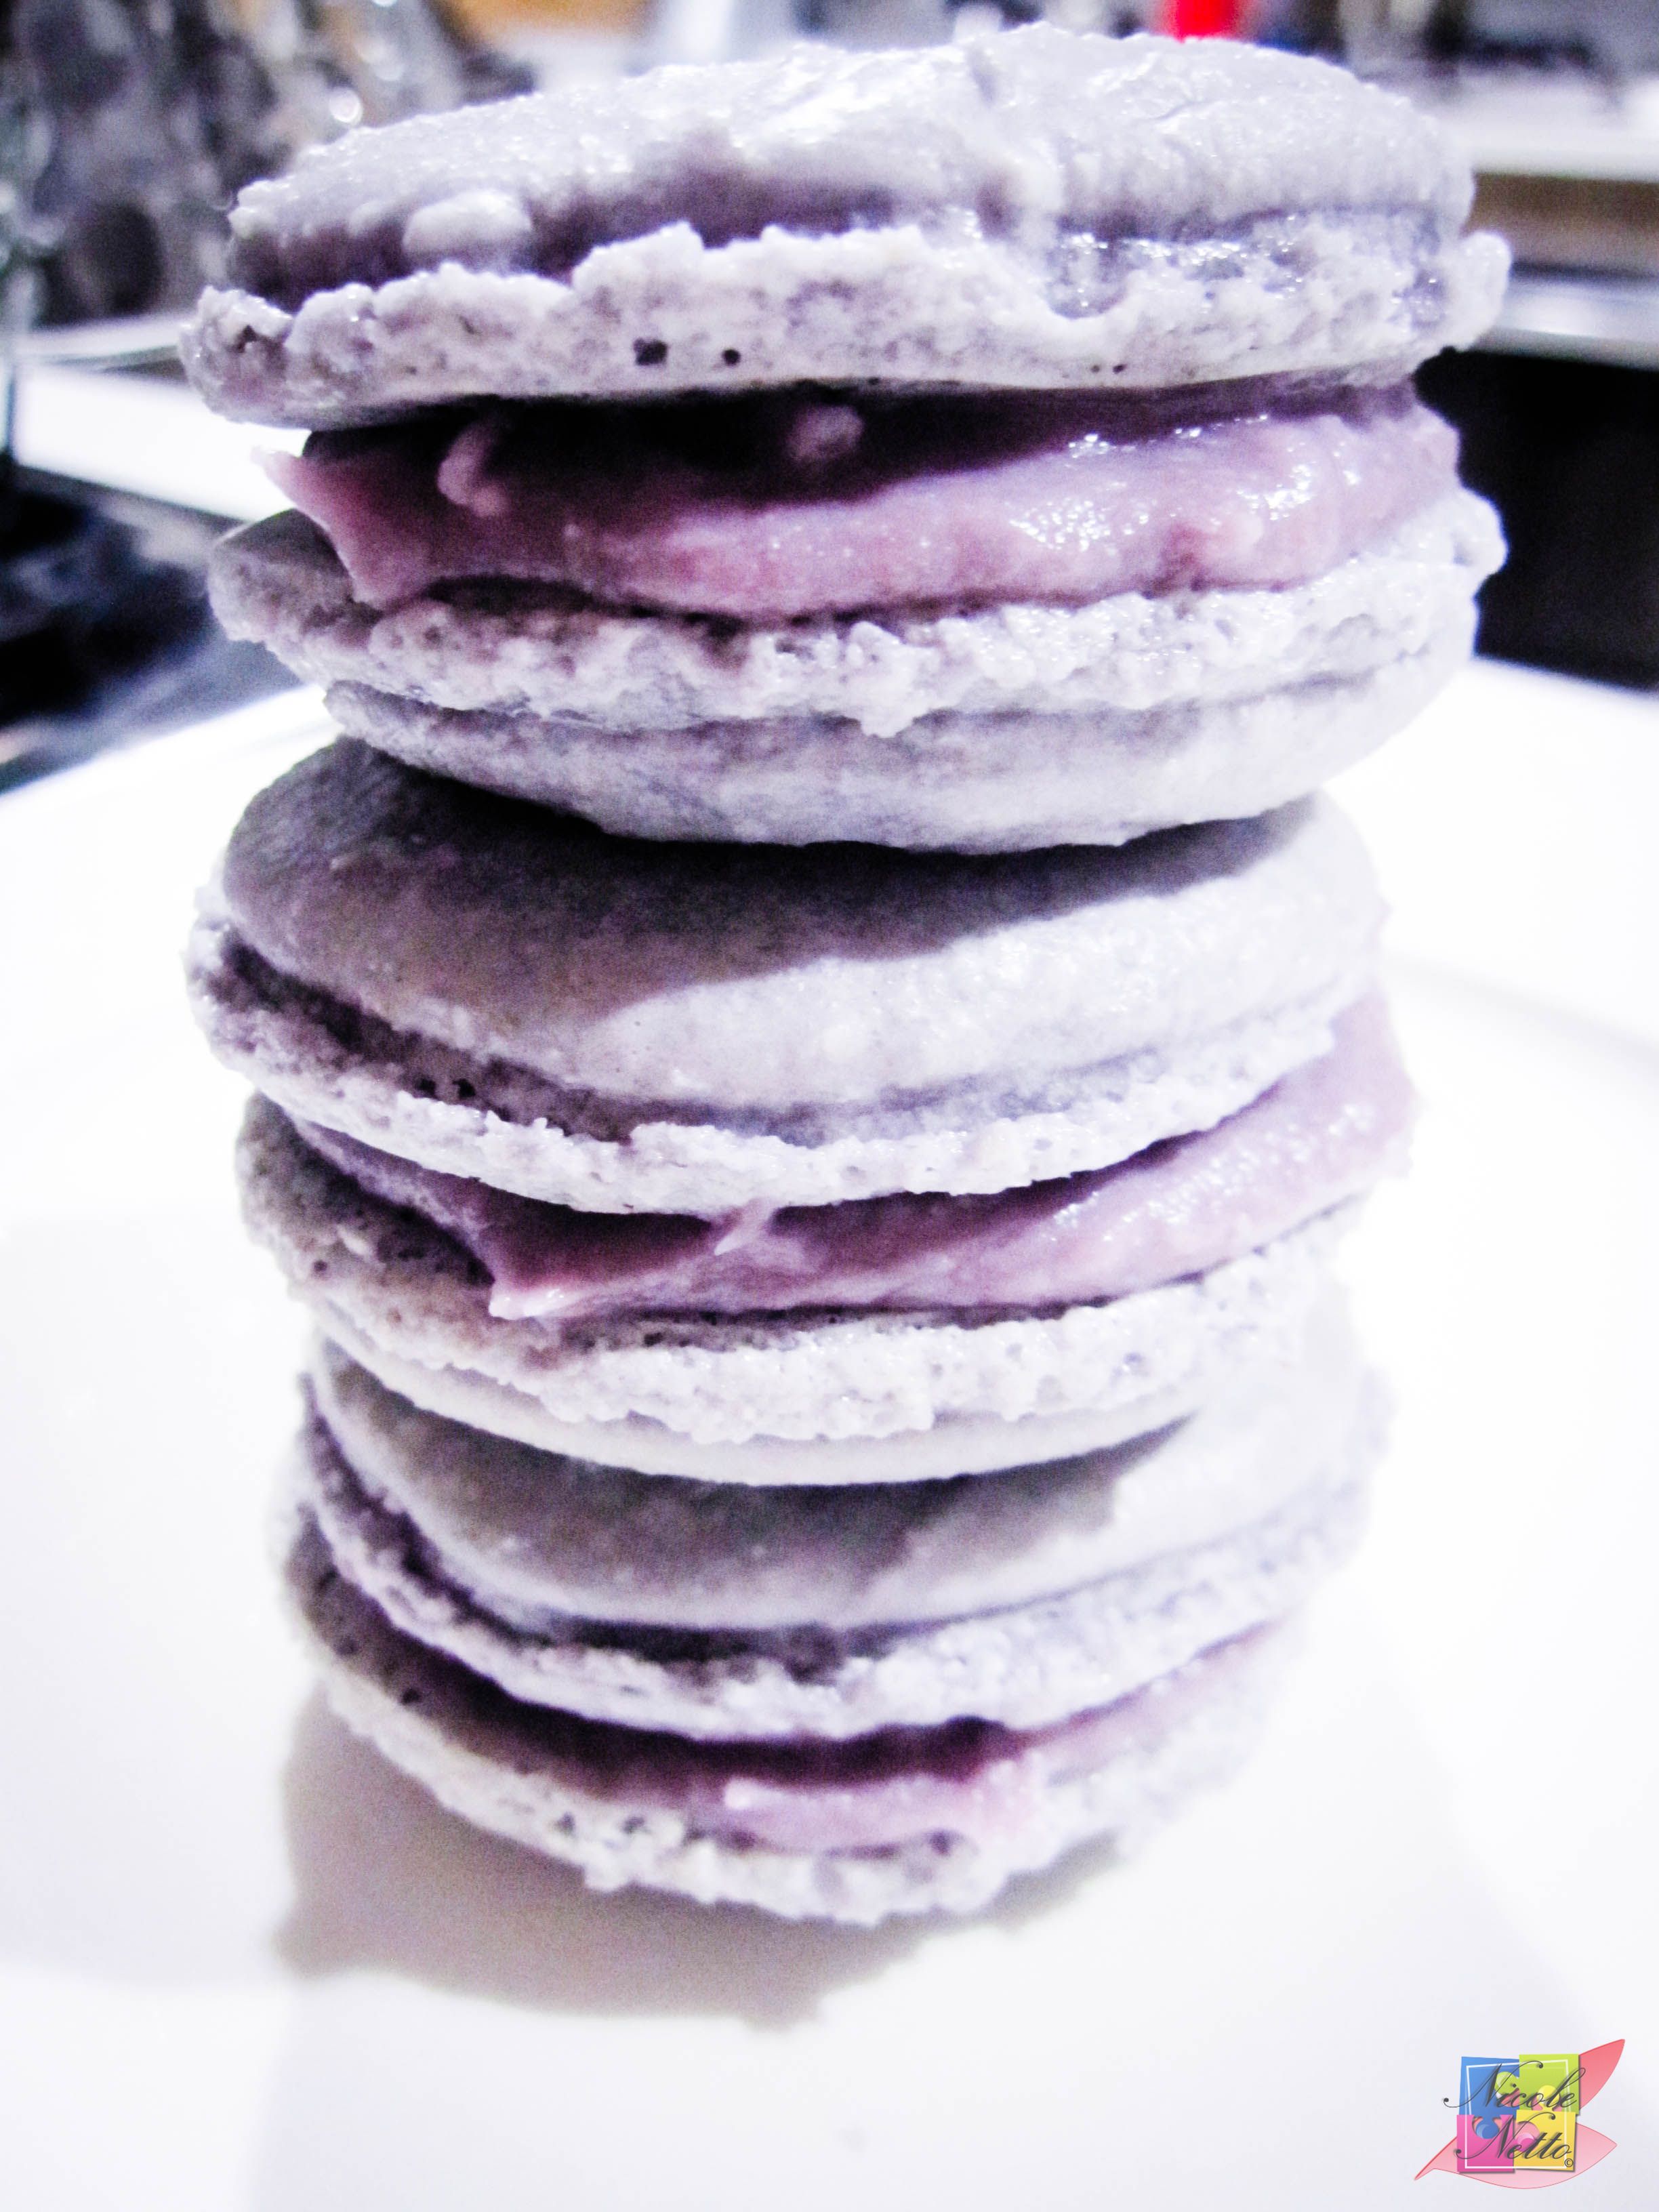
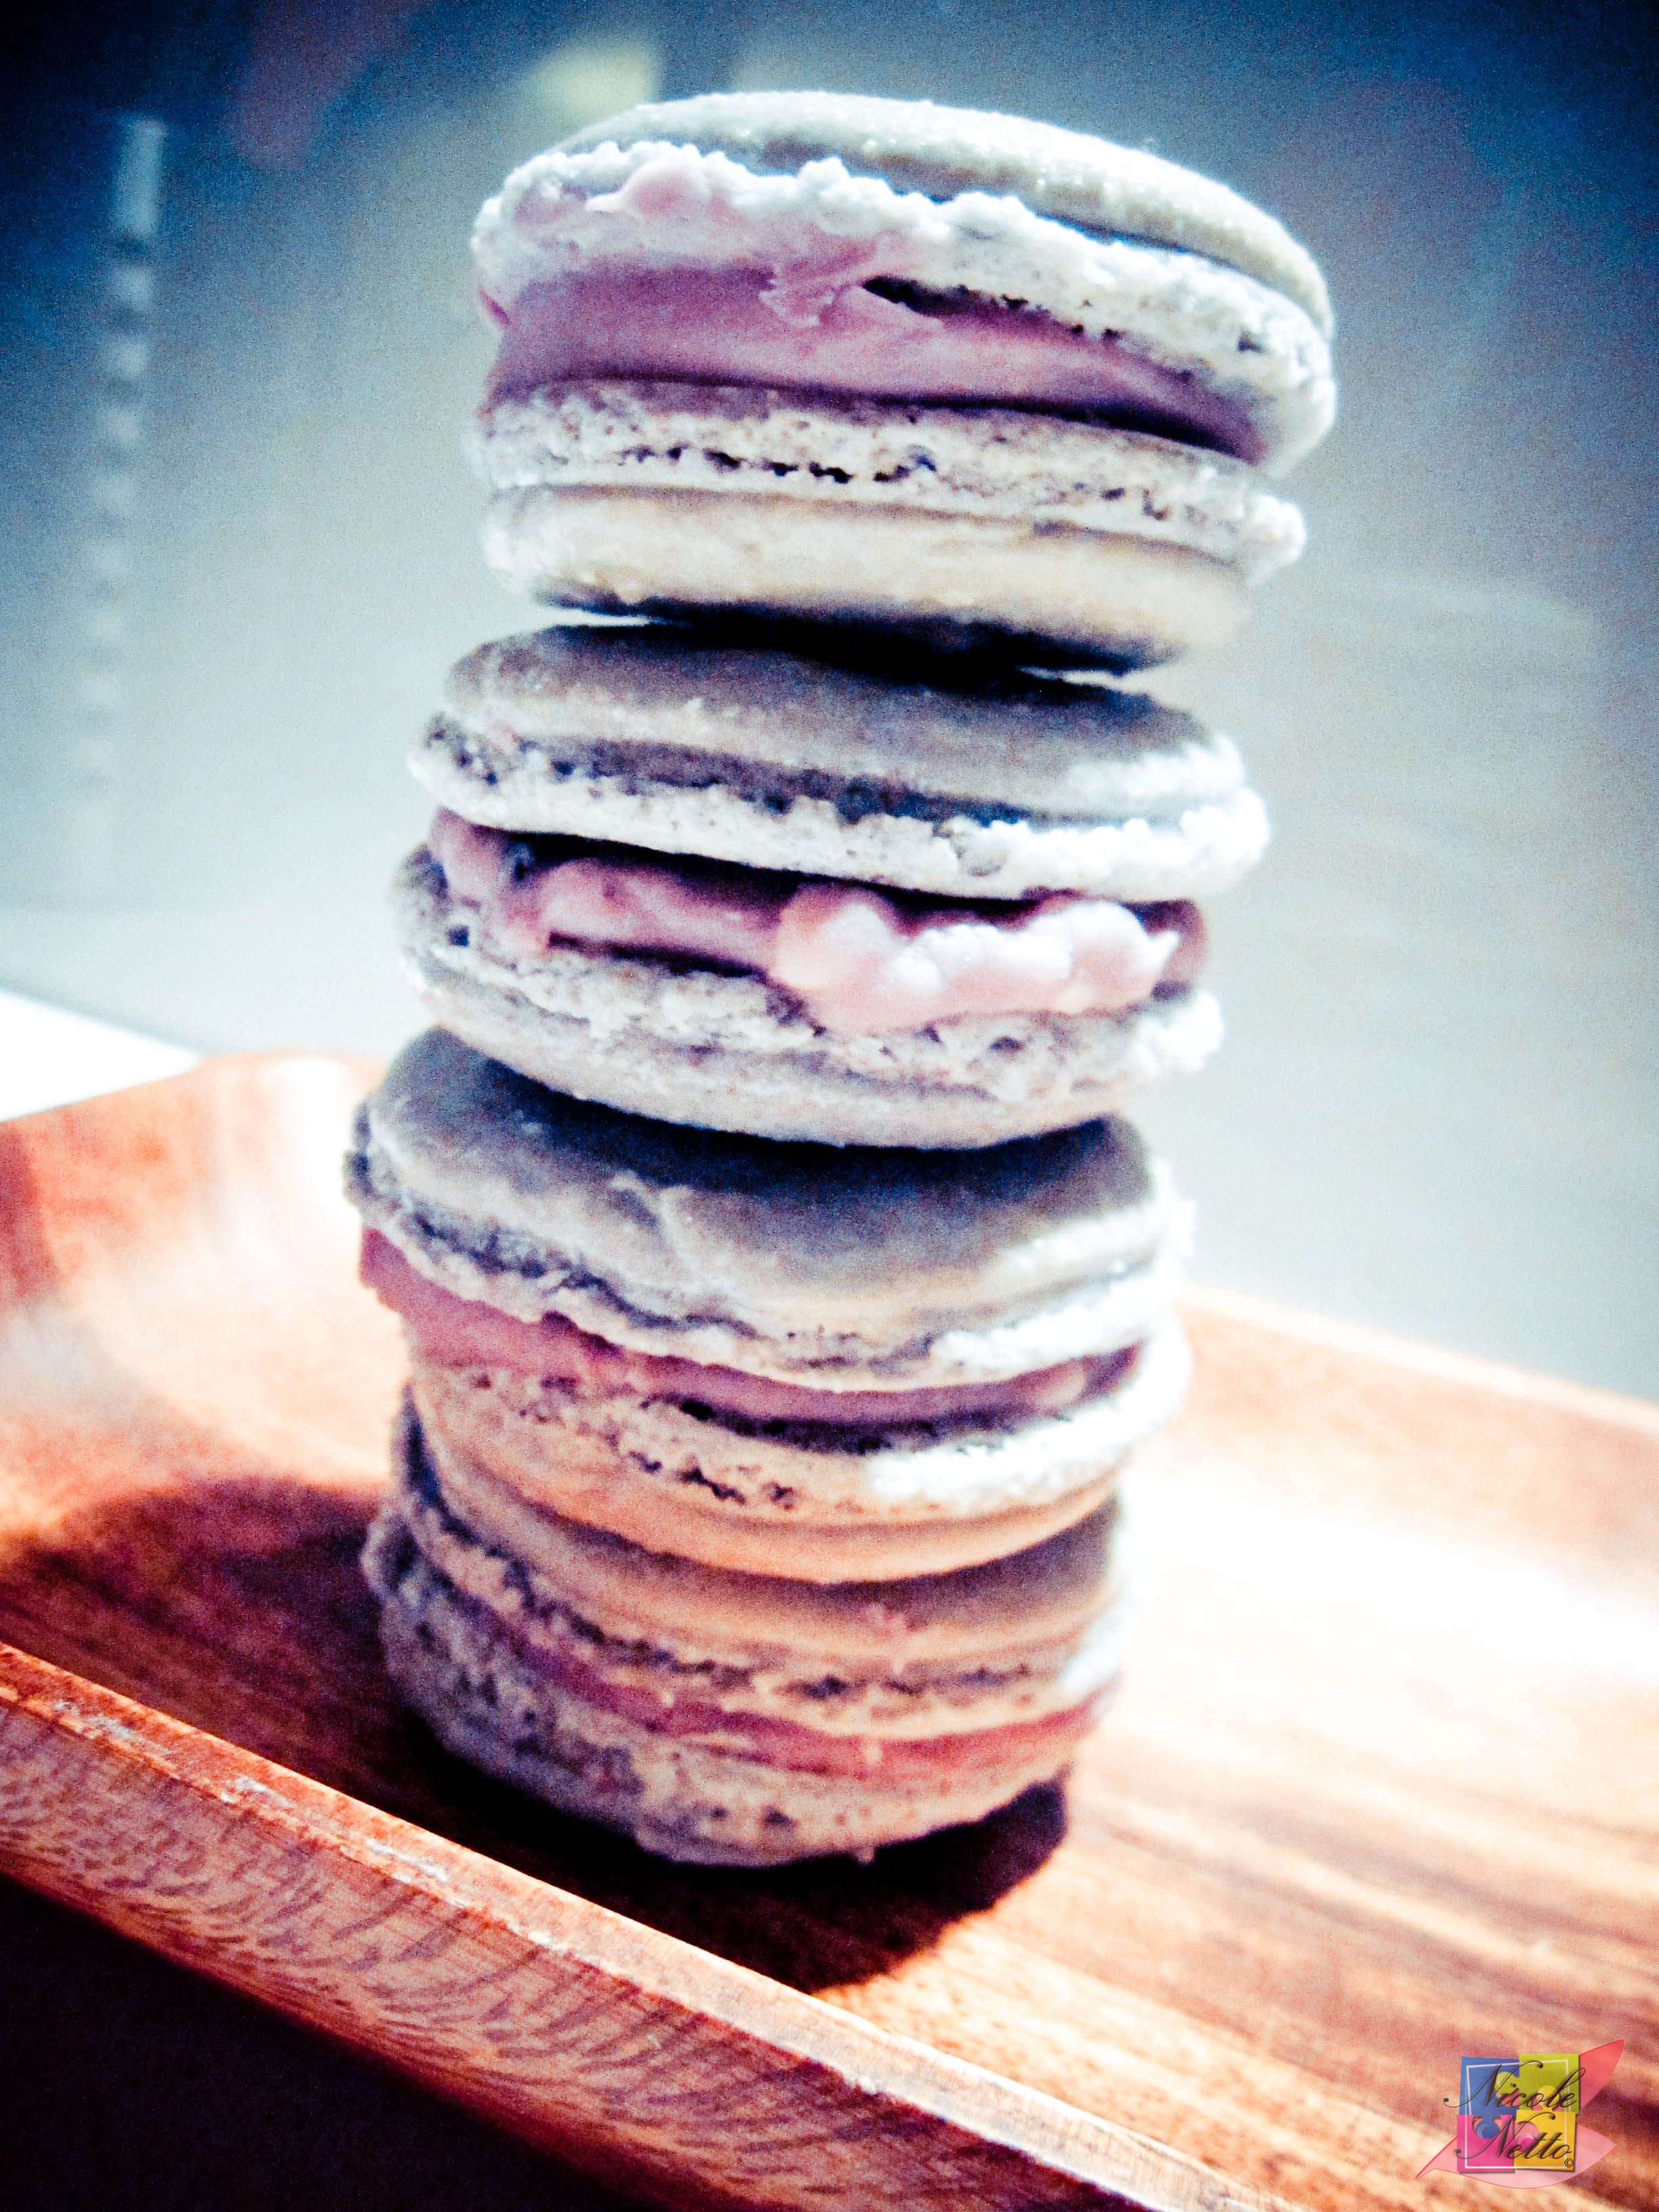
Beautiful layers of a macaron – light crumbly outside, soft middle and chewy ganache center
Put the assembled macarons in the refrigerator of 24 hours to set. Bring them to room temperature prior to being served. Refrigerating these also ensures the filling flavor infuses the macaron shells as well.
Note: I only refrigerated these for about 8 hours prior to sharing these with my work mates and they seemed quite happy.
Any spare macarons can be refrigerated in an air tight container. These are best consumed withing 3 to 4 days.
Do let me know if you try out this recipe and how you go with it!
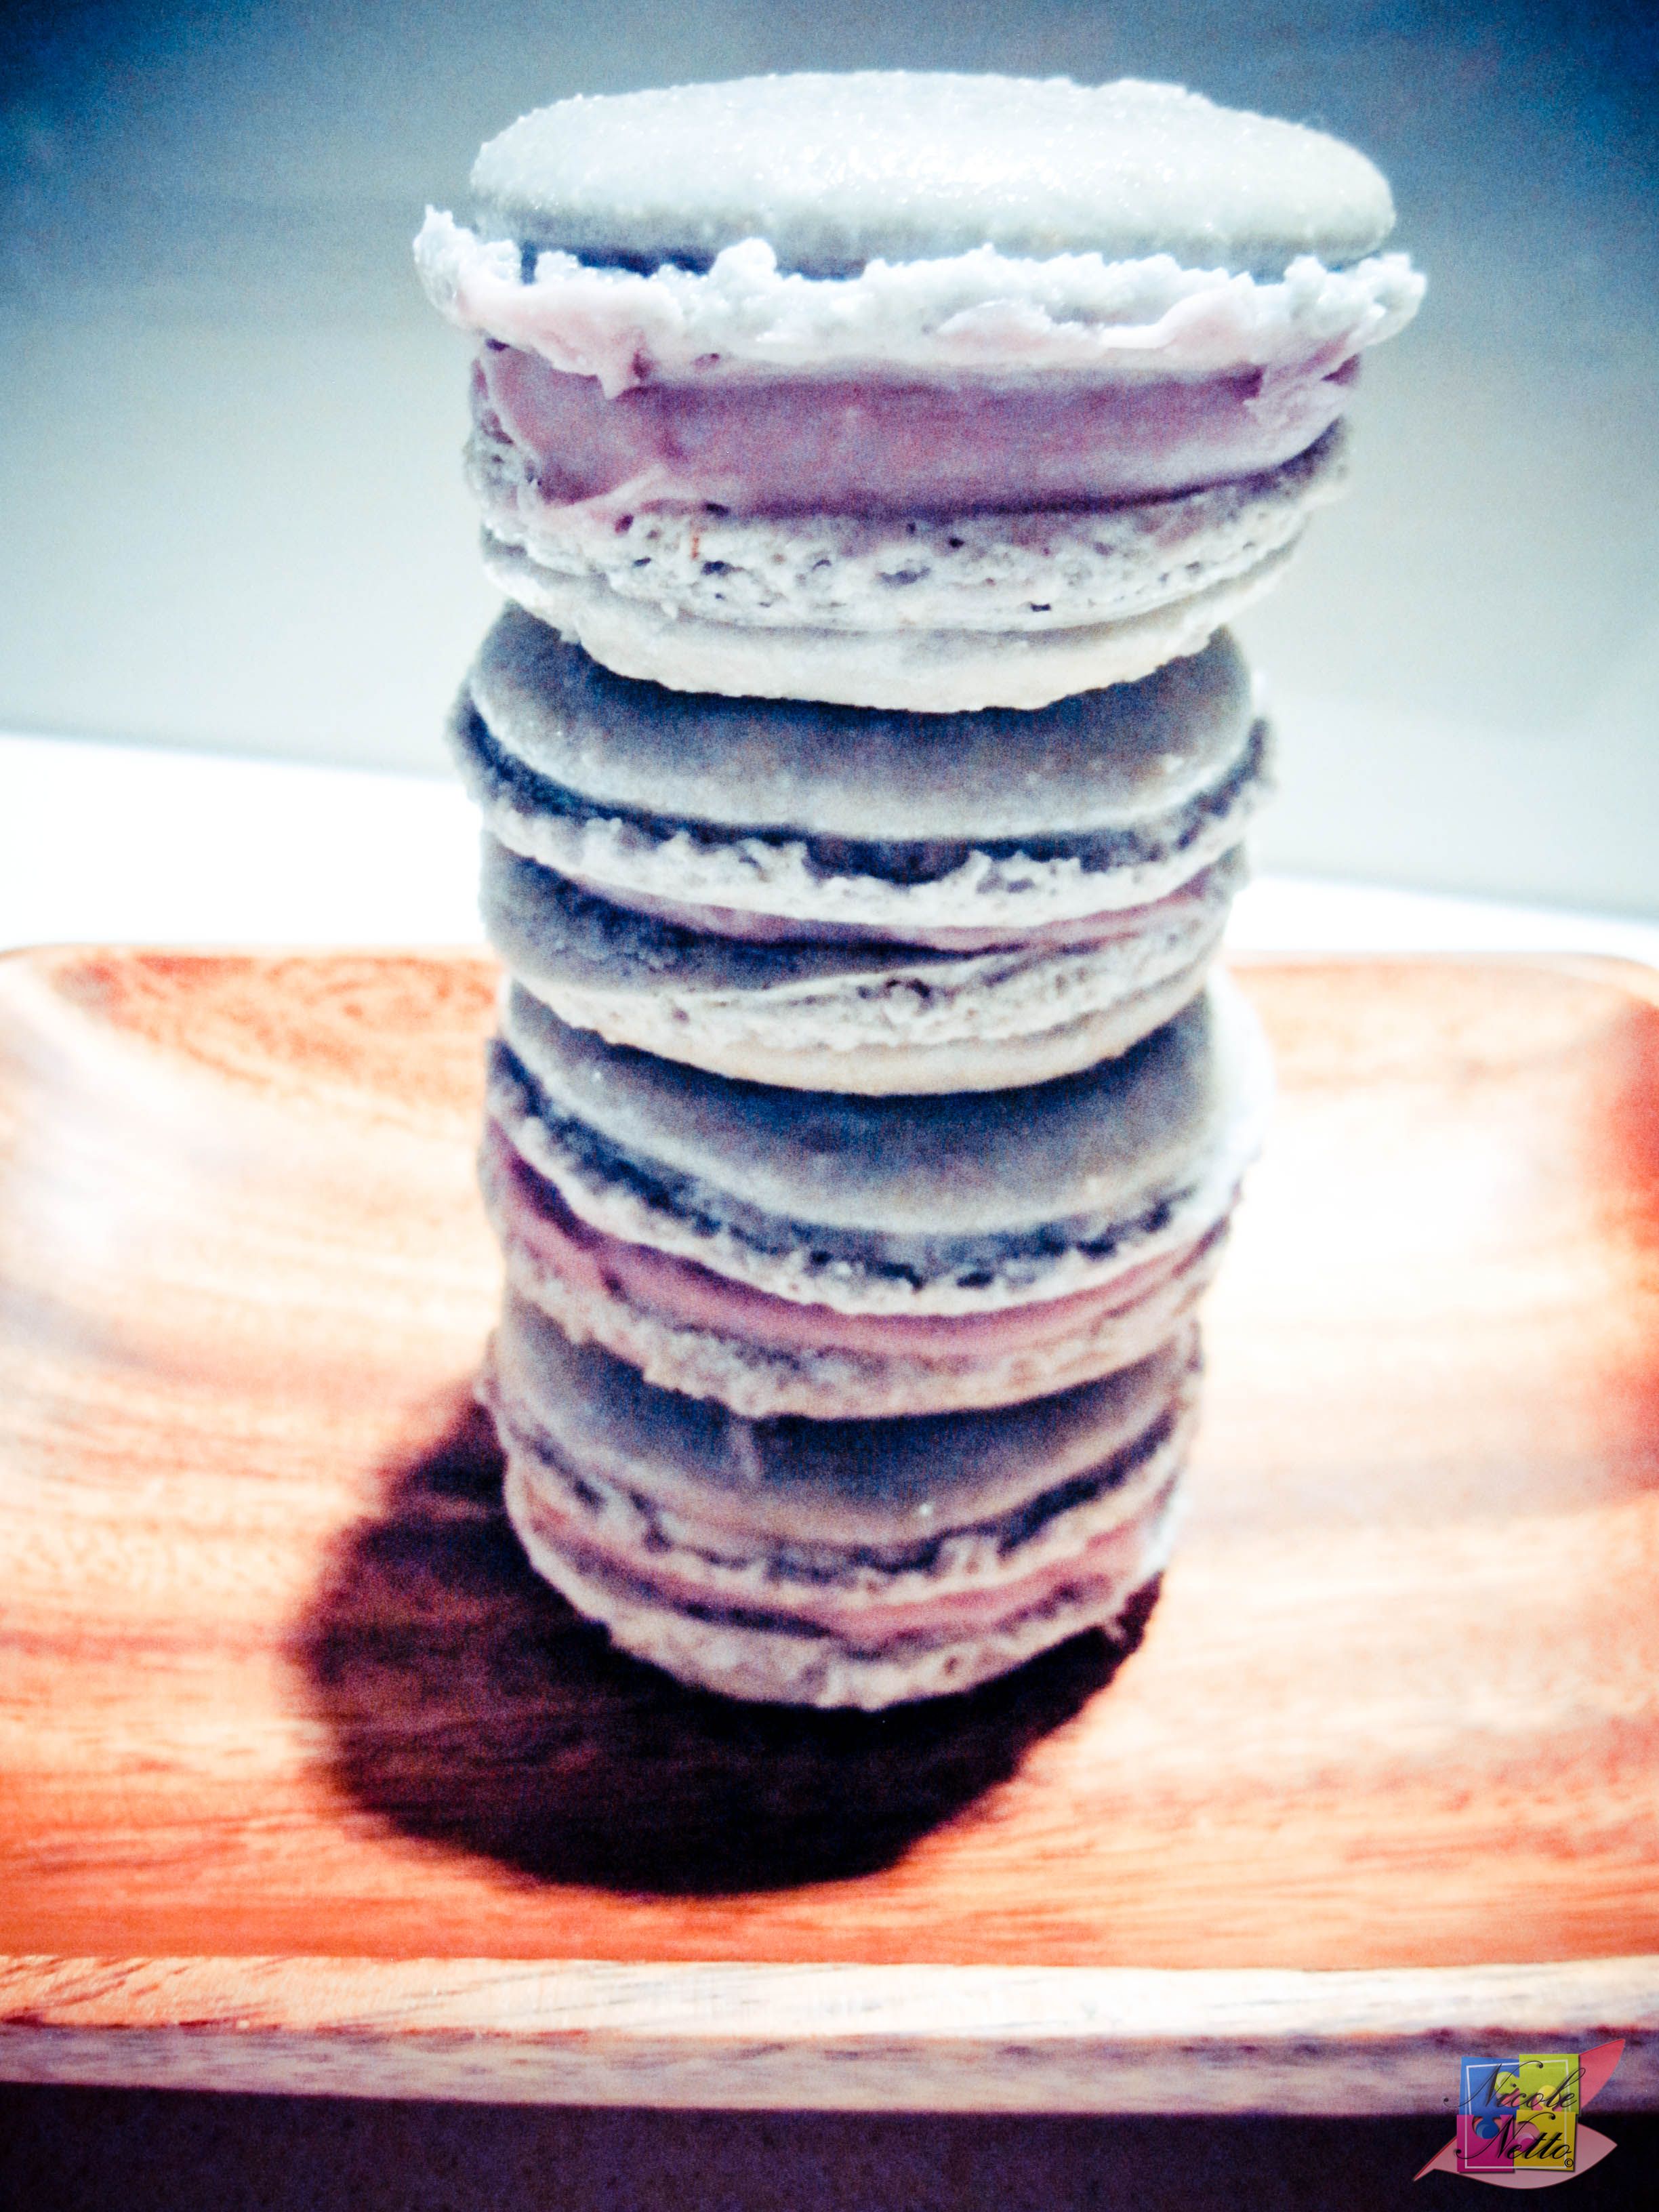
Refrigerated macaron with set ganache
Purple

Ready to serve!
Bon Appetit!
Lavender and Blueberry macarons – Bon Appetit!
Pork and Spinach Gyoza
Pork and Spinach Gyoza
Who doesn’t love a good dumpling?
On any given day – if I get asked what I feel like eating, there’s a good chance that answer, 8 out of 10 times (if not more), would be “dumplings” – particularly duck or pork dumplings, especially if they are pan fried – I do love me a good duck or pork dumpling!
To make pan fried dumplings, I usually purchase frozen dumplings from an Asian grocer at our version of “China town” and steam these, followed by pan frying them to obtain a delicious and lightly crisp result. However, traditionally, ‘pot stickers’ are usually done the other way around i.e. pan fried to lightly brown off the base, and then water is added in after and allowed to cook until the dumplings are steamed to perfection and get that traditional beautiful caramel color on the bottom.
On this occasion, I decided to make them from scratch – dough, filling and all.
If you’re wondering about the difference with a Chinese dumpling and Japanese gyoza, as they are quite similar (like I was, because I wanted to make certain I got the recipe and terminology right), there are a few distinctive characteristics that make them different. Both are made with a flour dough, pinched and can include either a vegetarian or meat filling. However, the Chinese refer to them as “Jiaozi” (Dumpling) or “Wo tip” (Pot stickers), which can be eaten either boiled, steamed, pan fried or deep fried, while the Japanese generally only pan fry these. Also, the Japanese gyoza’s tend to be smaller, have thinner skins and the fillings tend to be lesser and include garlic. The ‘Gyoza’ also tend to be slightly elongated.
With both the pan fried versions, while the Japanese consider ‘gyoza’ as a side dish to compliment rice, the Chinese often consume ‘wo tip’ (Pot stickers) as the main course.
After determining the differences, I decided to dub this post’s recipe as – Pork and Spinach Gyoza!
While this is a time consuming recipe, the results are delicious! It is possible to reduce your prep time down by purchasing frozen gyoza wrappers from an Asian grocer store.
This recipe makes about 30 pieces of gyoza. I would allow for a minimum of 6 – 8 per person if it is being served as a main course meal.
Be sure to adjust quantities accordingly!
Pork and Spinach Gyoza
(Serves 4)
Ingredients – Gyoza Dough:
2 cups All purpose flour
1 tsp Salt
1 cup Water (boiled)
Potato starch or Corn starch (Optional – for dusting – I used All purpose flour)
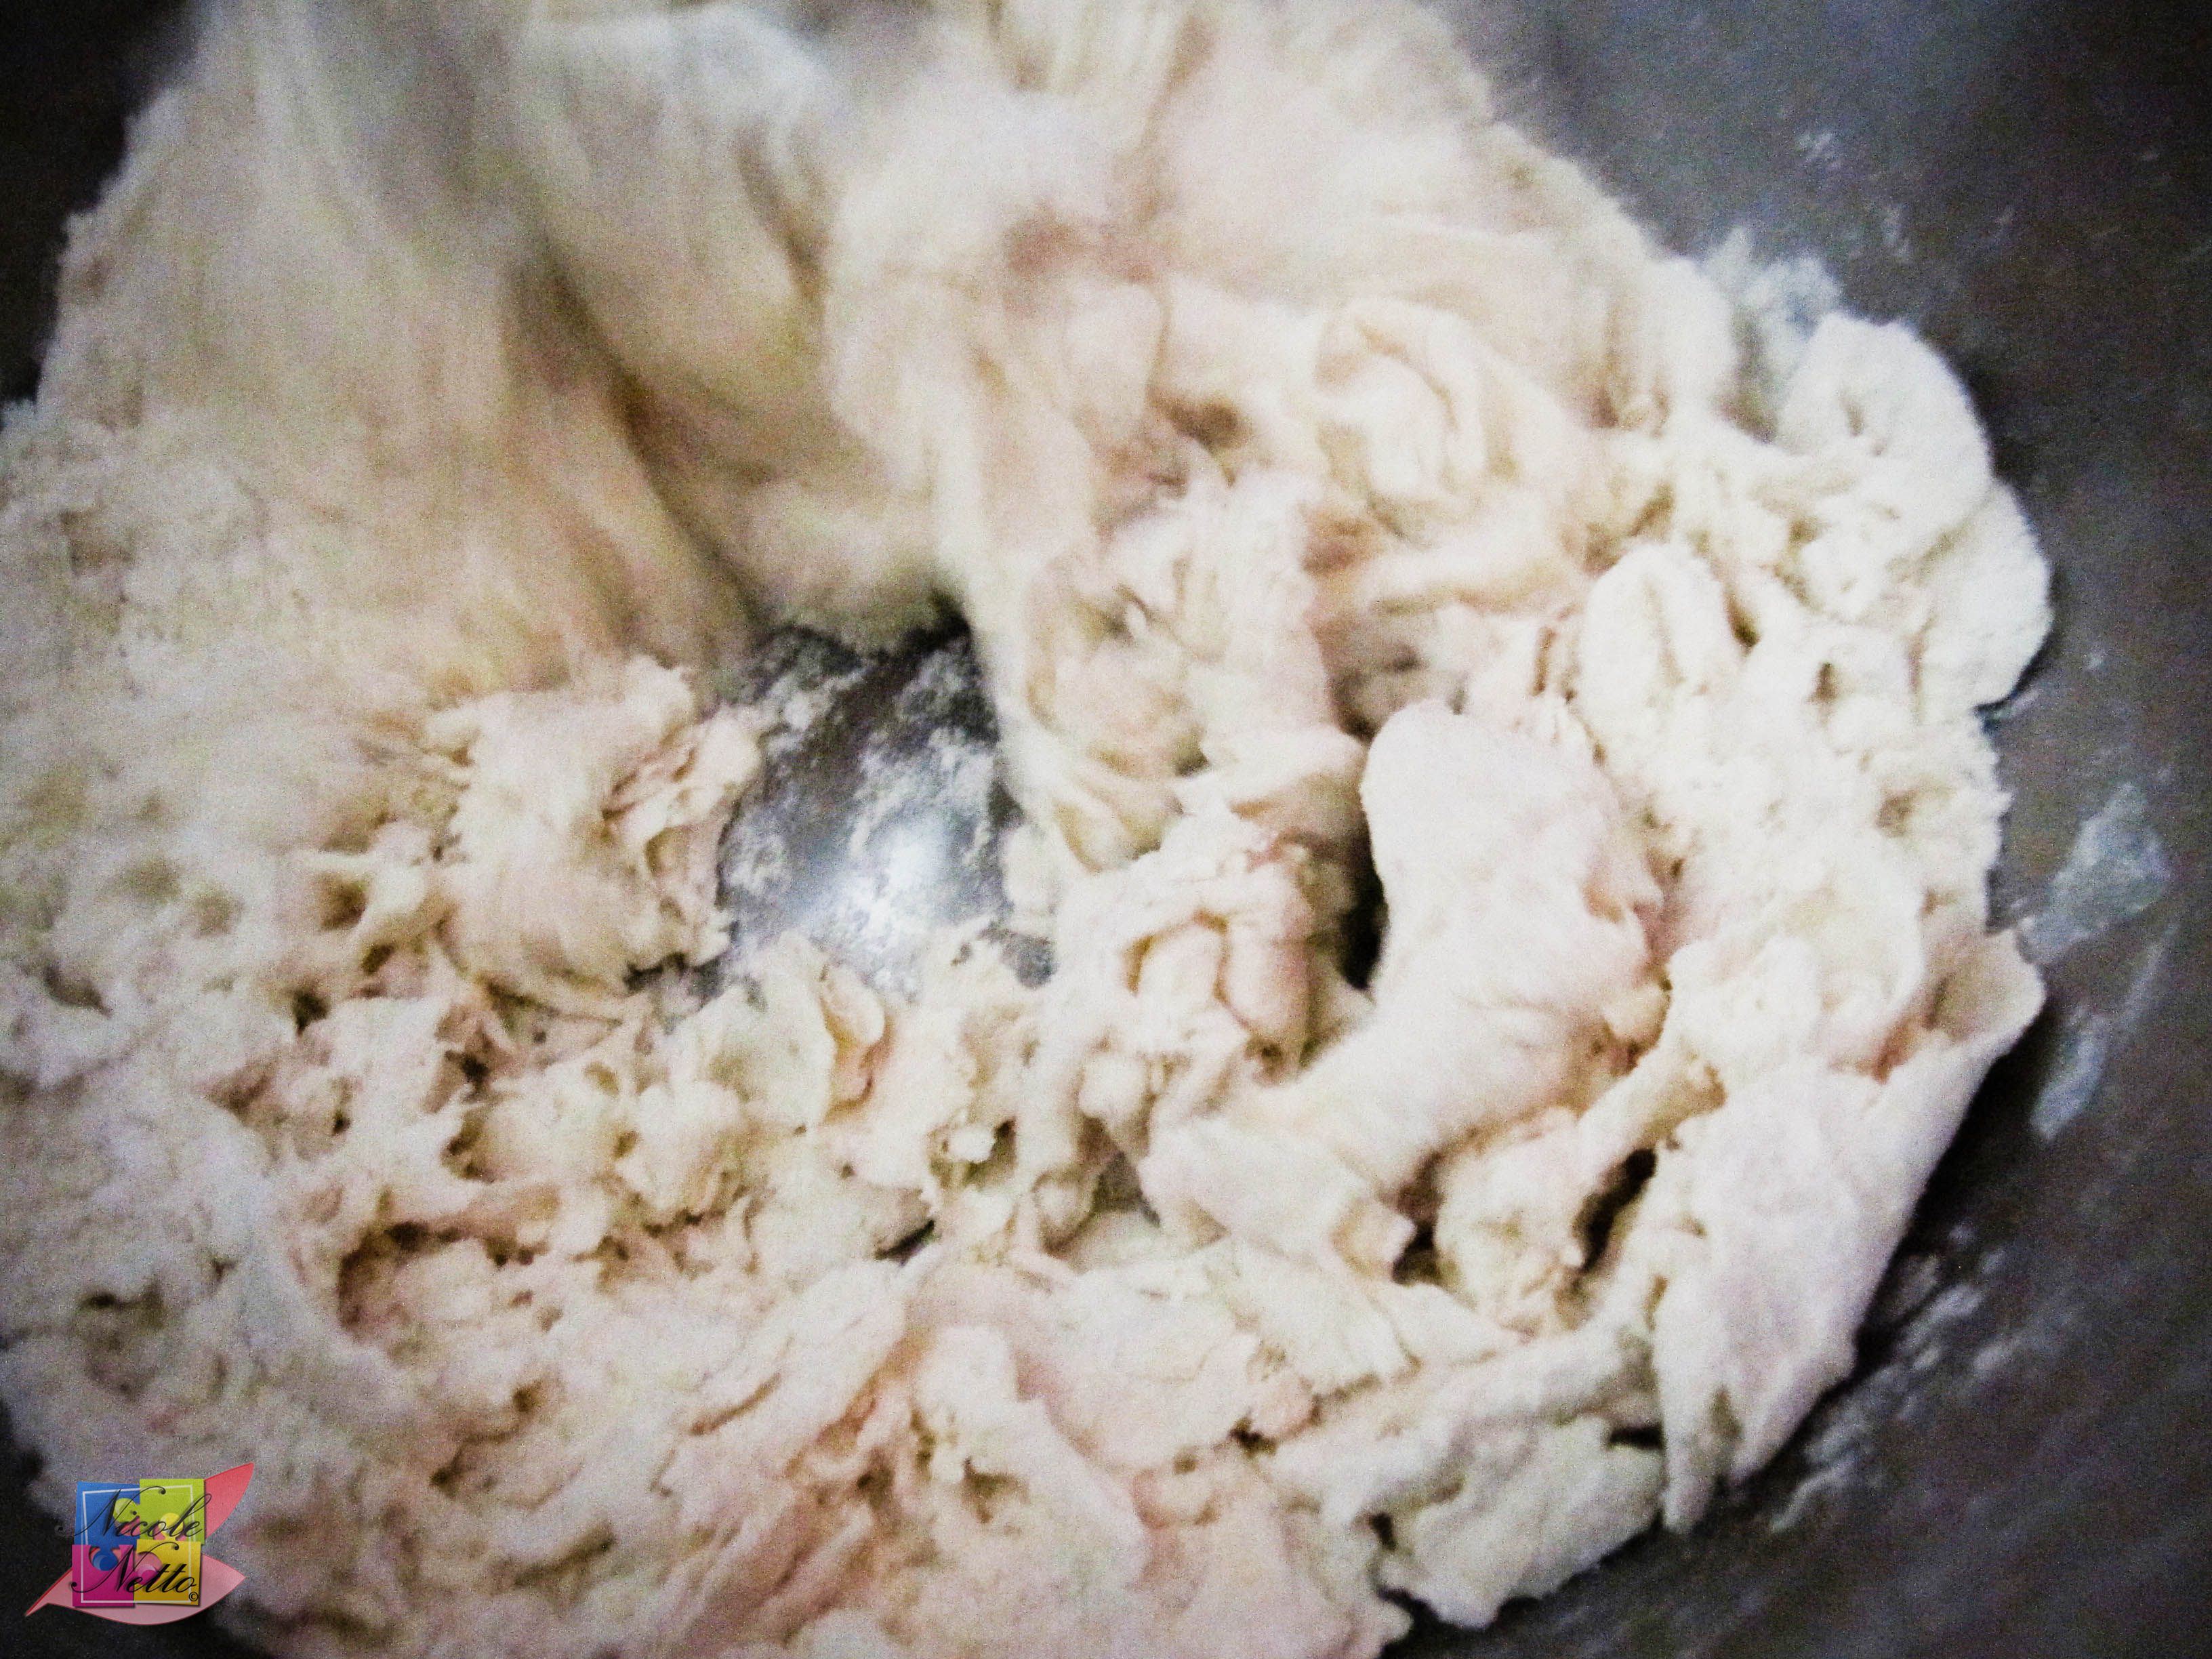
Gyoza dough
Method – Gyoza Dough:
Mix the flour, water and salt – begin with the flour and salt mixture and keep adding the water, a little at a time, as necessary and knead to form the gyoza dough. The dough will lighten spring back when you have reached the correct consistency.
Set aside covered in cling wrap or a damp tea towels (or damp paper towels) to ensure the dough remains moist while you prepare the filling.
Ingredients – Gyoza Filling:
500 gm Pork mince
100 gm Baby Spinach (finely chopped)
2 Spring Onions (reserve some of the chopped green stalk for garnish – Optional) OR 1 Onion (finely chopped)
6 cloves of Garlic (finely chopped)
1 Tbsp Soy Sauce
1/2 tsp Five-spice powder
100 gm Canned water chestnuts (drained and chopped)
1 Sliced red chilli
3 tsp Cornflour
2 Tbsp Water
Chili oil OR Sesame oil OR Olive oil OR Vegetable oil (for cooking)
Method – Pork and Spinach Gyoza Filling:
Combine all the pork mince, spinach, spring onion OR onion, garlic, soy sauce, five spice powder, chestnuts, 1 tsp cornflour and chili in a bowl and mix well and evenly. Cover and refrigerate for about 30 minutes.

Pork and Spinach filling with onion
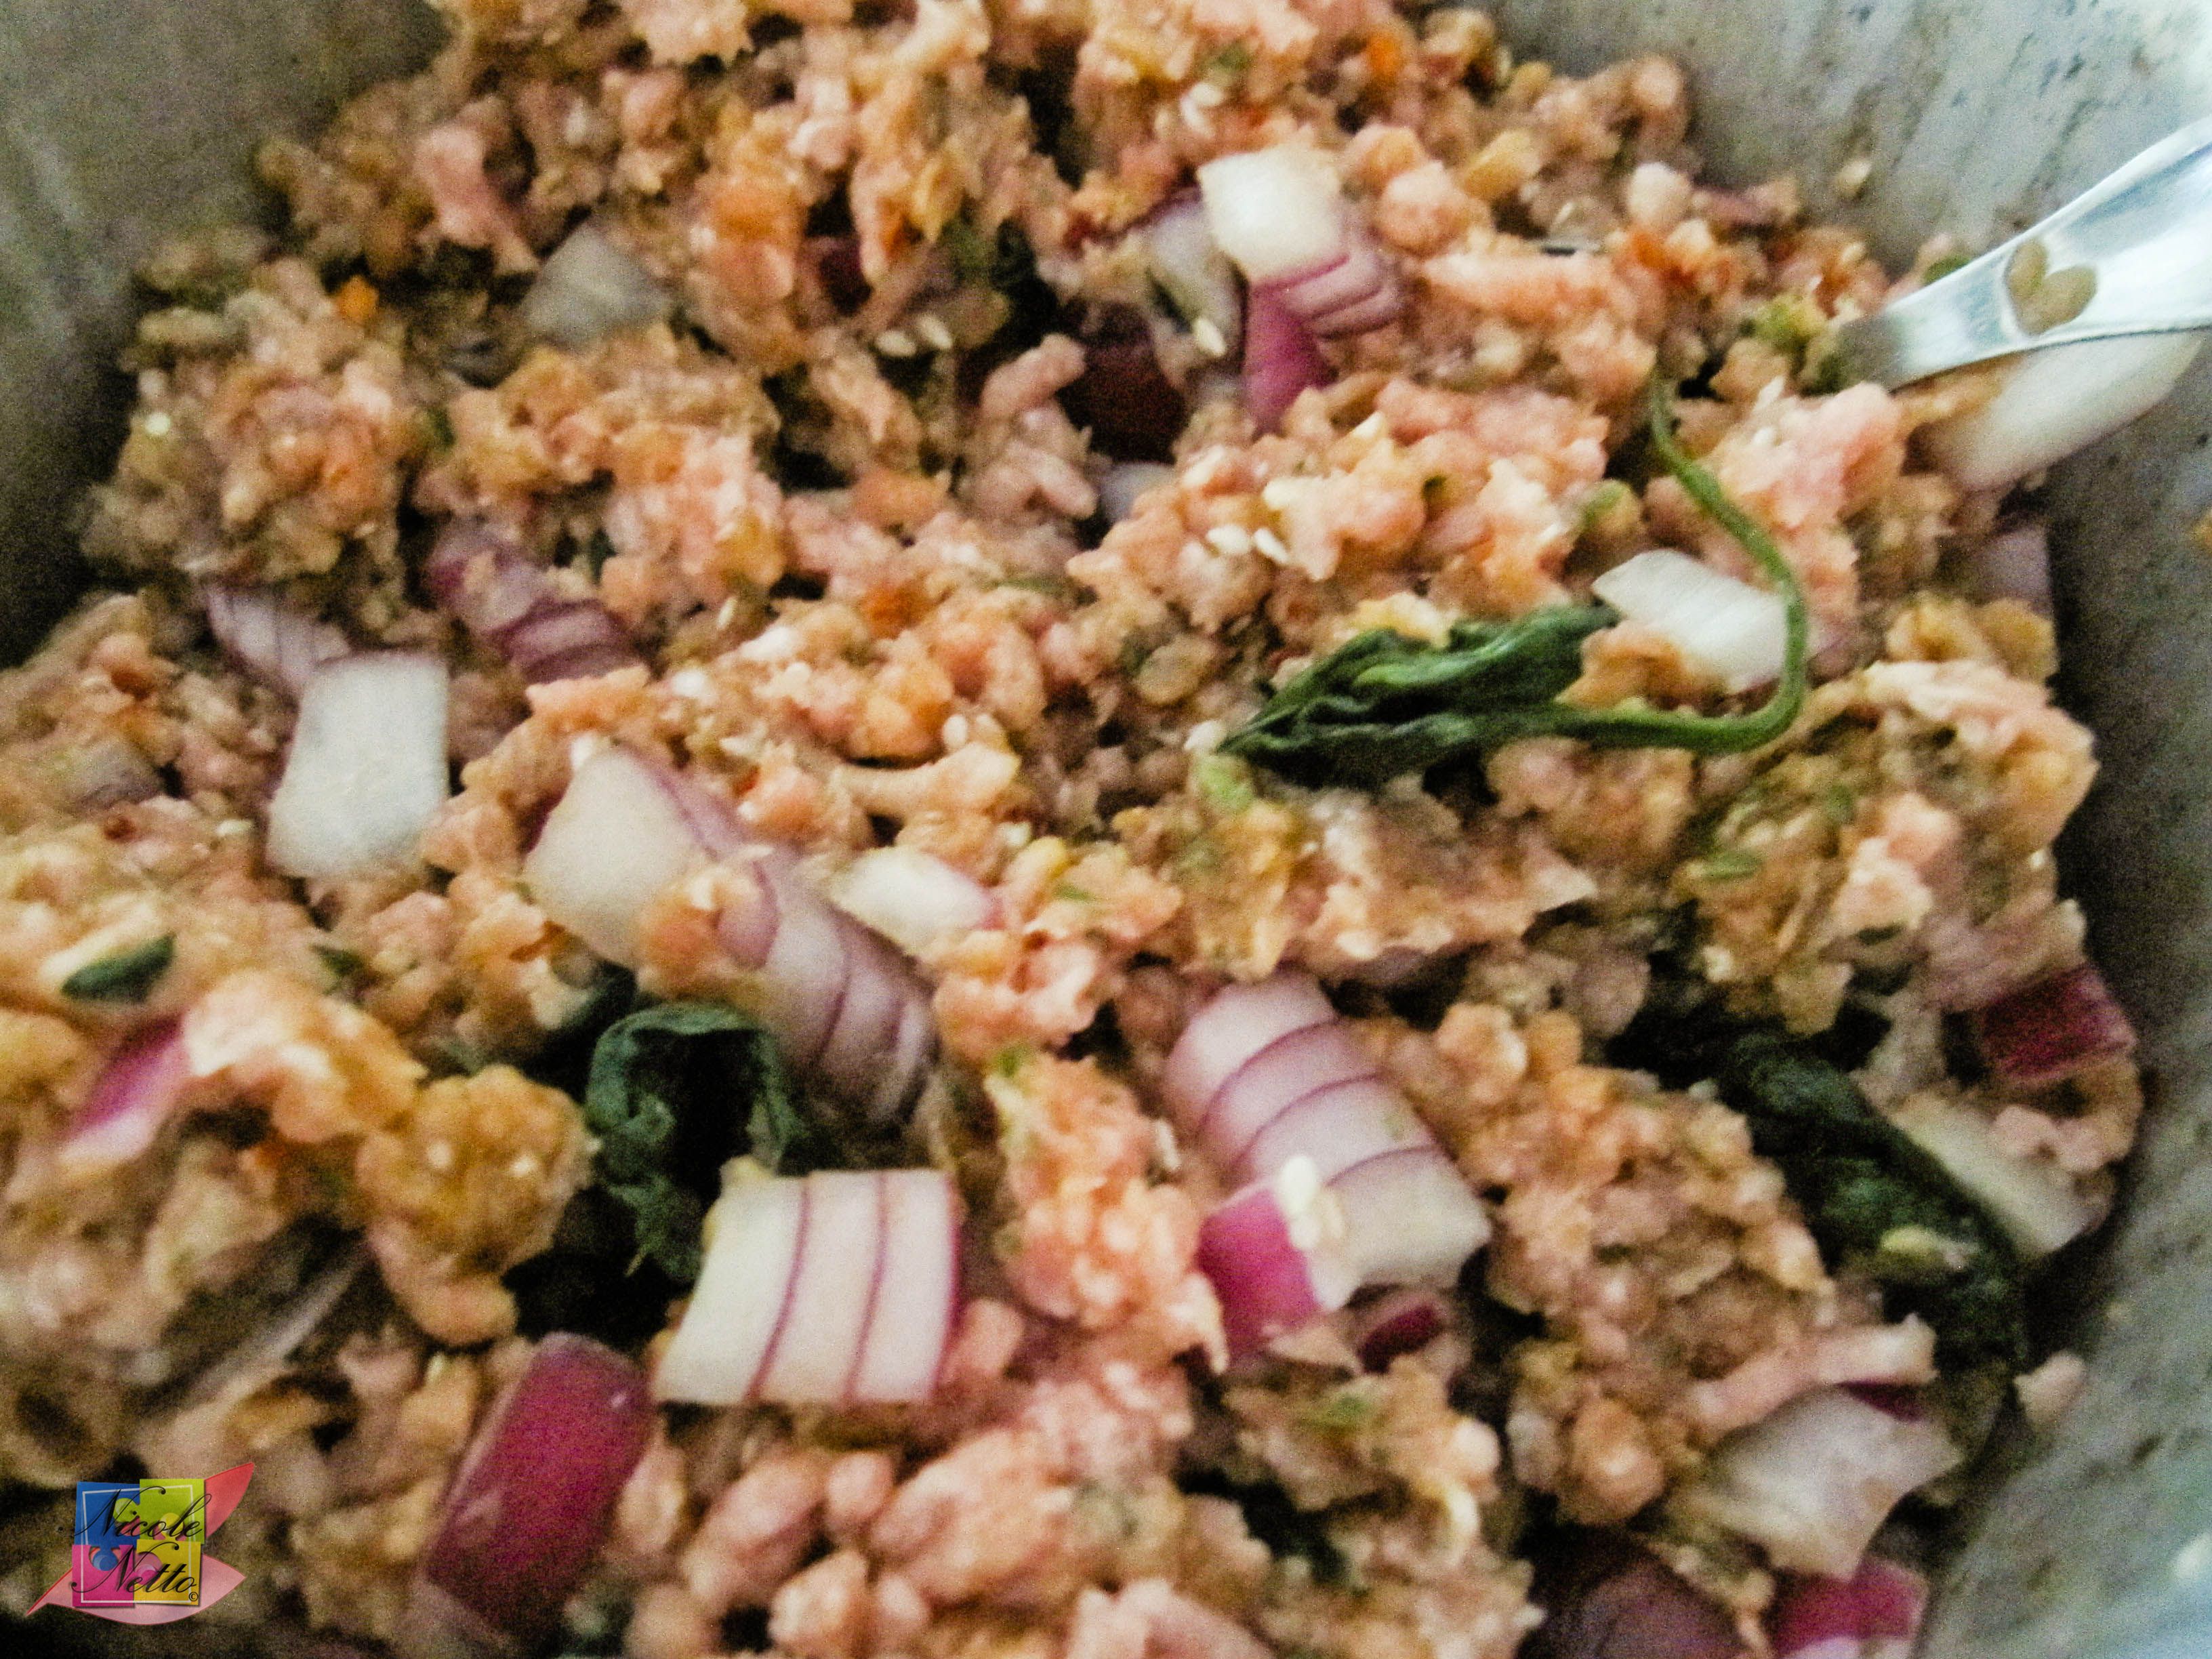
Pork and spinach filling
Method – Pork and Spinach Gyoza:
Unwrap the prepped cling wrapped or dough covered with a damp tea towels or damp paper towels.
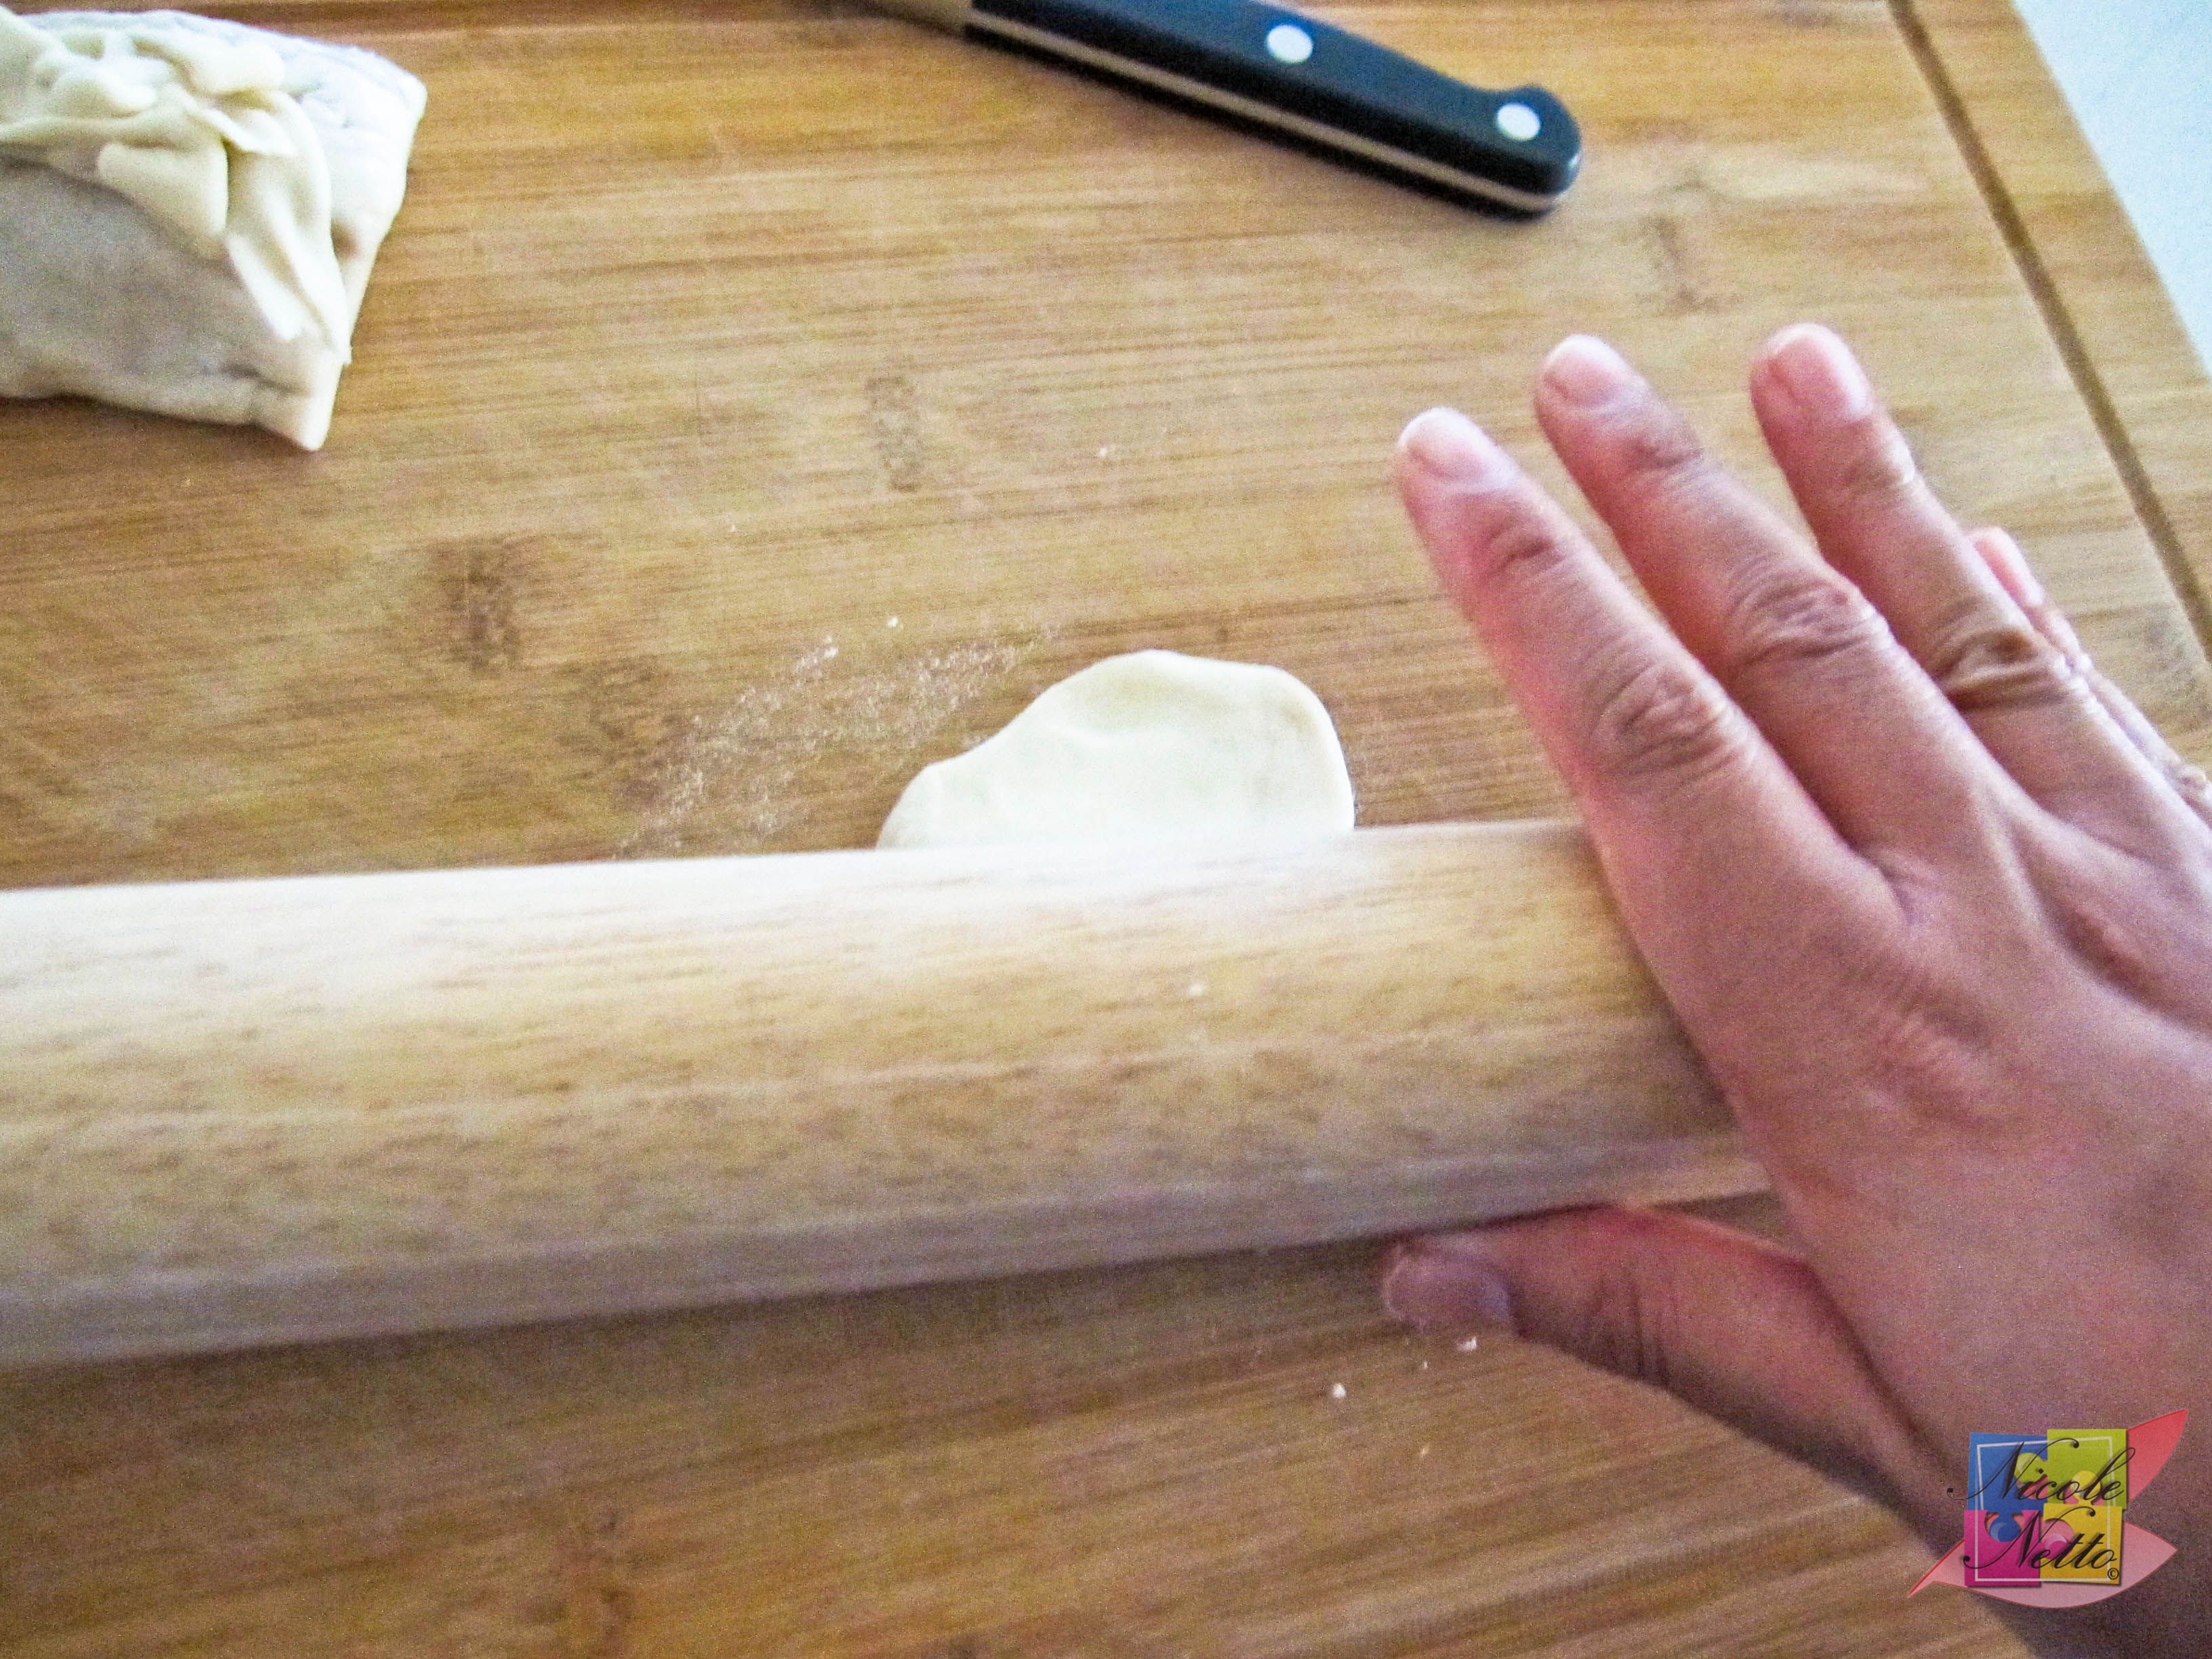
Dust some potato starch, corn starch or all purpose flour onto your work surface. Divide the dough in half, and roll one half out into a log about 4 cm in diameter. Cover up the half currently not being used to avoid the dough drying out.
Cut out pieces from the log, about the width of your finger, and leave covered with cling wrap (OR a damp tea towel OR damp paper towel) until you need to roll out a piece.
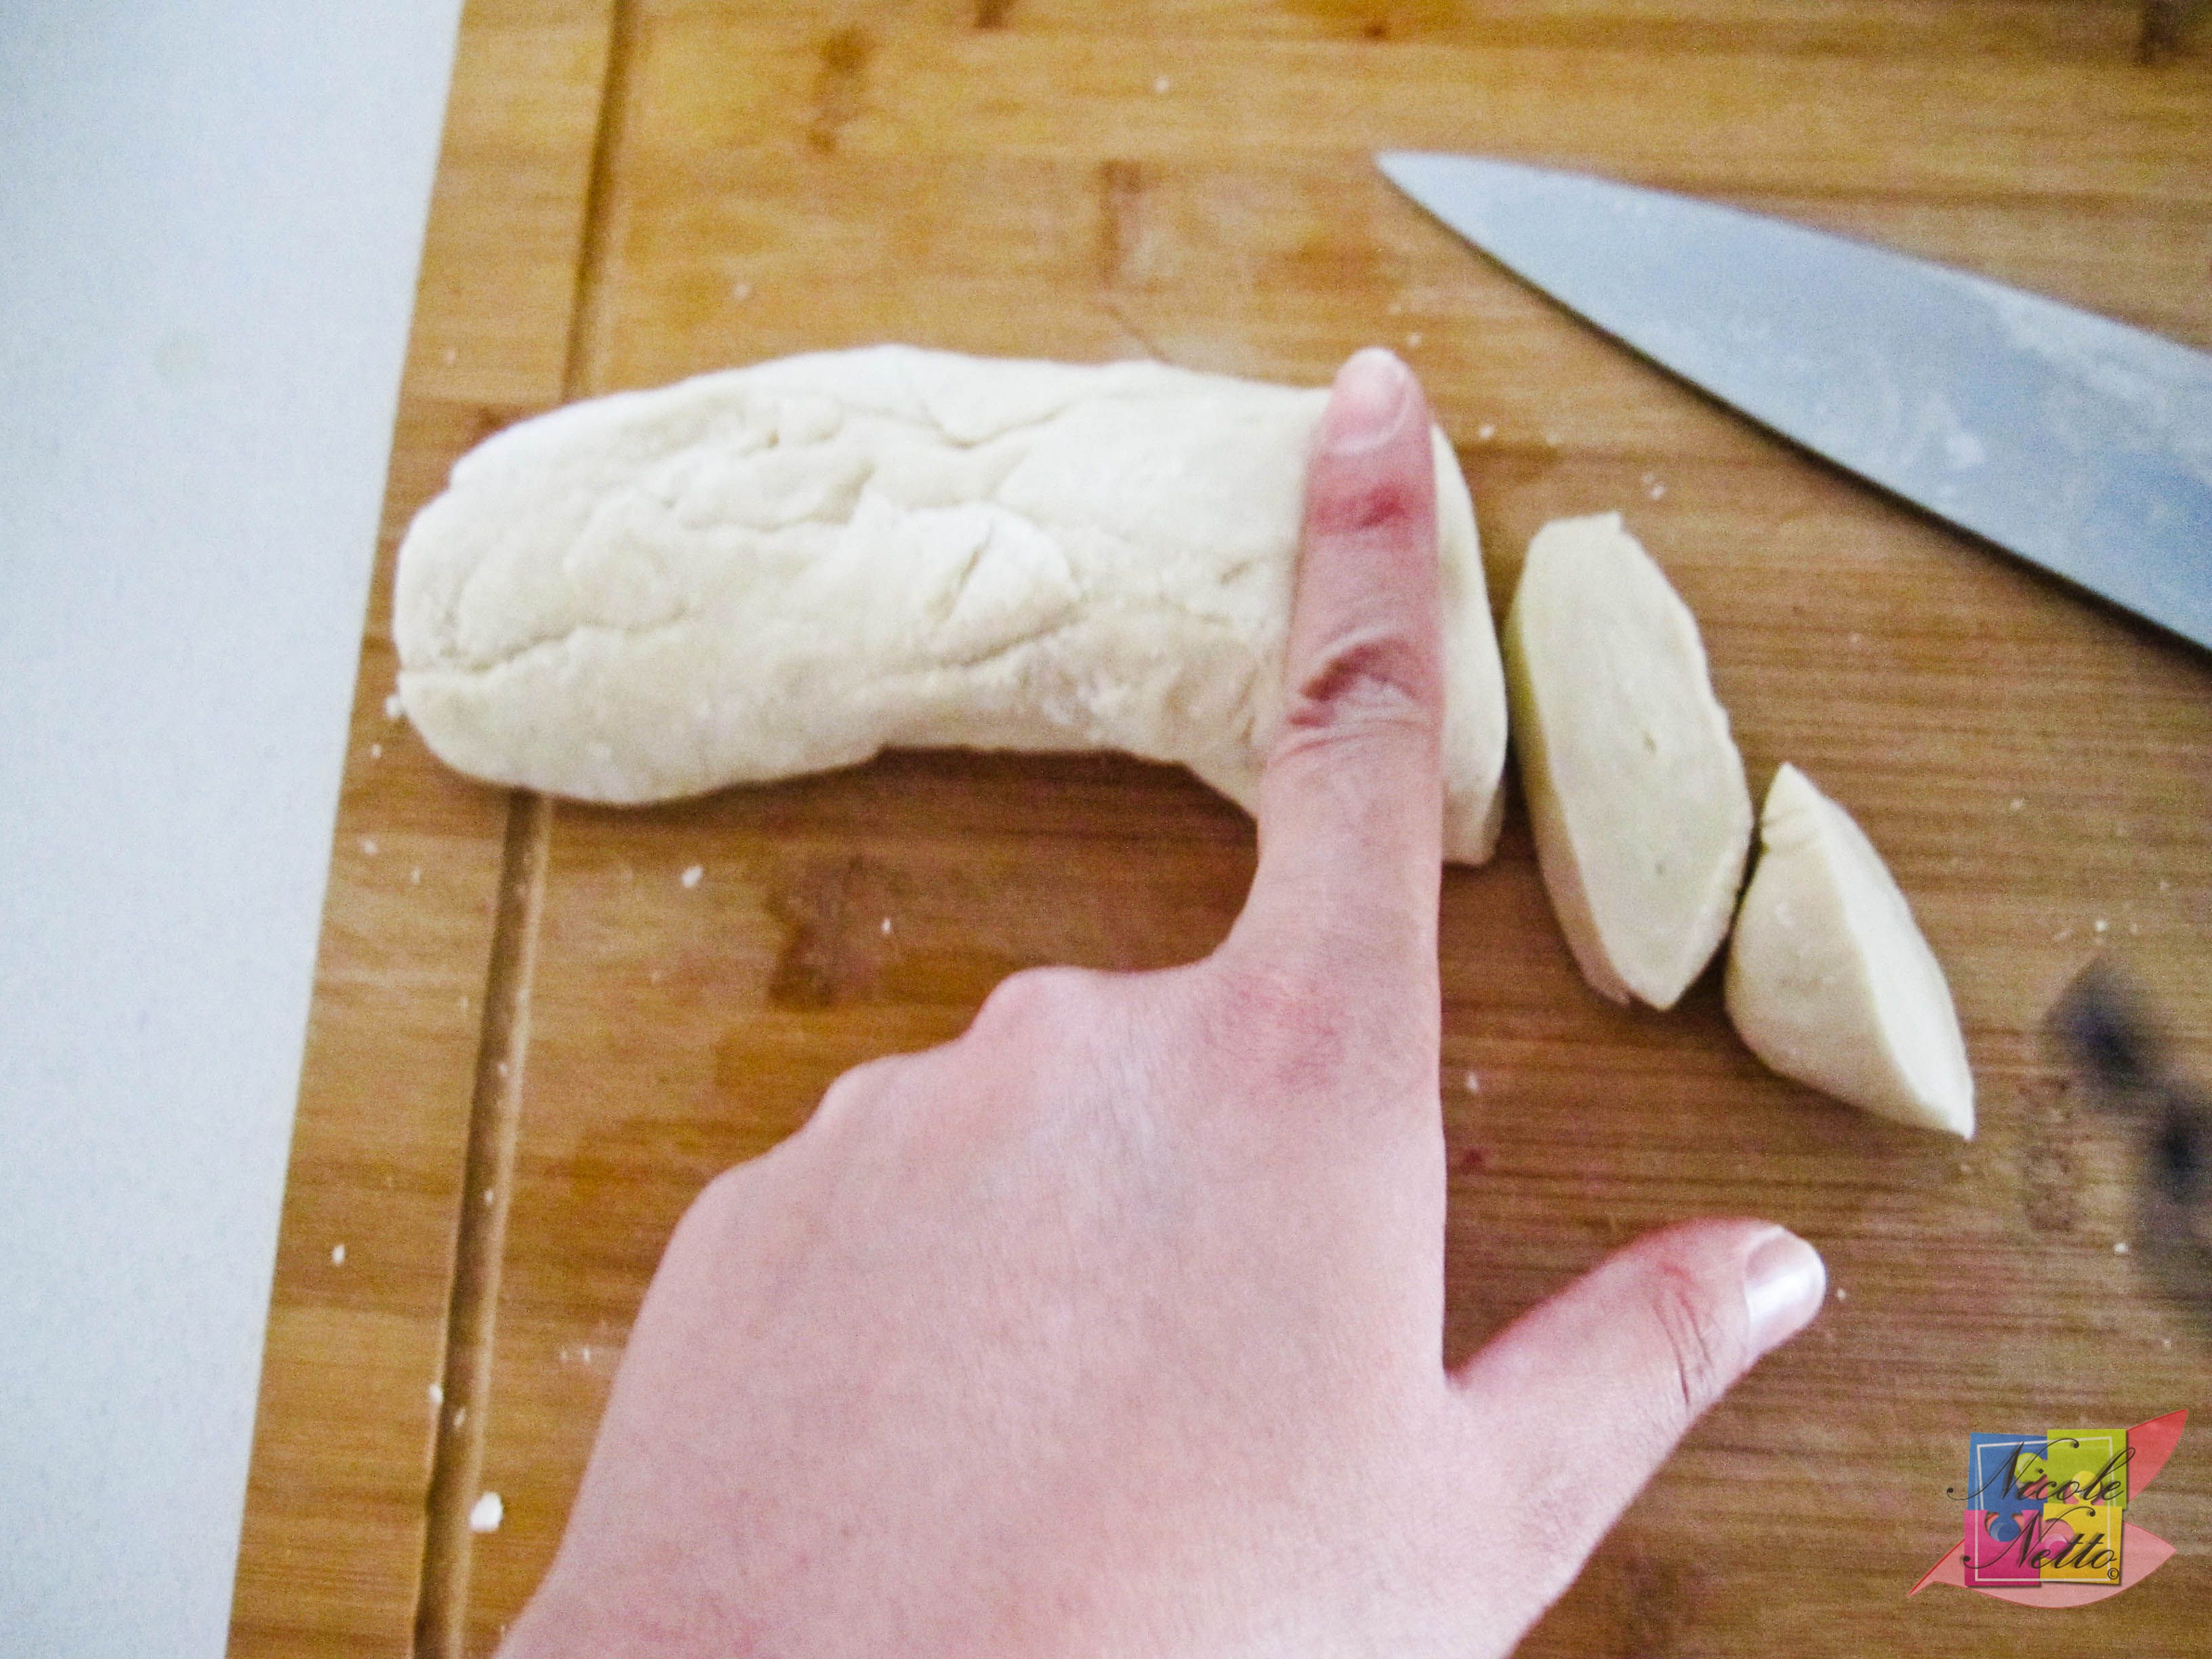
Rolled dough into a log
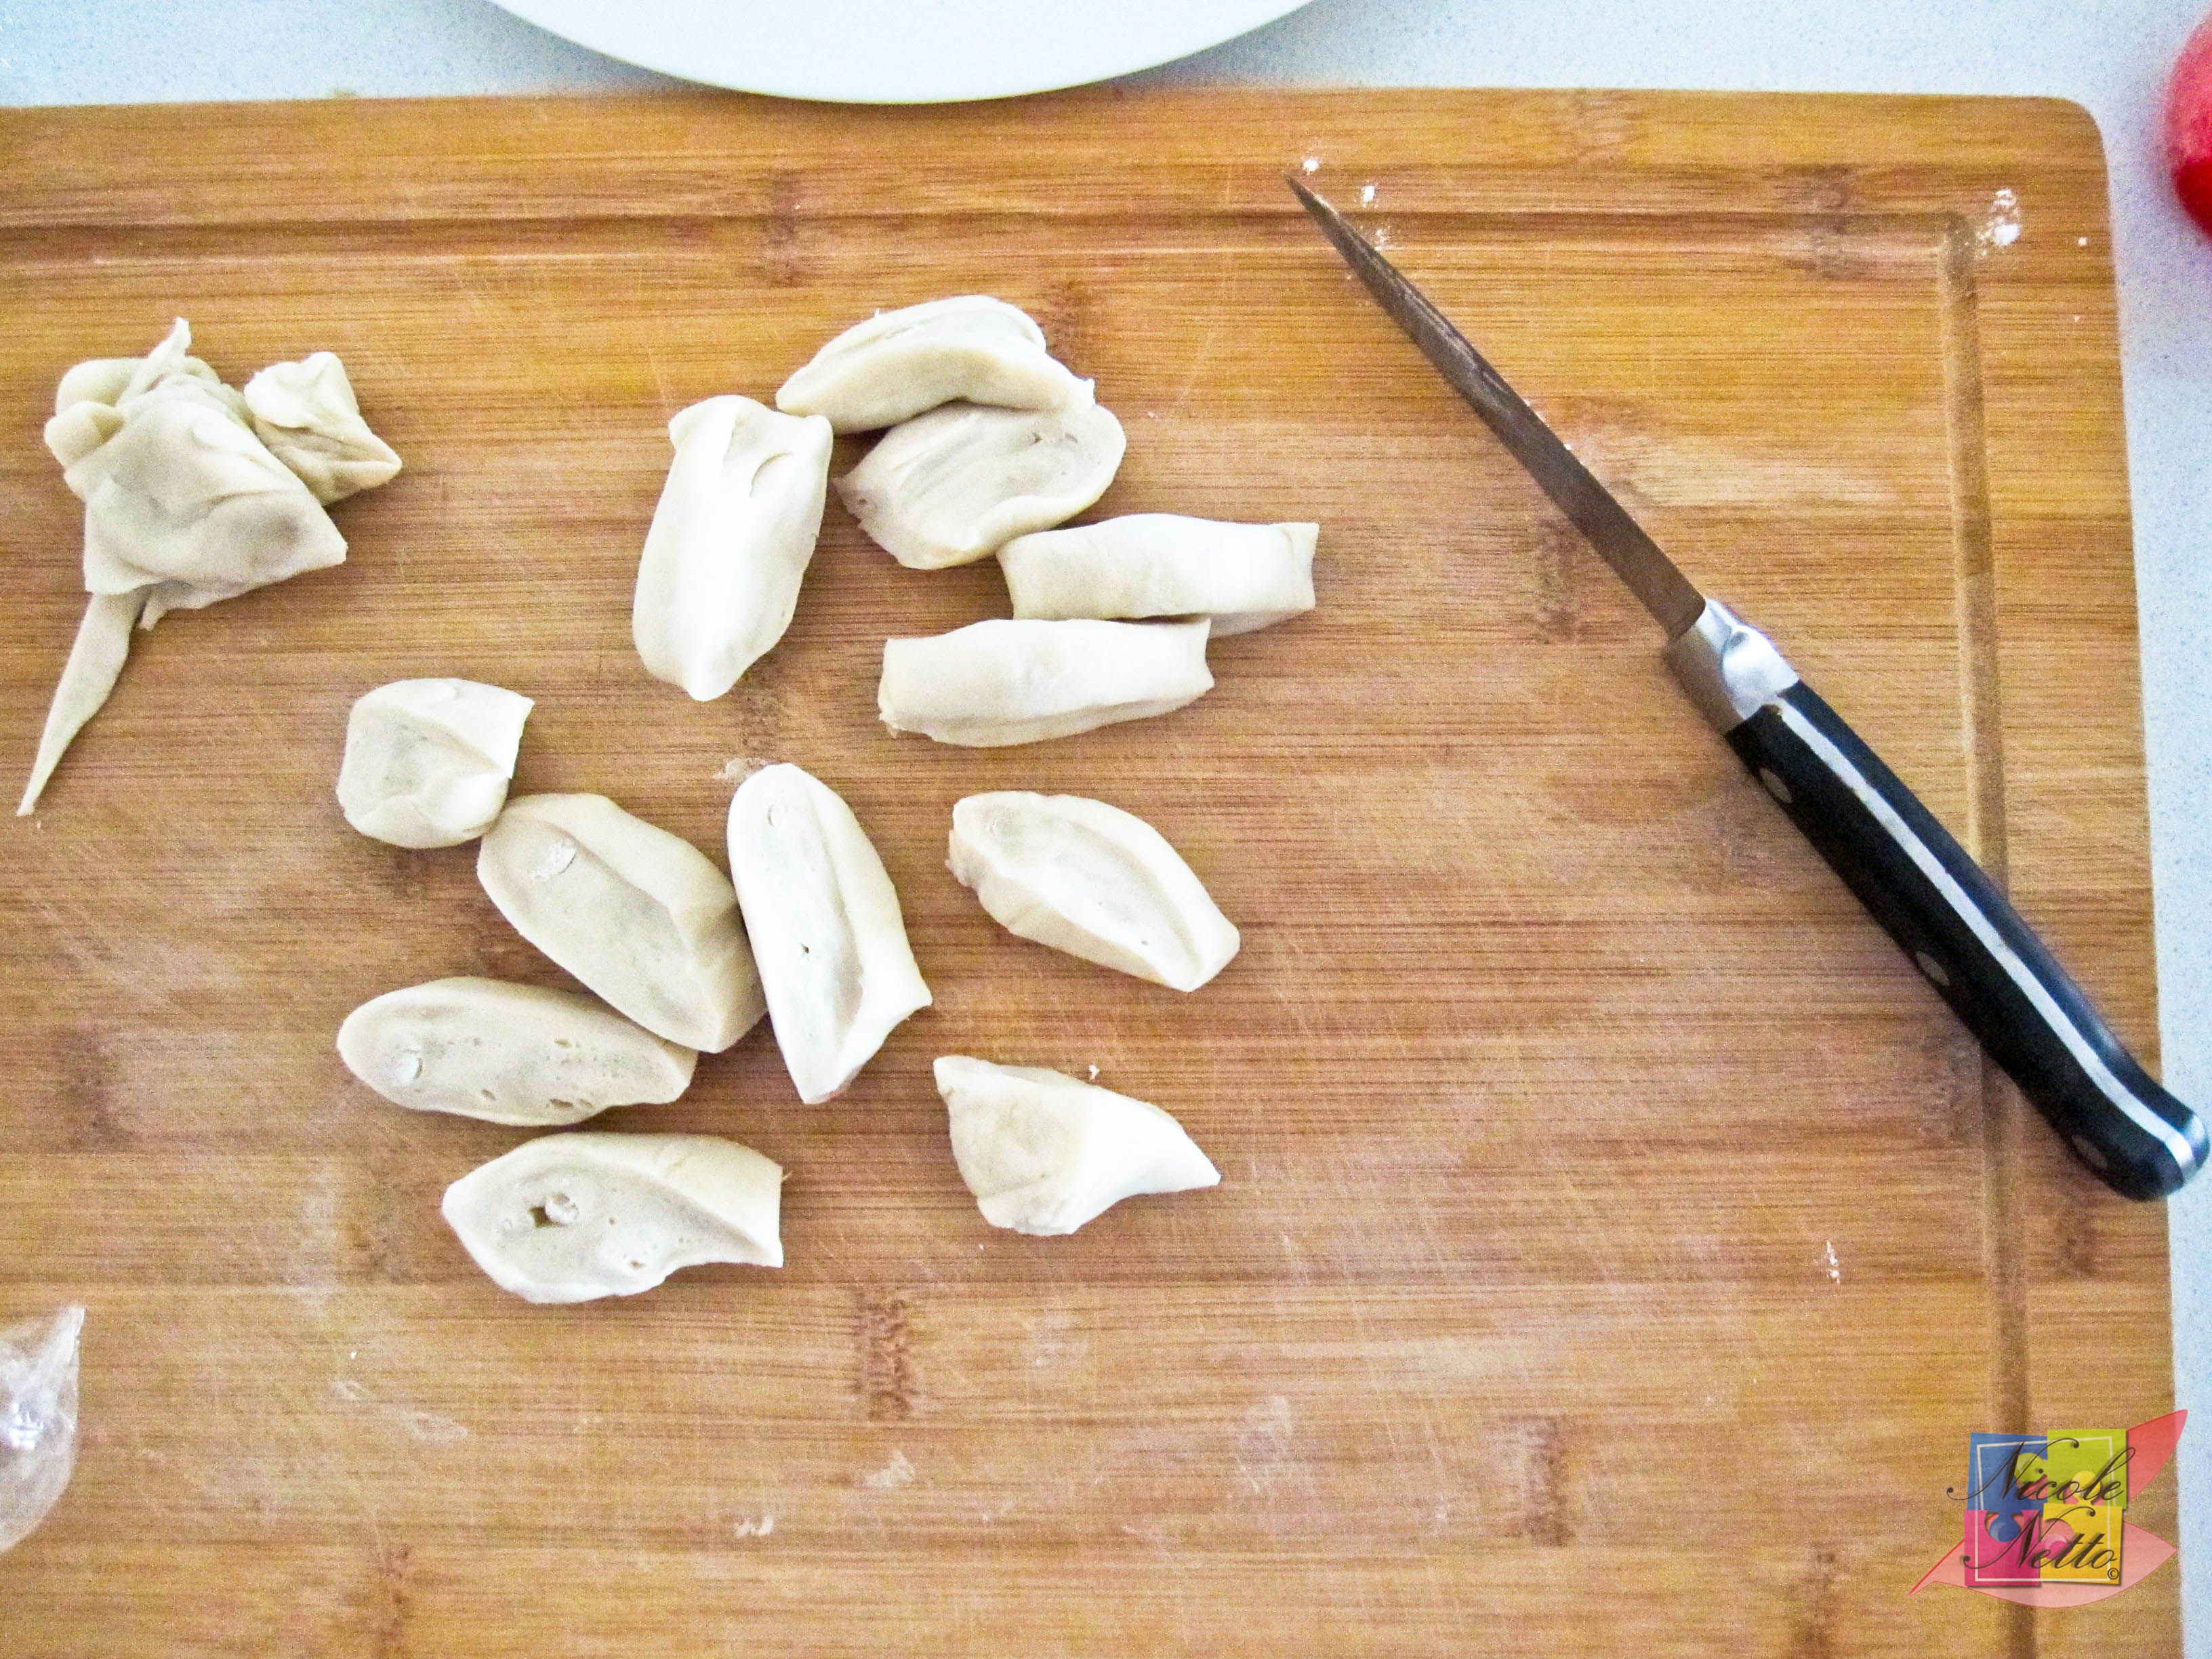
Cut up gyoza dough portions
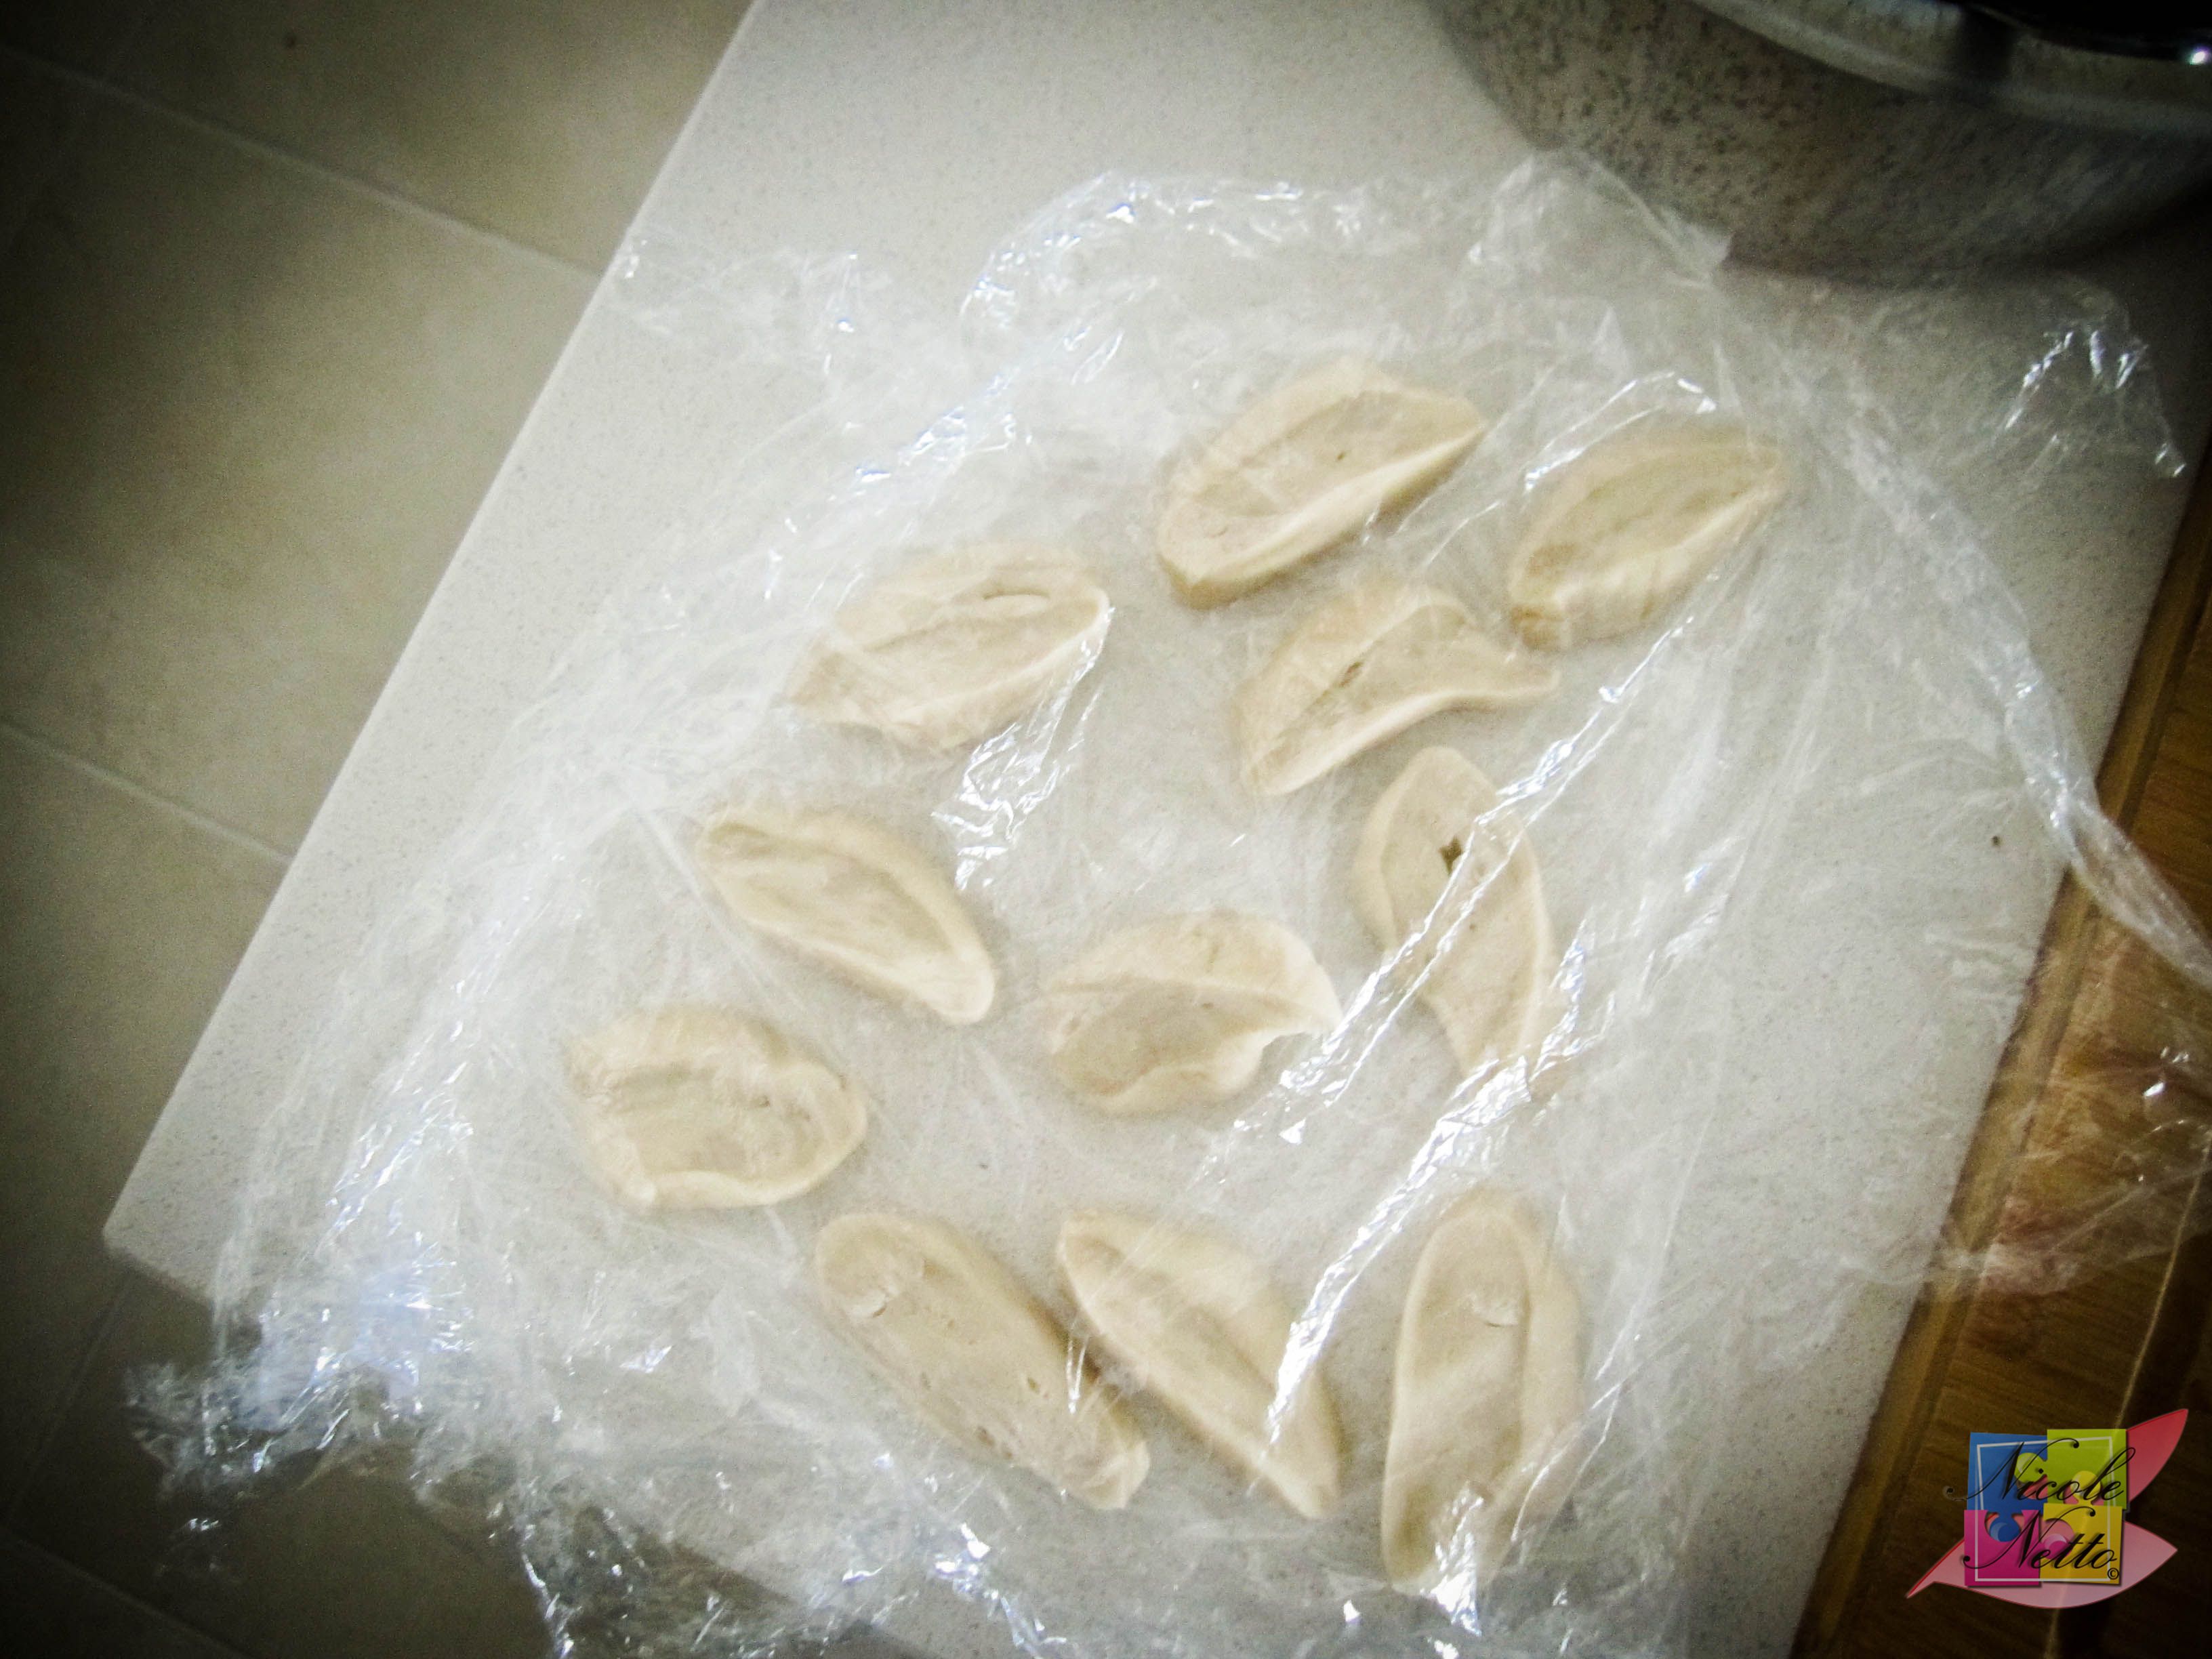
Covered gyoza dough portions
Roll a cut piece into a ball. Roll out the dough into a circular shape and as thin as you can (about 1mm thick).
Rolling out the cut piece of dough
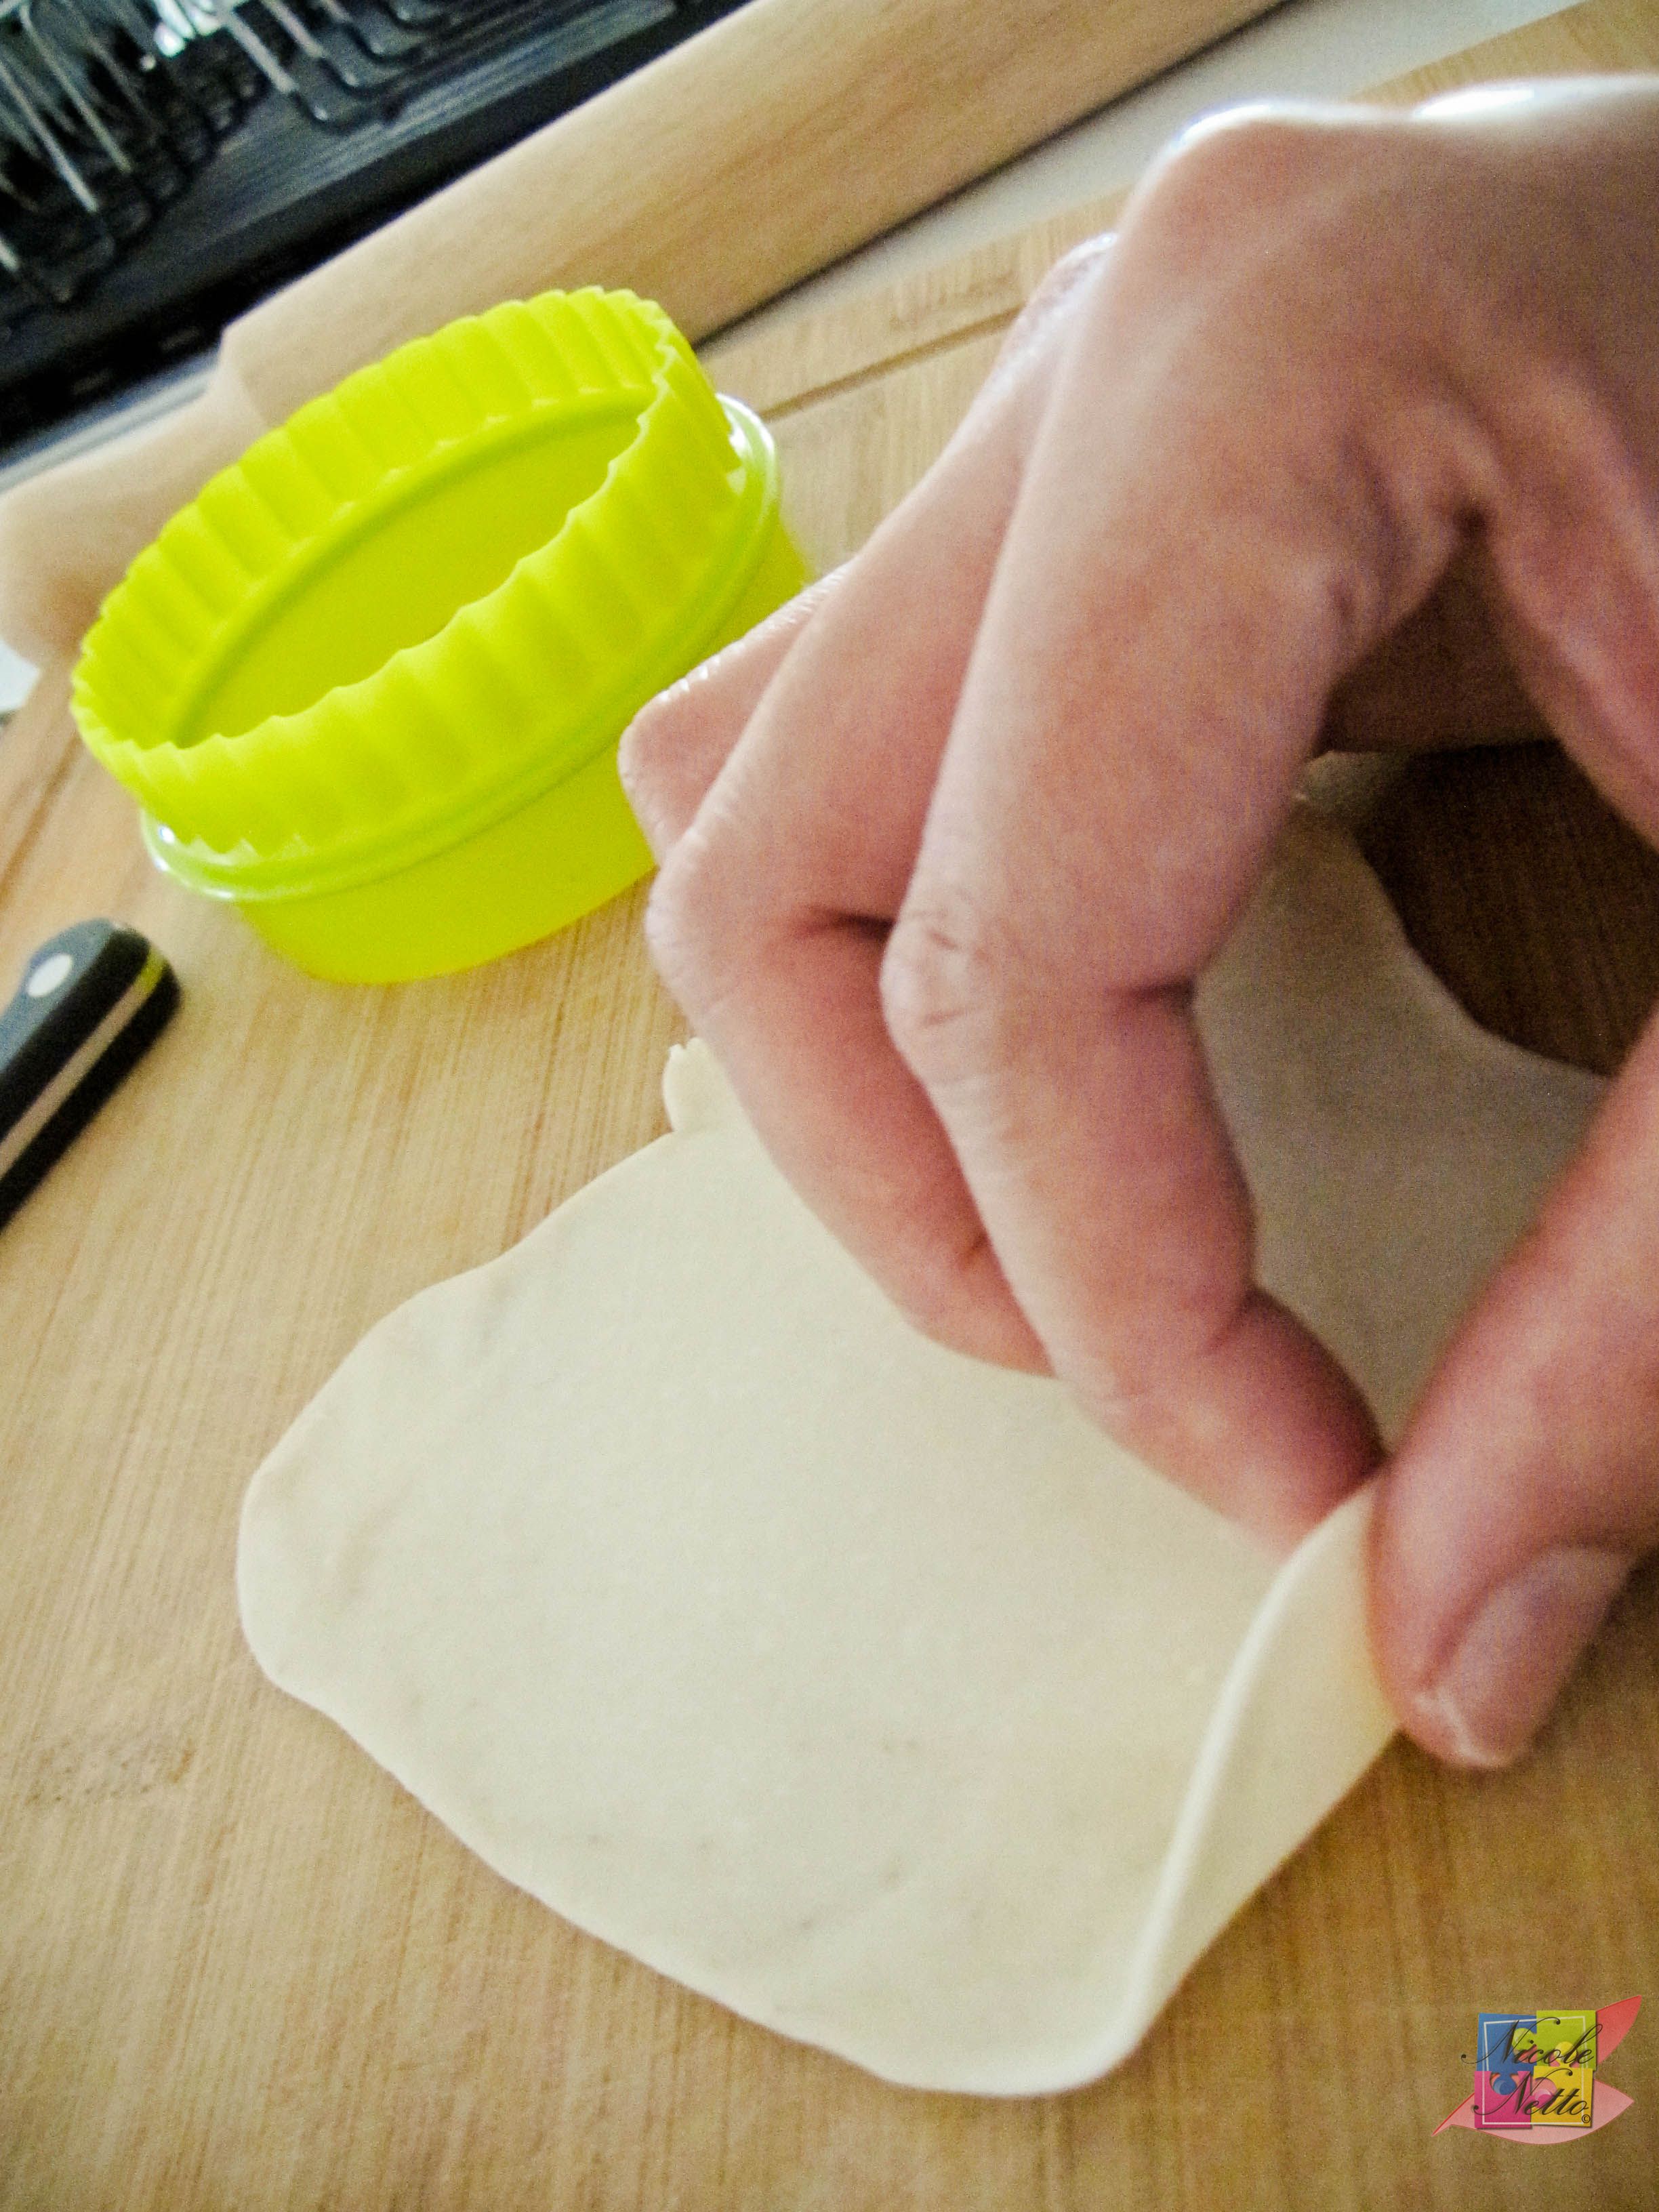
Rolled out as thin as possible
Using a 8cm cookie cutter, cut to form a perfect circular shaped gyoza wrapper. Combine the scraps with the covered second half of dough.
Note: You don’t have to use a cookie cutter if you don’t have one, just roll the dough into a circular shape about 8cm in diameter.
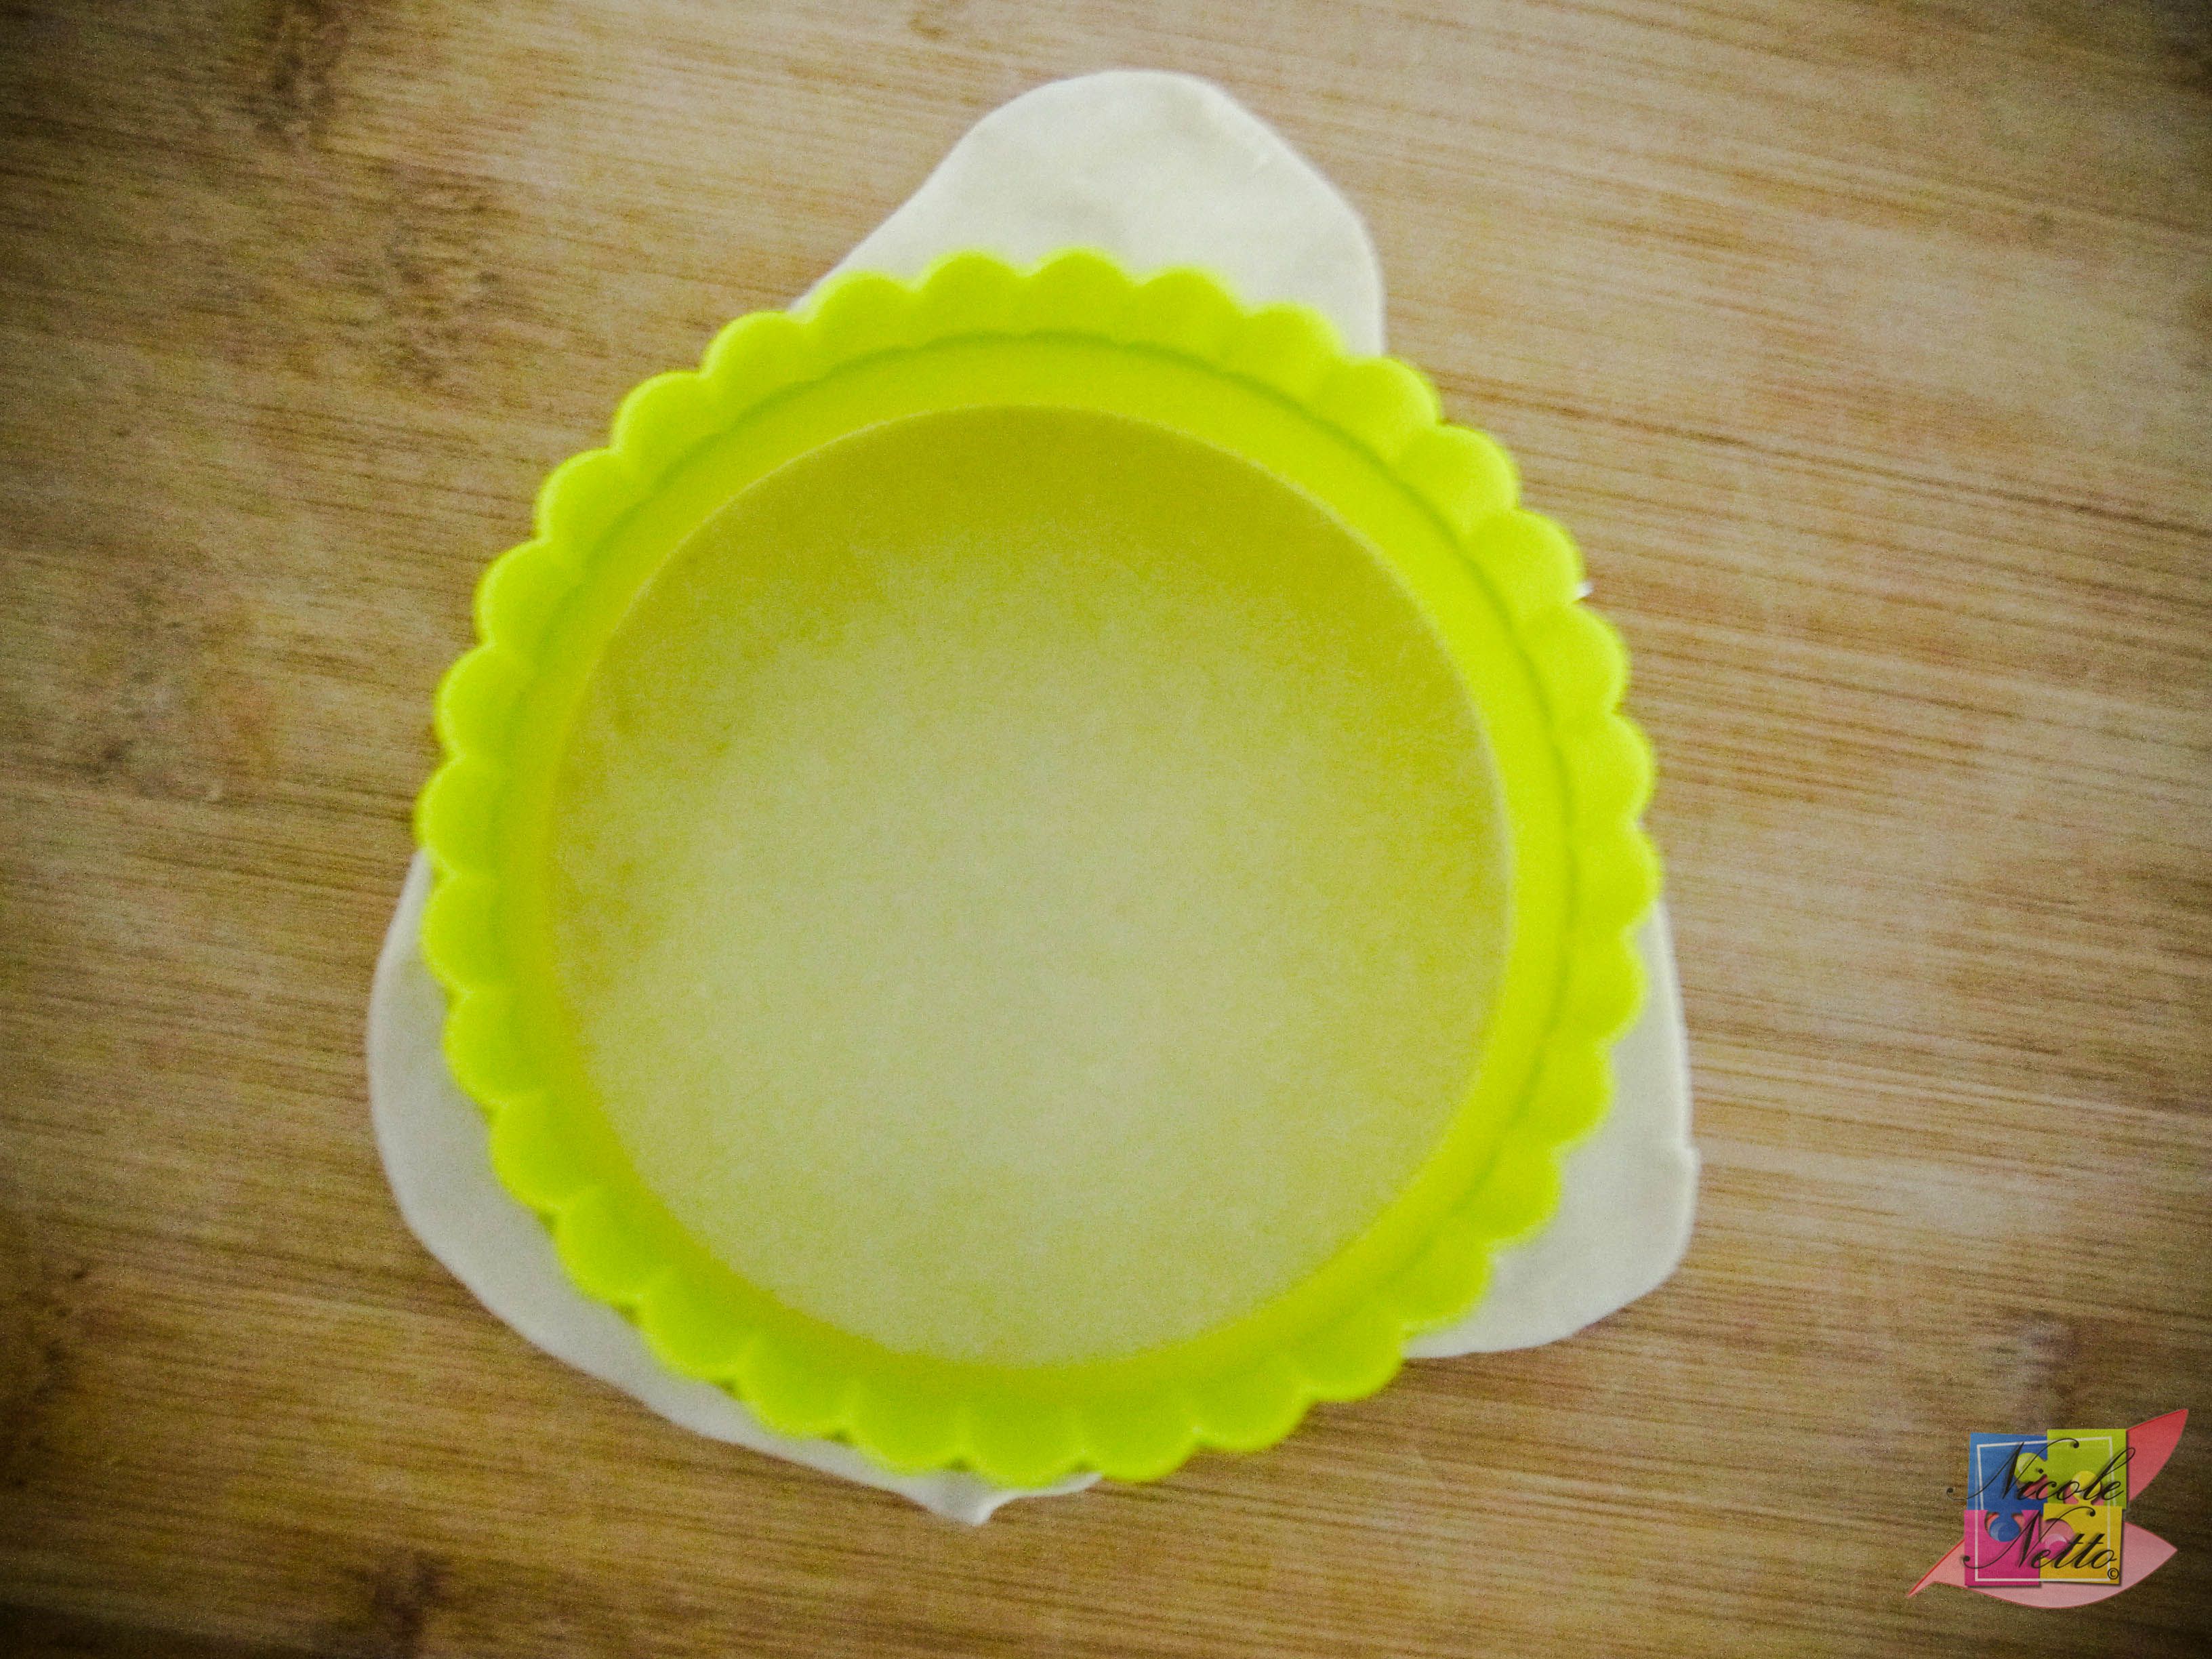
Cutting with a cookie cutter
Place wrapper on a plate and dust the plate and between each gyoza wrapper with sufficient potato starch, corn starch or all purpose flour to ensure the stacked wrappers don’t stick together. Ensure wrapper stack is covered with cling wrap while not in use.
Continue the above process until all the dough has been used up.
Remove the refrigerated Pork and Spinach gyoza filling. Mix the remaining 2 tsps of cornflour and water in a small bowl into a paste.
Take a gyoza wrapper and place onto your work space. Brush the edges of the wrapper with the cornflour paste. Place a heaped teaspoon of the filling in the center.
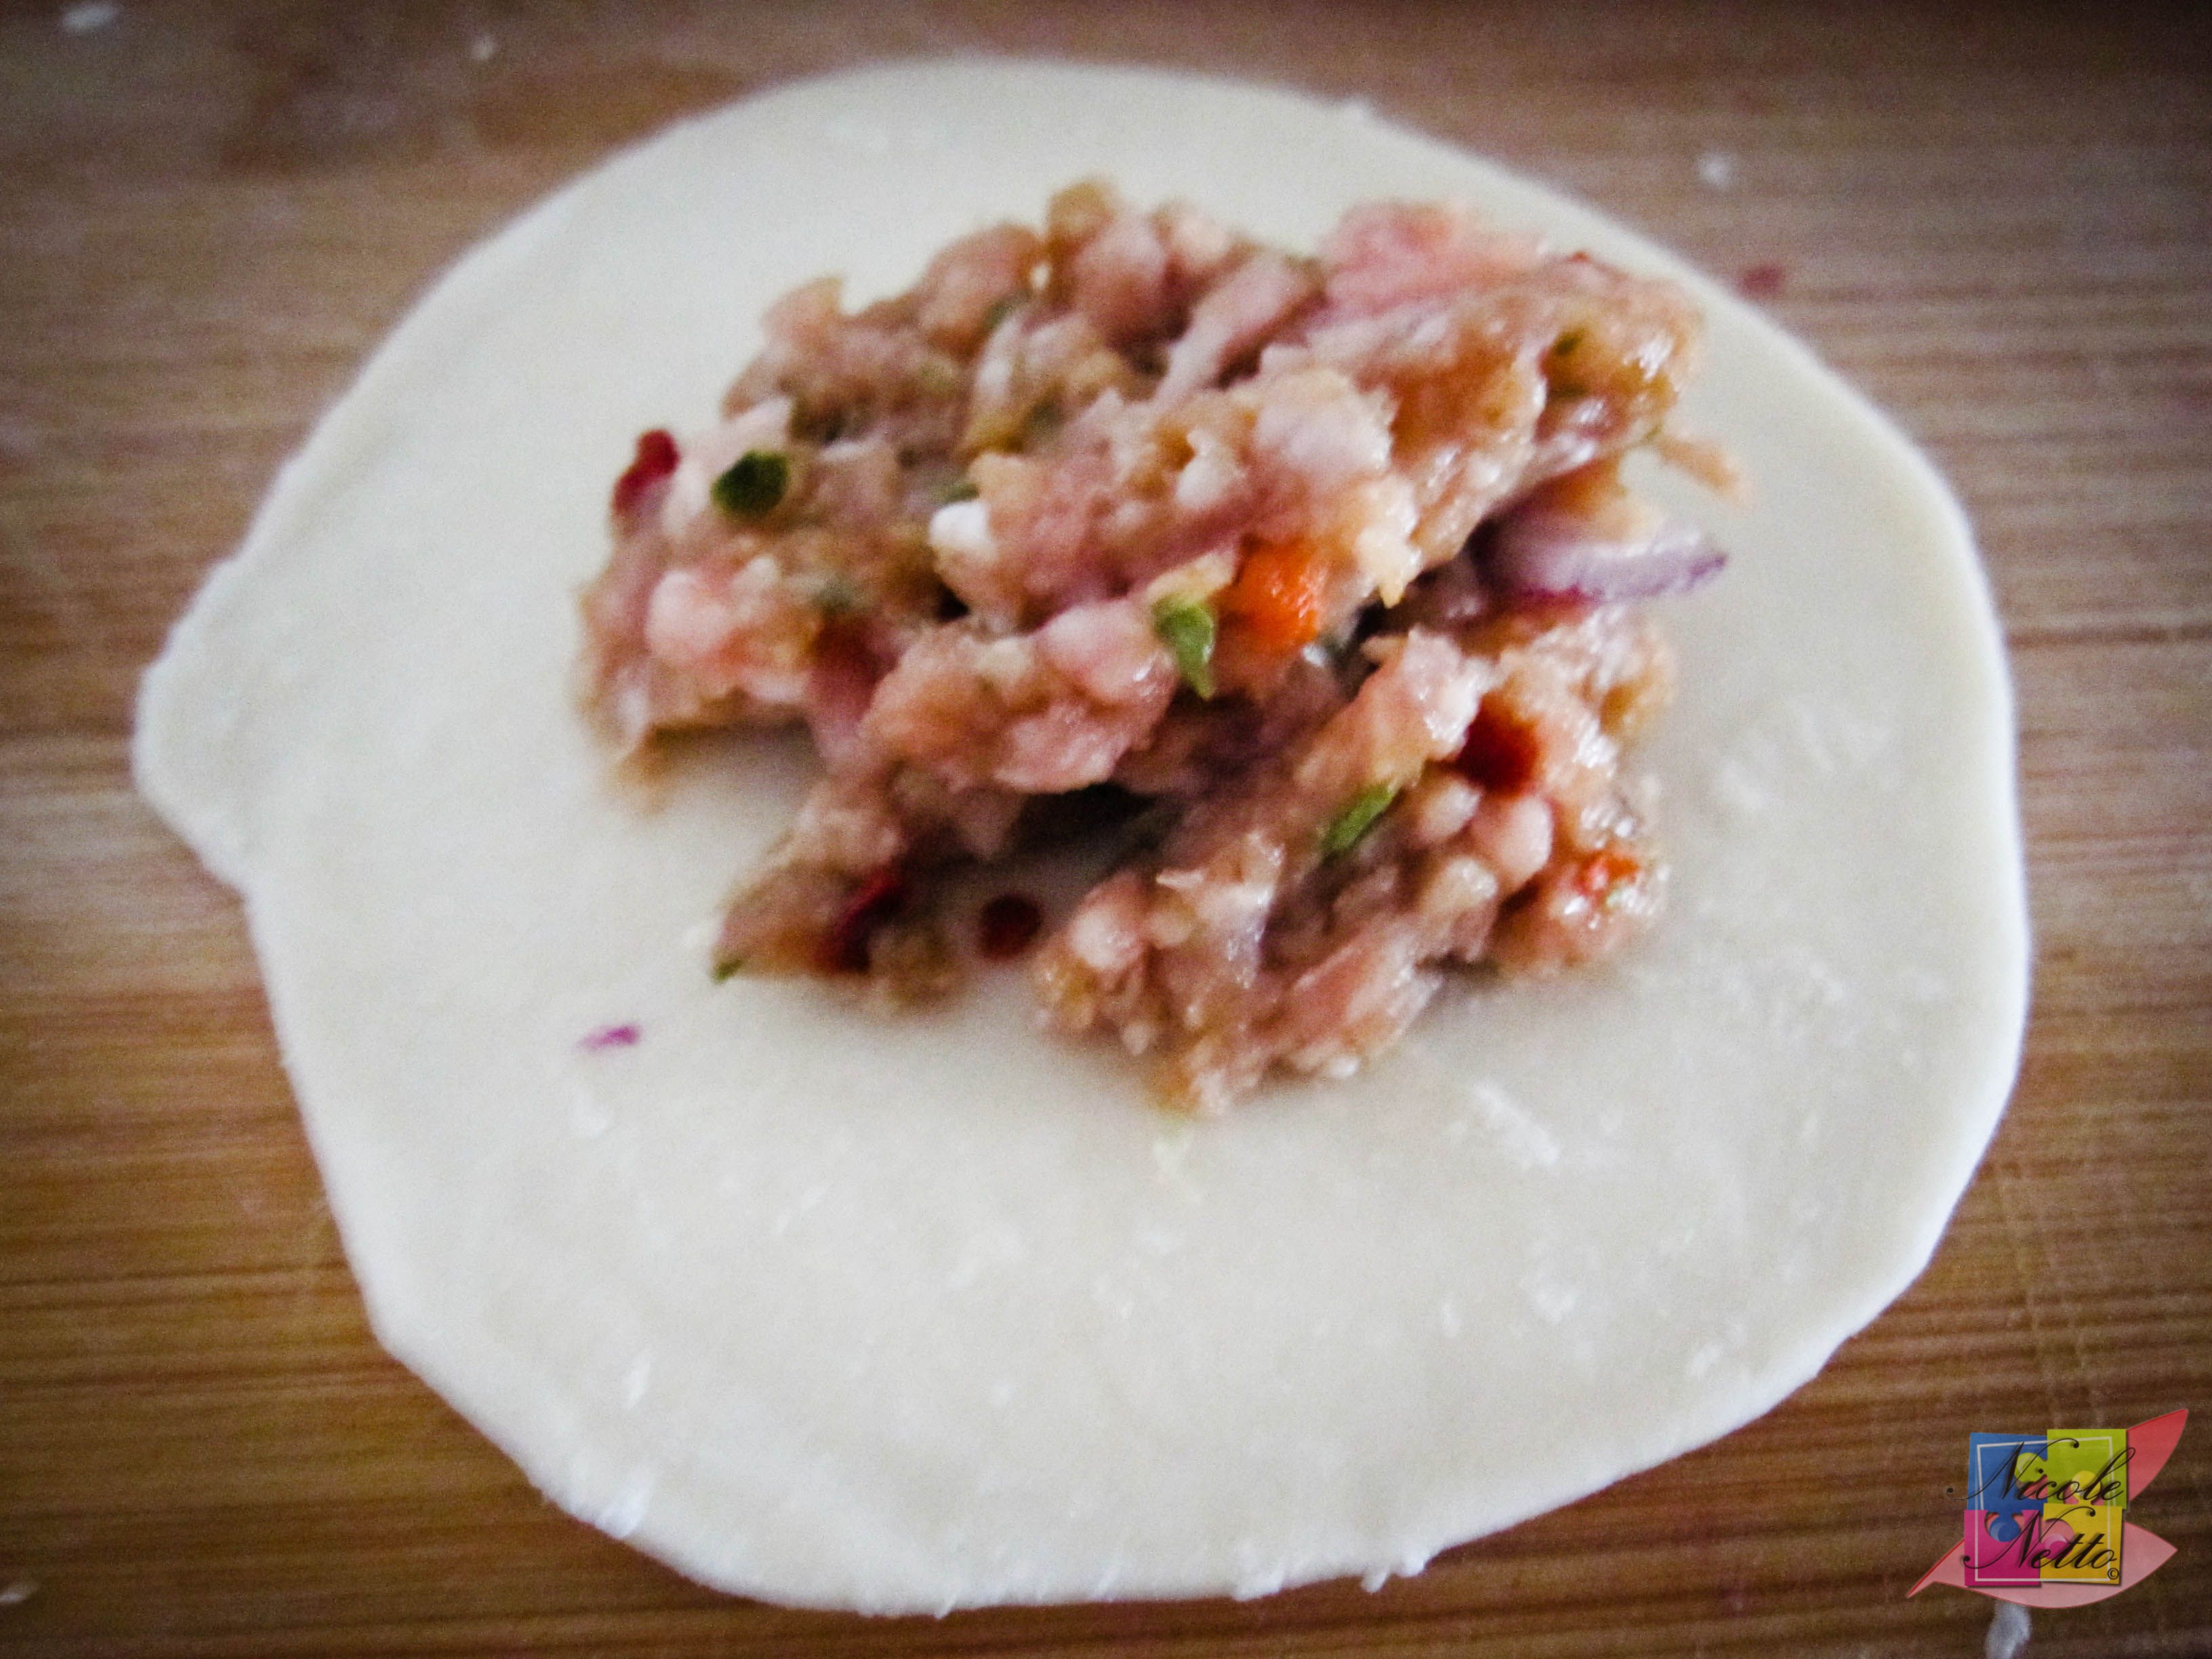
Filling placed in the center of gyoza wrapper
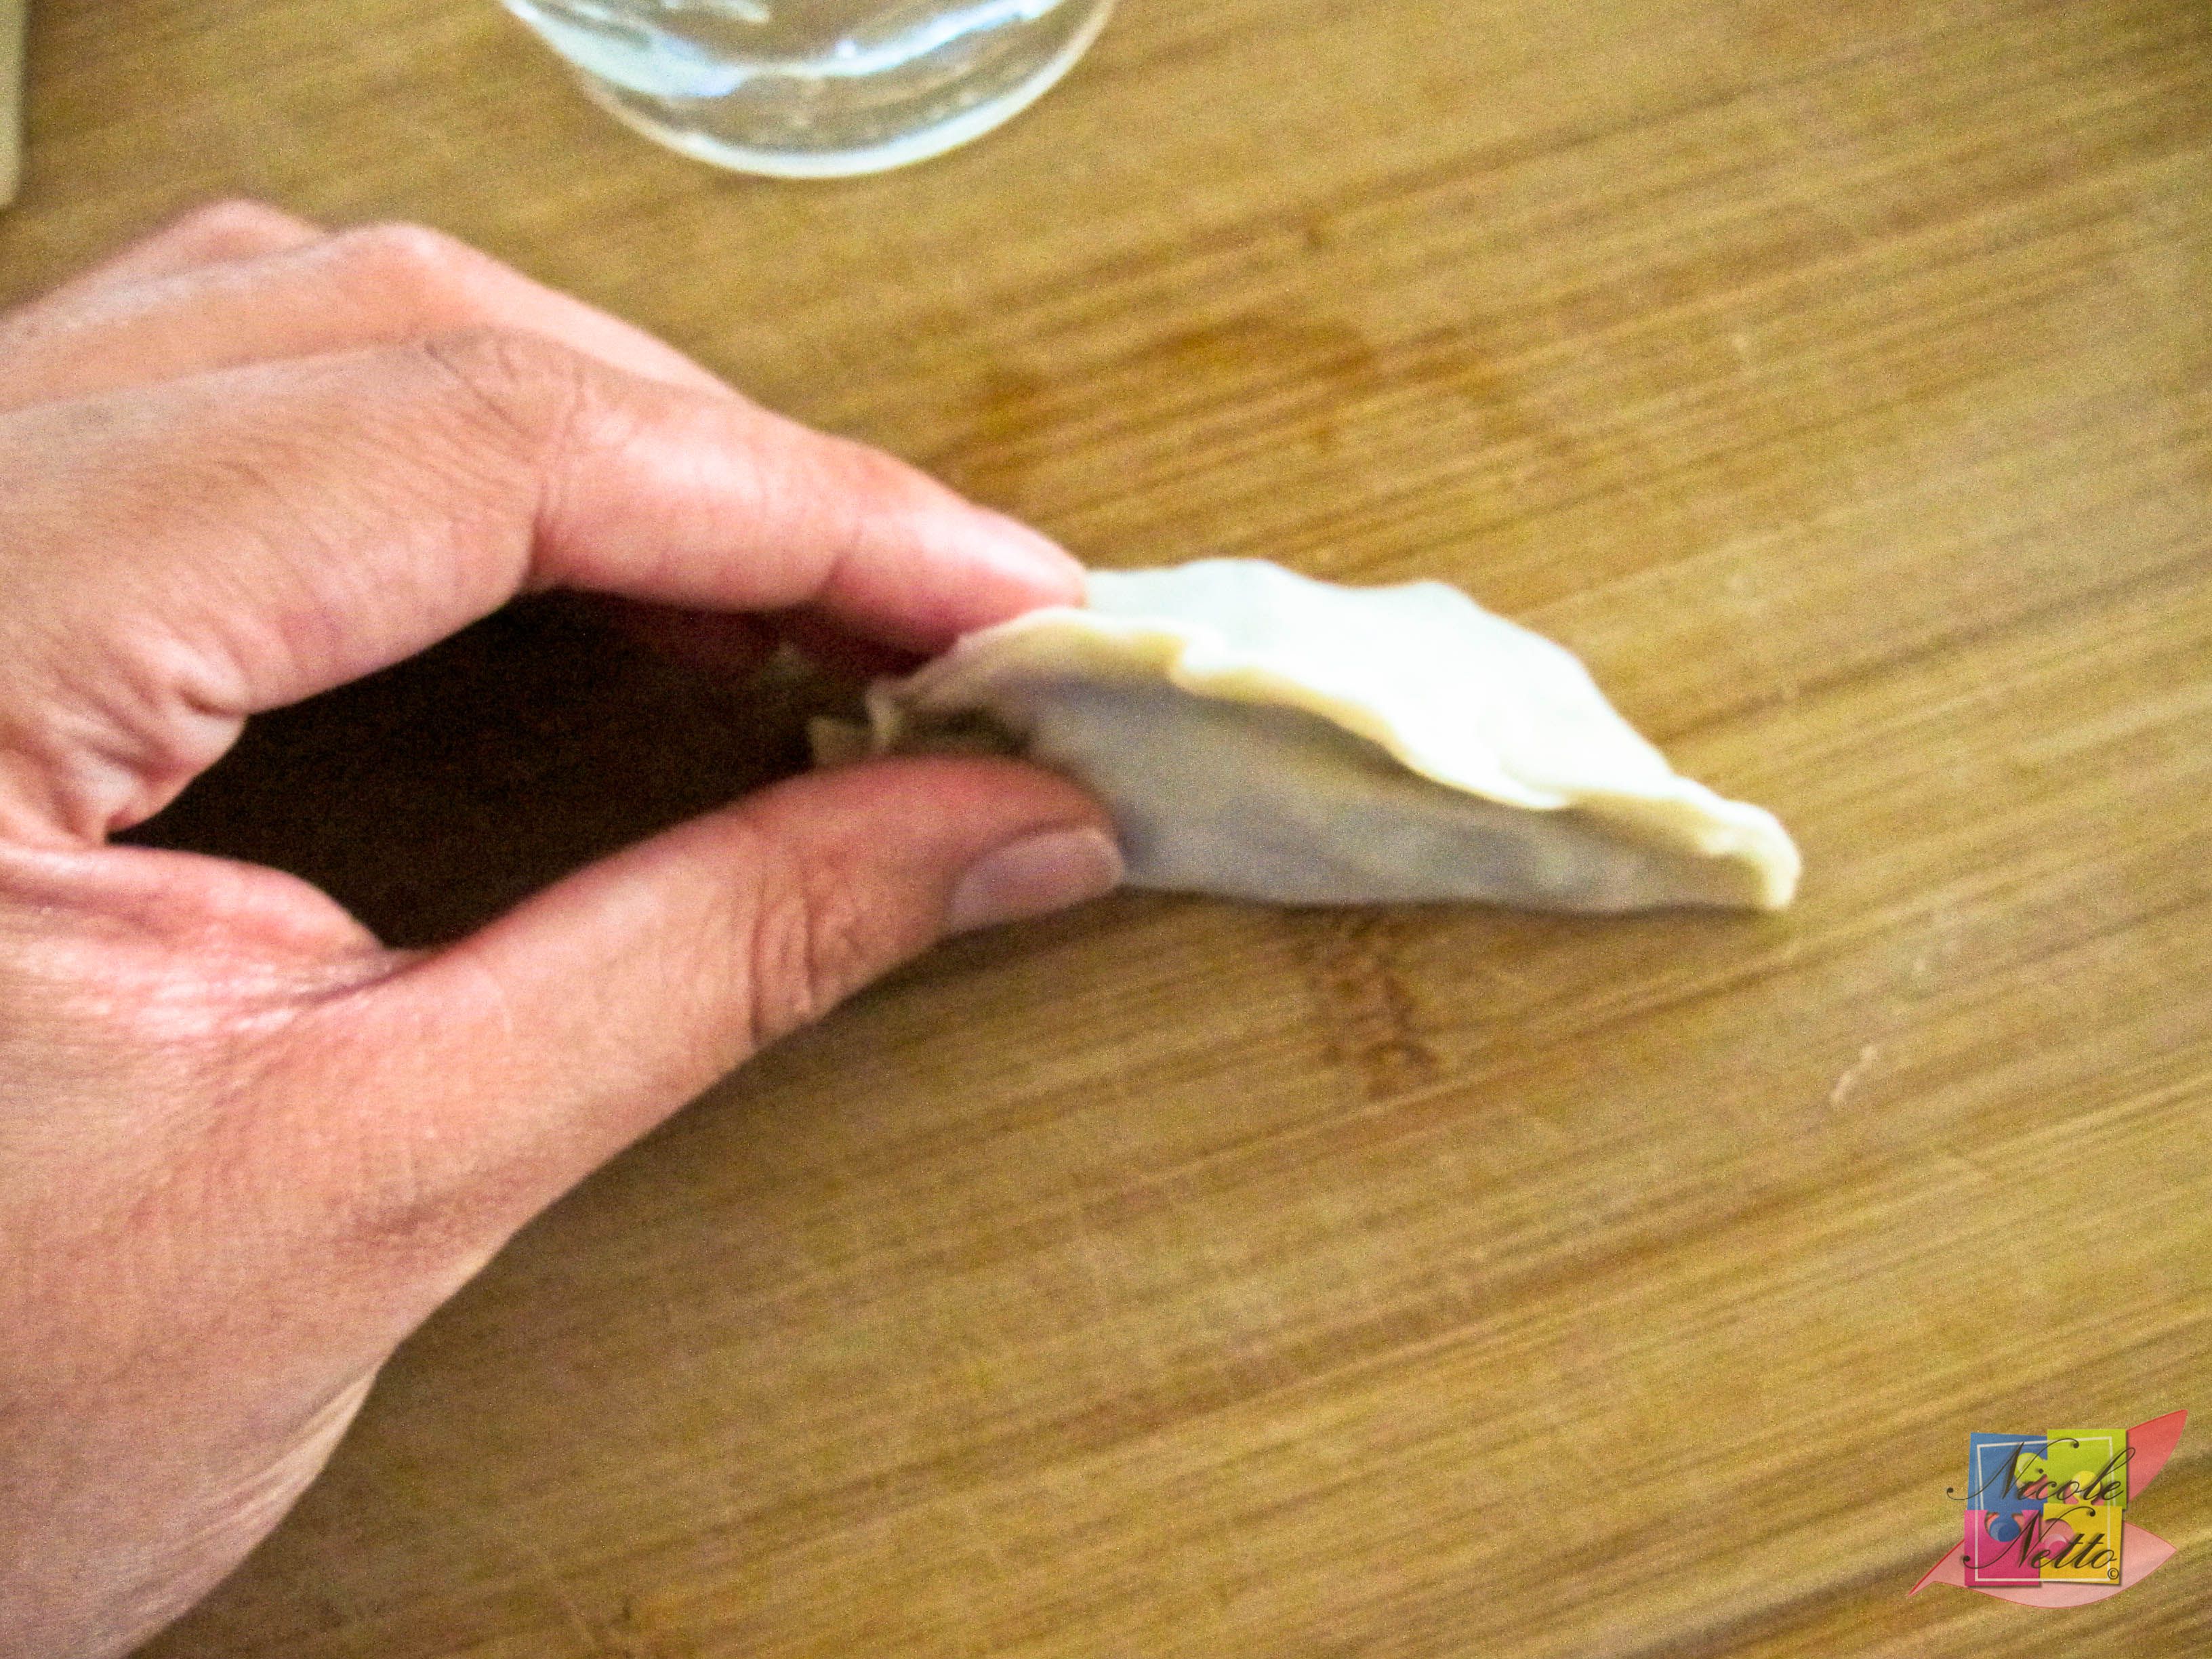
Folded in half

Pinching little pleats onto the gyoza
Seal the gyoza by folding it in half and pinching the edges together with tiny folds.
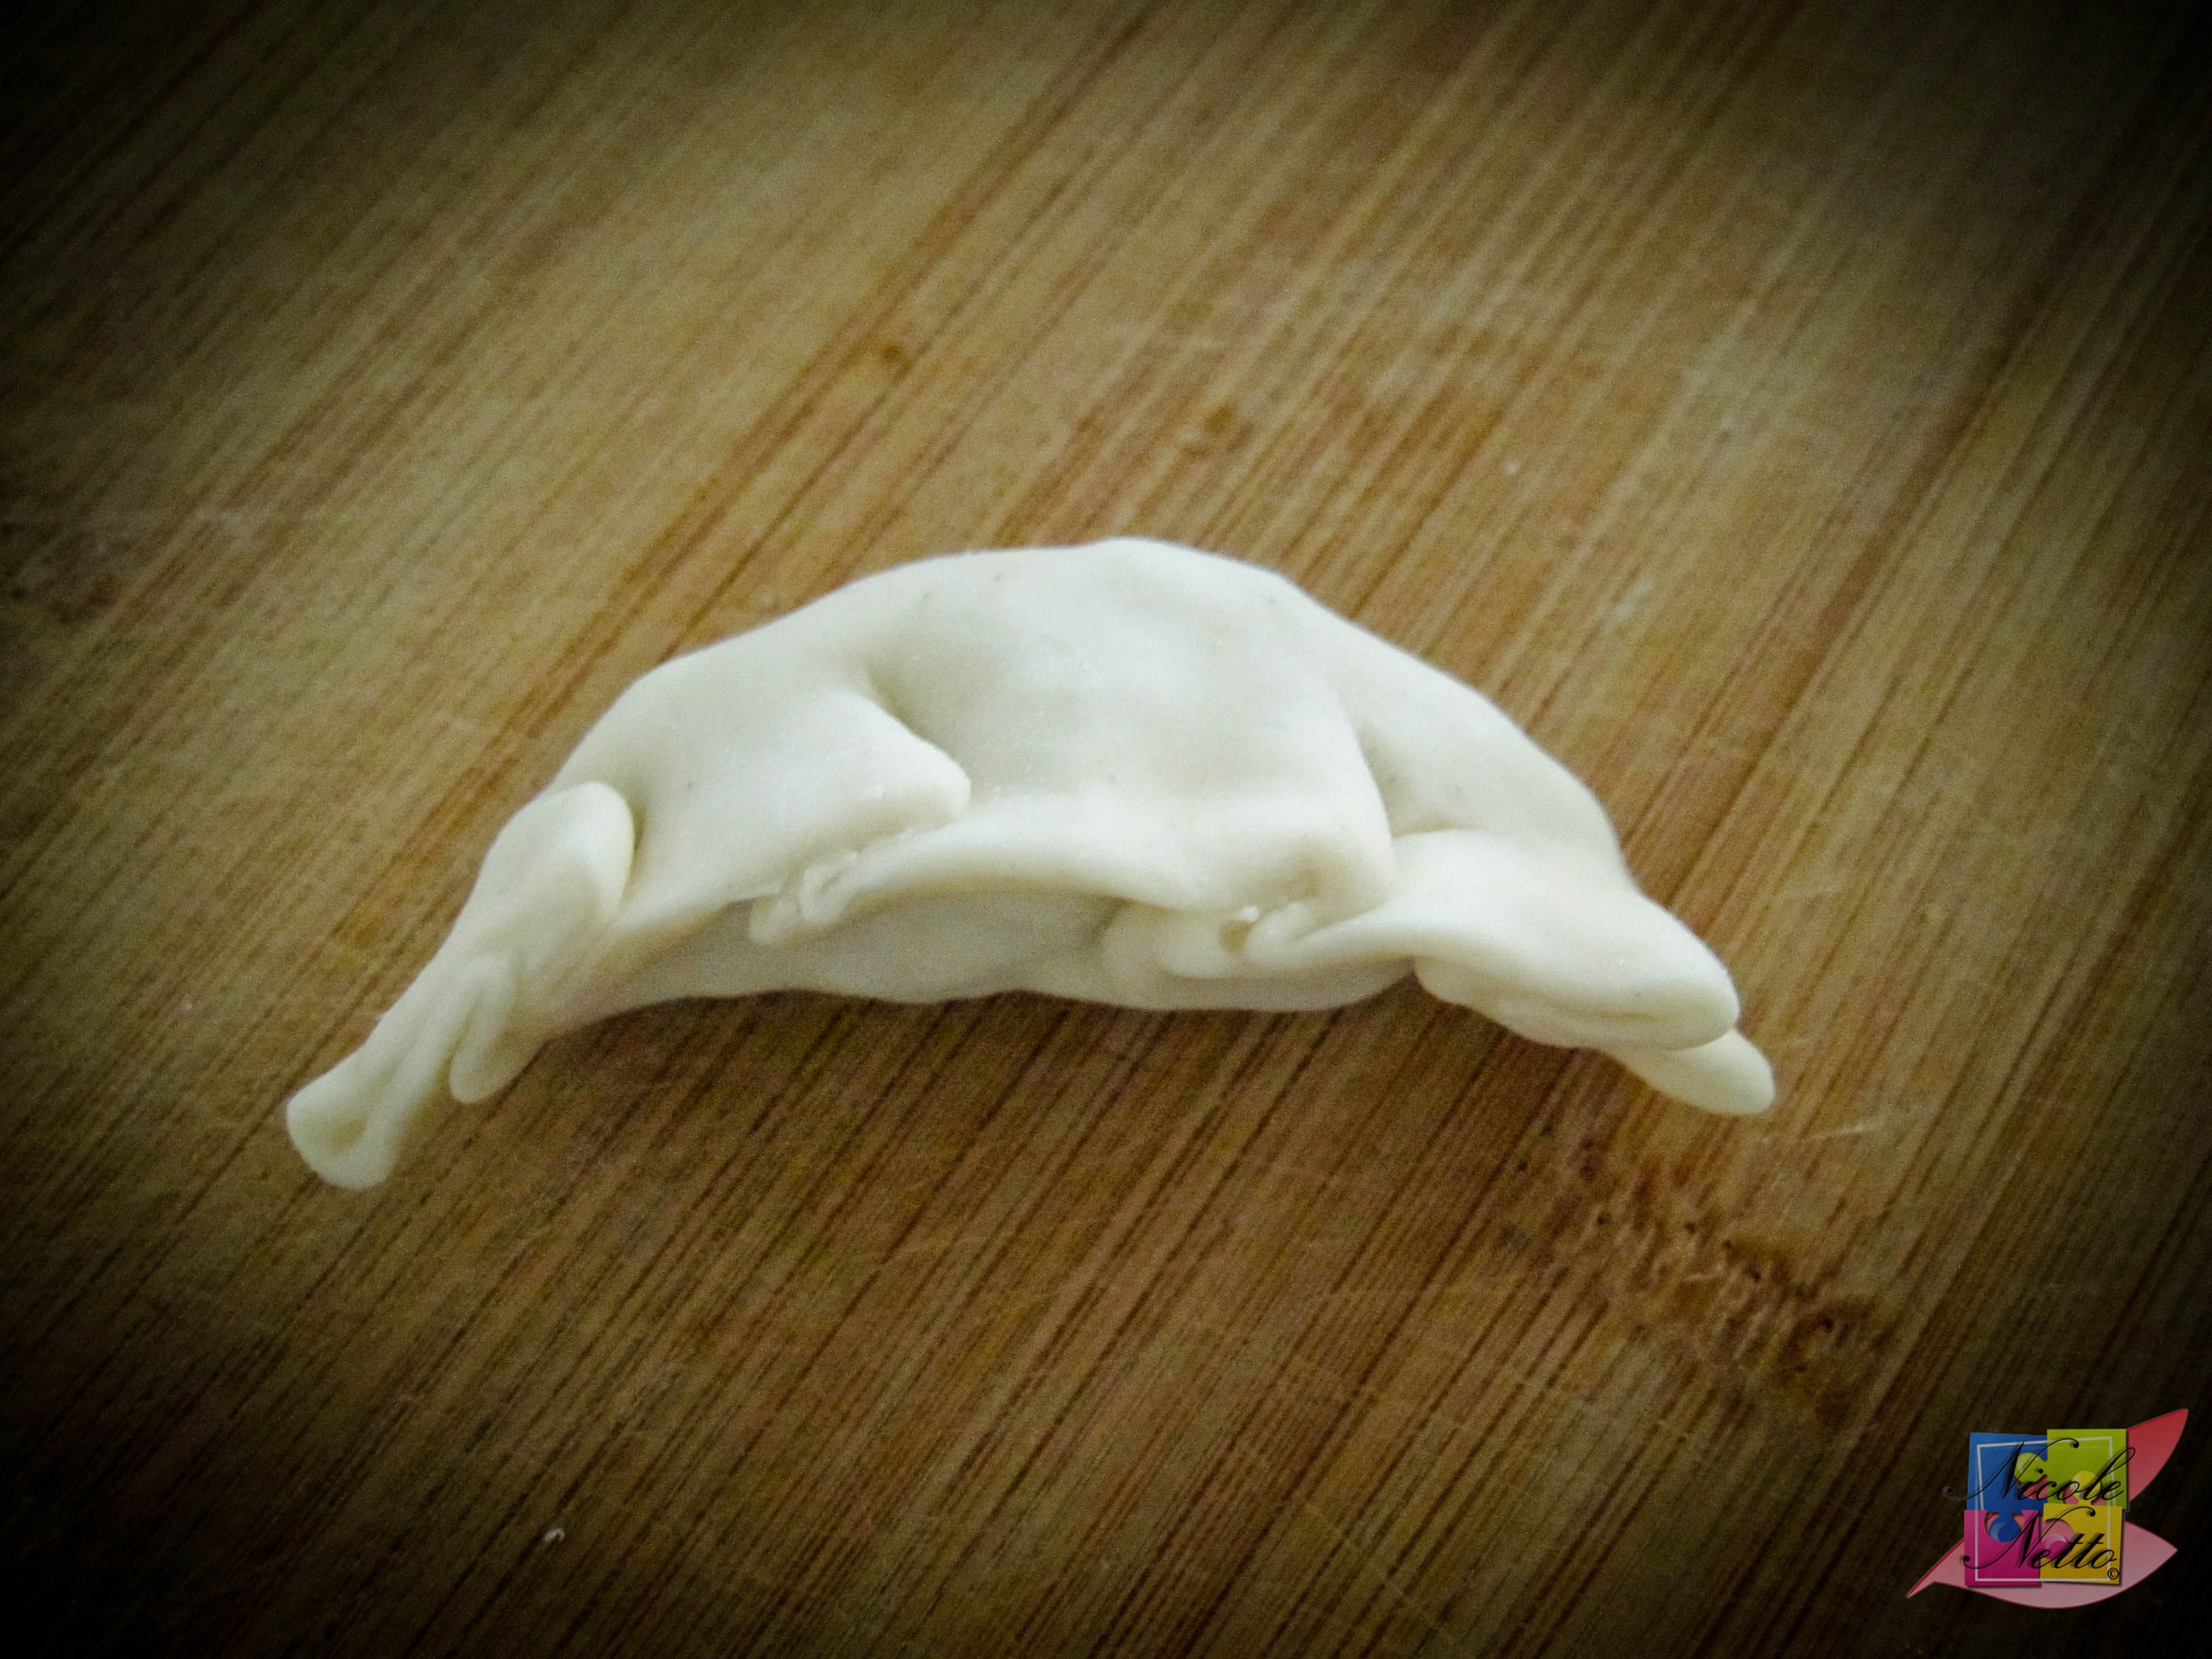
Folded gyoza piece – top view – notice the slightly concaved shape
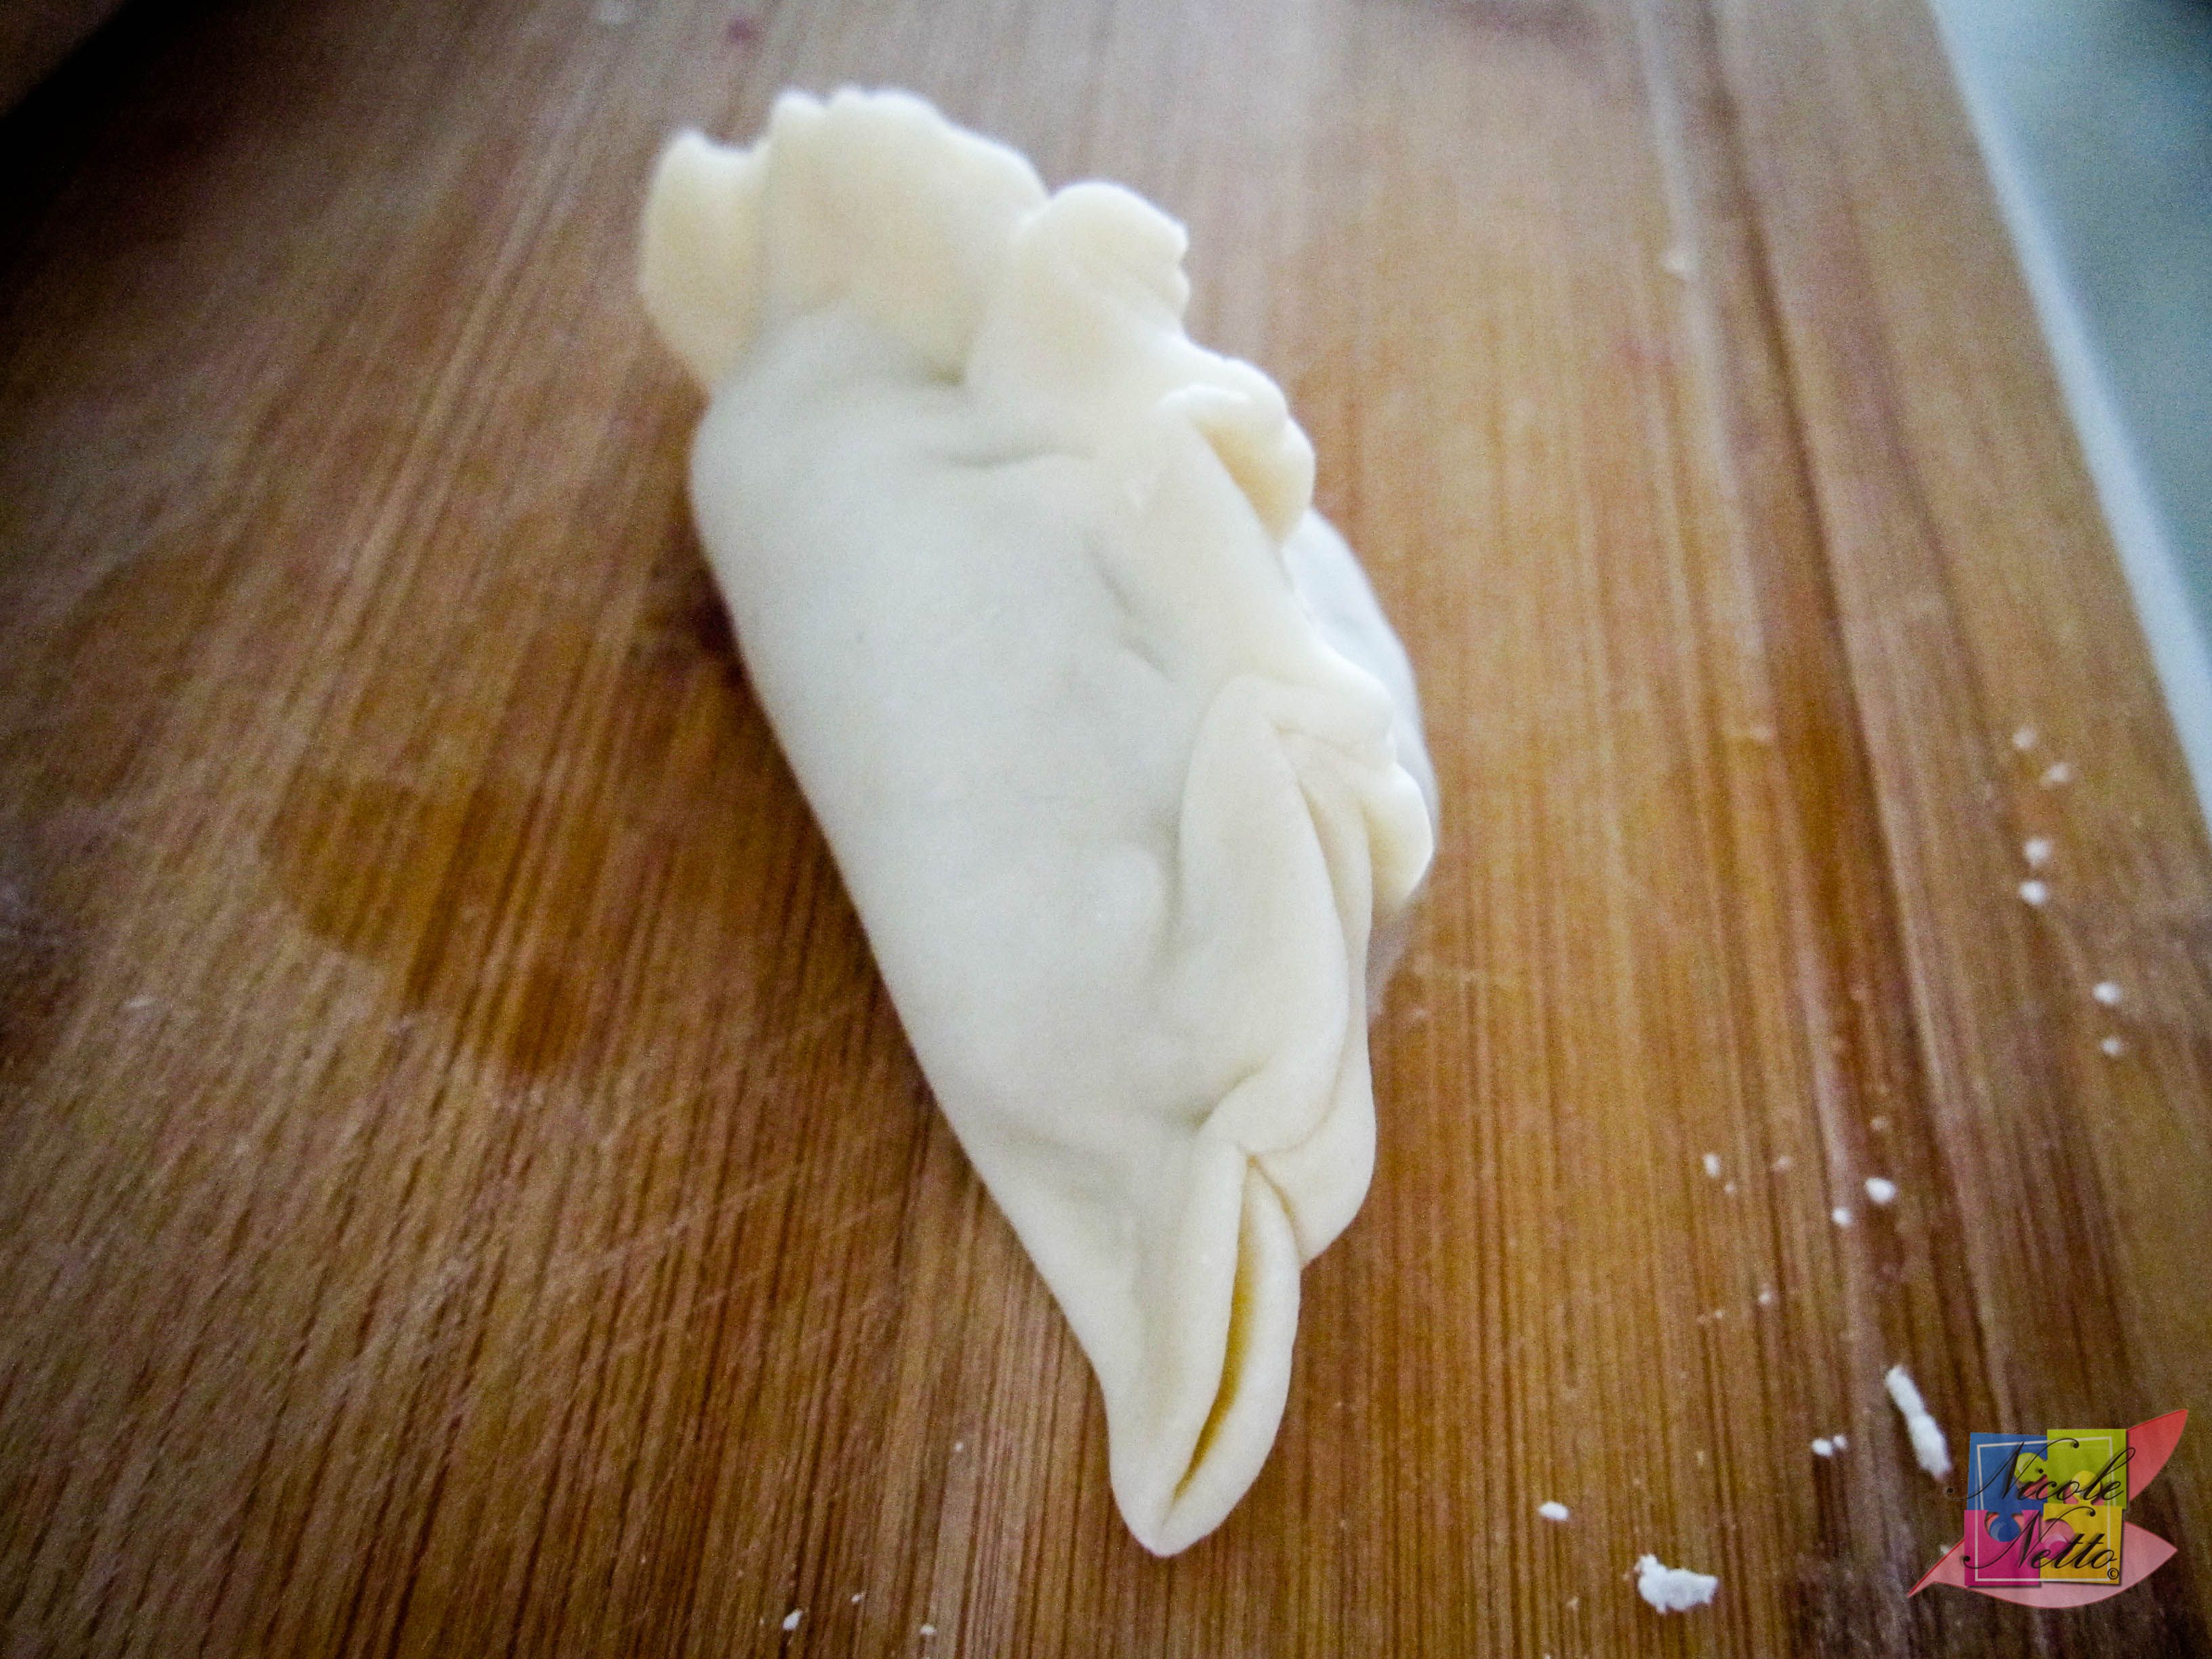
Folded gyoza piece – back
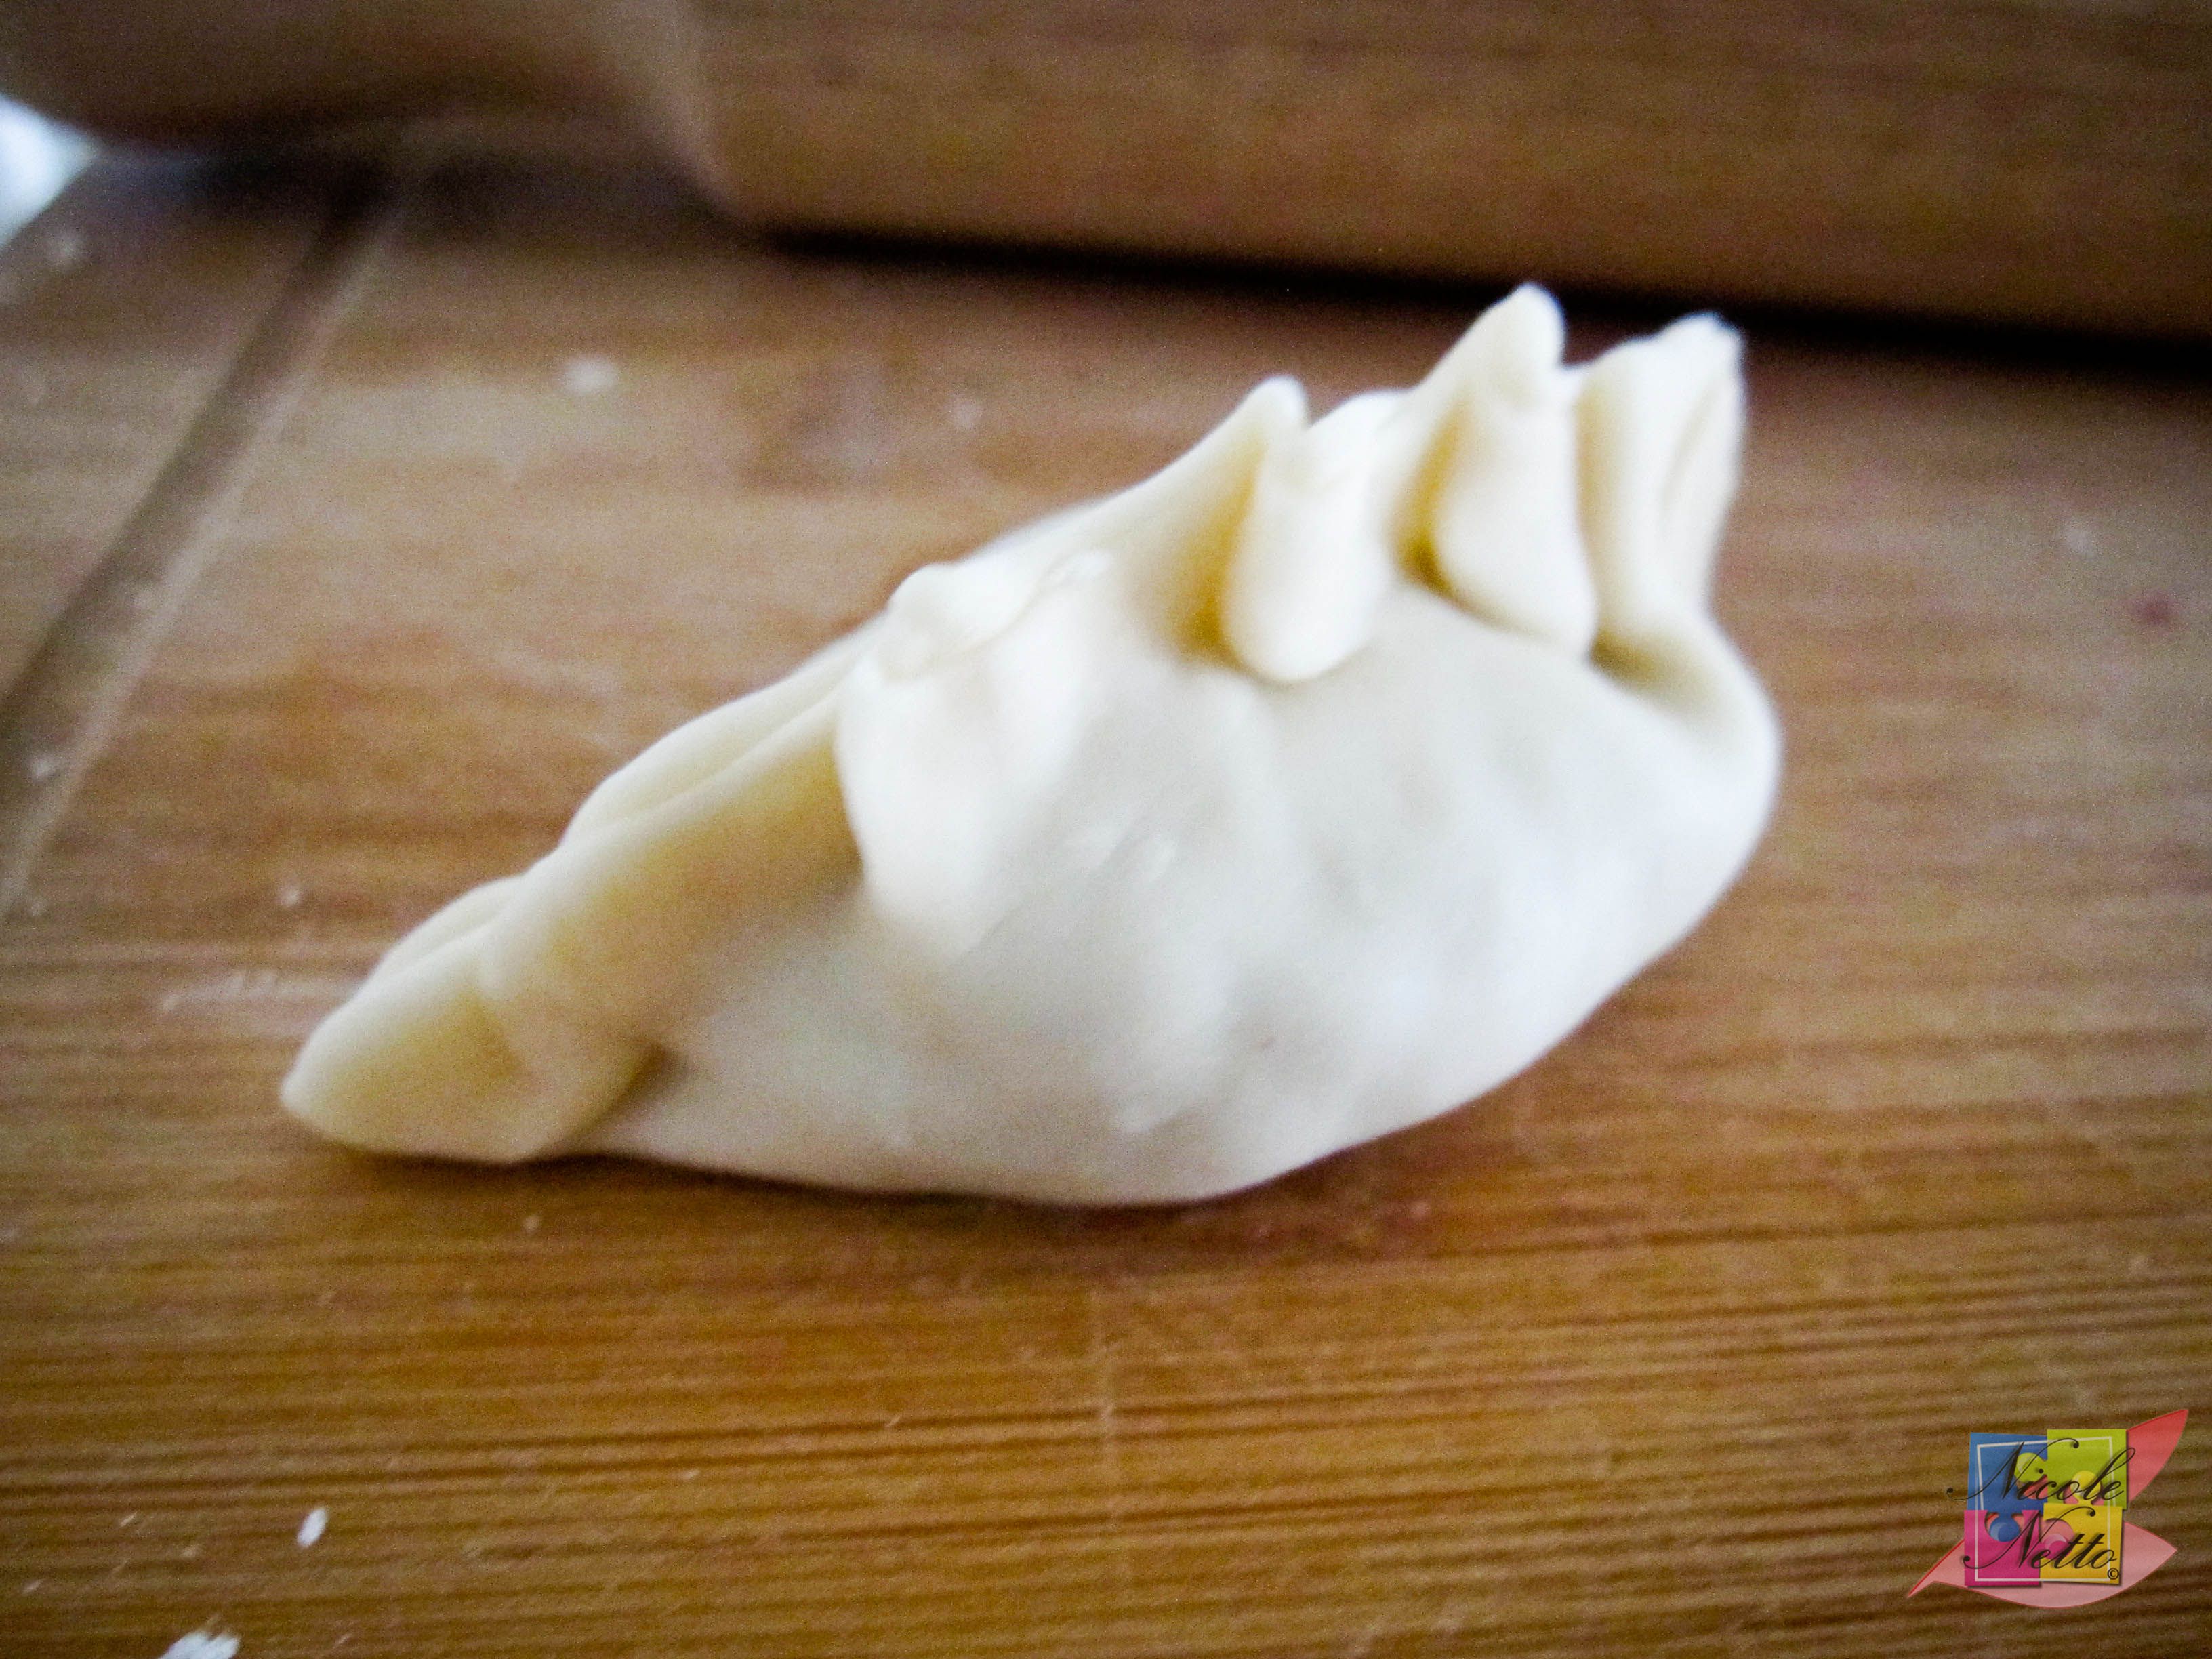
Folded gyoza piece – front
Place on a plate, a good distance apart, and dust with some potato starch, corn starch or all purpose flour to prevent them from sticking together. Cover with cling wrap until you need to use it.

Gyoza lined on a plate
Continue until all the wrappers are filled.
Note: If you aren’t going to cook all the dumplings, freeze meal portions of some dumplings in a freezer bag or container, with sufficient potato starch, corn starch or all purpose flour sprinkled through (to void them sticking together), for another time.
To cook:
Heat a pan to medium-high heat with 3-4 Tbsp of oil (preferably chili oil or sesame oil). Pan fry the dumplings, until the base is lightly browned.

Add in water to just fill in the bottom of the pan, roughly about a 1/2 cm deep. Cover the pan and steam on low heat until the gyoza are lightly translucent and cooked.
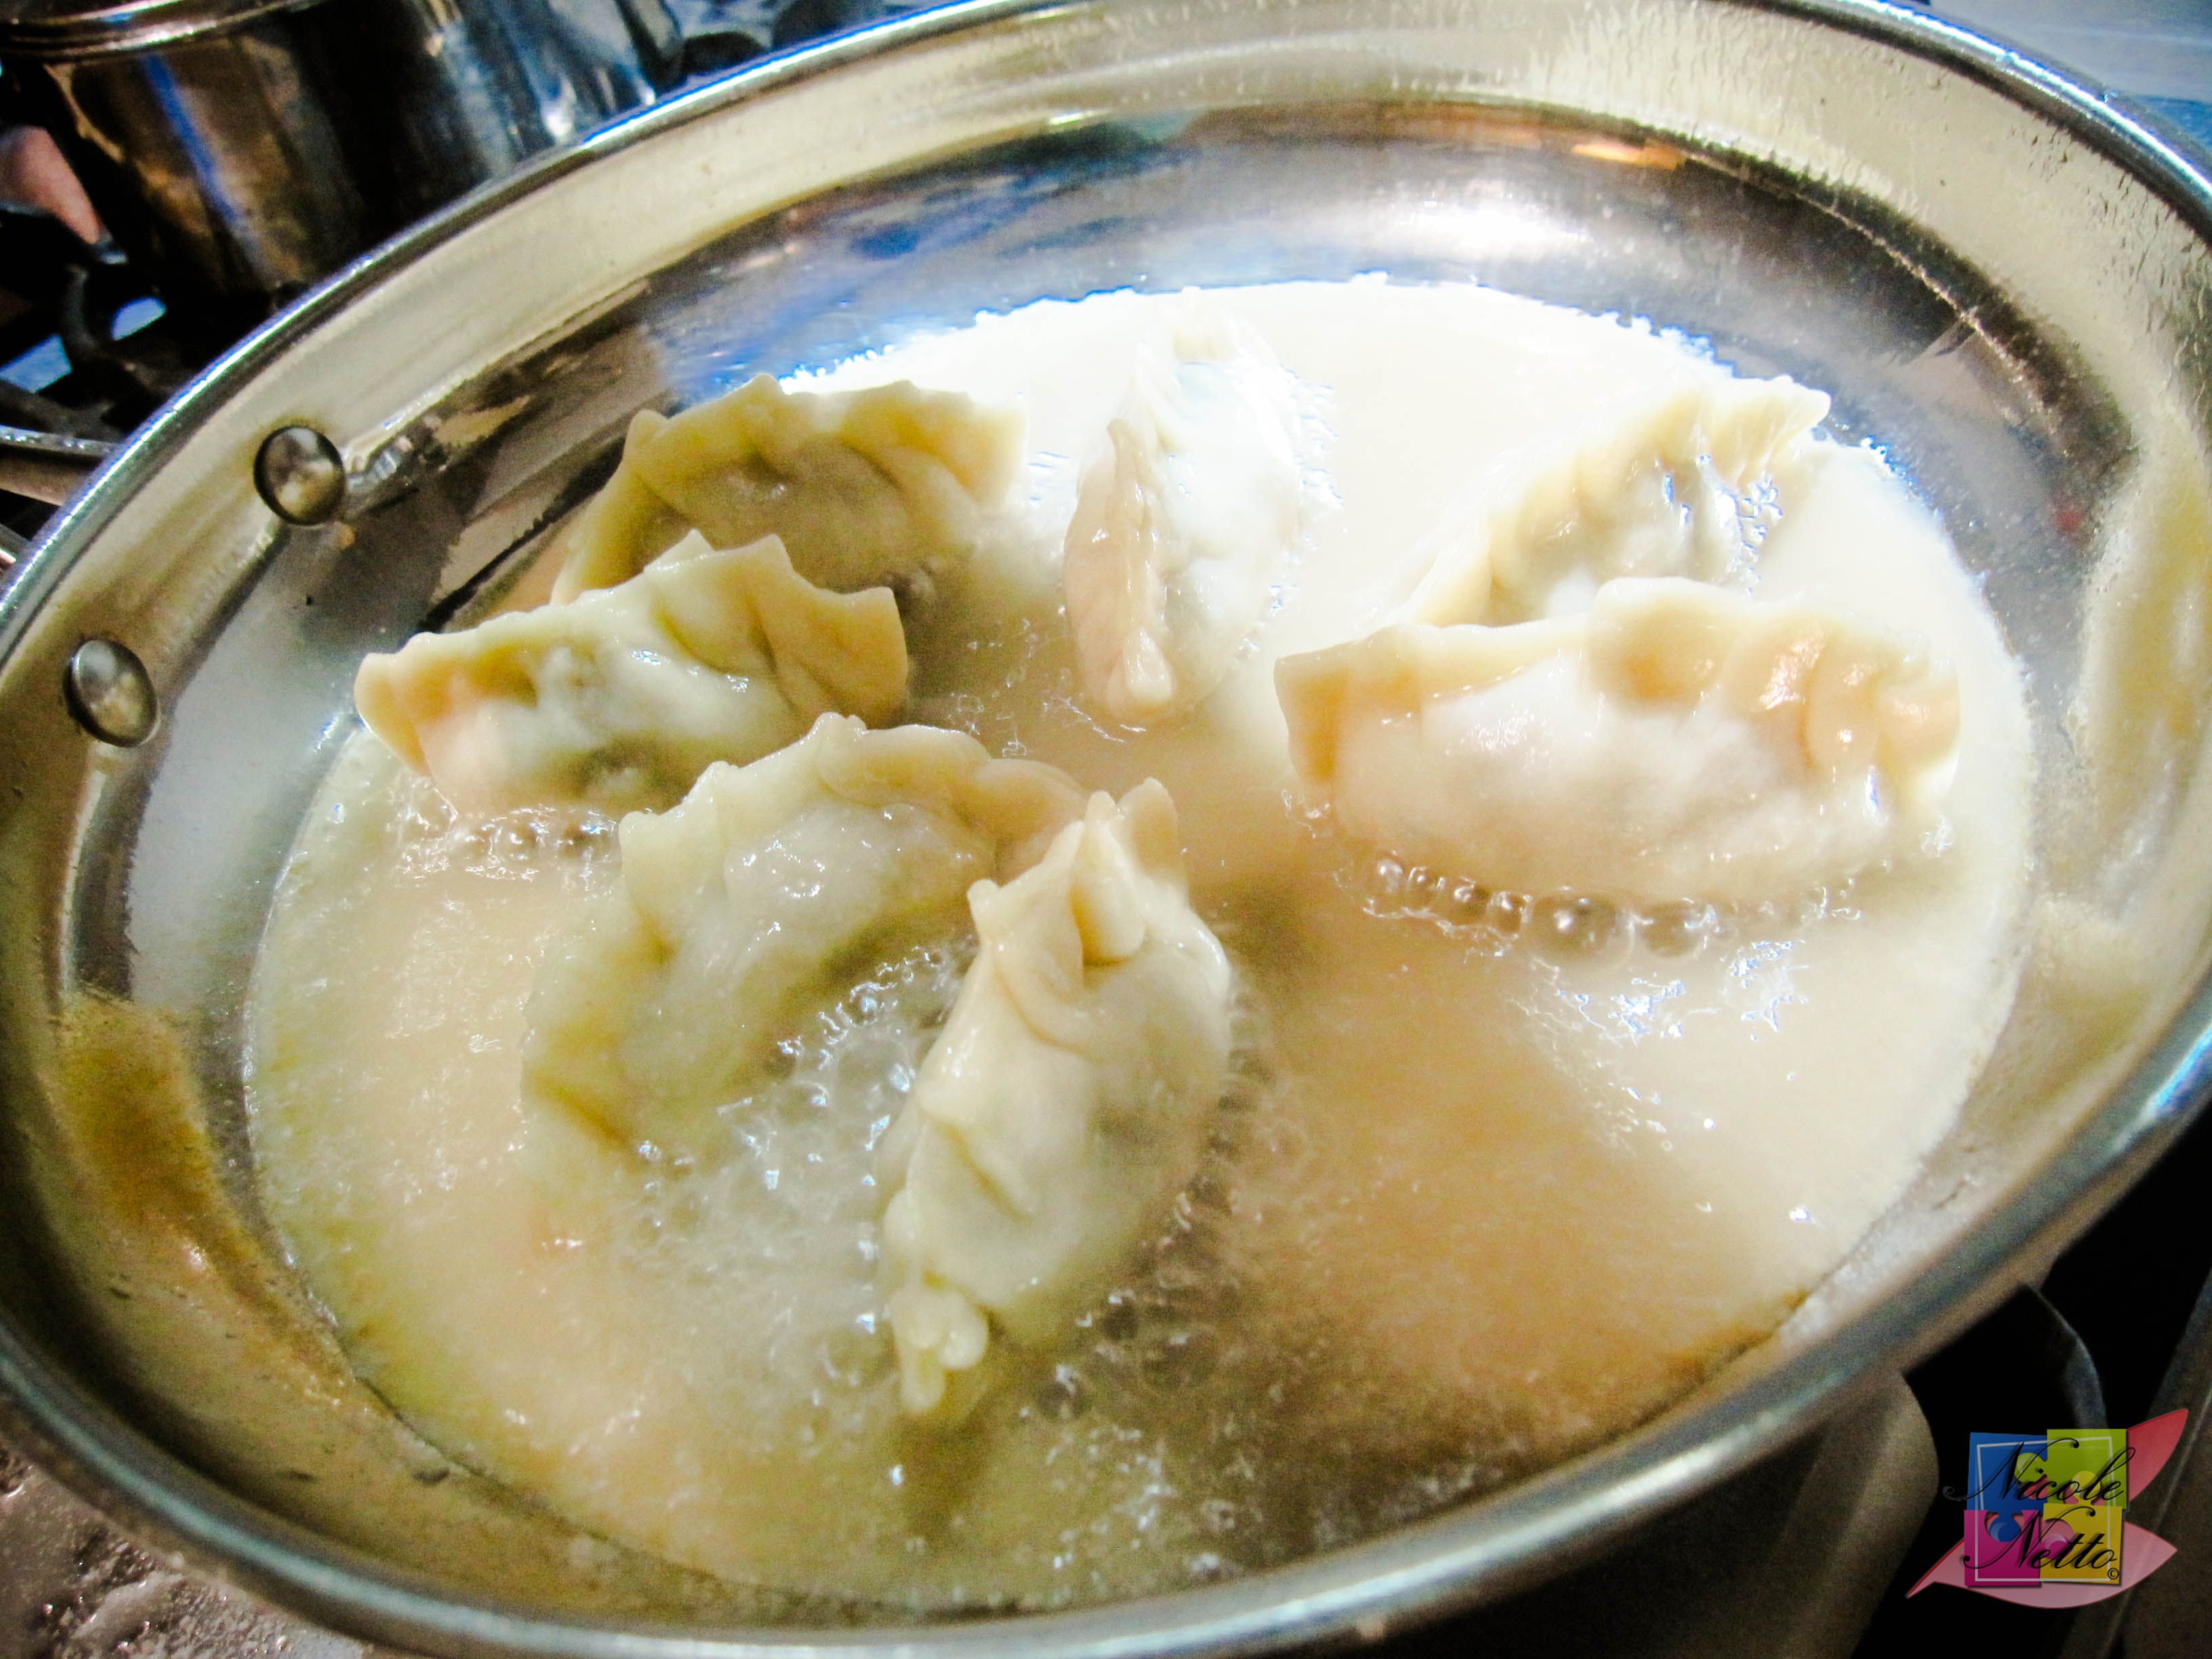
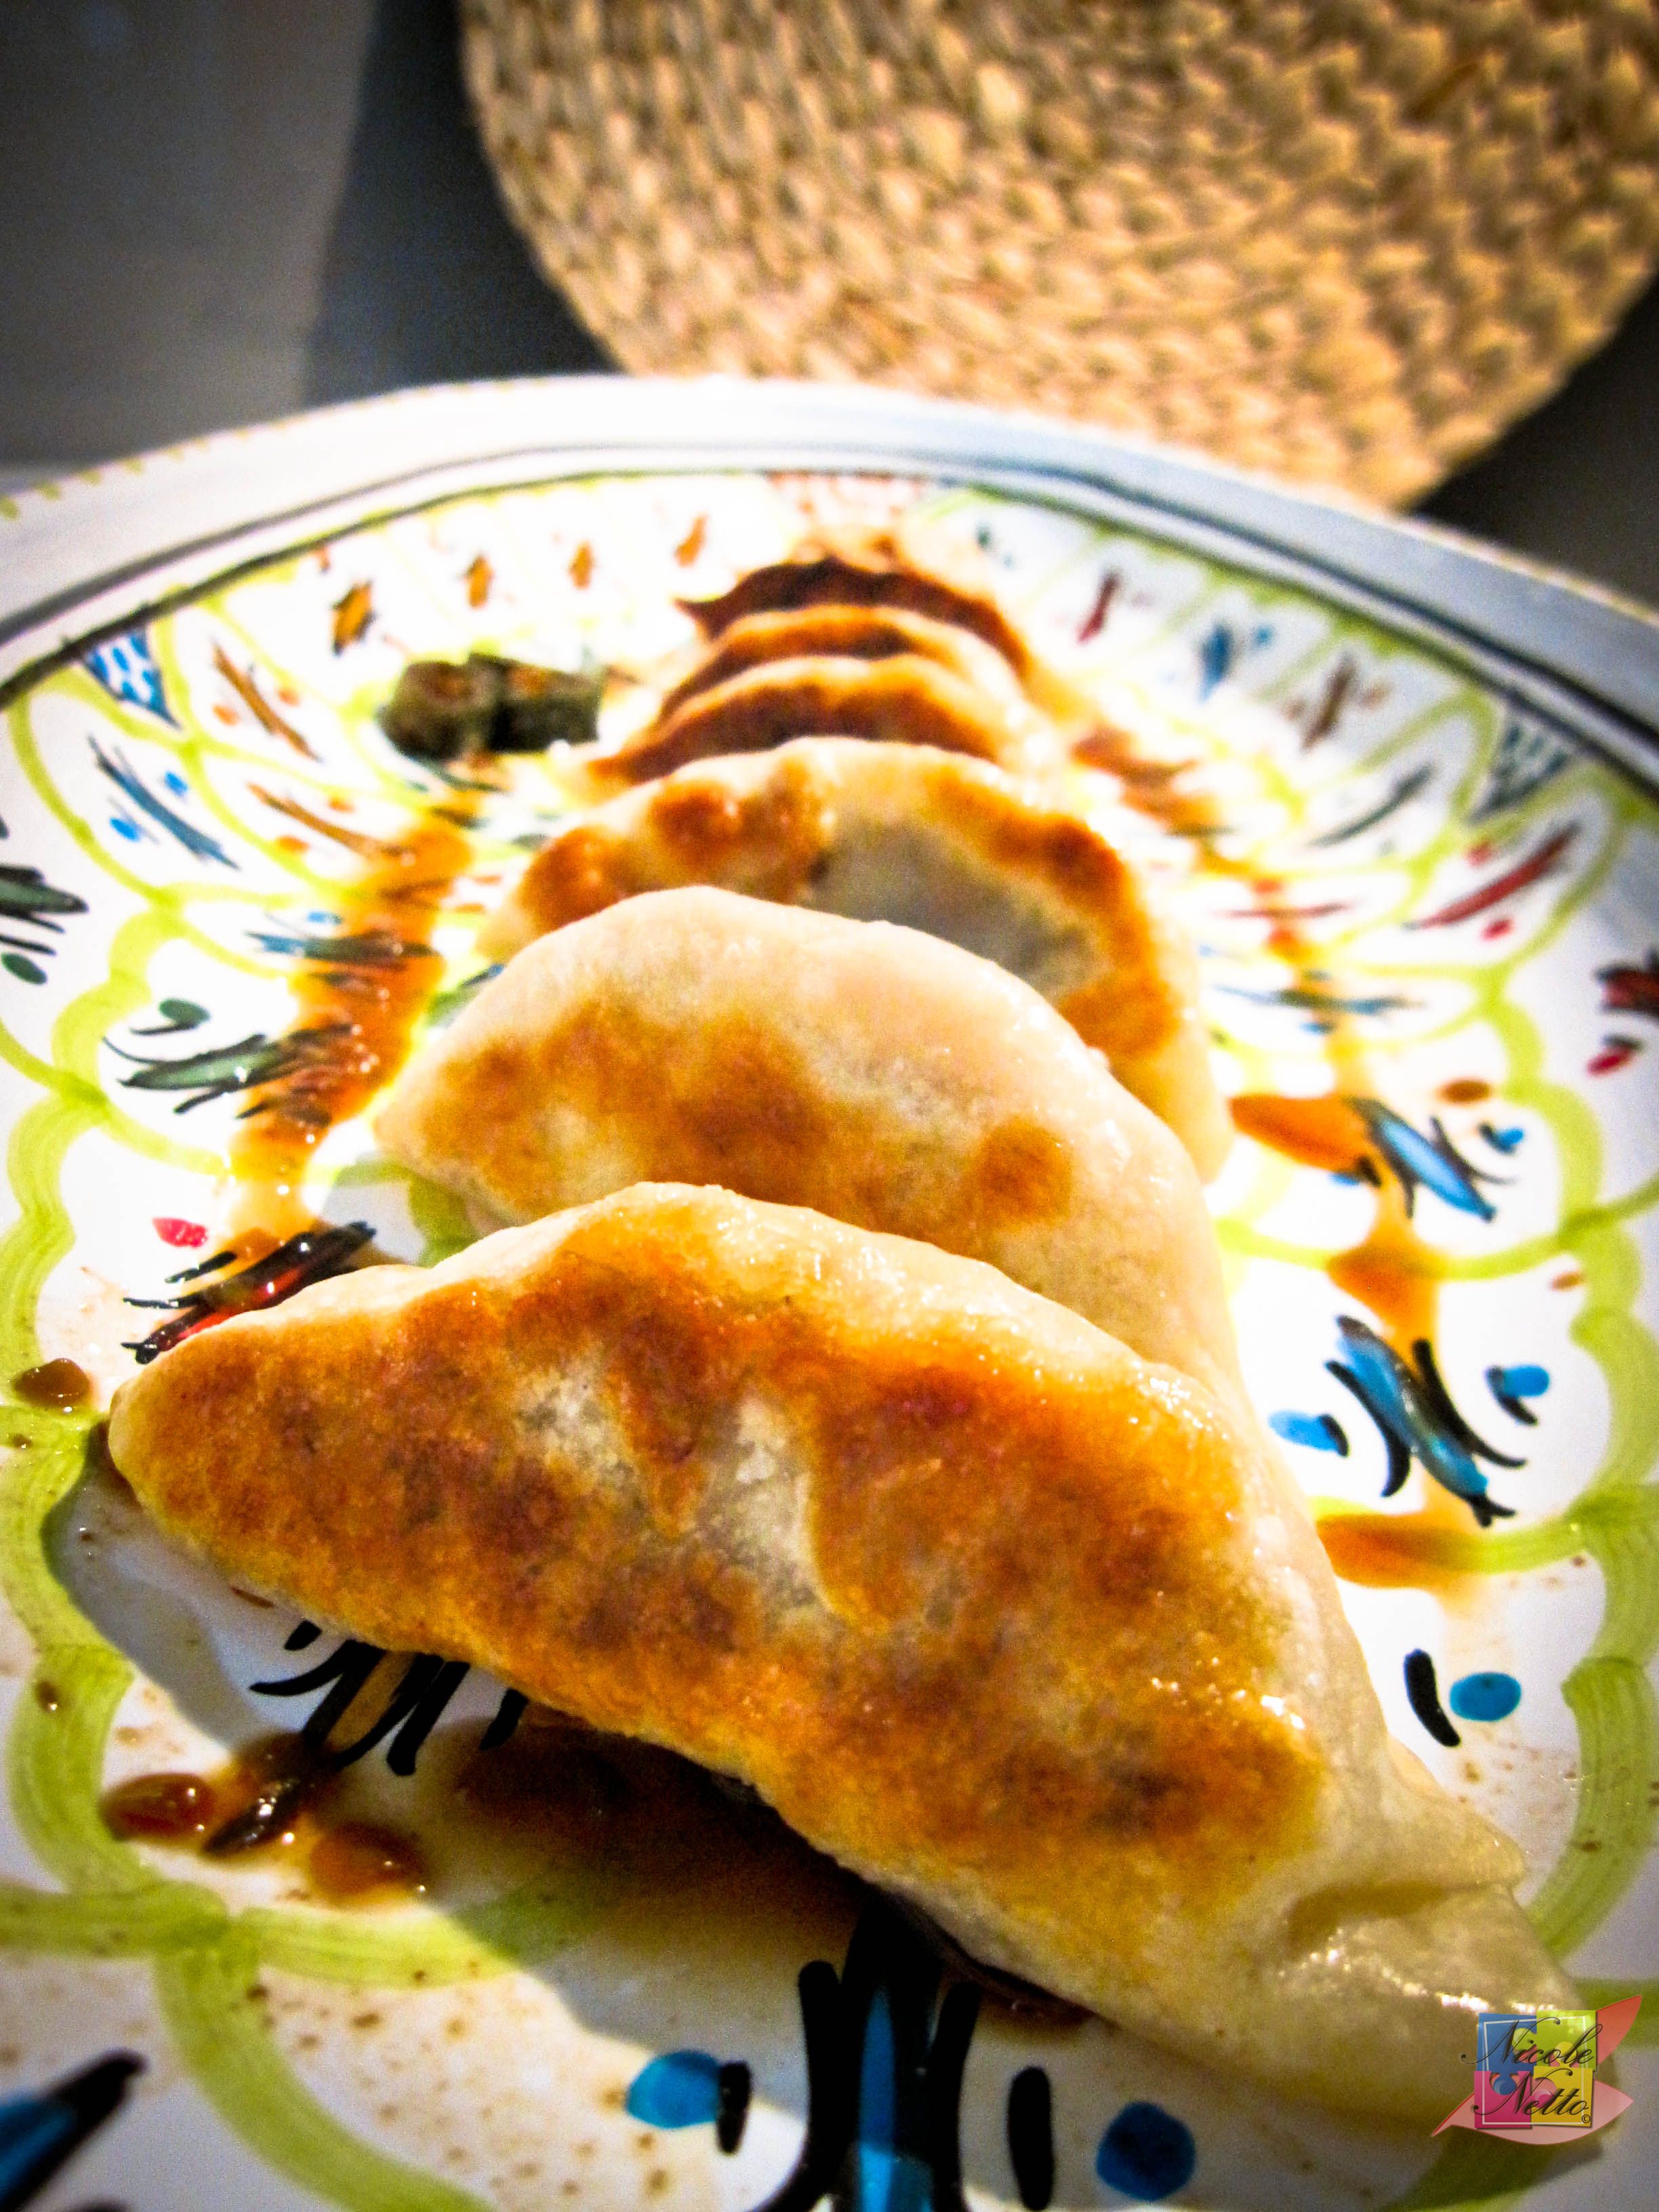
Gently lift each dumpling with a suitably sized spatula or rubber encased tongs to make sure it is not sticking and has attained a beautiful golden brown color and is just lightly crisp.
Remove the cooked golden brown based gyoza carefully.

And you’re done! The Pork and Spinach gyoza are ready to be served!

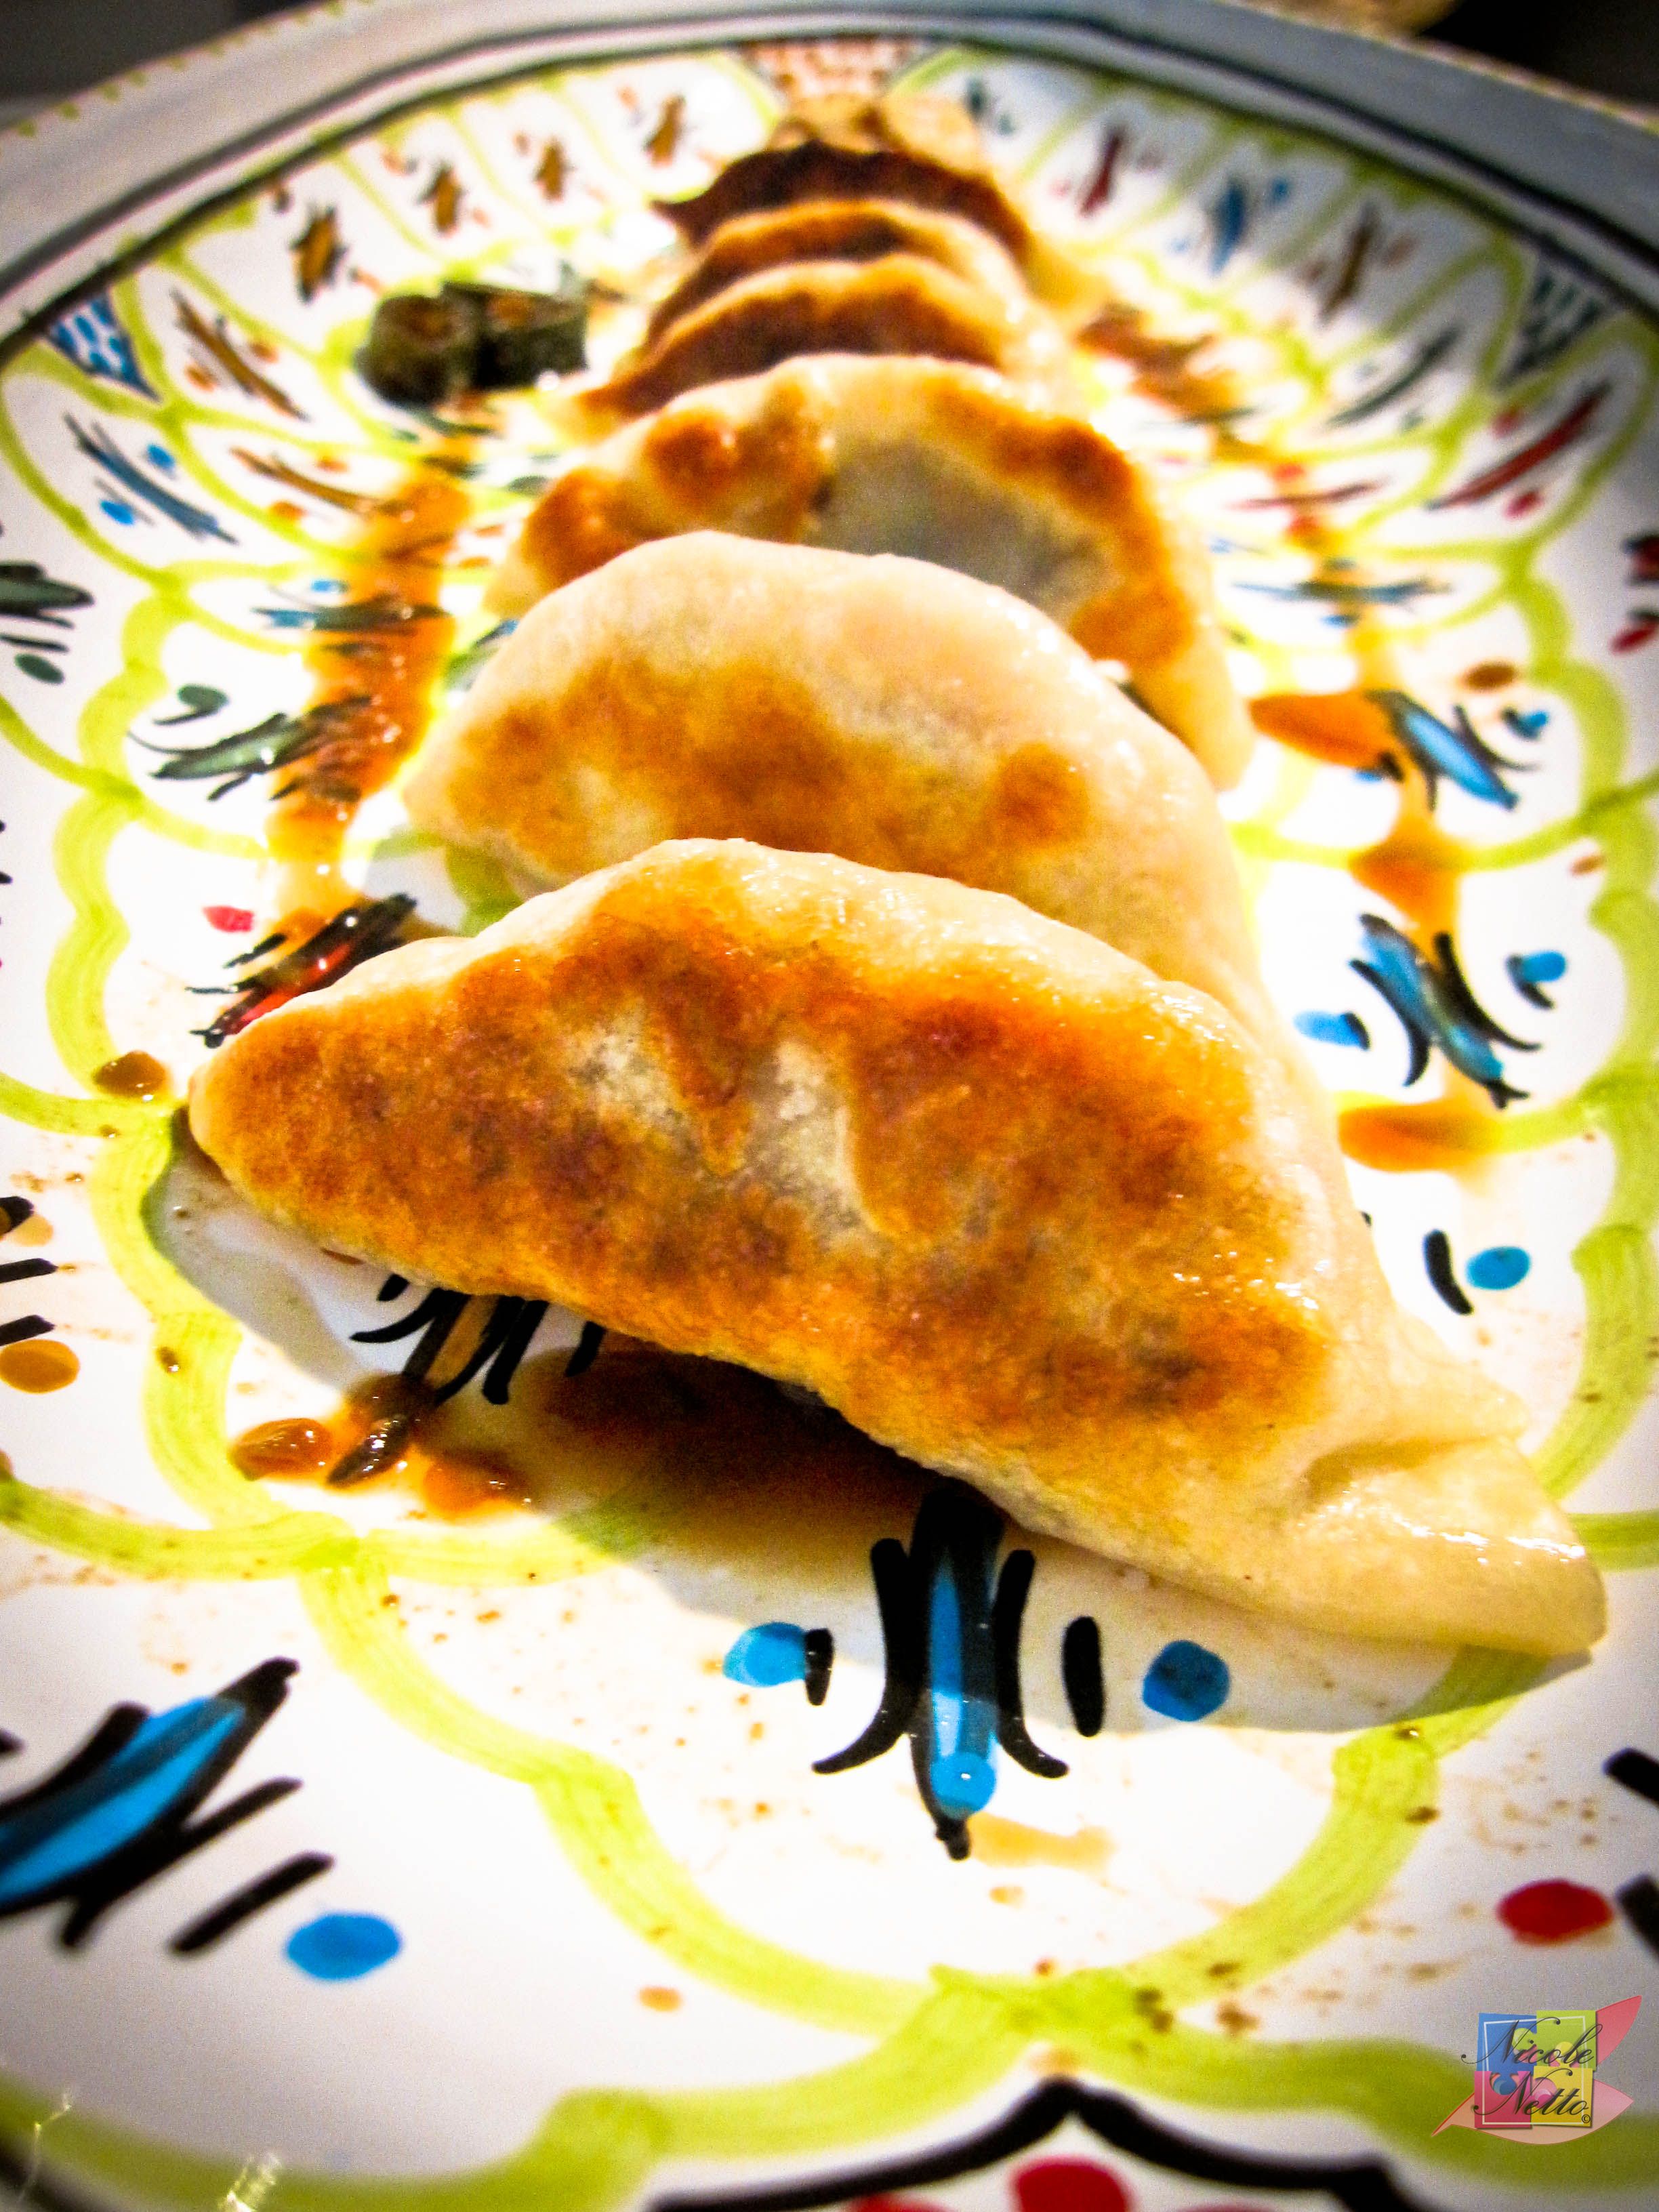
Pork and Spinach Gyoza plated
Dumplings are generally served with Soy sauce or a Soy sauce based dipping sauce. Might I suggest a simple Soy Chilli Dipping sauce? (Click for recipe!)
Do let me know if you try out this recipe and what you think about it!
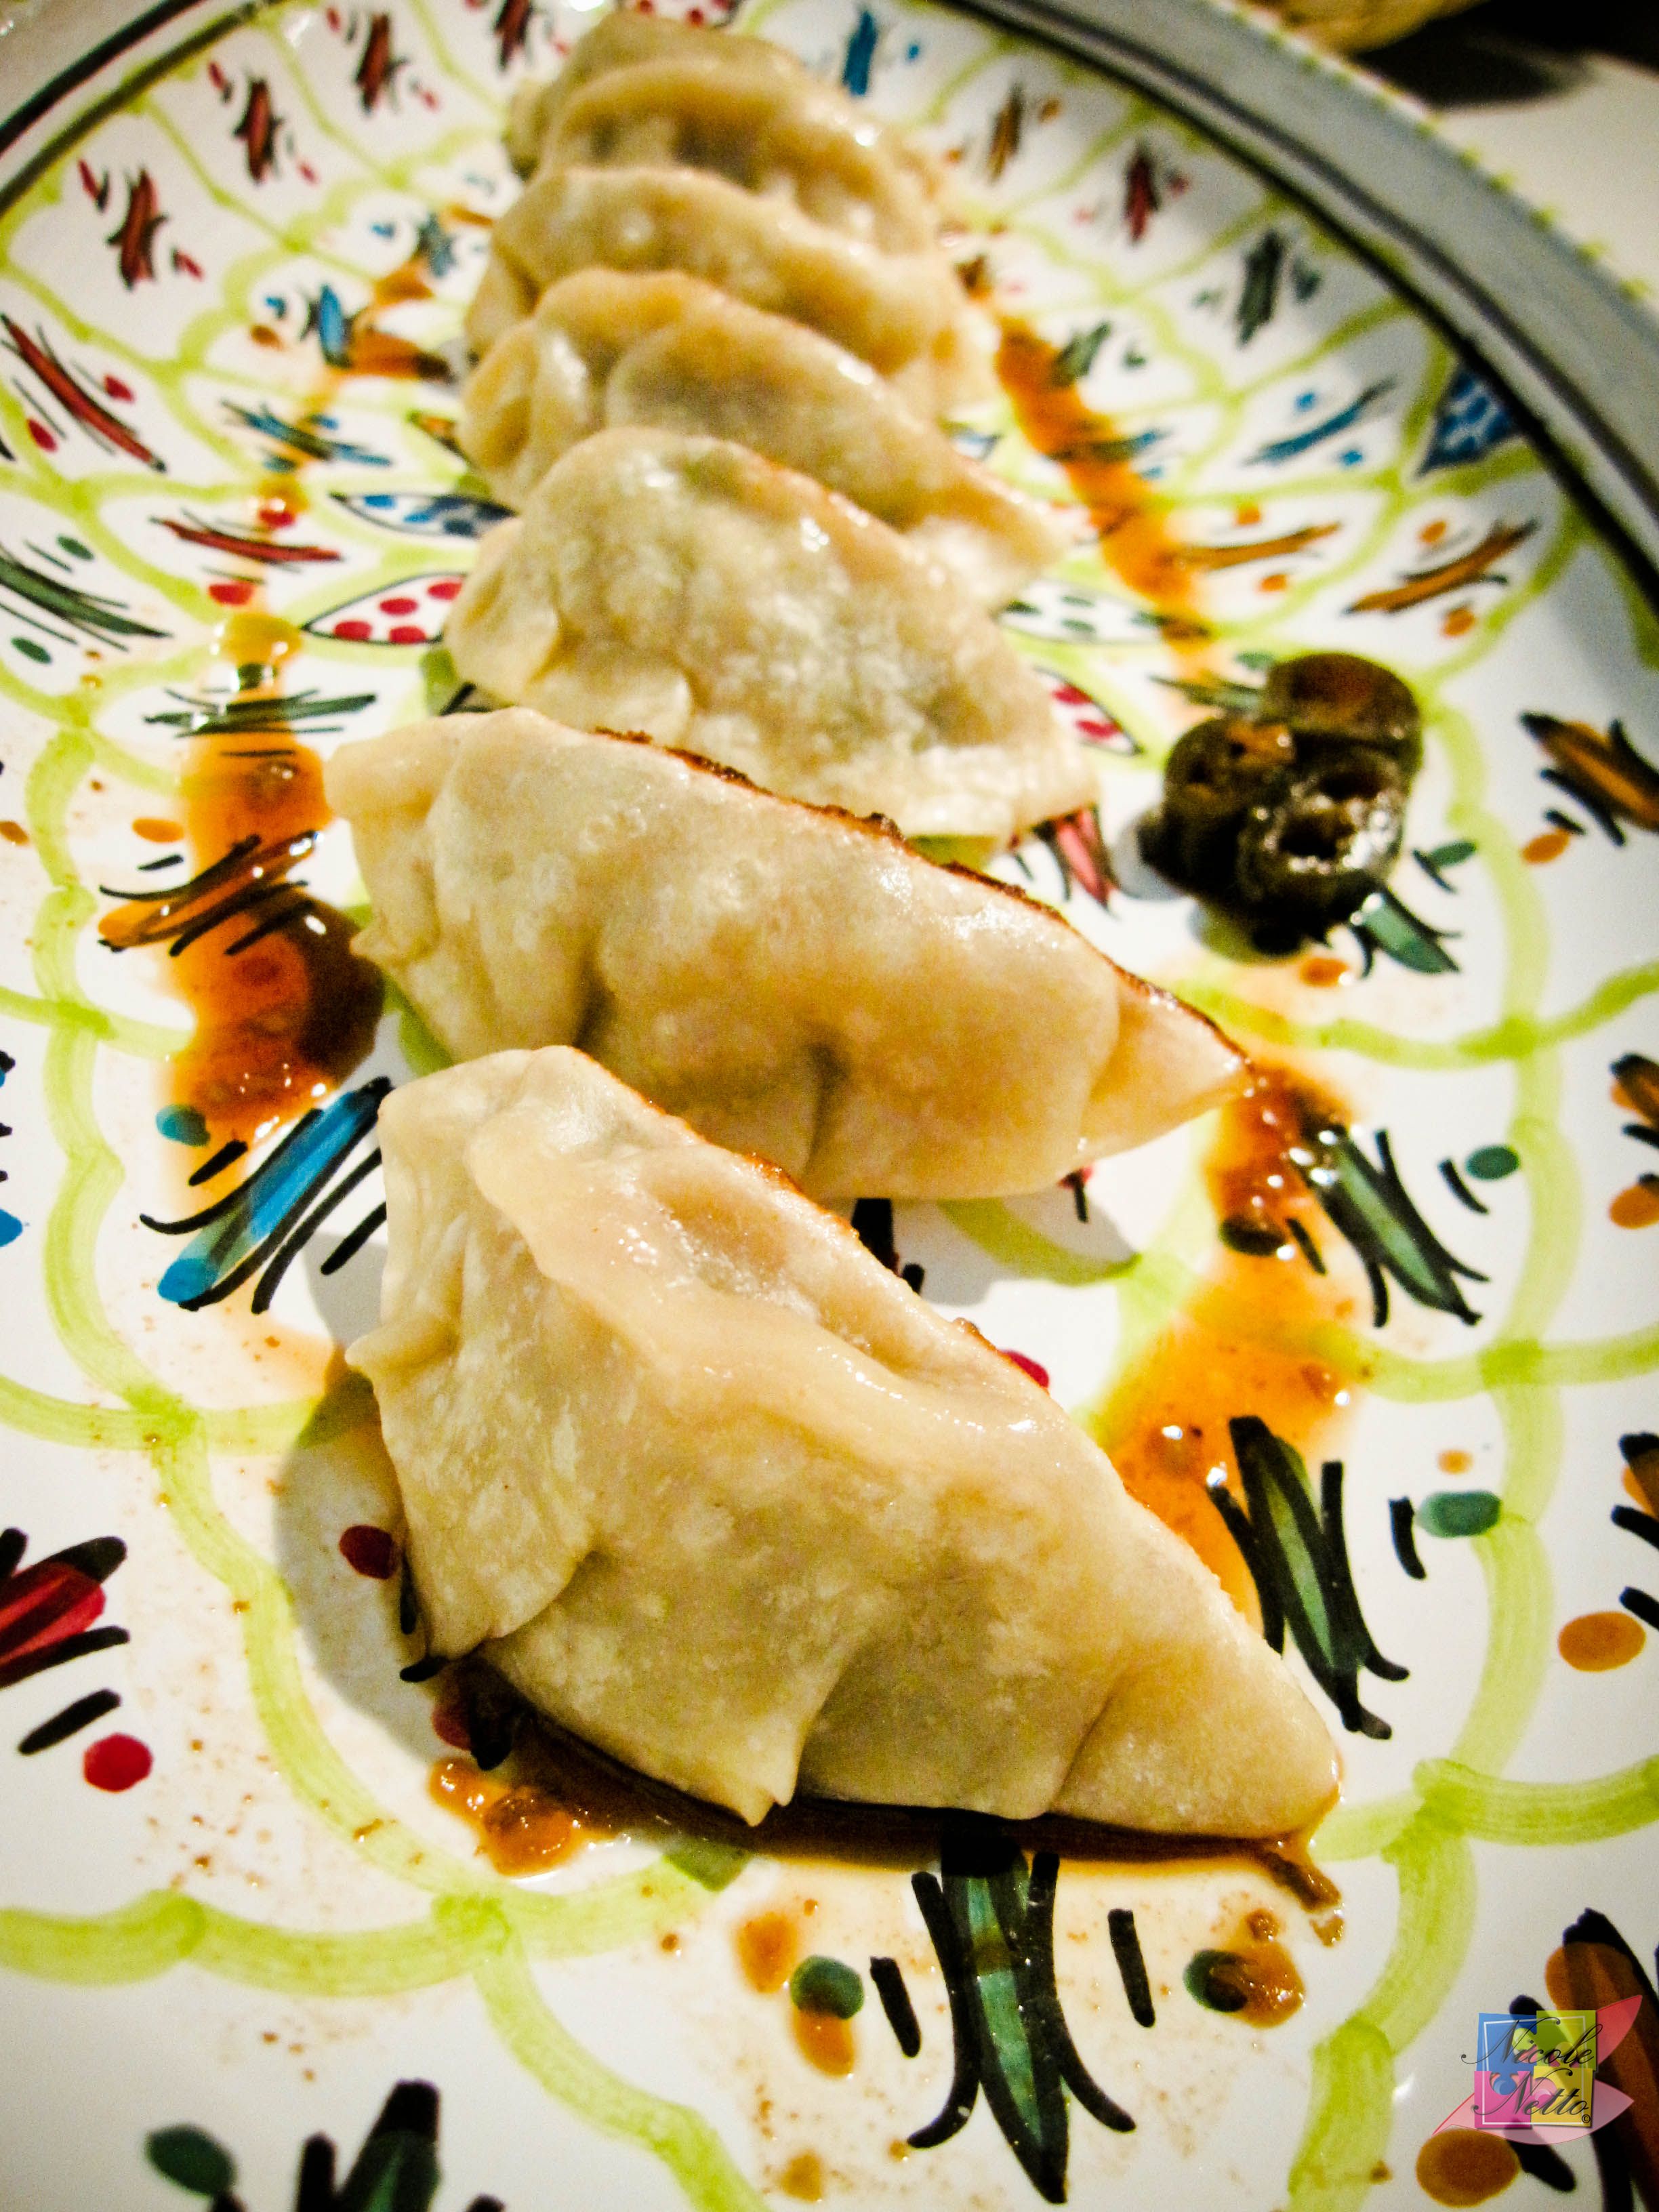
Yummy little gyozas in a row
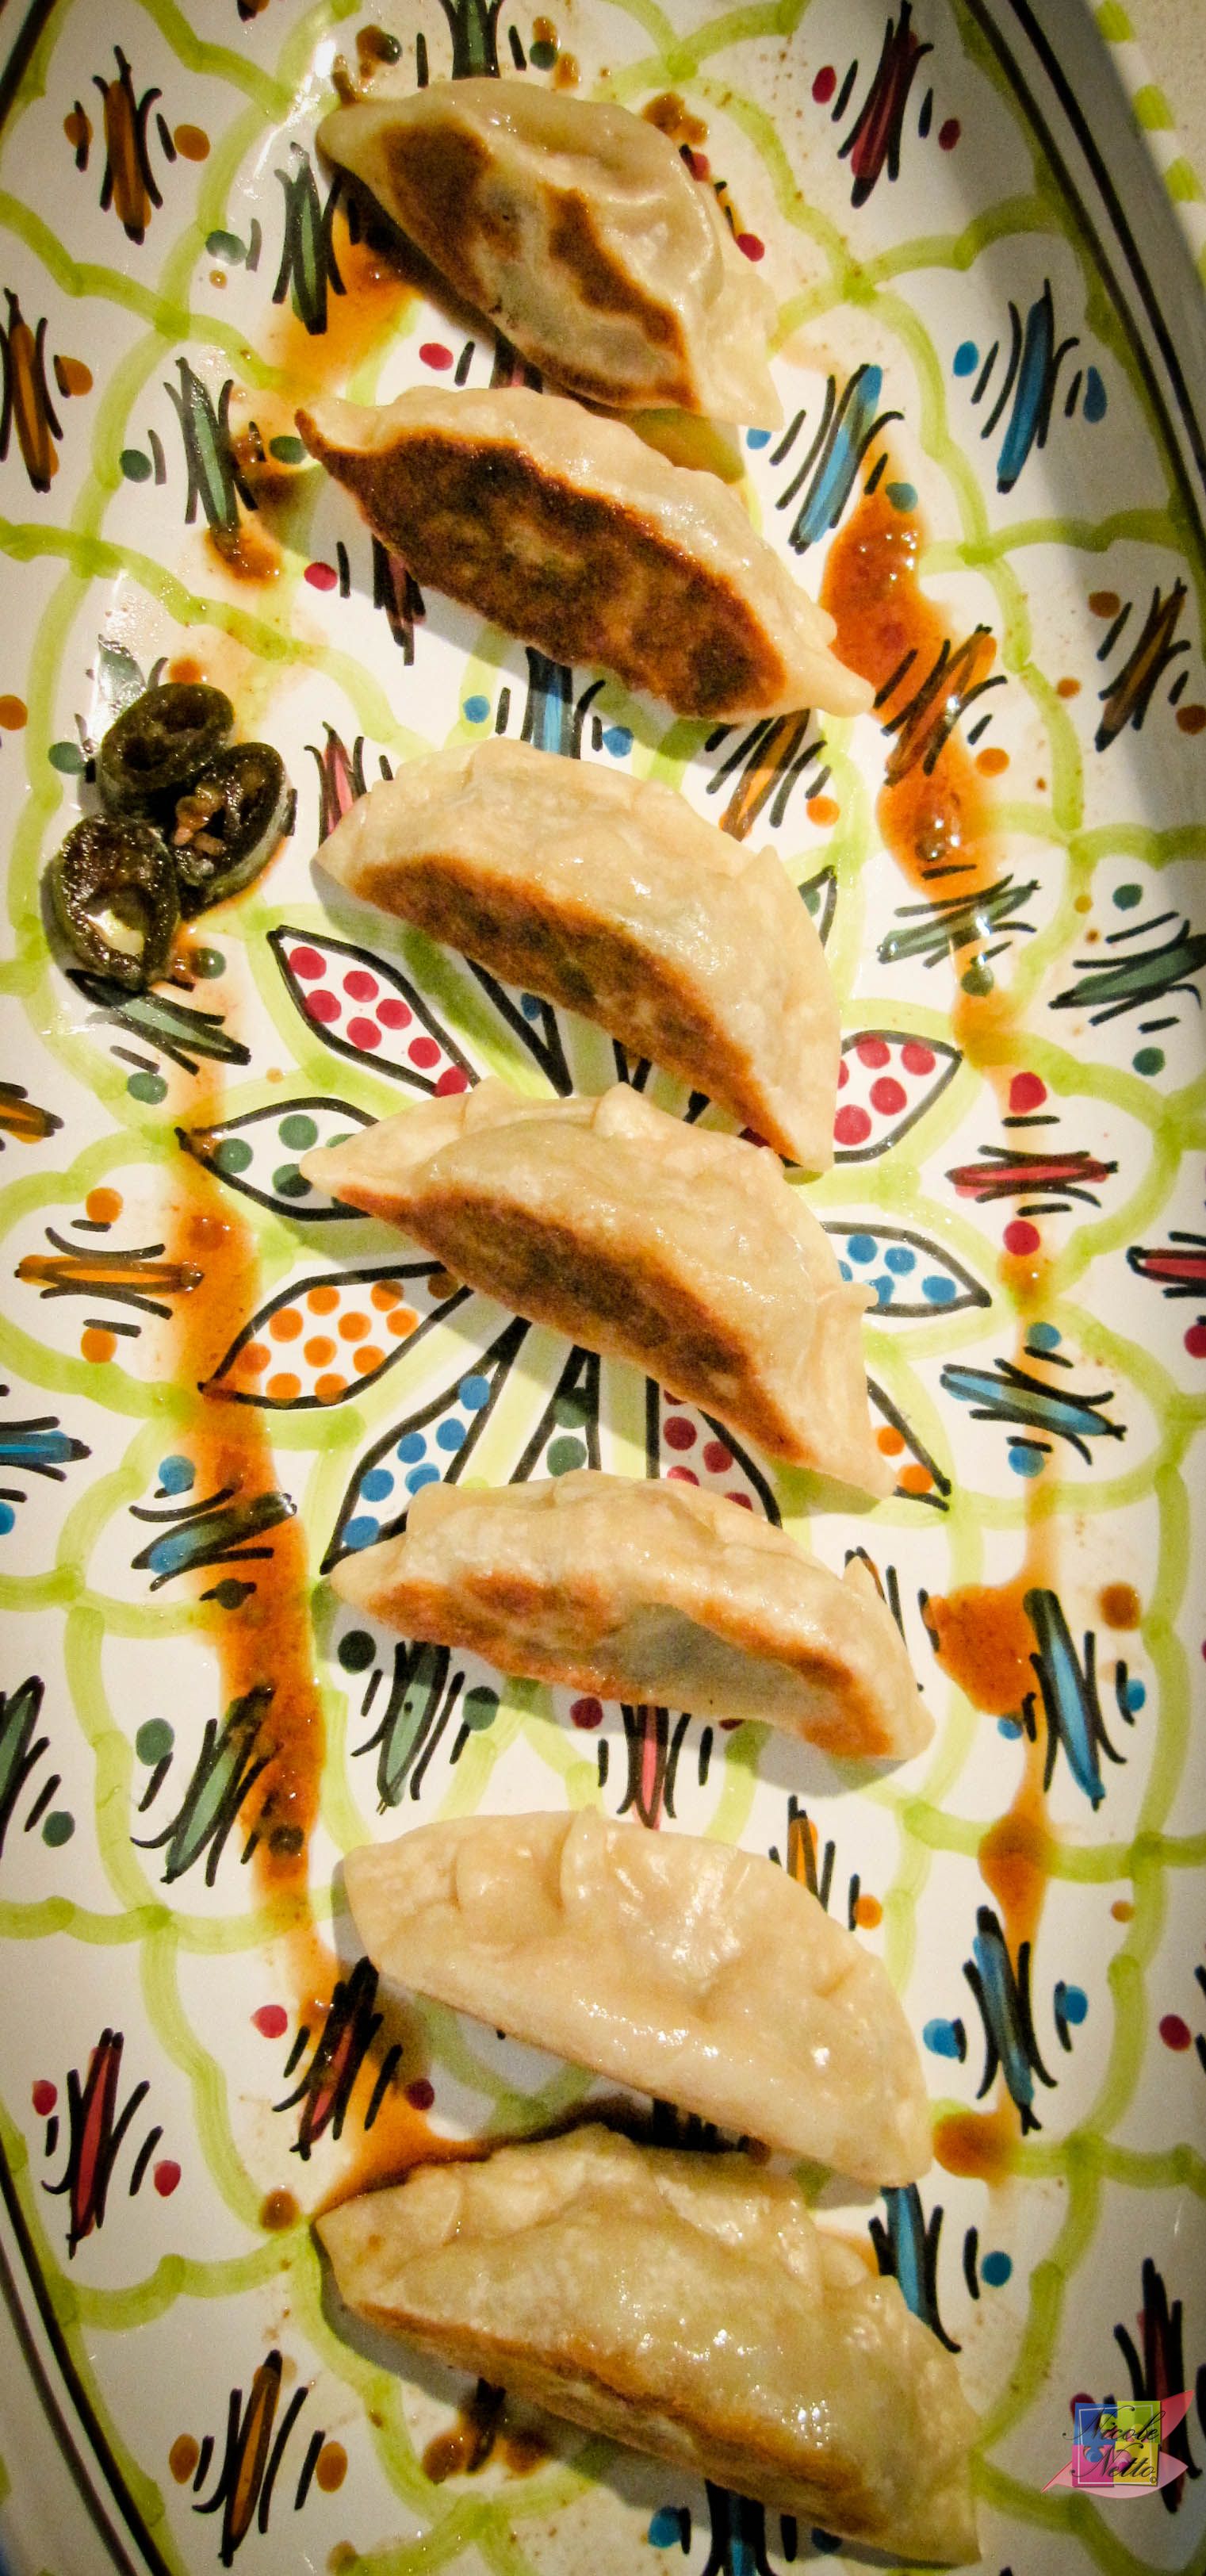
Delicious homemade gyoza
Gyoza Plated
Chicken Lollipops with a Soy Chilli dipping sauce
Chicken Lollipops with a Soy Chilli dipping sauce
During my childhood years in Mumbai, it was a rare ritual at our household to dine out. But, whenever we did, one of my family’s favourite restaurant to dine at was called “Uncle’s Kitchen”, which specialized in ‘Indian – Chinese’ cuisine.
Whatever the occasion, this would always be our first restaurant of choice. We didn’t mind the long lines or wait time – the whole experience was something we did together as a family. And of course, we had our favourite dishes that we would order at the restaurant, without fail, with every visit or take away order.

At Uncle’s Kitchen with Mum, 2013
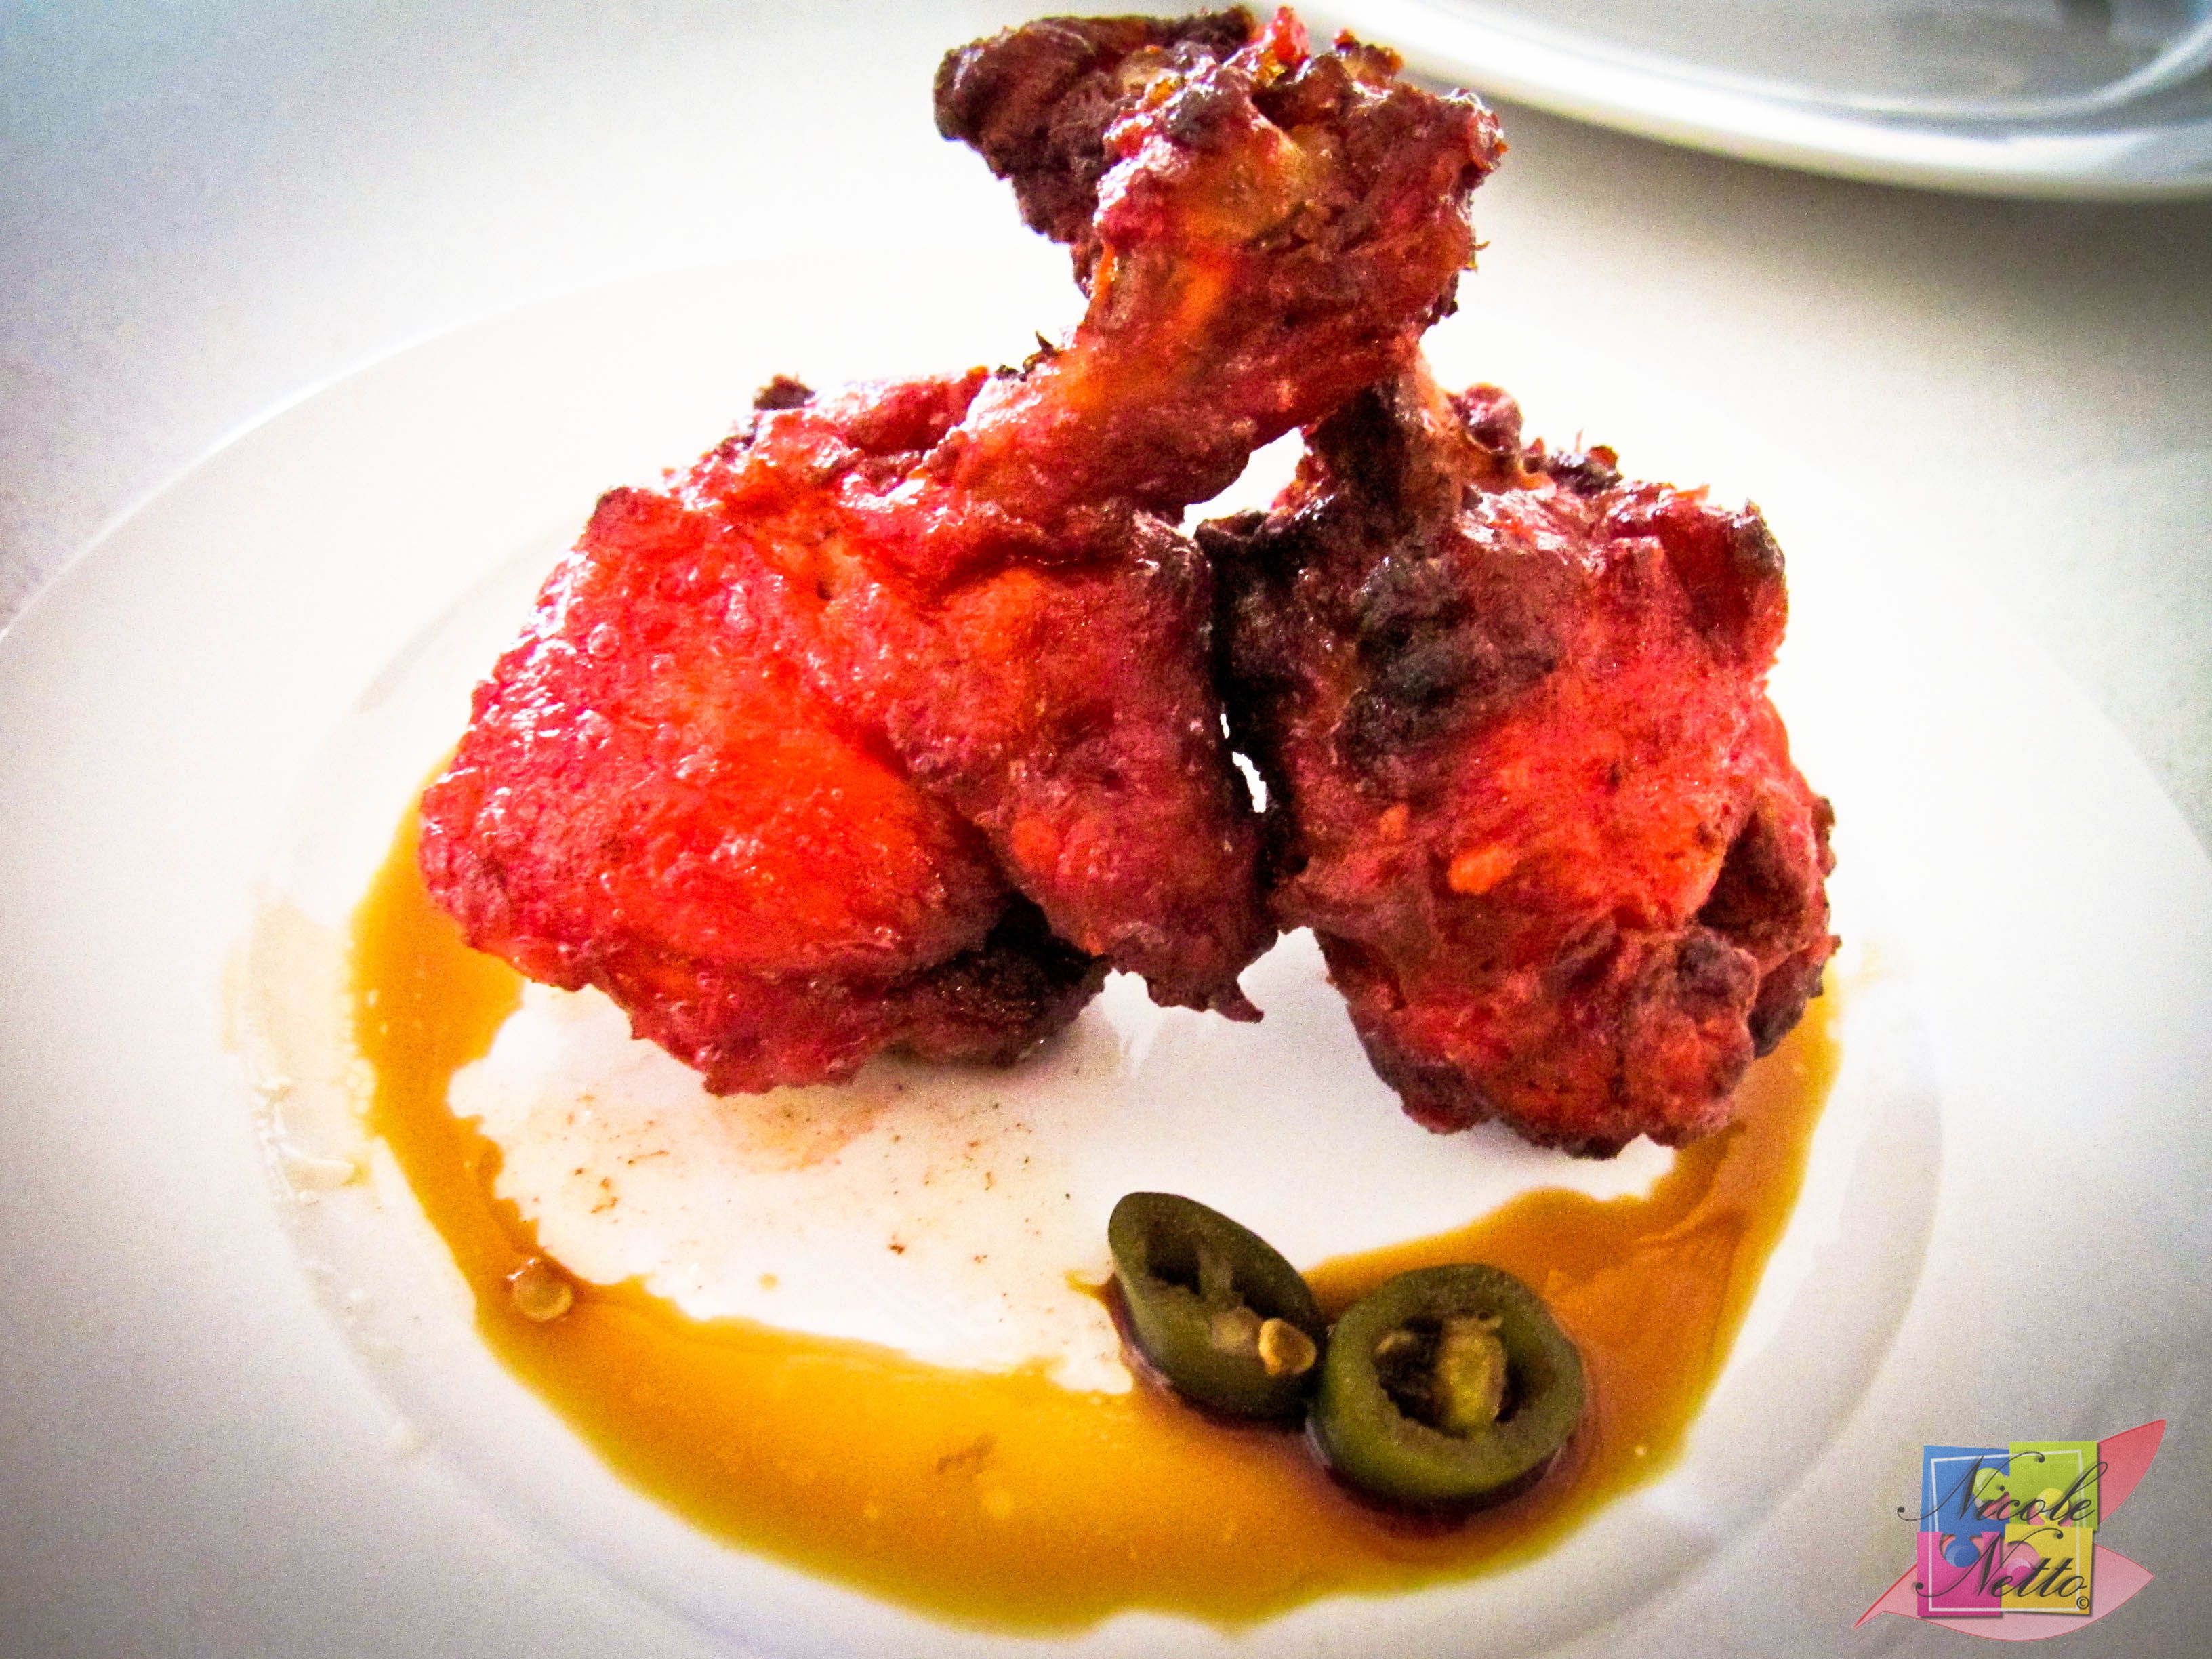
Our favourite entrée was called “Chicken Lollipops”, which is generally served with a Schezwan sauce (a spicy sauce, made with dried Kashmiri chillies, used quite liberally in Indian- Chinese cuisine). However, when I made this dish, I served it with a quick and simple Soy chilli dipping sauce as these Chicken lollipops are quite flavourful and spicy on their own.
Every now and then I tend to crave food that is not easily available to me here in Australia and what better way to indulge in a craving than to recreate it?
This recipe requires chicken wings to be ‘frenched’ (to look like a chicken lollipop). Each wing would give you 2 chicken lollipops when broken down at the movable joint and frenched; one very meaty piece, with a single bone and one not-so-much, with two parallel bones of which the smaller bone should be removed. This step can be a bit time consuming.
‘Frenching’ these wings involves cutting the ligaments near one end of the bone, carefully separating the flesh from the bone and rolling it over towards the other end to form a ‘Chicken Lollipop’.
My trial of this recipe was with 2 chicken wings, so I got 4 pieces of Chicken Lollipops. I would allow for a minimum of 2 chicken lollipops per person as these delicious little blobs of spicy heaven go down quite easy. Be sure to adjust the recipe quantities accordingly.
Chicken Lollipops
(Serves 2)
Ingredients:
2 Chicken wings – ‘frenched’ into 4 pieces
1 tsp Garlic paste
1/2 tsp Ginger paste
1/2 tsp Chilli powder
1 tsp Soy sauce
1/2 tsp Chinese Rice wine vinegar
1/2 tsp Sriracha sauce OR Chilli paste
1/4 cup corn flour
1/8 cup plain flour
1 egg
Red food colouring
Salt to taste
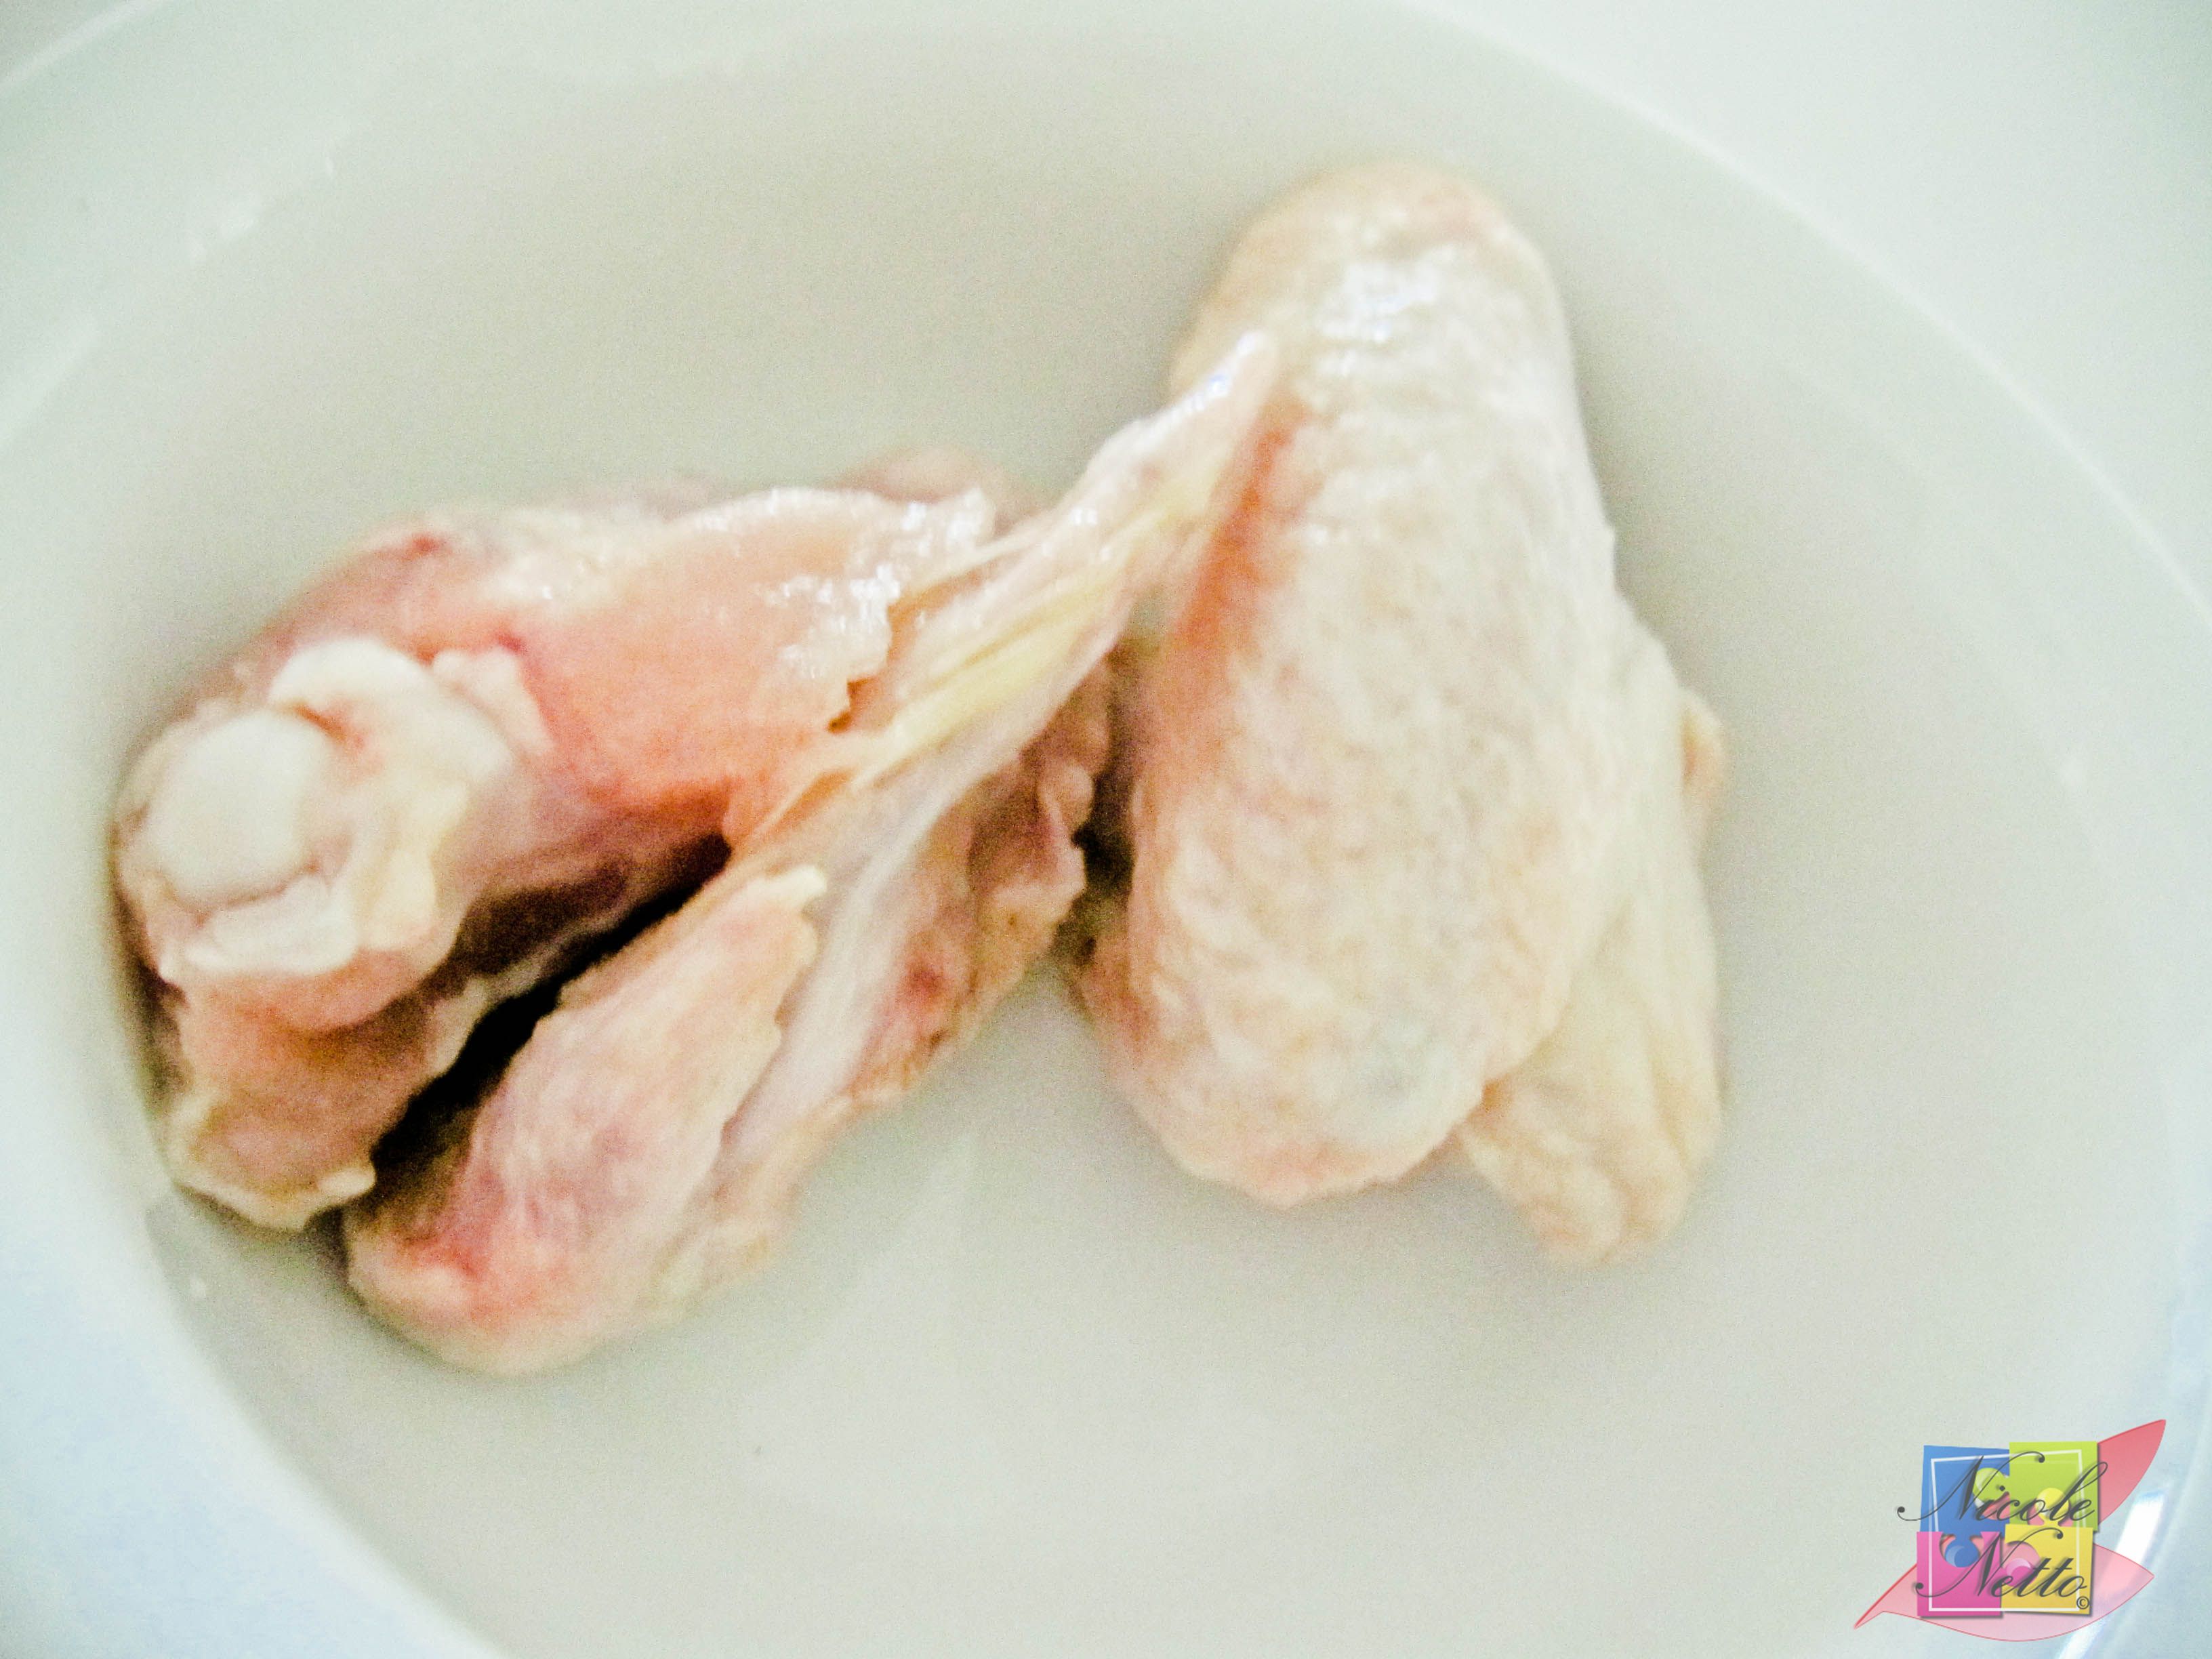
2 Chicken Wings
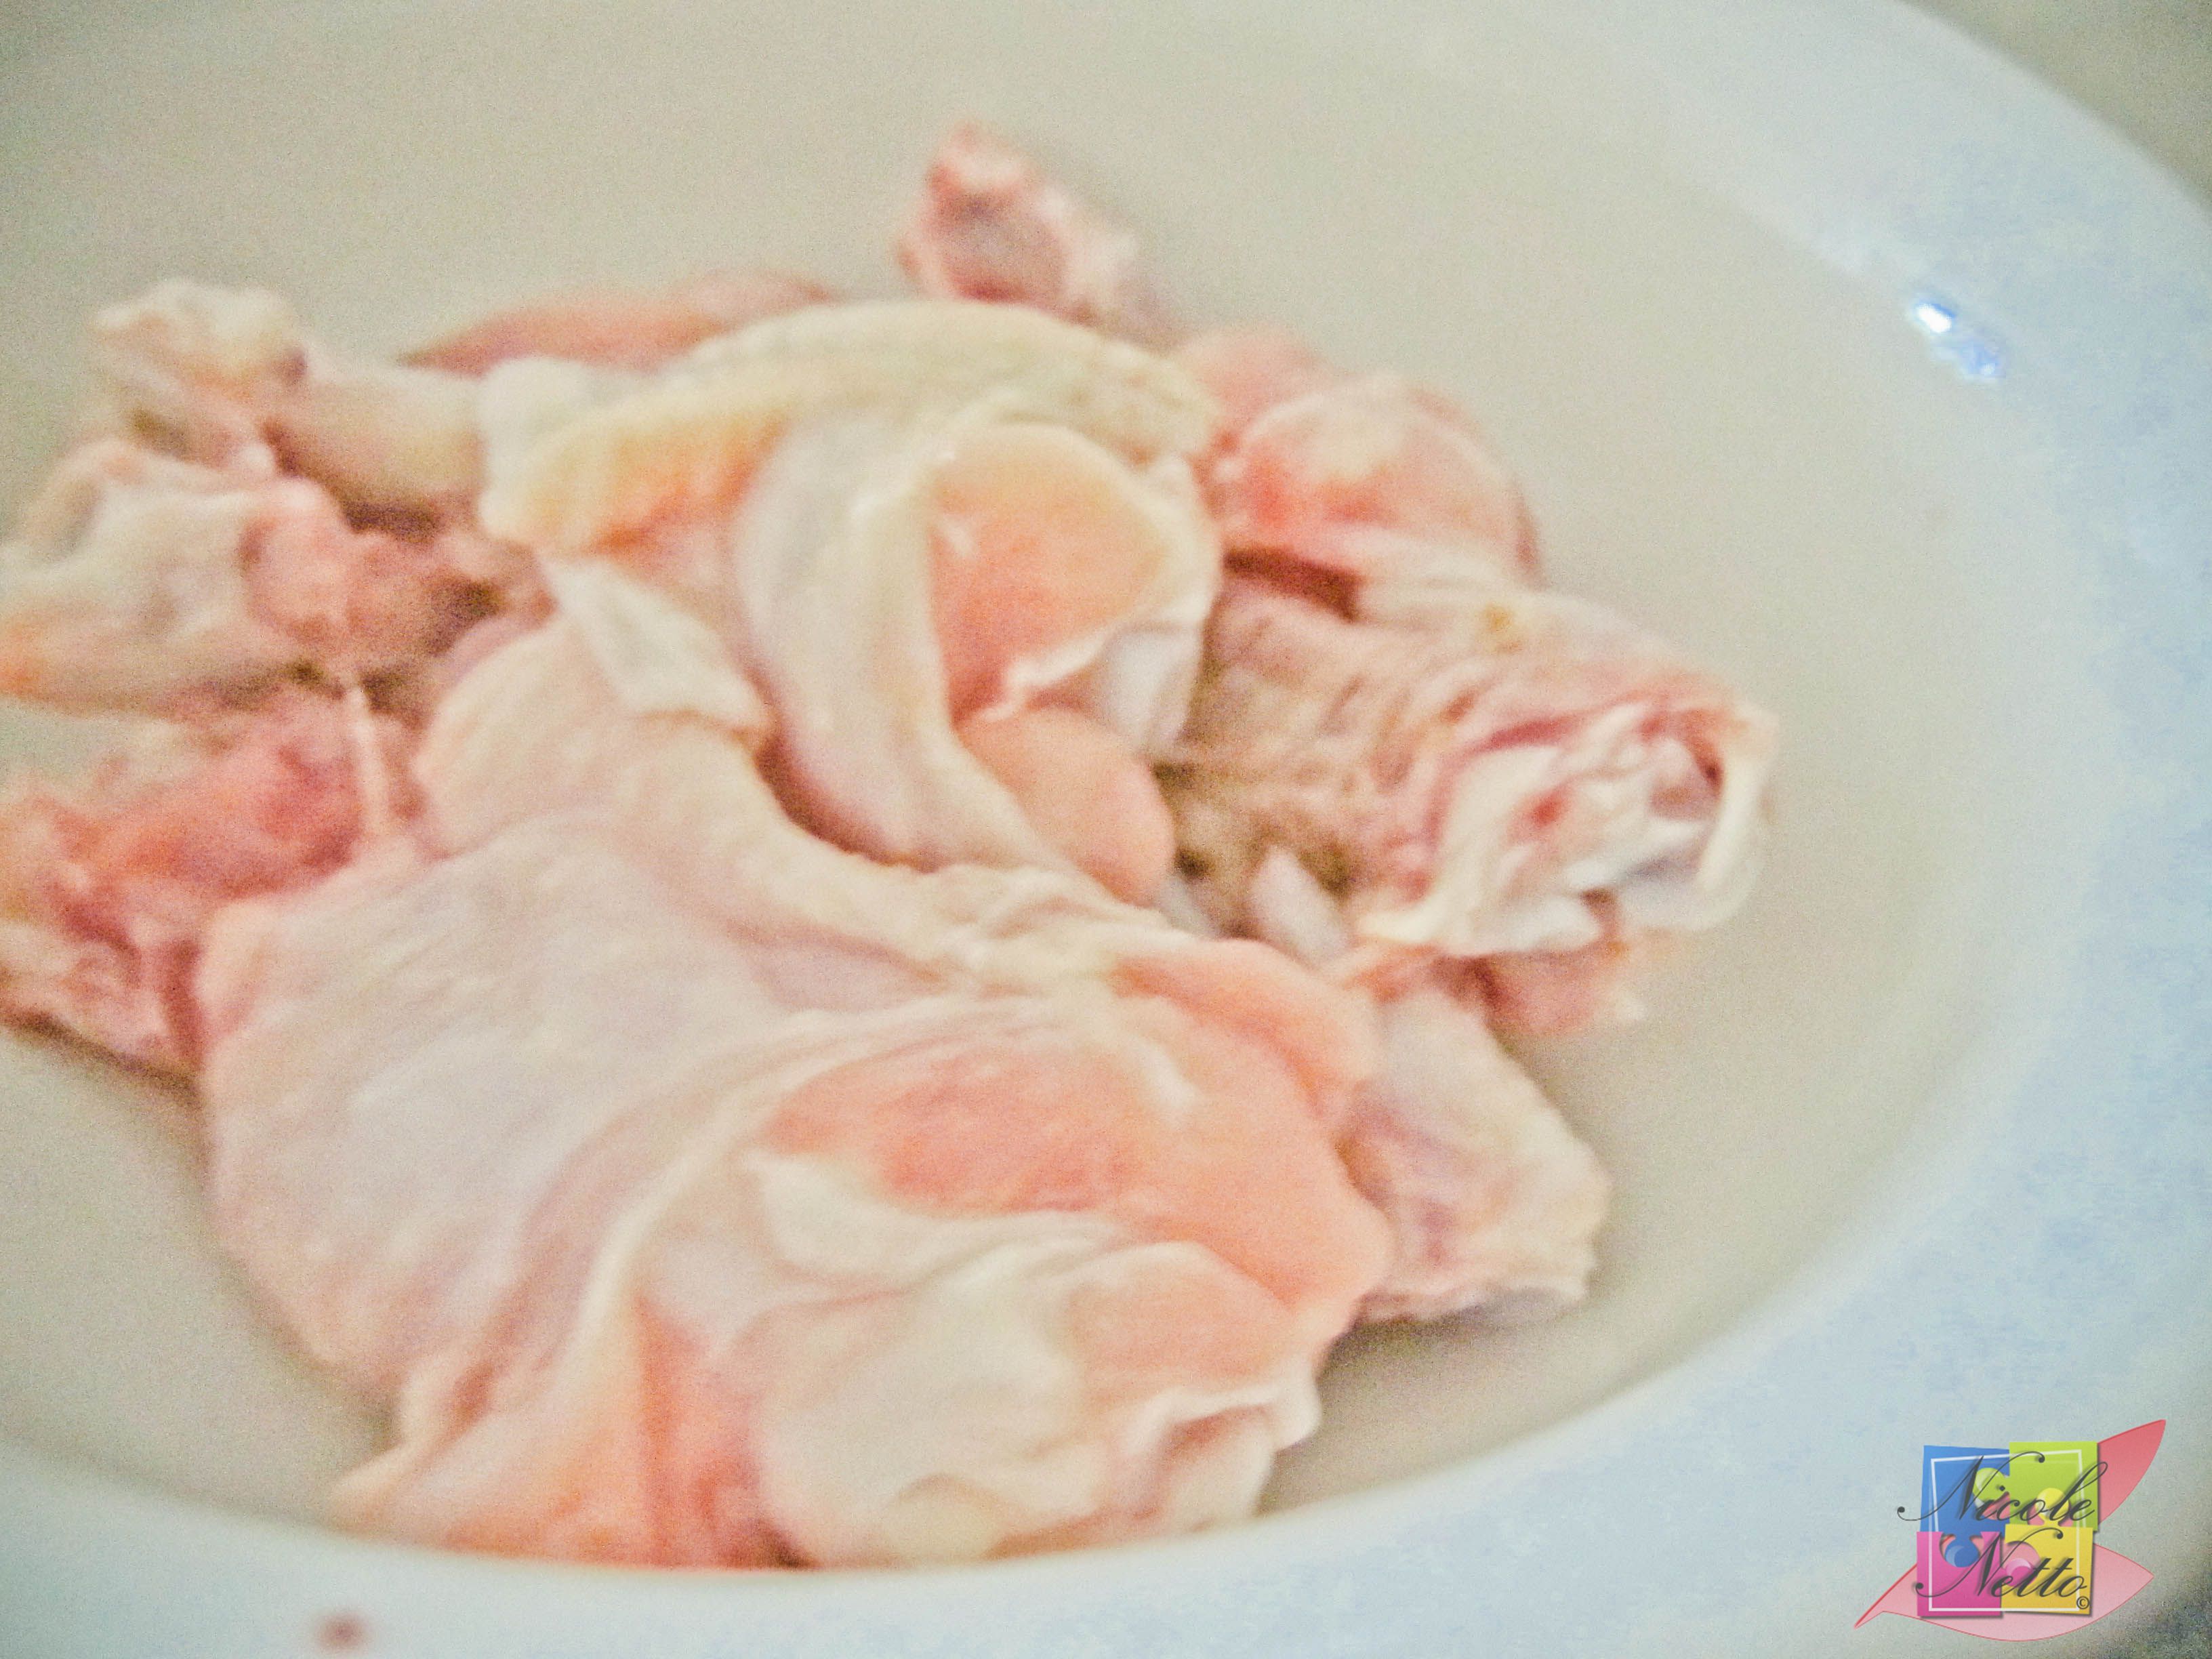
4 Frenched Chicken lollipop pieces
Method:
Mix the frenched chicken, garlic paste, ginger paste, chilli powder, soy sauce, chinese rice wine vinegar, sriracha or chilli paste, egg and salt.
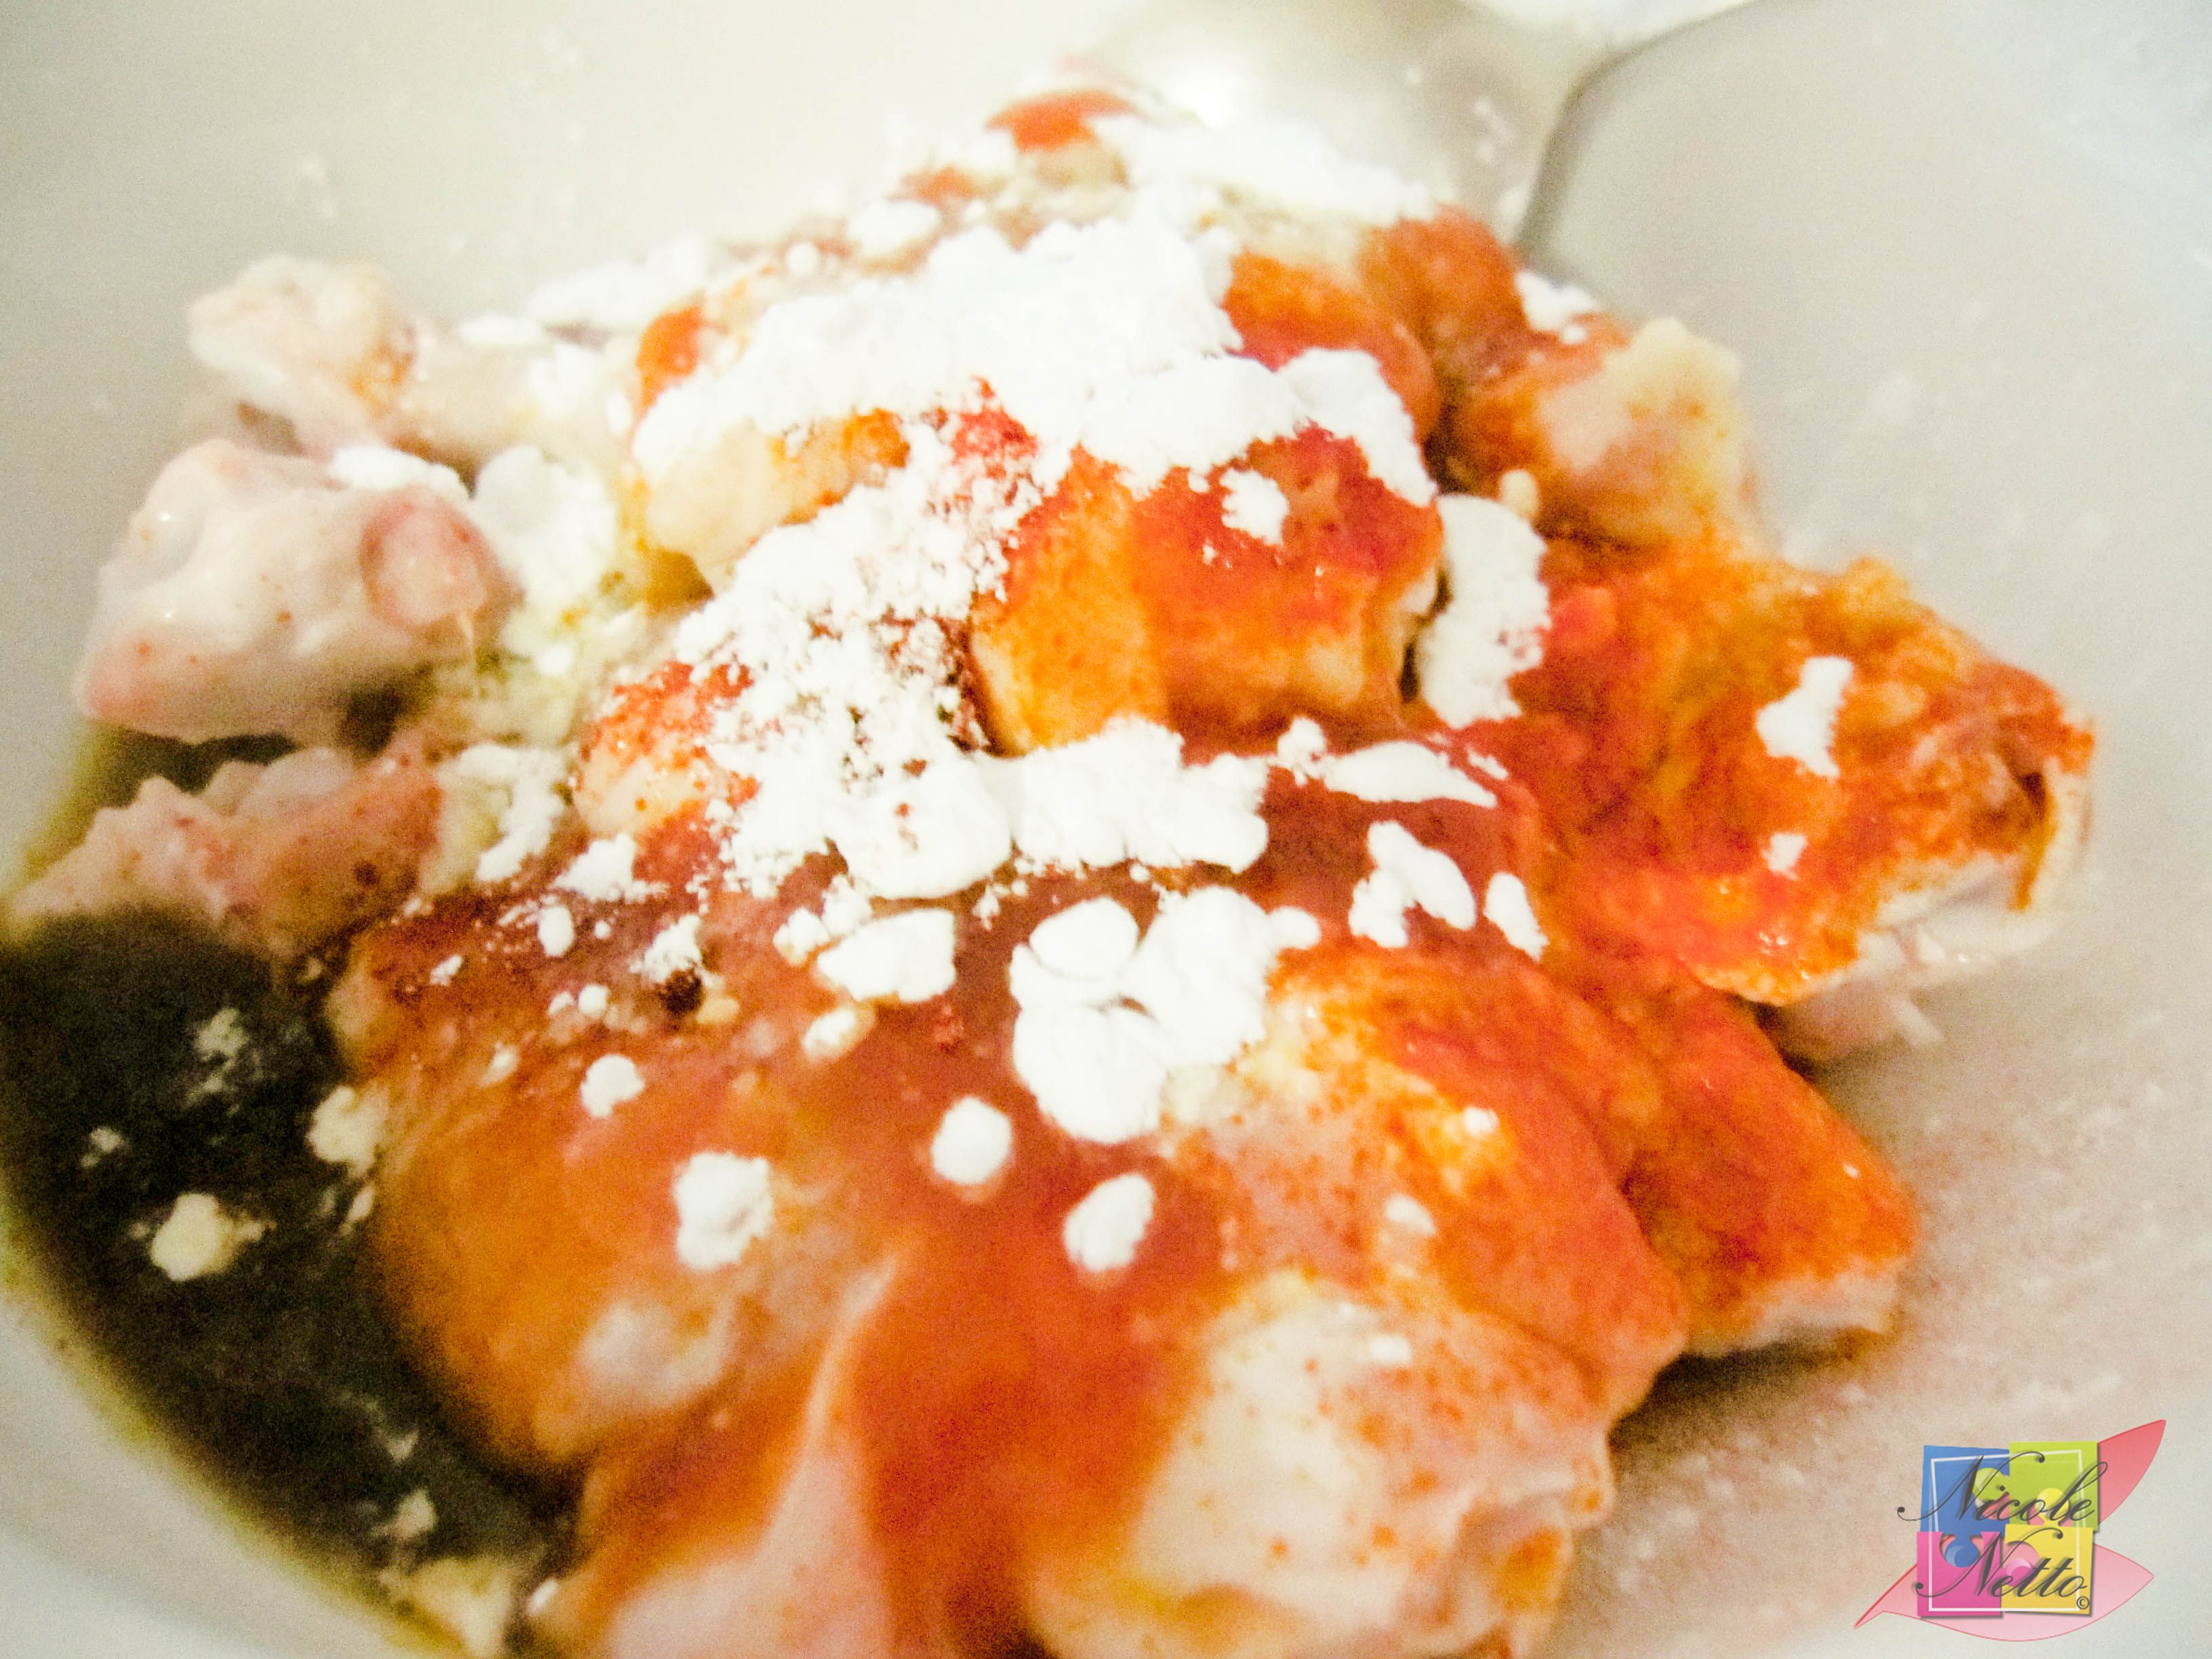
Mixing the ingredients in a bowl
Add in the corn flour followed by the plain flour, a little at a time, making sure to coat the chicken evenly while avoiding any lumps being formed by the flour. Lastly, add the red food colouring and mix well.
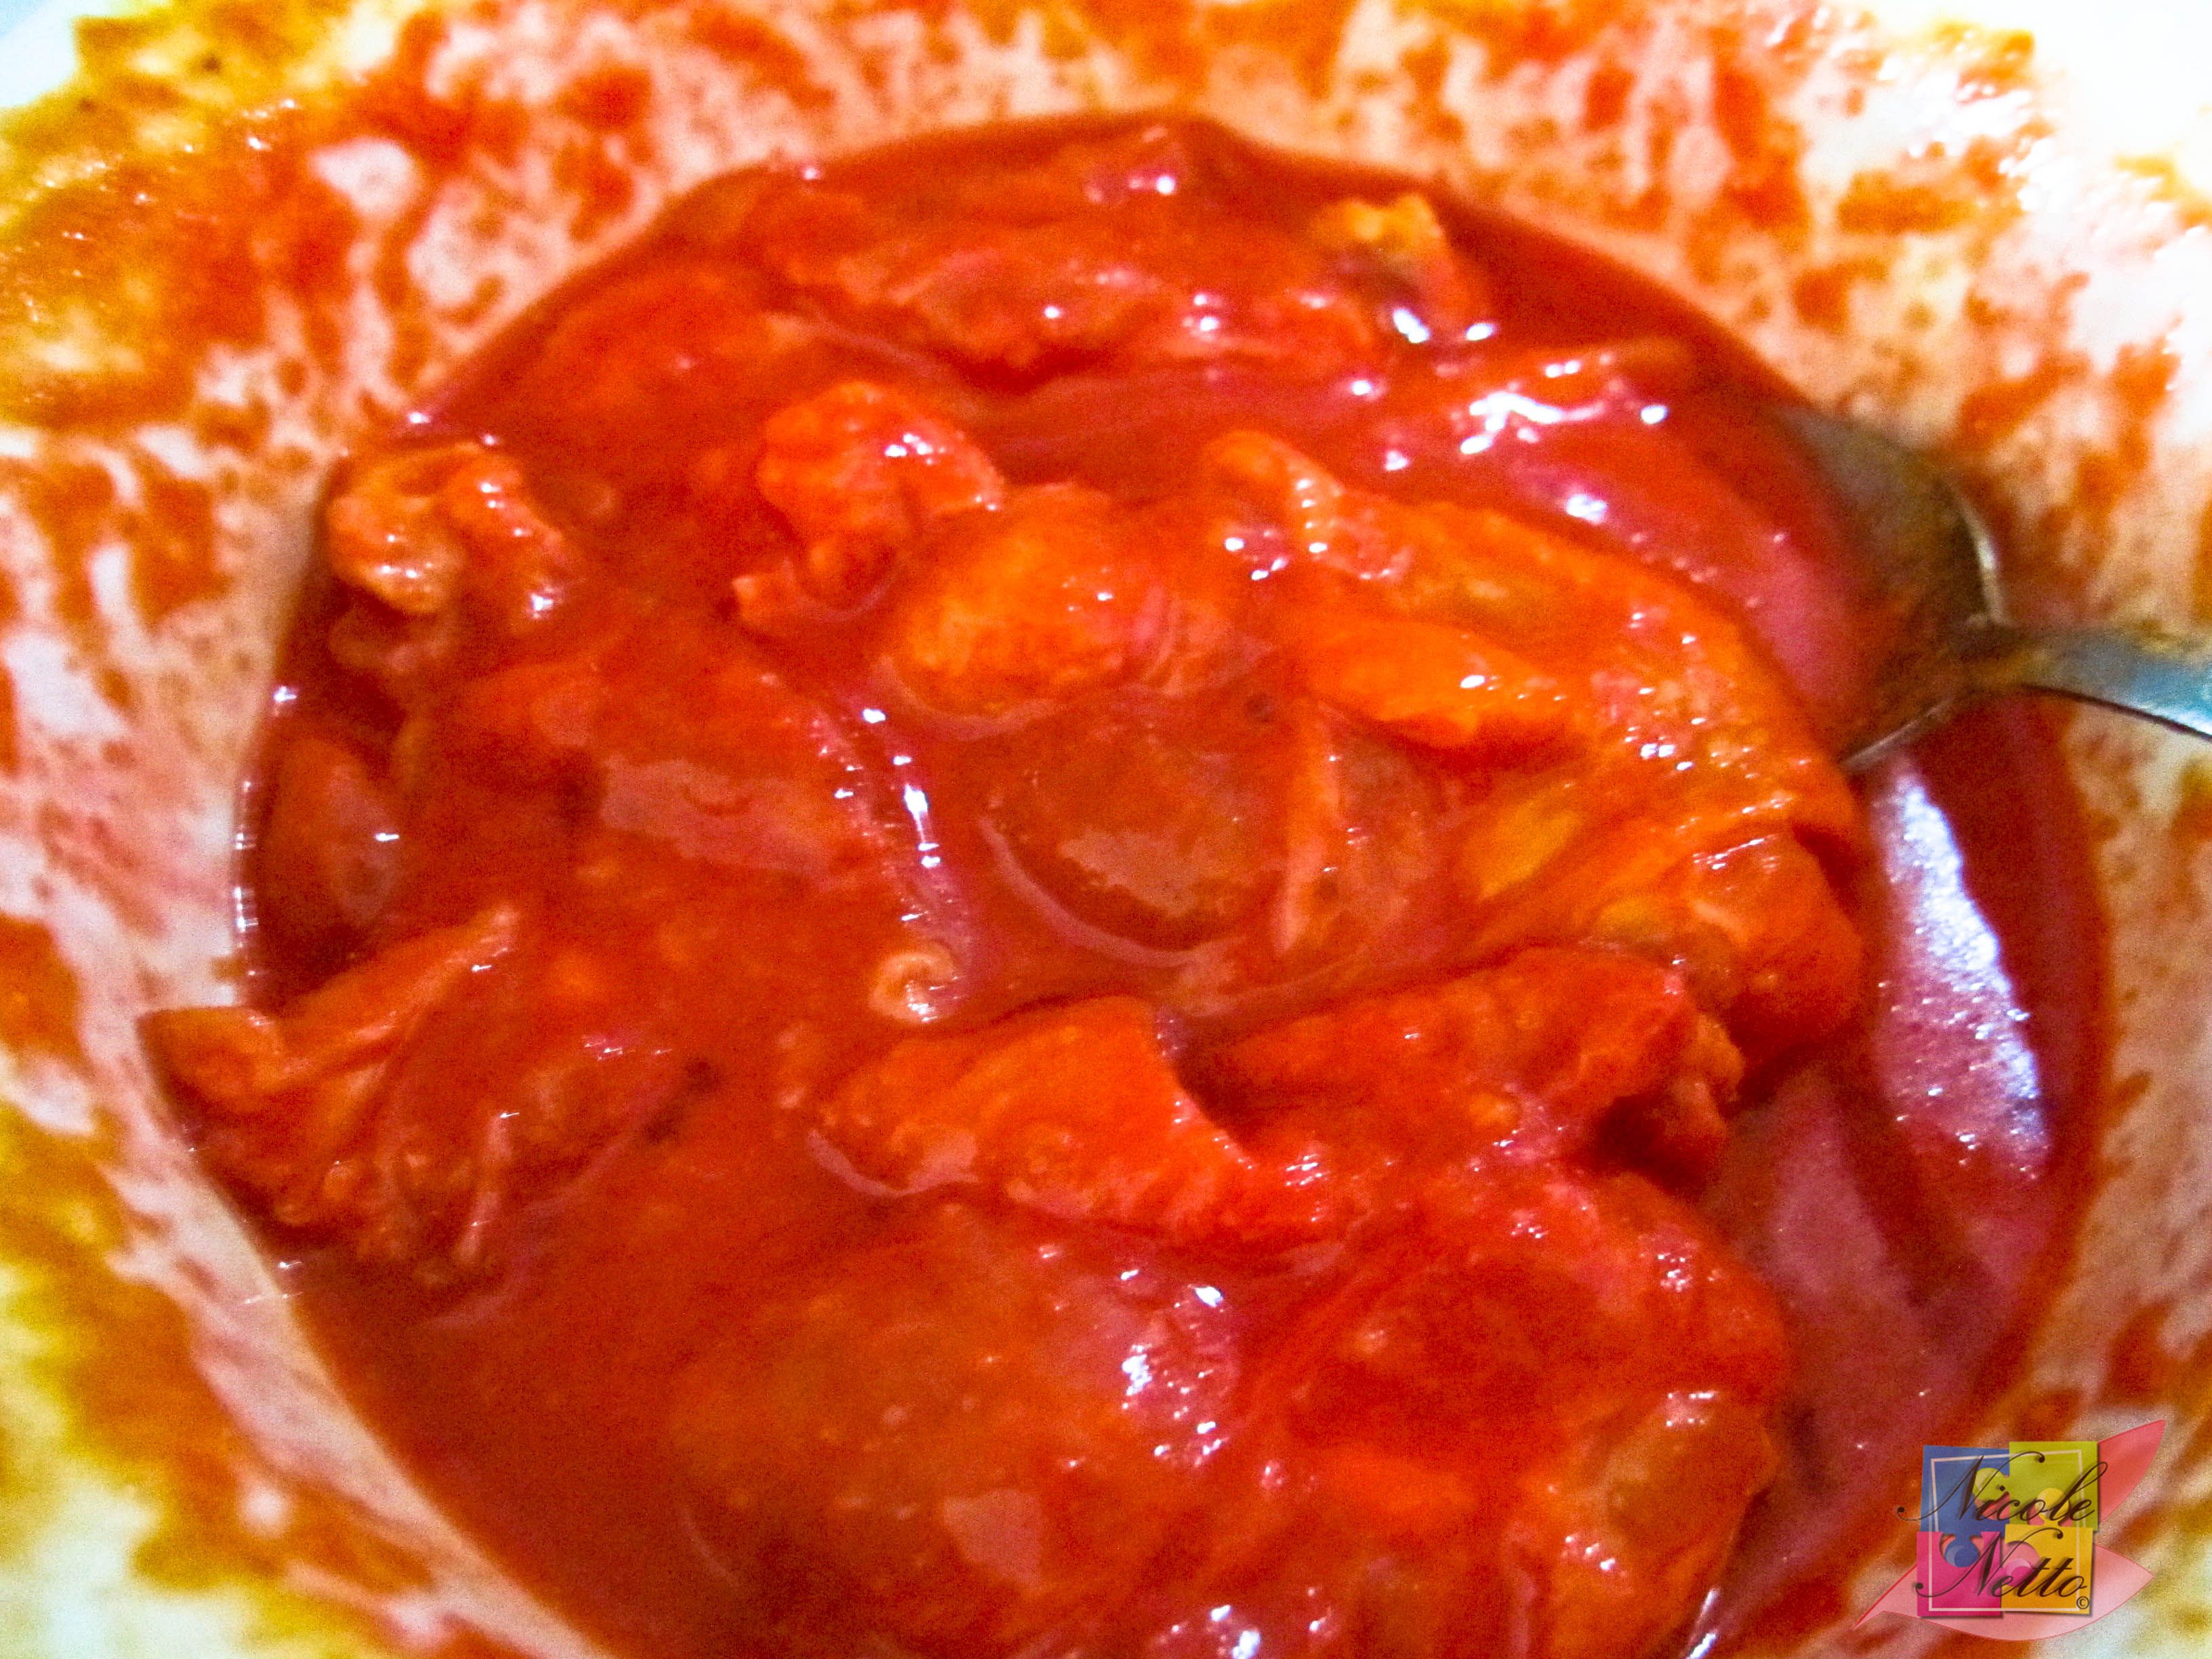
Batter prepped to be left to marinate for an hour or more
Leave the chicken to marinate in this batter for a minimum of an hour (which is what I did and the chicken was still quite well flavoured). Refrigeration overnight is preferred.
Deep fry the chicken lollipops (well covered in the batter) in medium heat until the chicken lollipops turn into their distinctive beautiful brown toned red colour, slightly crunchy on the outside and juicy and tender on the inside.

Deep frying the Chicken lollipops at medium heat
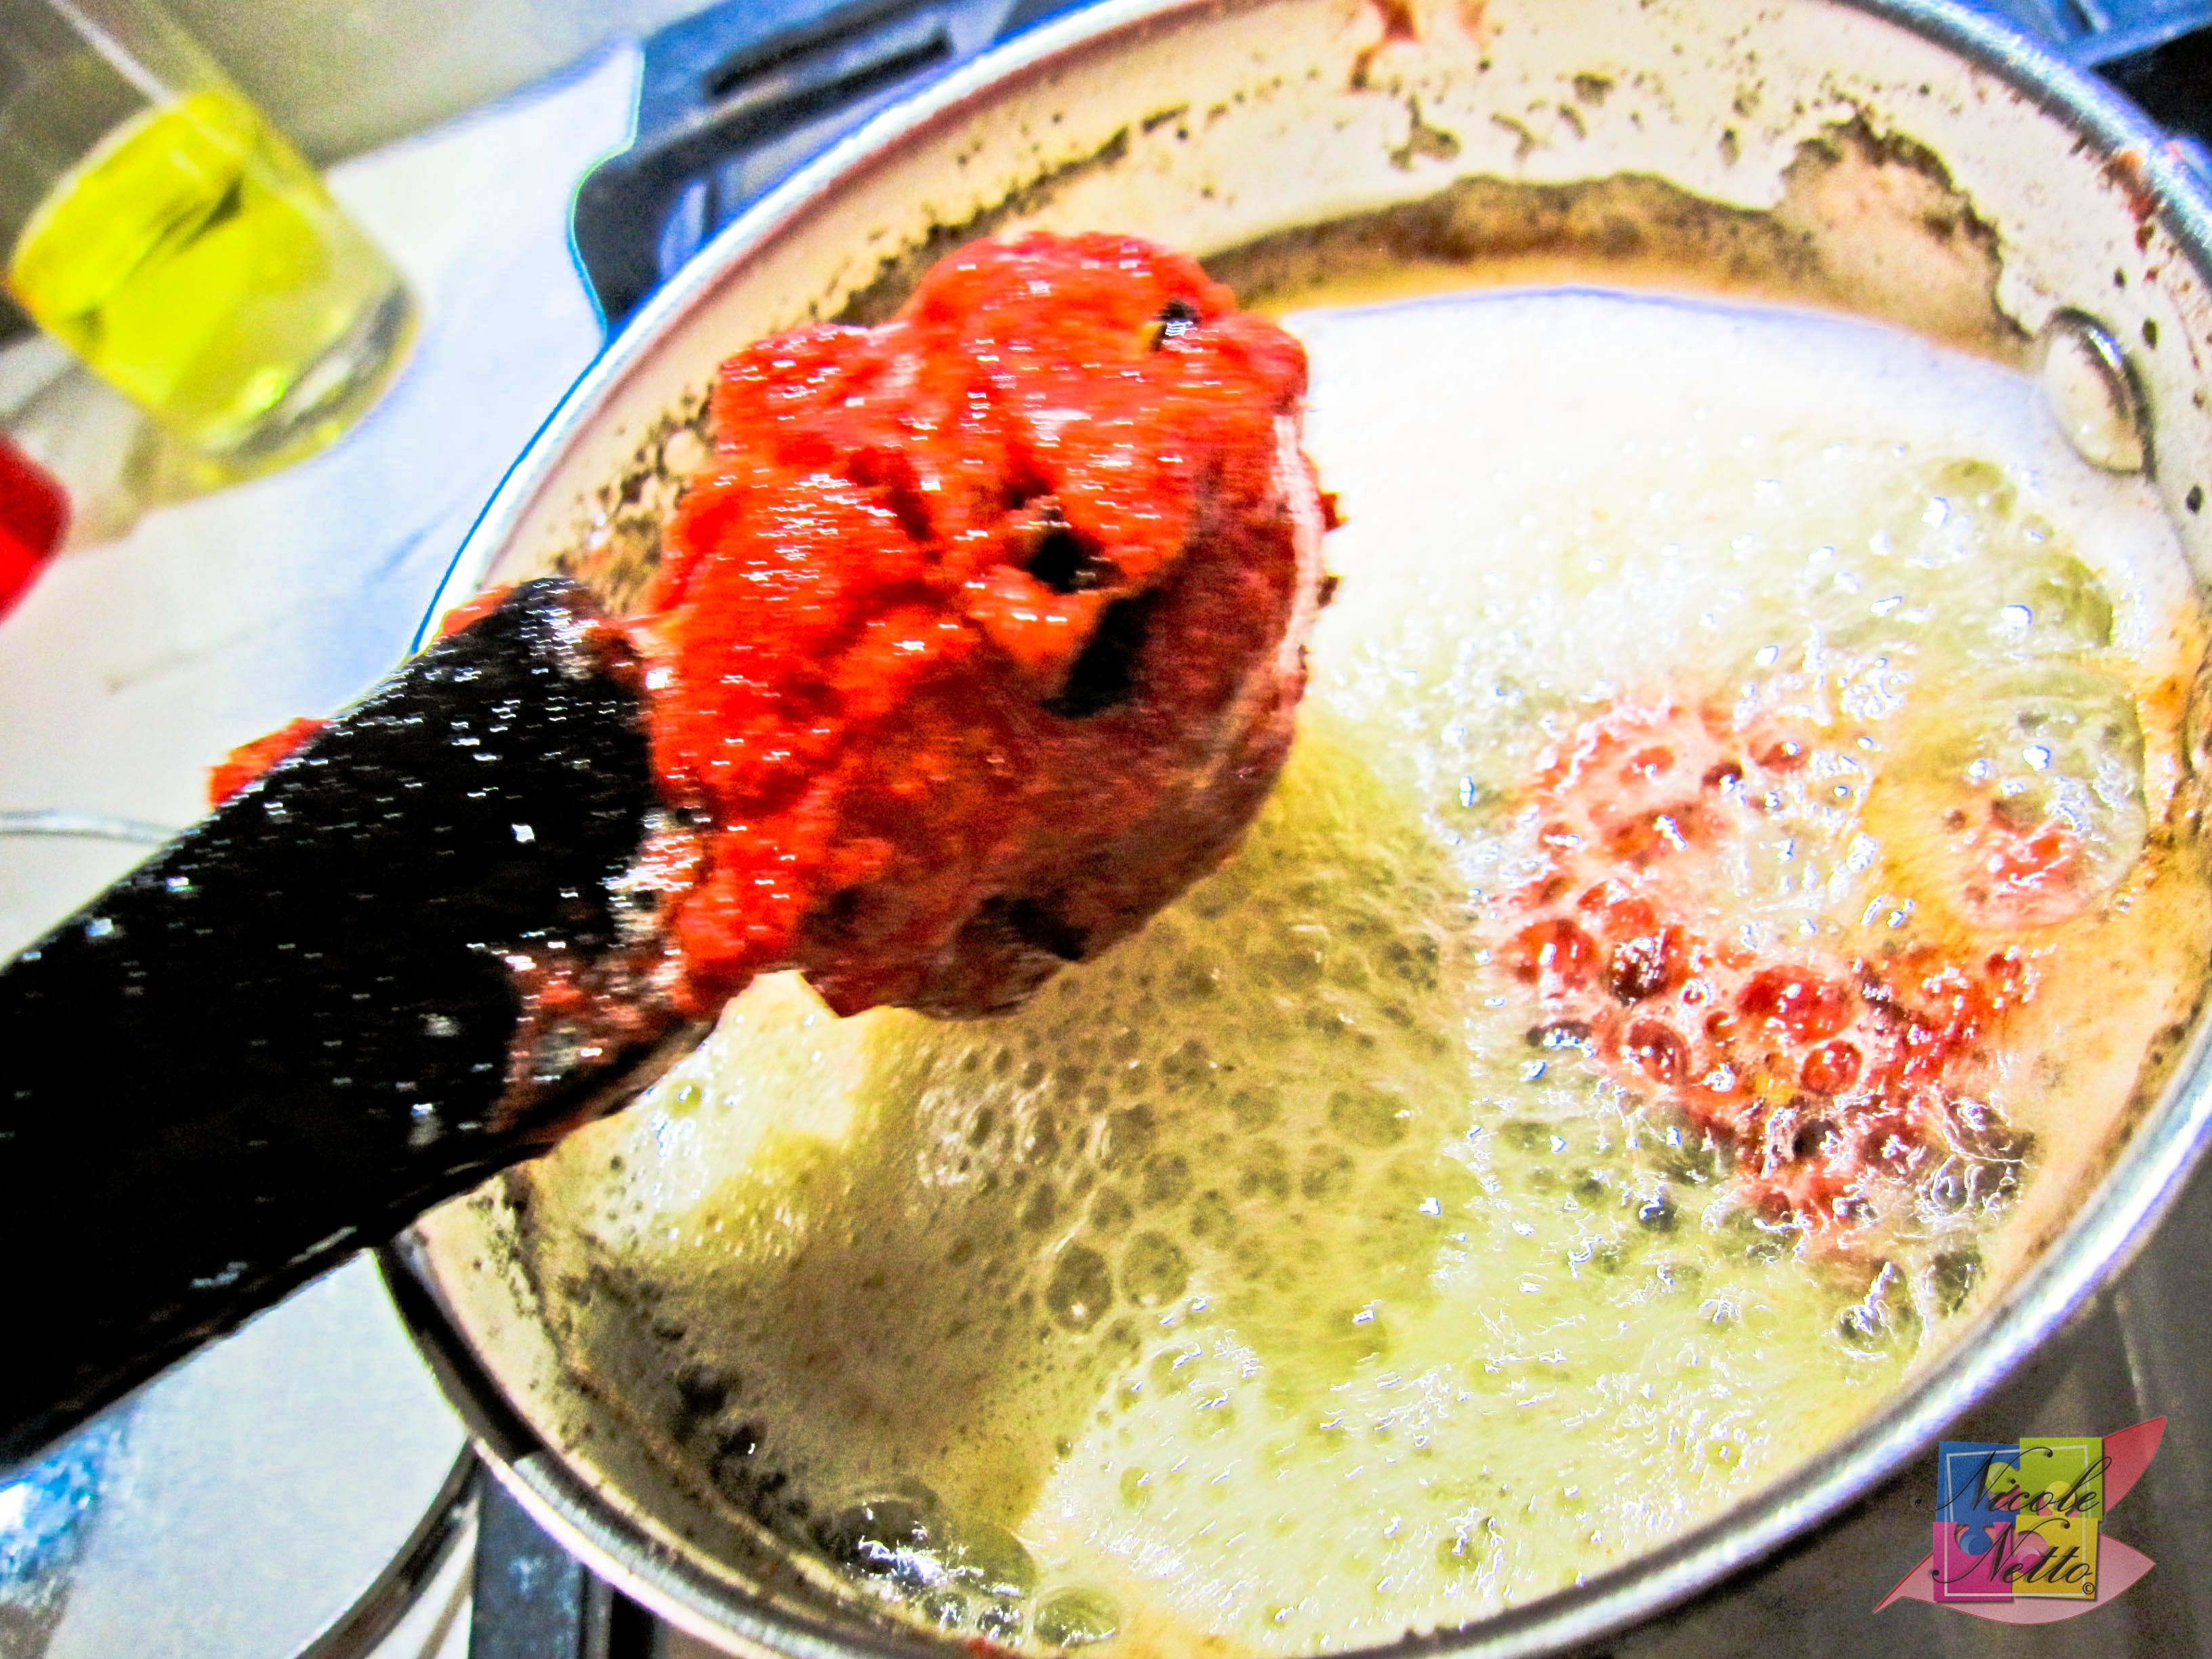
Chicken lollipops – about half cooked
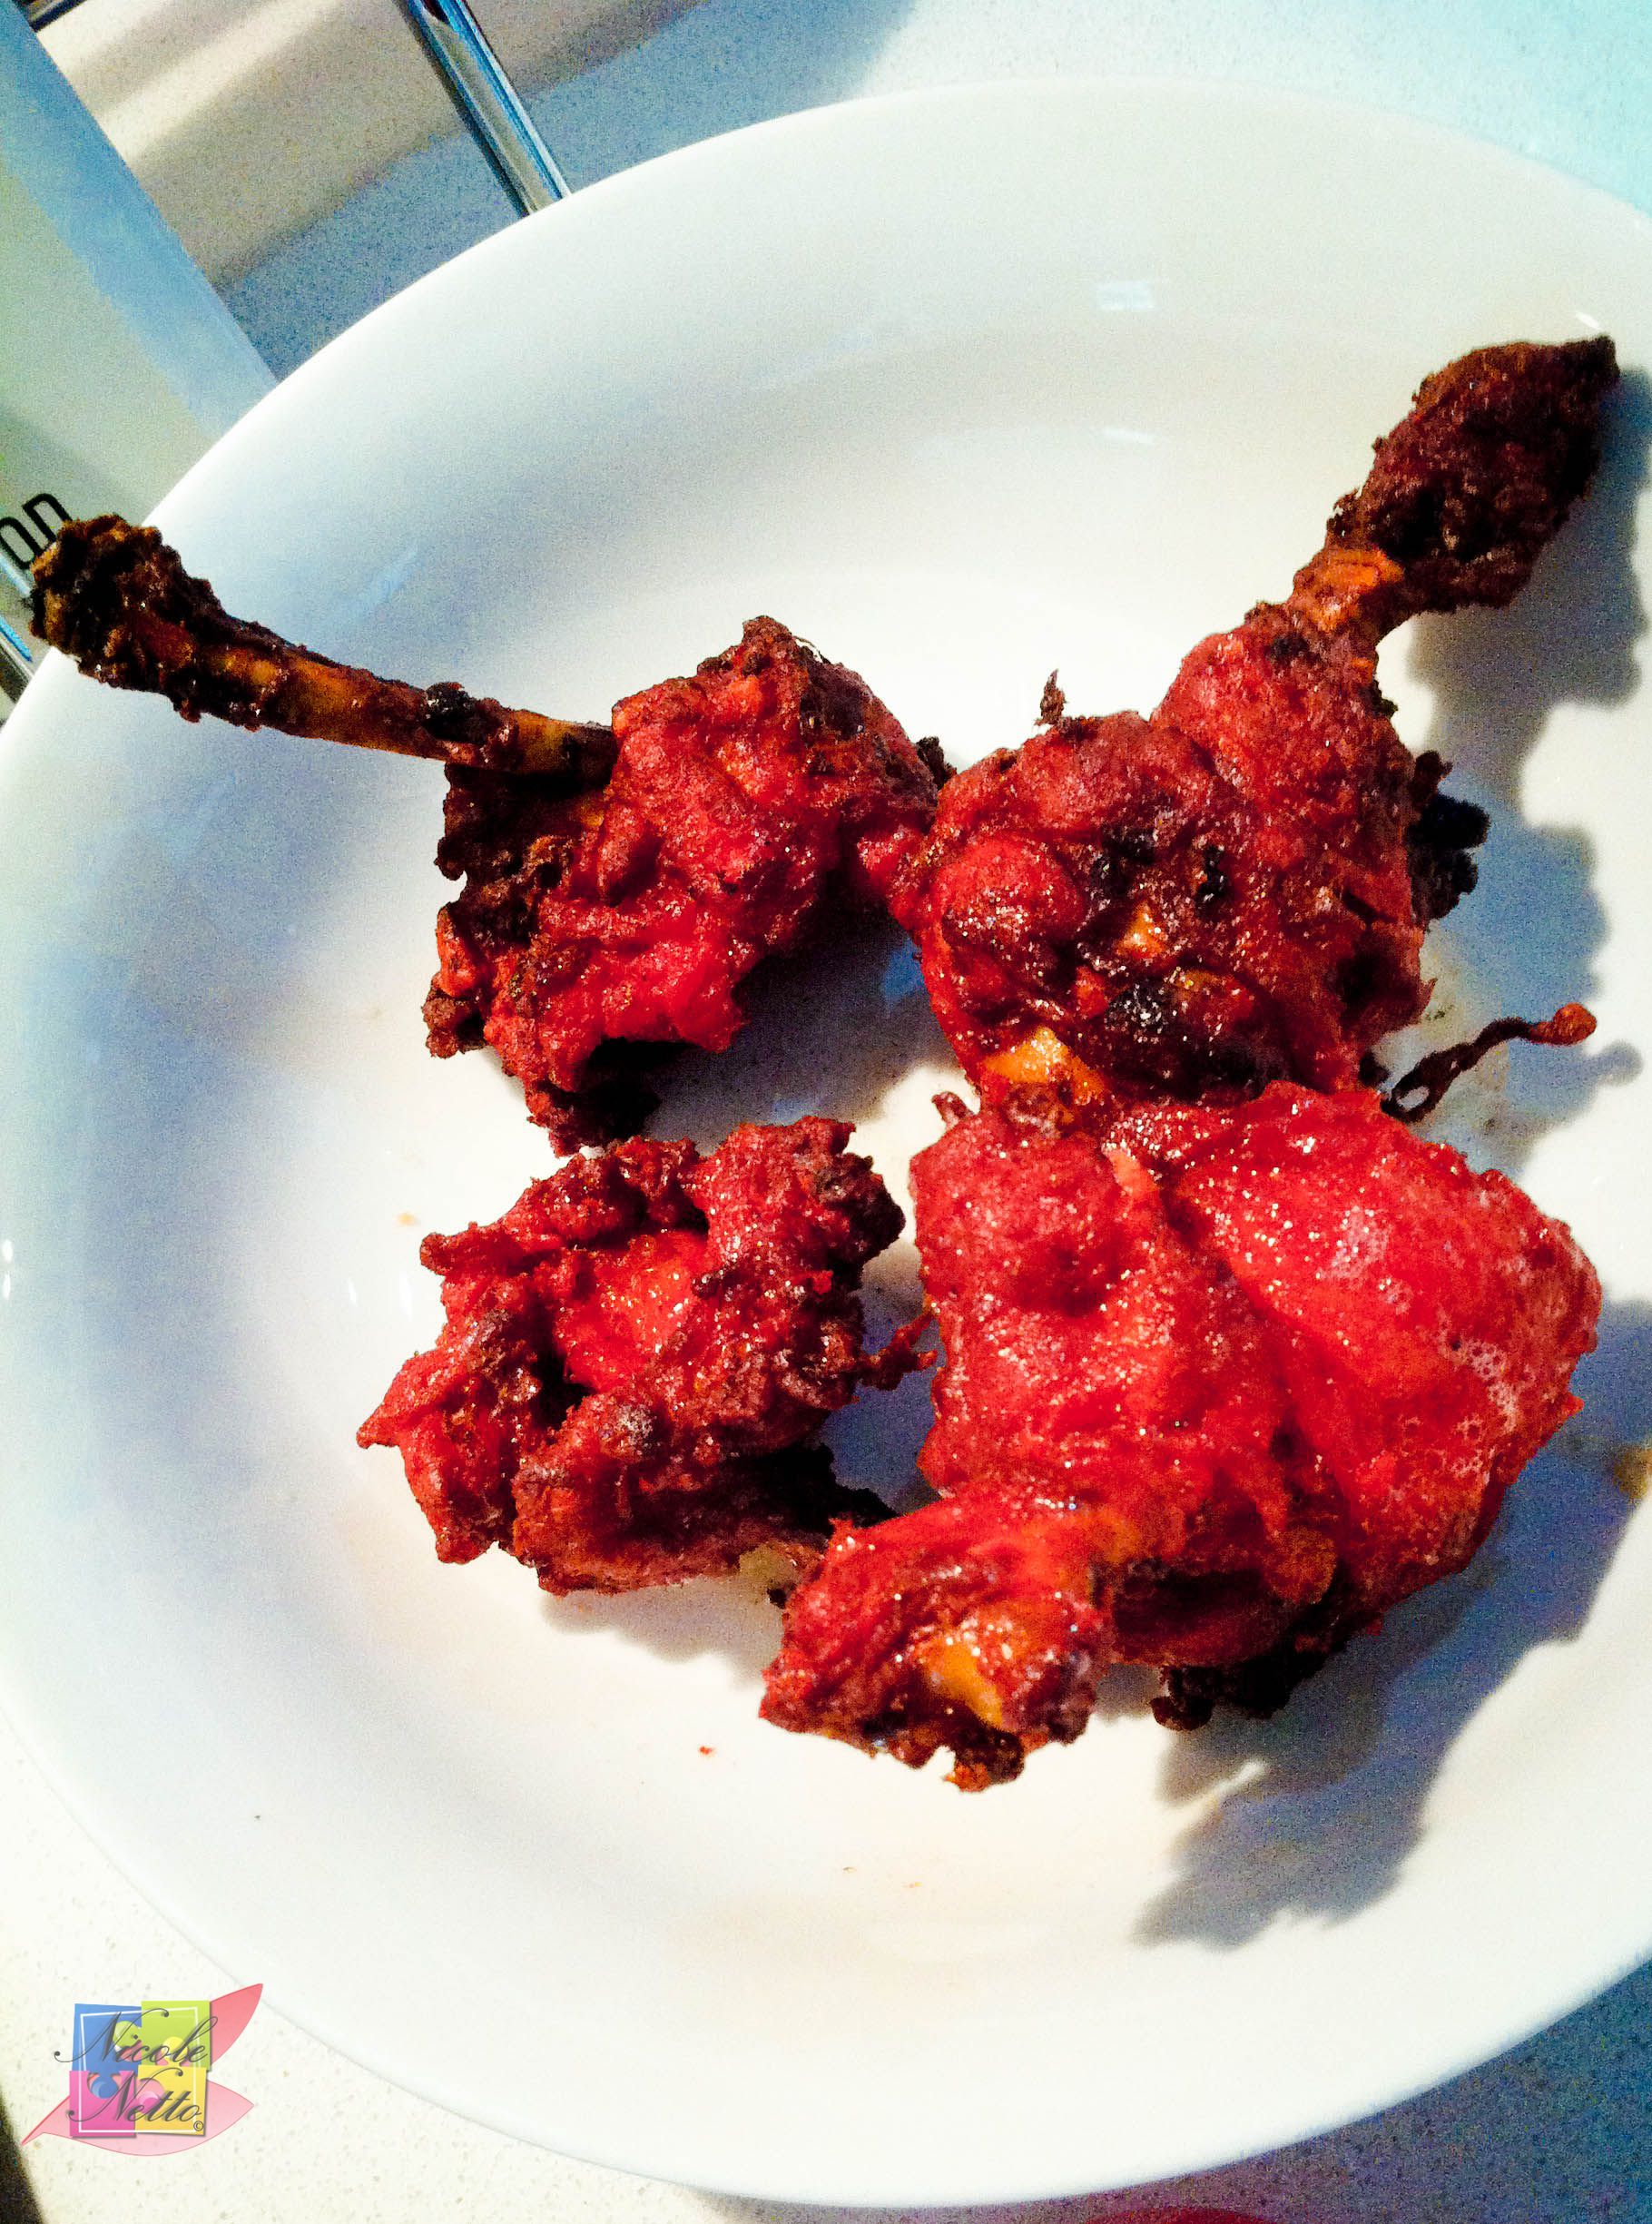
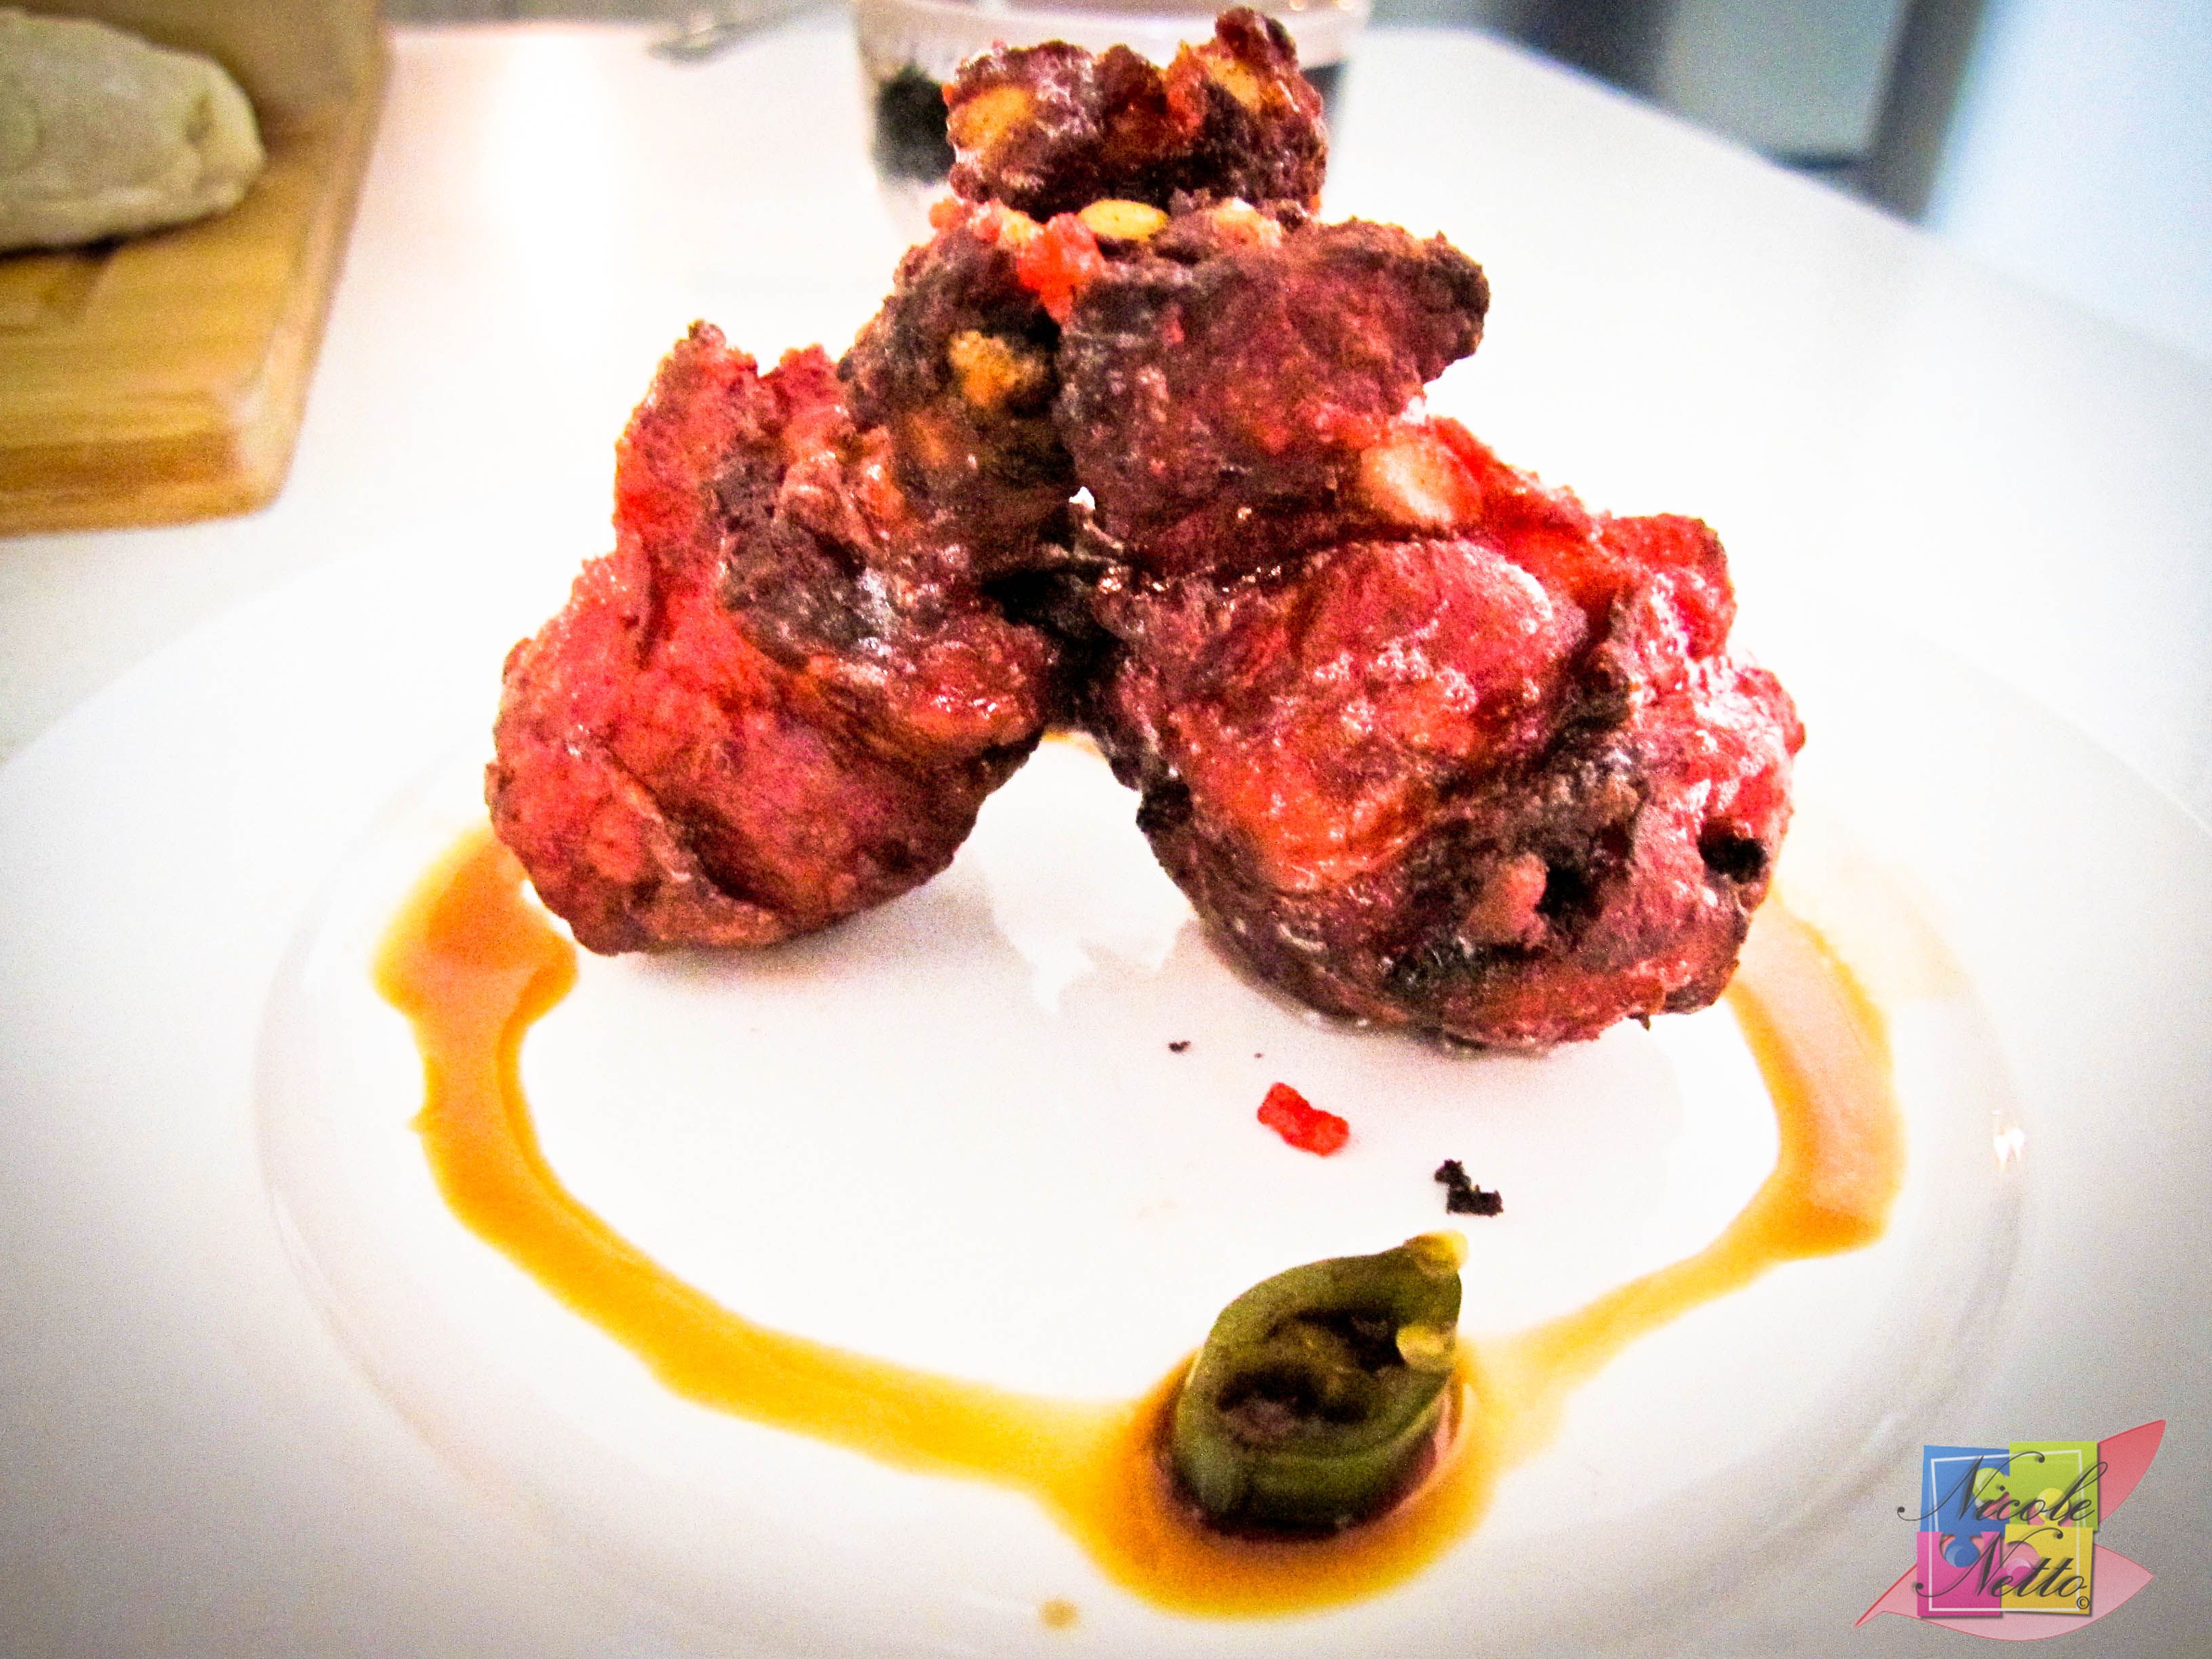
Cooked Chicken lollipops
Serve hot with a Soy chilli dipping sauce (recipe below) or a Schezwan sauce (bottled Schezwan sauce is available at certain Indian stores).
*ahhhhhhhh*
Soy chilli sauce
(Serves 2)
Ingredients:
2 Tbsp Soy sauce
1 tsp Chinese Rice Wine Vinegar
1 Green Chilli finely chopped OR 1 pickled green hot pepper finely chopped
1 Garlic clove, finely minced
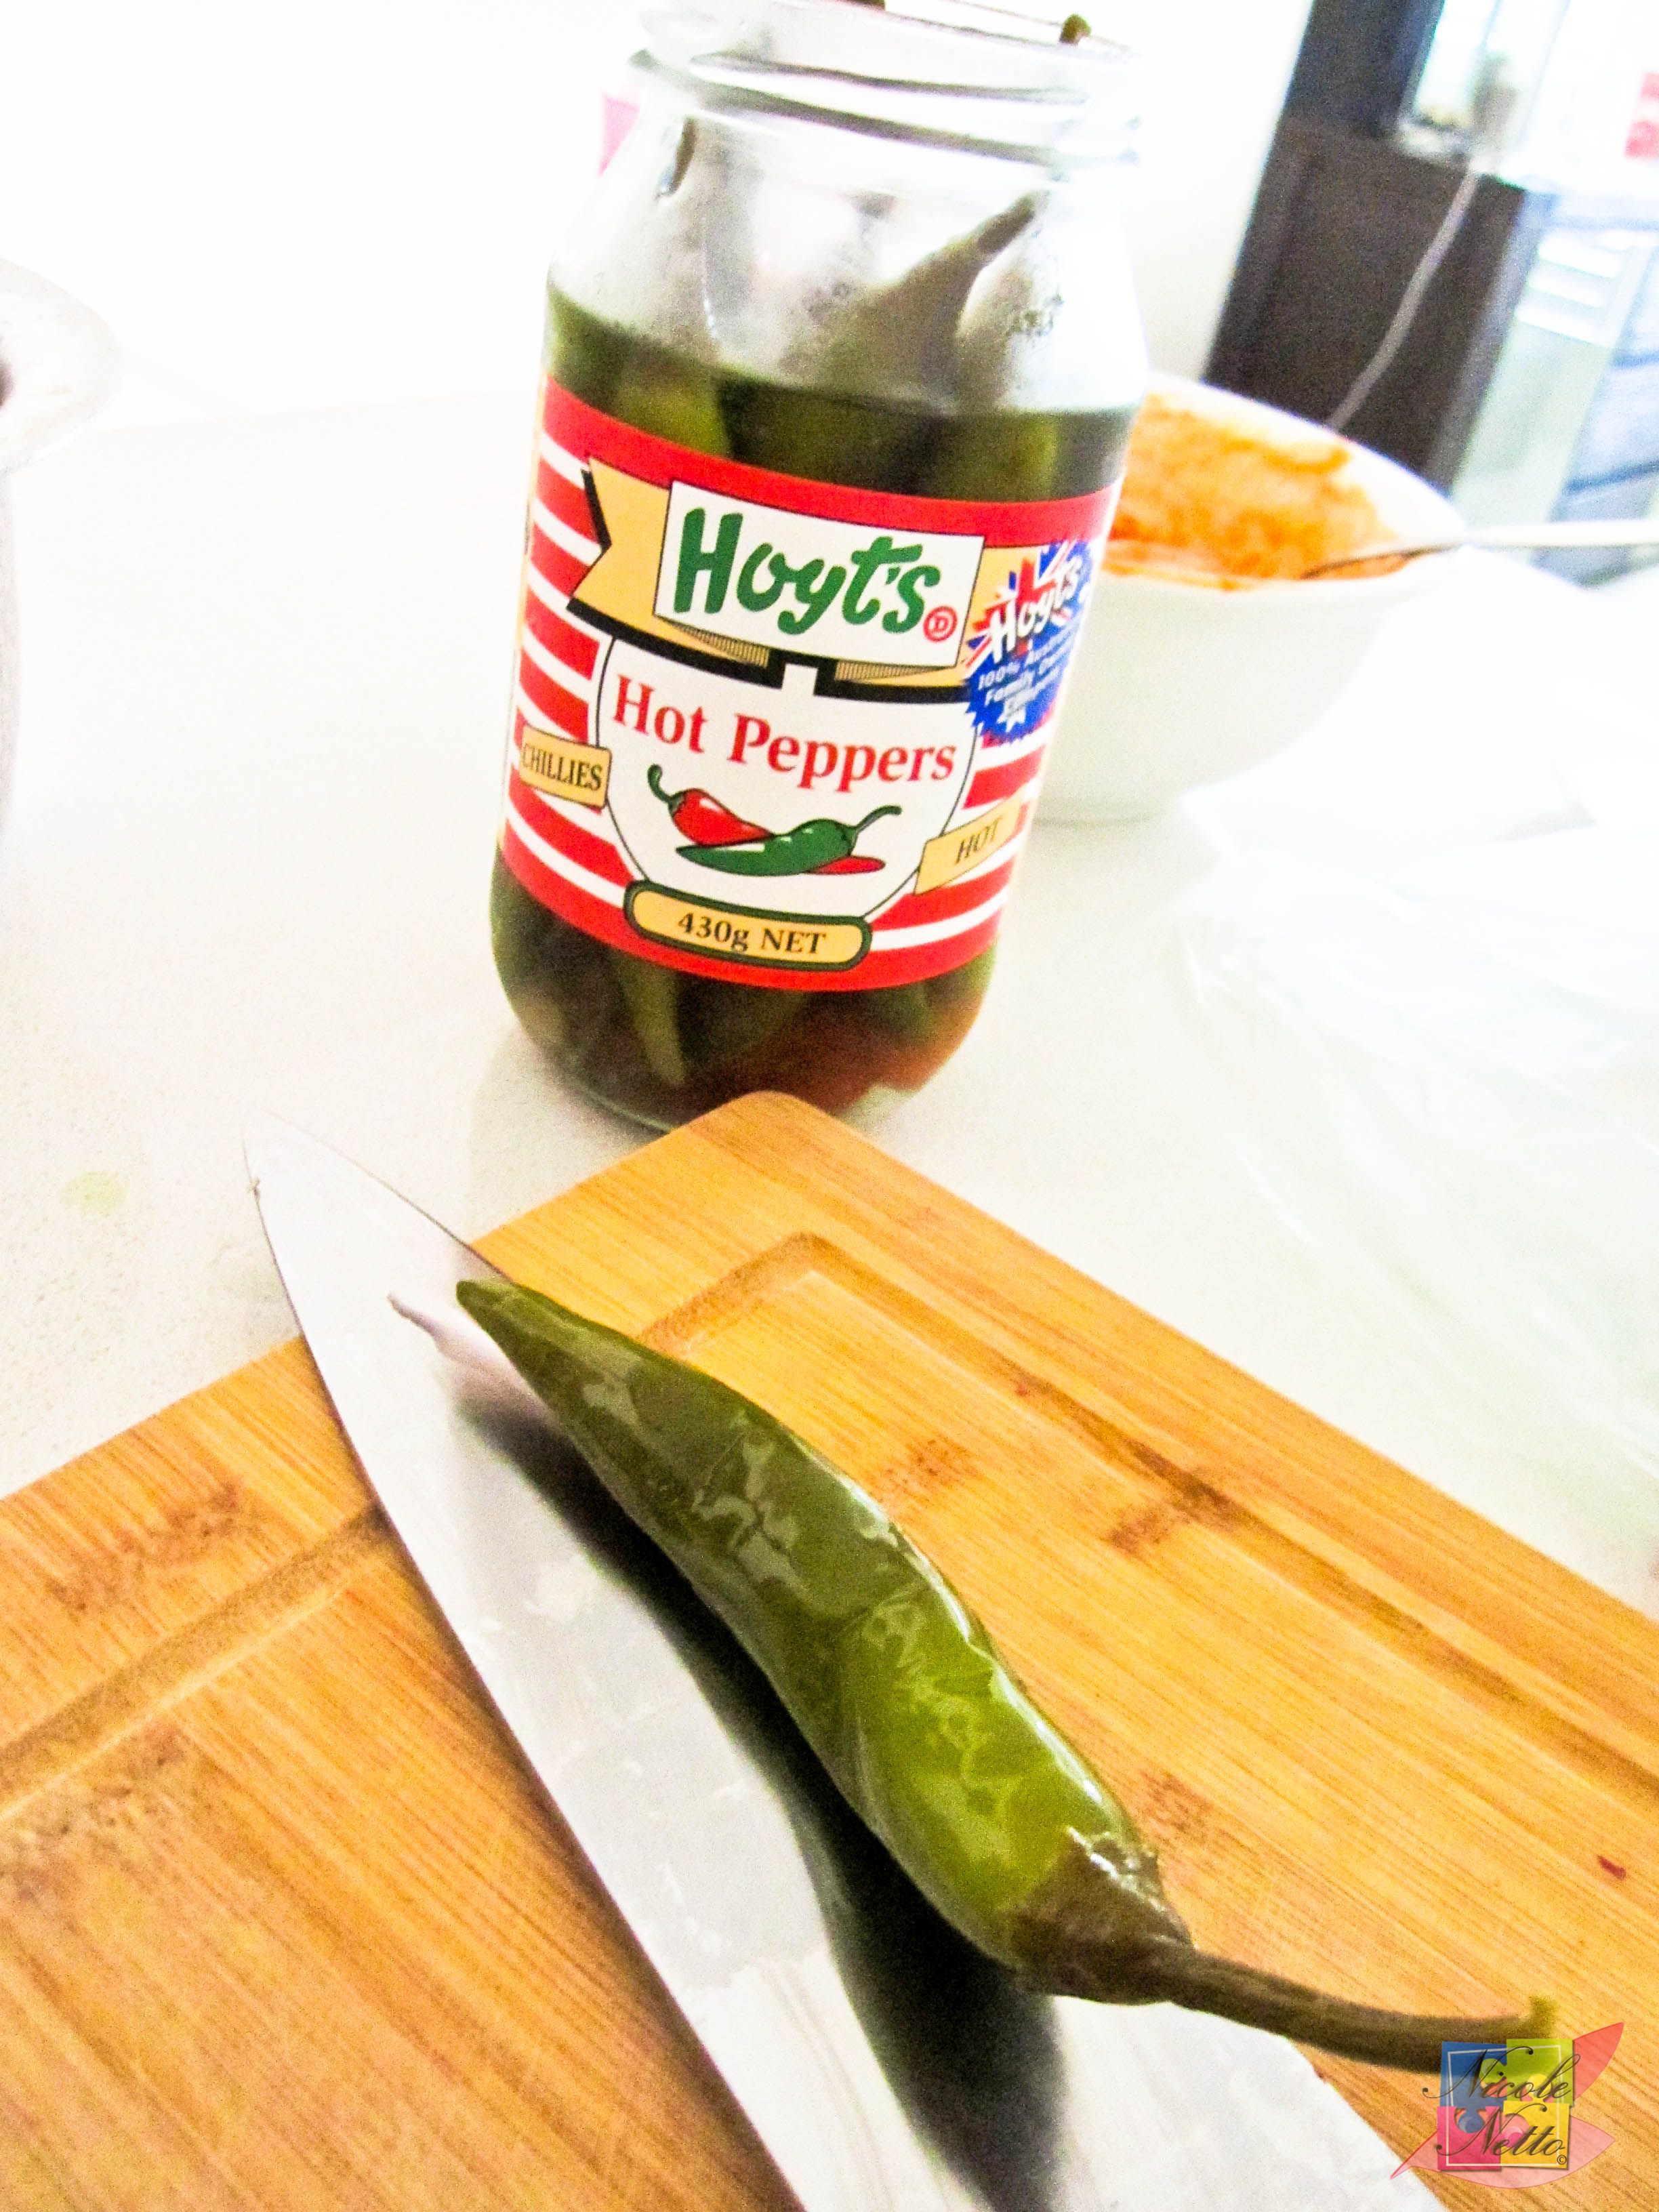
Pickled green hot pepper
Method:
Mix all ingredients thoroughly in a microwave safe bowl and heat in the microwave on high for 30-40 seconds prior to serving.
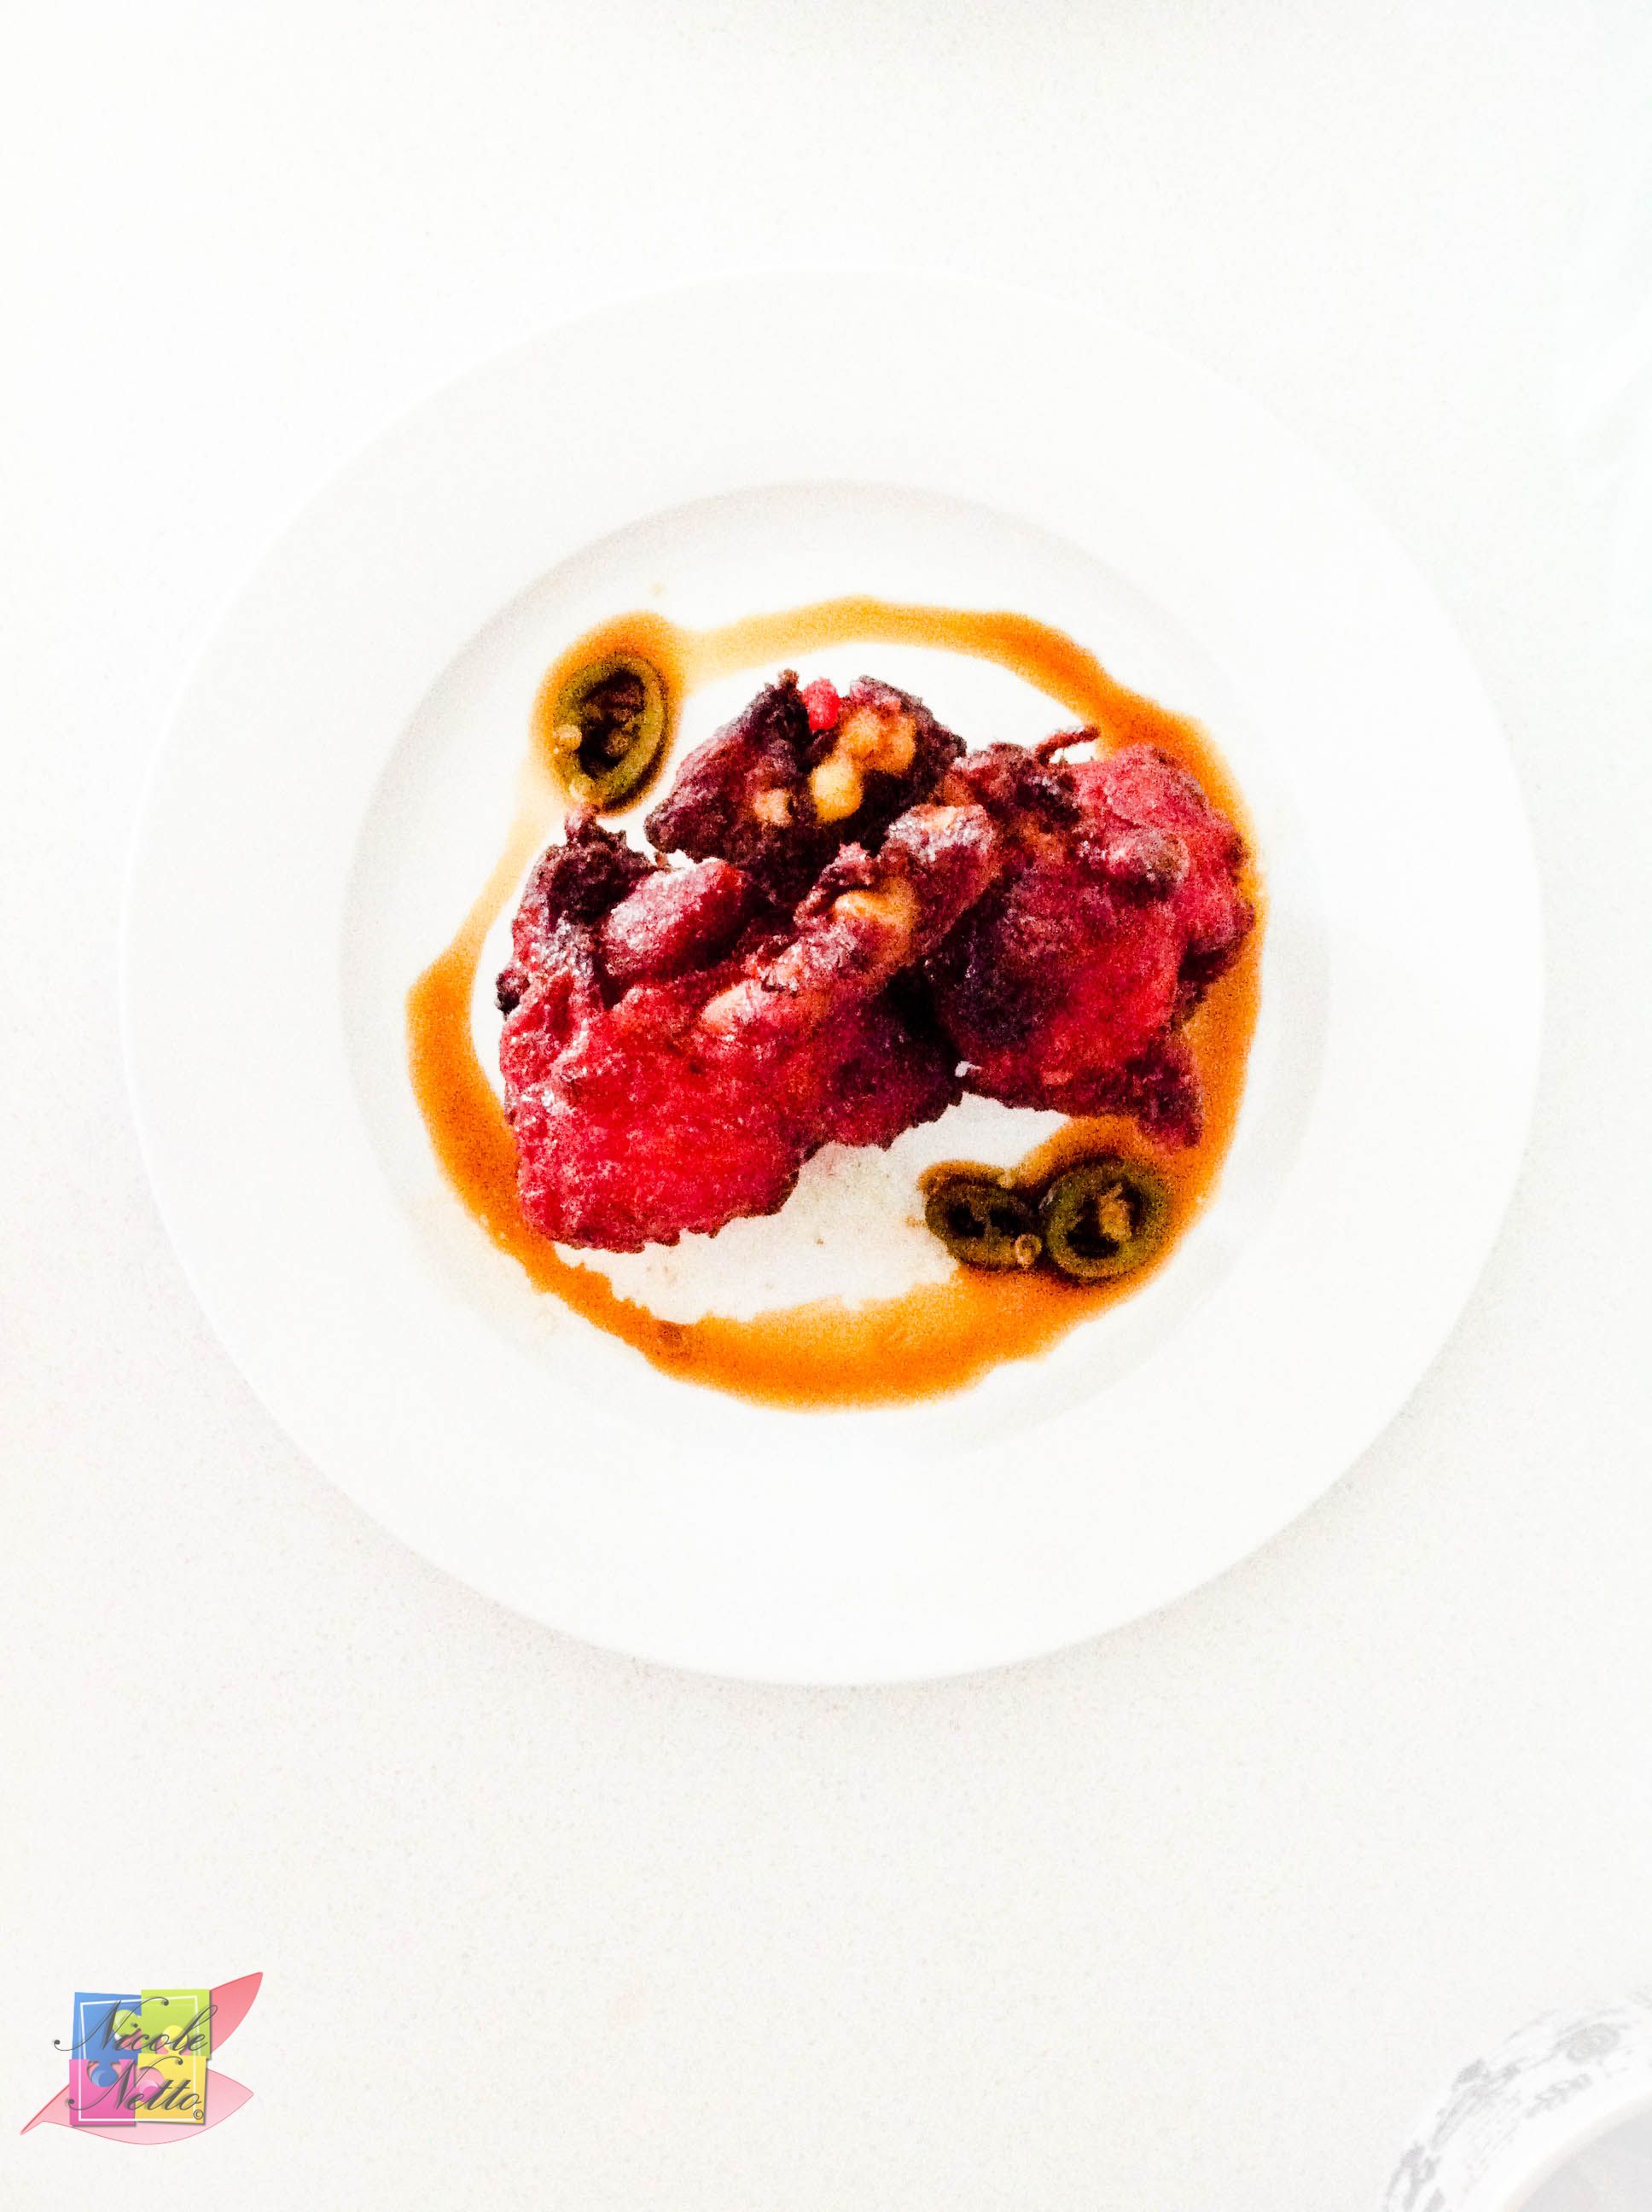
And you’re all set to enjoy this delectable treat:
Plated
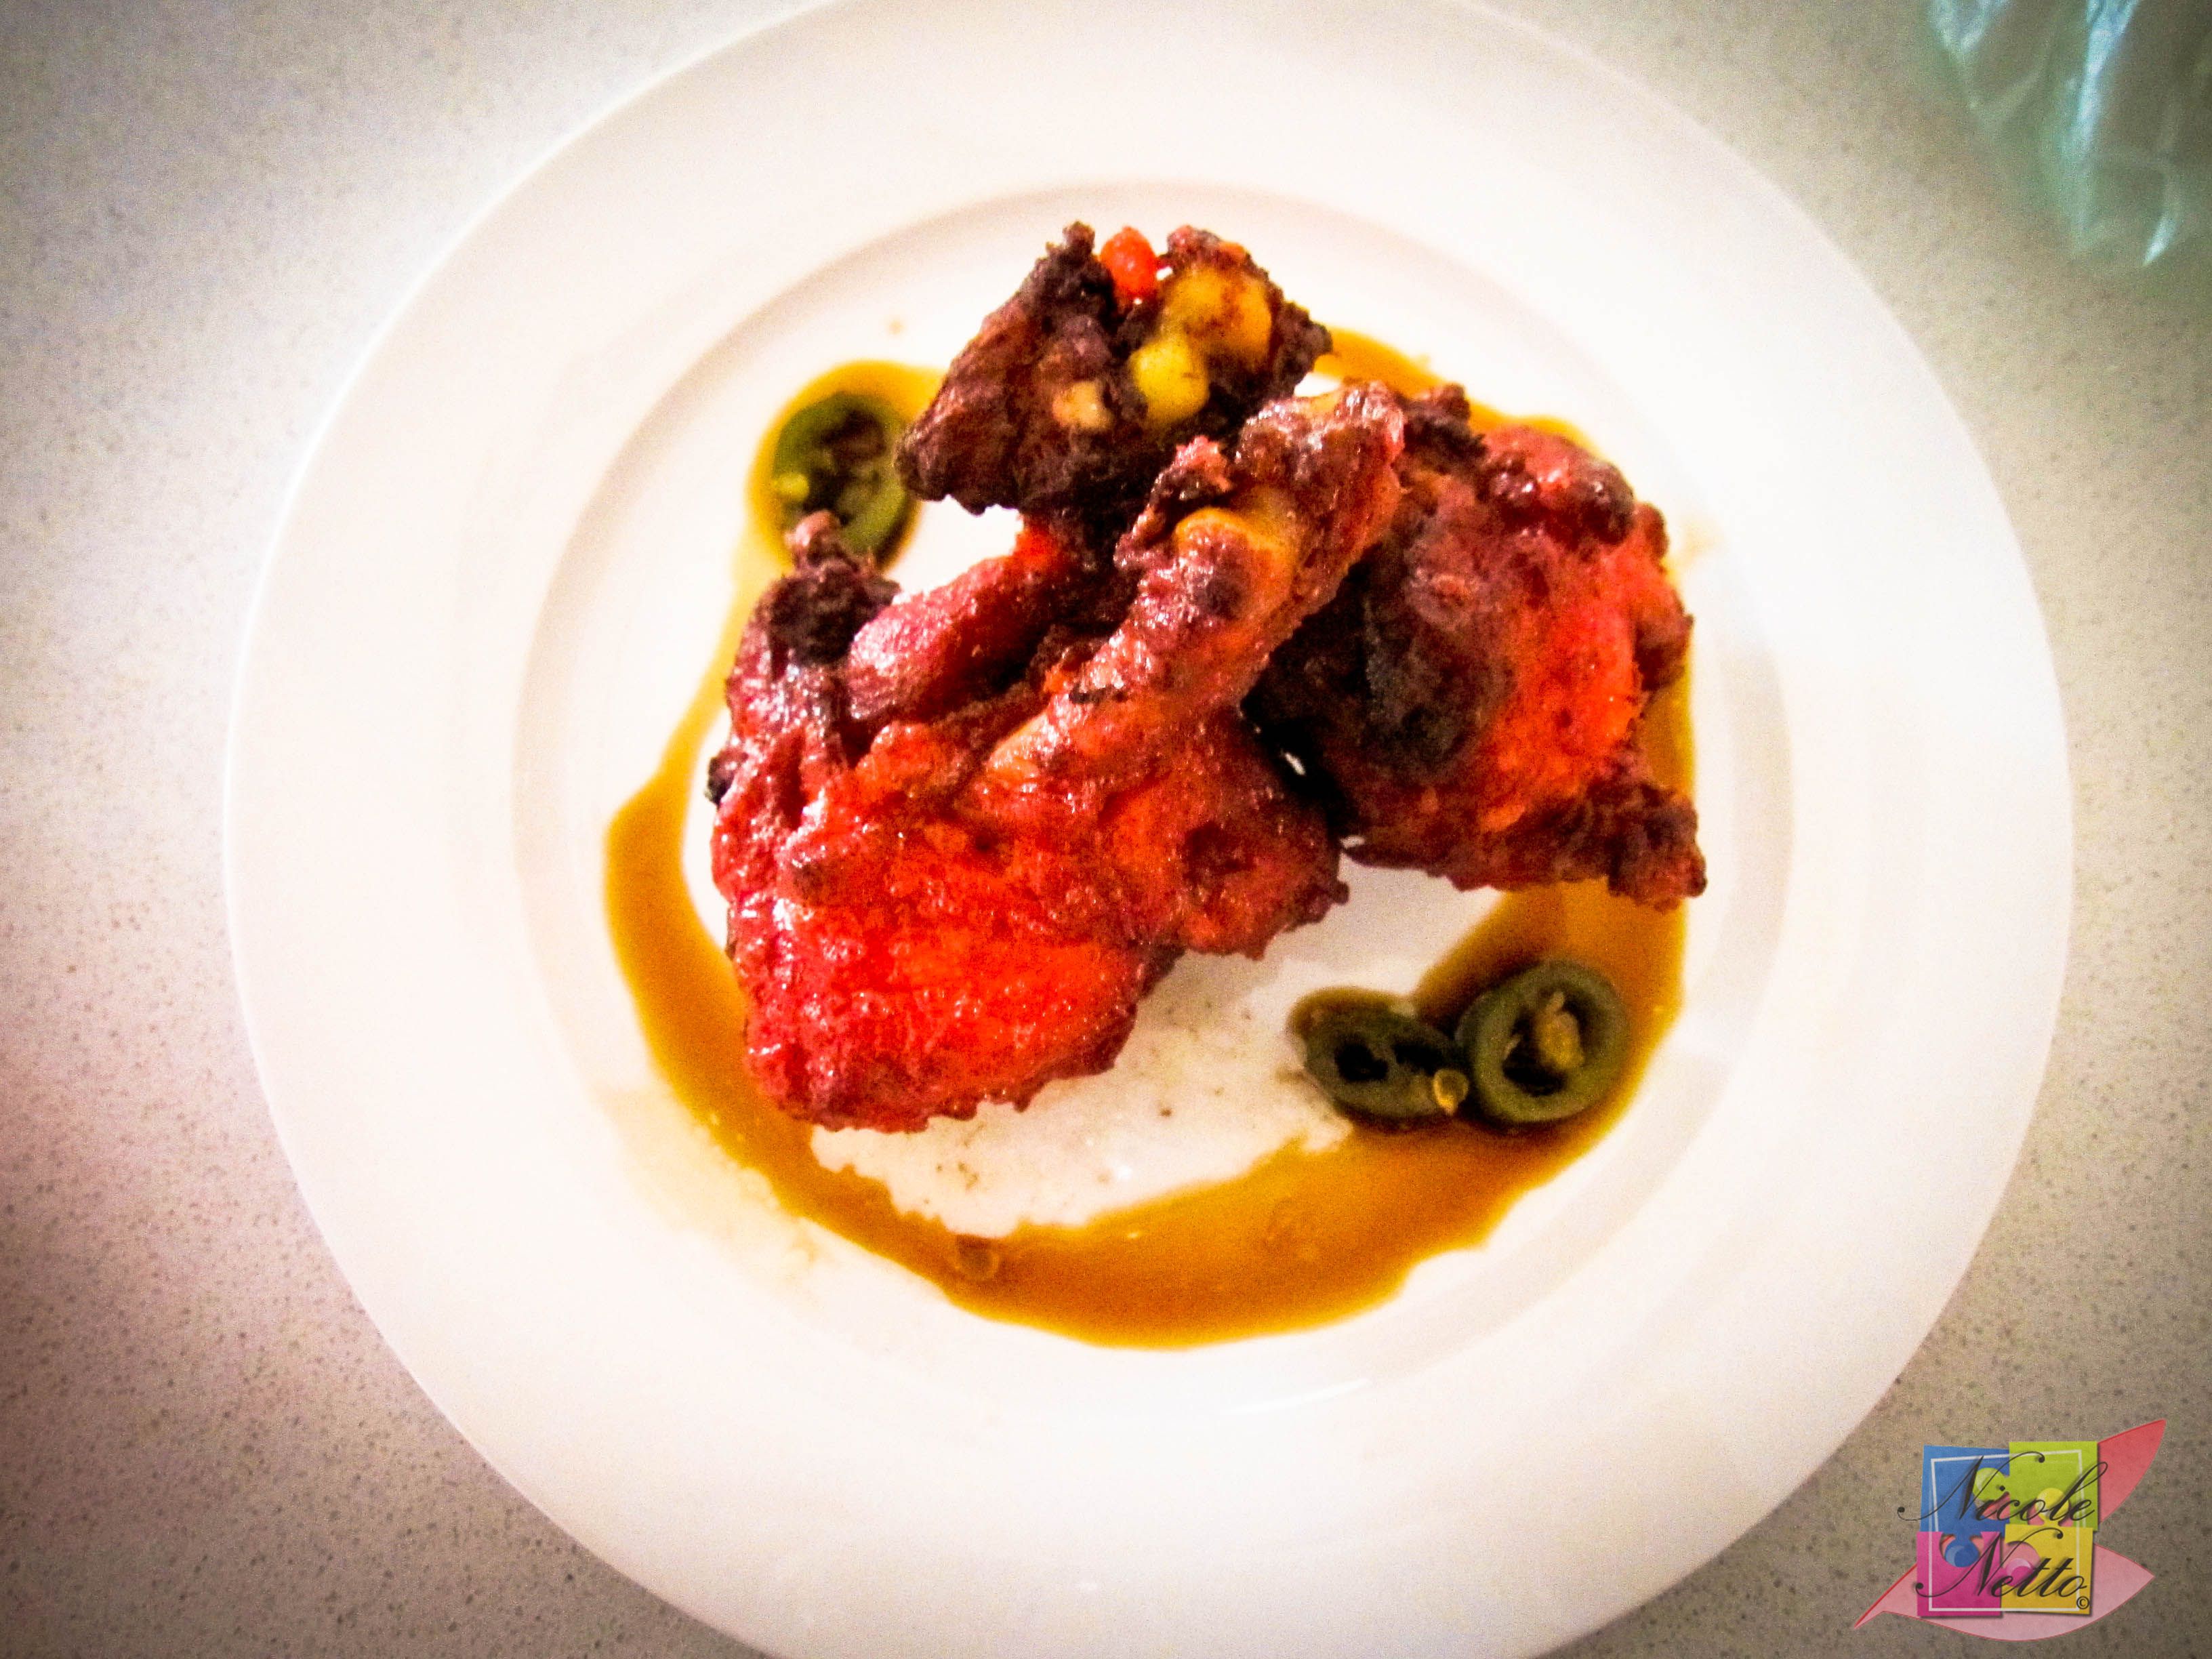
Delicious crunchy chicken lollipops with a Soy Chilli dipping sauce
‘Baath Cake’/ Goan Coconut cake topped with toasted fresh coconut

‘Baath Cake’/ Goan Coconut cake topped with toasted fresh coconut
Seasons Greetings everyone!
I hope you’ve all had a very Merry Christmas and are all set to gear up for the New year?

Merry Christmas and a Happy New Year 2015!
Having not being able to visit the family this year, I have been celebrating the festive season with near and dear friends who have spoilt me with delicious food and gifts. While growing up in India and Kuwait, it was not uncommon for fellow Indians, particularly Goans and Mangloreans, to exchange home made Christmas sweets or “Kuswar” during this festive season. I did receive some from a couple of my Indian friends here – the M & M’s, which reminded me of the traditions back home.
It is often a competition, to some extent, of who can make the most amount of sweets and the best tasting sweets, but all in good spirits of course. Mum, my grandmother (Mum’s side), my sister and I would often begin preparing large quantities of these sweets on weeknights after school or work in November staying up late to odd hours of the night in order to be able to begin distributing plates of these to close friends and family in early Dec with visits to their home for a cuppa and to drop off/ exchange sweets and wish them the seasons greetings. The best part would be after you came back home and had all these sweets to try out from what people had given back to you and it was interesting to taste variations in recipes of several of these Christmas sweets.
While there are several of these recipes that I love, my favourite one has always been the “Baath cake” or Goan coconut cake. So this year, I decided to make Mum’s recipe my own and reminisce with some of my fondest Christmas memories.
While this is a Goan Christmas recipe, it could quite easily be enjoyed throughout the year if you’re a fan of moist and fluffy coconut cake.
Baath cake/ Goan Coconut Cake
Adapted from – my Mum
(Serves 12-15)
Ingredients:
2 and 1/4 cups fresh finely grated coconut (preferred) OR desiccated coconut
2 cups Sugar
2 cups Semolina (also known as ‘Rawa‘)
8 Eggs – separated (whites and yolks)
1 tsp Baking Powder
1 tsp Vanilla Essence
300gm Butter (melted)
1/4 tsp Nutmeg powder (optional)
1/2 tsp Cinnamon powder (optional)
1 tsp Rosewater (optional)

Butter to be melted

Separate 8 eggs
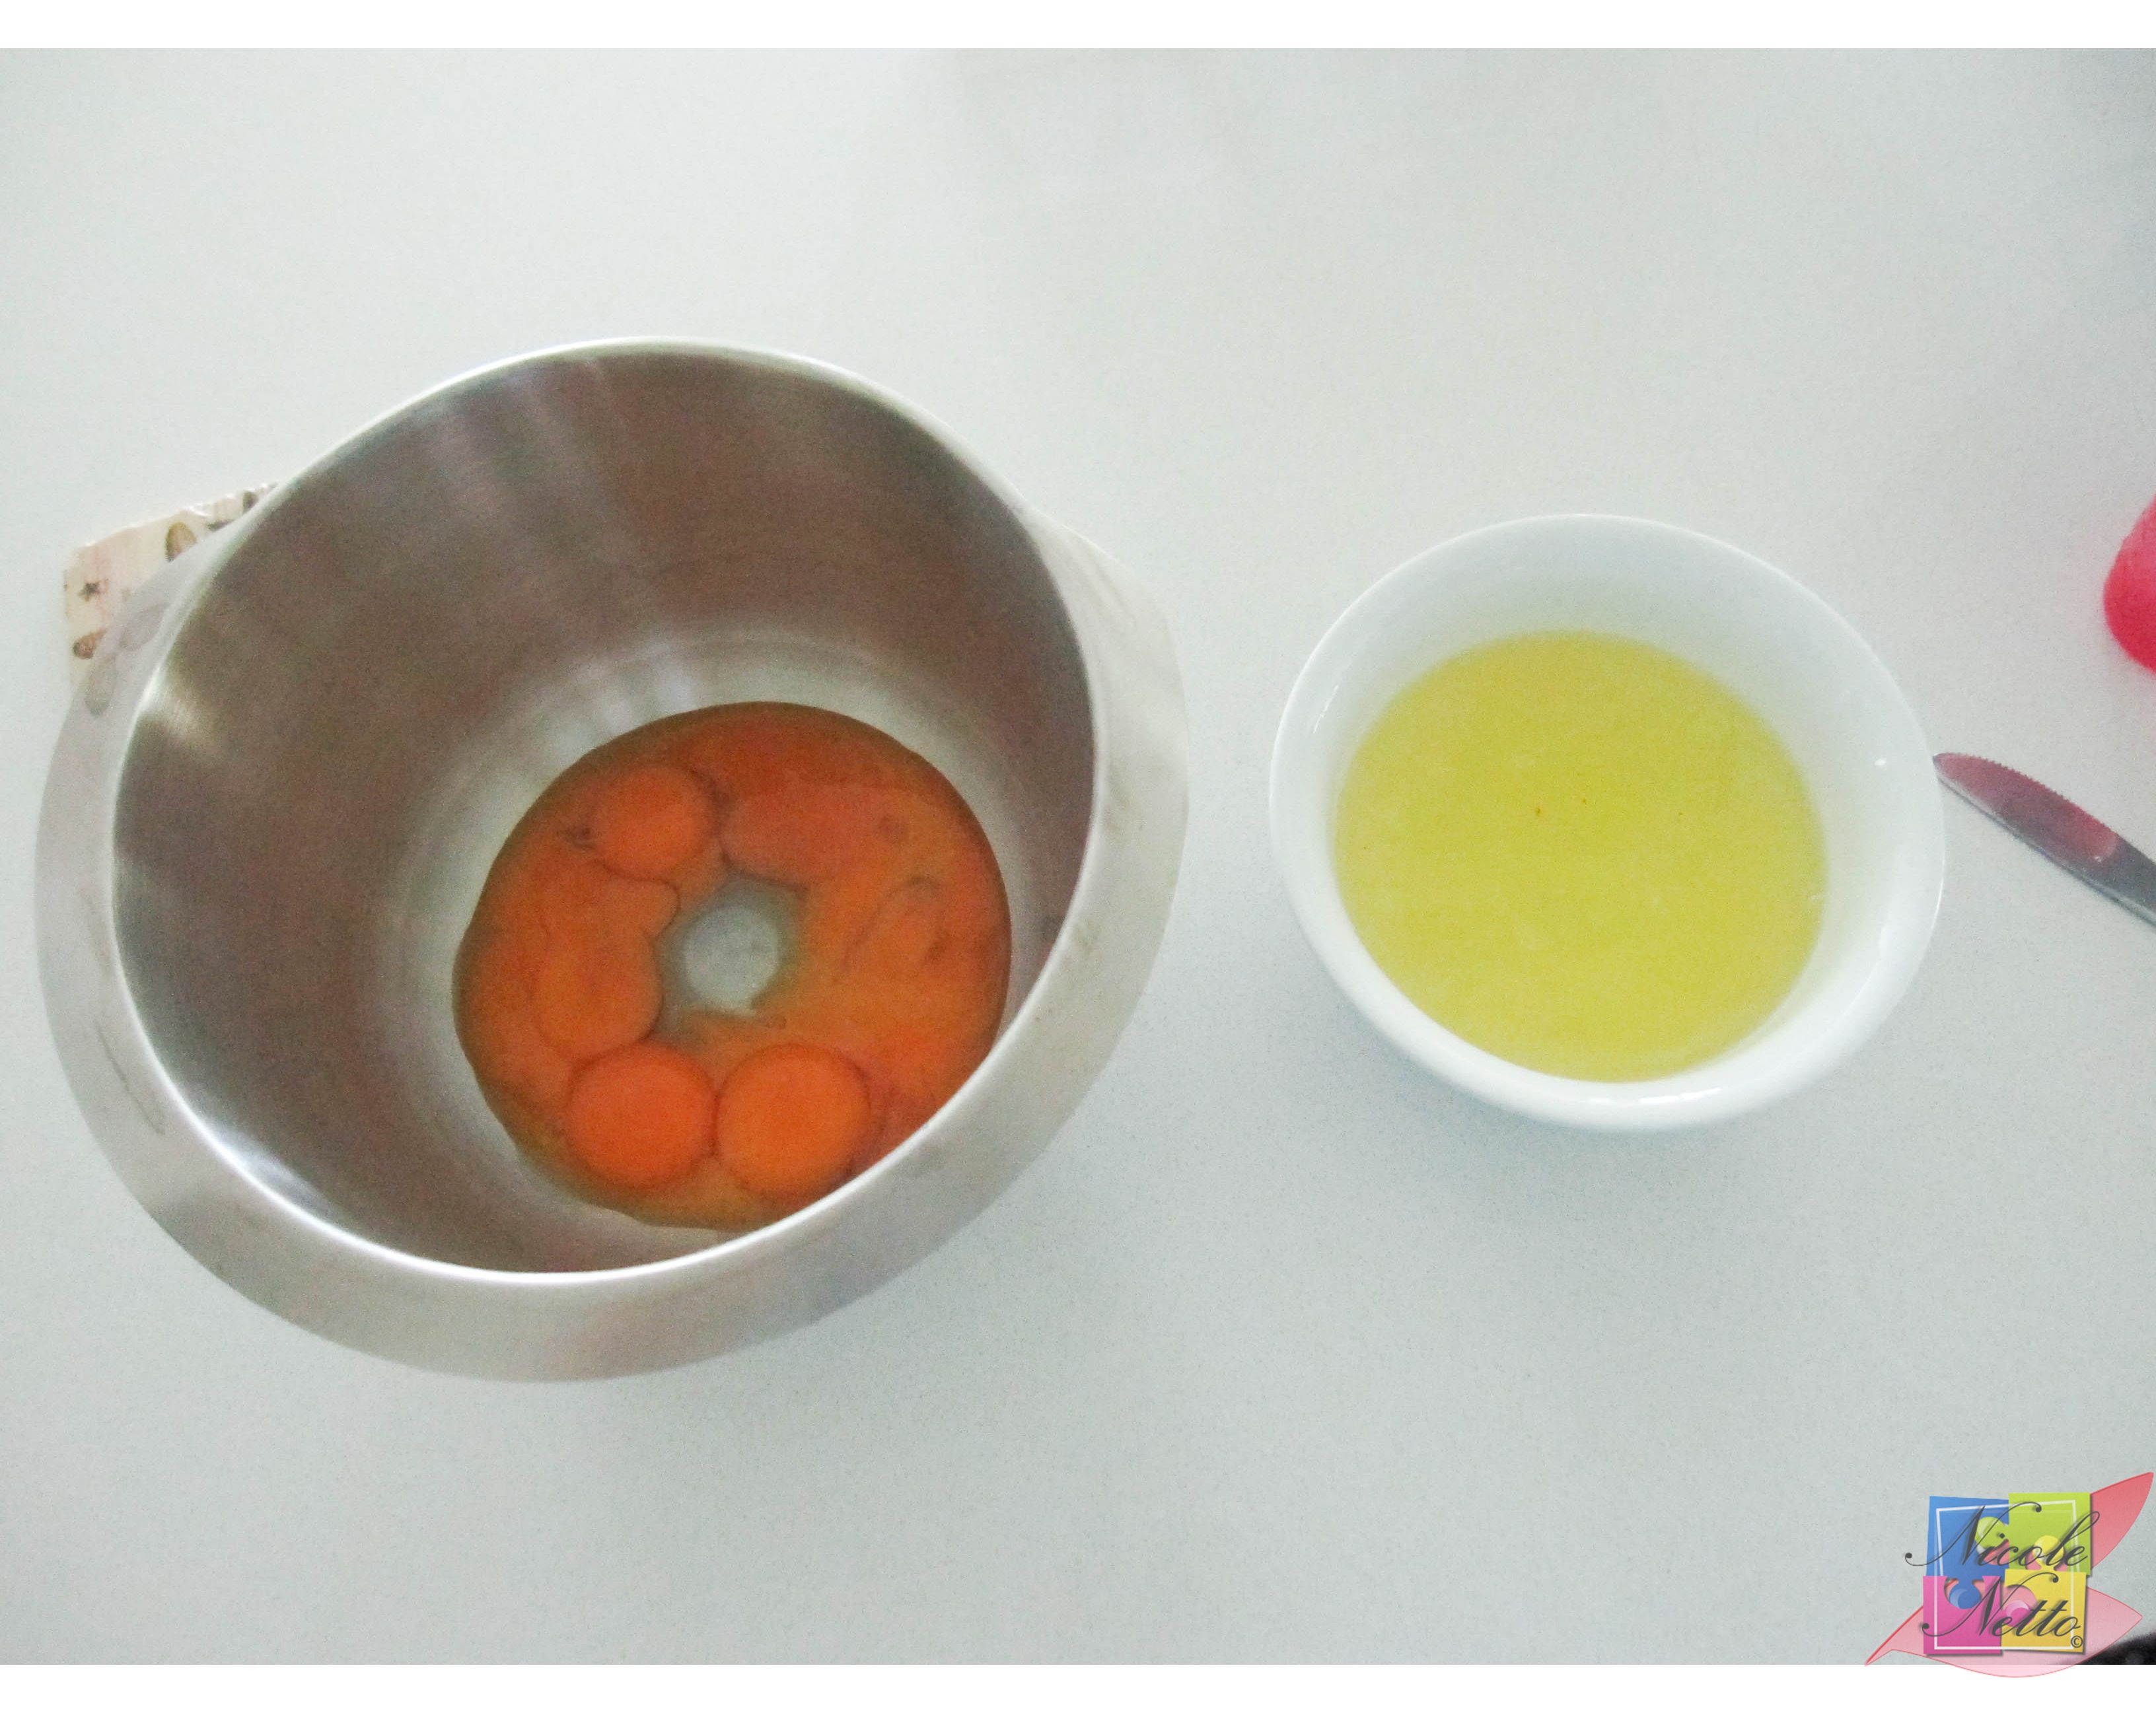
Separated eggs yolks and whites
Method:
Mix the butter, egg yolks while adding in the sugar gradually.

Butter, egg yolks and sugar mixture
Next add in the semolina a little at a time, followed by the 2 cups of grated/ desiccated coconut. The batter should start to get quite thick at this stage.
Lastly add beaten egg whites (to soft peaks) and fold in gently. Make sure the batter in mixed evenly.

Beaten egg whites

Gently fold in beaten egg whites into batter
Cover and leave this batter to rest aside for a minimum of 3 hours. 6 hours – overnight is preferred – this step allows the semolina to soak in the moisture and fluff up.
When you’re ready to bake, pour the batter into a suitably sized baking dish and spread evenly.

Pouring batter into a suitably sized baking dish

Batter spread evenly
Spread the remaining 1/4 cup of grated fresh coconut or desiccated coconut evenly over the top of the batter.

Fresh coconut sprinkled on top

Baath batter topped with fresh coconut
Preheat the oven to 200ºC and bake the mixture for 25 mins – the cake should progress slowly to a beautiful golden brown.

Light golden brown

Medium golden brown
After the 25 mins have elapsed, check if the batter is cooked by inserting a clean butter knife – if it comes out clean, the cake is ready – else you might need to bake it for a few more minutes. The coconut spread on the top should have toasted in the oven, if it hasn’t, broil the cake for a couple of minutes.

Golden brown baked cake
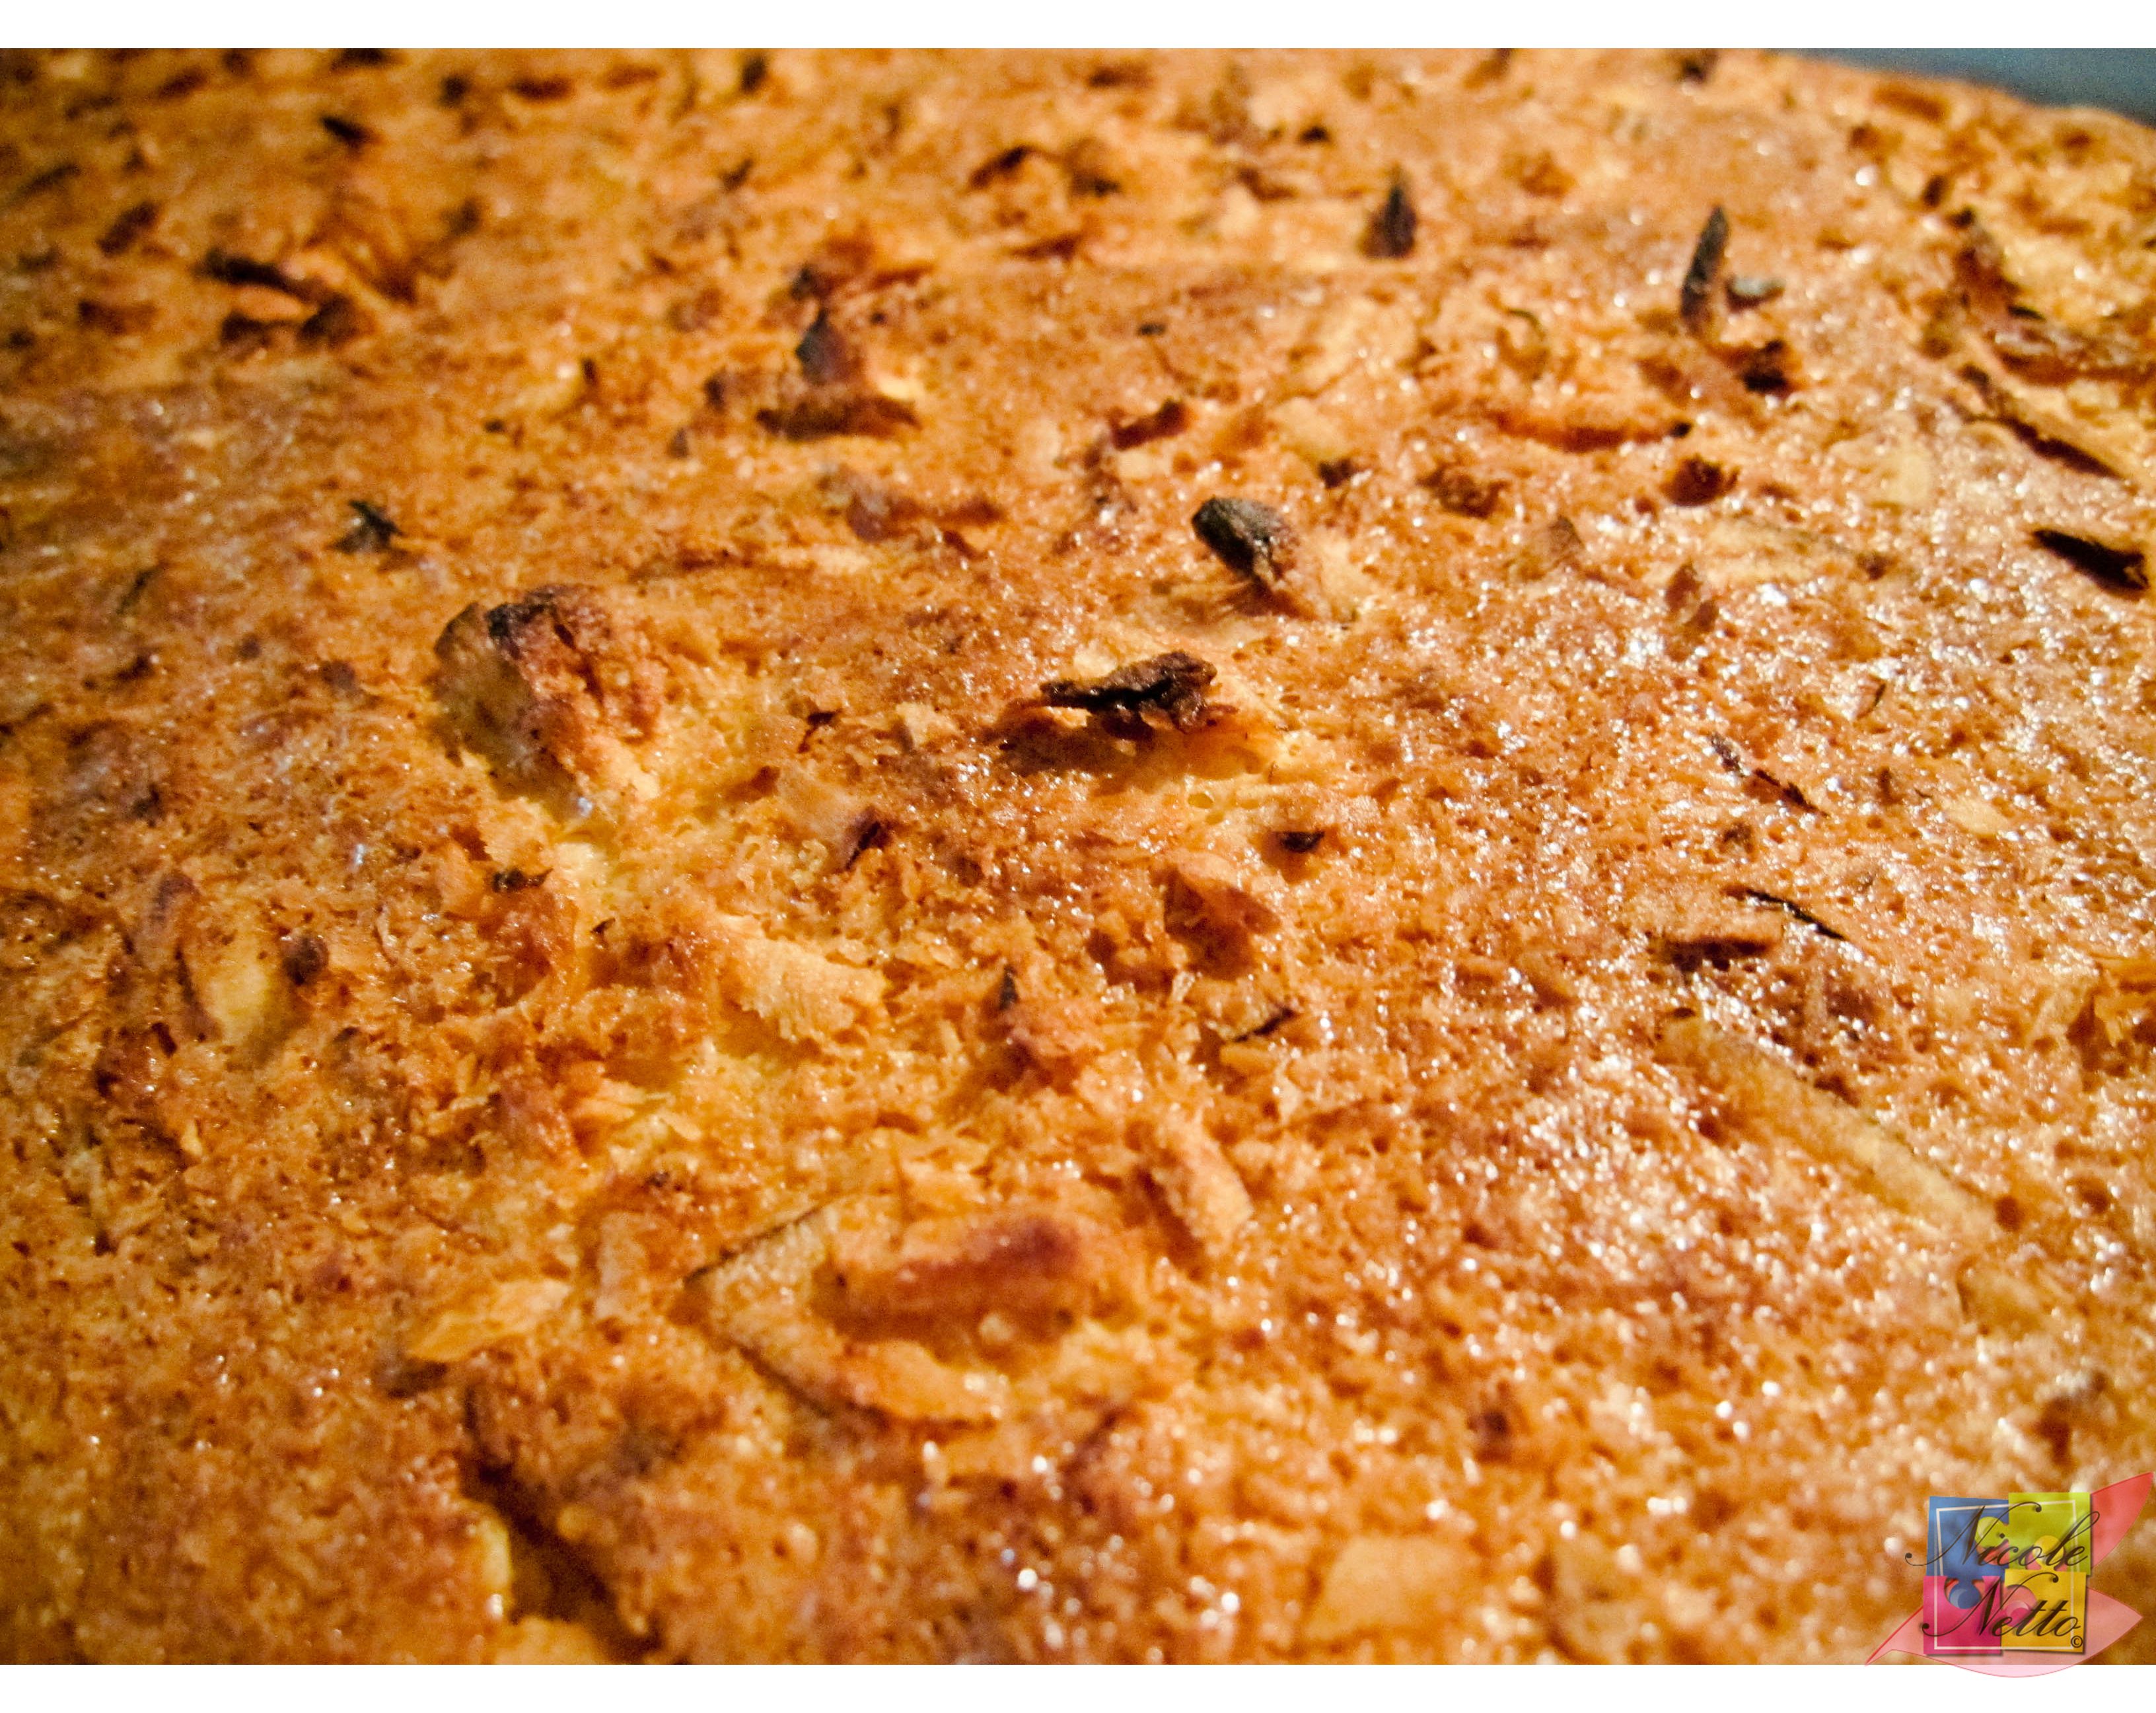
Toasted coconut topping
Remove the cake and set aside to cool slightly. This cake is best served at warm to room temperature.
Serving suggestions:
This cake is great served on it’s own, accompanied by a good cup of tea (preferably Masala Chai) or alternatively with some ice cream. I’ve served it both ways.
Suggested ice cream flavours if you decide to go the ice cream route –
Vanilla:

Moist and fluffy Baath cake with Vanilla ice cream
Mango and Coconut:
I have to say this version was my favourite. I also did have a nice cup of tea on the side.

Moist and fluffy Baath cake with Mango and Coconut ice cream
I do hope you enjoy this cake as much as I do!
Snapper en croûte de sel (Snapper in Salt Crust)

Snapper in salt crust
The selection of this recipe for our first challenge for “The French Diaries” was done by my friend D. I don’t usually cook fish too often and was up for the challenge as the ingredients sounded like a beautiful medley of flavours.
Let me just start by saying, I didn’t expect the fish to taste as great as it did! Every mouthful was juicy, moist and delicious! It absorbed all the flavour from the parsley, golden shallots and sliced lemon stuffed within it and a perfectly balanced amount of flavour from the herbed salt crust dough. Cooking the fish well sealed within the dough left the fish flesh very moist and flaky.
This recipe is suited to any decent sized round fish, such as snapper, barramundi or black bream, cleaned with scales left on. Leaving the scales on stops the salt from the dough from infusing the flesh too much and also helps prevent the crust from sticking to the flesh. Do not consume the salt crust after cooking, this is to be discarded.
Although the recipe seems like it would be quite intimidating, it is really quite simple.
I used a red snapper about 500 gm in weight since I was cooking for one. I would allow for about 1/2 kg per person or serve – and adjust the recipe based on the fish size and required number of servings.
Please ensure fresh fish selection – with seafood. It’s generally best to cook it the same day that you purchase it. If it is not possible to cook it on the same day, please clean the fish and observe safe storage and handling and try to cook with fish within 2 days at most as this dish relies on the fish’s natural flavour.
Snapper en croûte de sel / Snapper in Salt Crust:
Adapted from “French for Everyone” by Manu Feildel
(Serves 4)
Ingredients – Fish:
1 barramundi (2 Kg), snapper OR black bream (cleaned with scales left on)
15 sprigs flat-leaf parsley
3 Golden shallots, thinly sliced
1 Lemon sliced
Sea salt and freshly ground black pepper (for seasoning)
Ingredients – Salt crust dough:
1 Kg Plain flour
1 Kg Coarse rock salt
2 Tbsp Thyme Leaves
1/3 cup OR 2 Tbsps Fennel seeds
650ml of water
Method:
Remove all the fish fins. If the fish is too large to fit into your oven, remove the head.

Red Snapper

Snipping off fins

Removing the dorsal fin
Stuff the fish cavity with the parsley, golden shallots and lemon and season the cavity with salt and pepper. If you have a bit of time, lightly sautee these ingredients prior to stuffing the fish to get the flavours going – be sure to pour and juices that escape inside the fish cavity. Set aside.

Flat leaf parsley, Golden shallots, Lemon, Salt, Pepper
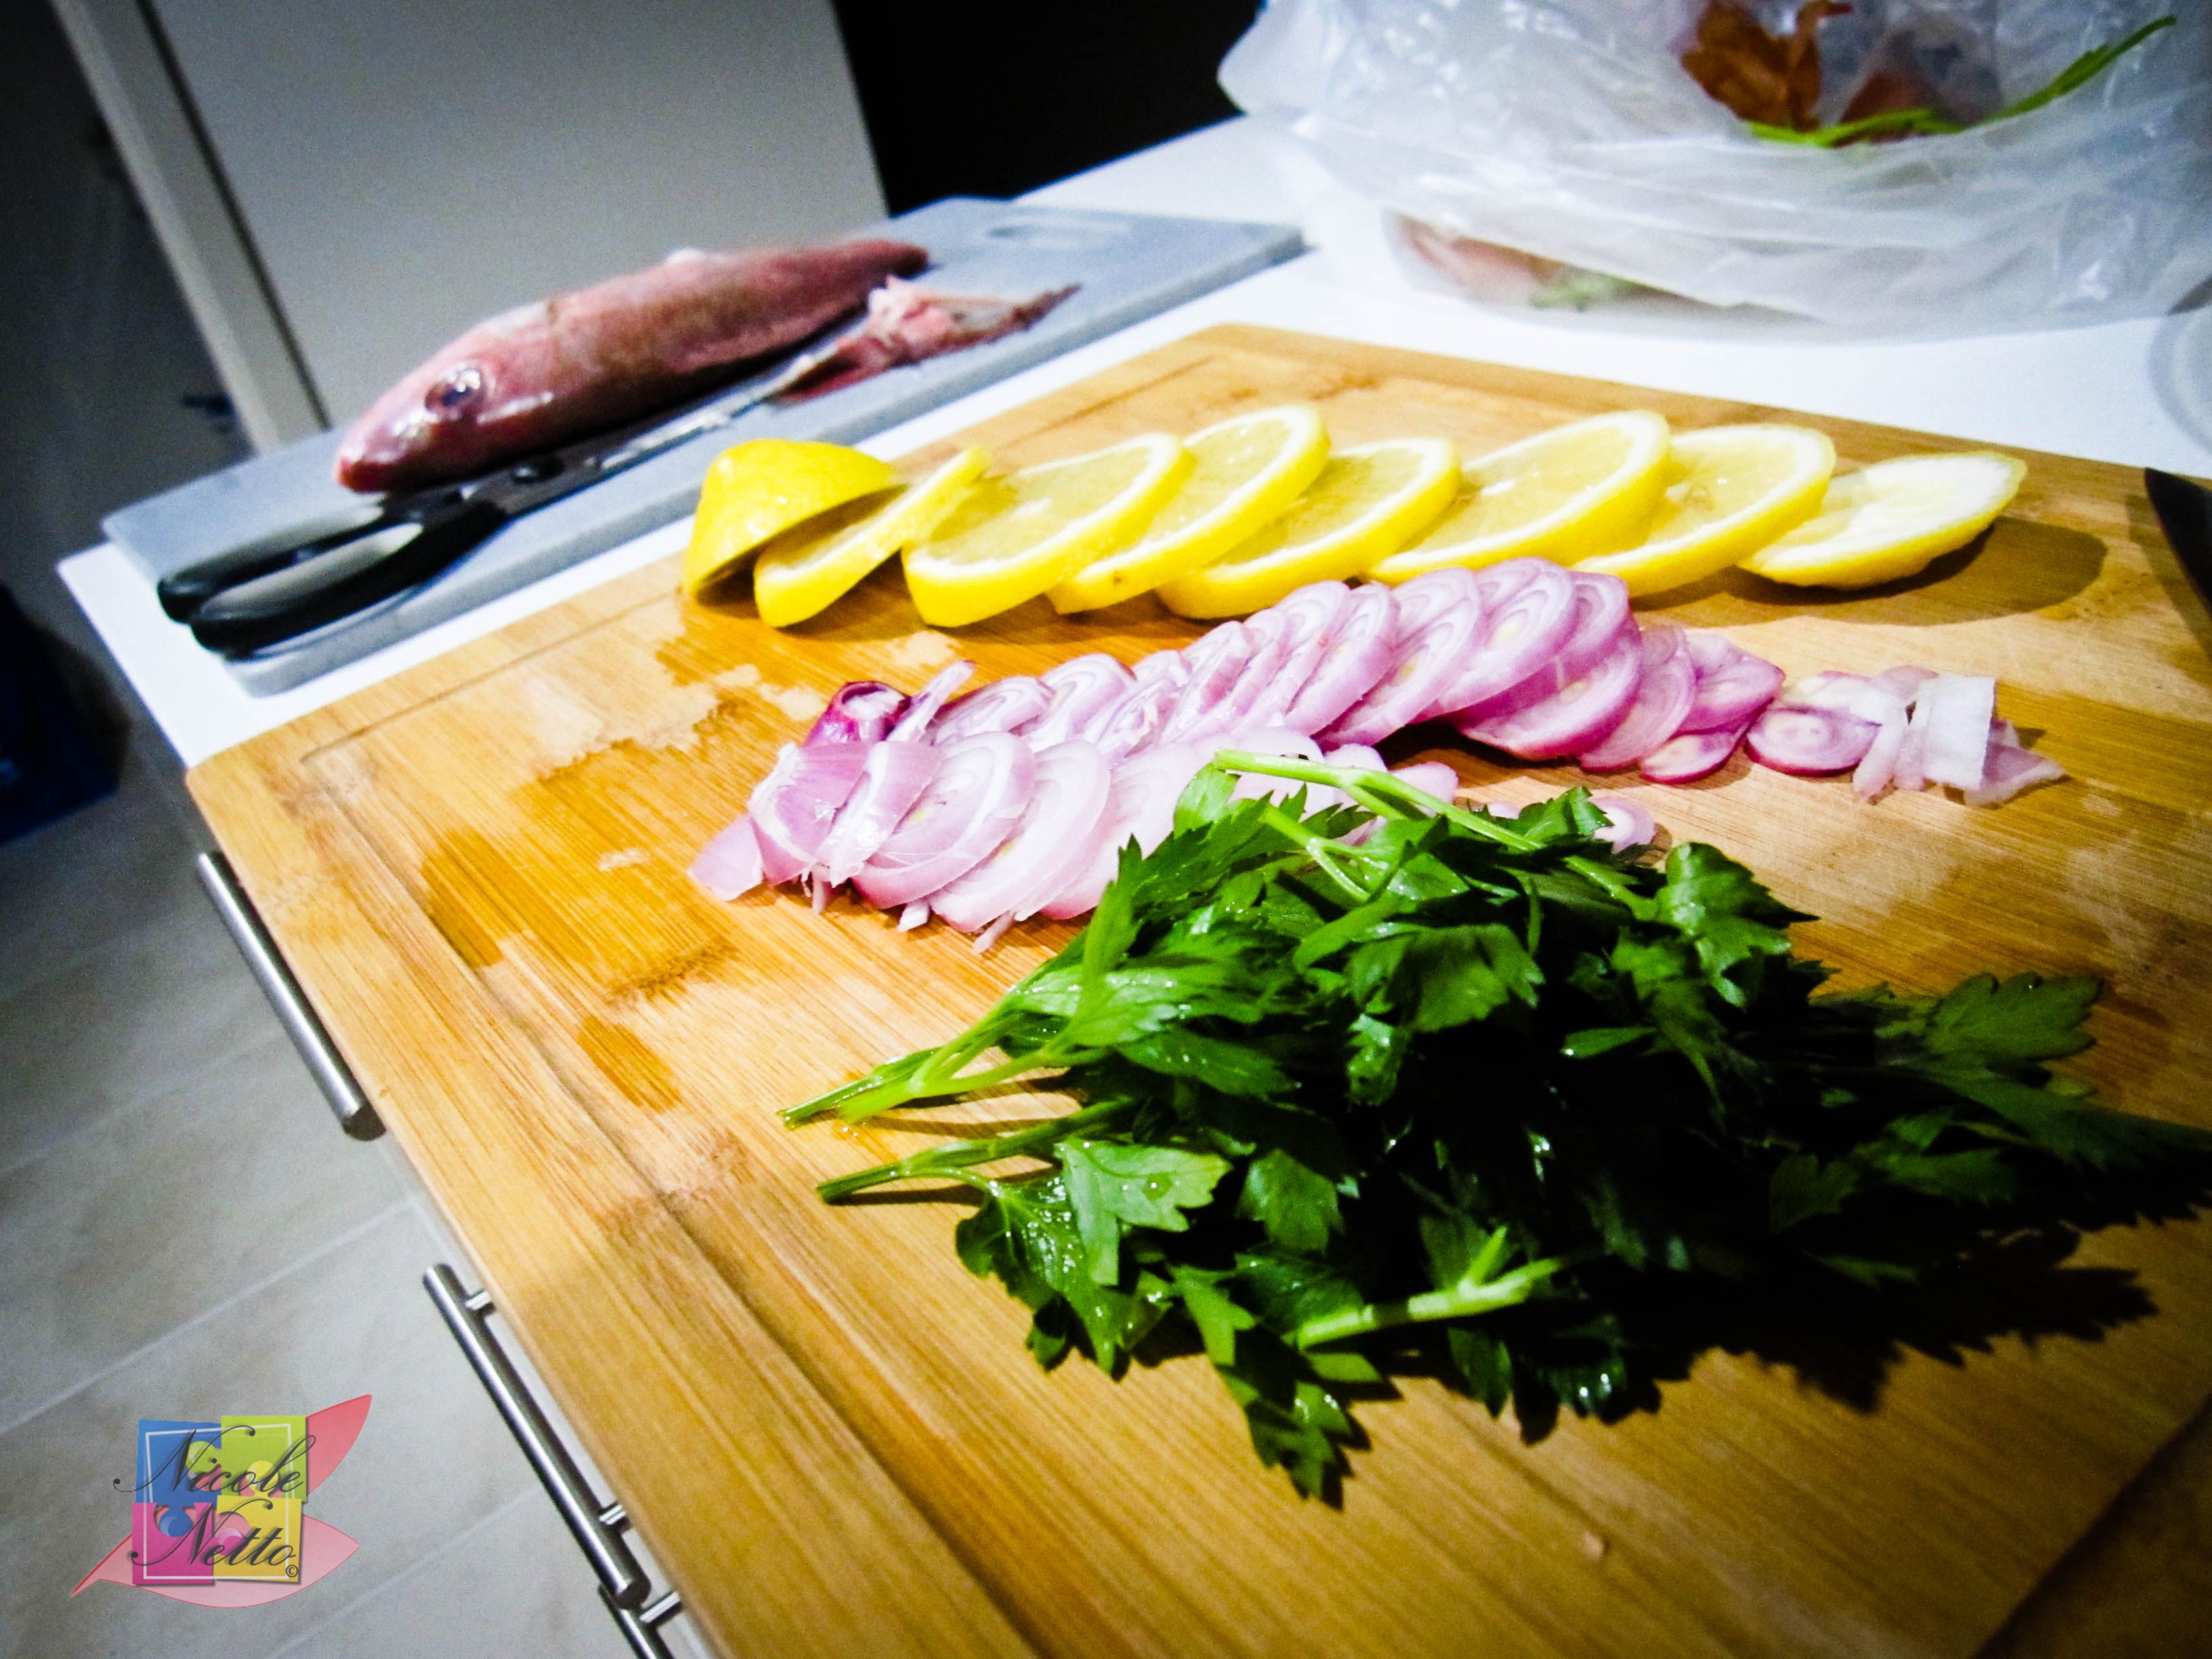
Prepped fish ingredients

Stuffing fish cavity
Preheat your oven to 220ºC. Line a baking tray or large baking pan with baking paper.
For the salt crust dough, mix all the ingredients a little at a time to form a pliable dough. This takes a little bit of patience. Because of the salt content, the dough can be quite delicate and form cracks/ holes easily, so be sure to handle with care, especially while rolling out.

Salt crust dough prep

Mixing the salt crust dough ingredients

One half of the salt crust dough ready to be rolled out
Divide the dough in half and roll out to form 2 even 5mm thick rectangular sheets (about 60cm x 20cm). The pieces should be 5cm larger than the fish all the way around to allow for sealing well (I rolled out the dough into an oblong shape about the shape of the fish while leaving about 3cm all around to make this and the following steps a bit easier).

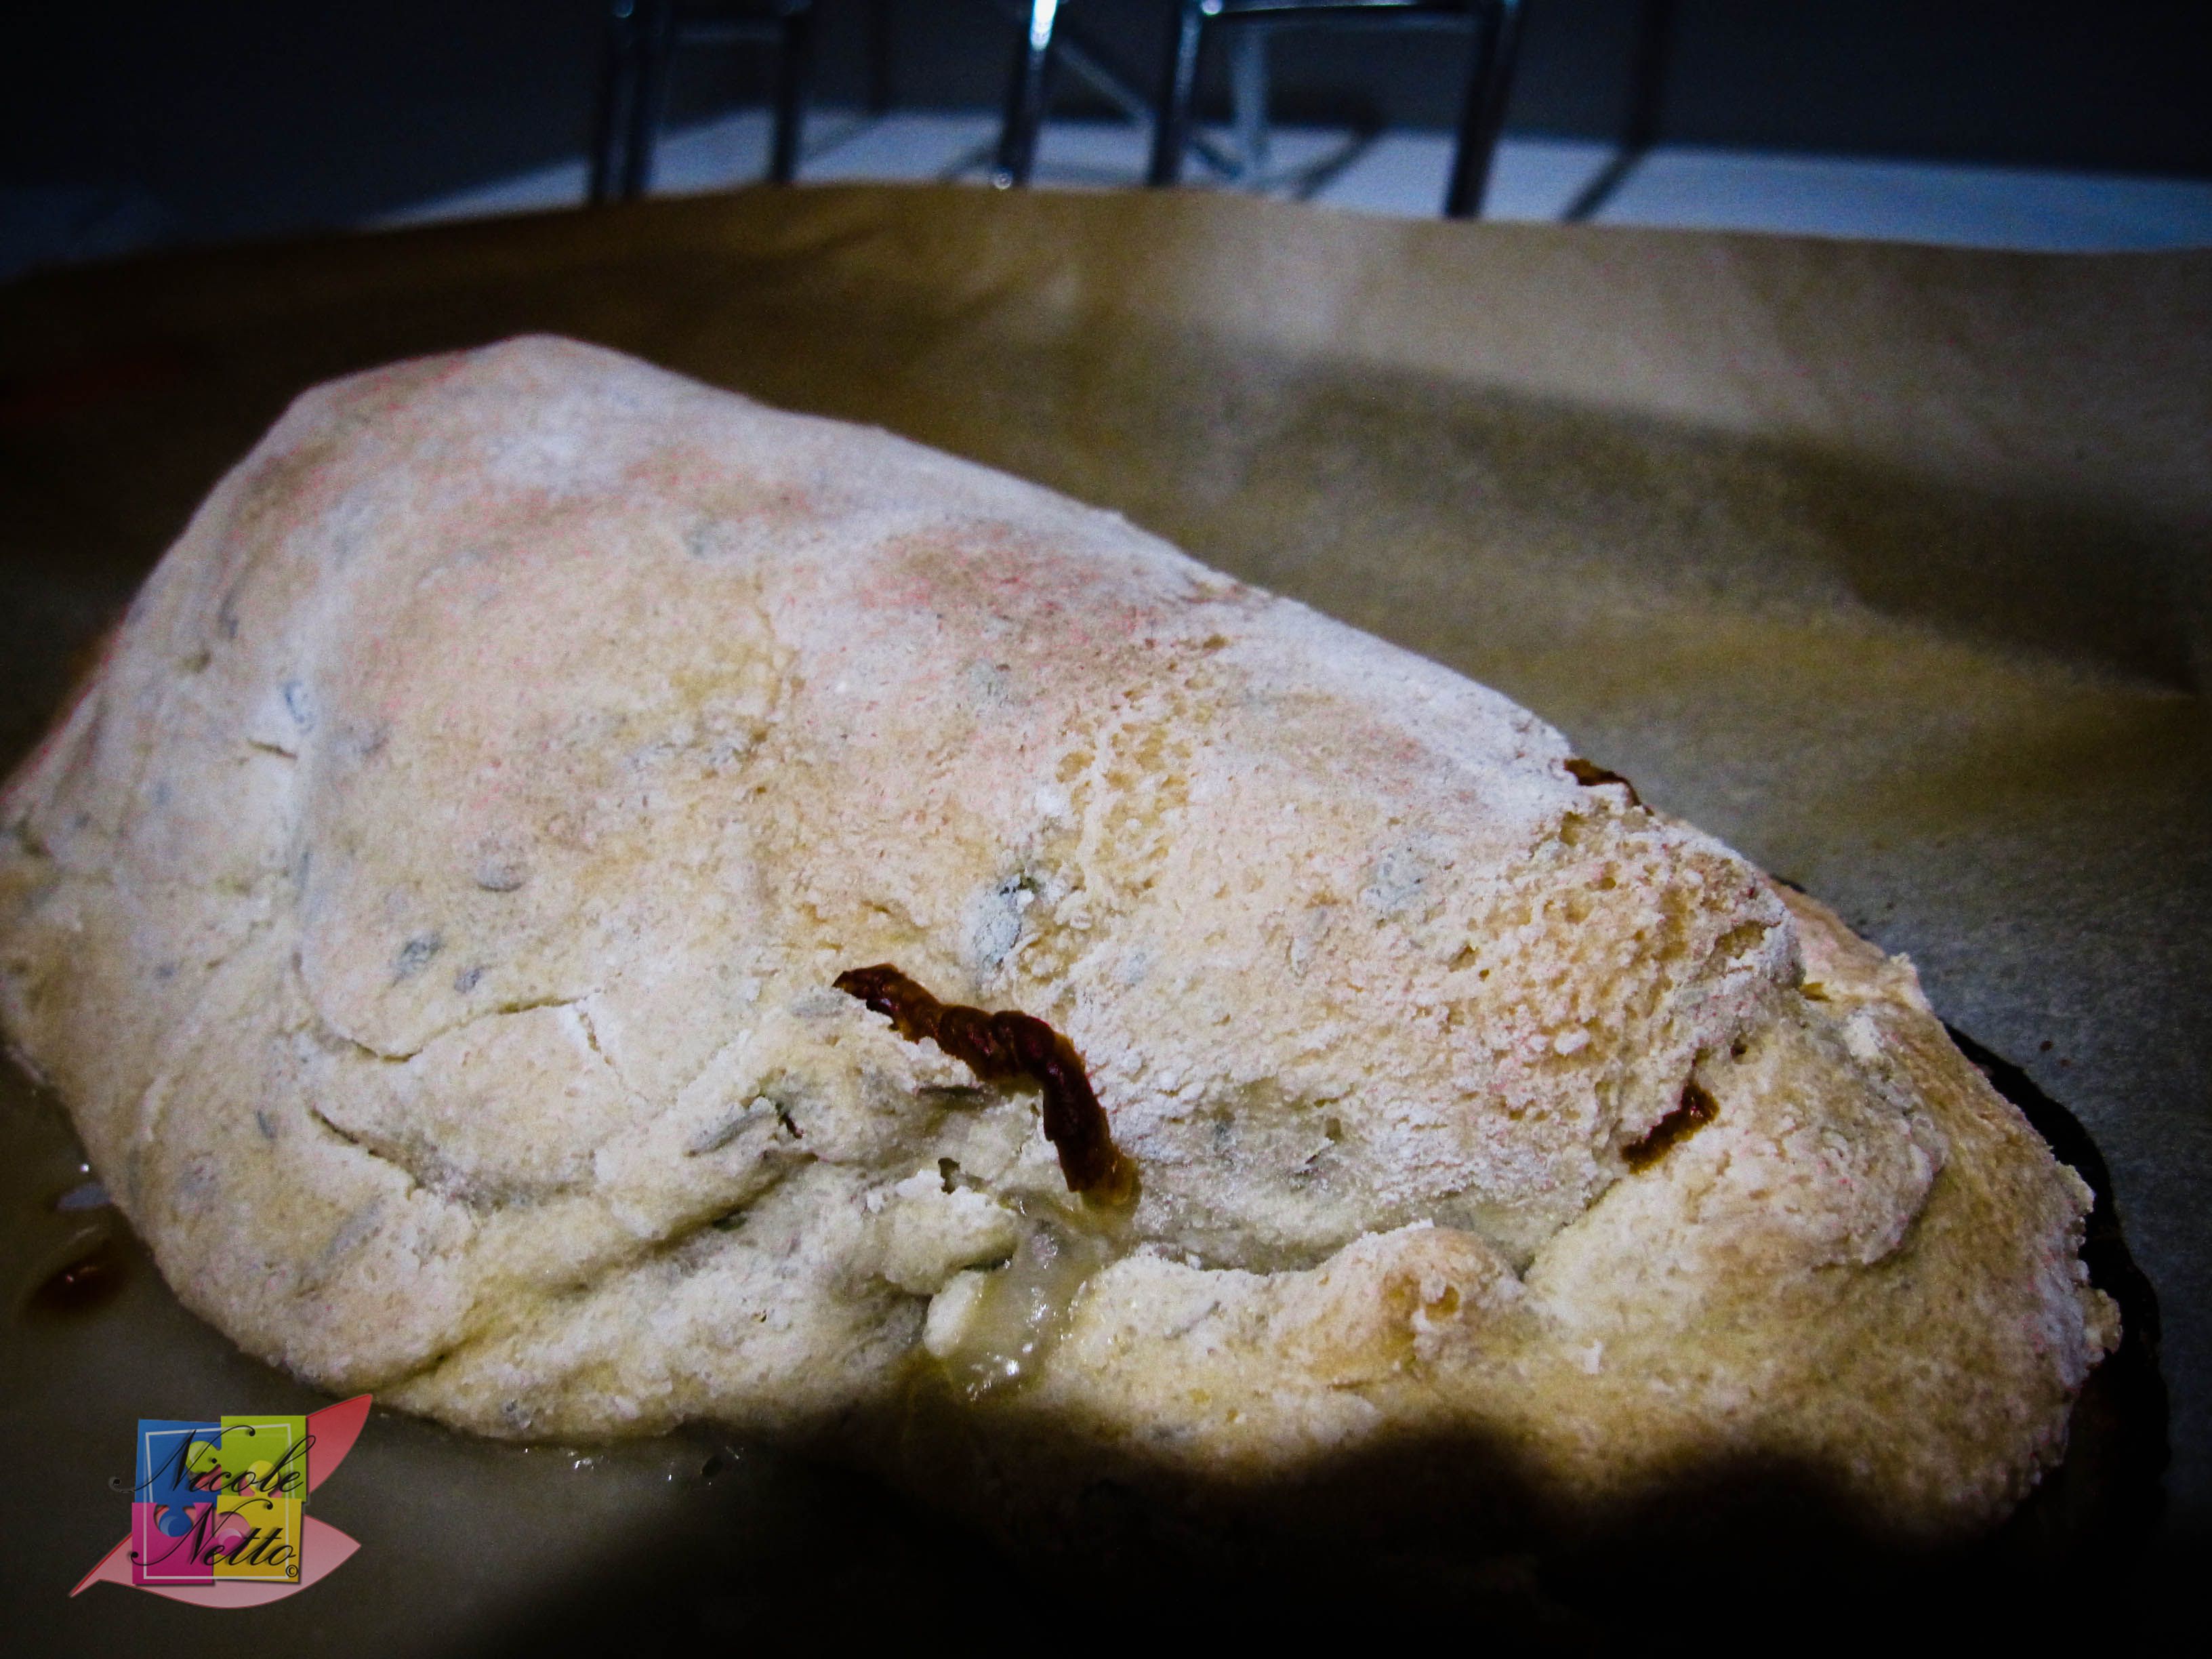
Stuffed fish placed on rolled out dough on lined baking tray
Place one rectangle on the lined baking tray or large roasting pan. Carefully place the fish over this. Outline the fish on the first rolled out rectangular sheet with water. Then place the second rolled out rectangular sheet carefully over the top of the fish and seal the edges all around well by tightly sealing the fish all around.

Well sealed stuffed fish with 3cm border
Cut the dough around the fish (be careful not to damage your roasting pan OR baking tray – perhaps cut the dough on a cutting board prior to transferring the sealed fish to the lined baking dish if it makes this process easier), leaving a 3cm border on all sides.
Bake the fish at 220ºC for 40 minutes or until the crust is light golden and the fish is cooked through. Personally, I had to leave the fish in for about 50 mins as the dough on the inside felt like it wasn’t cooked through on the inside.

Fish being baked

Salt crusted fish almost ready
Cooked Salt crusted fish
Cut around the edge of the top layer of crust, carefully. This process was a little hard as the salt crust hardens quite a bit, which is good news really as all the flavours and moistness would be well retained. A meat mallet might be required for this process, to break the crust.
Carefully removed and discard the skin and salt crust. The lovely flavoured fish, golden shallots and lemon is ready to serve.
Cracked open salt crusted snapper

Peeled off skin and flaky moist fish
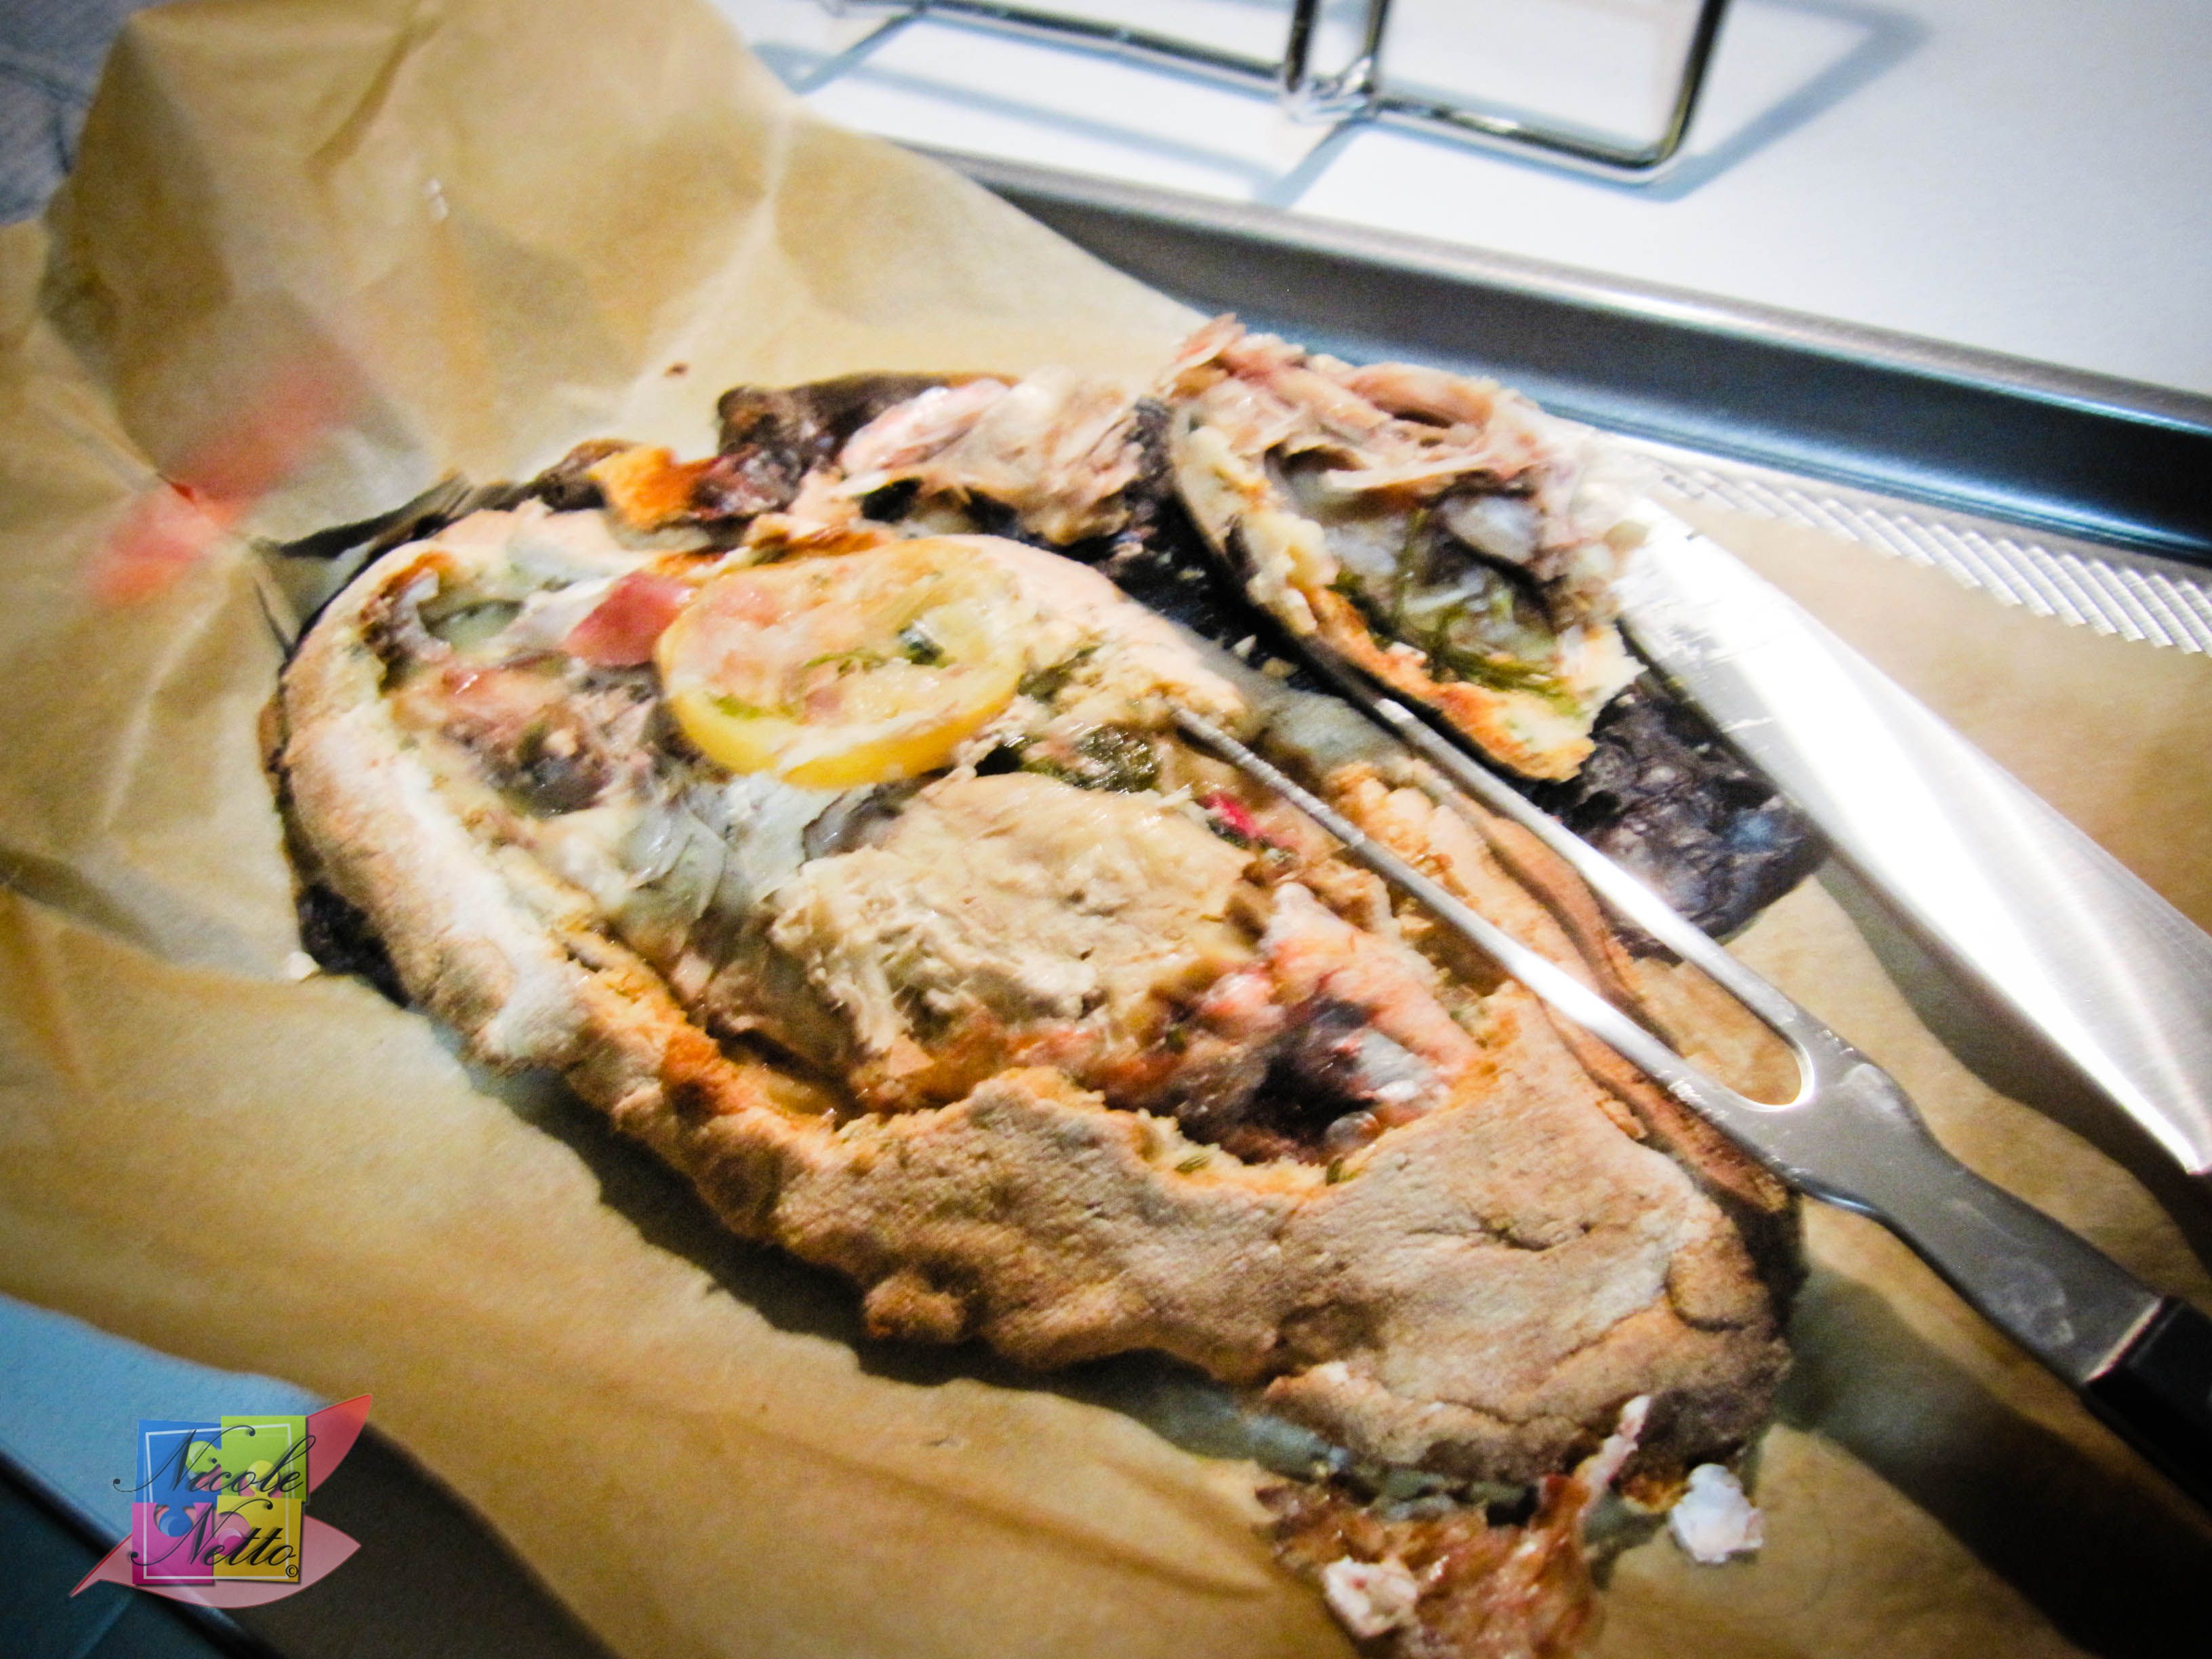
Ready to serve!

Flesh is so moist that it flakes off so easily!
Please do let me know if you try out this recipe and what you think about it.
Vanilla Fluffy Pancakes with Banana frozen yogurt, Lemon zest and Brandy whipped cream, Maple syrup and fresh berries

Fluffy Pancakes and yummies
So I had one of my friend’s visit and stay over. After an elaborate meal the previous night and since I didn’t get a chance to make the dessert that I had originally planned to make (Banana froyo with Salted caramel sauce), I felt like making a nice big brekky for the two of us and had my friend (F) help me out as well.
F got me some fresh strawberries and blueberries and I had already pre-frozen cut up bananas to make fresh banana froyo – so pancakes seemed like the perfect complimentary option.

Sweet brekky spread
I hope you enjoy my recipe and making it as much as I do – always a fun option when you have company –
Vanilla Fluffy Pancakes:
(Serves 4)
Ingredients –
1 and 1/3 cups OR 200 gm Plain flour
1 tsp Bicarbonate soda
1/4 cup OR 50 gm firmly packed cup of Brown sugar
1 whole Egg (beaten)
1 Egg white (separated and whisked with a pinch of salt to soft peaks)
1 tsp Vanilla extract
300ml Buttermilk
25gm Unsalted butter (melted)
Method –
Sift flour and bicarbonate soda in a bowl and stir in the sugar. Add in the beaten egg, vanilla extract and buttermilk and hand whisk between each added ingredient to a smooth consistency with no lumps.
Carefully fold in the whisked egg whites to this mixture.
Heat a non-stick crepe pan or frypan over medium heat and brush the base with a little melted butter. Use a large ladle or large serving spoon to pour in one scoop per pancake. Do not over crowd the pan, if you only have enough space for one pancake at a time, then cook only one pancake at a time. Cook each pancake for 1-2 minutes until bubbles appear on the surface. Turn/ Flip over carefully and cook for a further 1 min or until golden. Remove cooked pancakes and stack aside.
Continue until pancake batter has been used up completely.
Banana Frozen Yoghurt:
I was inspired to try this out from an image I saw on Pinterest. You need a strong blender that is capable of blending ice for this recipe. The following is my attempted recipe.
(Serves 4)
Ingredients –
4 sliced (about 0.5cm thick slices) bananas (My suggestion is 1 per person, but feel free to adjust quantities to your liking)
4 Tbsp Greek Yoghurt OR Naturally Sweetened Breakfast Yoghurt (the thicker the better!)
1/2 cup Sugar (can be adjusted to your liking – I suggest adding in a little at a time)
4 Tbsp Honey (can be adjusted to your liking – I suggest adding in a little at a time)
1/2 tsp yellow food colouring
Method:
Freeze the sliced bananas in the freezer the previous night.
When you’re ready to make the frozen yoghurt, it’s just a matter of blending all the ingredients together in a strong blender – yes, it’s that simple! My suggestion is to add in a little at a time.
The way I went about it is as follows:
Start with about 1/4 of the total sliced frozen bananas, 2 Tbsp yoghurt, 1/4 cup Sugar, 2 Tbsp Honey and 1/2 tsp yellow food colouring and blend.
Next add in about 1/4 of the total sliced frozen bananas, 1 Tbsp yoghurt (be mindful of quantity being added depending on consistency of yoghurt as you want the finished frozen yoghurt to be thick and not melted/ liquefied), the remaining sugar and 2 Tbsp Honey.
Next add in the remaining bananas a little at a time, adjust with yoghurt for desired consistency and sugar or honey for desired sweetness level. When you’re happy with the taste, the frozen yoghurt is ready!
Transfer to a freeze proof container and put into freezer until you’re ready to serve breakfast.
Lemon zest and Brandy whipped cream:
(Serves 4)
Ingredients:
300ml chilled Thickened/ Pouring cream
1/4 cup Sugar (you can increase the quantity if you want it to be sweeter)
1 tsp Brandy essence OR 1 tsp Brandy
1 tsp Lemon zest (Fresh grated)
Method:
Whisk all the ingredients together with a hand whisk or electric mixer until it forms soft peaked whipped cream.
Note: It’s important to ensure the thickened cream is chilled.
Suggested condiments and accompaniments:
– 1 punnet Strawberries sliced
– 1 punnet Blueberries
– Maple syrup
– Honey
– Butter

Fluffy Pancake goodness with delicious yummies
Do let me know if you try this recipe out and what you thoughts are about it! Enjoy!
Punjabi Samosa’s with Mint yoghurt dip and Tamarind sauce

Punjabi Samosa’s recipe
It’s really hard to decide on your first recipe for a food blog – so many choices so little time. After sifting away through several recipes, flavors and ideas – I found myself incredibly hungry. In recent times, my sister was visiting my Mum in Mumbai (India) and while she was there, our chats have included images and discussion about the various Indian ‘chaat’ and snack foods and the like that she was enjoying. The purpose of this anecdote is to explain how the humble Punjabi samosa became my first recipe choice – it was merely a result of a combination of absolute hunger from all that research and my recent craving for Indian snack-y food due to the recent delicious Indian chaat and snack food discussions with my sister.
So without further ado – the Punjabi Samosa!
This recipe allows for 2 Punjabi samosa’s per person.
Punjabi Samosa
(Serves 4)
Ingredients – Dough:
2 and 1/2 cups Refined flour (Maida)
1 tsp Carom (Ajwain) seeds OR Thyme
1 tsp Salt
4 Tbsps Clarified butter (Ghee)
Water

Butter – to be melted (Substitute for Clarified butter/ Ghee)

Dried Thyme
Method – Dough:
Knead all the ingredients together into a firm, yet bouncy dough. Cover the dough with a cloth to rest aside.

Dough mixture – to be mixed by hand or electric dough mixer in a bowl
Kneading

Required dough consistency
Note: Amount of clarified butter used is key to getting the right dough consistency. As a general rule, the ratio of ghee to flour is approximately 1 Kg Flour TO 200 gm of clarified butter.
Ingredients – Filling:
2 Tbsp Clarified butter (ghee)
1 tsp cumin seeds/ powder
1 tsp ginger paste OR 1 inch piece of fresh ginger finely chopped
1 Tbsp garlic paste OR 5 garlic cloves finely chopped
5 Medium potatoes (Boiled and Mashed)
1 and 1/2 tsp Dry Mango Powder (Amchur) OR 1 Lime (juice)
1 tsp Coriander powder
1 tsp Red chilli powder OR 1 red chilli chopped
1 tsp Garam Masala (preferably Punjabi)
Salt to Taste
Optional Ingredients – Filling:
The following ingredients can be added to your liking.
1 cup Green peas (boiled OR steamed OR canned – Optional, but traditionally added in)
1 tsp Whole coriander seeds (dry roasted in a pan and ground/ pounded to a powder – Optional)
1 tsp Dried Pomegranate seeds (dry roasted in a pan and ground/ pounded to a powder –Optional)
Method – Filling:
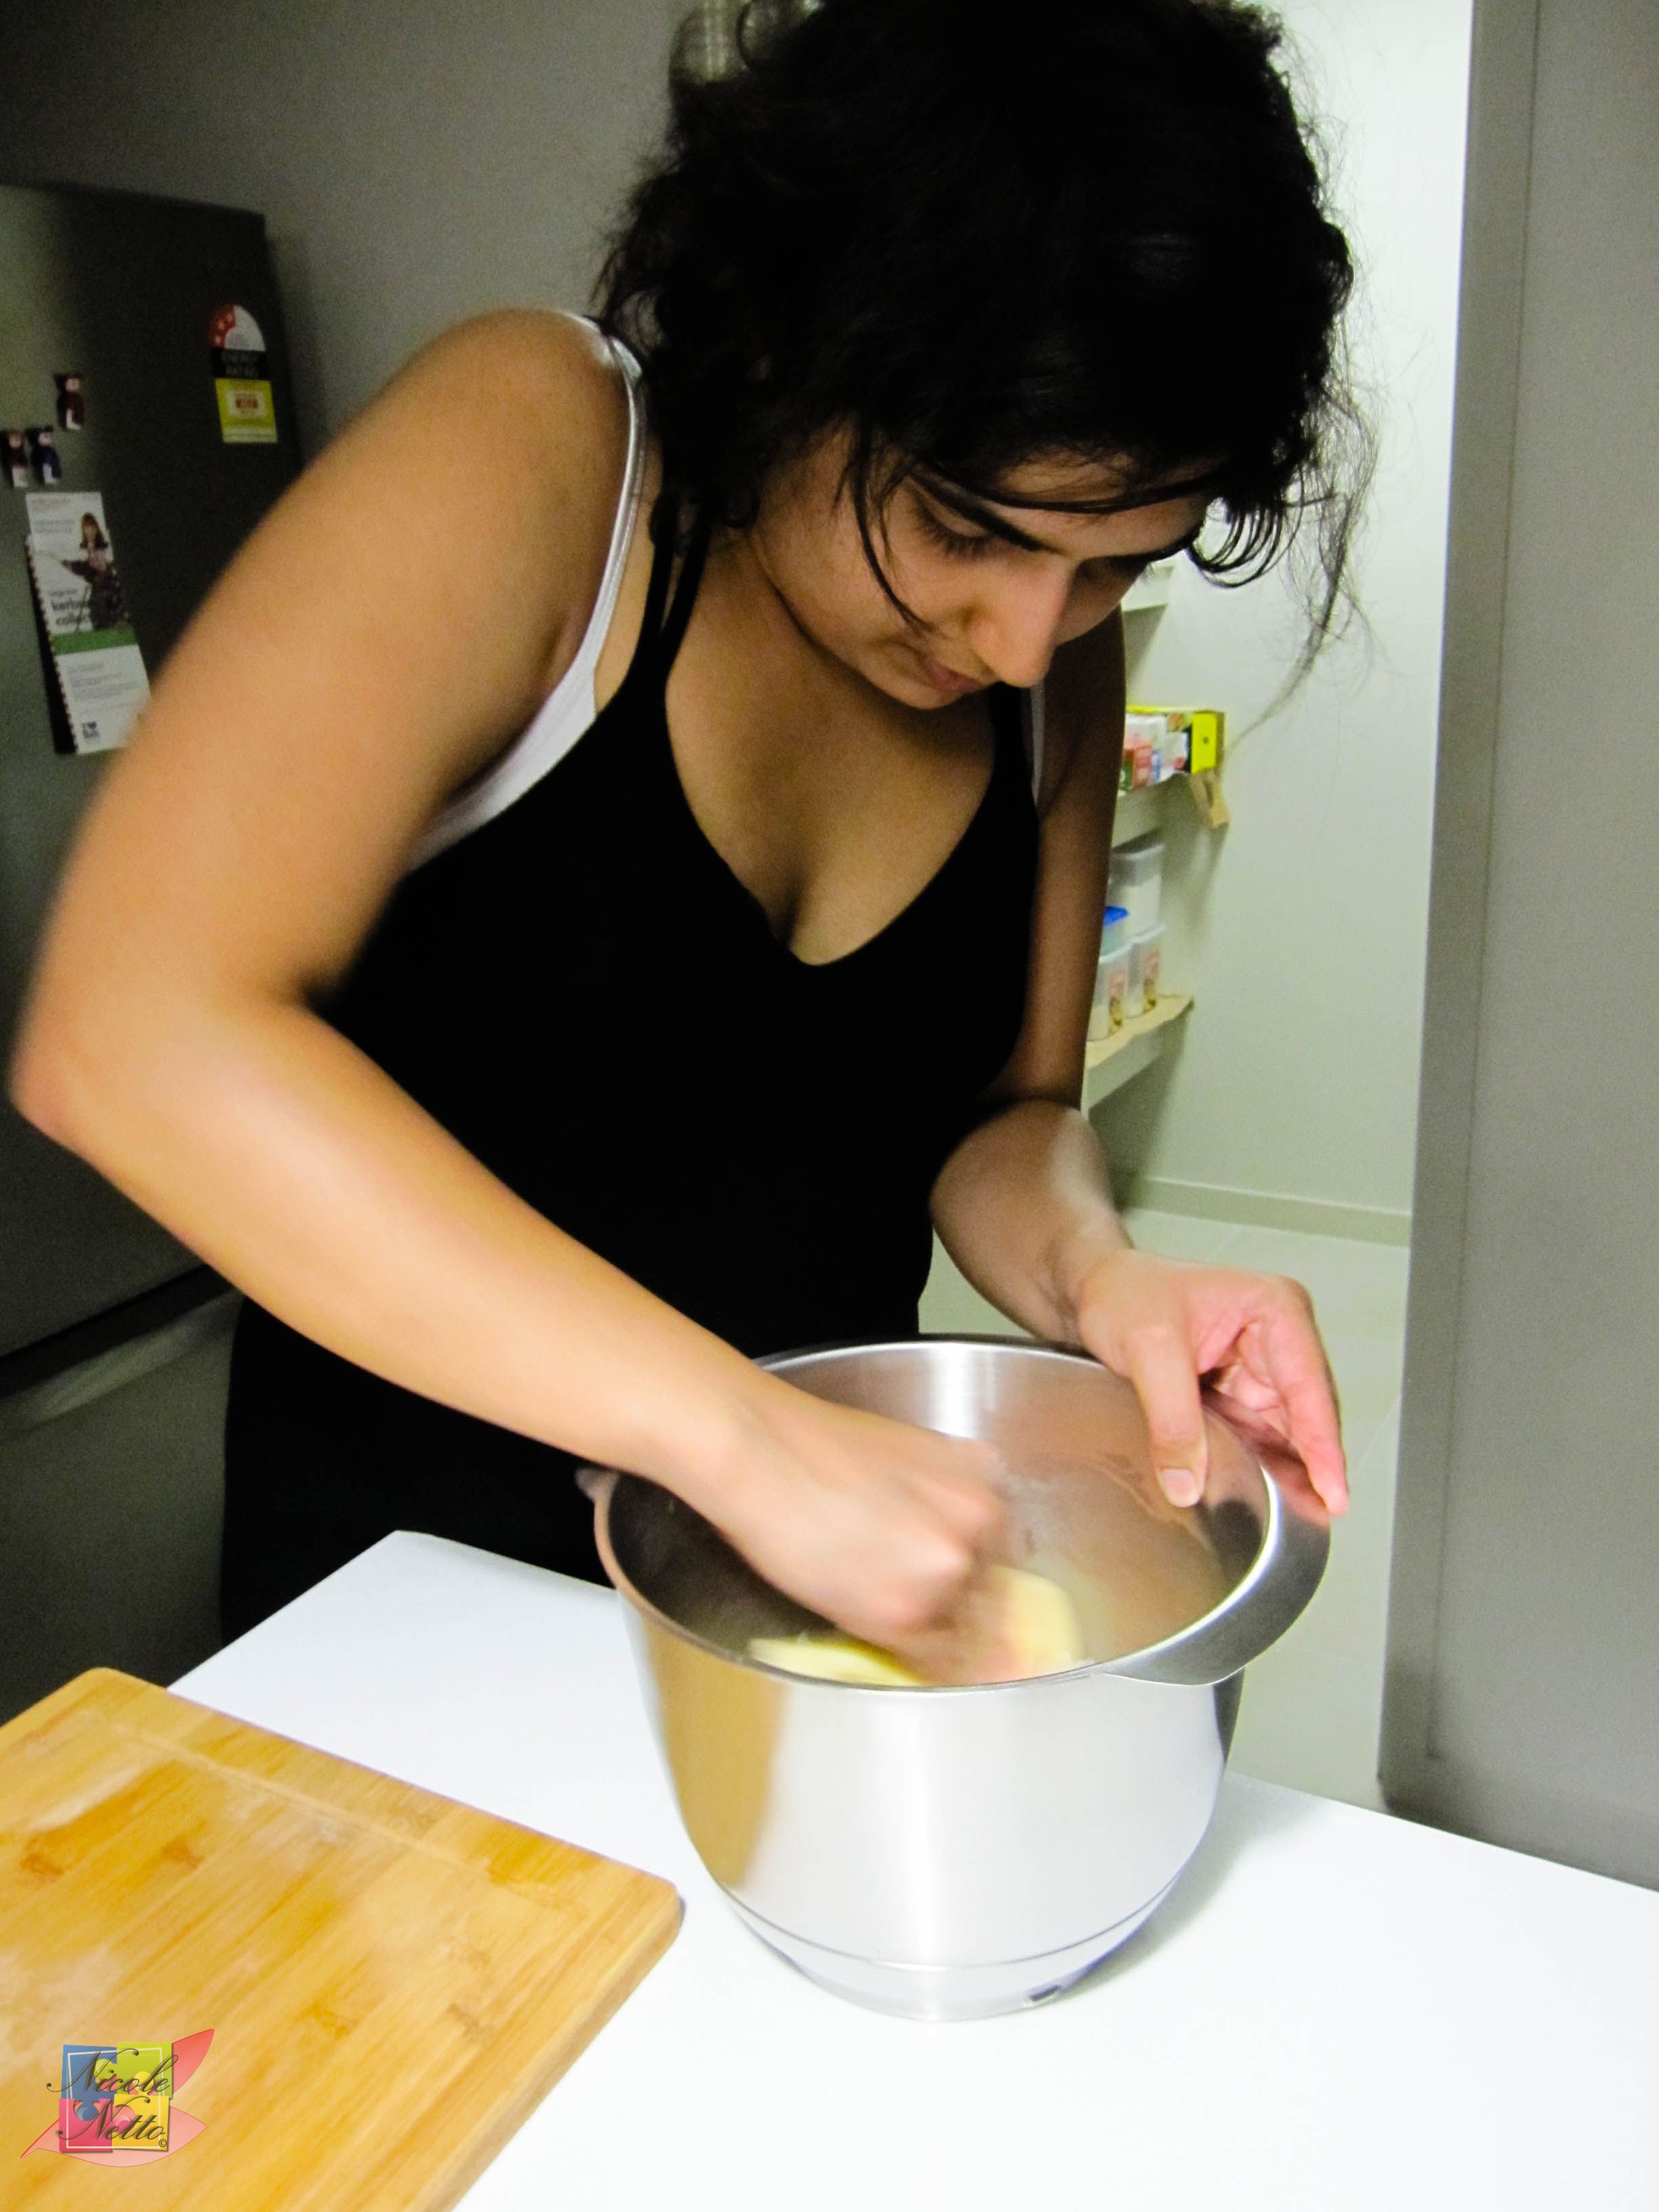
Sauté all the ingredients in a suitably sized saucepan and mix evenly.

Spiced potato filling
Method – Punjabi Samosa:
The covered dough should now be uncovered. Make a ball slightly bigger than a golf ball and roll well.

Small ball of dough to roll out
Roll out into an oblong shape, about 4mm thick, to about the length of your palm. Cut in half.

Rolling out the dough

Rolling out the dough to an even oblong shape

Rolled into oblong shape and cut in half
Fill a little water into a small bowl. Dip finger in water and apply around the cut edge of one half and seal to make a cone.

Seal cut edge to make a cone
Fill the cone with the potato filling mixture, while leaving about 1cm space all around. Make a back bone of samosa and seal using water as before.

Filled up samosa prior to sealing it

Filled up samosas ready to fry
Deep fry samosas in low to medium heat until lightly golden brown and crisp. Samosa’s are ready to serve and enjoy!

Finished batch of samosas

Removing the cooked samosas

Deep drying in low to medium heat

Beautiful golden brown samosa’s
I generally serve these with either bottled sweet Tamarind sauce, which I got from an Indian shop and/ or a fresh Mint yoghurt dip (recipe to follow).
Mint yoghurt dip
Ingredients:
6 Tbsps Greek Yoghurt
2 Tbsp Fresh Mint (finely chopped)
2 Tbsp Fresh Coriander (finely chopped)
1 tsp Chaat Masala
1 tsp Sugar
Seasoning (Salt and Pepper)
Method:
Mix all the ingredients in a bowl and you’re all set!
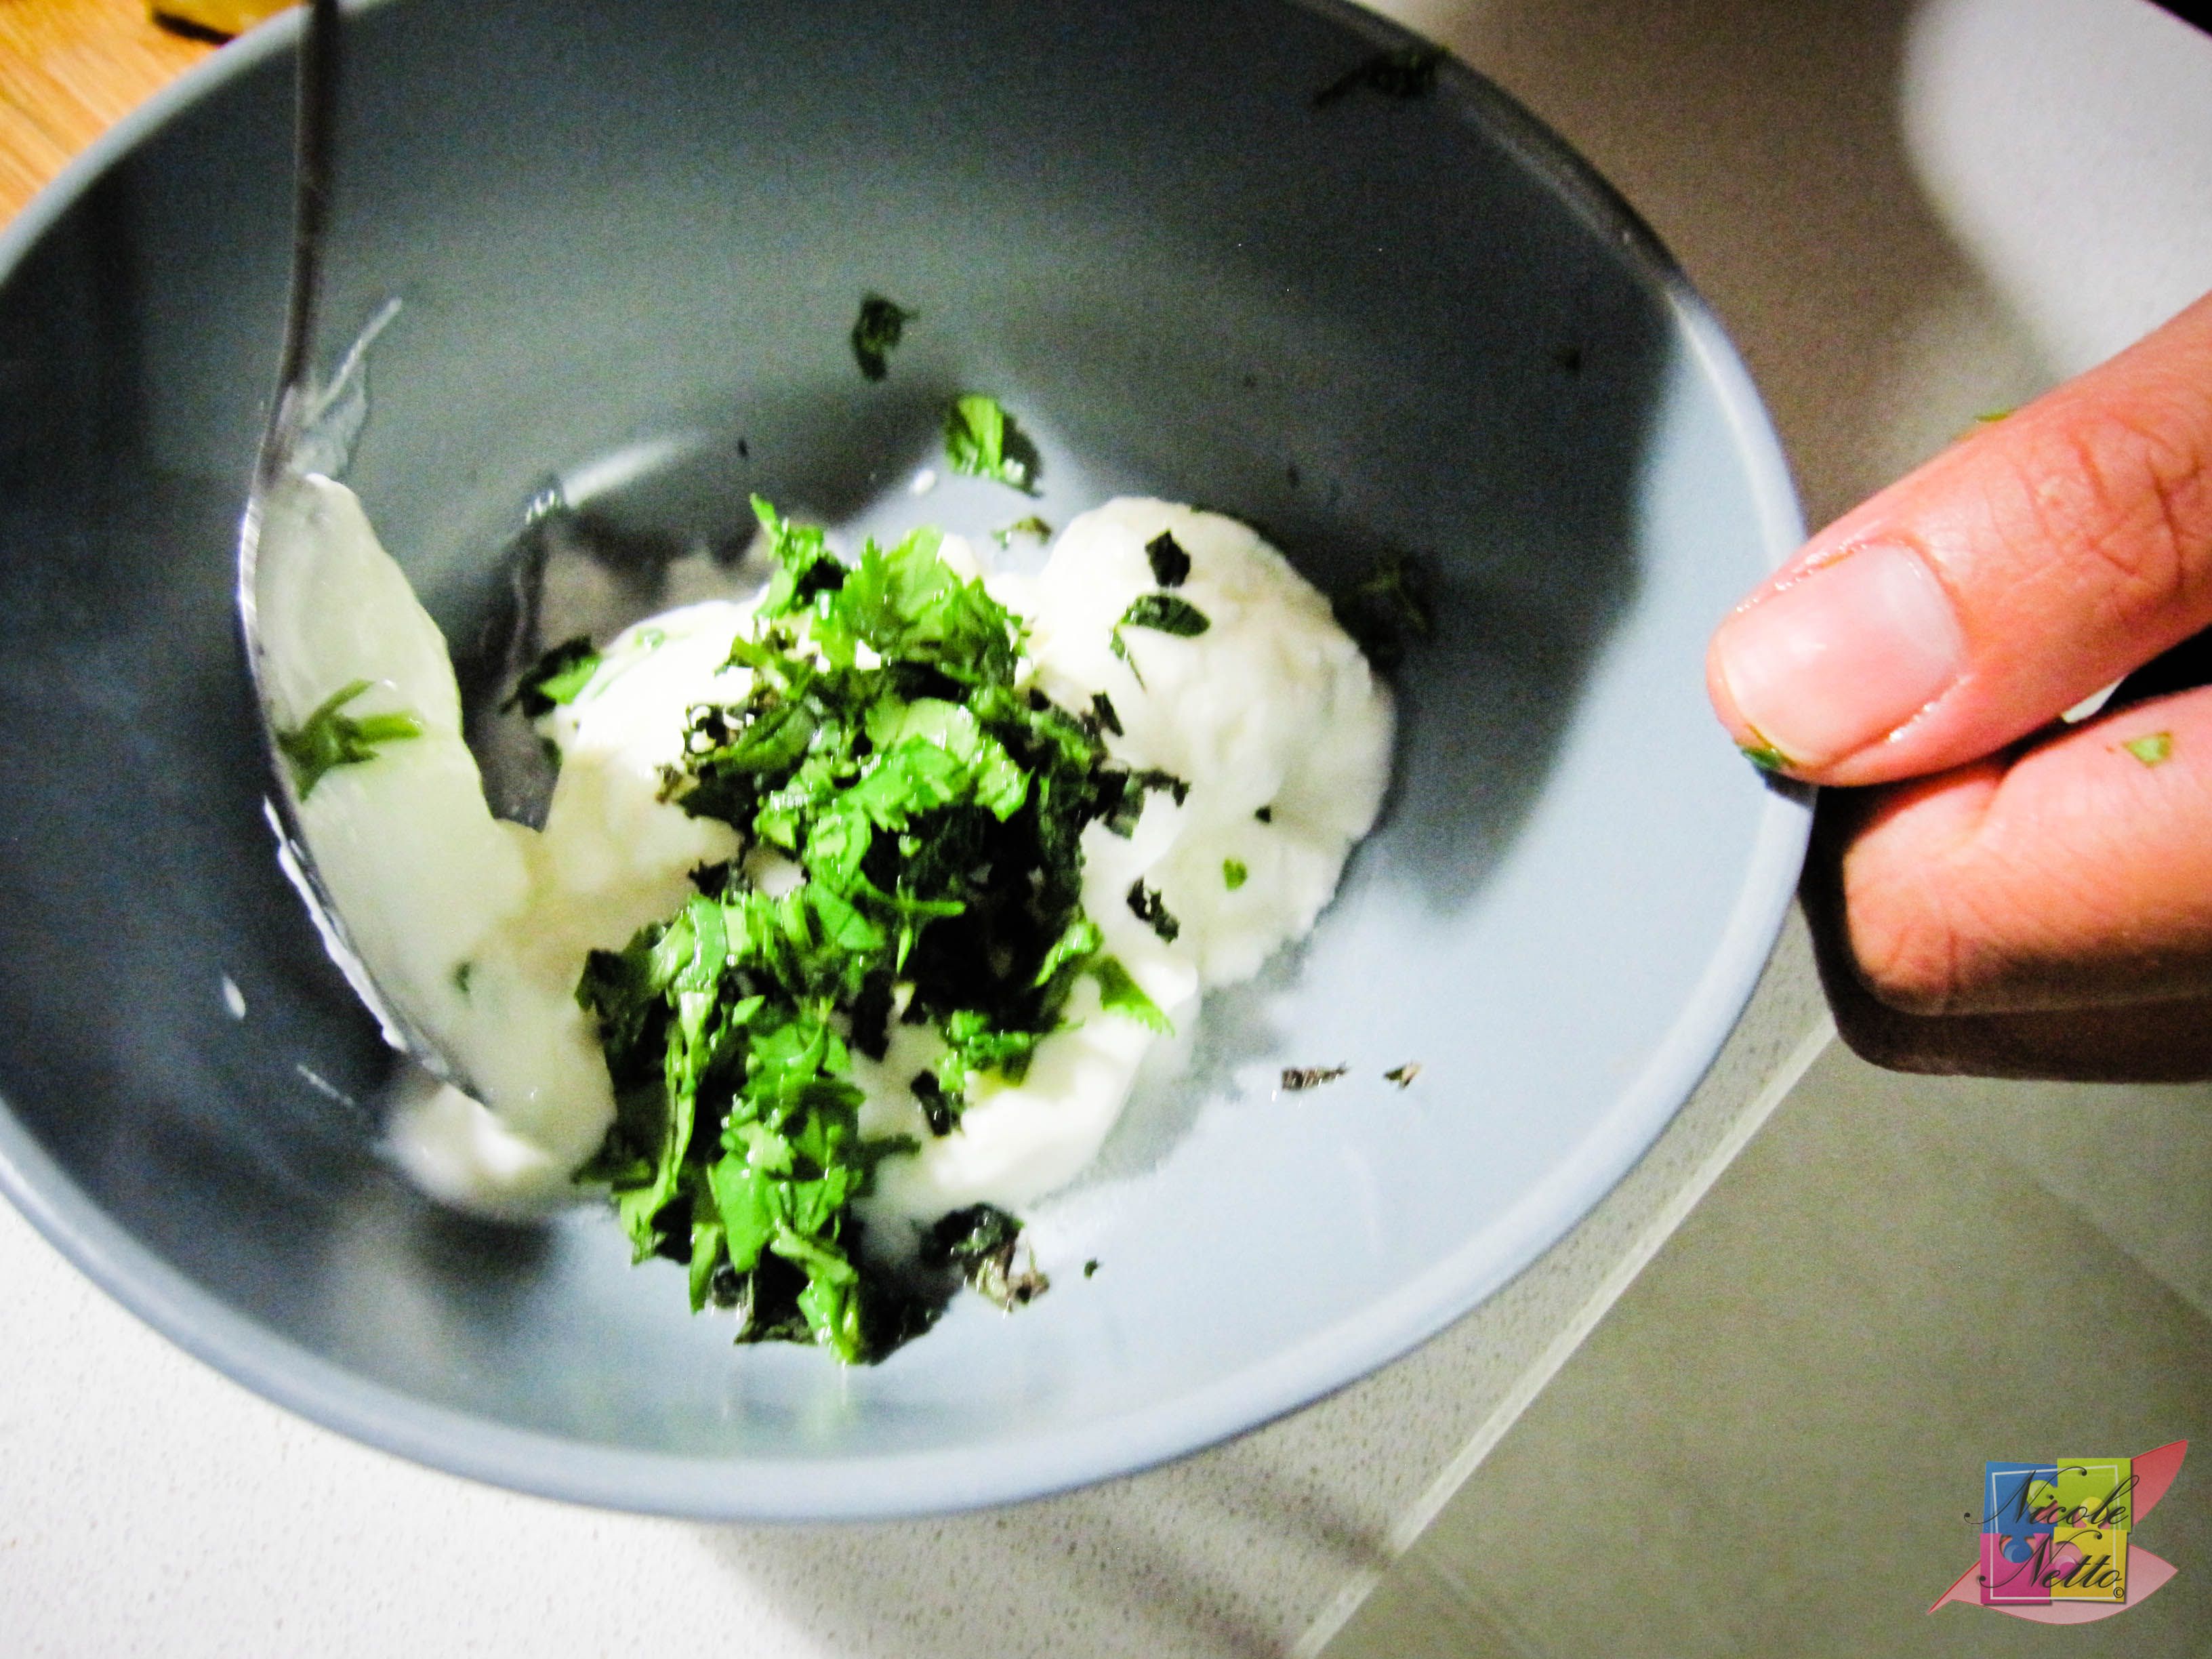
Chopped coriander and mint with yoghurt and seasoning

Mint yoghurt dip
And tadaaaaaaaaaaa:

Plating
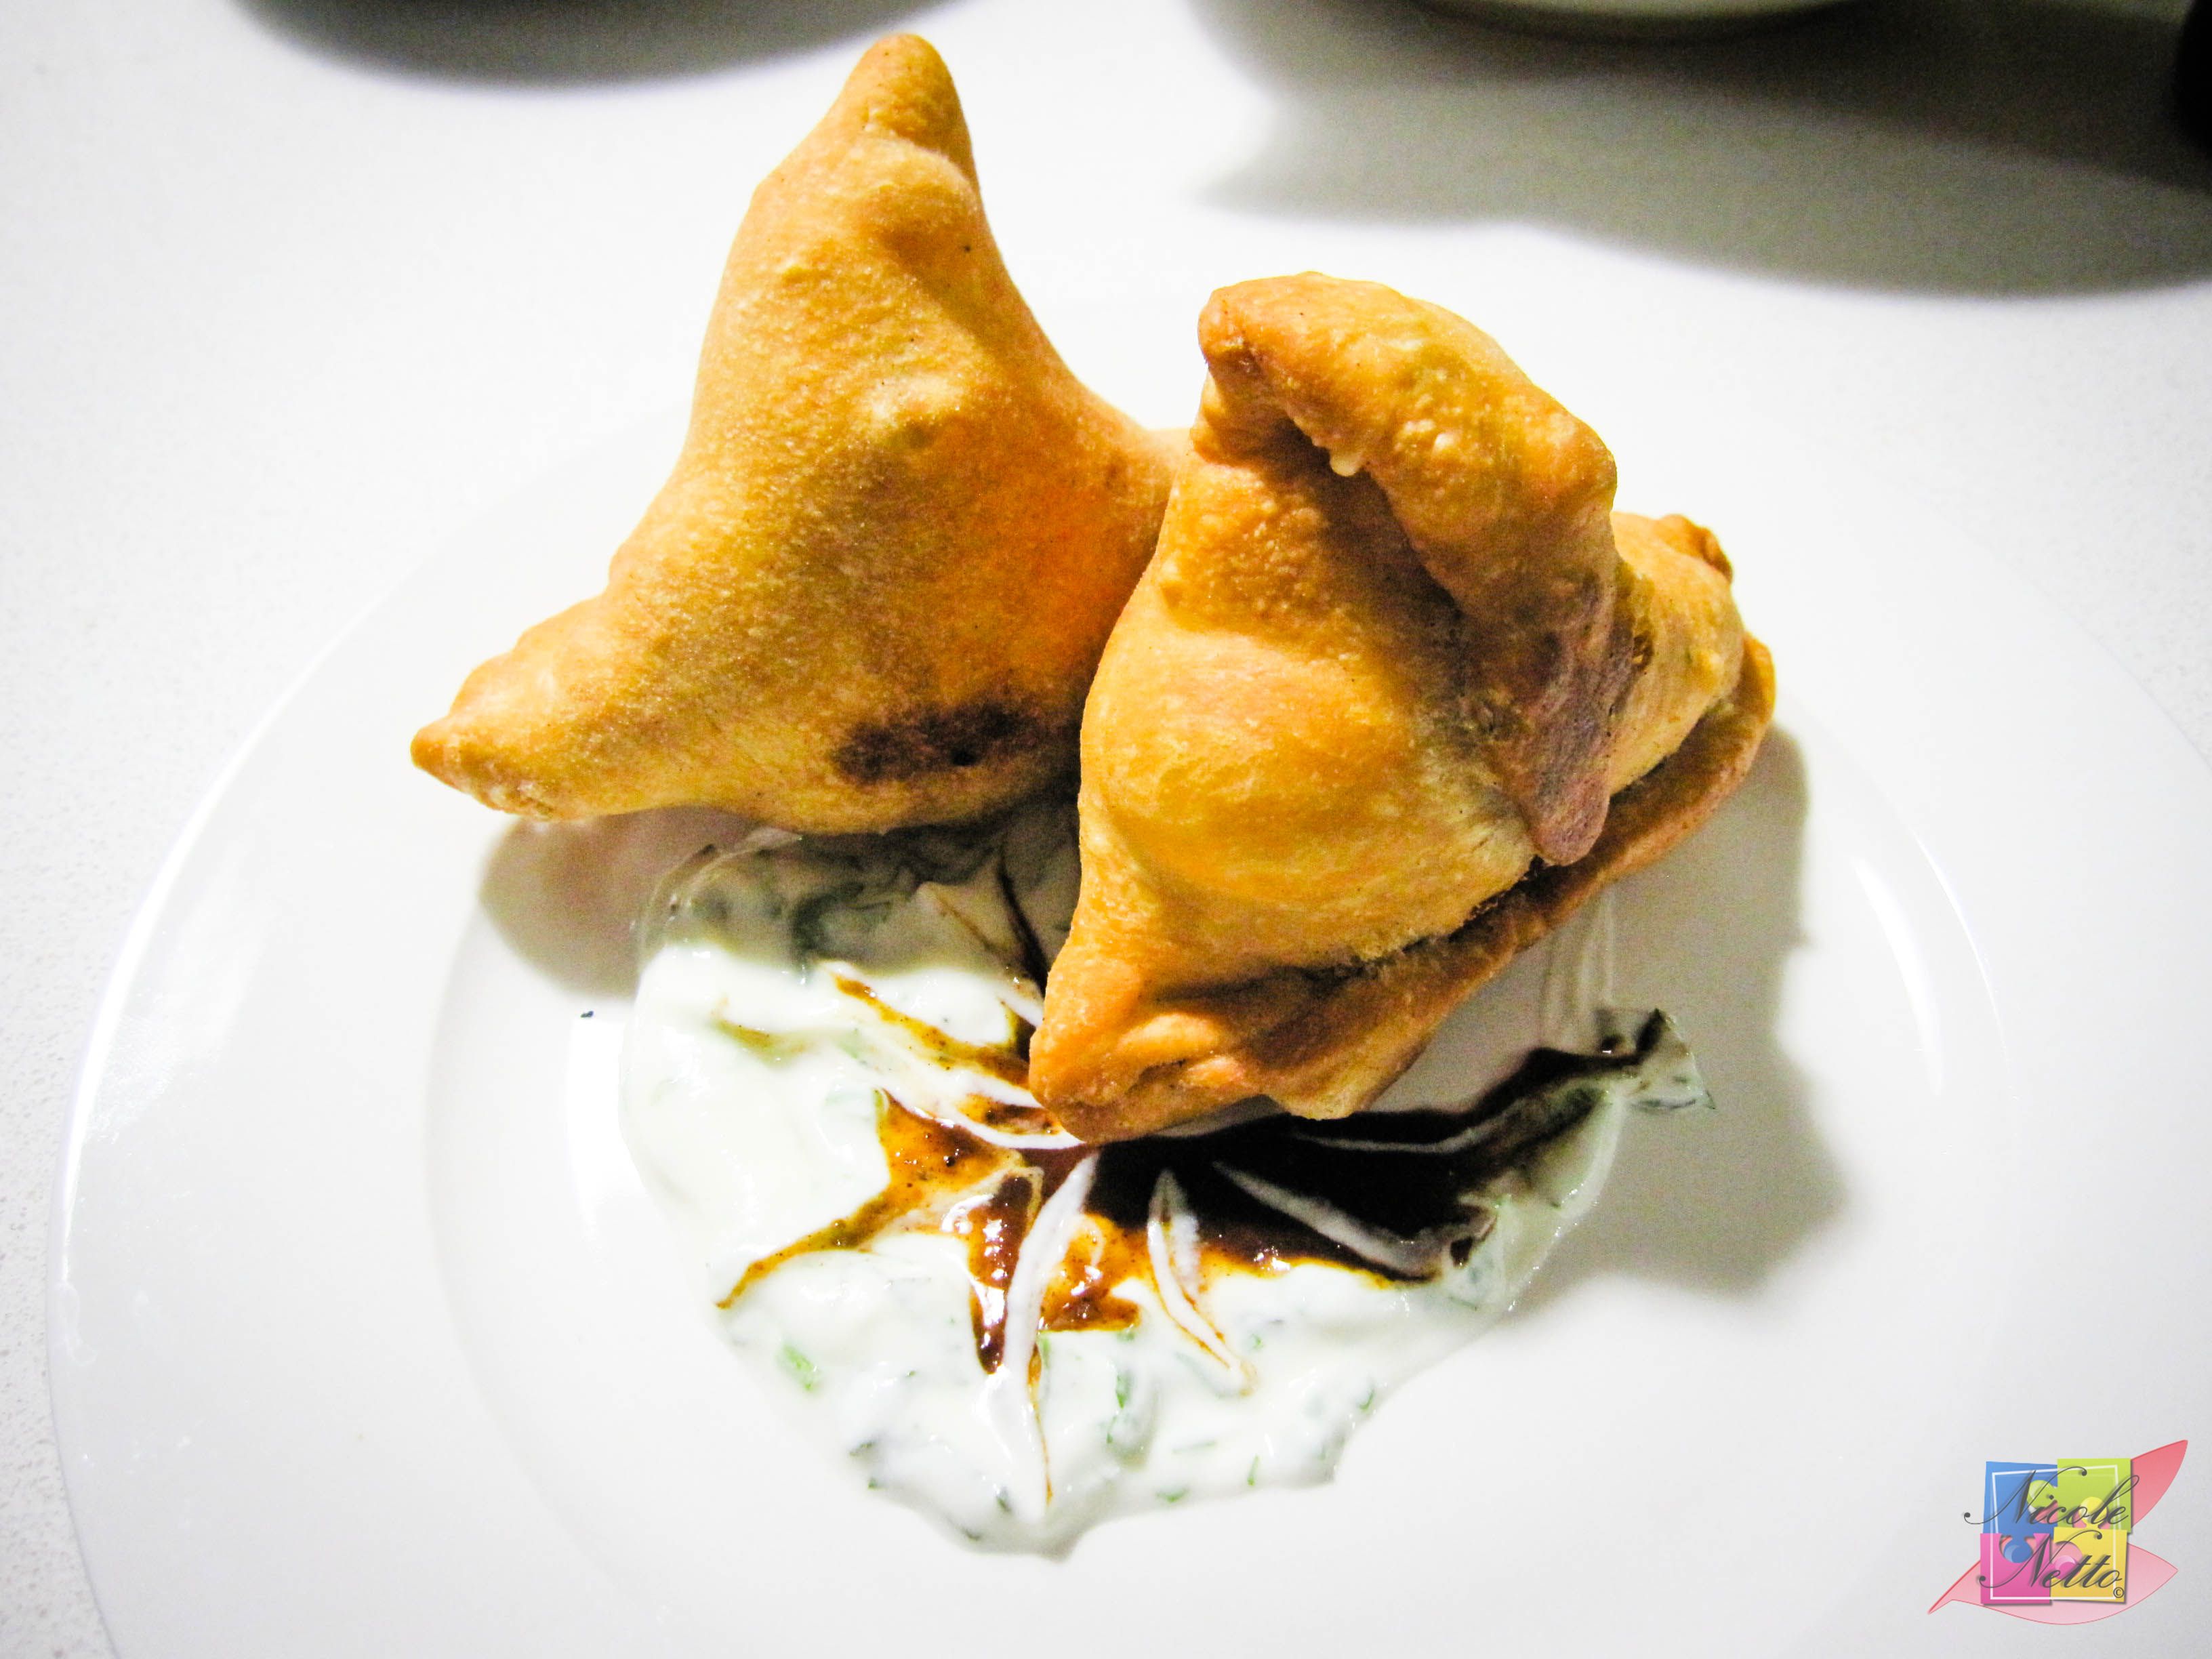
Punjabi samosas with a Mint yoghurt dip and tamarind sauce
Drink serving suggestions (from my personal experience):
The first time round I tried the Samosas as a snack with Rekorderlig Cider – Mango and Raspberry flavoured – and it was delicious.

Rekorderlig – Mango and raspberry
The second time round I had F over for dinner and she brought over a beautiful bottle of Ruffino Chianti (similar to another Italian wine that I quite enjoy) that also paired quite well with the Samosa’s as an entrée.

Ruffino – Chianti

Dinner with F
Alternatively – most Indian food pairs well with tangy drinks or soft drinks.
Do let me know how you go with this recipe or if you have any suggestions!
