Lavender and Blueberry Macarons
Ahhh the french Macaron! (Pronounced “Mah-cah-rohn” – Not to be confused with ‘Macaroon’, which is a coconut based cookie)
A delectable treat to suit any occasion. These sugar filled clouds of flavor are definite crowd-pleaser’s.
So what makes them so special, apart from the great taste, you ask? Making Macarons involves a good level of technical skill, patience and TLC. It certainly has been on my list of “I wonder if I will stuff these up when I try to make them” recipes – but I decided to take the plunge and finally make my very first batch of Macarons. I remember the first time I tasted a macaron at a french bakery in Brisbane – the combination of soft, chewy and crumbly textures, the high concentration of flavor, it was all very fascinating and unique for a cookie – needless to say, they made it very quickly to my list of favorite foods!
Macarons are a meringue (Italian meringue (with sugar syrup) or French meringue (with sugar gradually added in)) based cookie made of egg whites, caster sugar and TPT (‘Tant pour tant’- mixture of equal amounts of almond meal and icing sugar). Macaron’s typically comprise of smooth shells, characterized by their smooth top with feet (ruffled bottom) and flat base, and a ganache, buttercream or jam filled center. The shell’s are generally the same for every Macaron, with the exception of a change in color to represent the filling. The filling is what contains all the flavor.
I decided that I wanted to try making a unique flavour of macaron, instead of a common flavor. While sifting through several recipes, I felt the urge to have a Lavender latte. I first came across Lavender latte’s at a Japanese tea place in Sunnybank, and it was love at first taste. This was always my delicious “pick me up” cup of tea that I consumed quite frequently when I lived close to Sunnybank. You wouldn’t think the lavender flower would make a great flavor base, but it is really good with milk products and a sweetener. In fact, for a while now, I’ve been wanting to make some sort of dessert with lavender. So I thought – why not try to look up a Macaron recipe that includes lavender? And with that thought, I stumbled across an Adriano Zumbo recipe for Lavender Blueberry macarons!
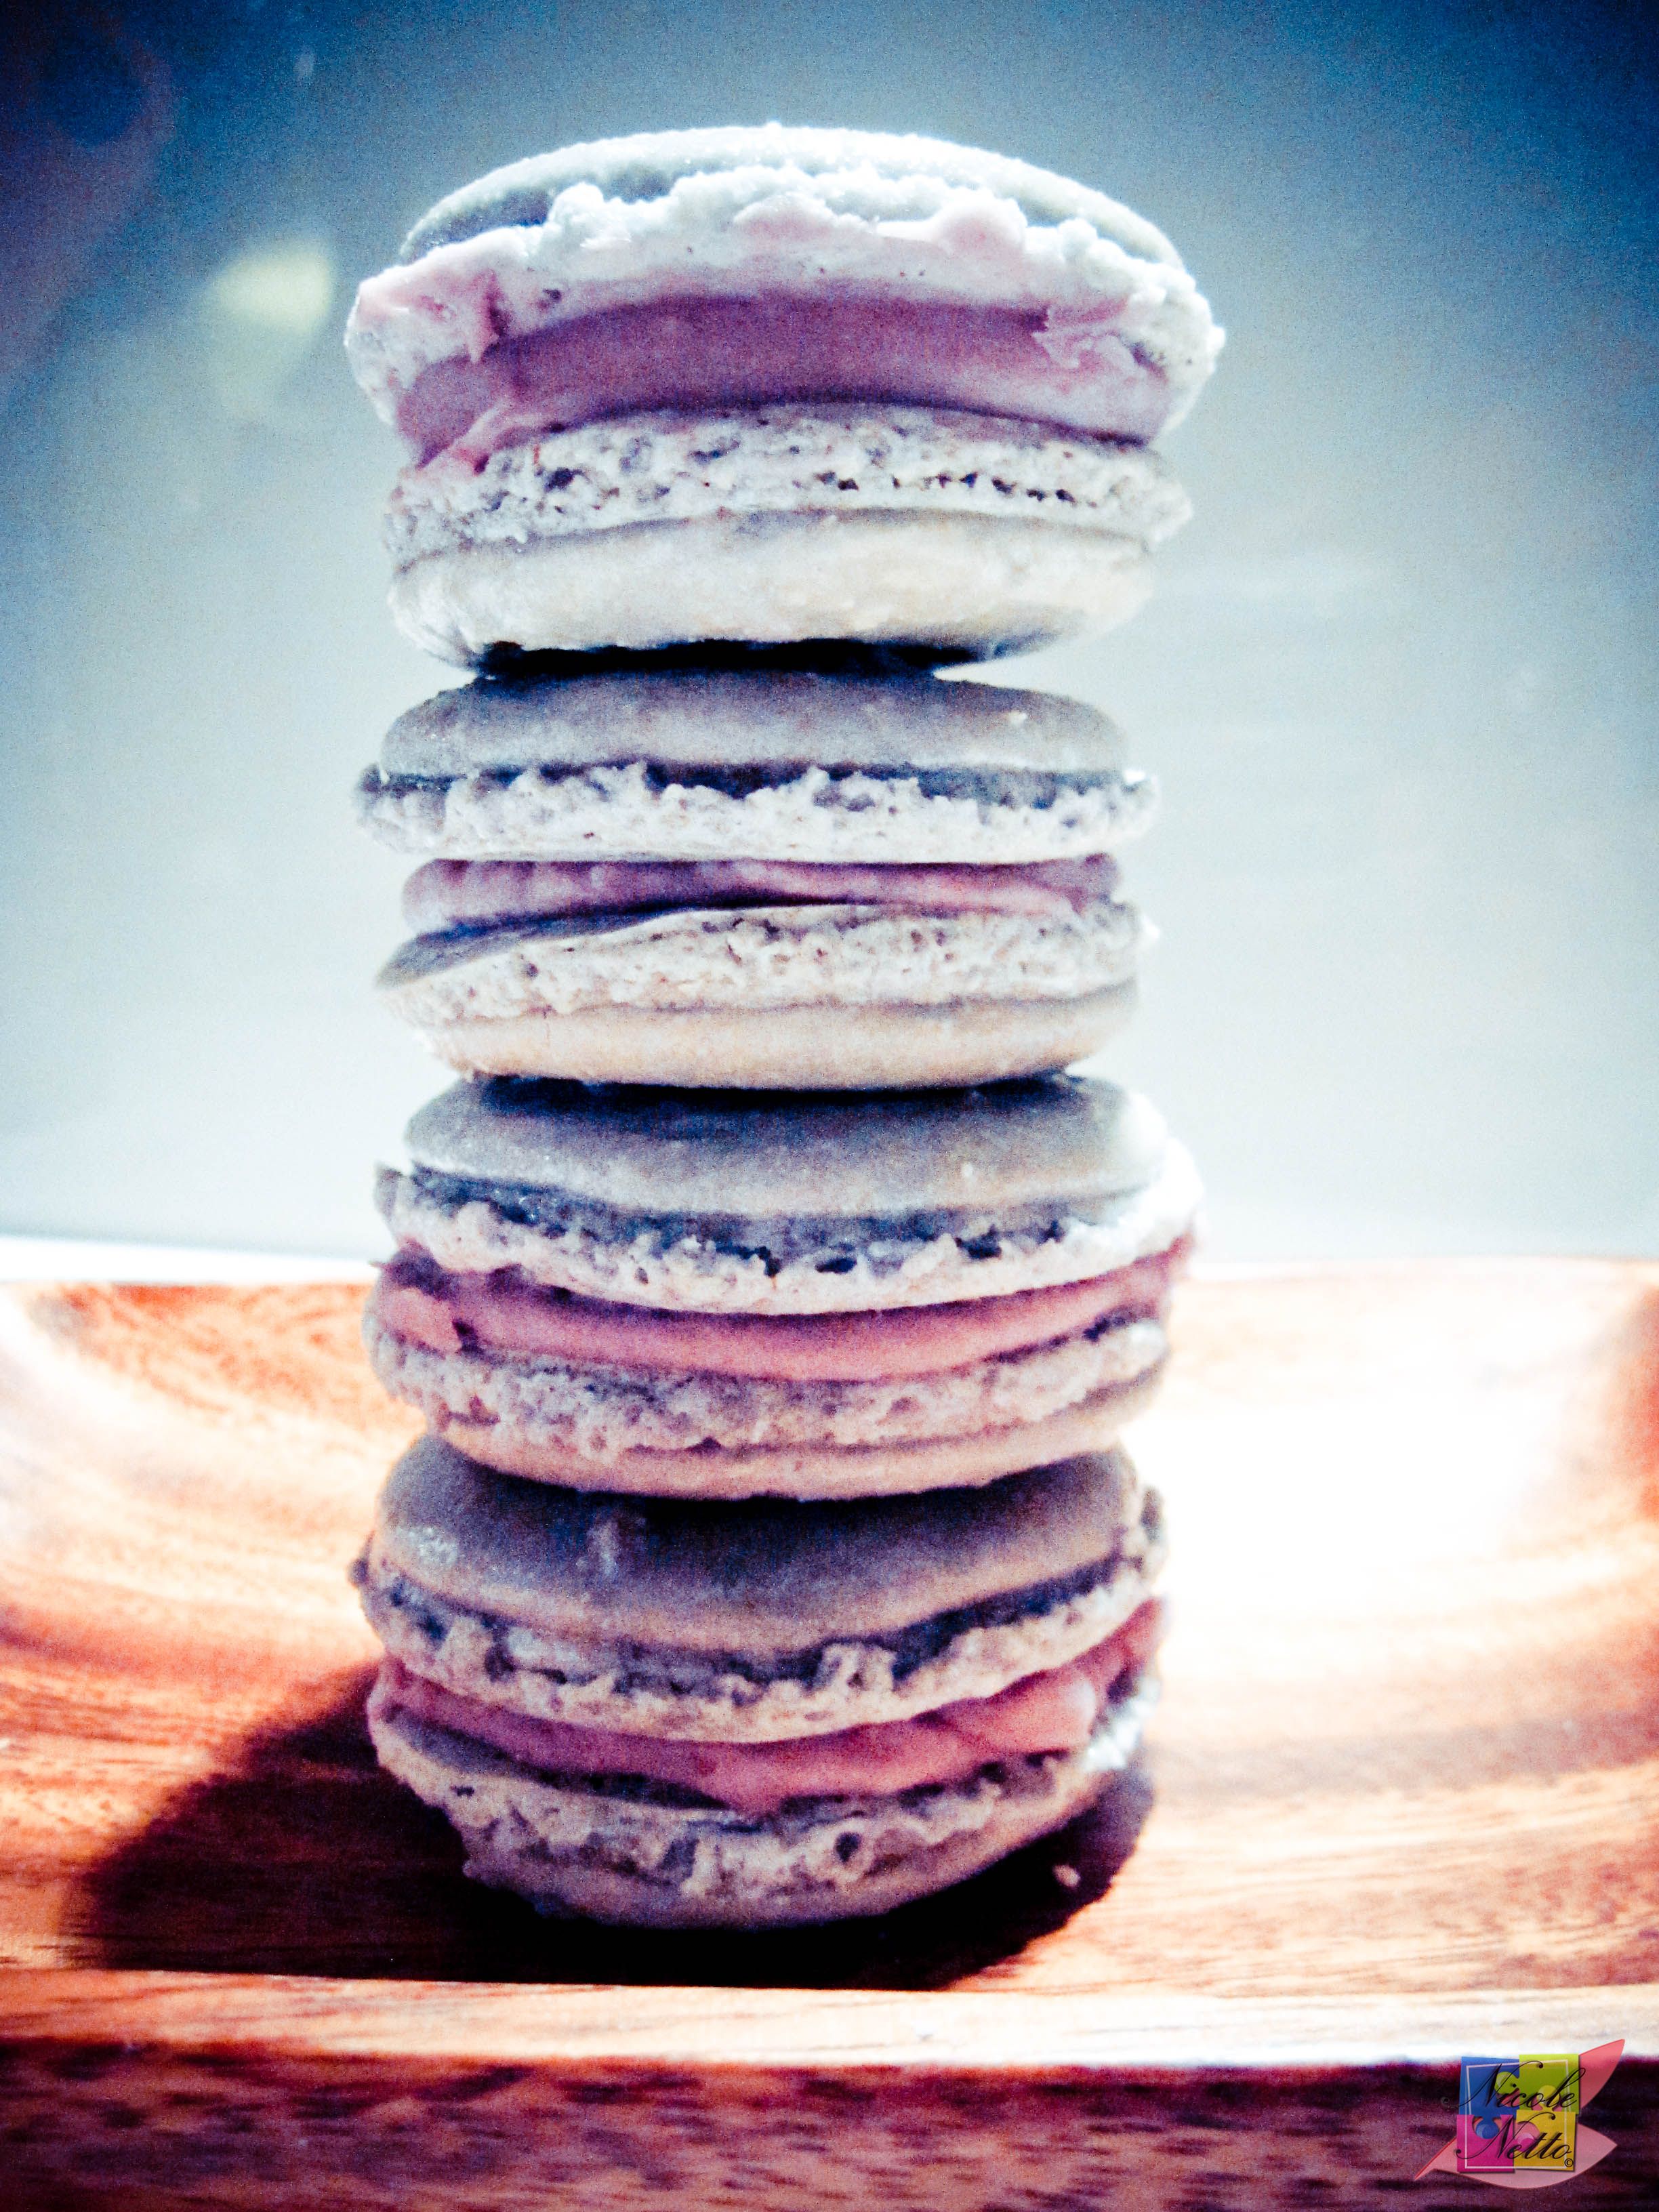
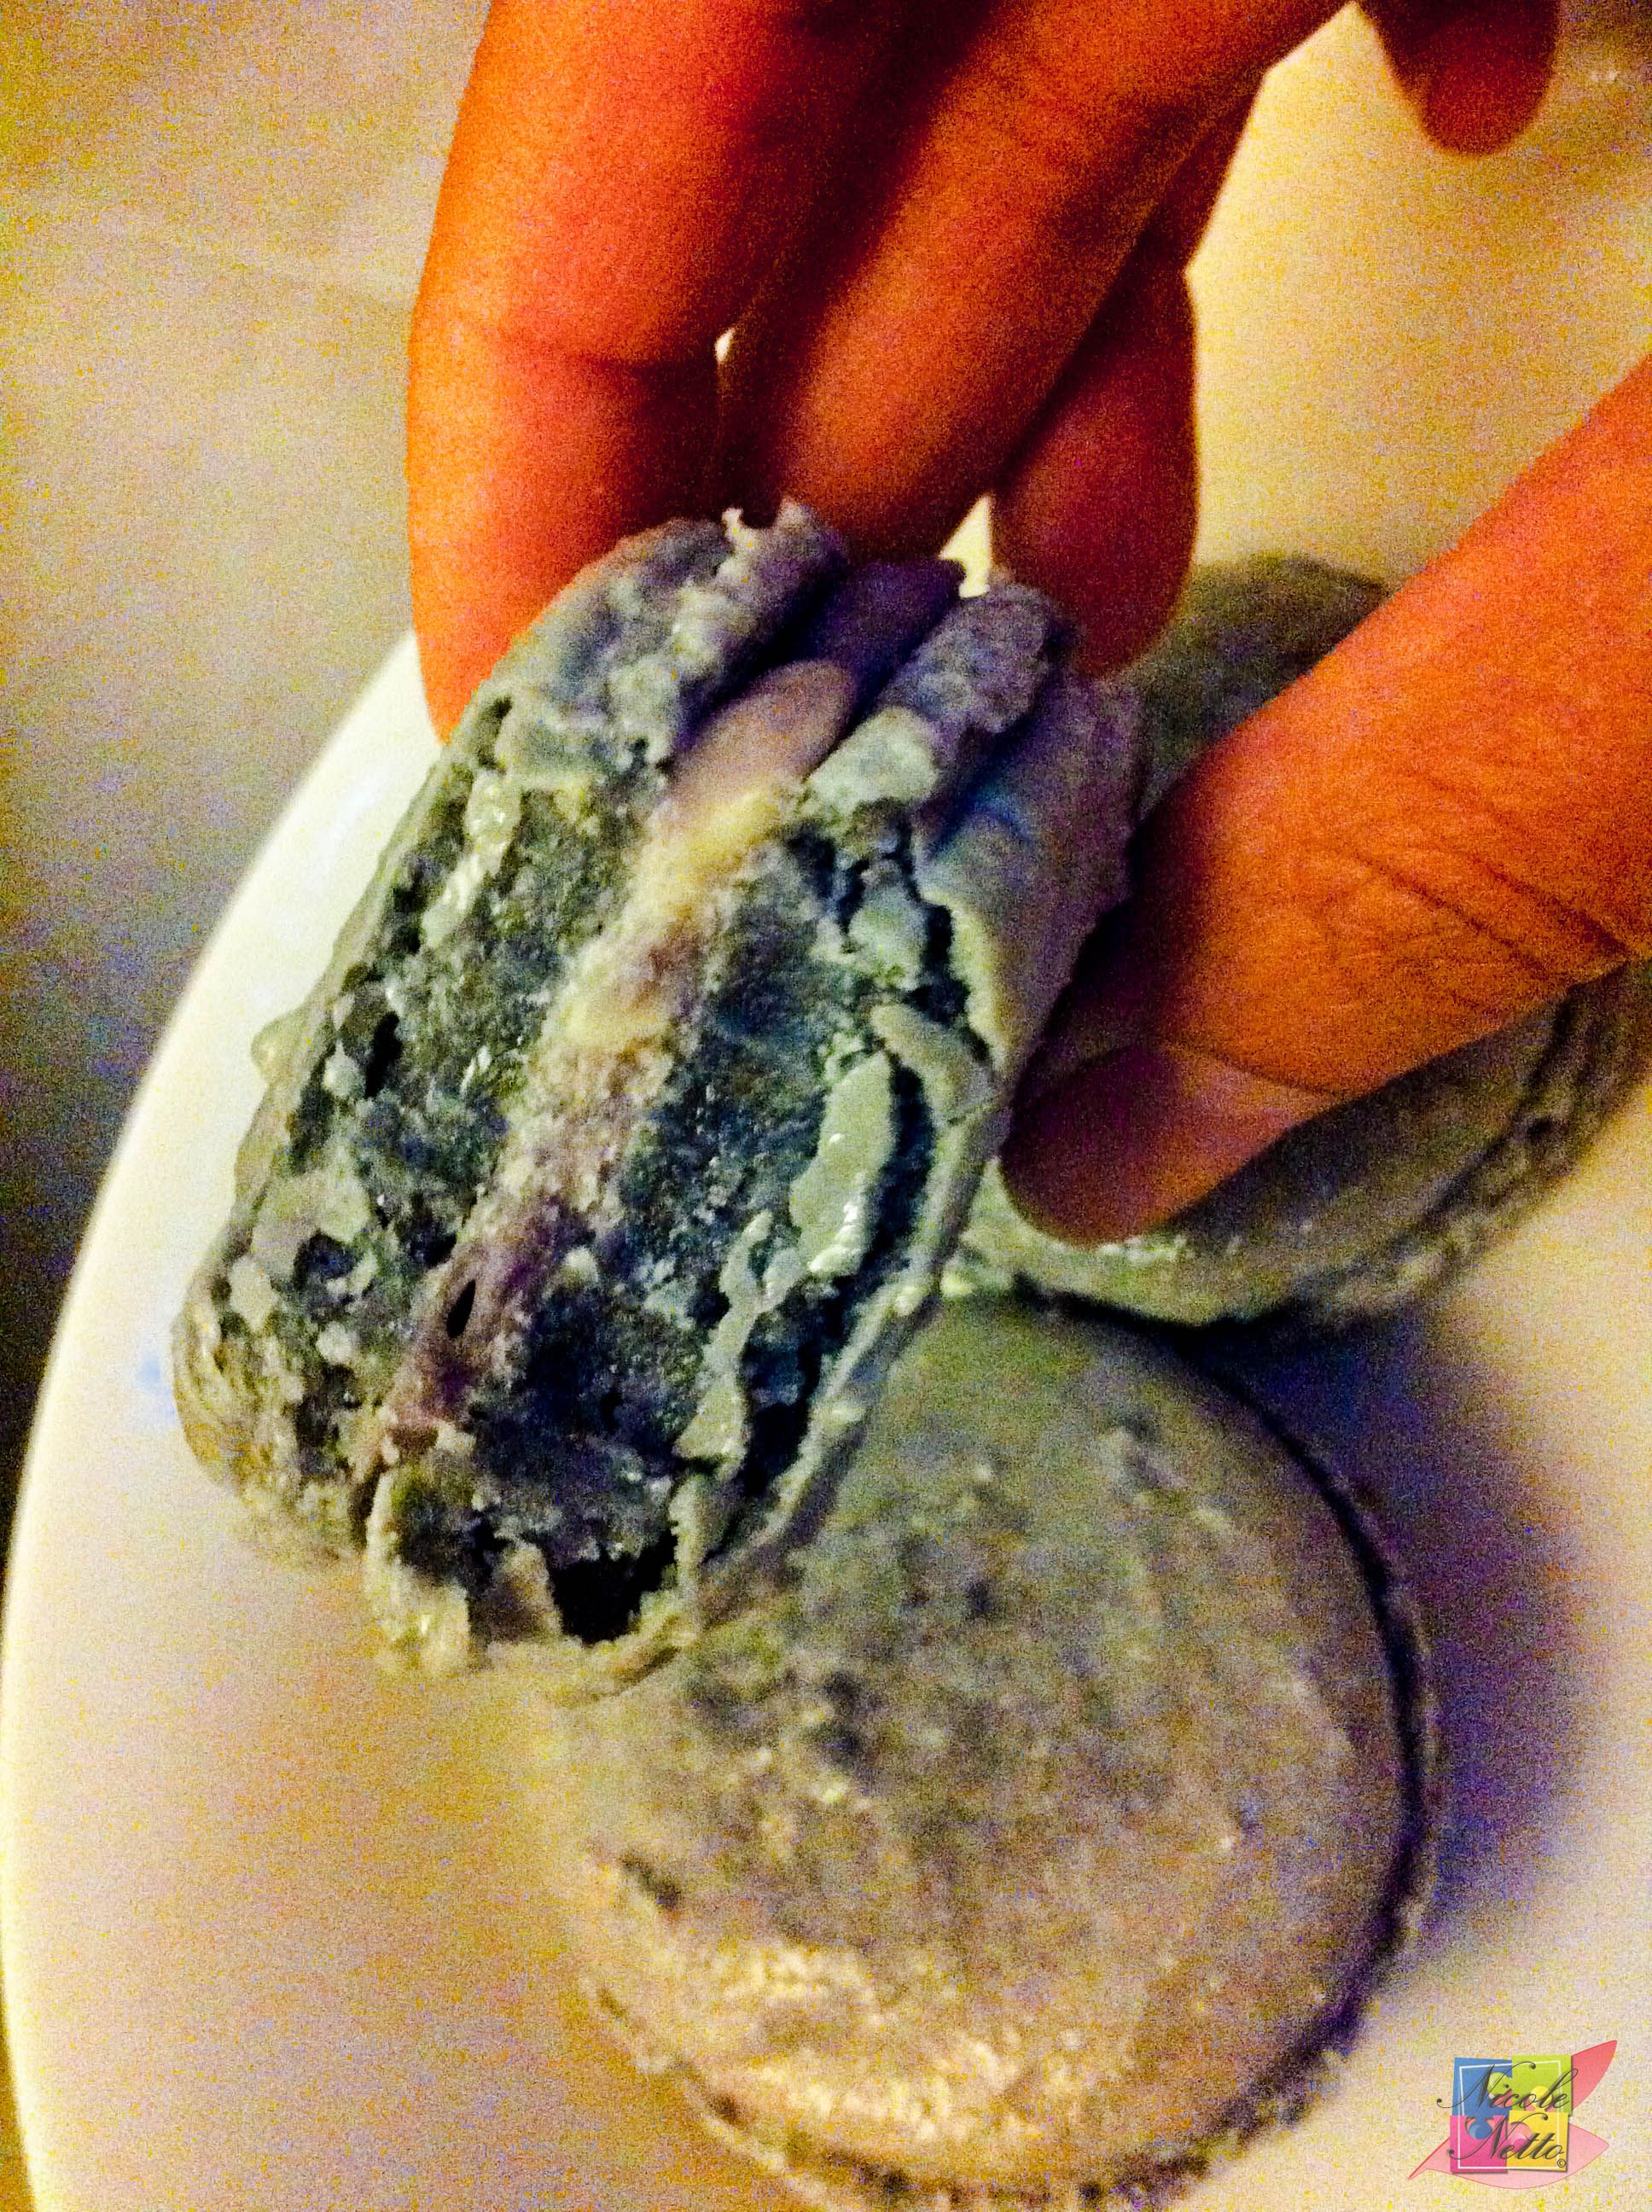
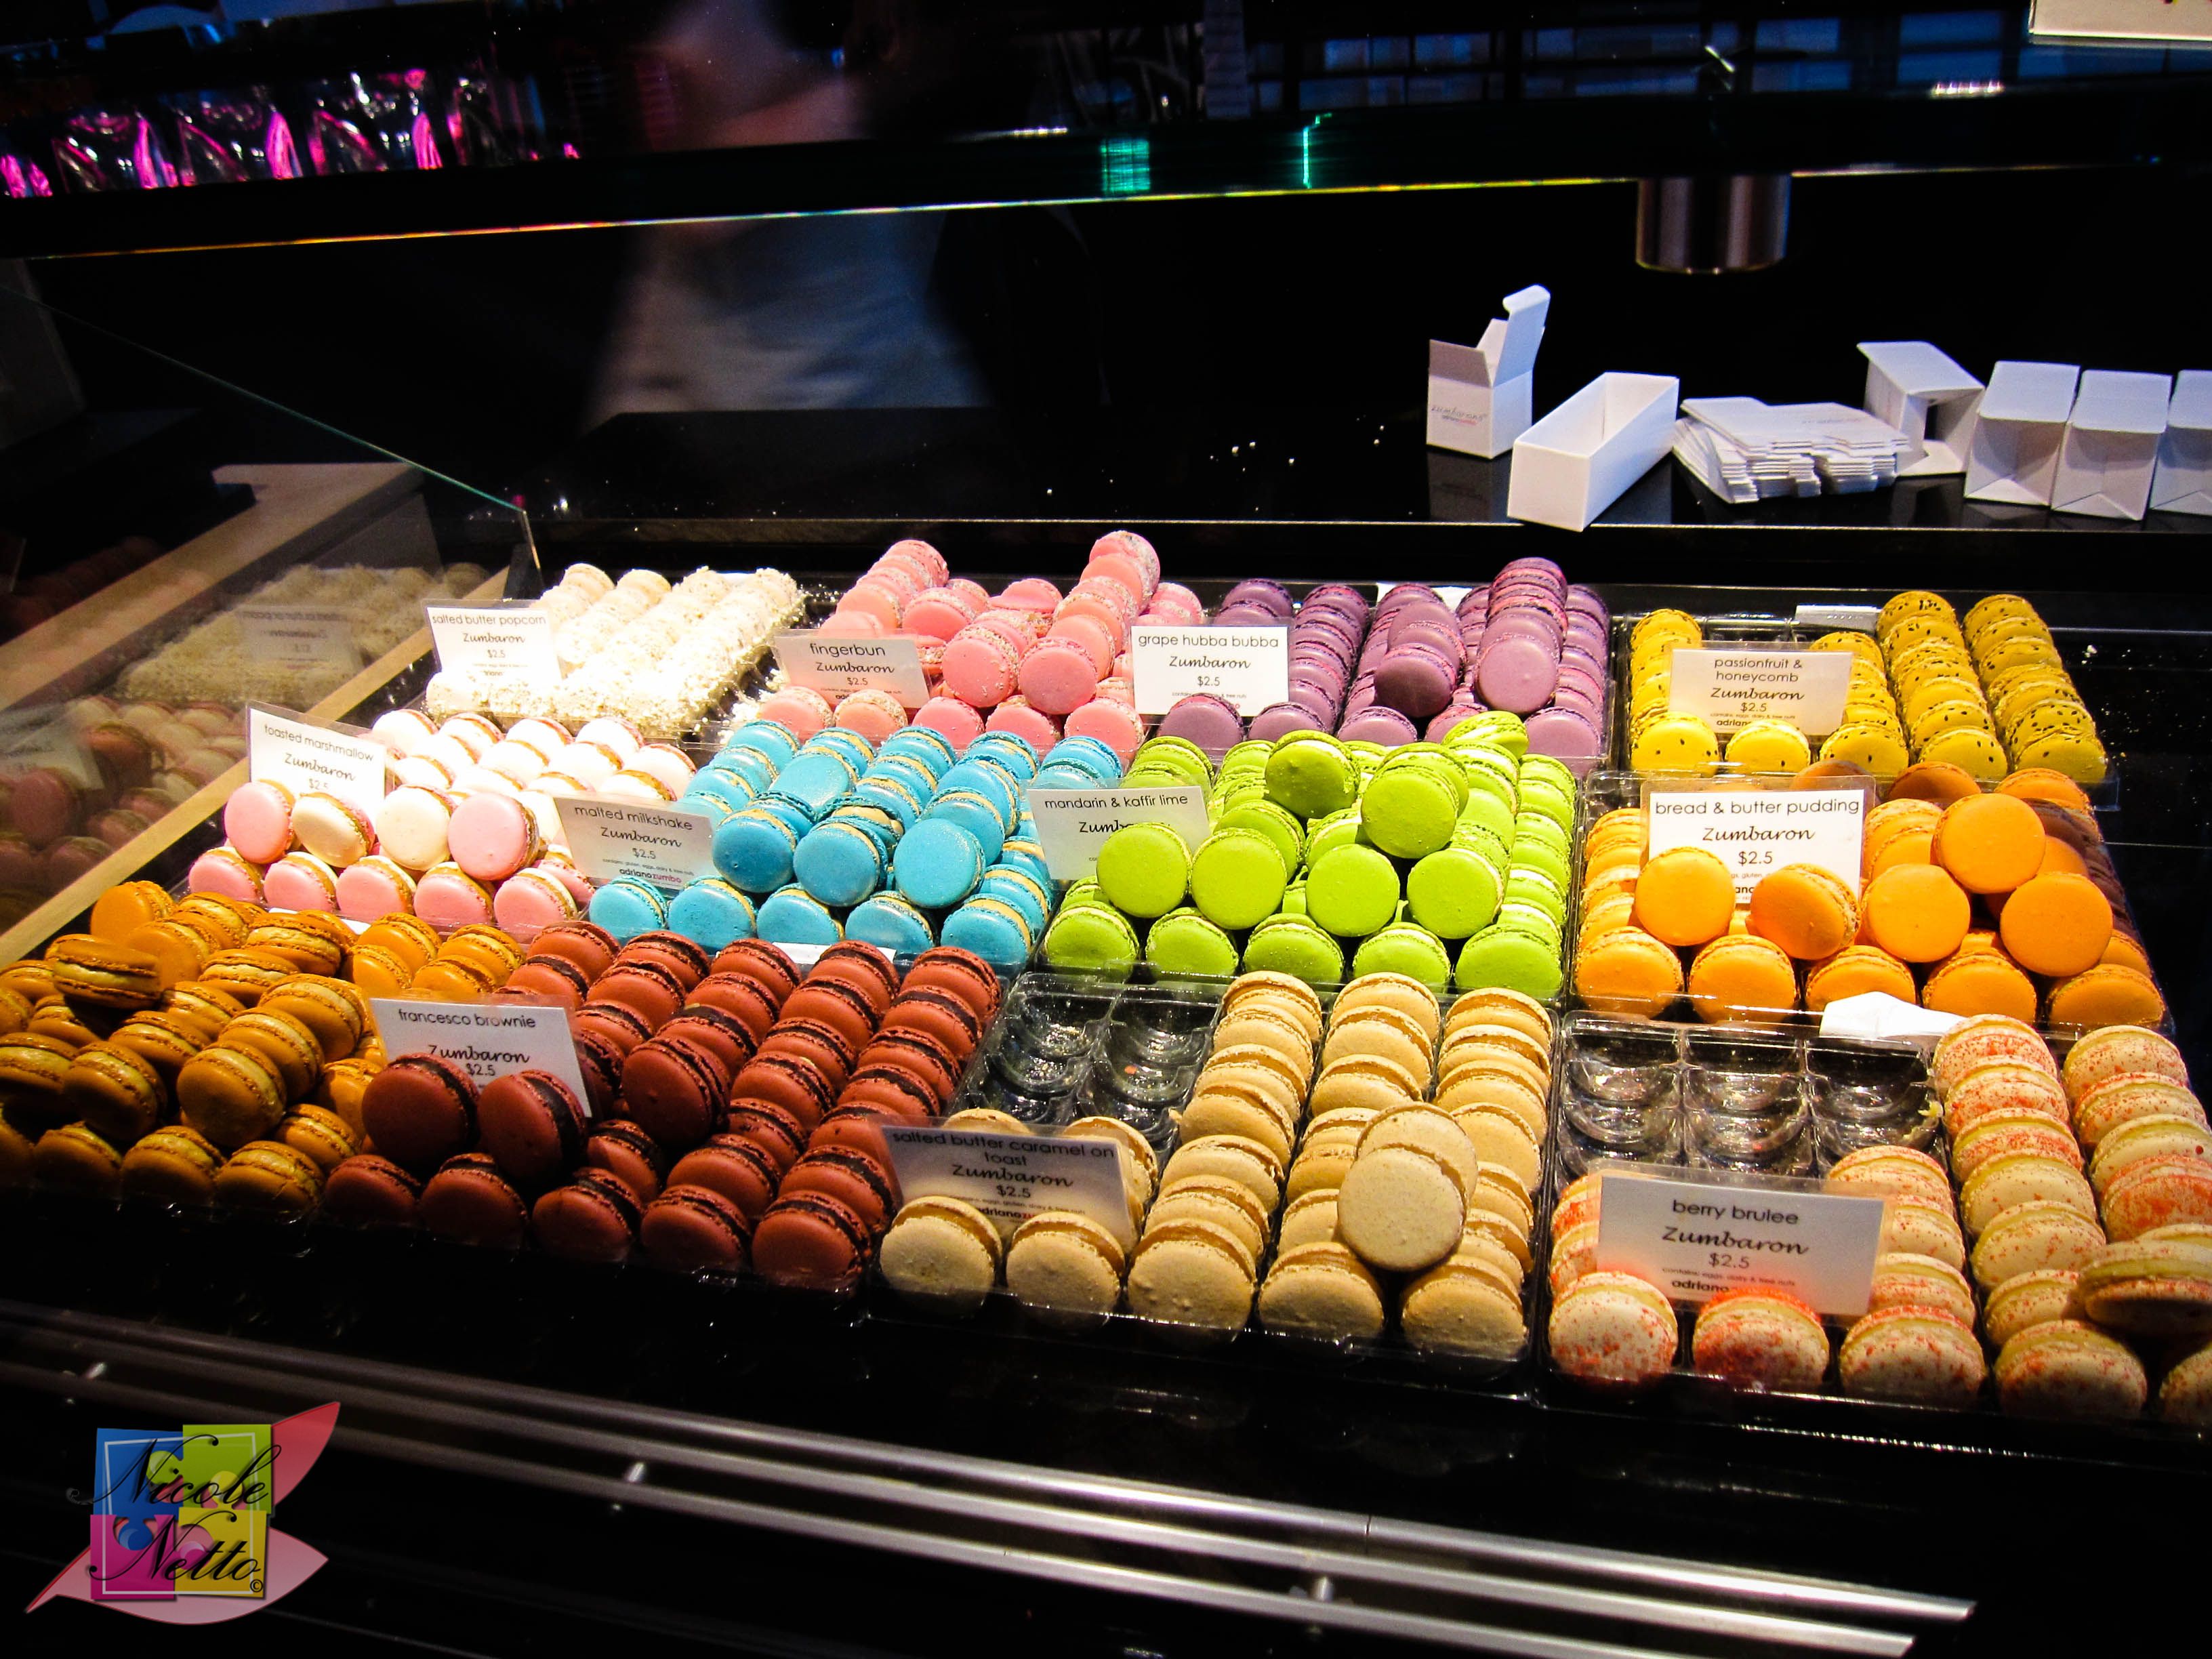
While Zumbo is a highly acclaimed Australian patissier and chef for several of his amazing dessert creations, he is most popularly known for his incredible ‘Zumbarons’. For those of you that aren’t familiar with Zumbo or ‘Zumbarons’, I highly recommend that you sample some of these and other goodies at his stores the next time you’re in Sydney or Melbourne. If you aren’t convinced as yet, here are a few photos that might help from my visit to Zumbo’s in Melbourne with K and C:
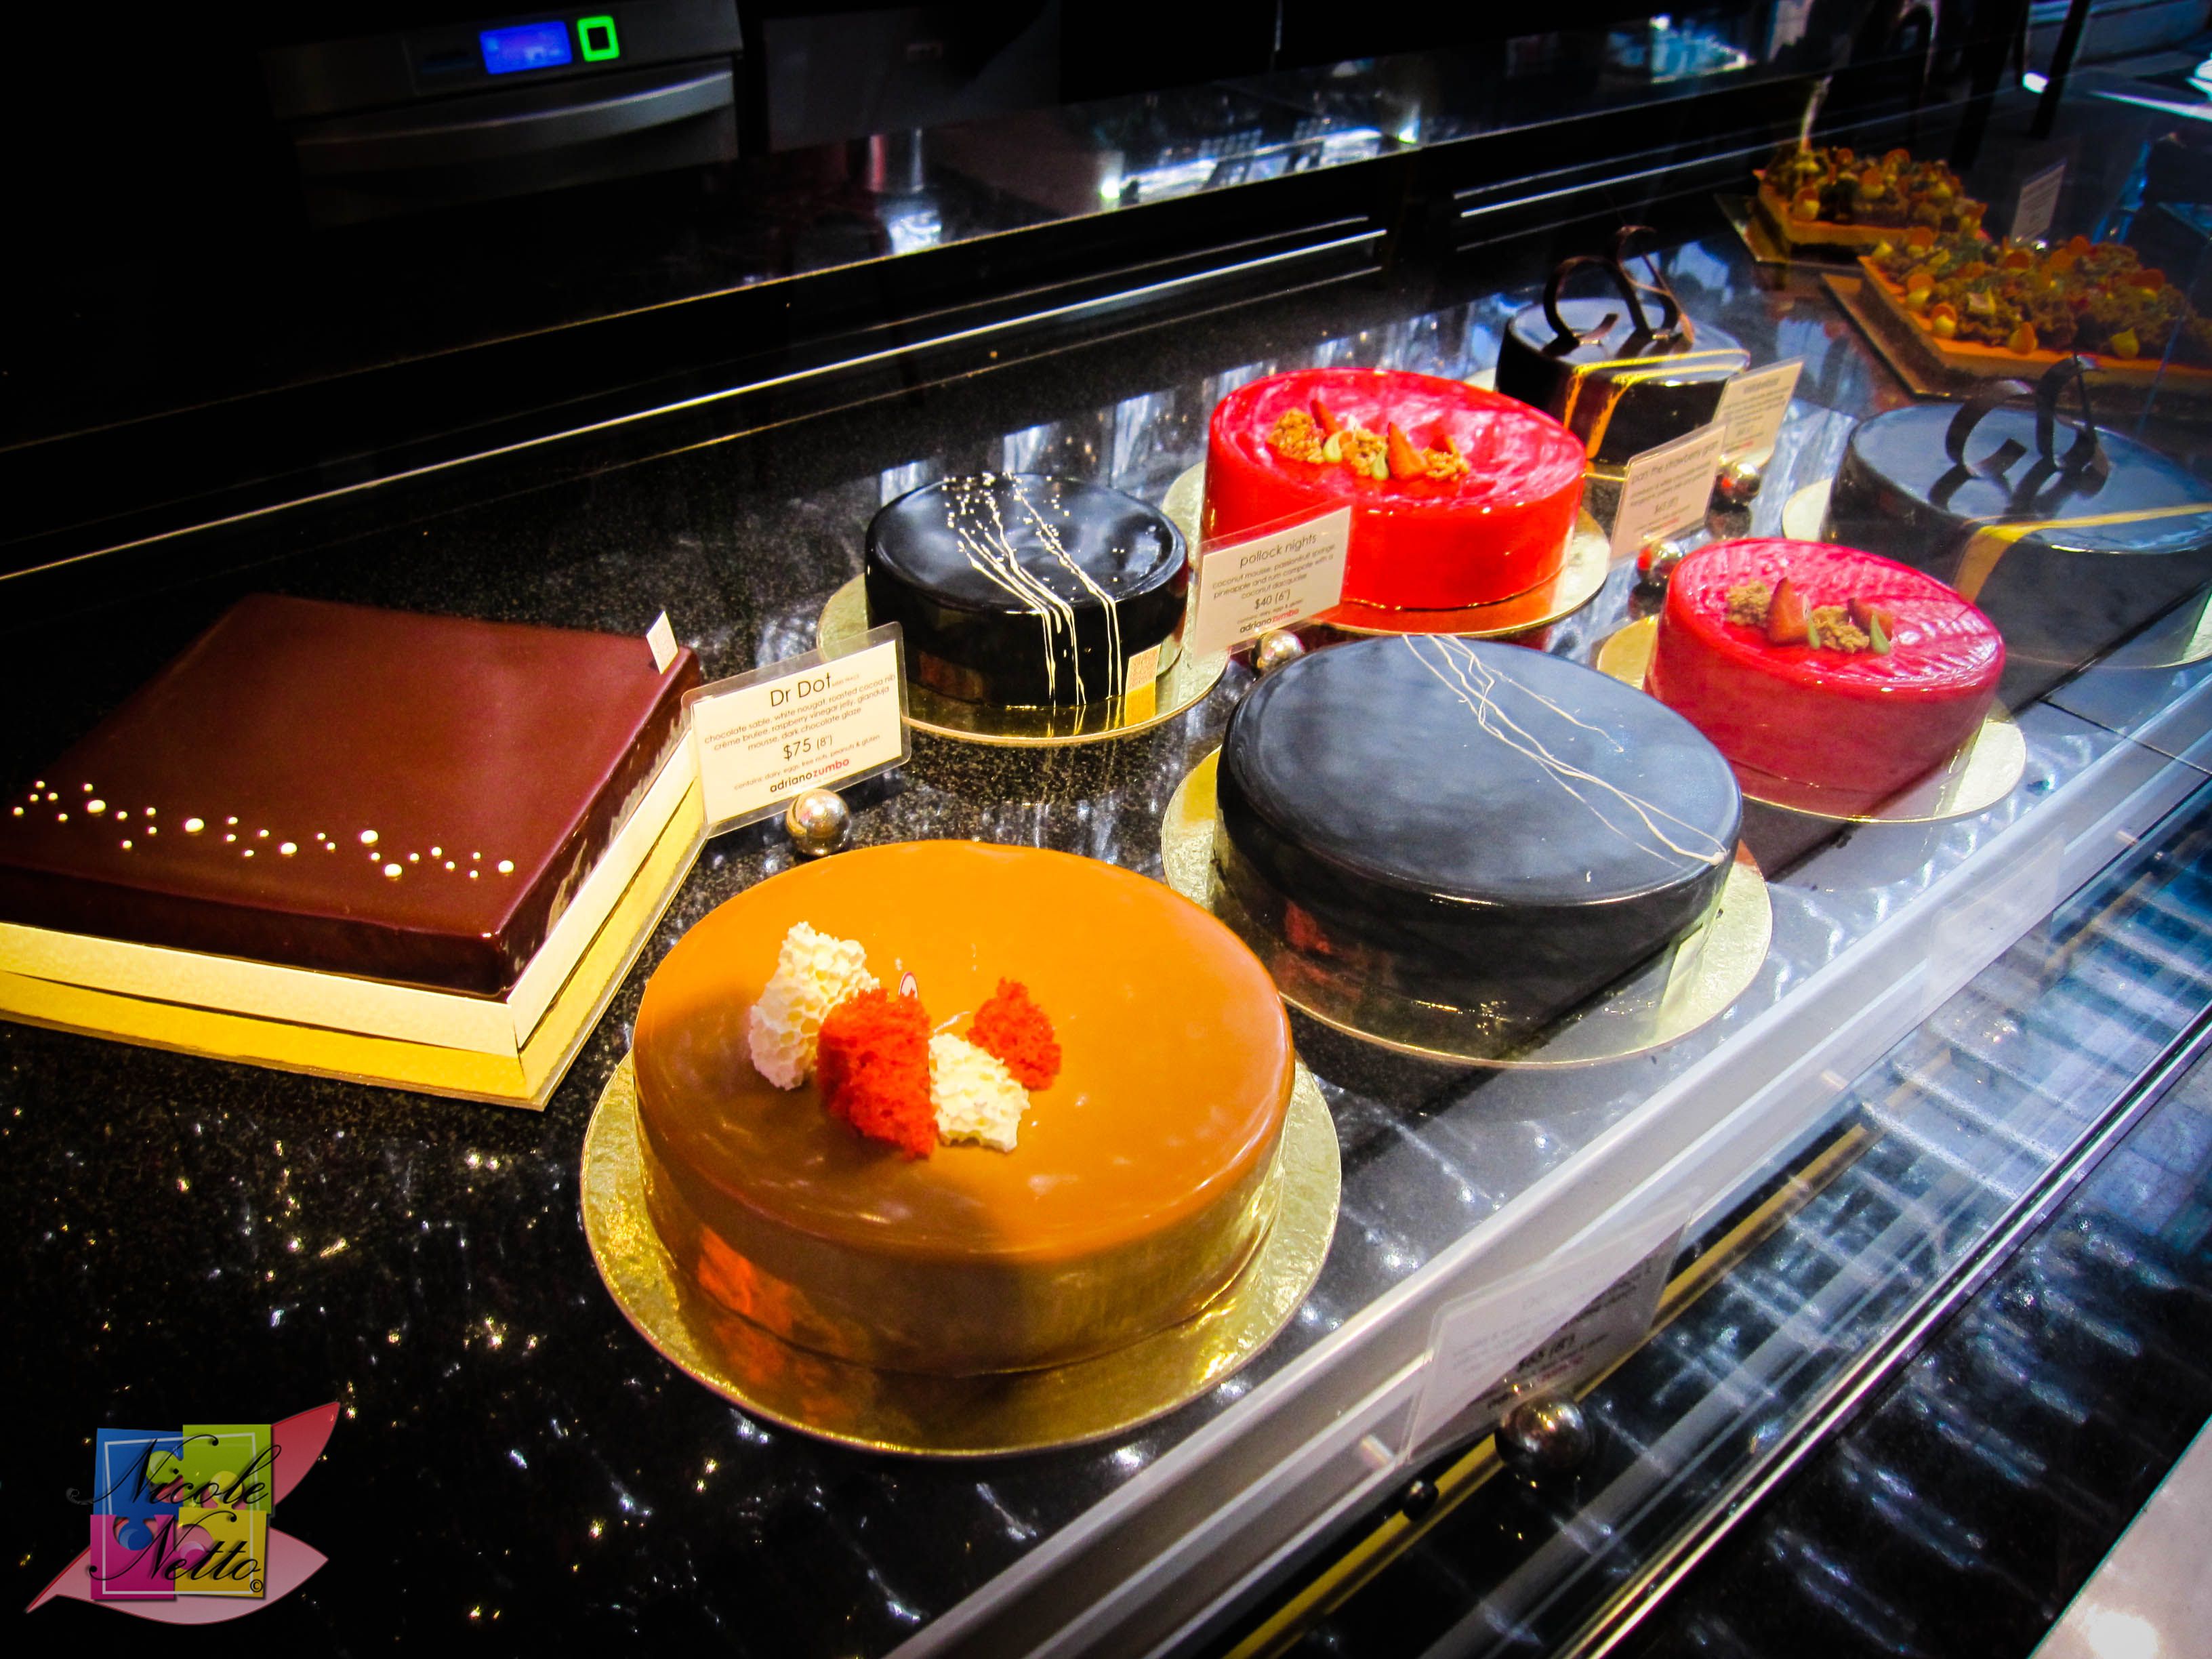
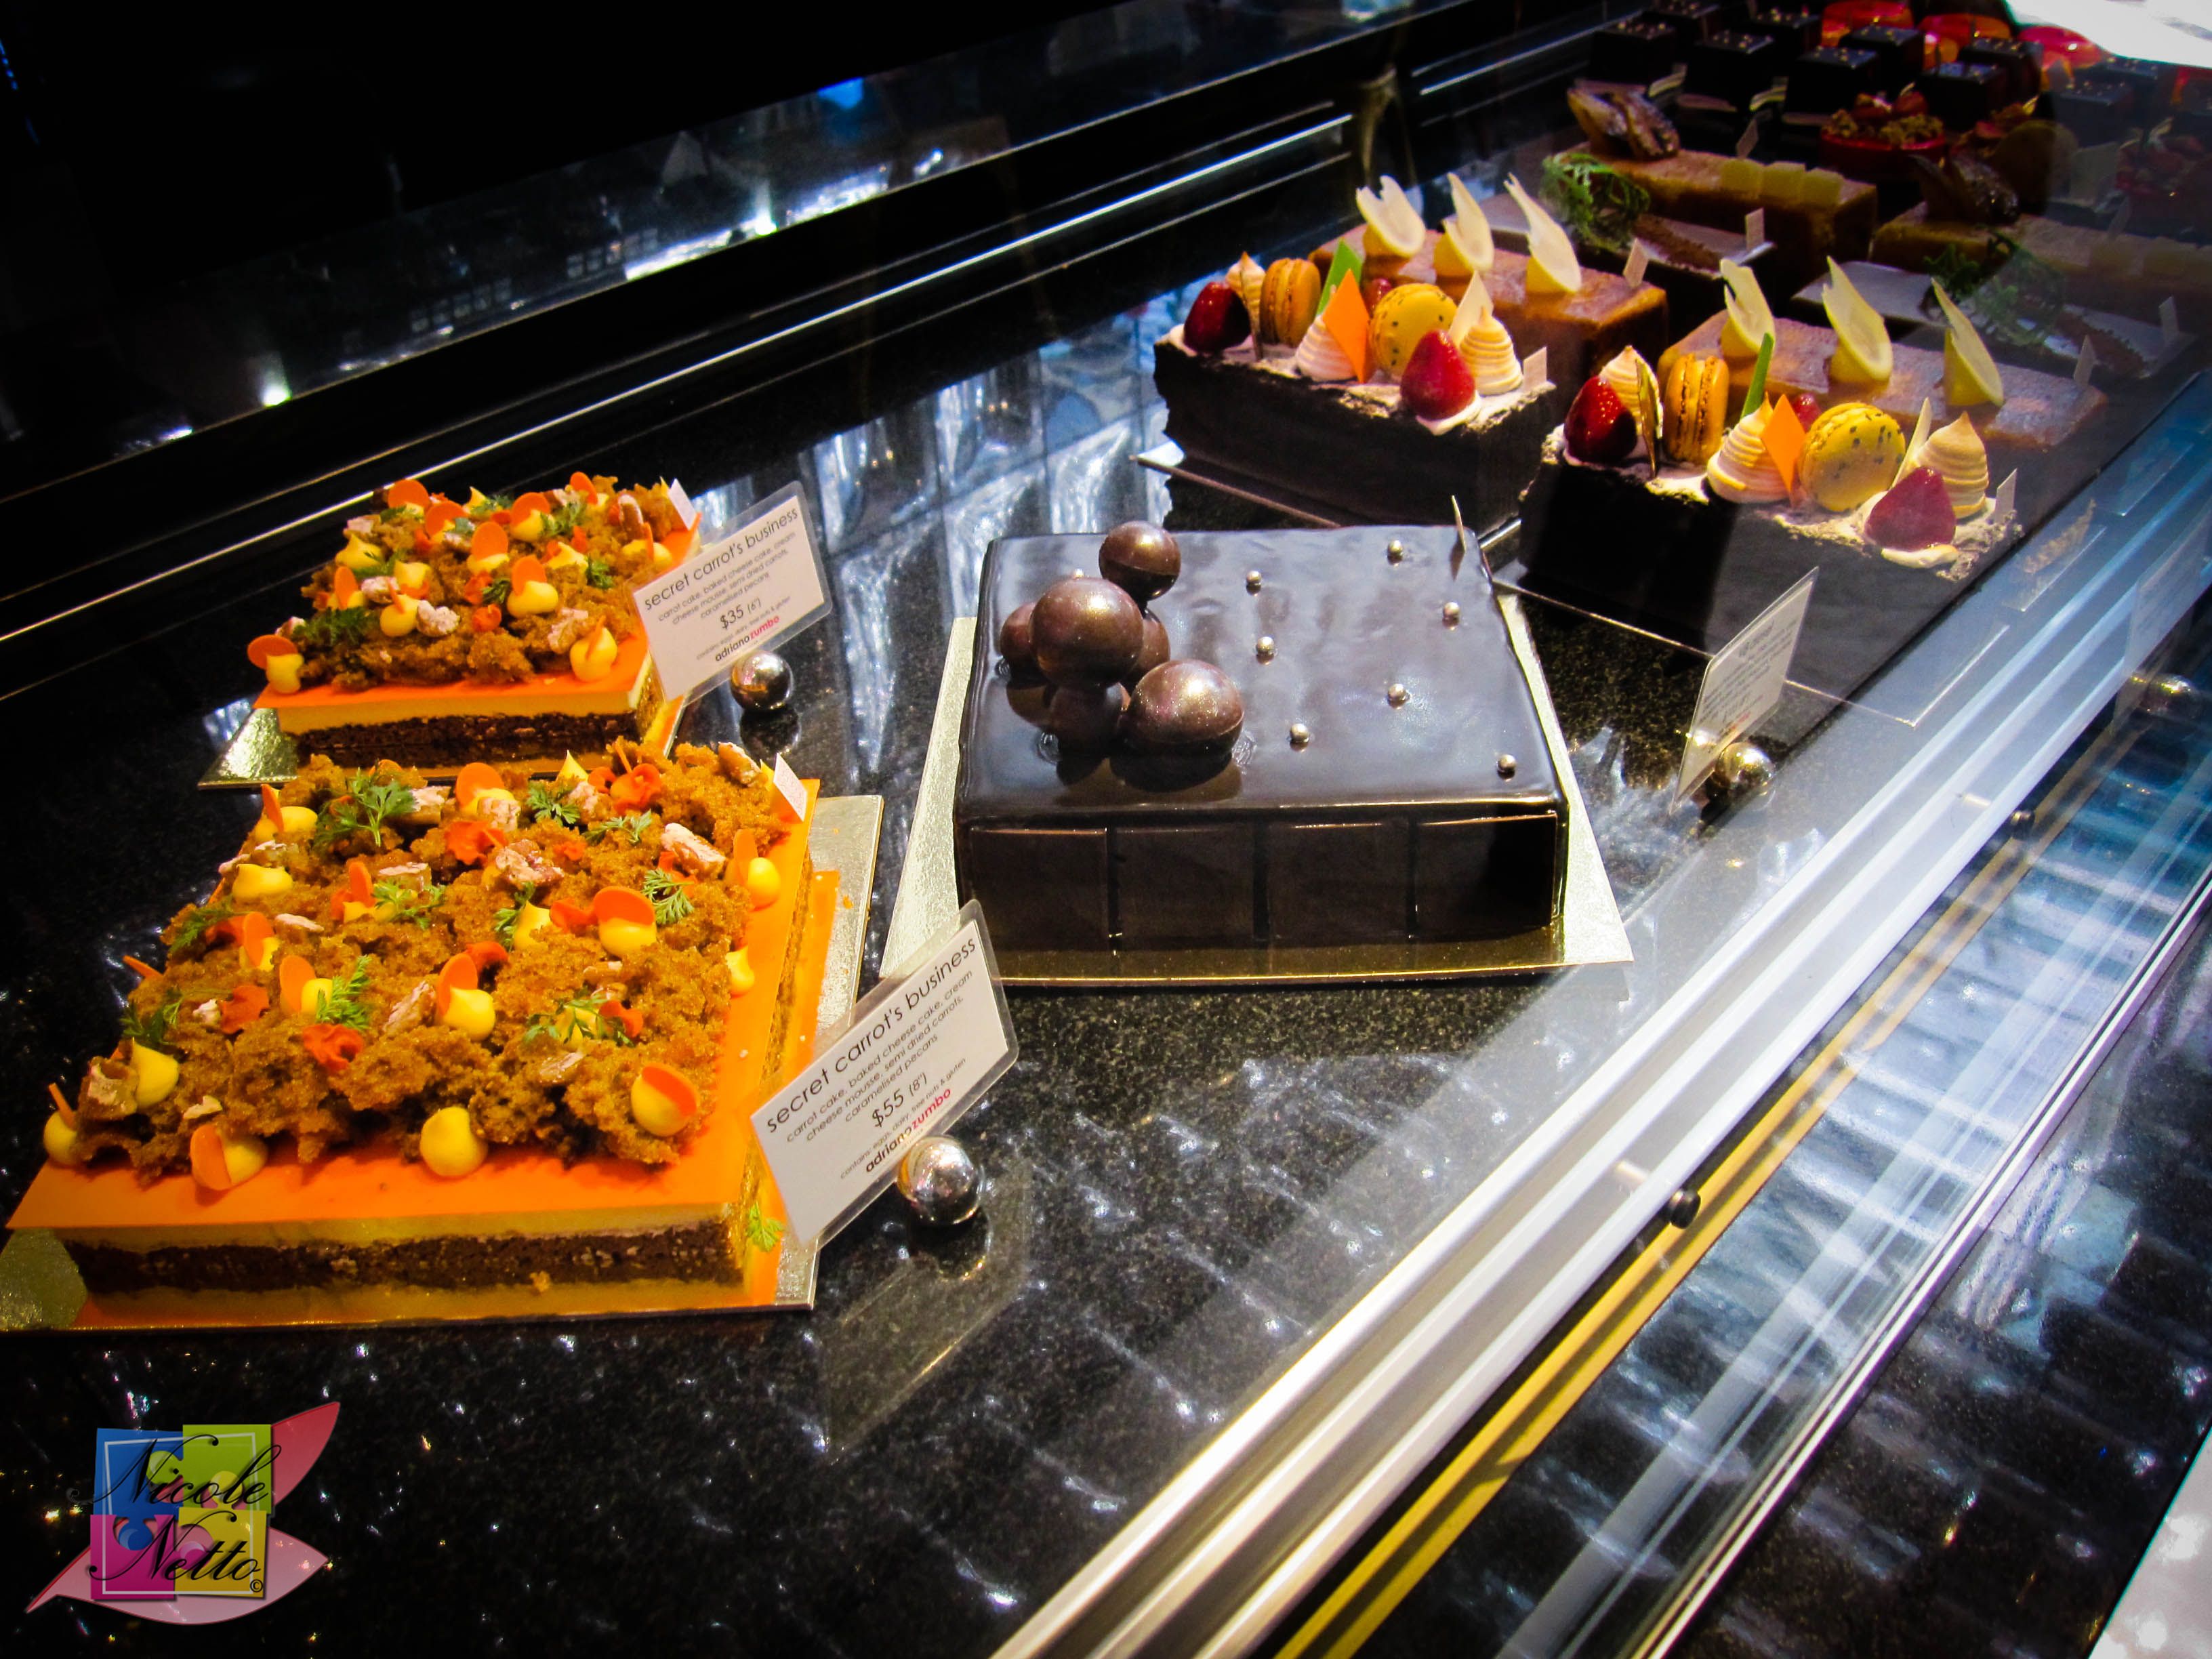
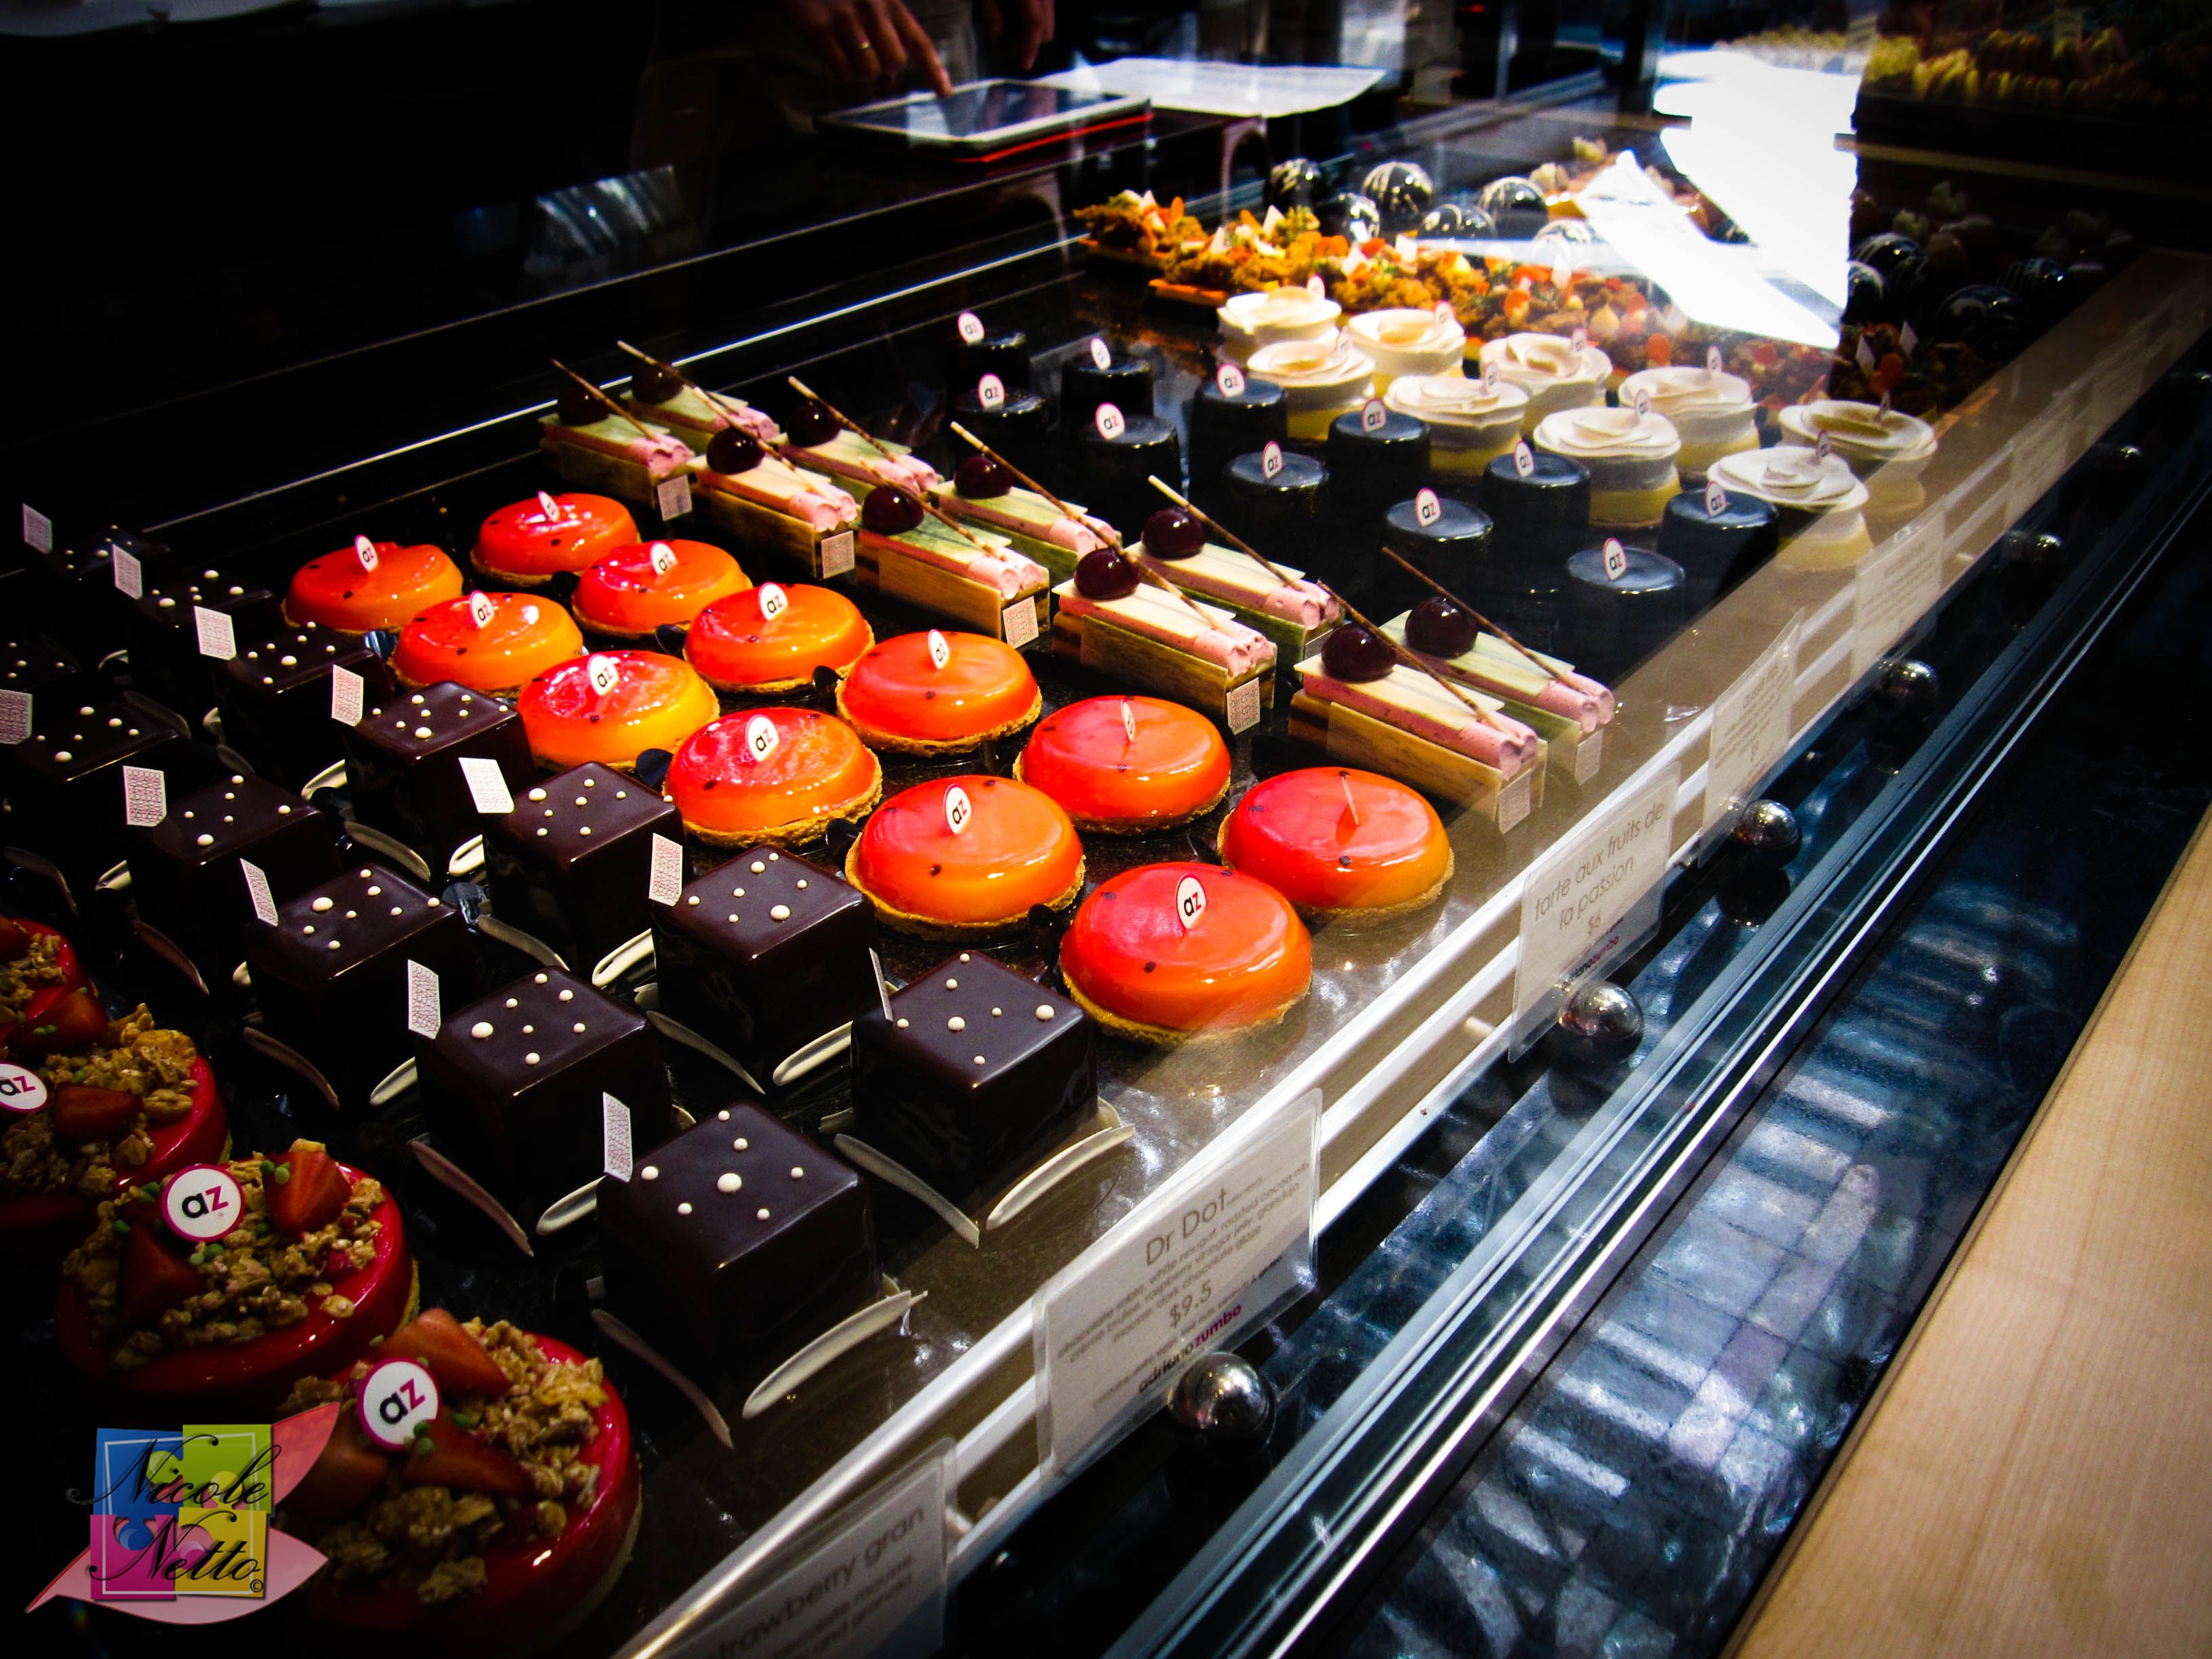

Zumbarons
Soooo – yeahhhh – a Zumbo recipe – phew! – I knew it wasn’t going to be easy and it was going to be a bit of a challenge. But I have to say, if you follow each step precisely, you’ll be laughing! I did change up the filling recipe a little bit, but it worked out well.
A couple of pointers-
- I recommend measuring the suggested quantities precisely – you need a kitchen scale.
- I recommend a kitchen thermometer to make sure you attain the appropriate temperature with the sugar syrup prior to combining it with the egg whites to make the meringue.
- I recommend a piping bag and appropriately sized nozzle to pipe the macaron shells and filling – this ensure’s a perfectly smooth shell and even piping out of the filling. I didn’t have these, so I improvised by using spoons and tried to smooth out the shells as much as I could.
- If you don’t know where to find dried lavender flowers, try a specialty tea shop. I obtained a box of “Lavender tissane” from T2.
- I did use aged egg whites, but there is a lot of debate about if it makes a difference or not. Personally I feel that it does because the texture of my macaron’s turned out quite good. The reason for aging egg whites is to reduce the moisture content as much as possible from the egg whites while keeping its protein bonds the same. This is thought to increase the whites’ elasticity, better for whipping.
This recipe makes 11 -12 large Macarons. You can vary the macaron’s size as you desire by creating the macaron template to your desired sized. I recommend 1, to a maximum of 2 macaron’s per person, as they are quite sweet due to their high sugar content. Be sure to adjust your quantities according to the servings you require!
Lavender and Blueberry Macarons
Adapted from “Zumbarons” by Adriano Zumbo
(Serves 11-12)
Ingredients – Macaron Shell
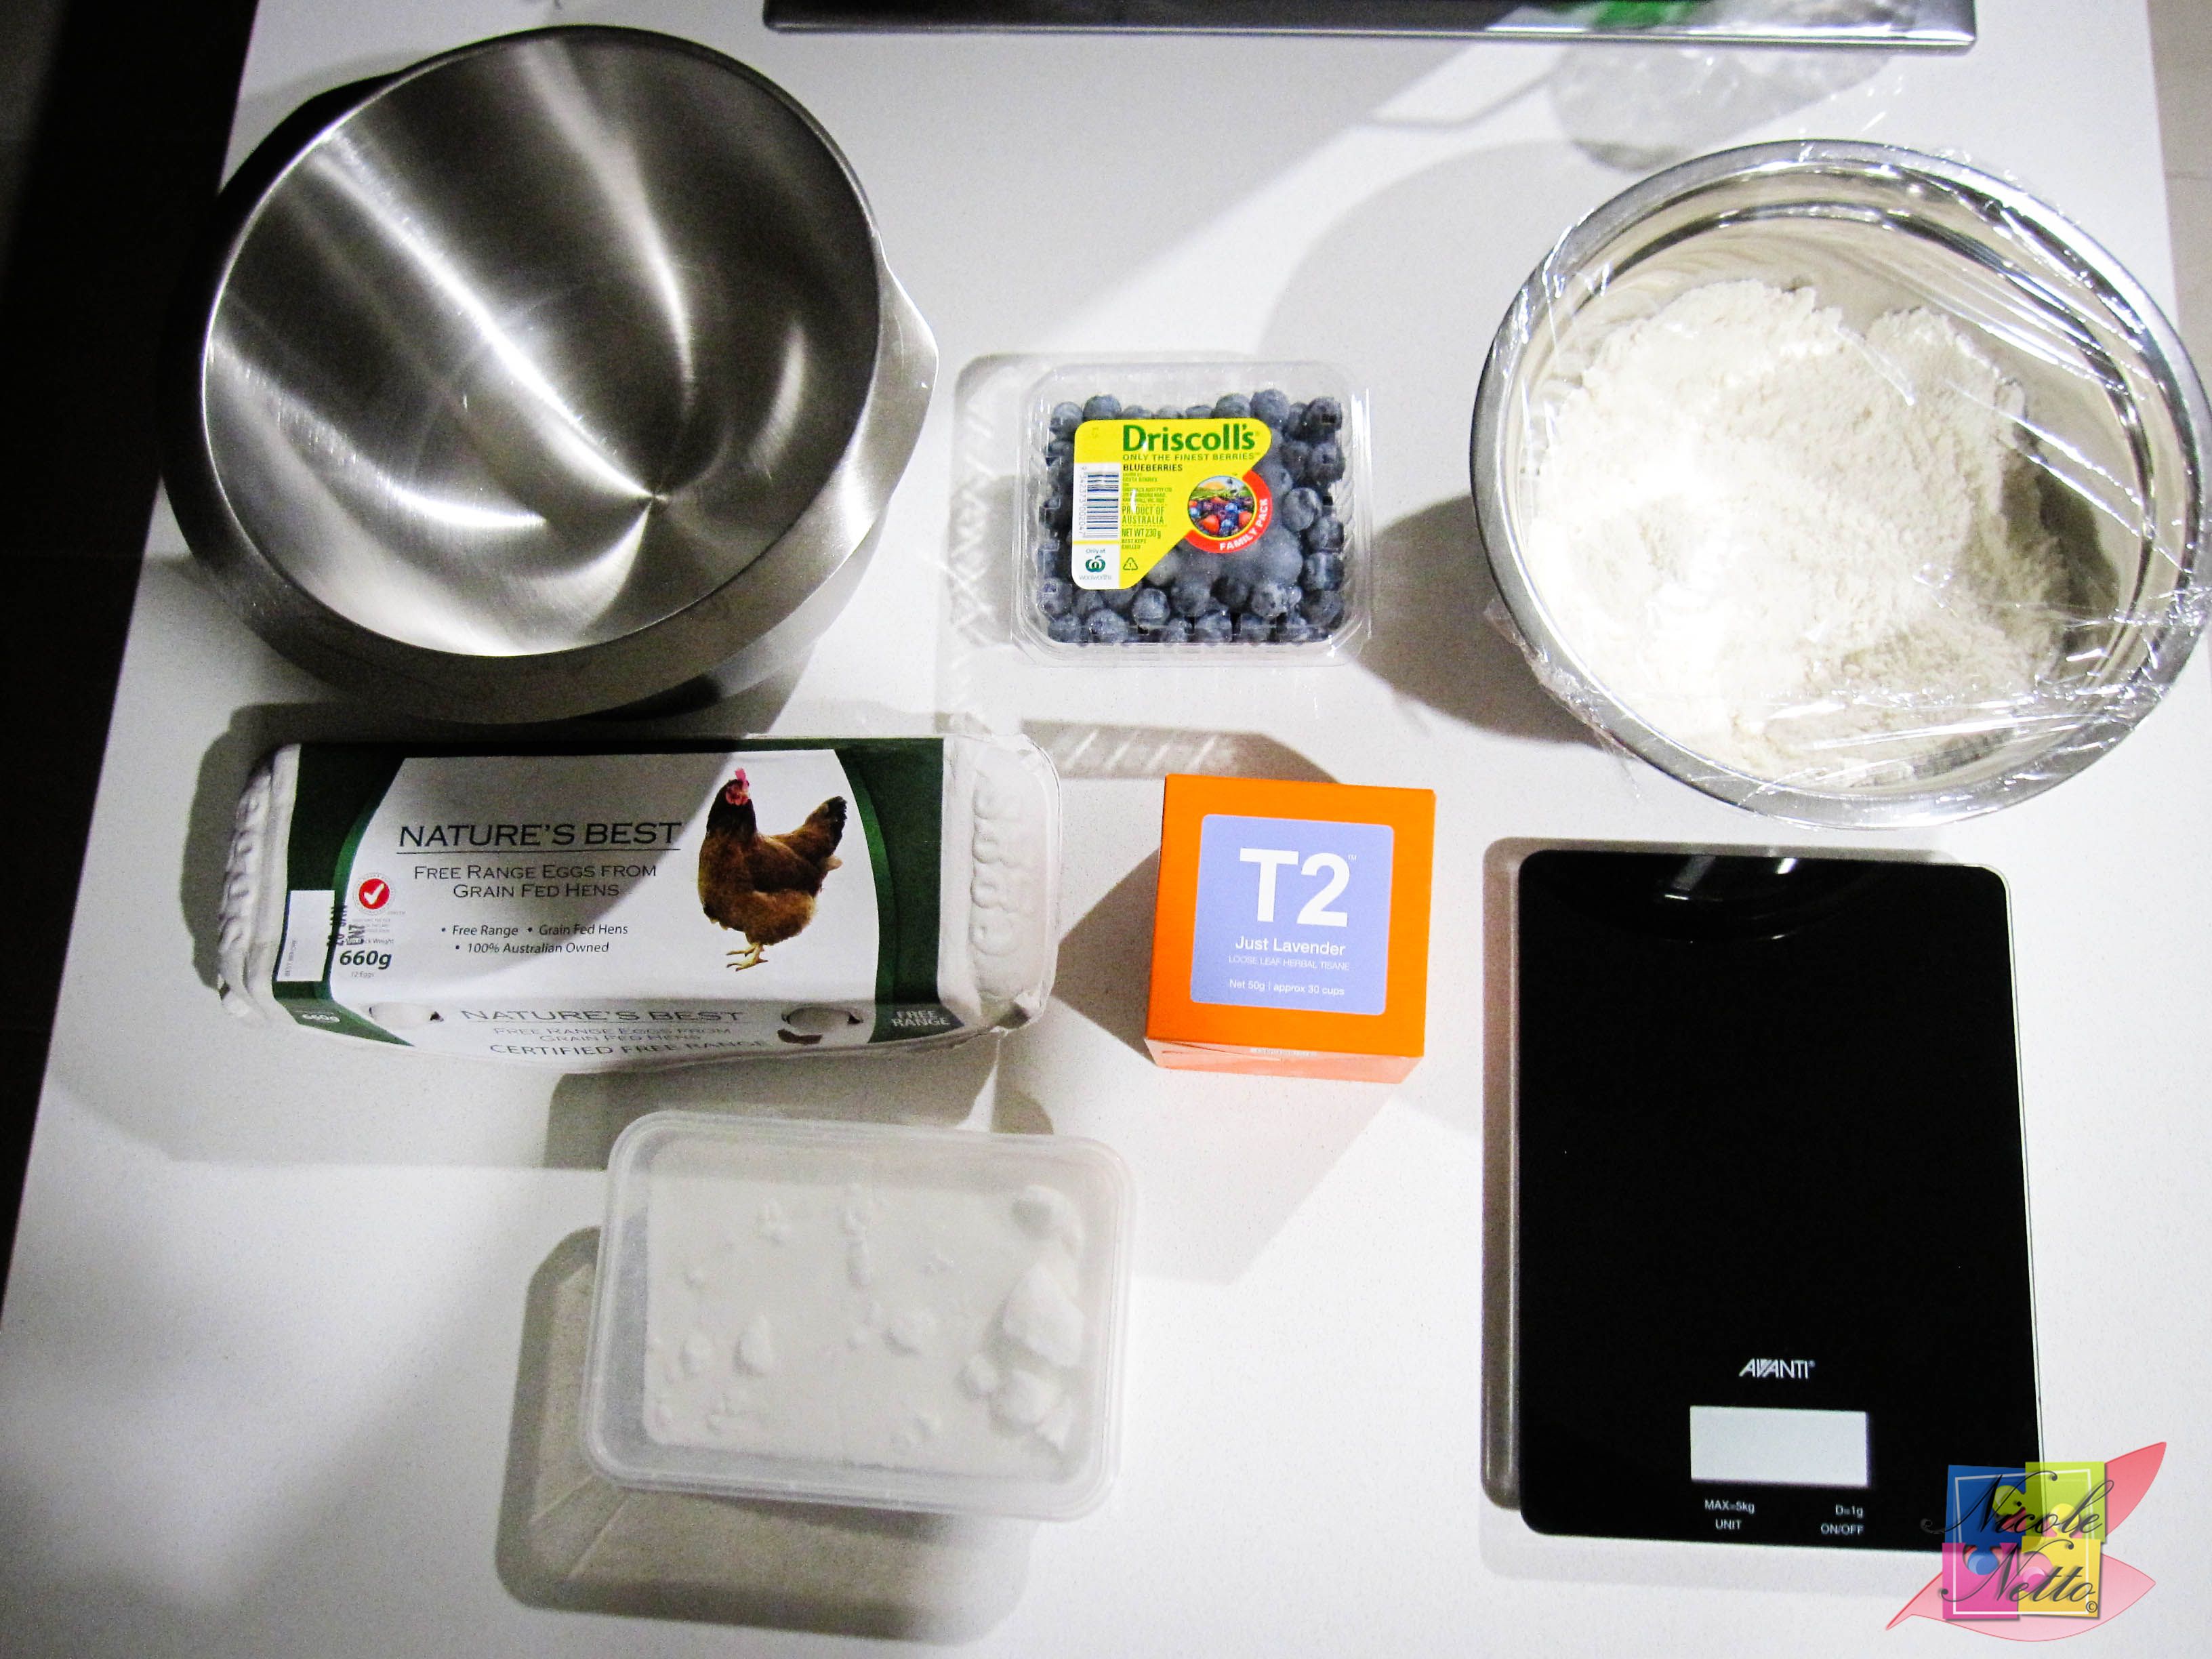
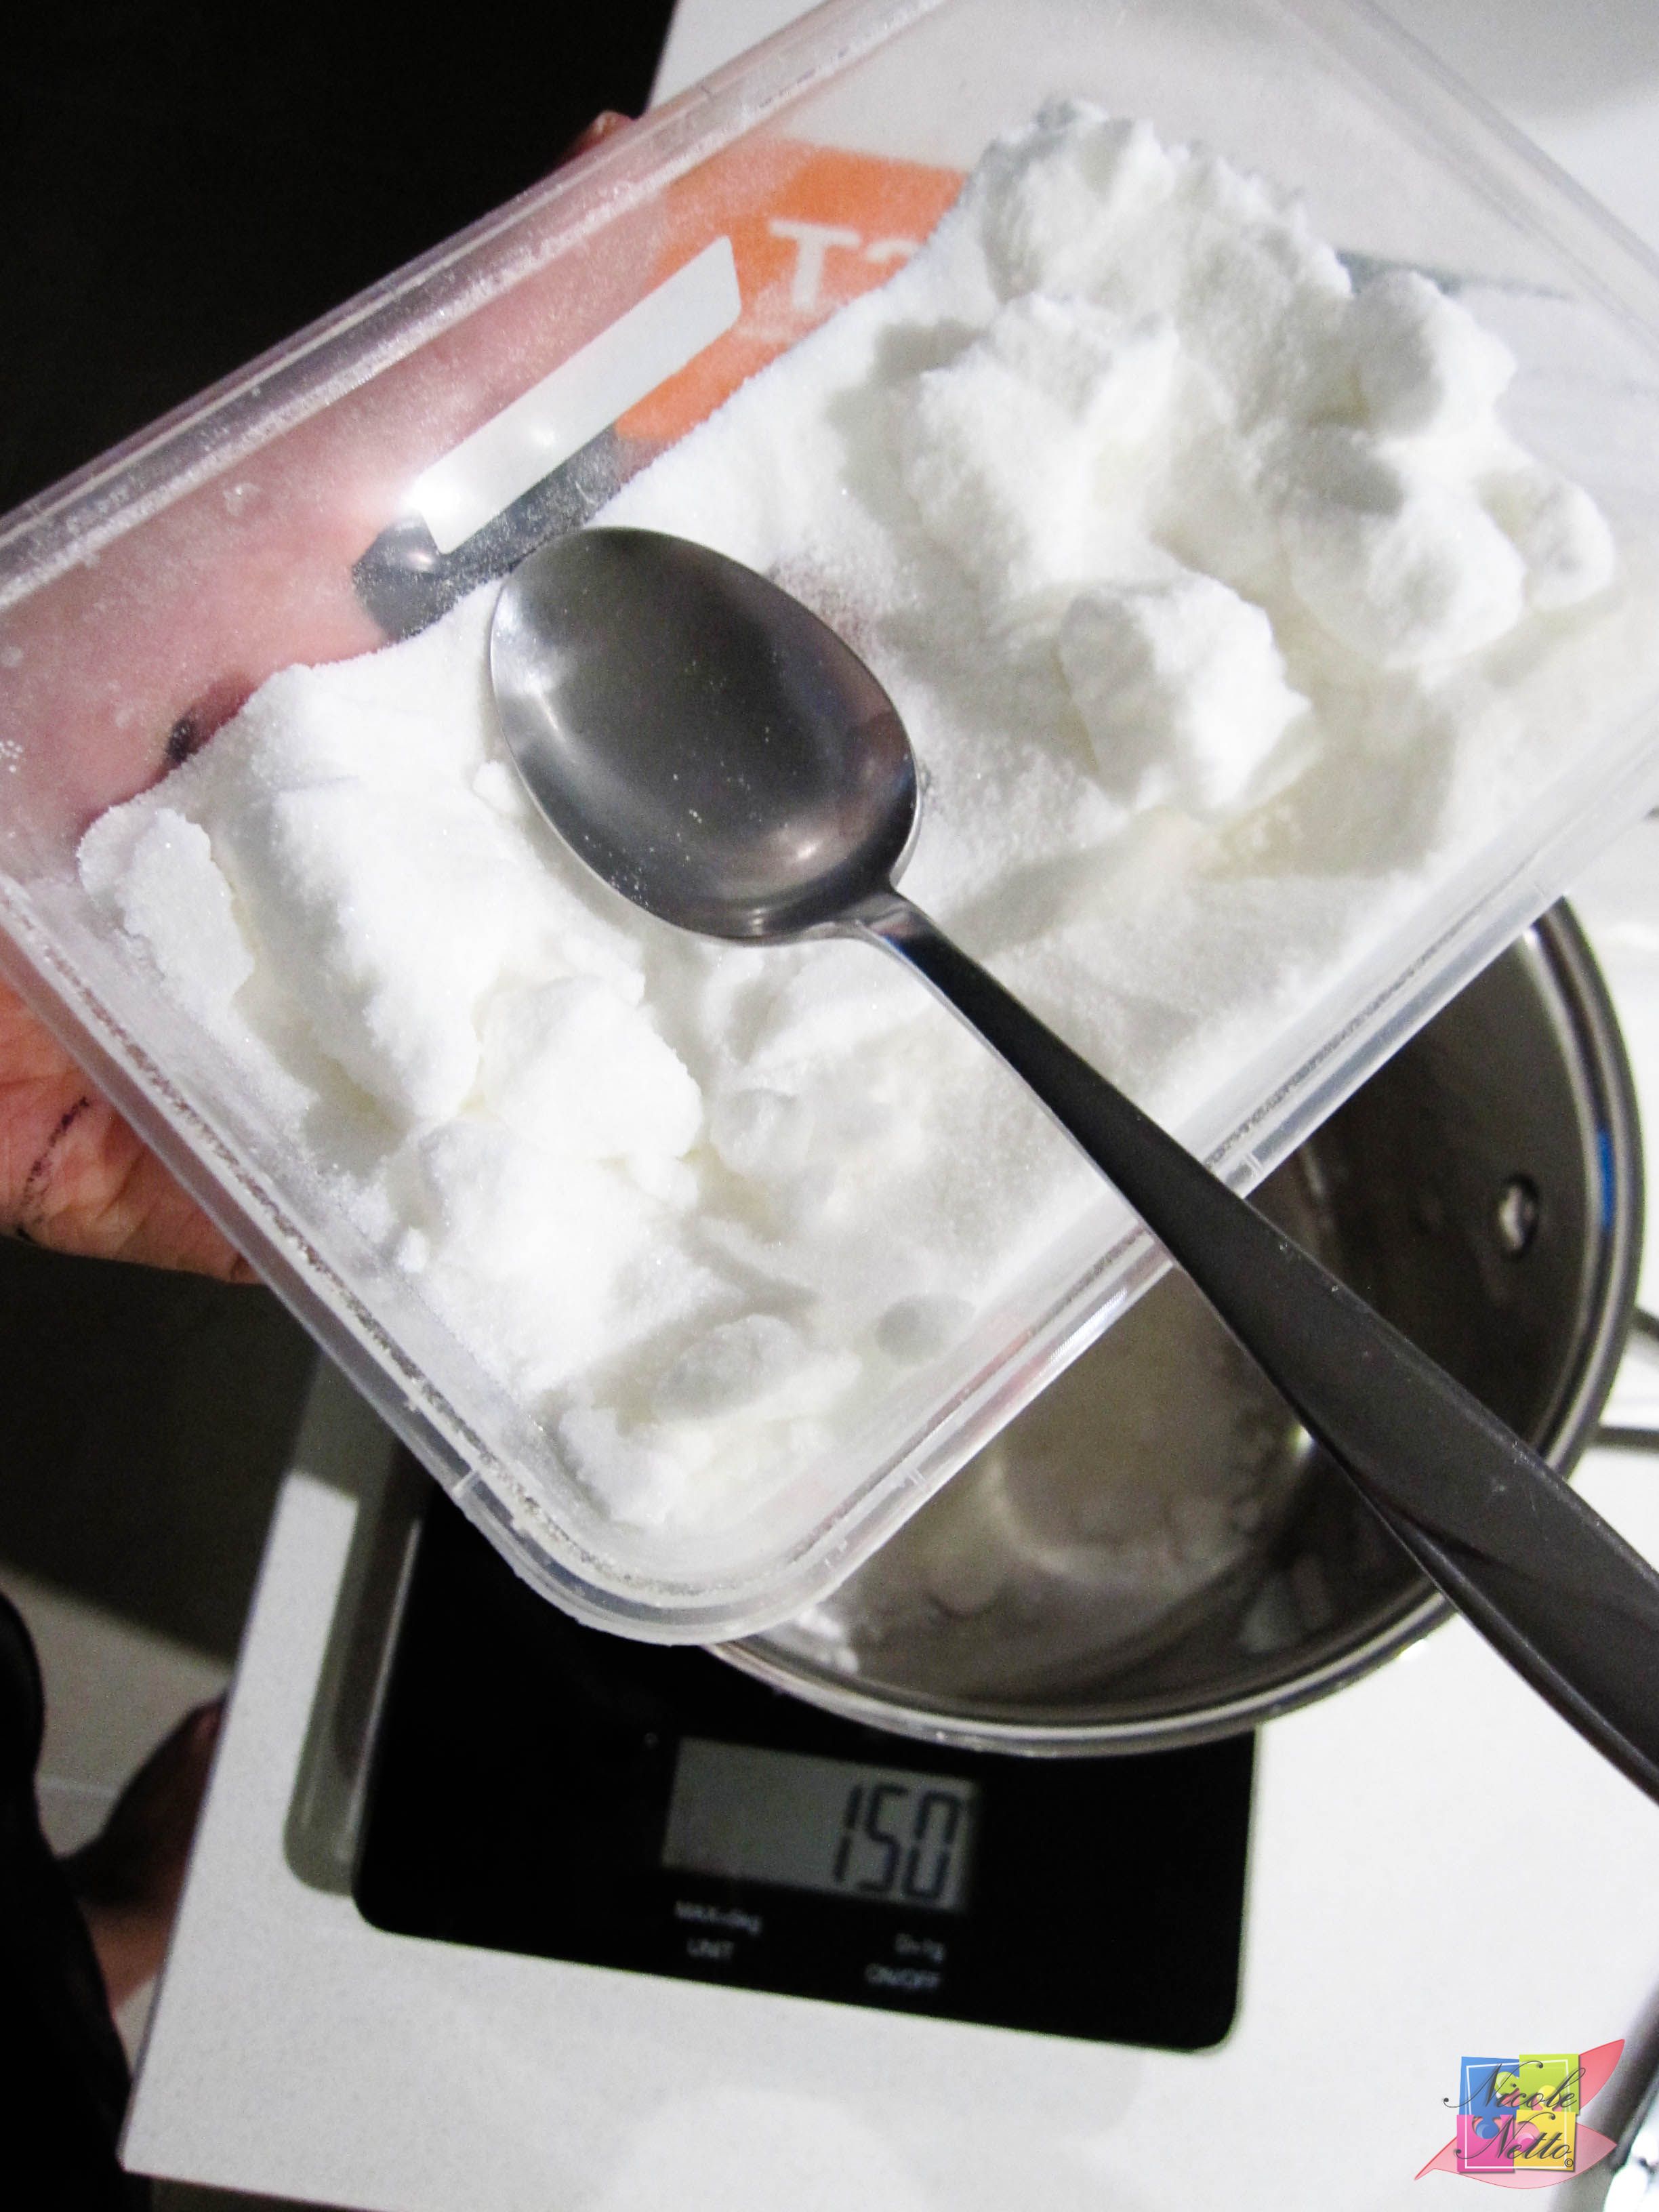
150 gm Almond meal (fine preferred)
150 gm Icing sugar
150 gm Caster sugar
38 gm Water
Food coloring (as per your desired color)
2 x 55 gm egg whites (at room temperature)
TPT, Blueberries, Eggs, Caster Sugar and Lavender
Method – Macaron Shell
Grease a baking sheet and line with appropriately sized non-stick baking paper.
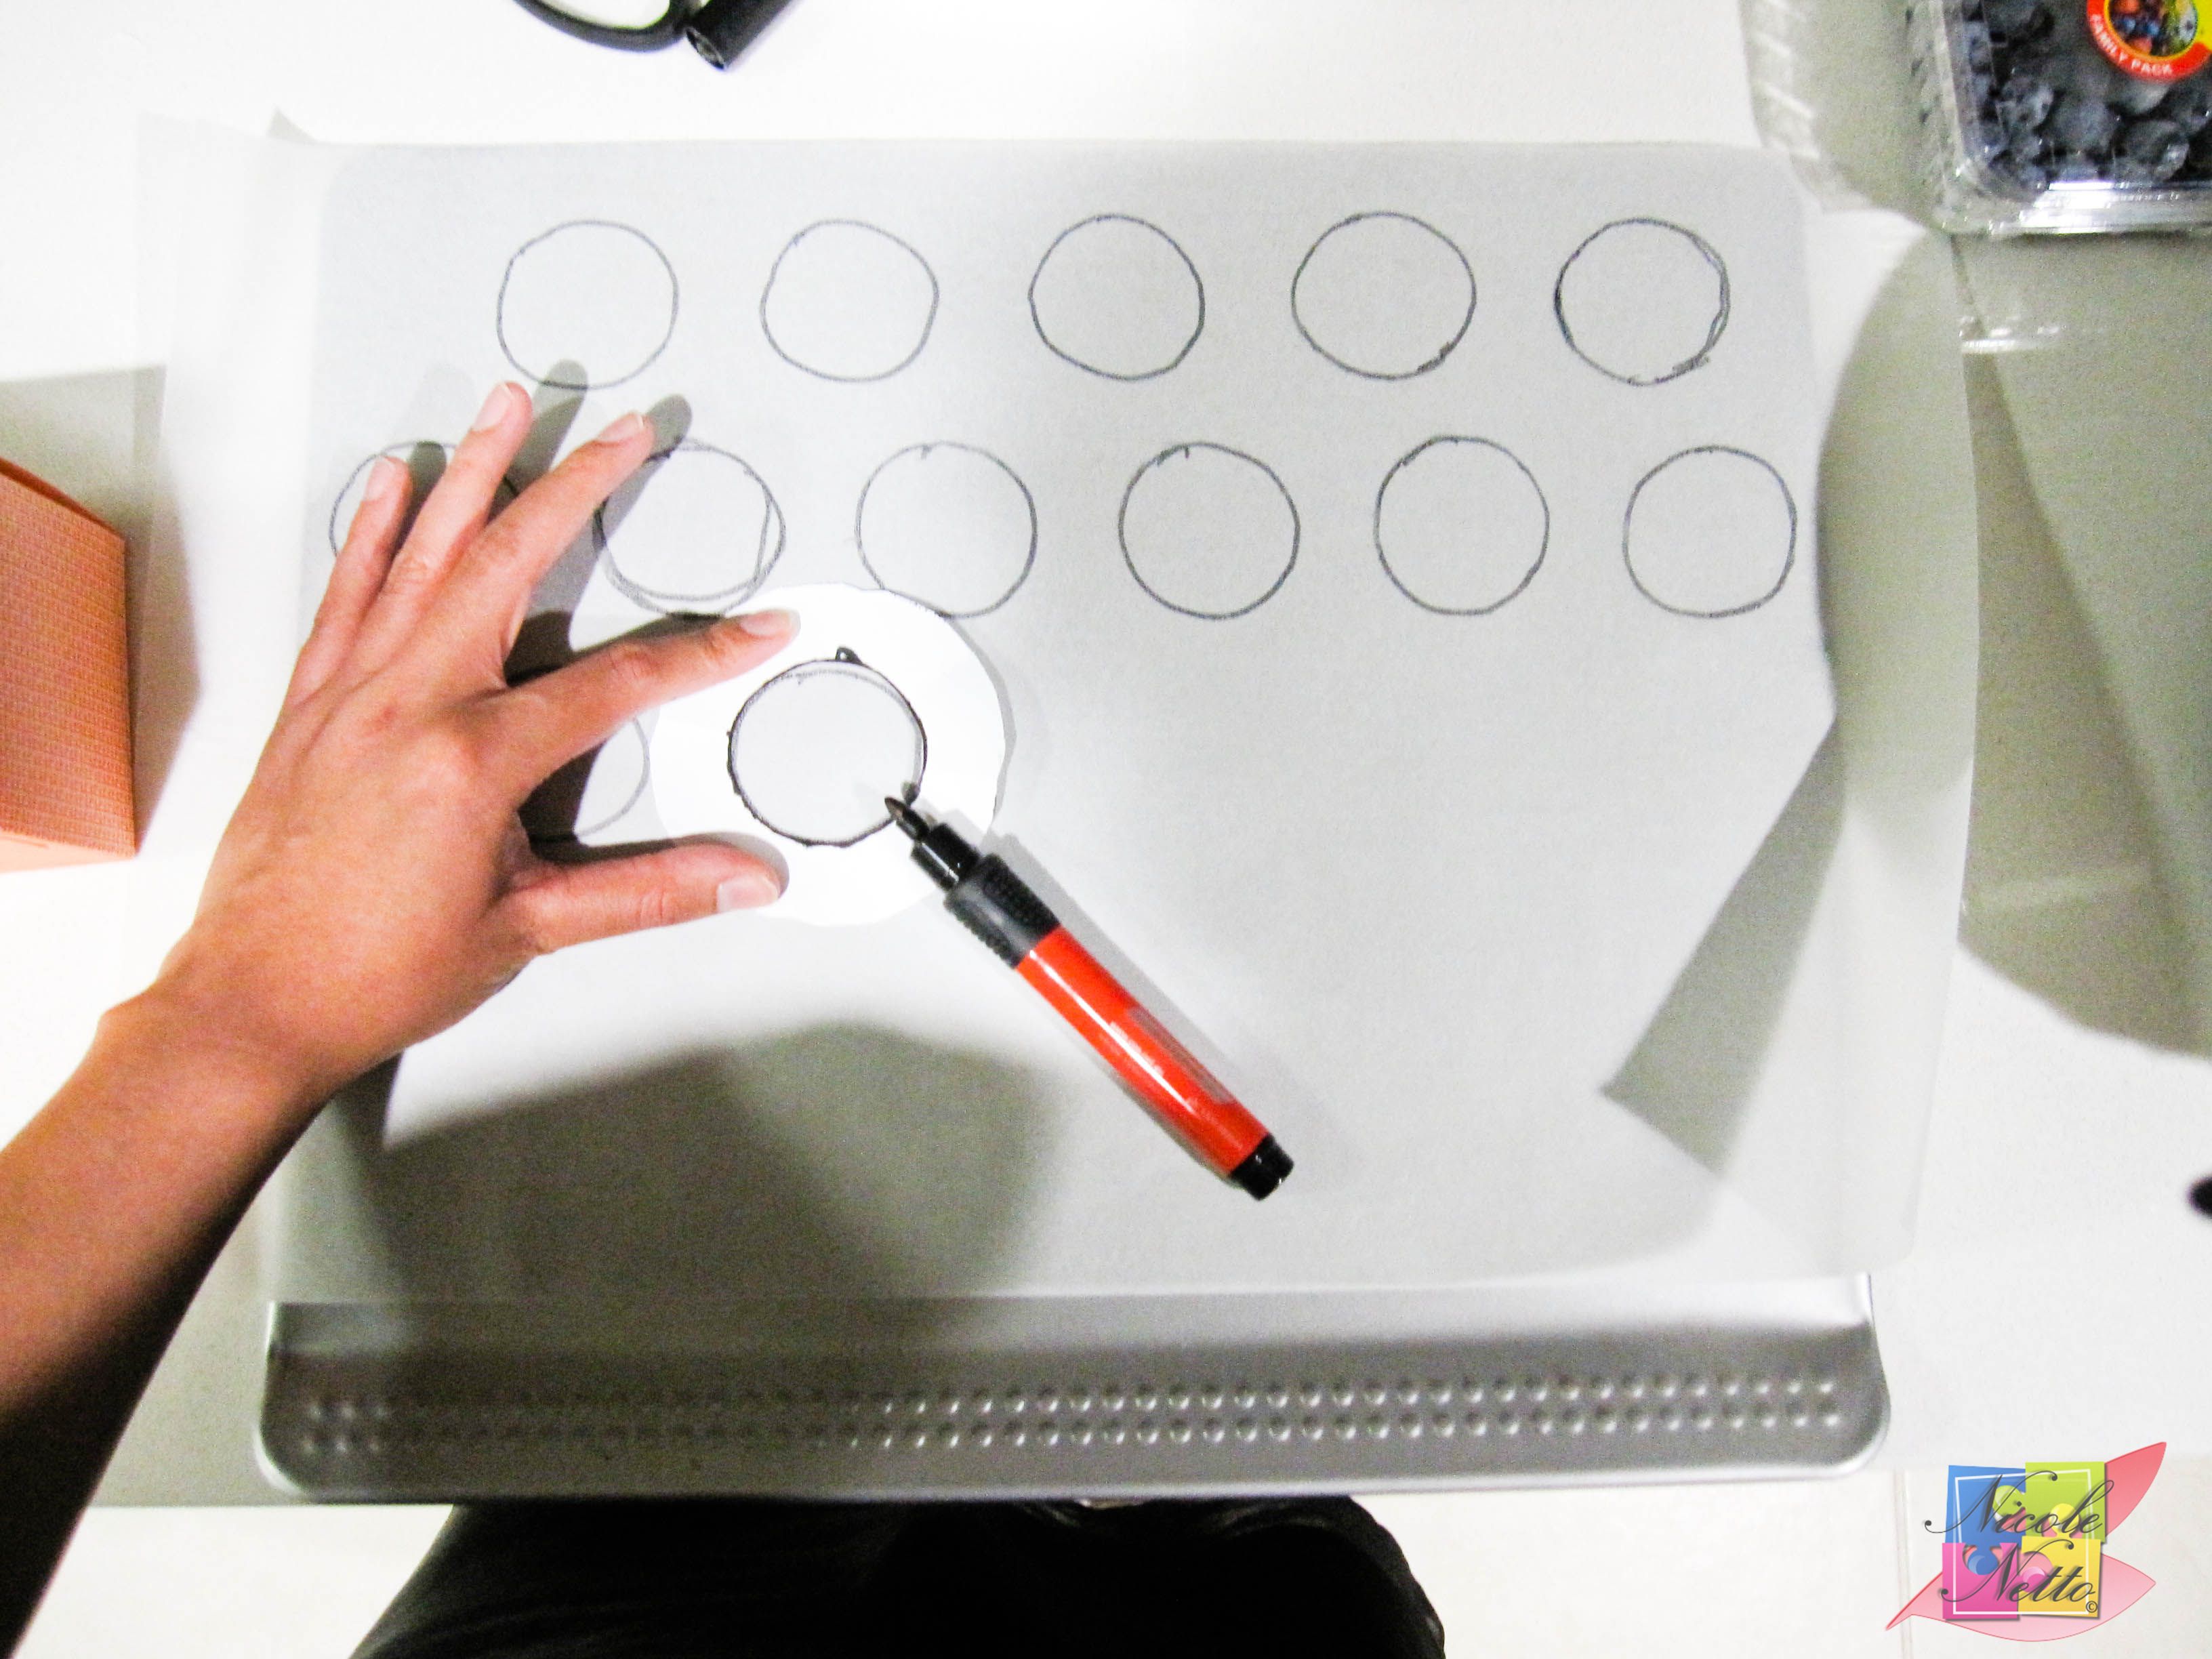
Create a circular template with a diameter of 8cm and cut out an inner circle of diameter 4 – 6 cm. I cut it to 5 cm. Use this template to draw circles on the curvy side of the baking paper, with enough of spacing (use the template as a guide). Flip the baking paper over and set the prepped baking sheet and paper aside.
Note: Using the curvy side ensures that the paper stays in place when flipped over for piping. You can also seal the paper to the baking sheet temporarily by using some of the macaron shell batter in all 4 corners.
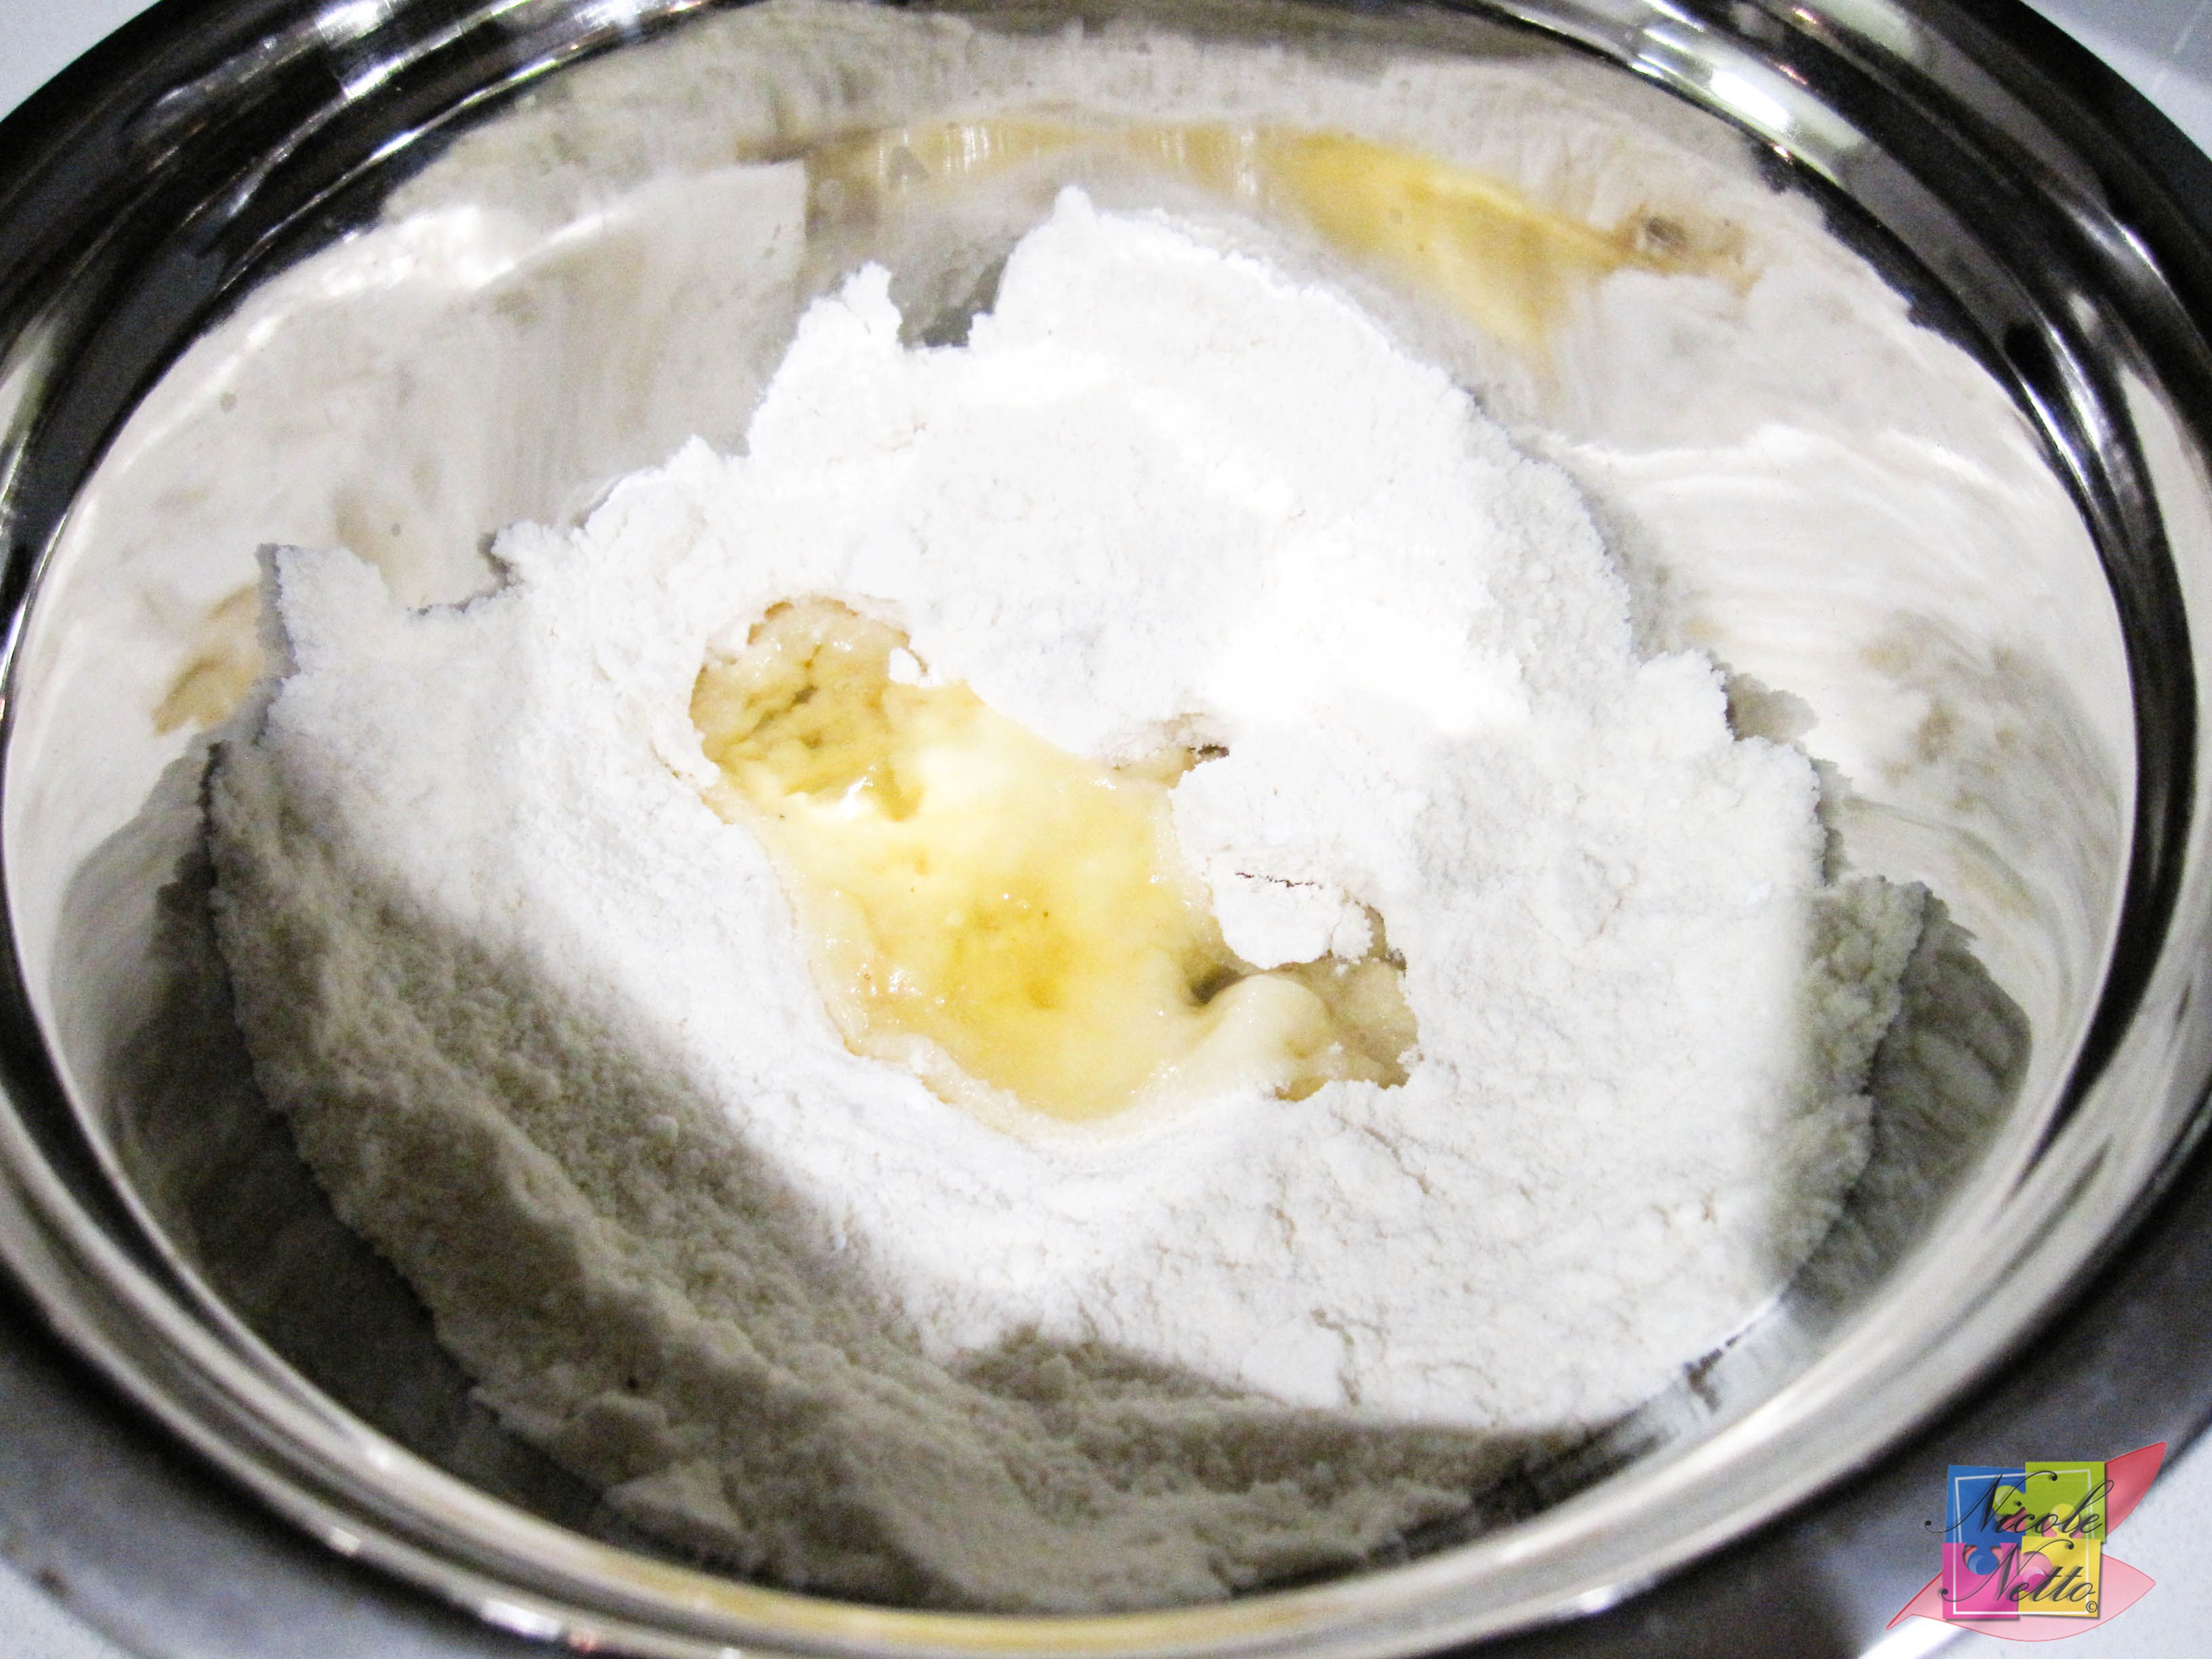
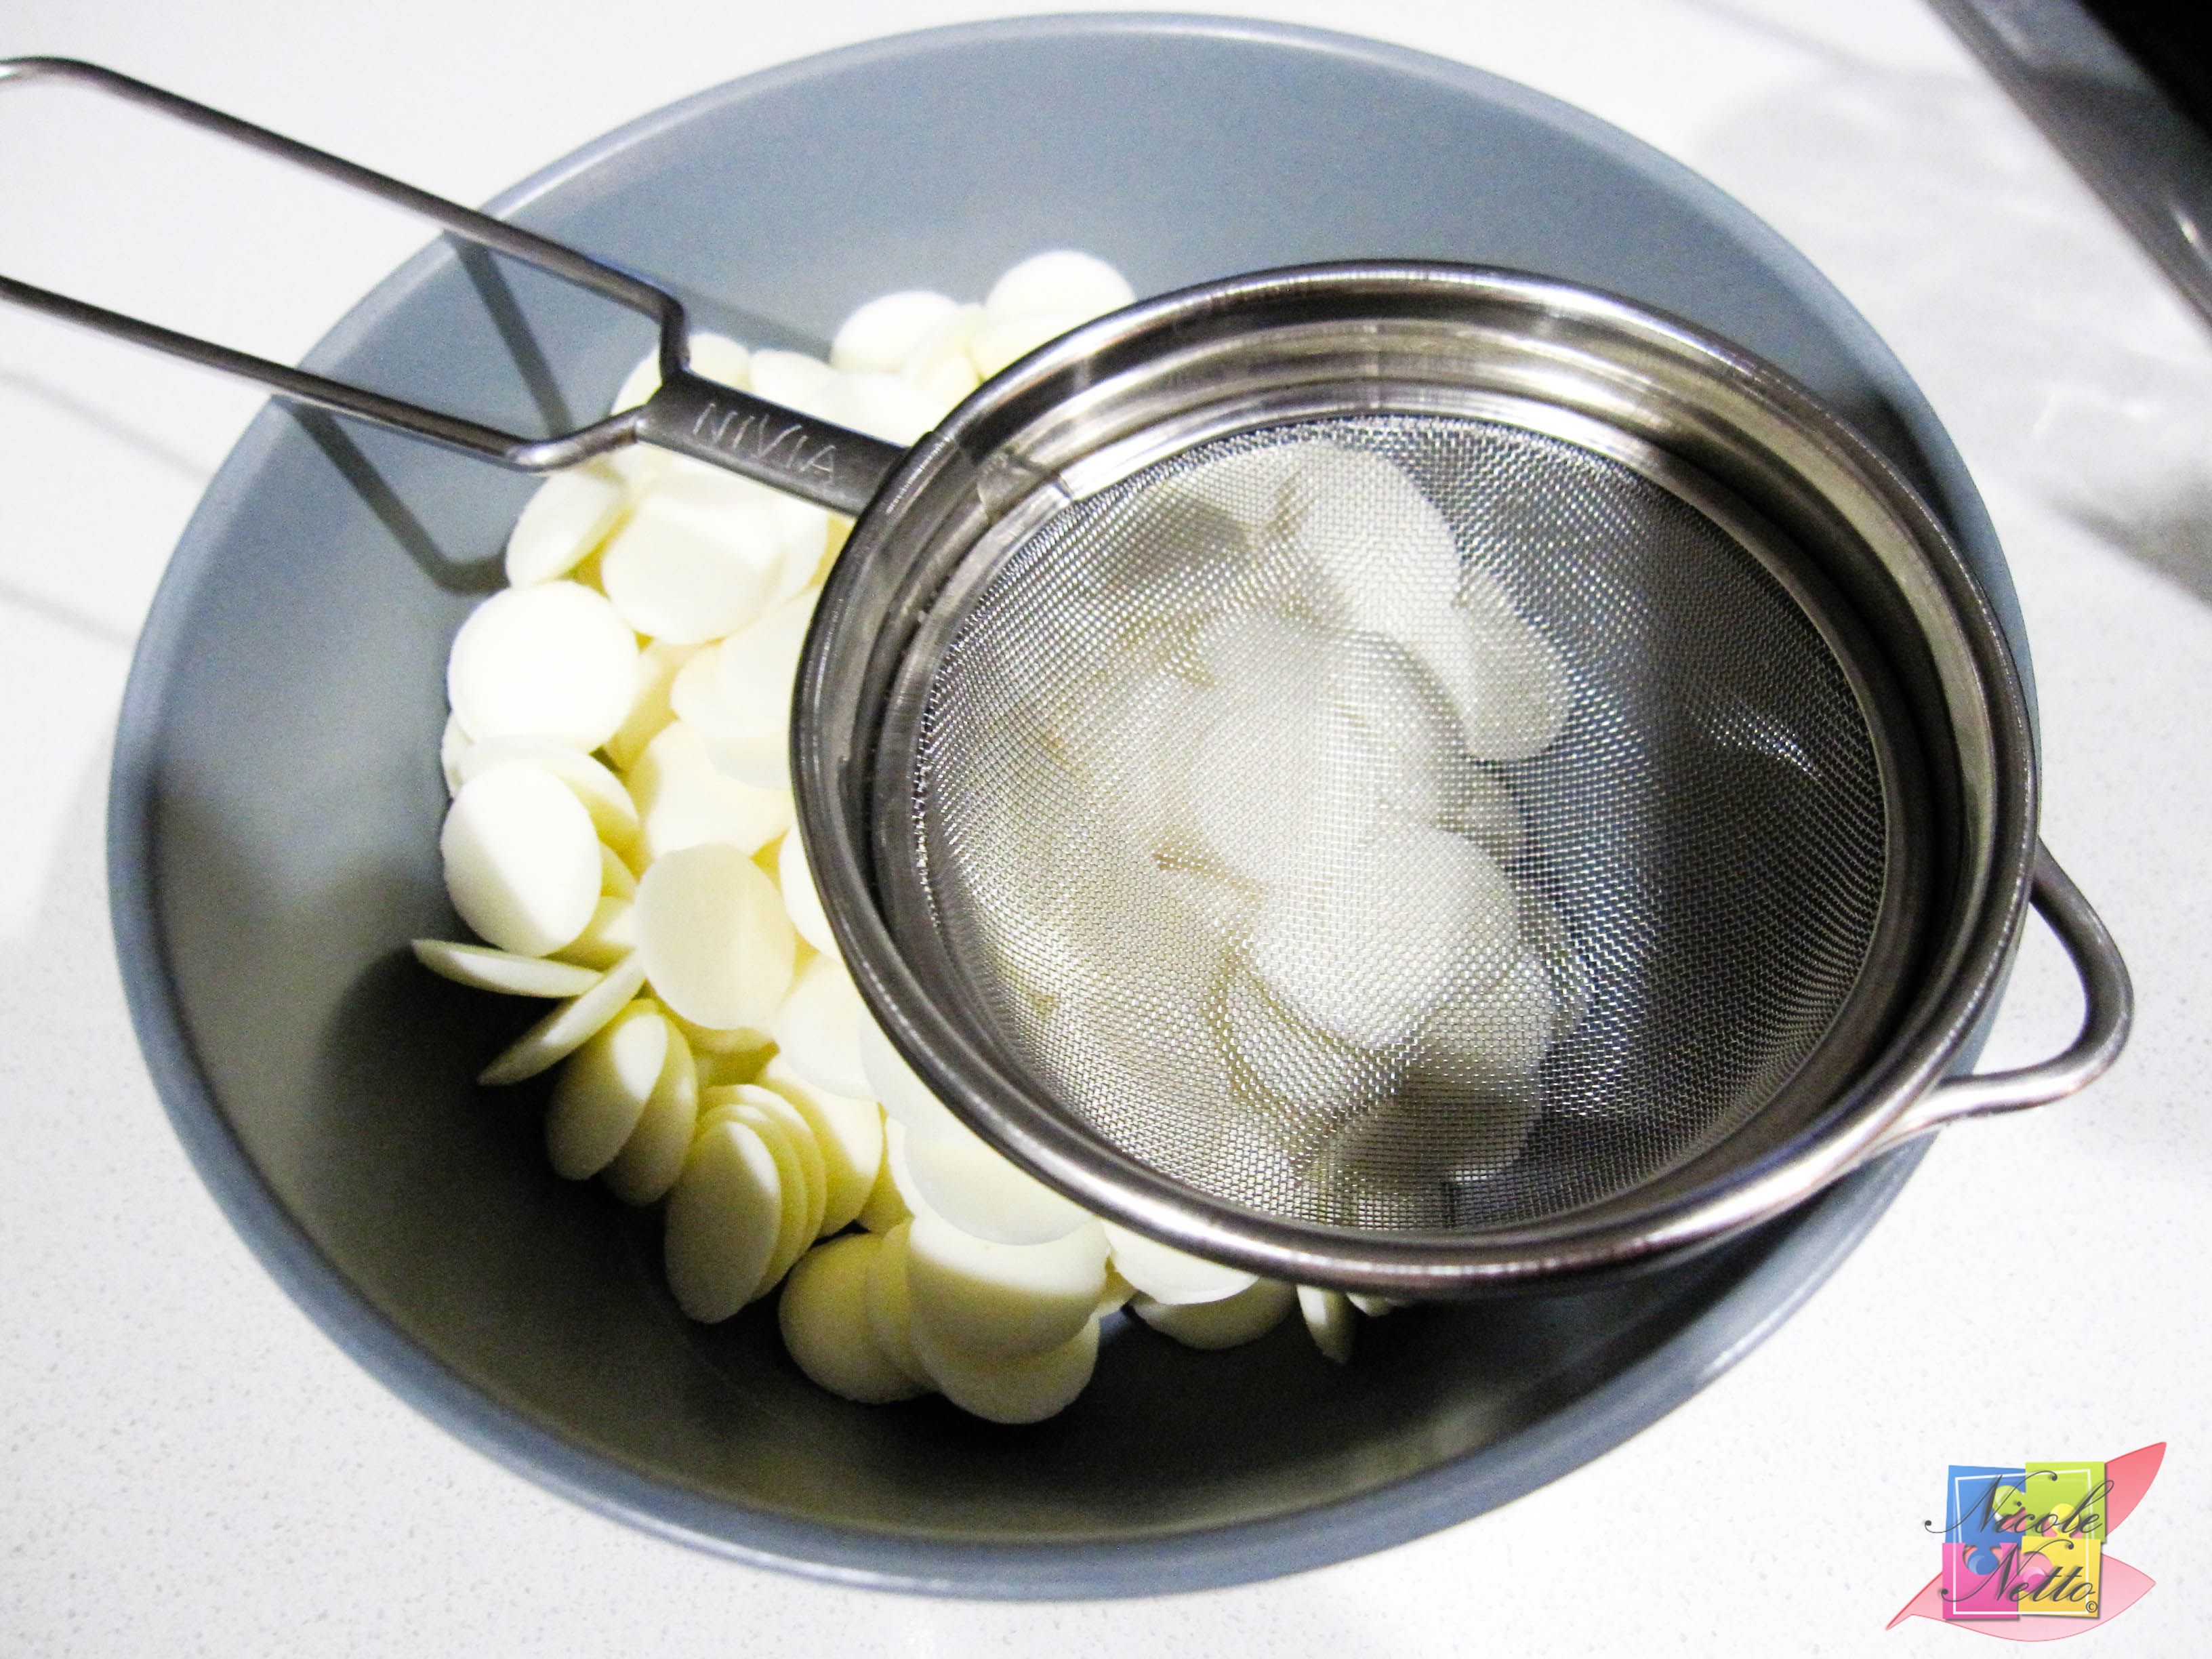
Combine the almond meal and icing sugar in a bowl (TPT mixture). Using a spoon or nylon/ silicone kitchen scraper to push this mixture through a fine sieve into a large bowl. This ensure a smooth mixture.
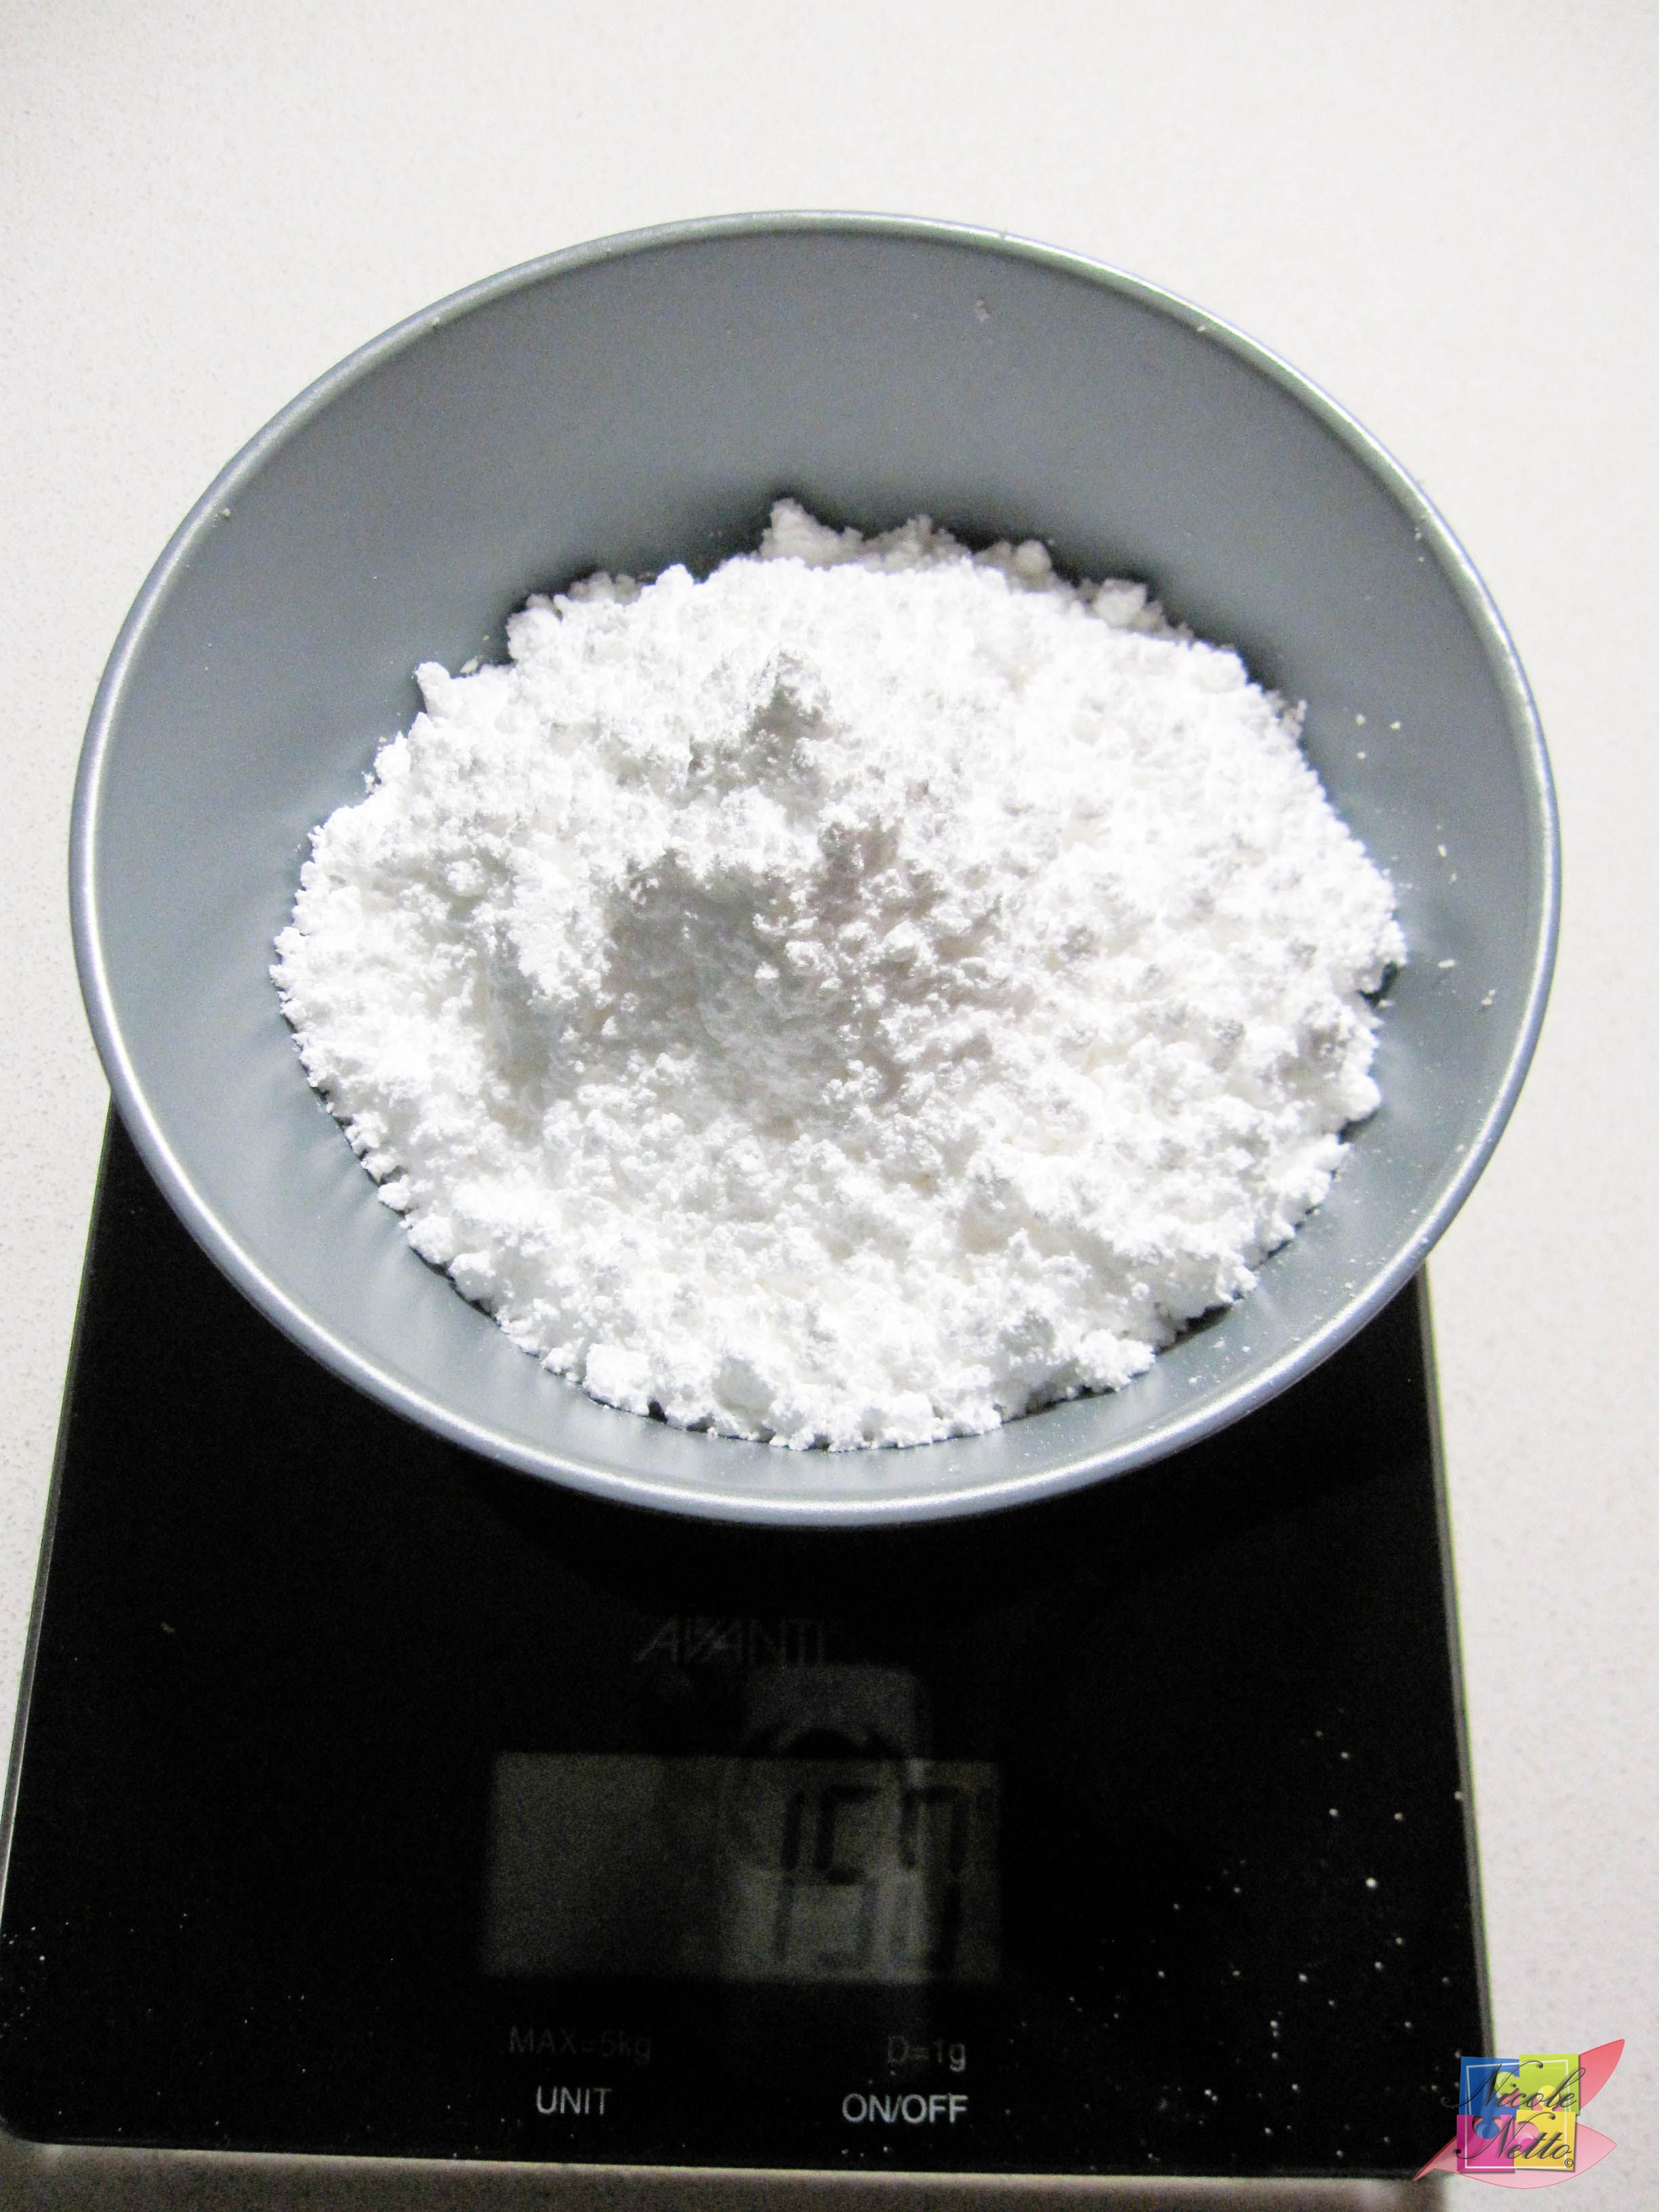
150 gm Icing sugar
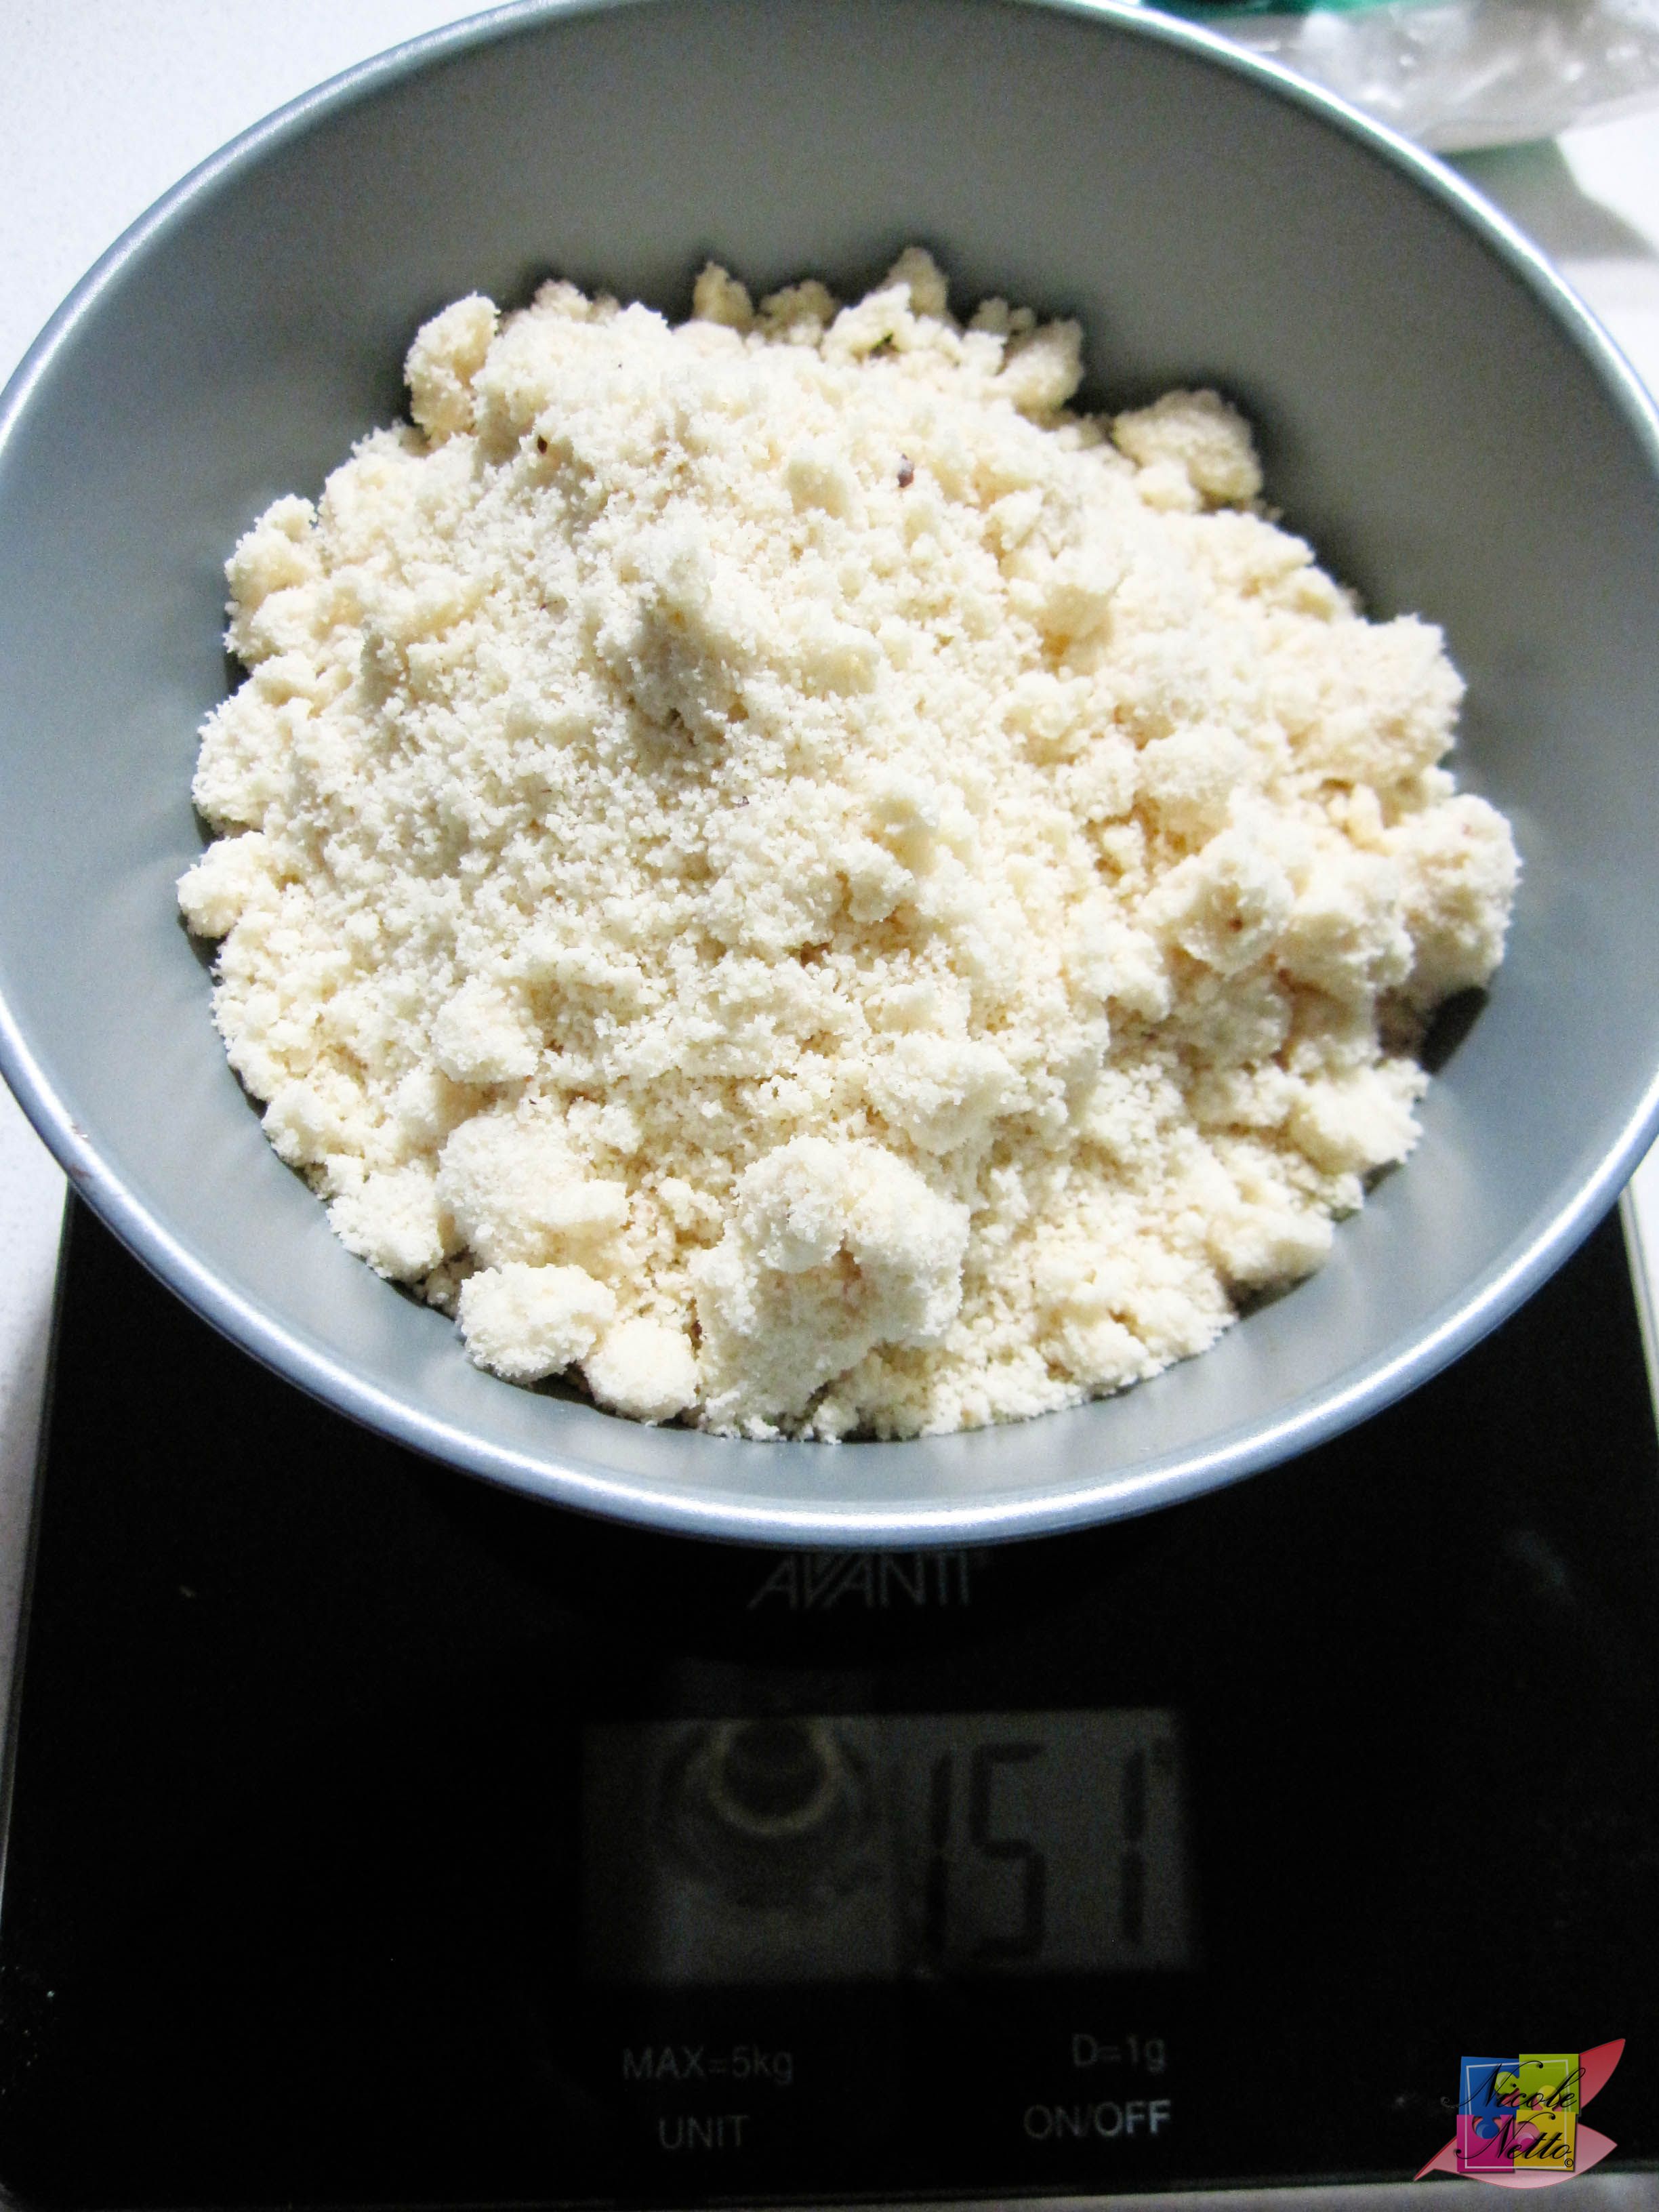
150 gm Almond Meal
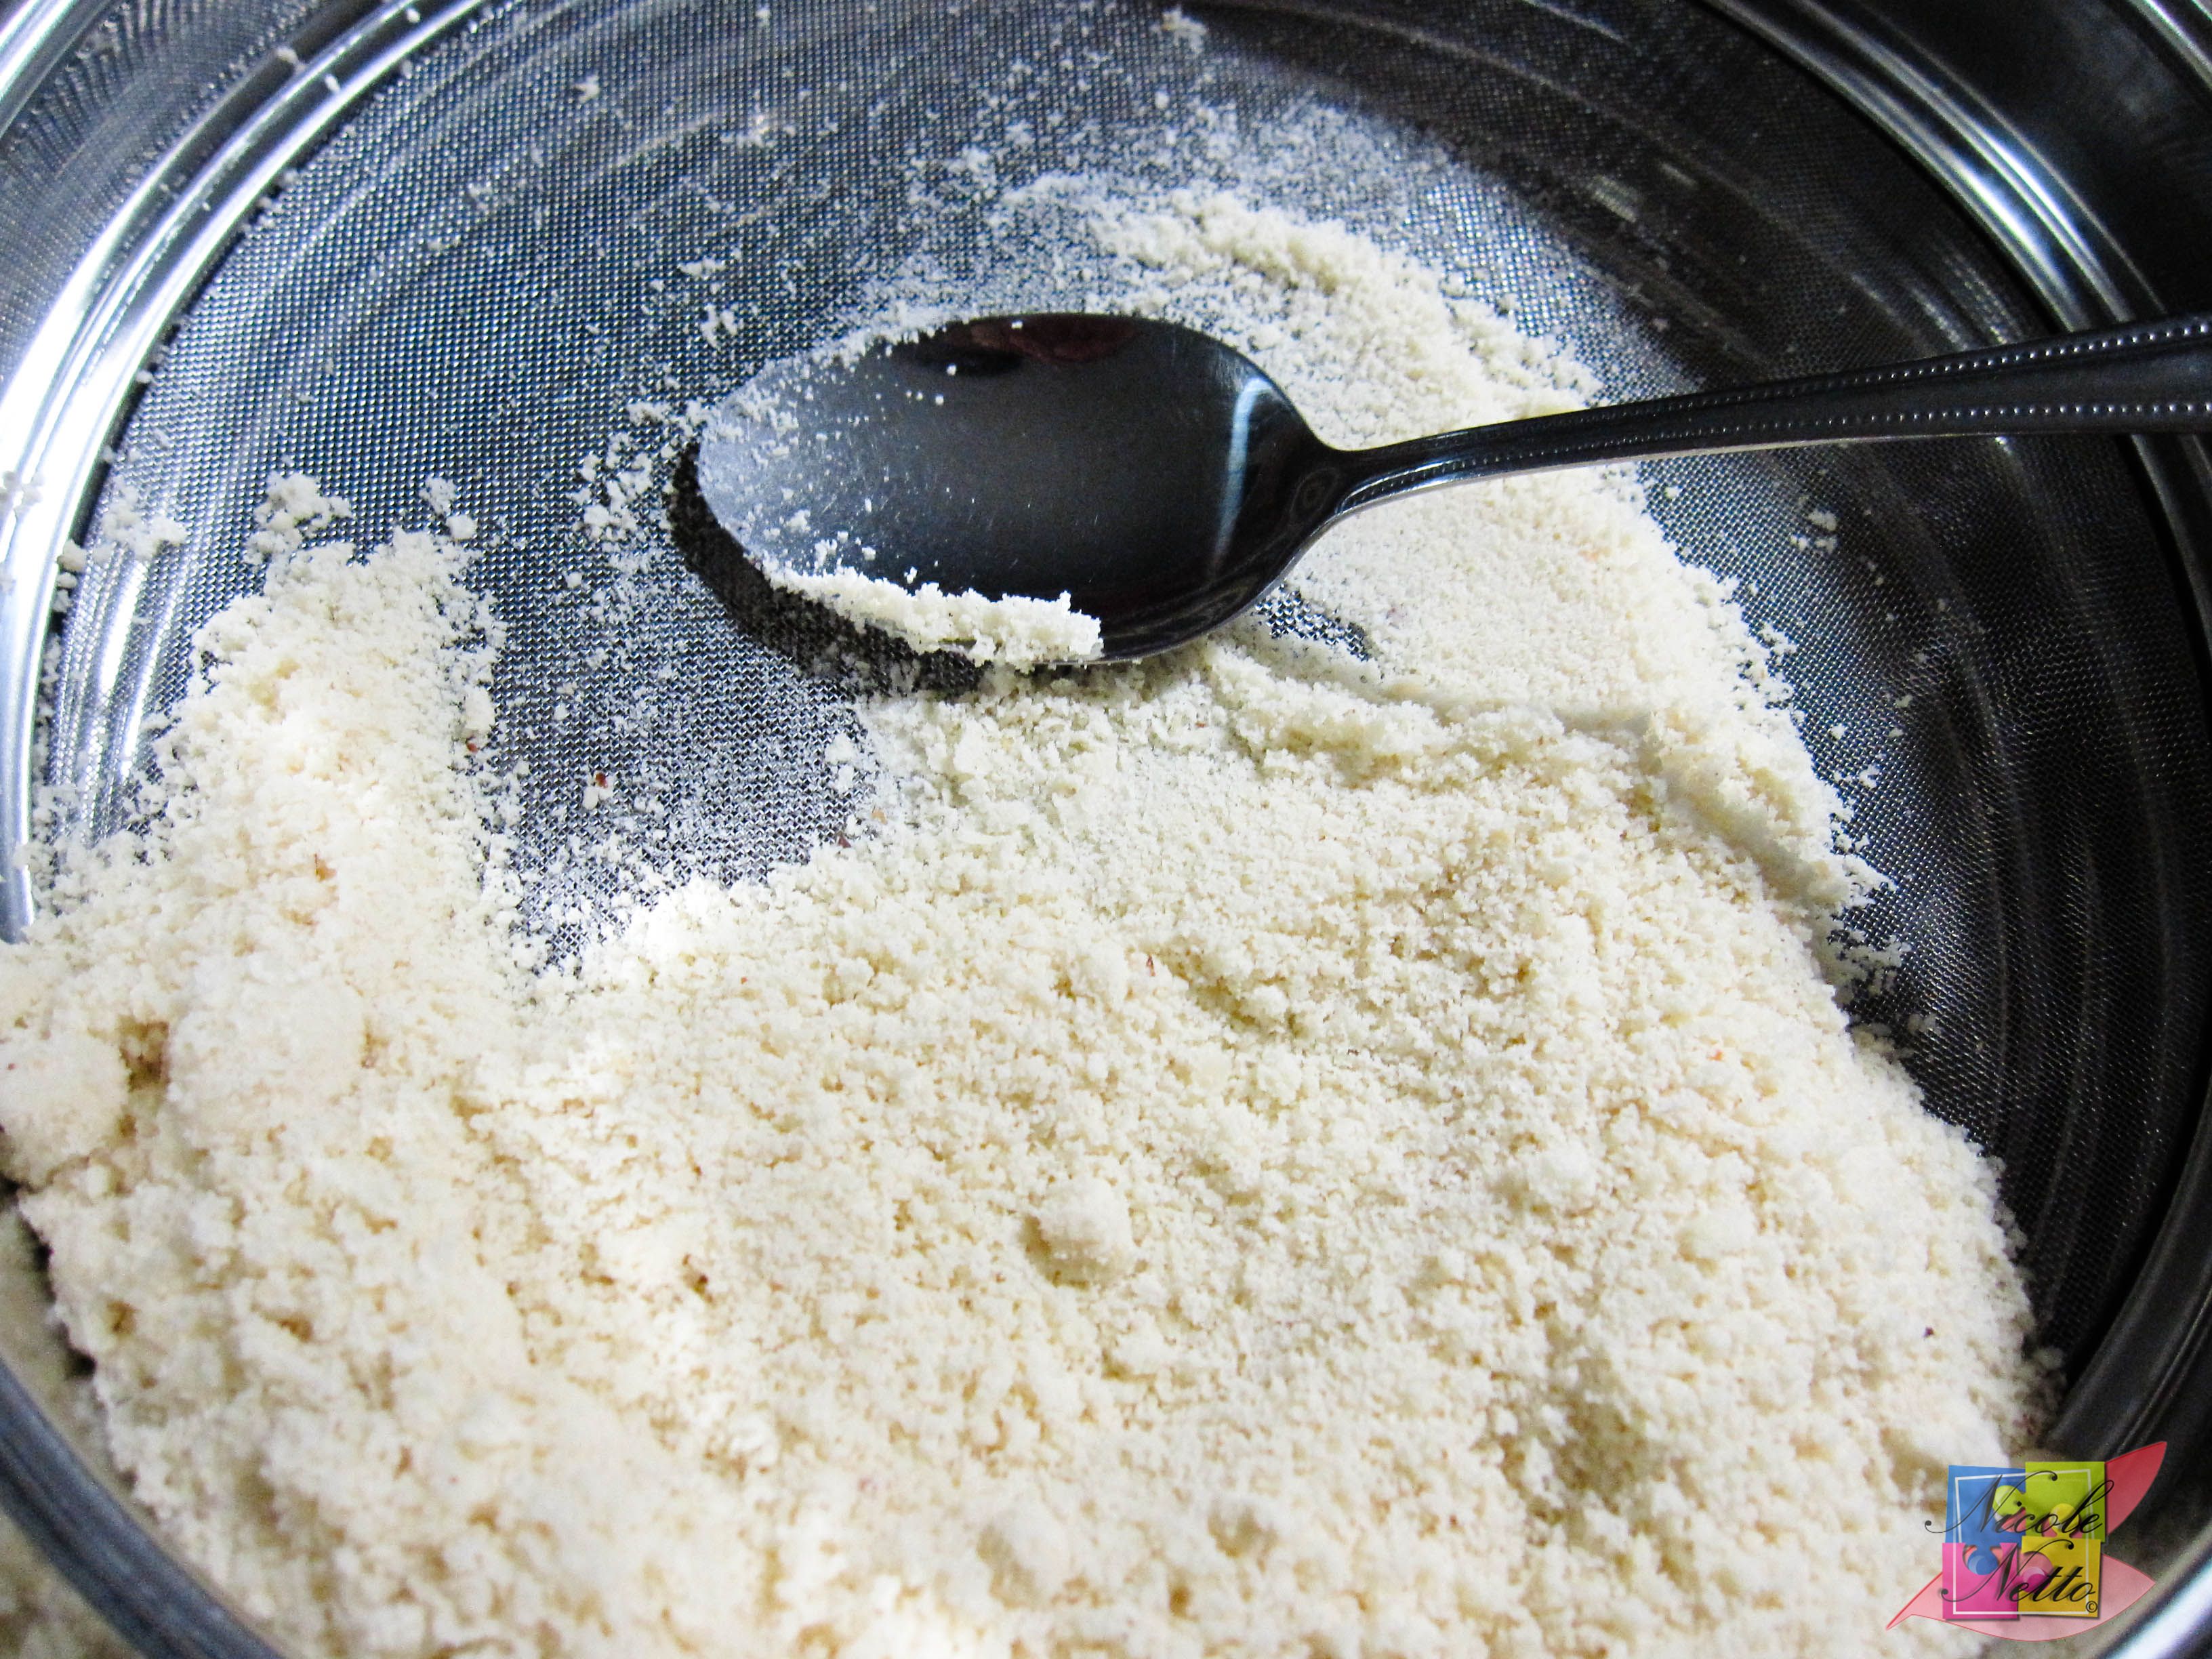
Passing the TPT mixture through a fine sieve with a spoon

Passing the TPT mixture through a fine sieve with a nylon scraper
Put 55 gm of the egg whites in an electric mixer (or by hand) with a whisk attachment and begin whisking until the egg whites are frothy and lightly peaked – keep an eye on this.

Egg whites and yolks seperated
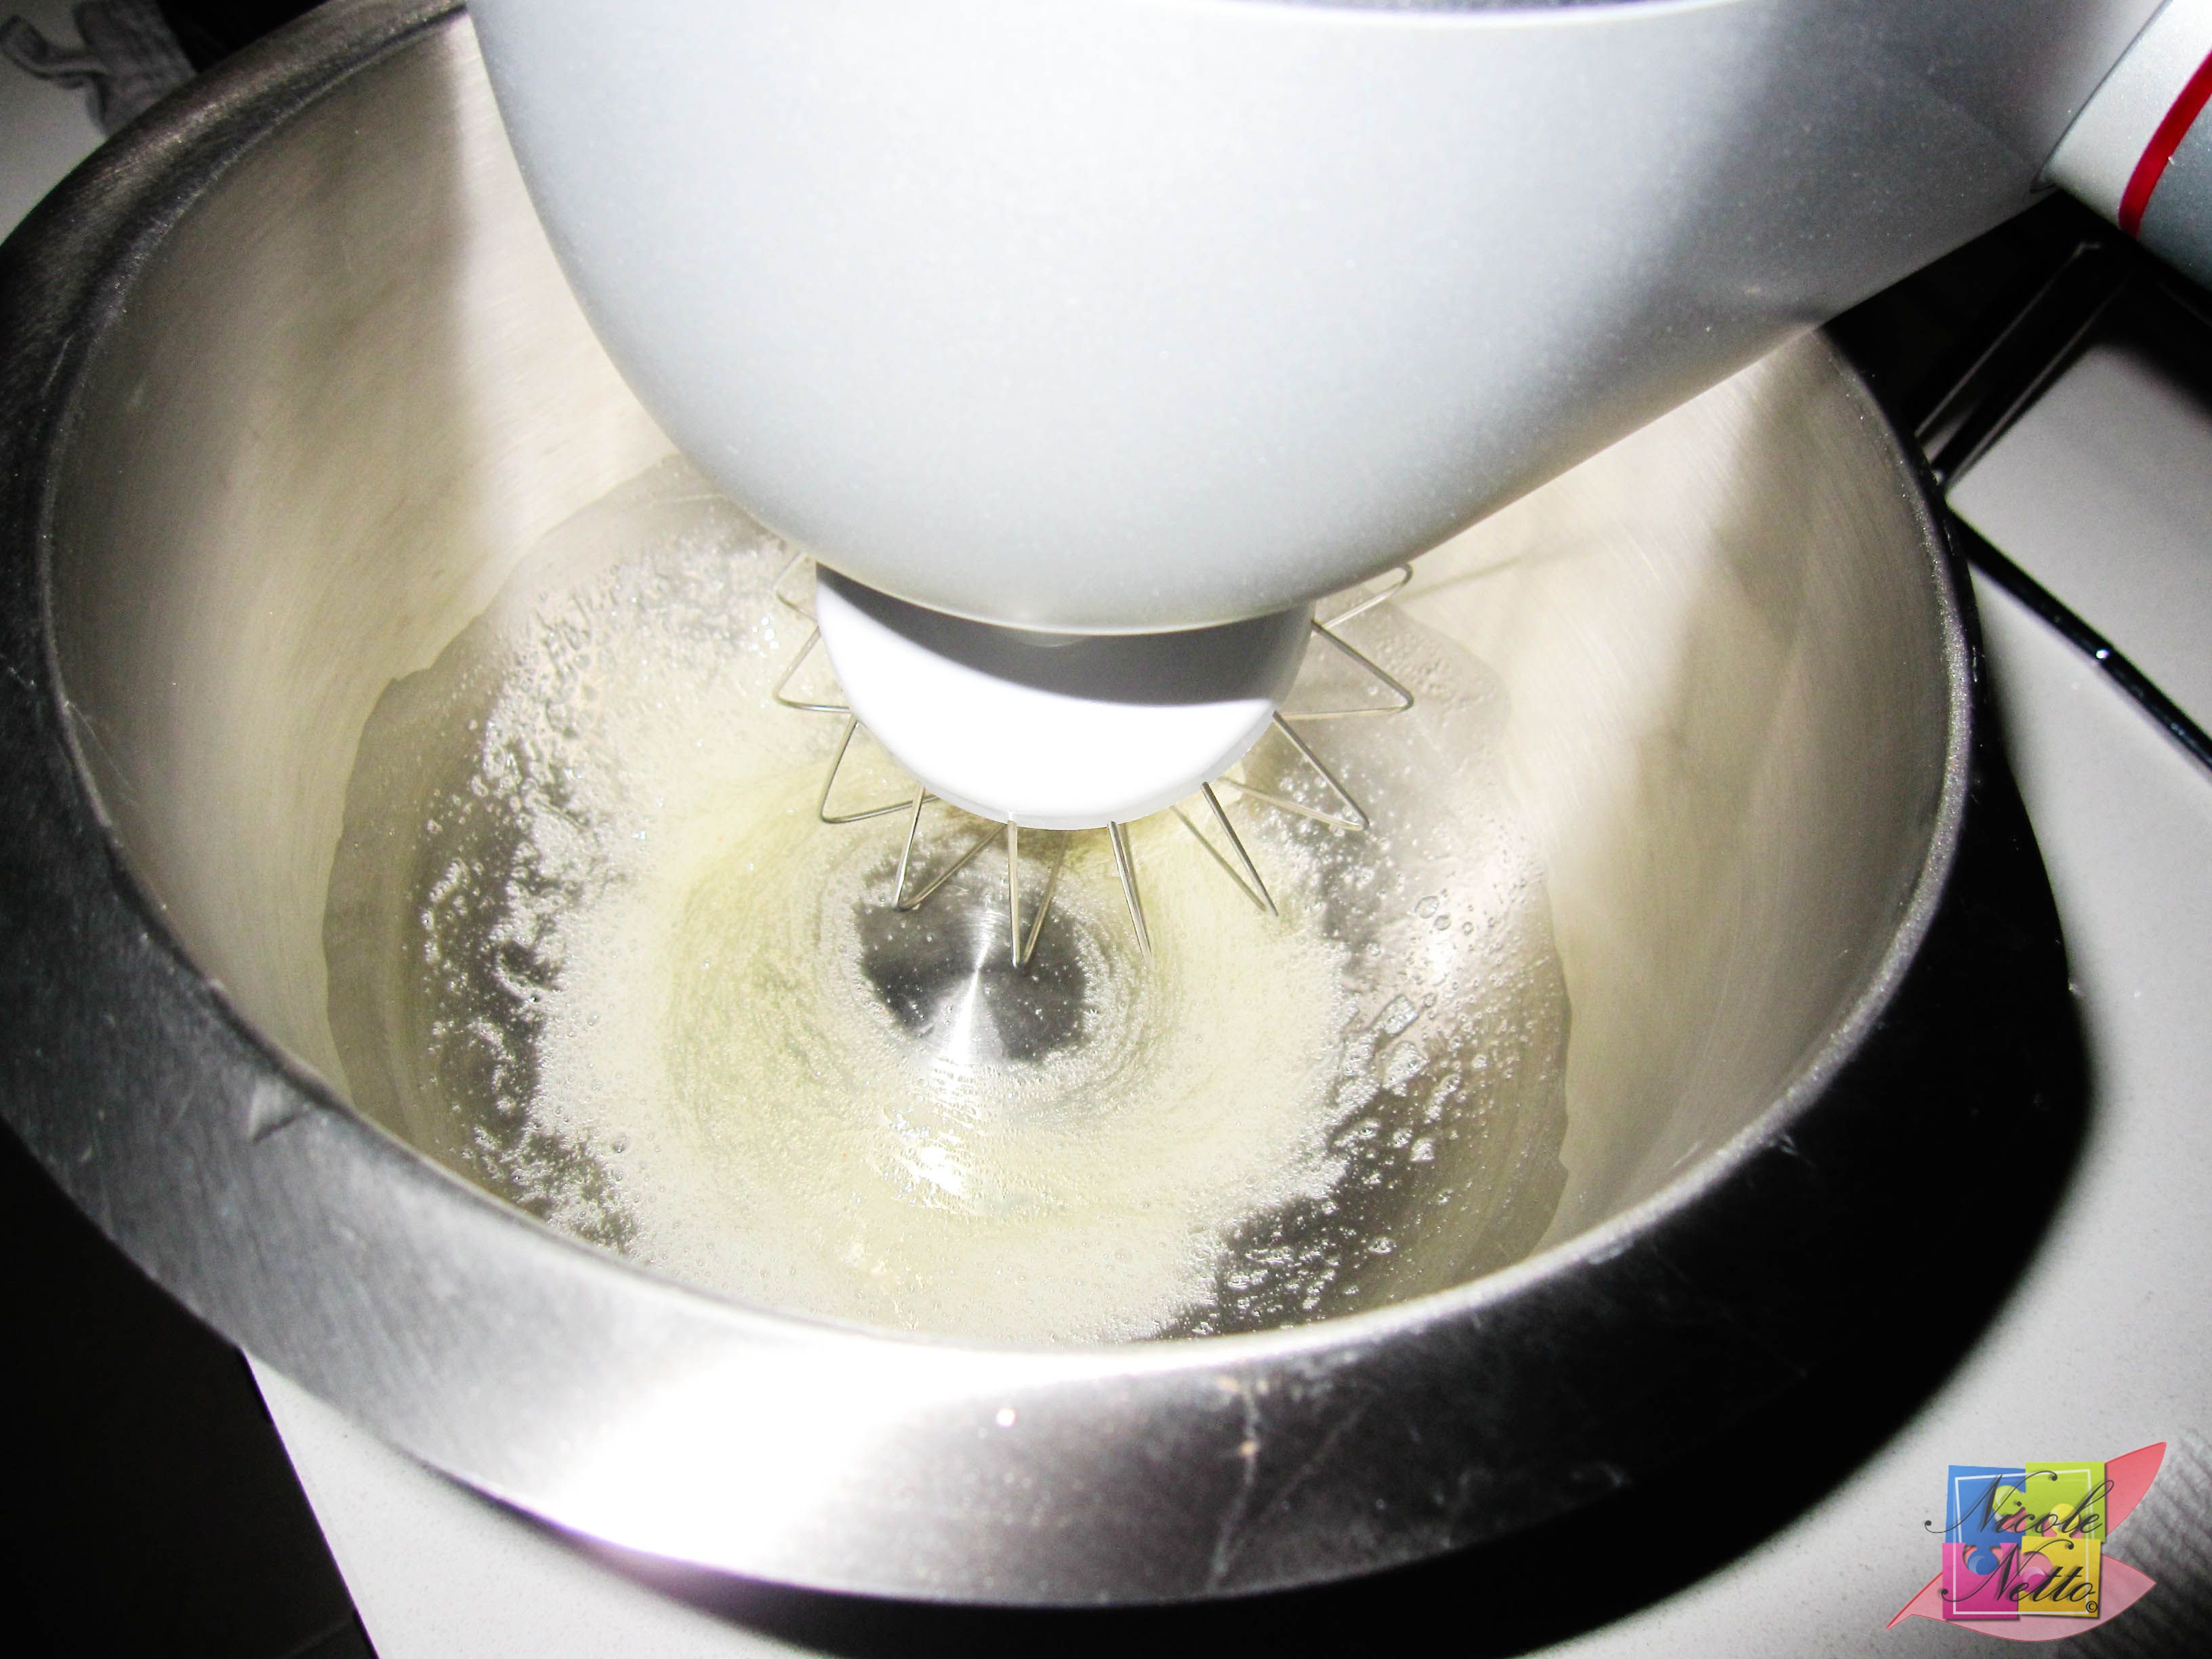
Whisking 55 gm of the egg whites
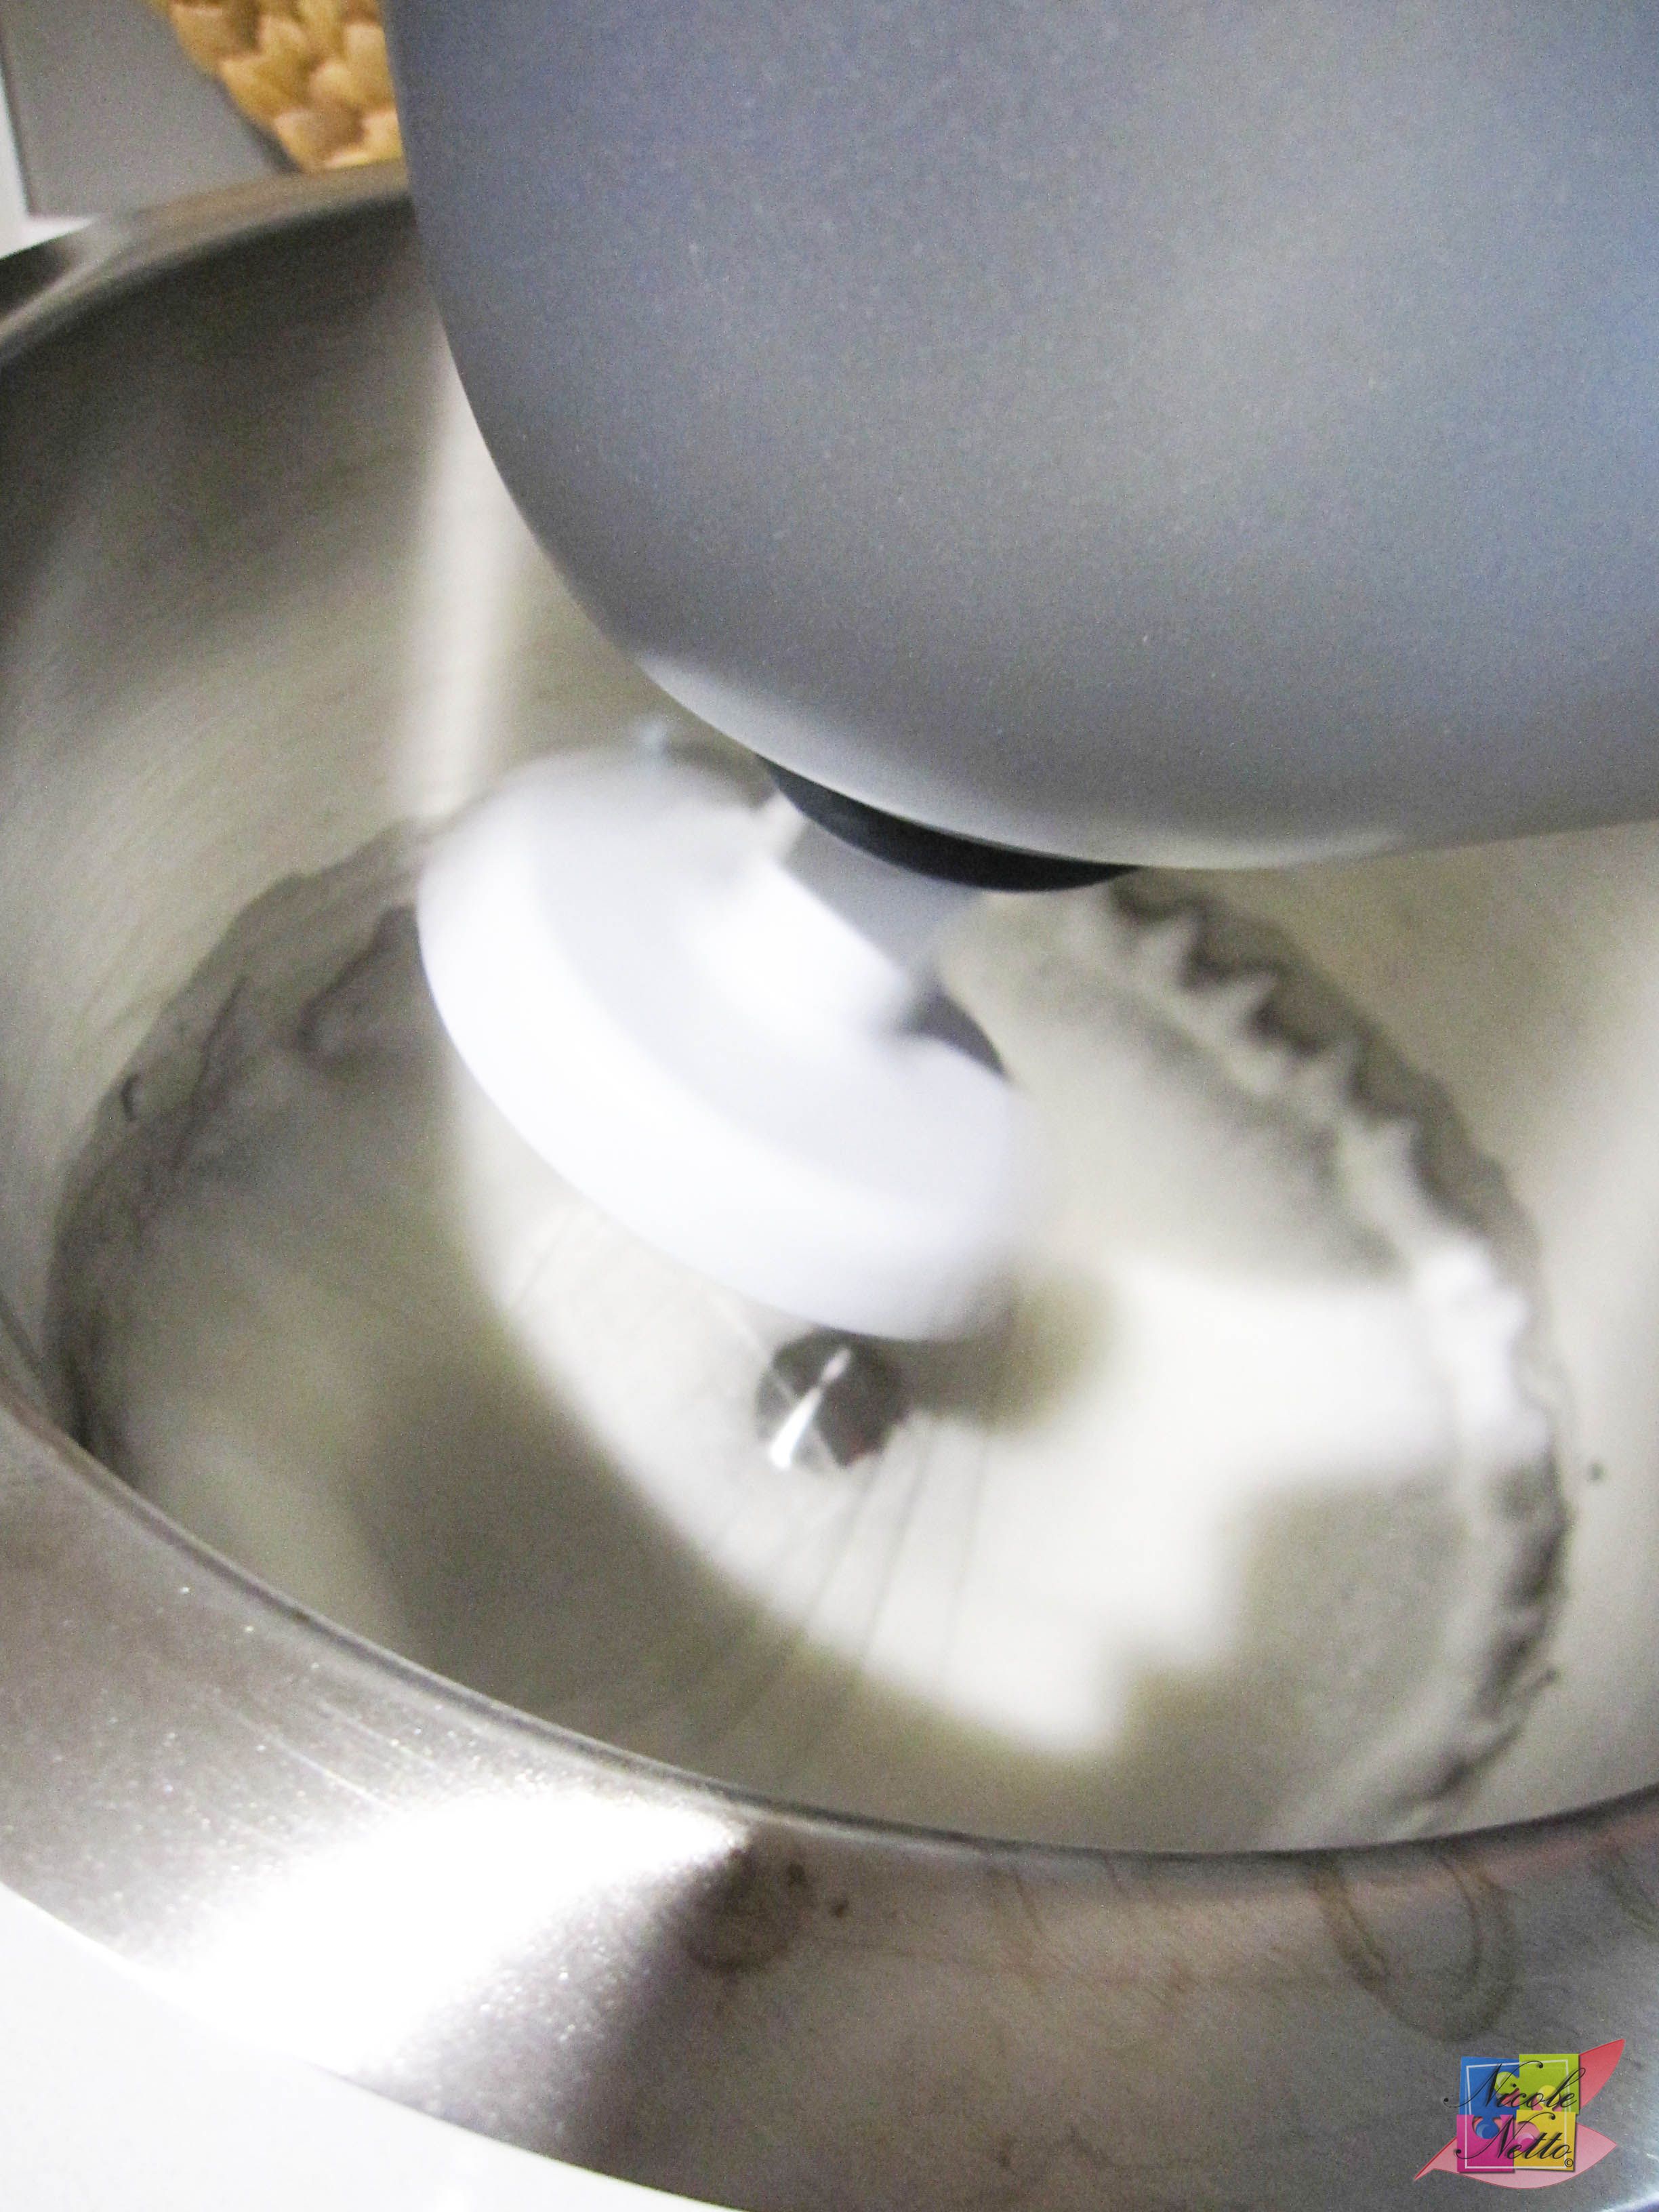
Whisking egg whites
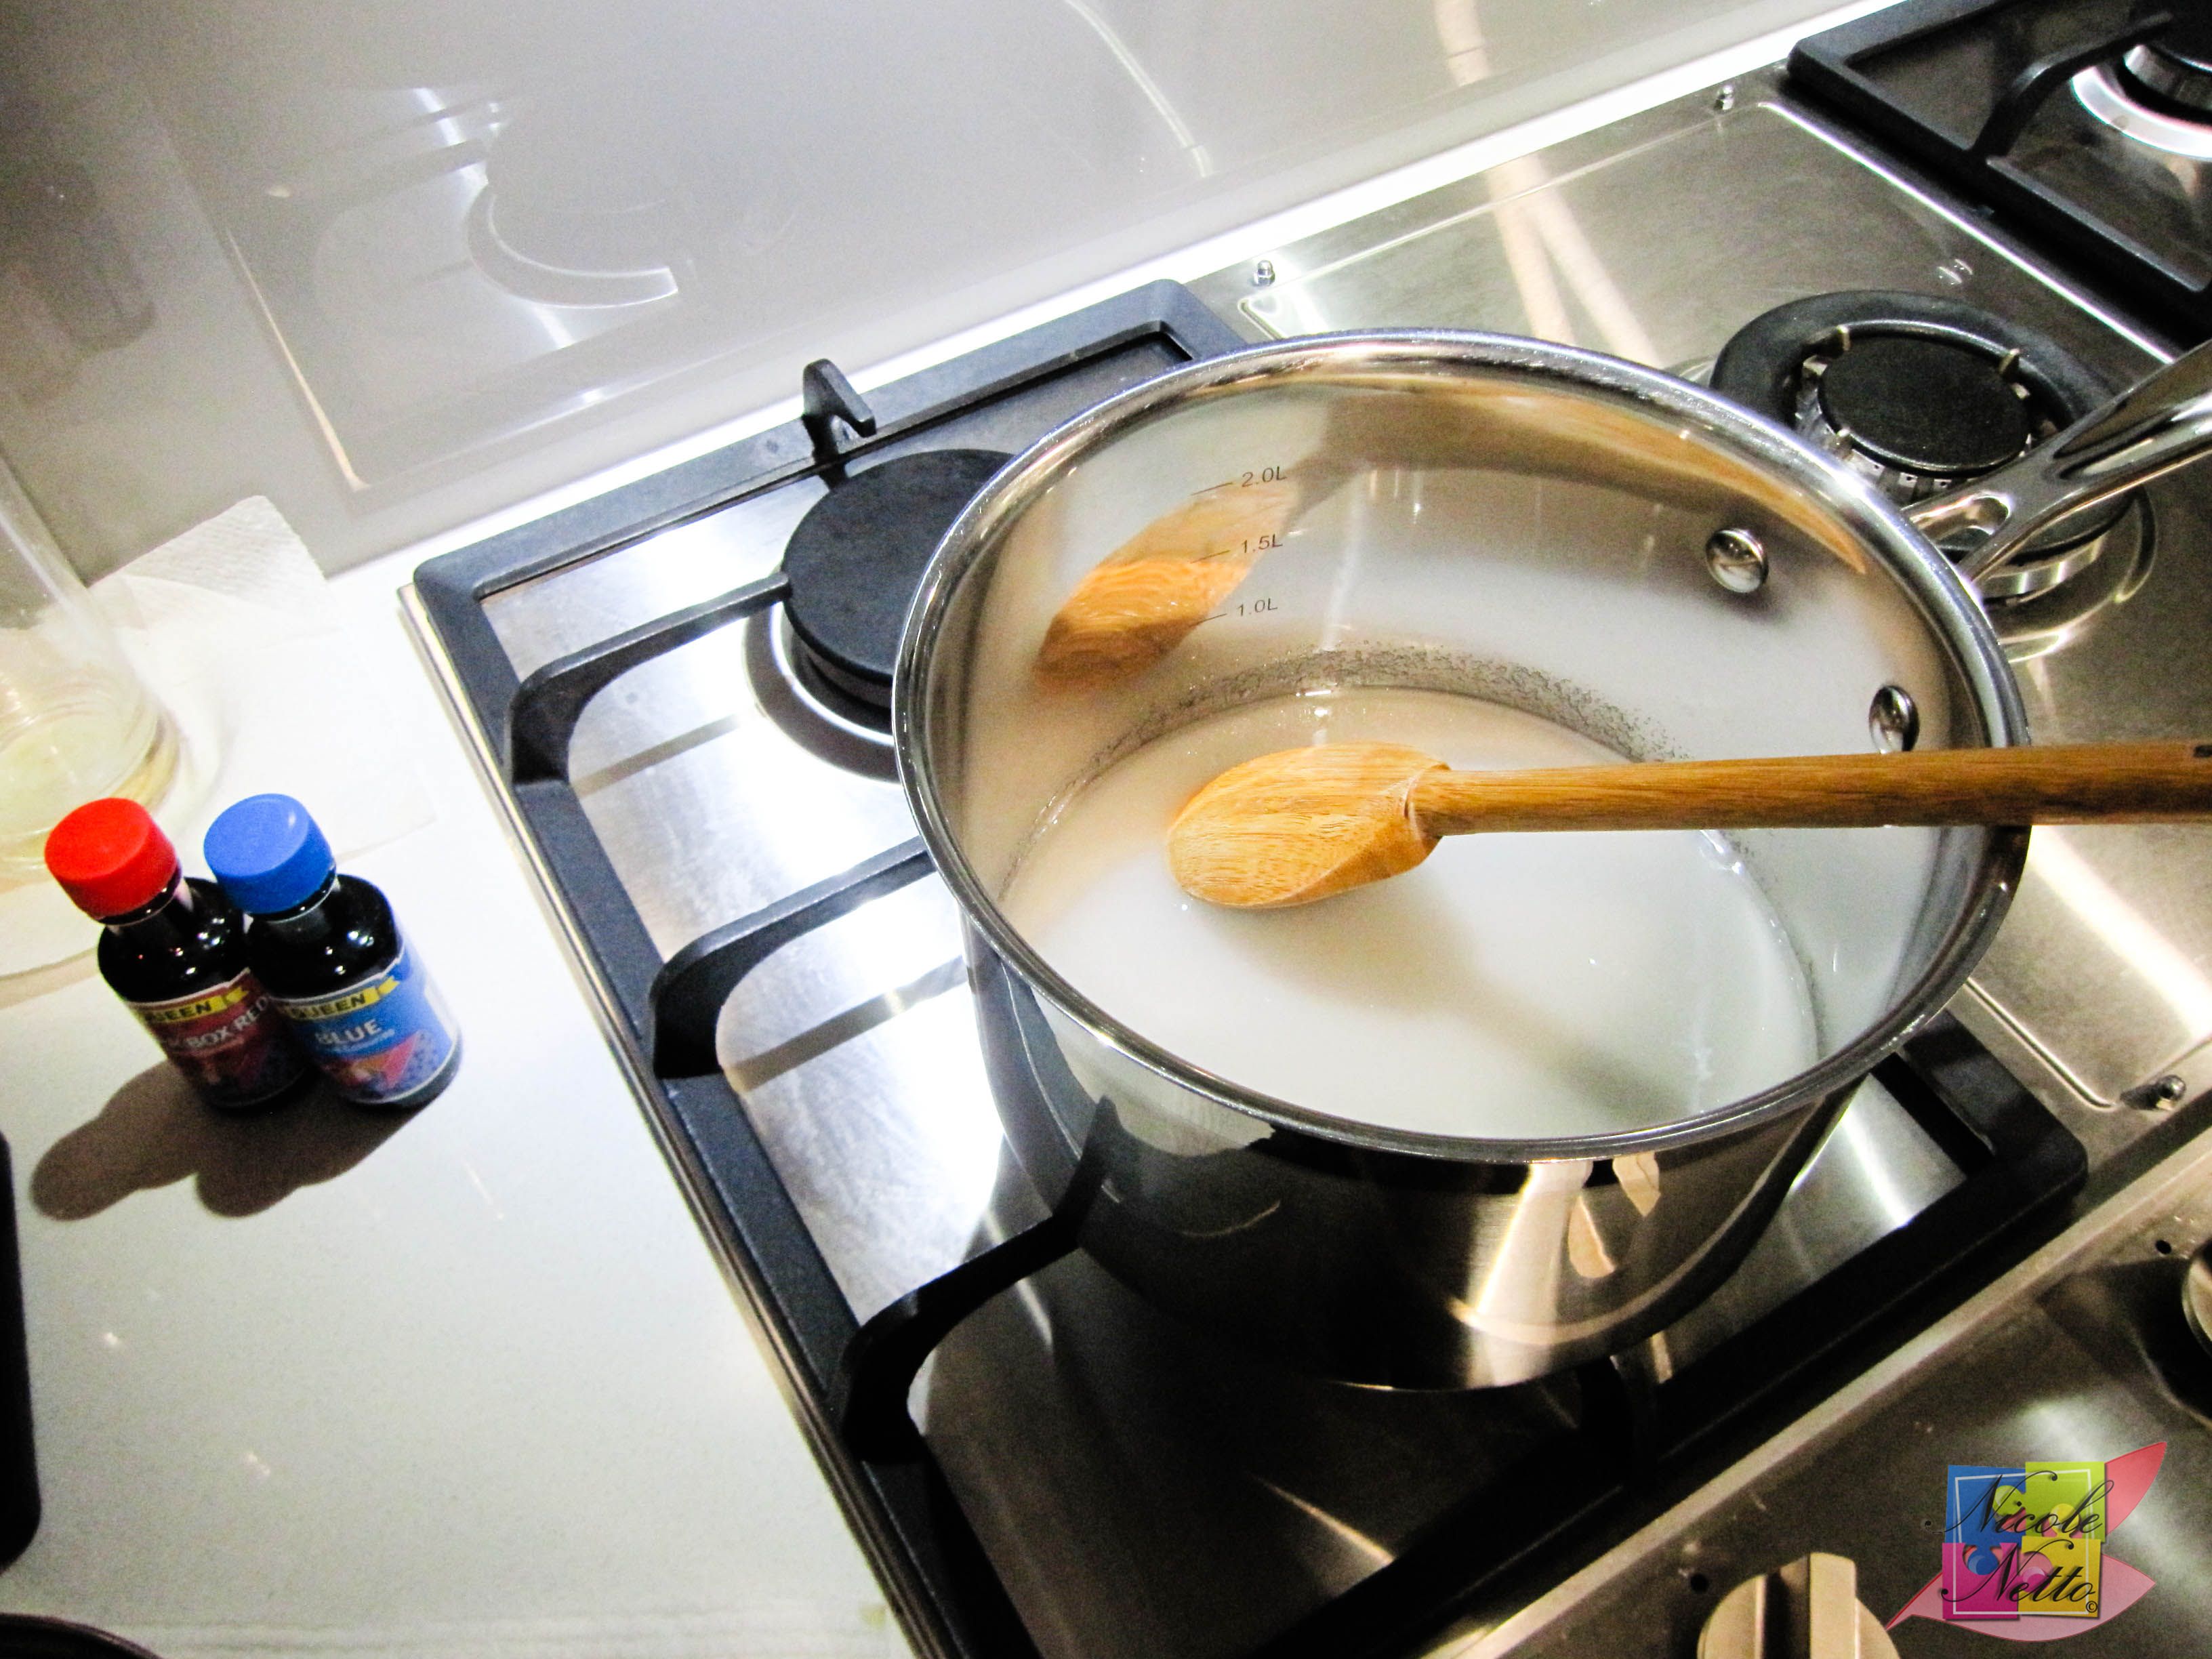
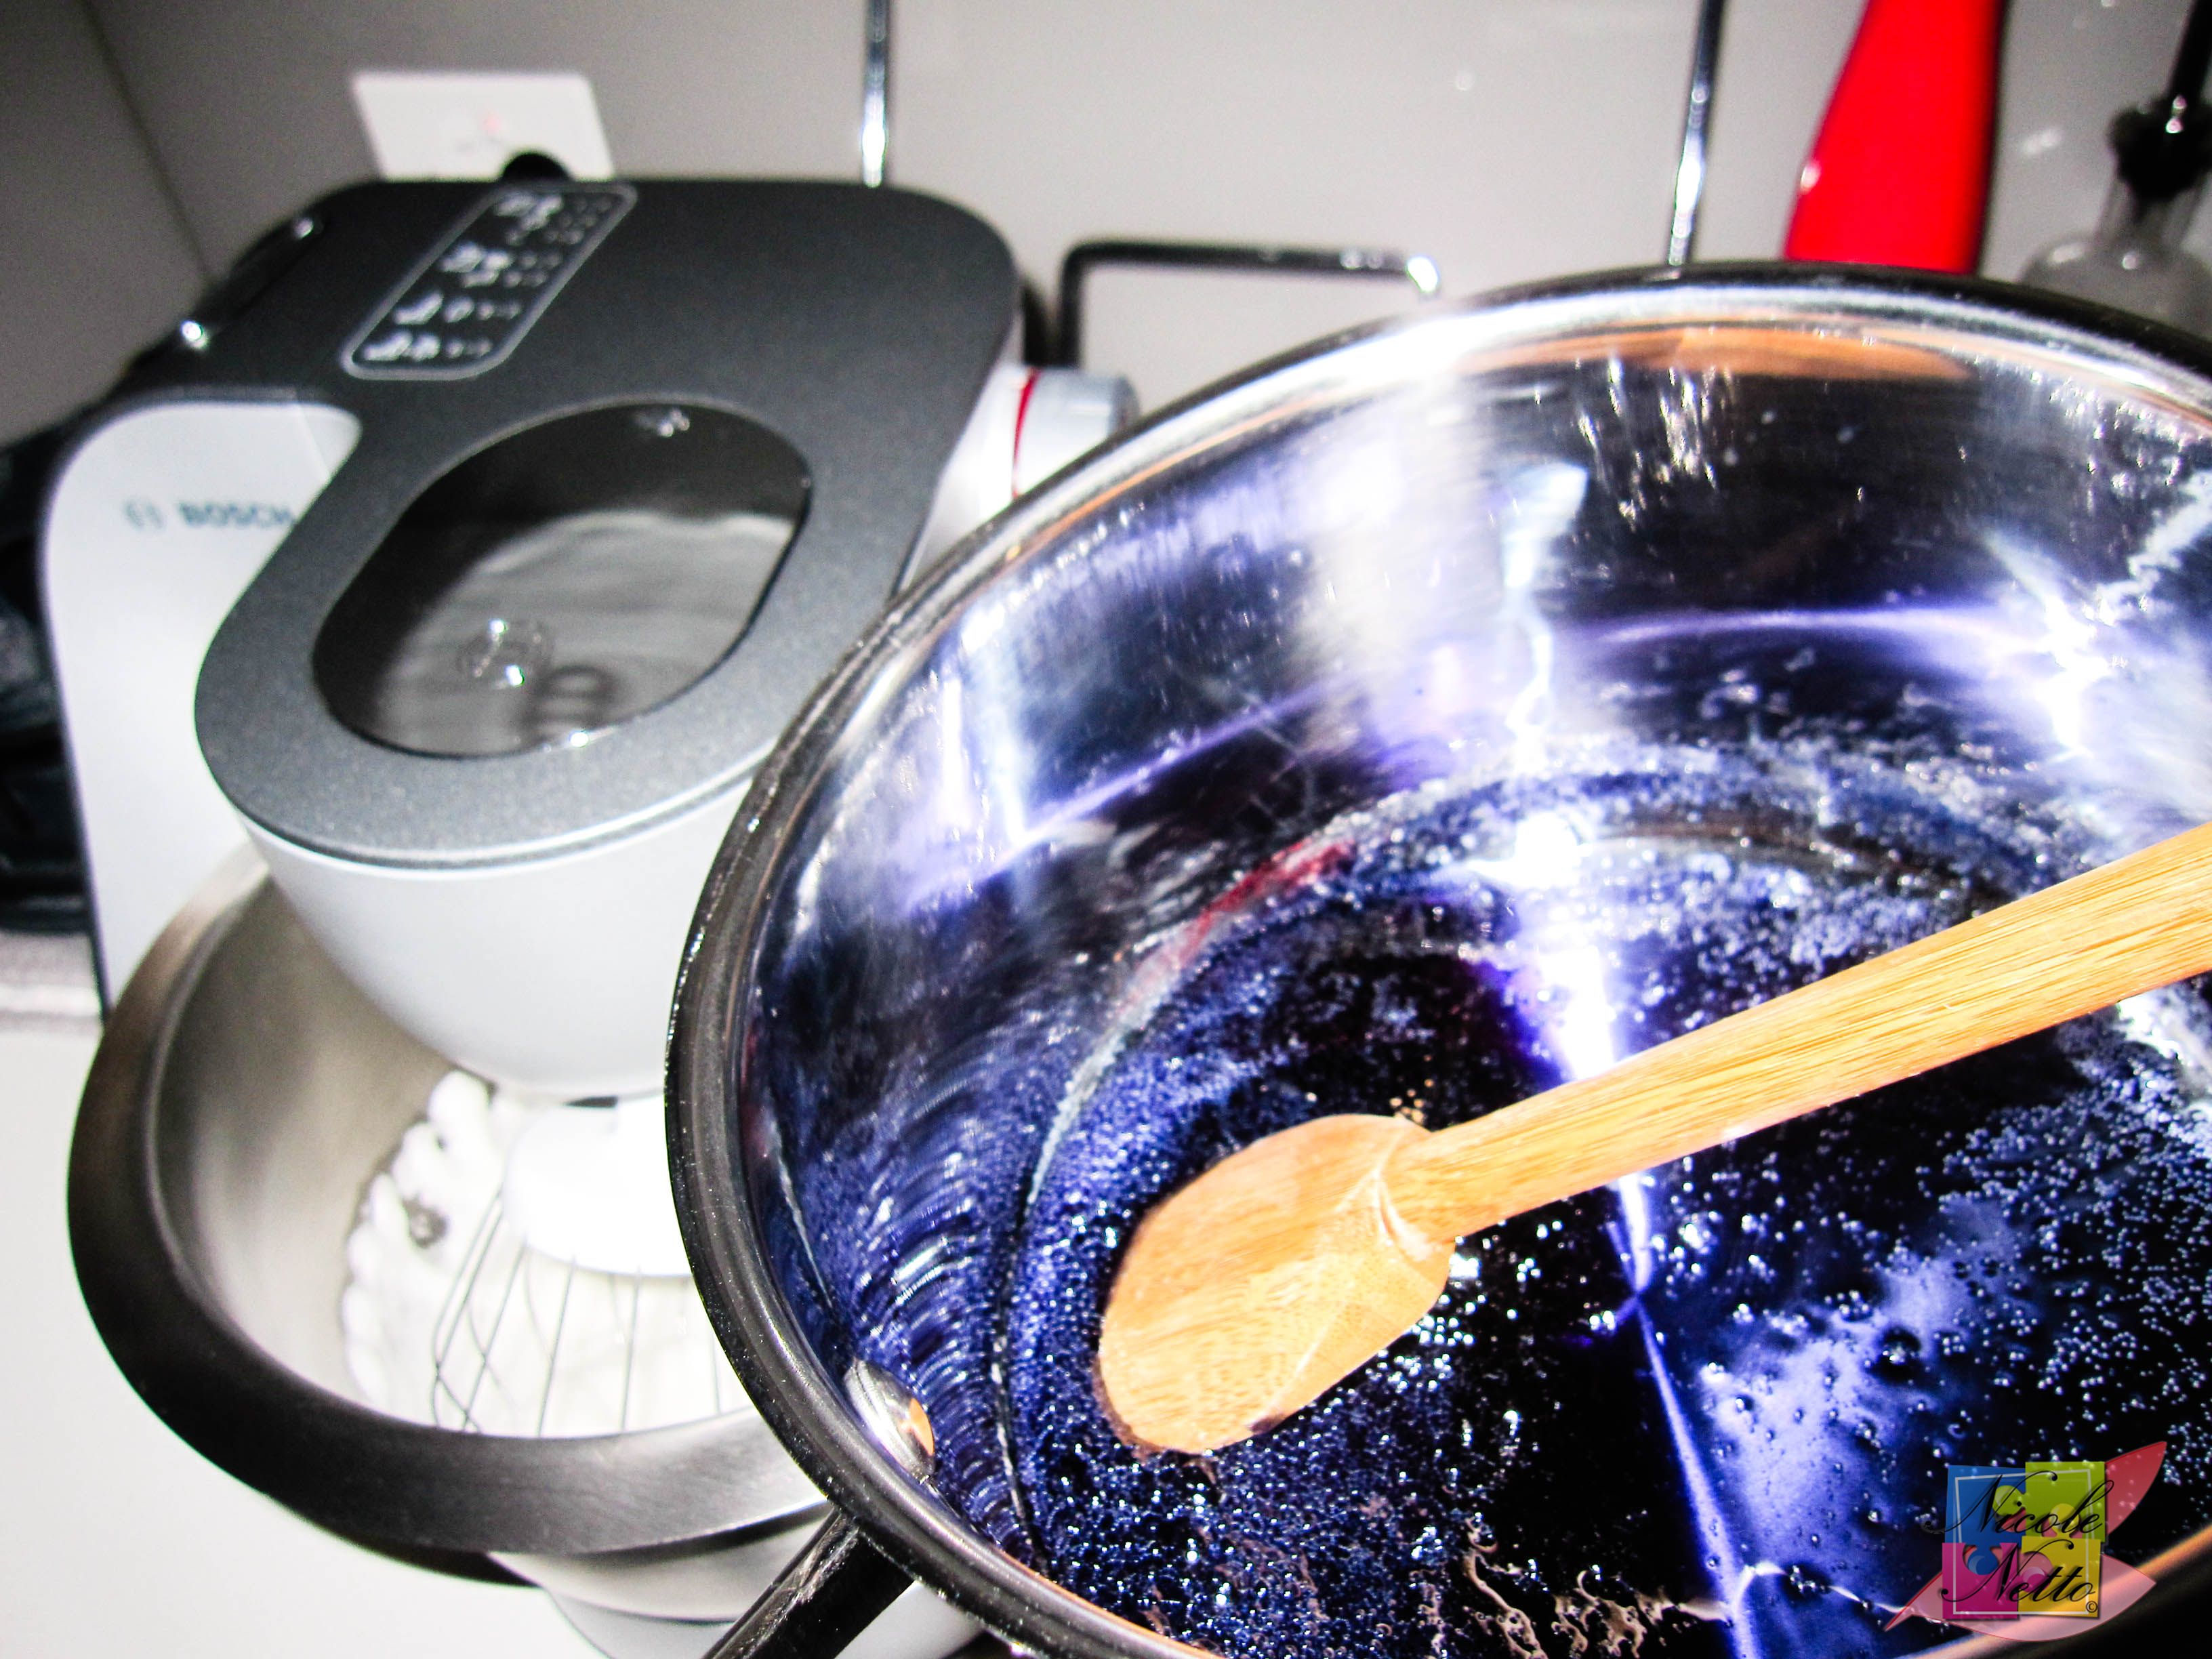
While the eggs are being whisked, put the caster sugar and water in a small saucepan over low heat and stir until the sugar has dissolved completely. Then increase the heat and bring to the boil while stirring constantly. Any desired food coloring should be added in at this stage. I added in 1 Tbsp of red food coloring and 1 Tbsp of blue food coloring to create a purple sugar syrup. Continue to cook the mixture until the mixture reached 118ºC. Turn off the heat and stir well, in preparation to be added to the whisking egg whites mixture.
Measured out caster sugar for sugar syrup
Dissolved sugar syrup and red and blue food colouring
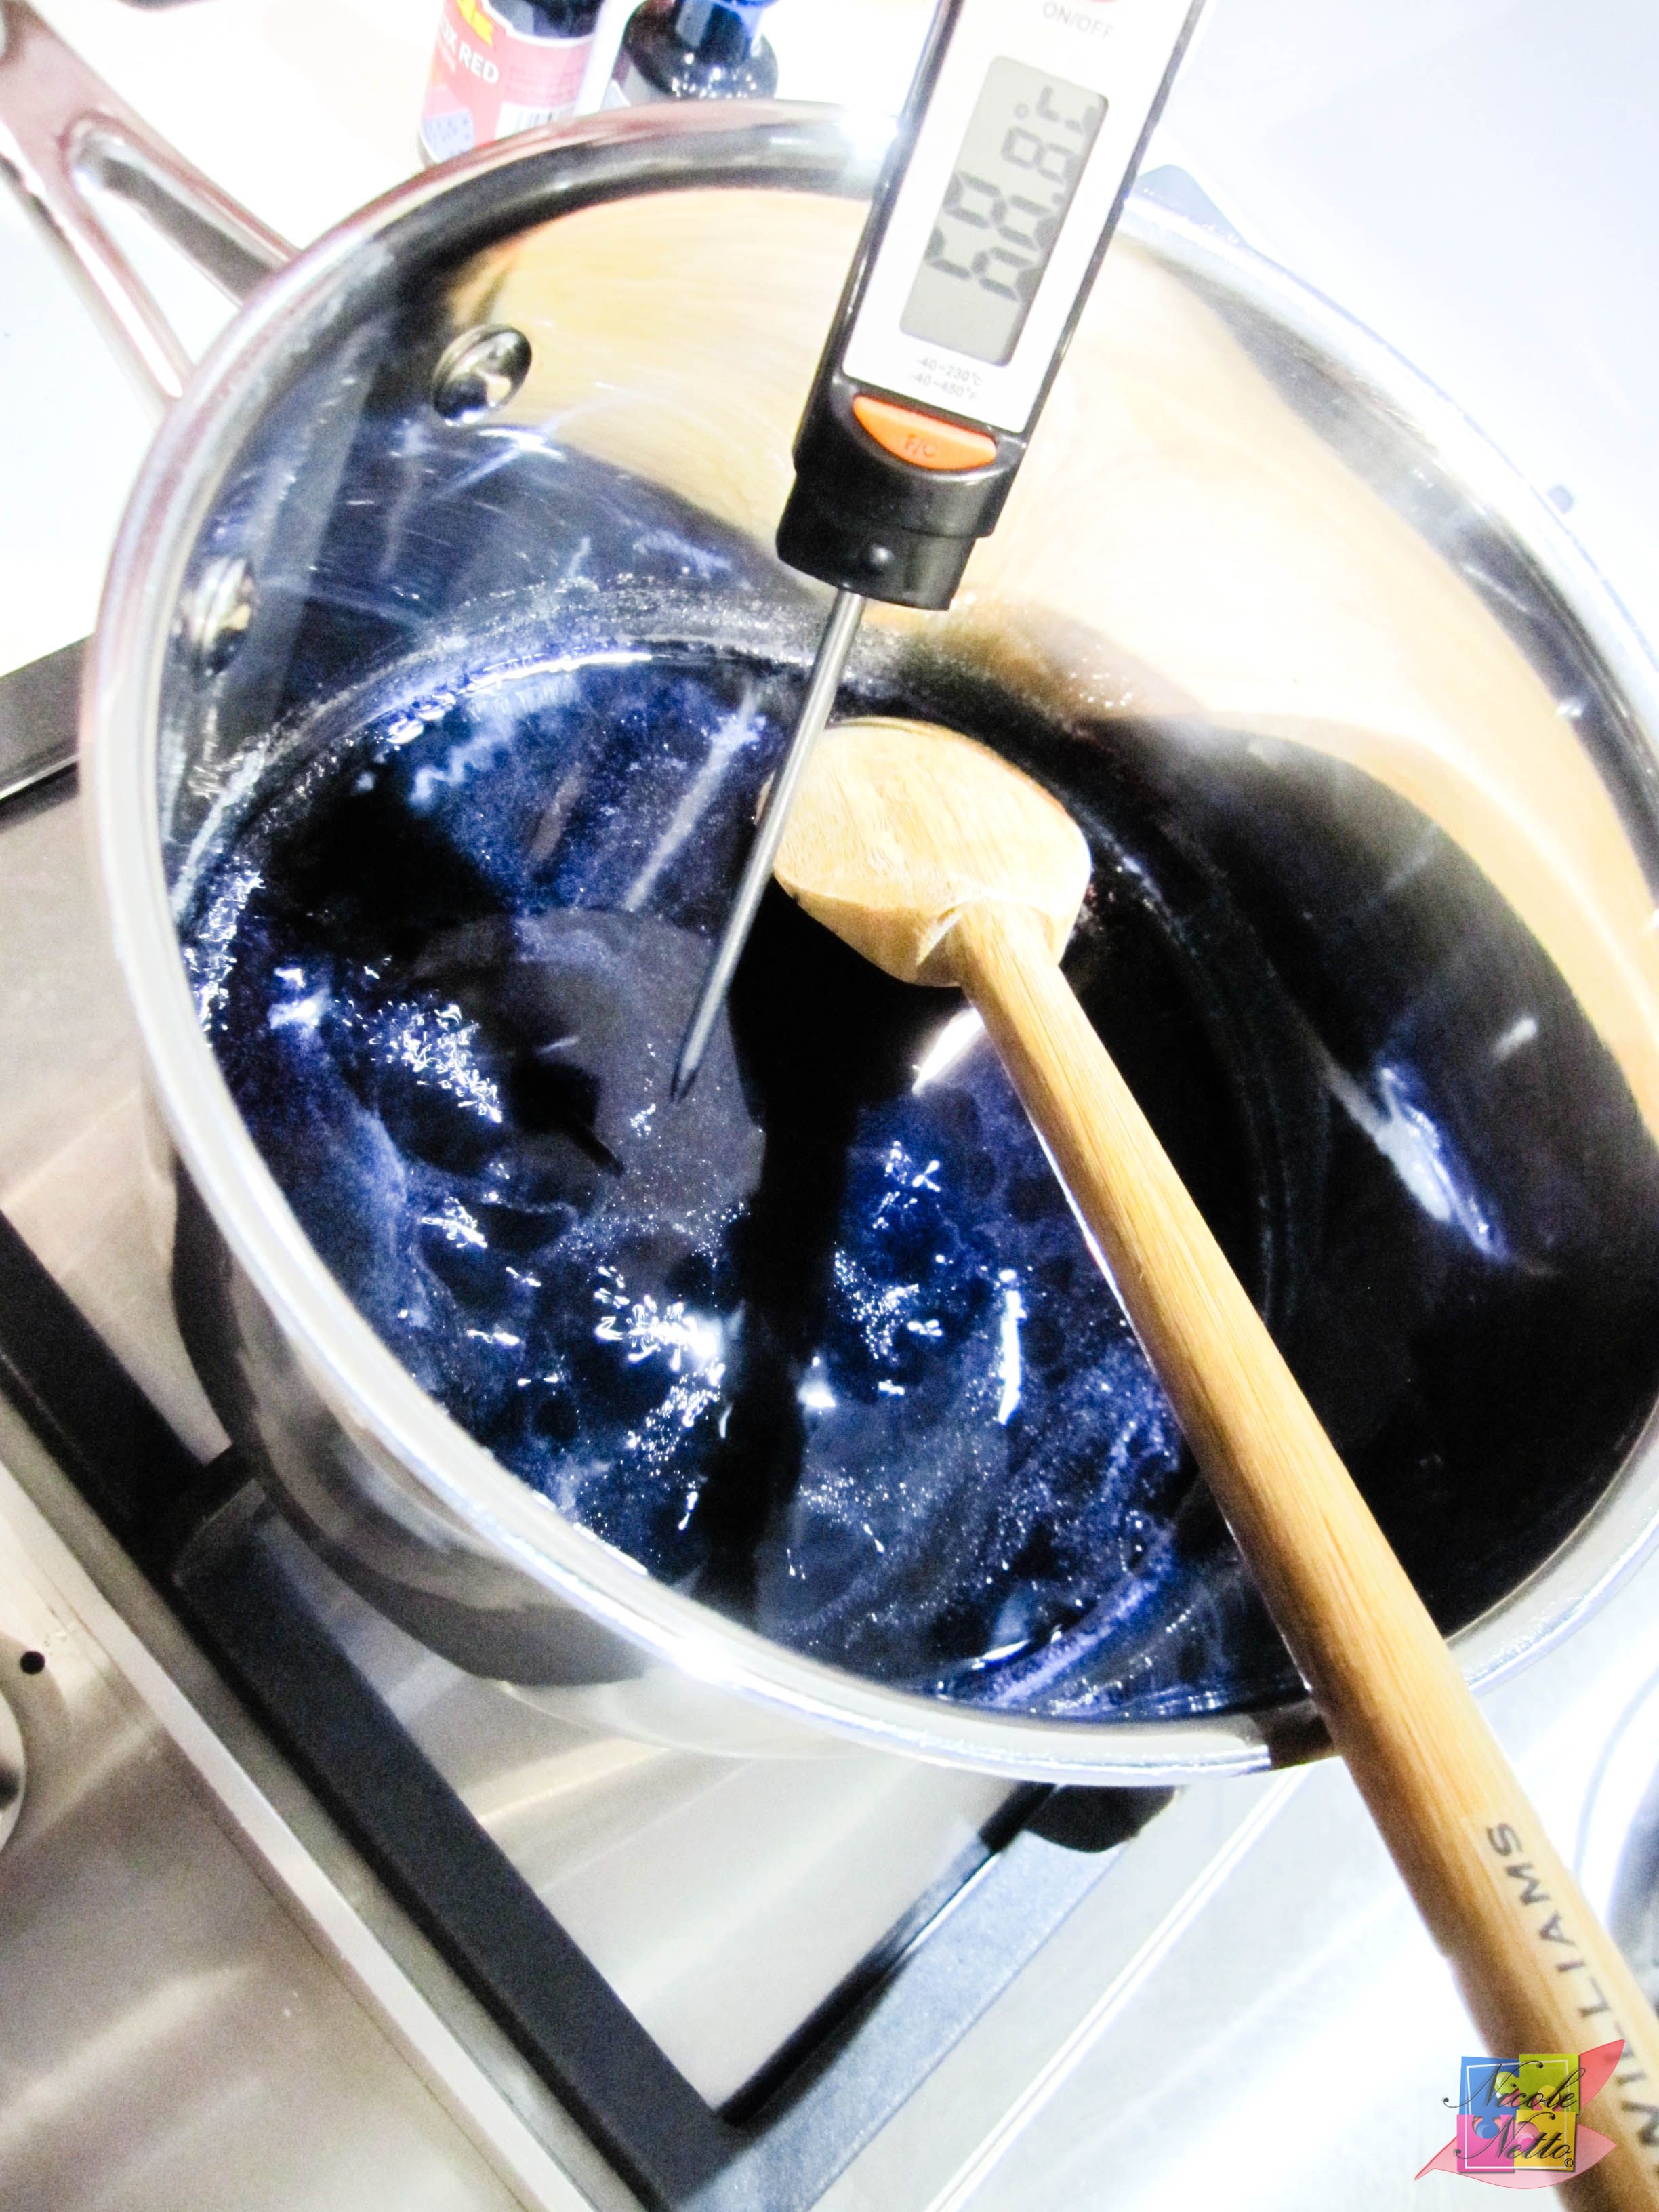
Boiling sugar syrup to 118 deg C
At this stage the egg whites should be frothy and lightly start to peak. Increase the speed of your electric mixer speed to high and add in the sugar syrup slowly, a little at a time, down the side of the electric mixer, until you have added in all of the sugar syrup. You should start seeing a beautiful lavender color come through and the meringue starting to form. Mix for about 5 mins until the mixture reaches about 55ºC and forms a nice and glossy meringue mixture forms stiff peaks.
Adding sugar syrup to frothed soft peaked egg whites

Meringue being formed
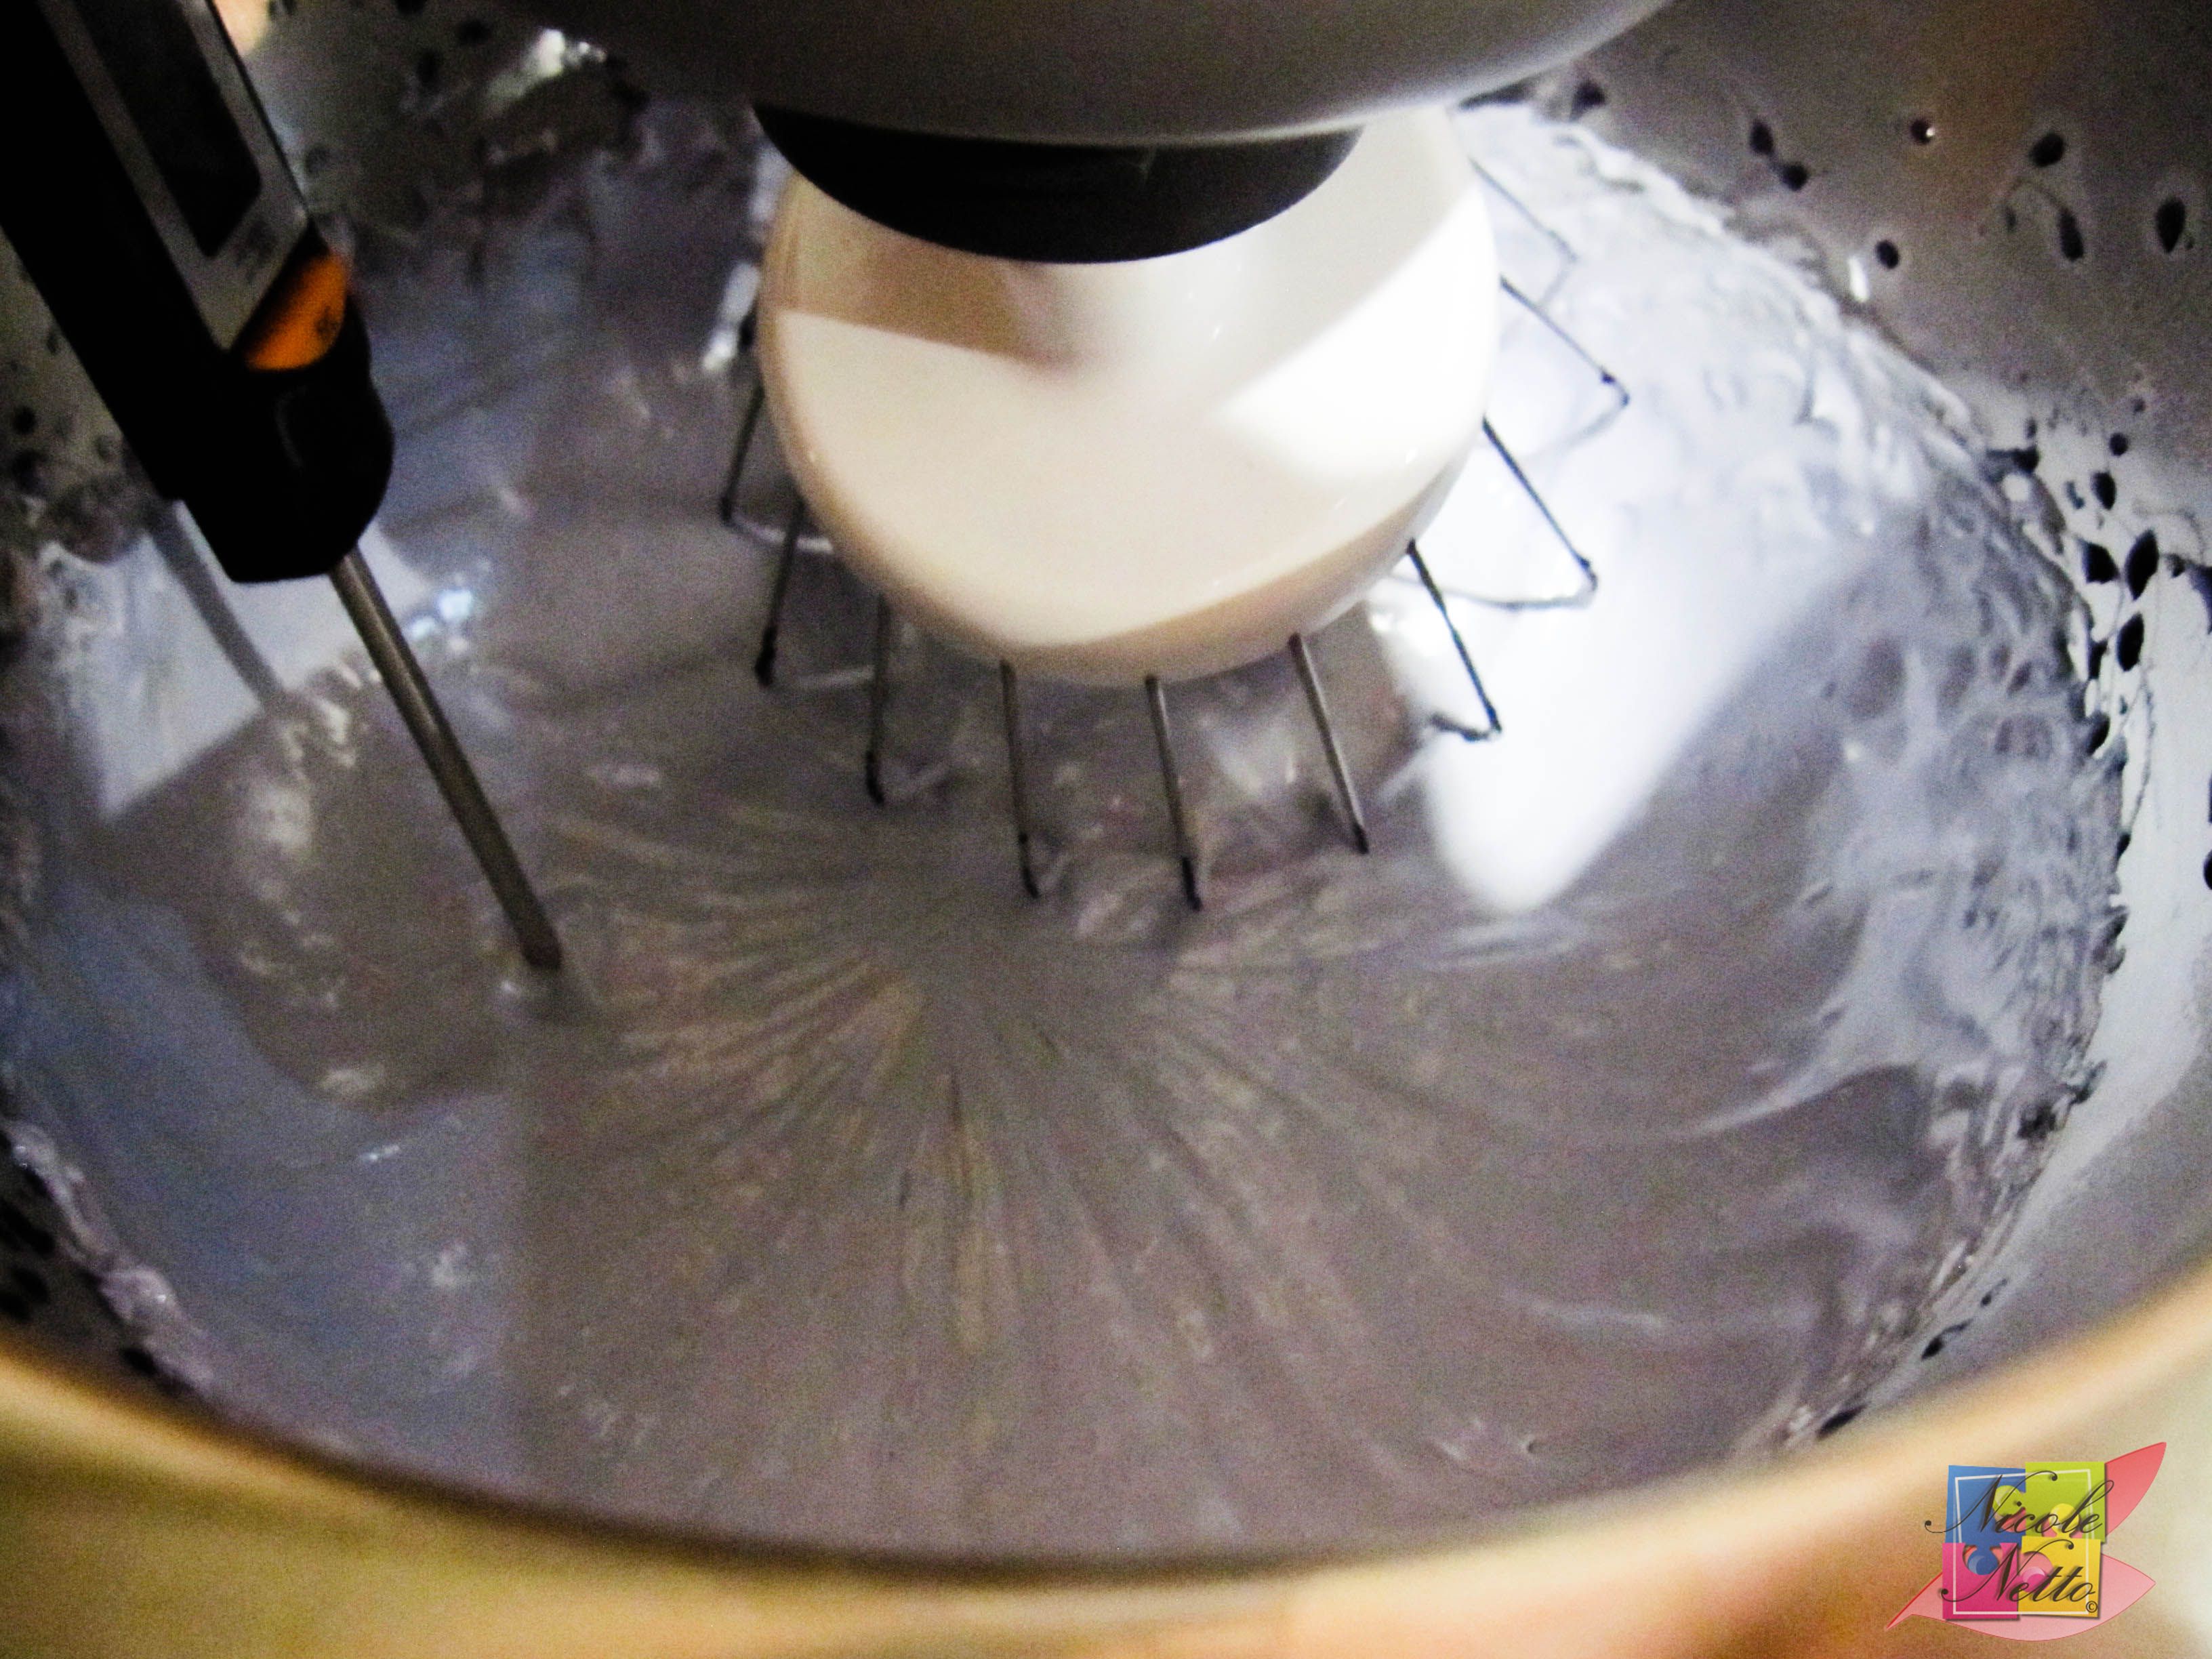
Bring meringue to about 55 deg C
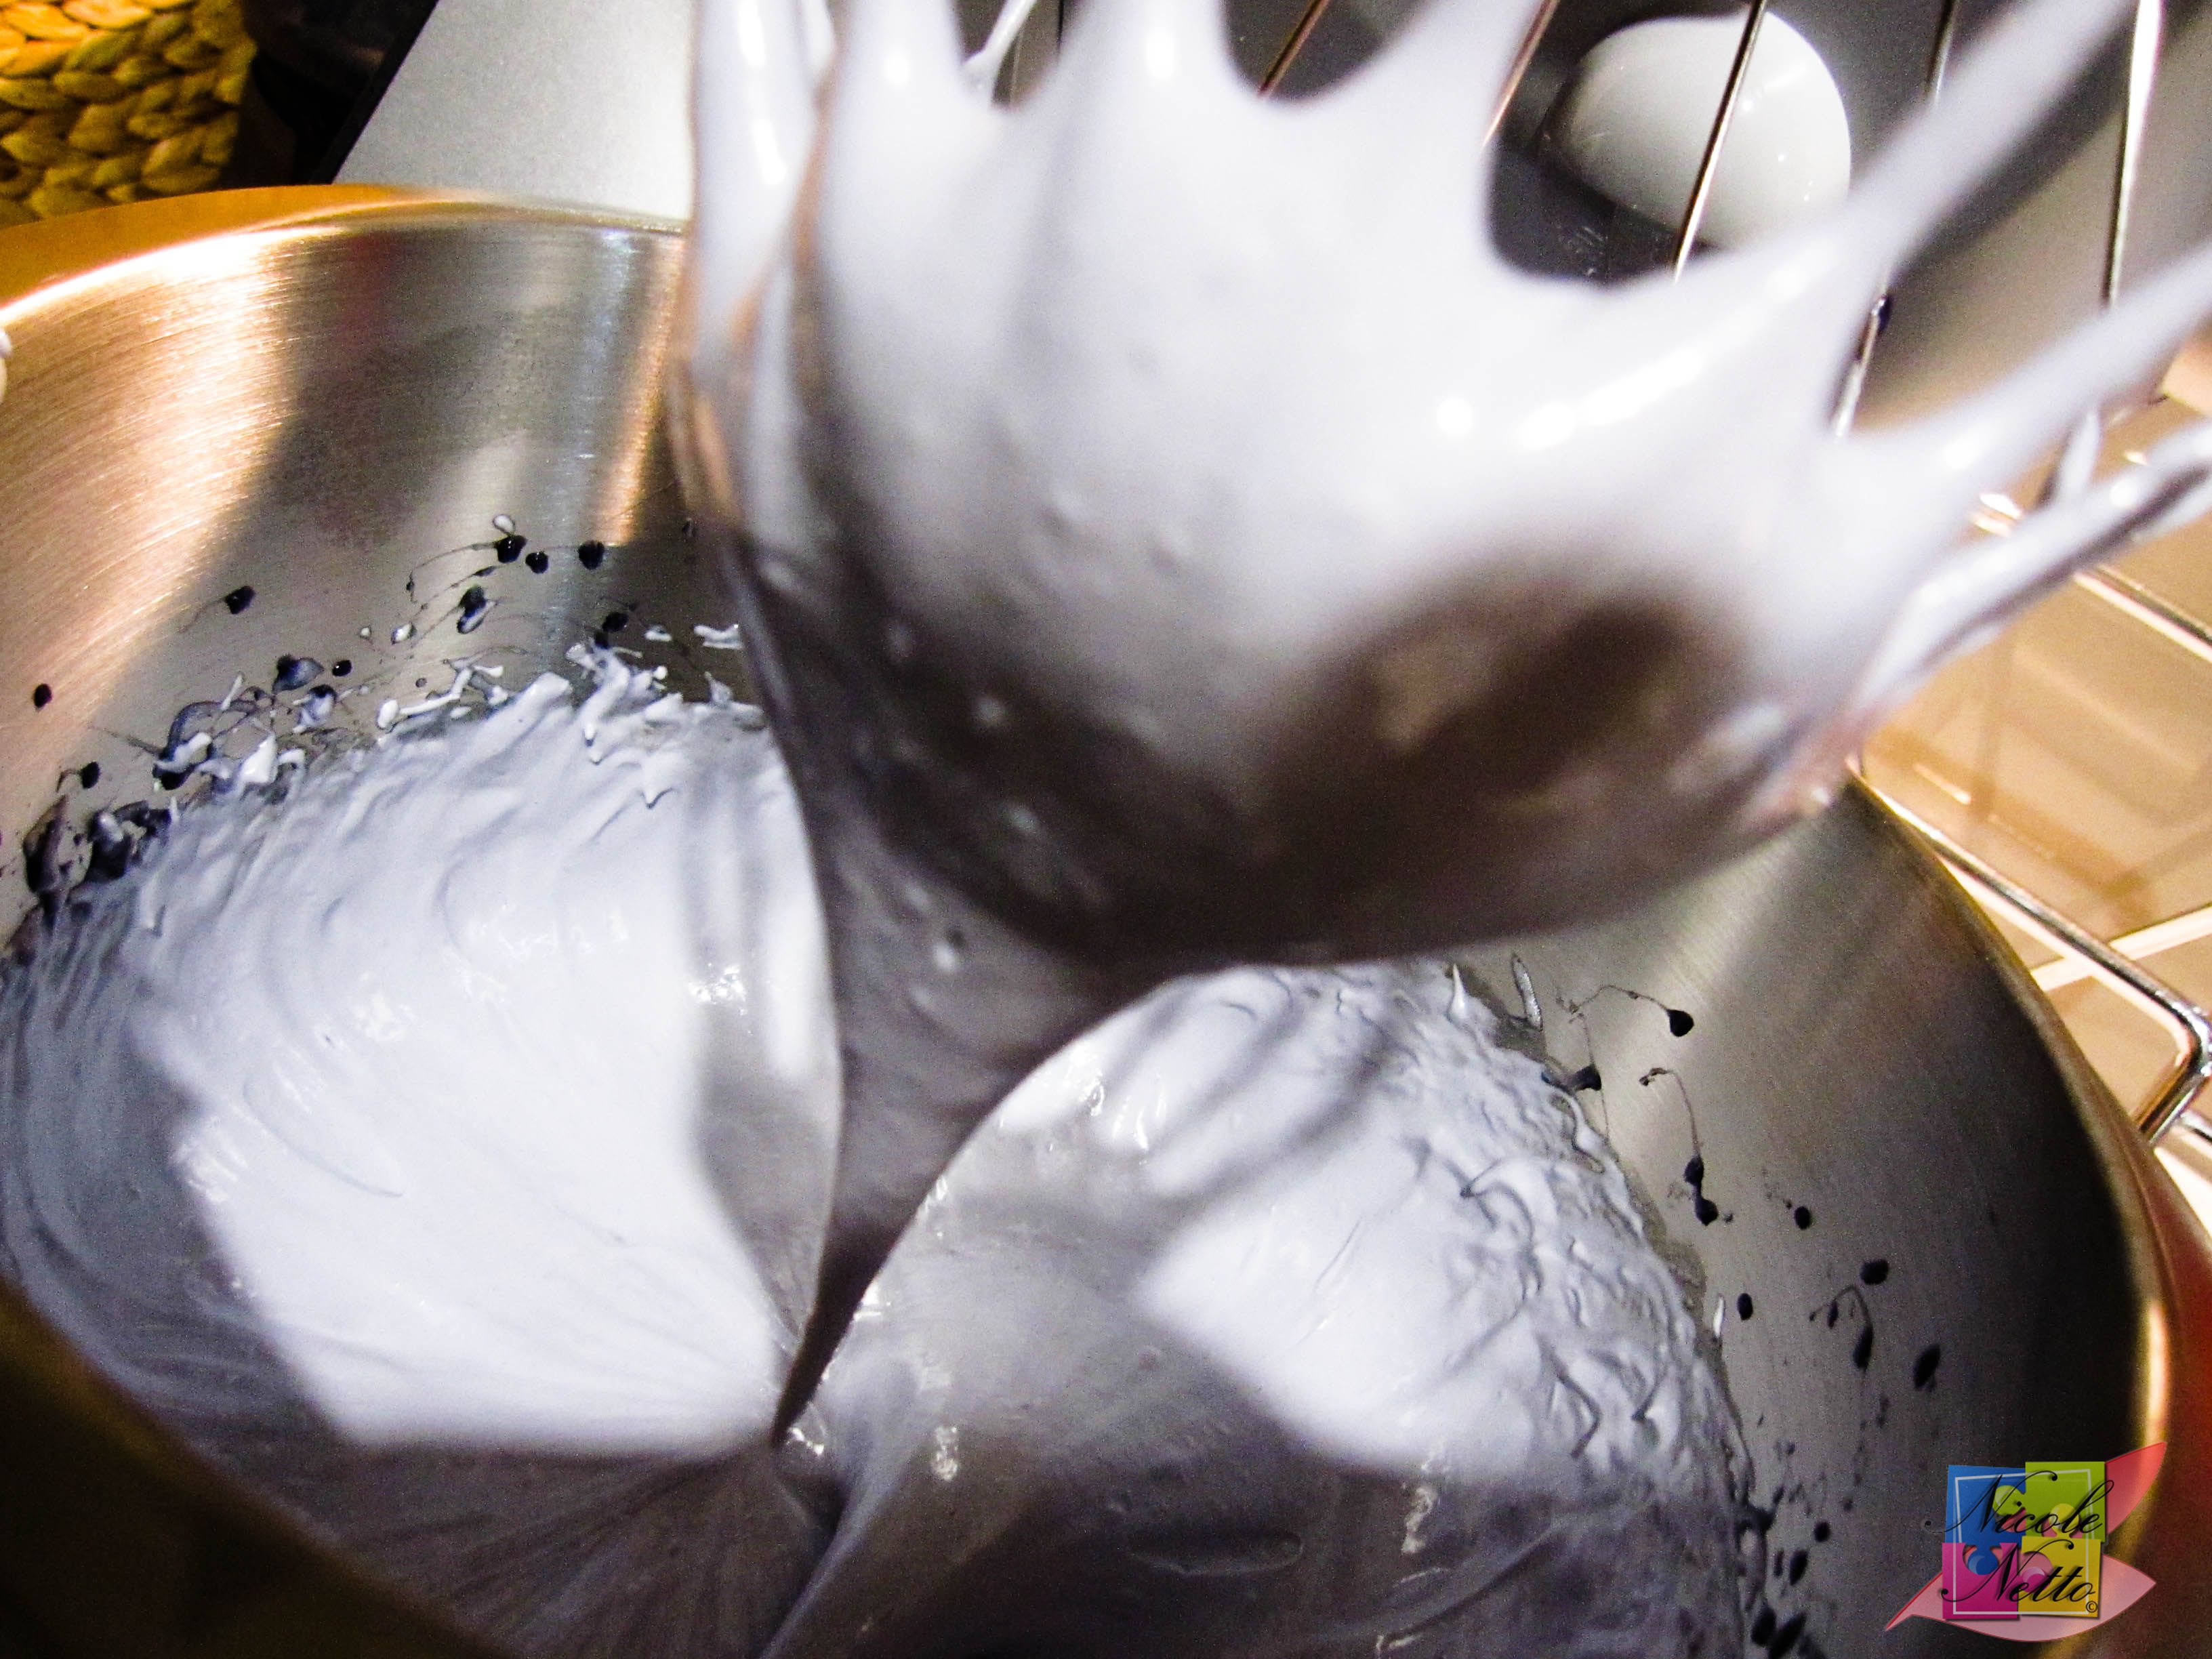
Glossy stiff peaked meringue
Add the remaining 55gm egg whites to the center of the TPT mixture.
Remaining 55 gm of egg whites
Next add the meringue and use a large spatula to gently fold the mixture through. Mix until the batter has been mixed evenly and is smooth and like the consistency of lava. You’re looking for the batter to fall into itself – this is important for piping.
Note: It is possible to over mix and under mix the batter, so be careful.
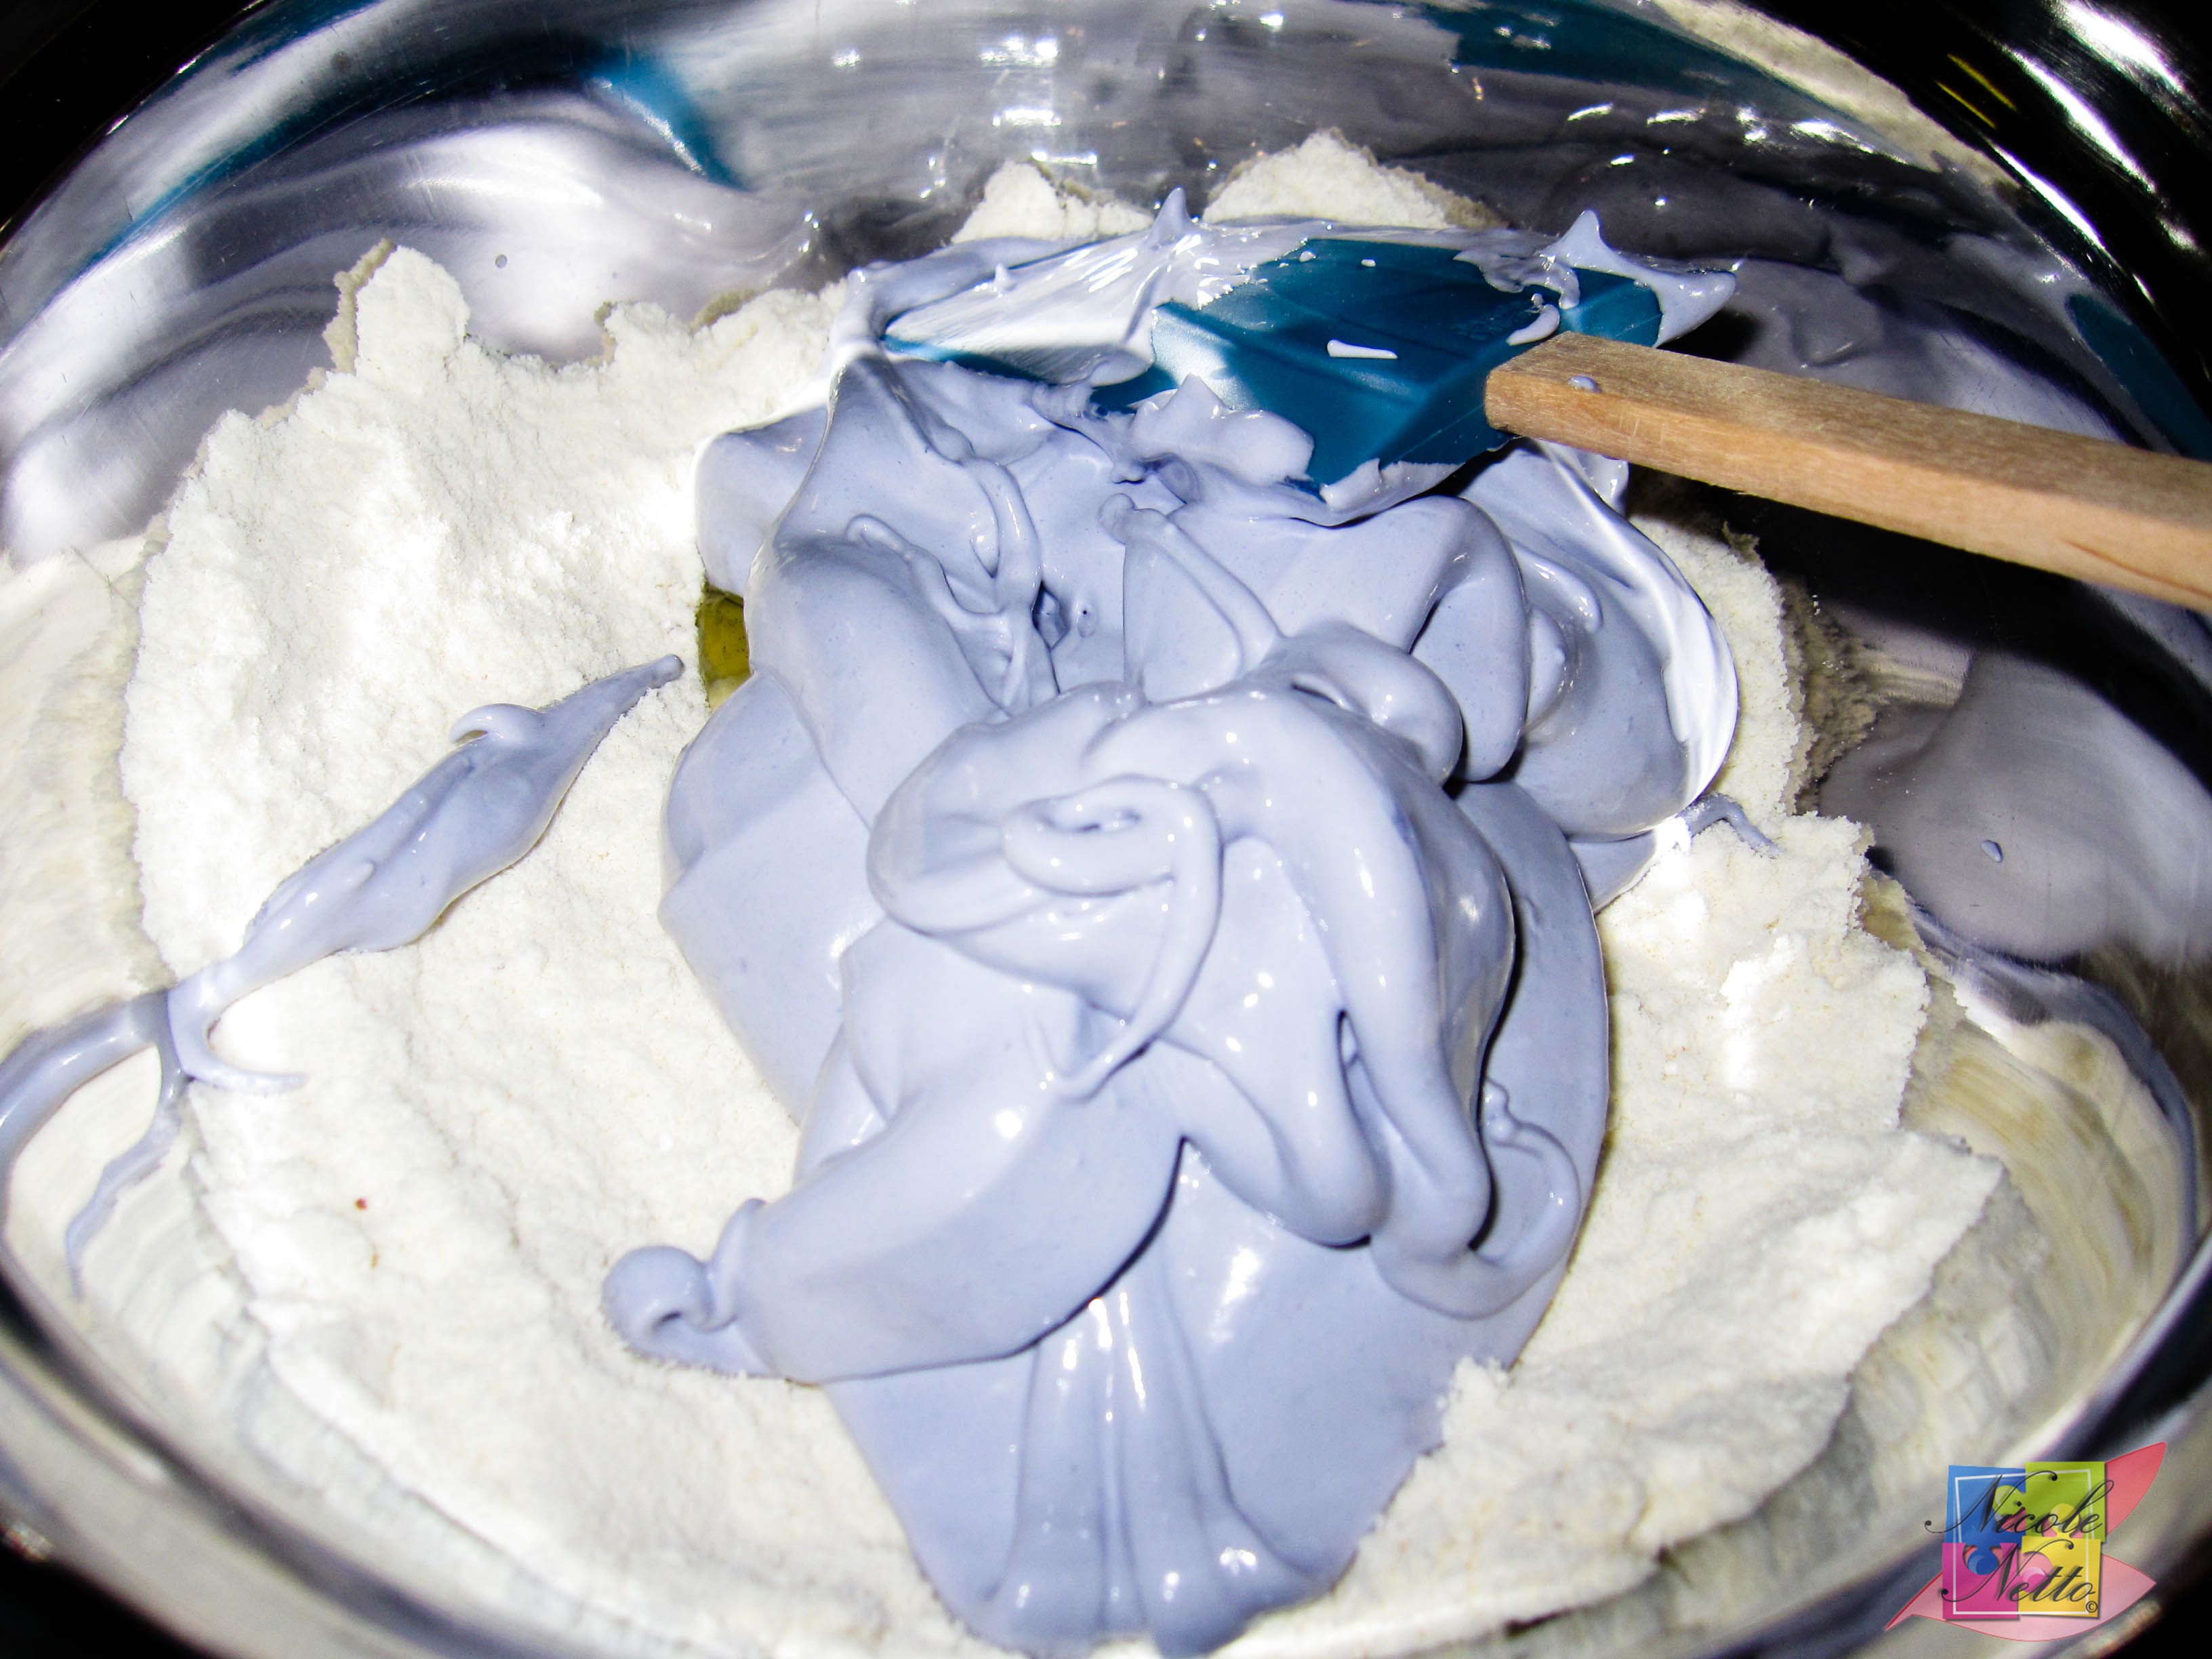
Glossy prepped meringue added to TPT and egg whites
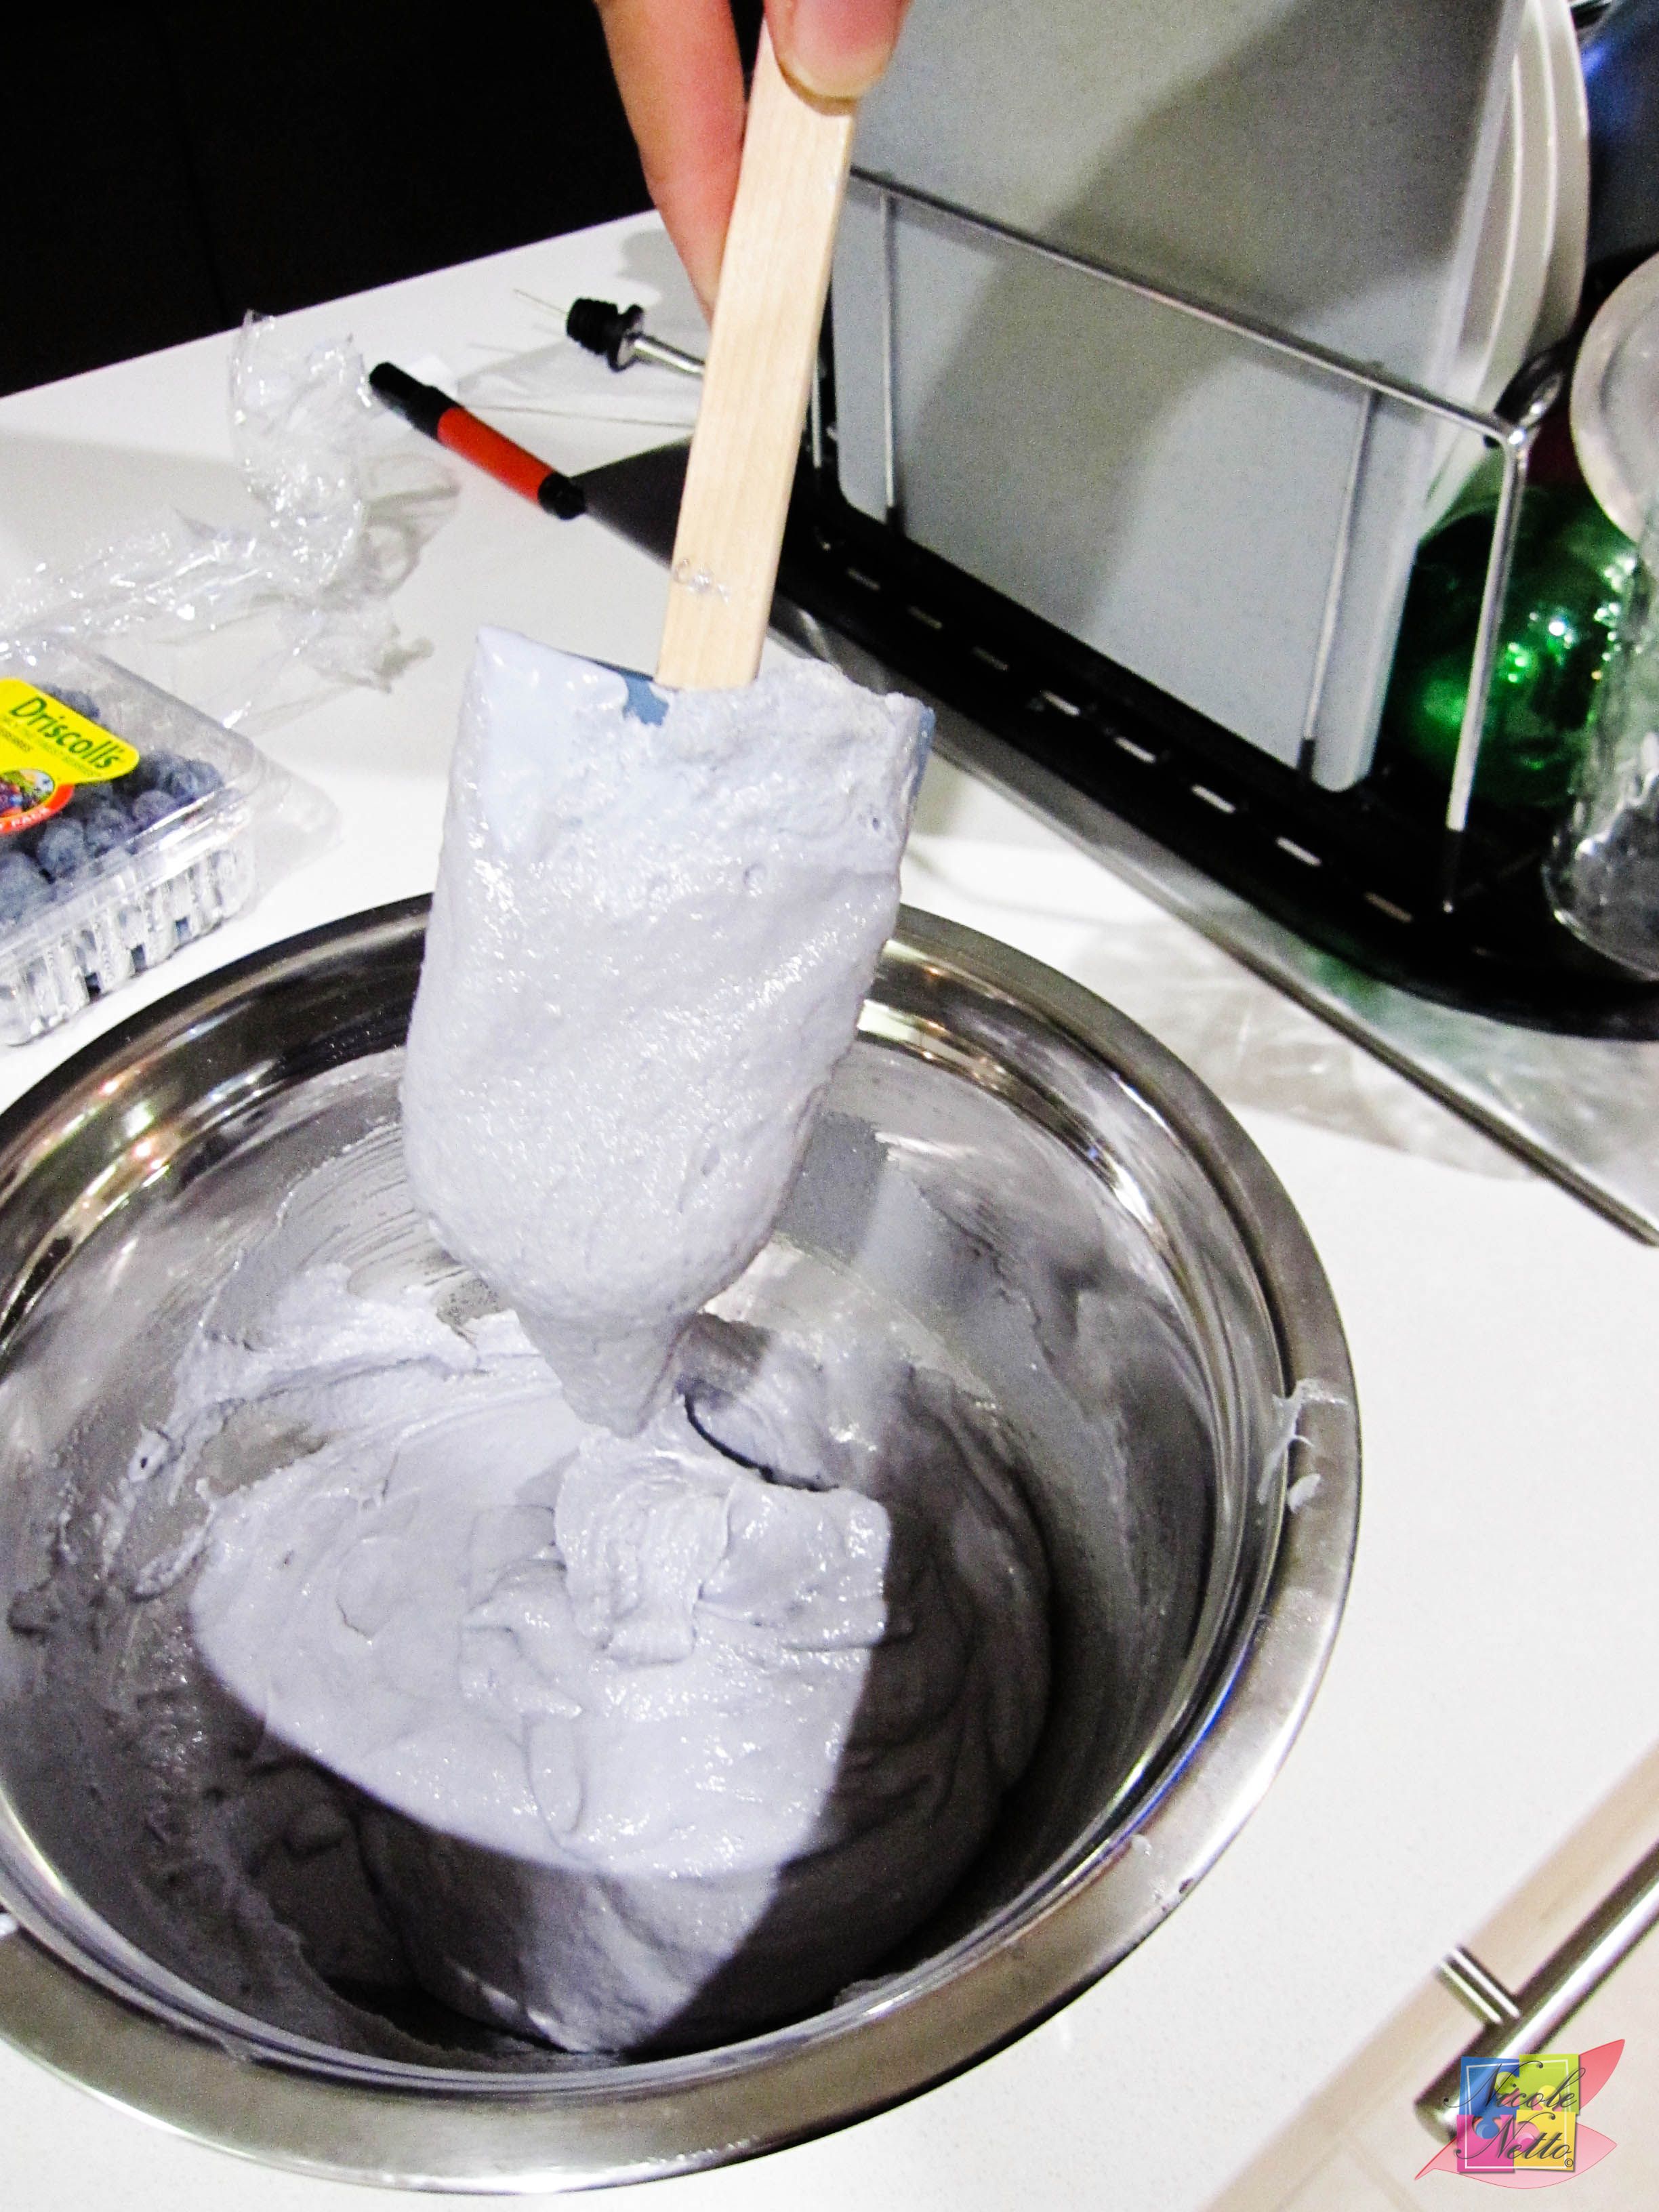
Mixed macaron batter to consistency of lava
At this stage –
If you have a piping bag:
With a 13 mm (1/2 inch) plain nozzle, at this stage you would fill the mixture into the piping bag and pipe the mixture onto the baking paper, using the drawn on 5 cm circles as a guide. Leave a 3 cm gap between each macaron (this should already be allowed for when you have drawn your circles using the macaron template). As you finish piping each macaron, move the nozzle from a 12 o’clock to 6 o’clock position quickly to finish piping action. If your macaron texture is perfect, the tip left on the top should soften and drop down, giving you a smooth top.
If you do not have a piping bag:
Take 2 Spoons. Use one to scoop up a sufficient amount of the mixture and the other to drop the mixture into the drawn on circle to take the shape of the circle. Continue until you have used up all the batter and filled in all the circles.
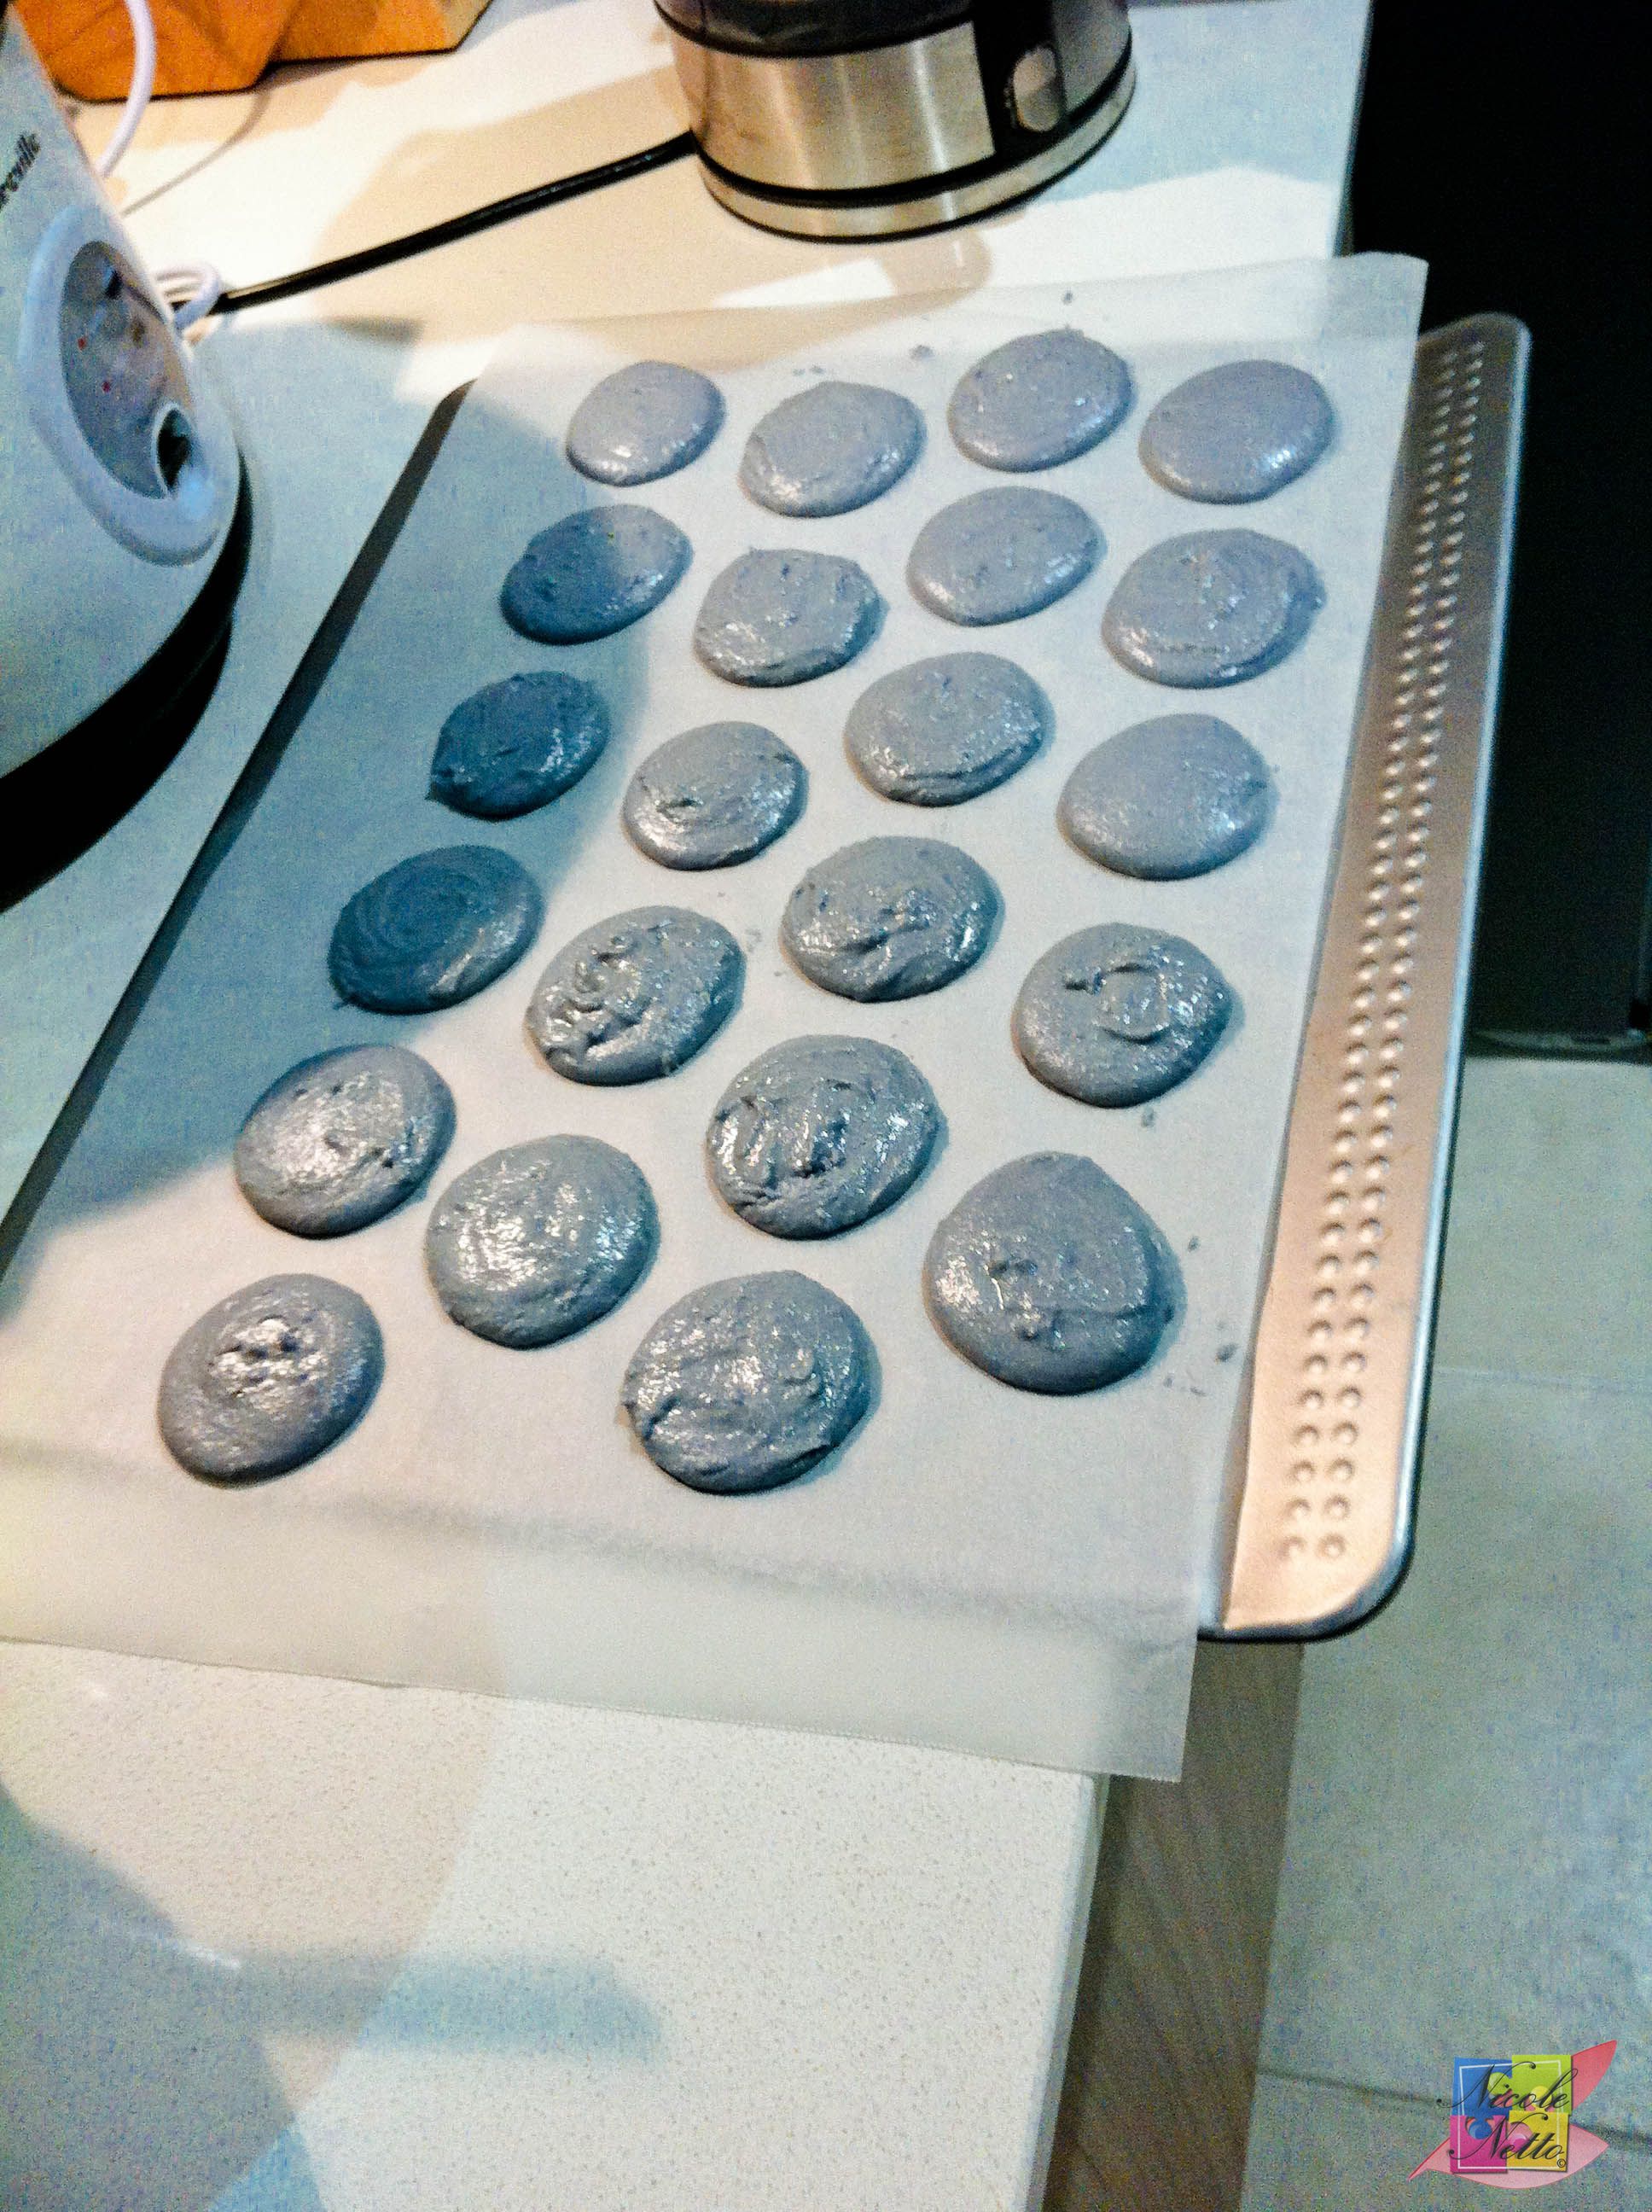
Spooned mixture
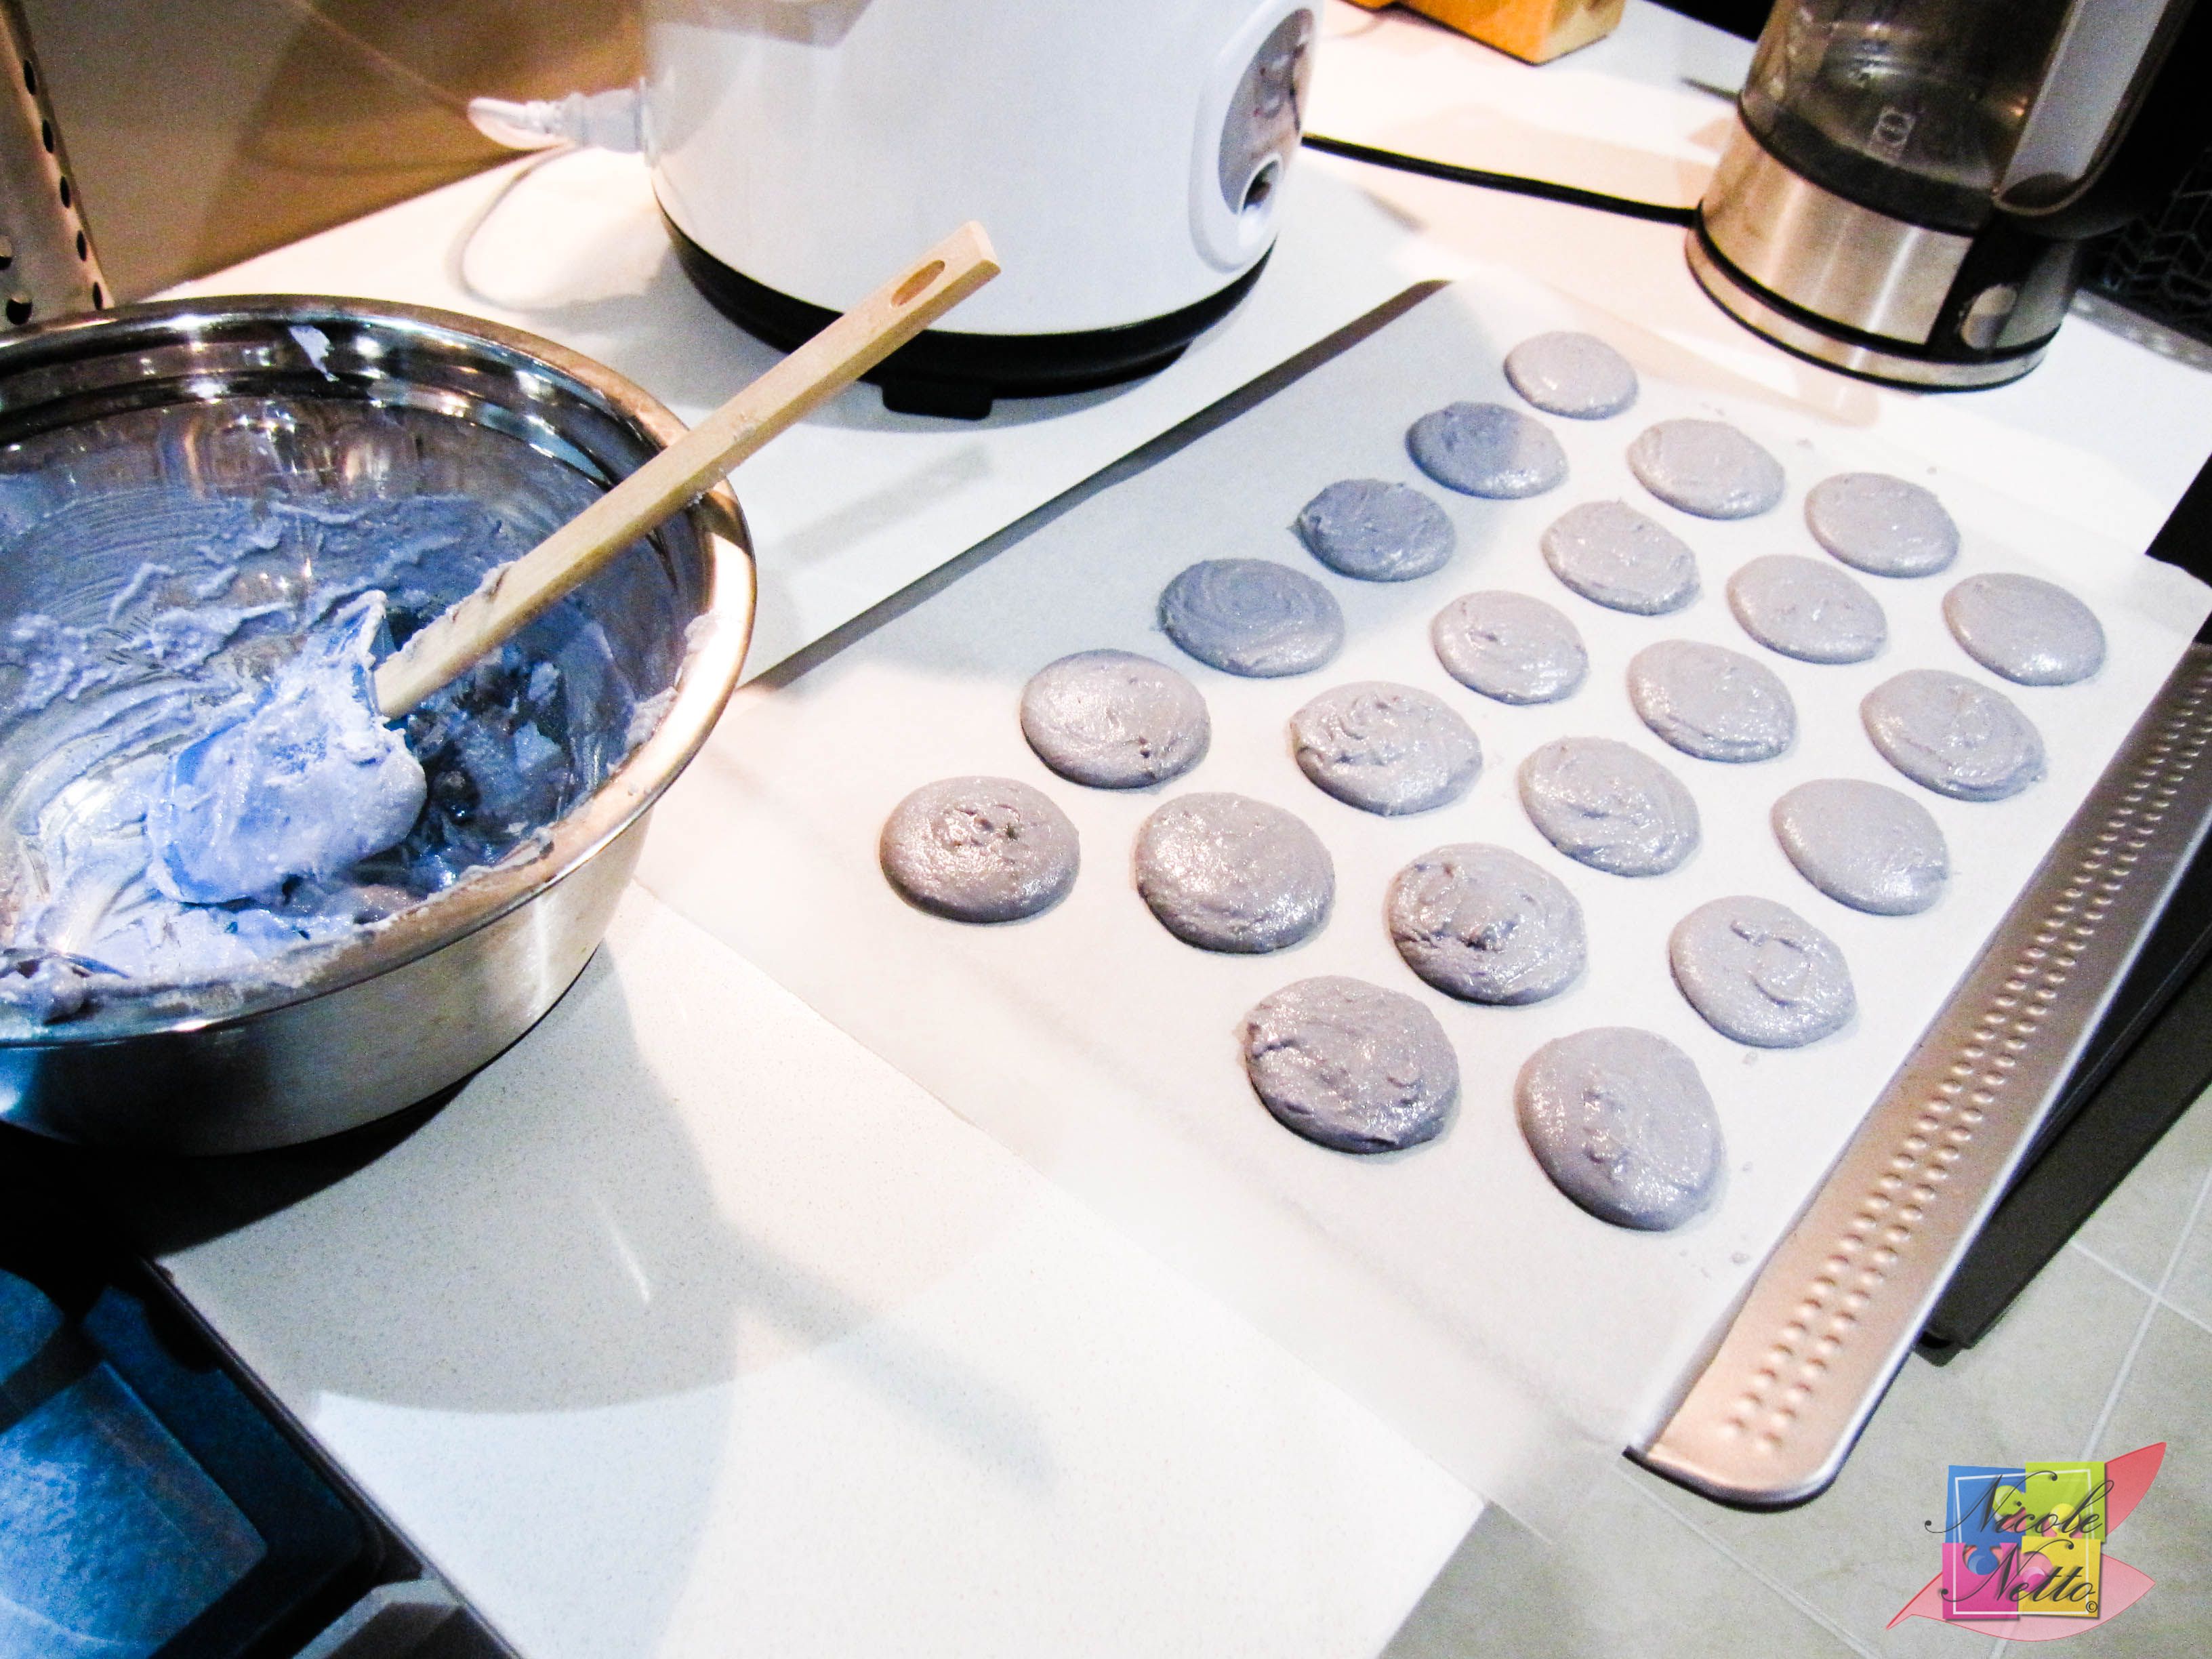
Spooned mixture with all batter used up
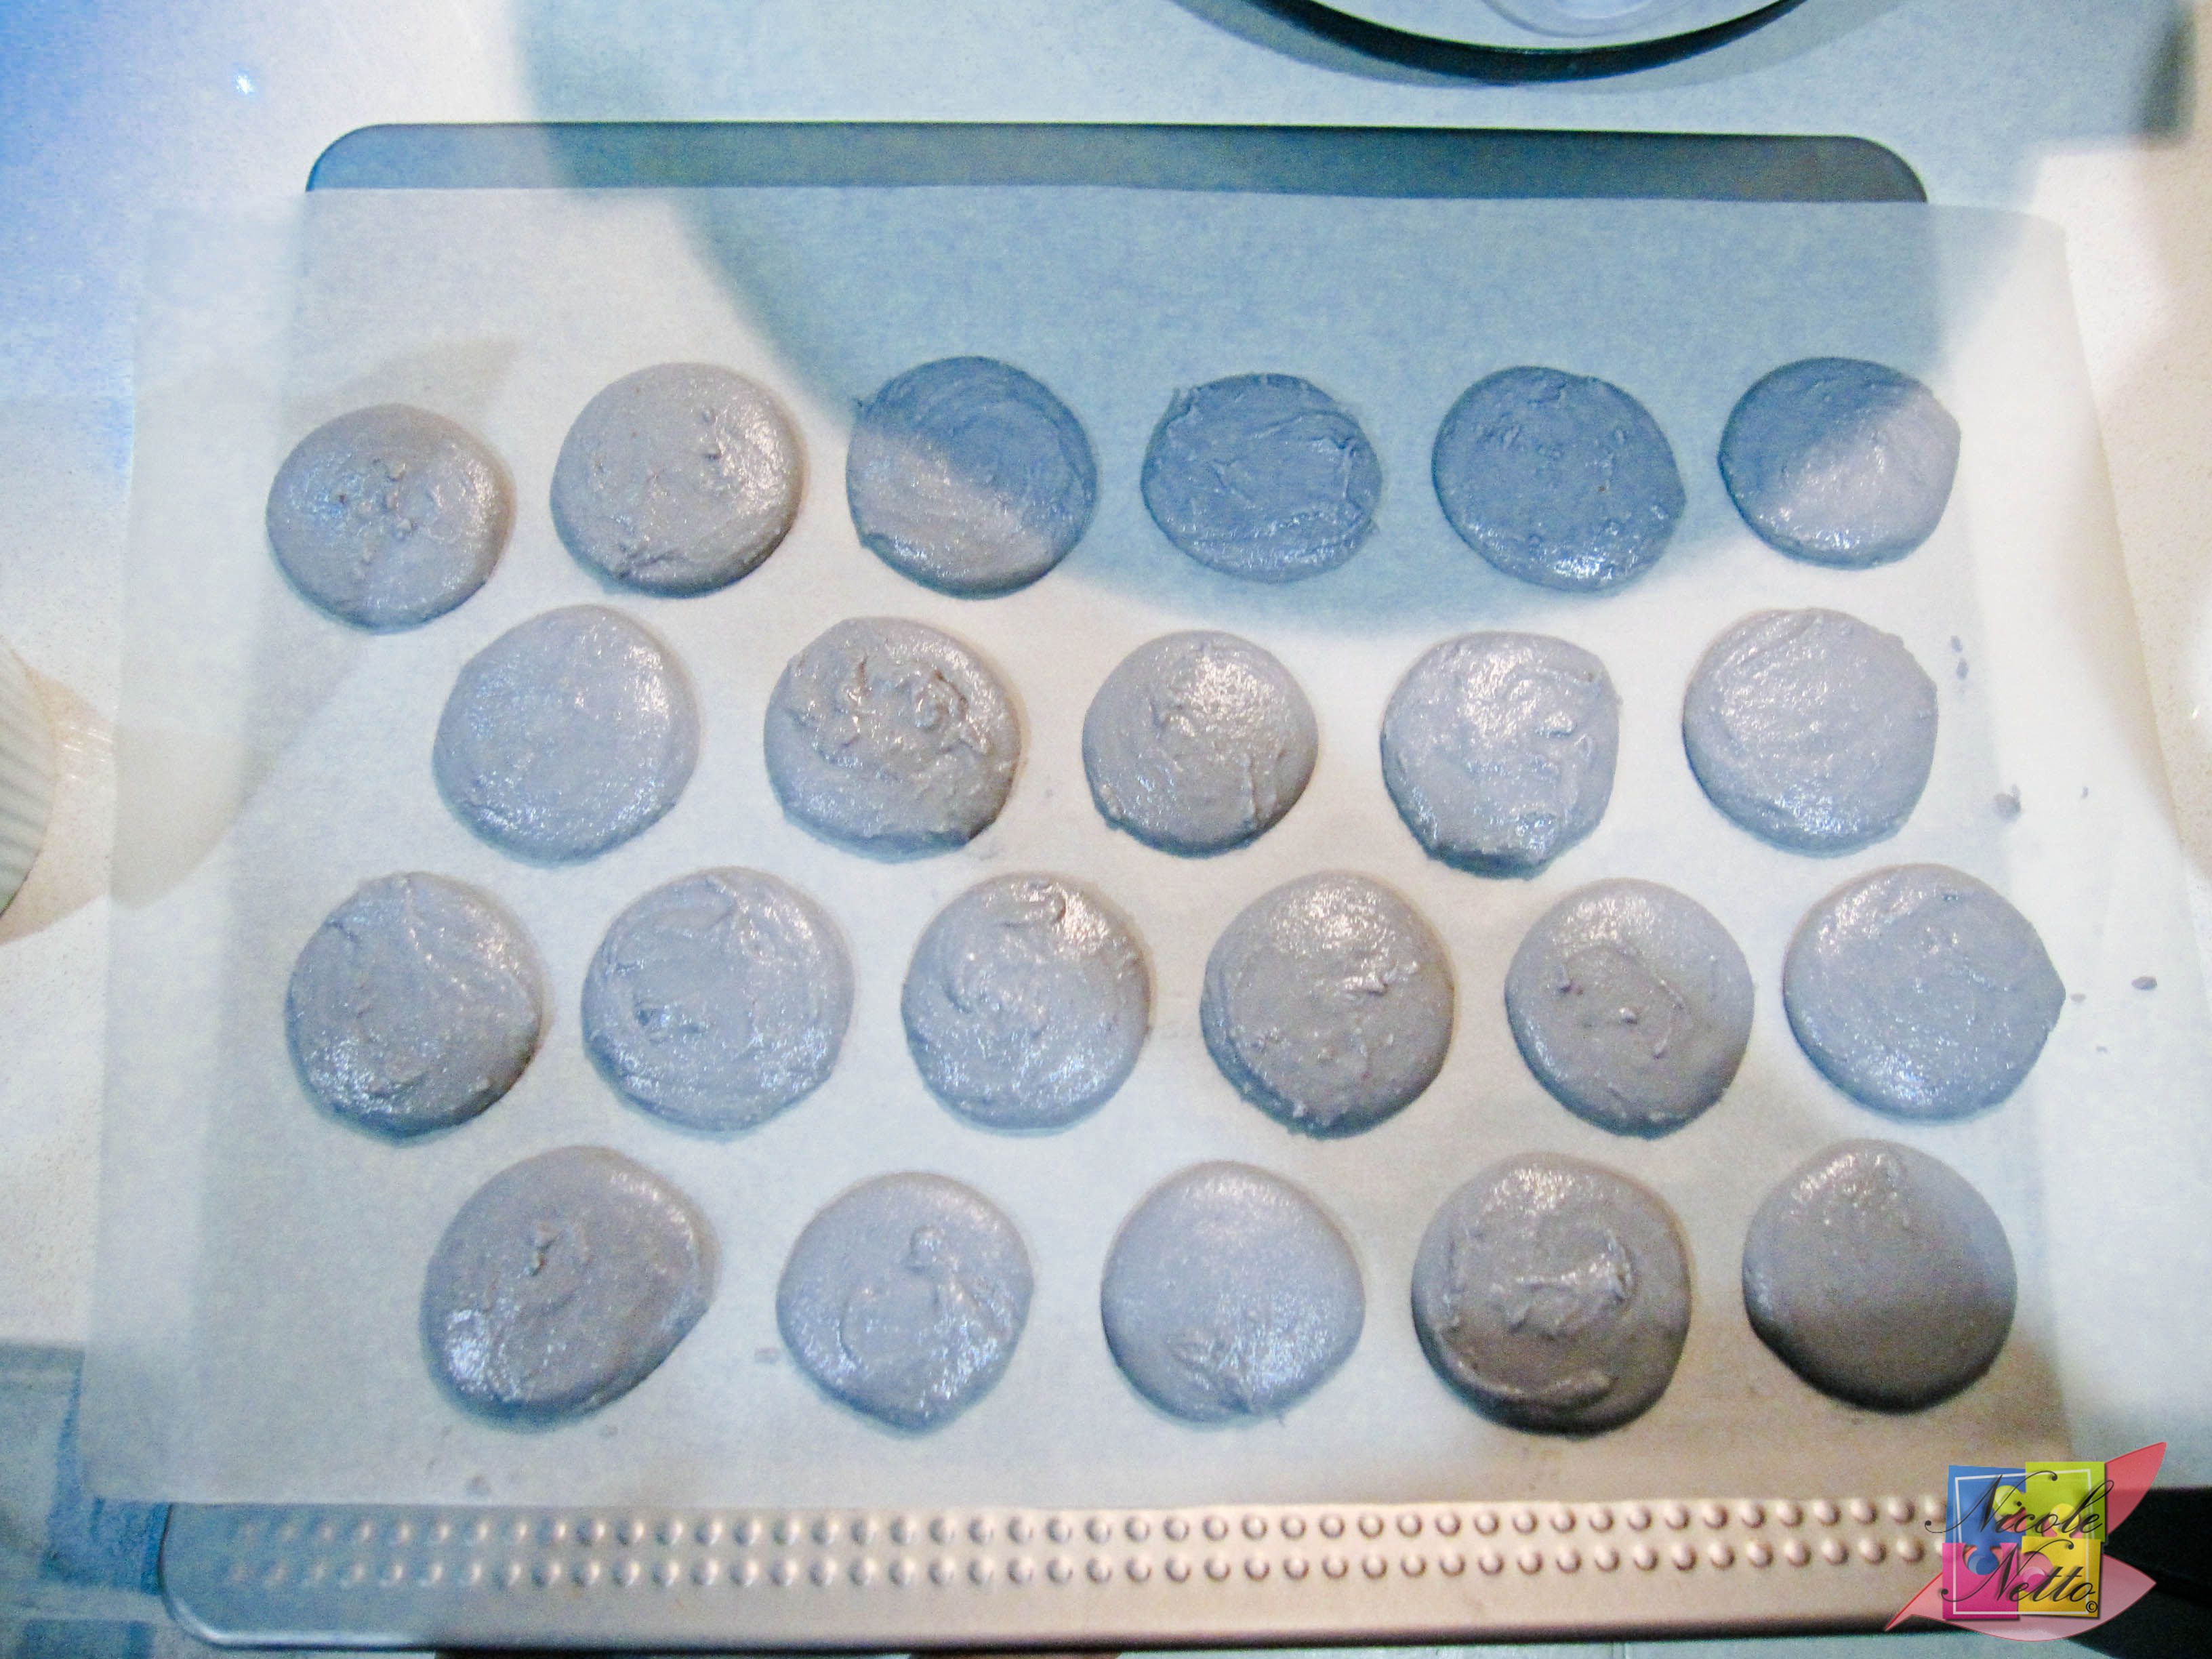
Tapped out batter with air released, prepped for skin formation
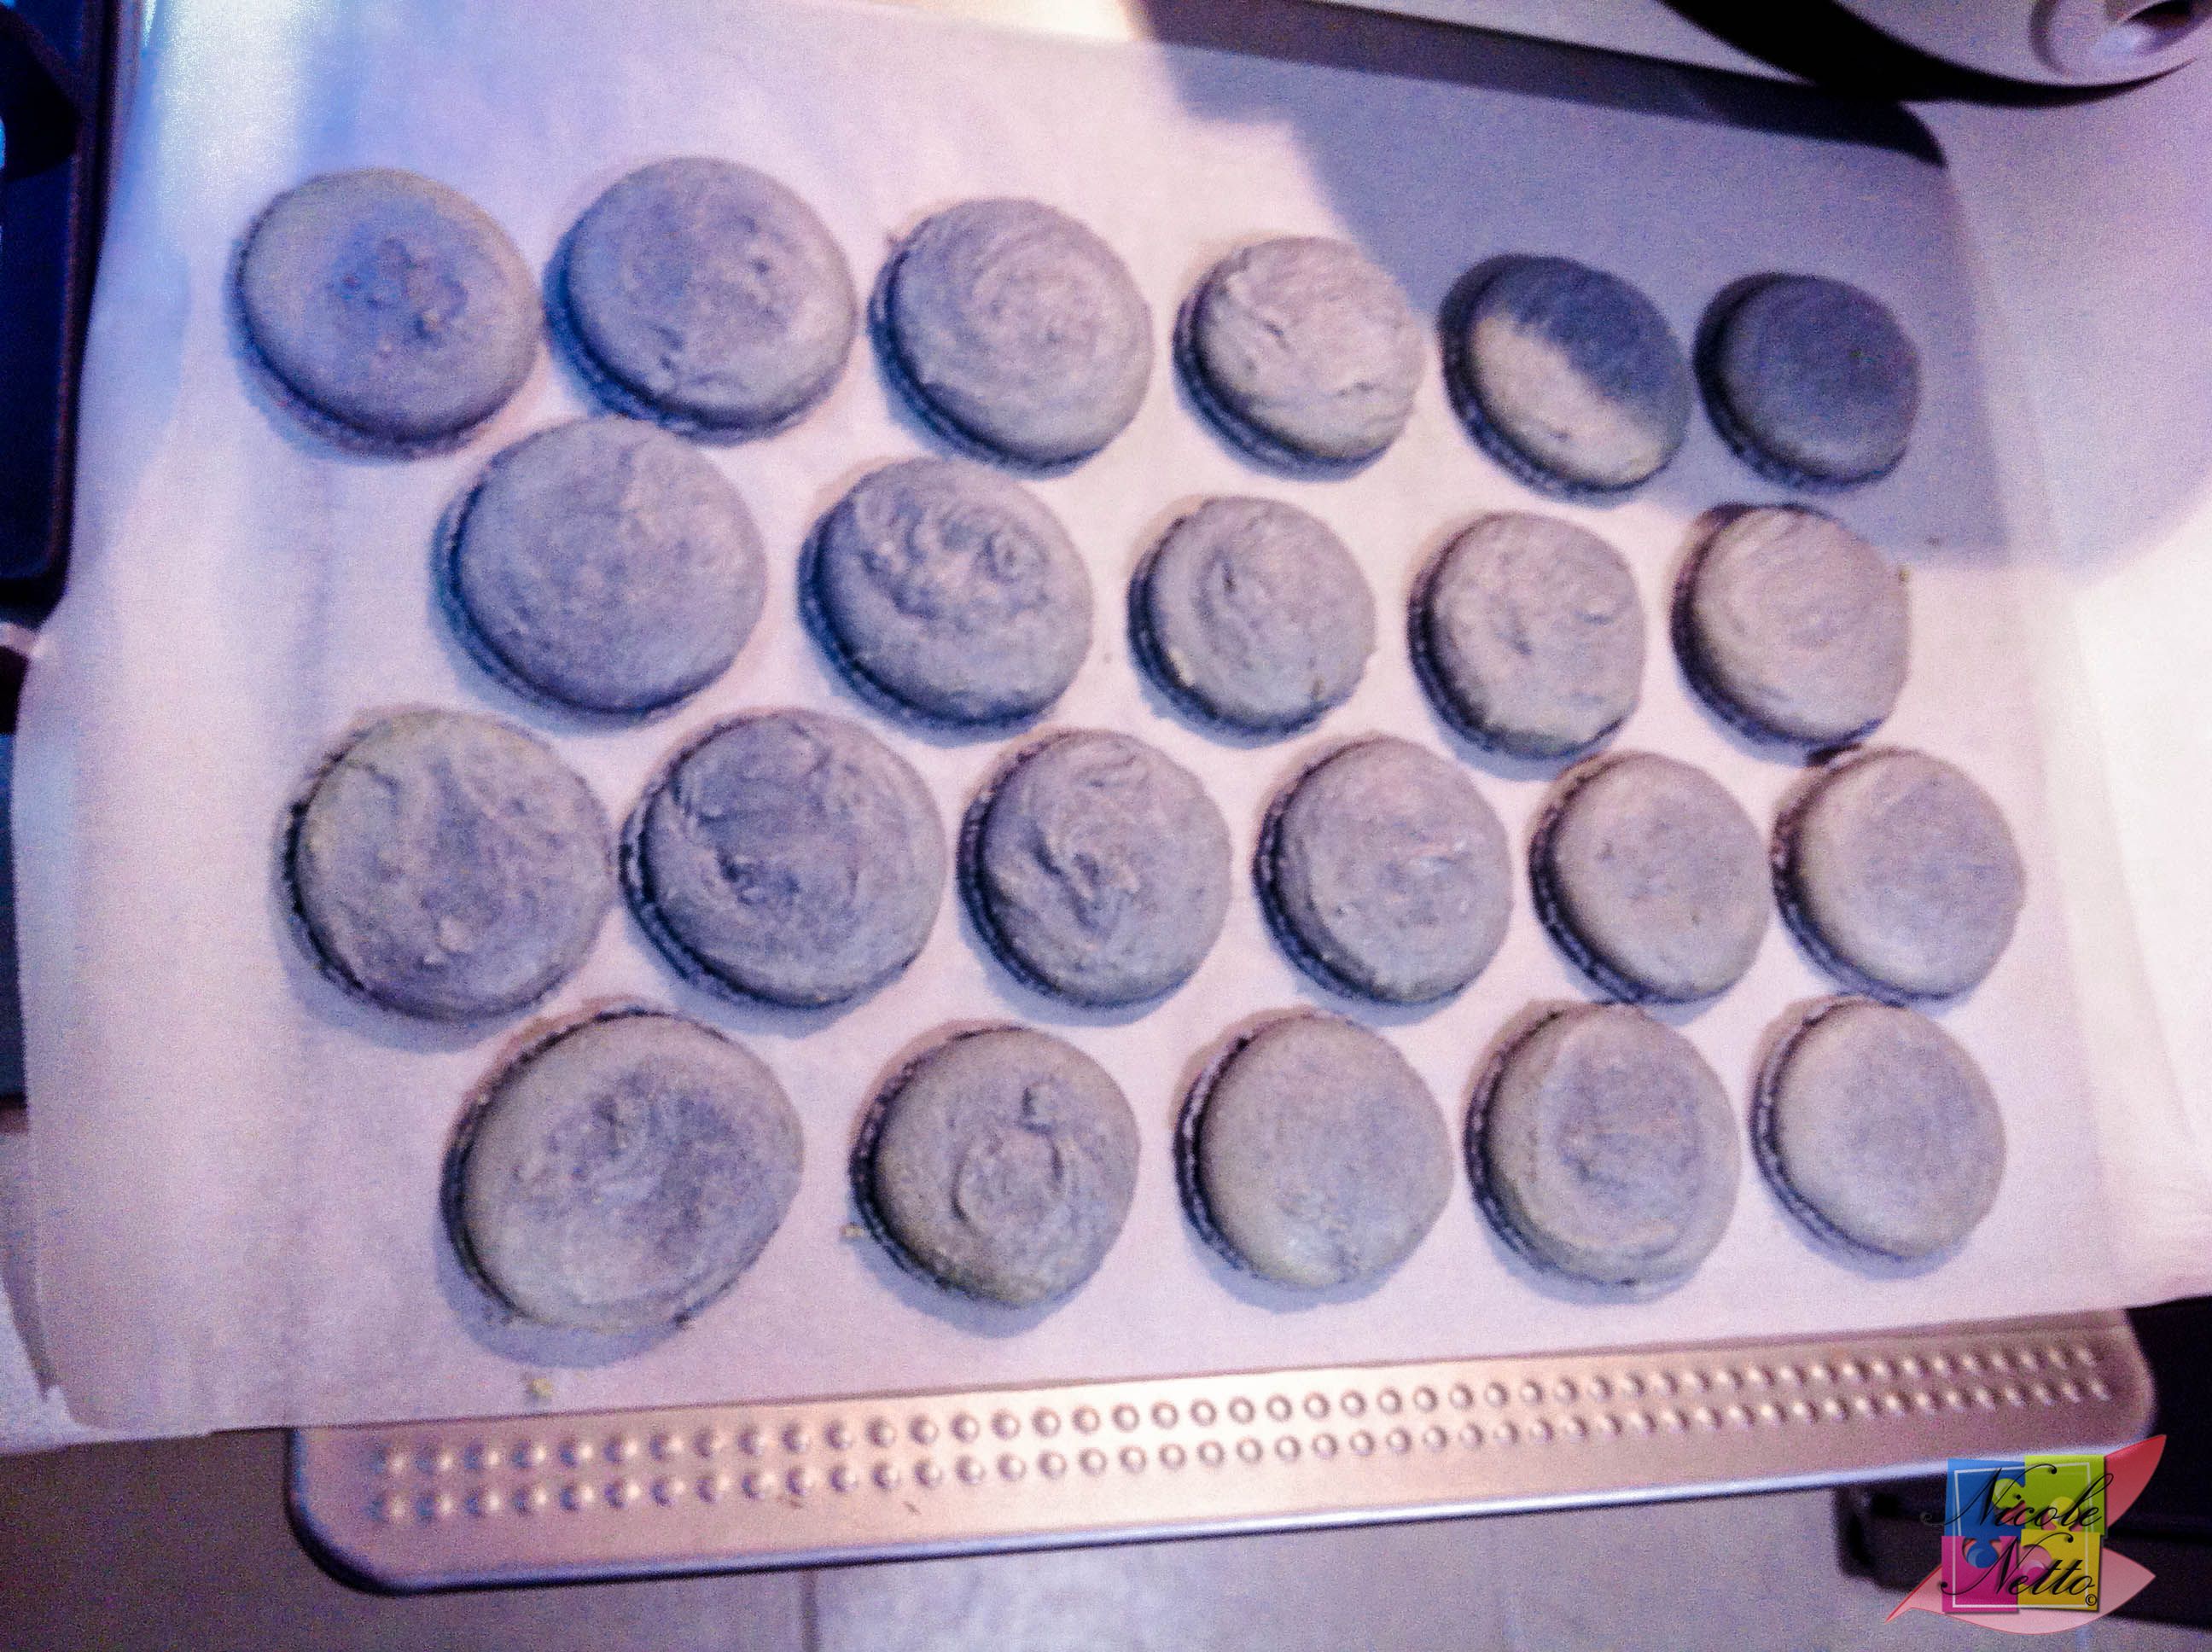
Tap the bottom of the tray (or tap the tray onto your kitchen work bench carefully) well a few times until you see the air bubbles pop out of the macarons and the mixture settle down into perfectly smooth tops. Leave the macaron at room temperature for a minimum of 30 minutes until the skin forms. This is important as the formation of the skins ensures a good shell structure and the formation of the distinctive macaron feet.
Preheat the oven to 135ºC. To test if the macaron skins have formed, touch one lightly with your fingertip – the macaron’s should not feel sticky. If the skin has formed, put the baking sheet into the oven and bake for 16 minutes, until they have formed a firm outer shell with the beautiful soft center. Make sure to keep a watch on these because if the macaron shells overcook, they get dry and crack and if the macaron shells are undercooked, they would be too soft.
Note: If you are baking larger quantities and have more trays of macaron shells, make sure to only bake one tray at a time.
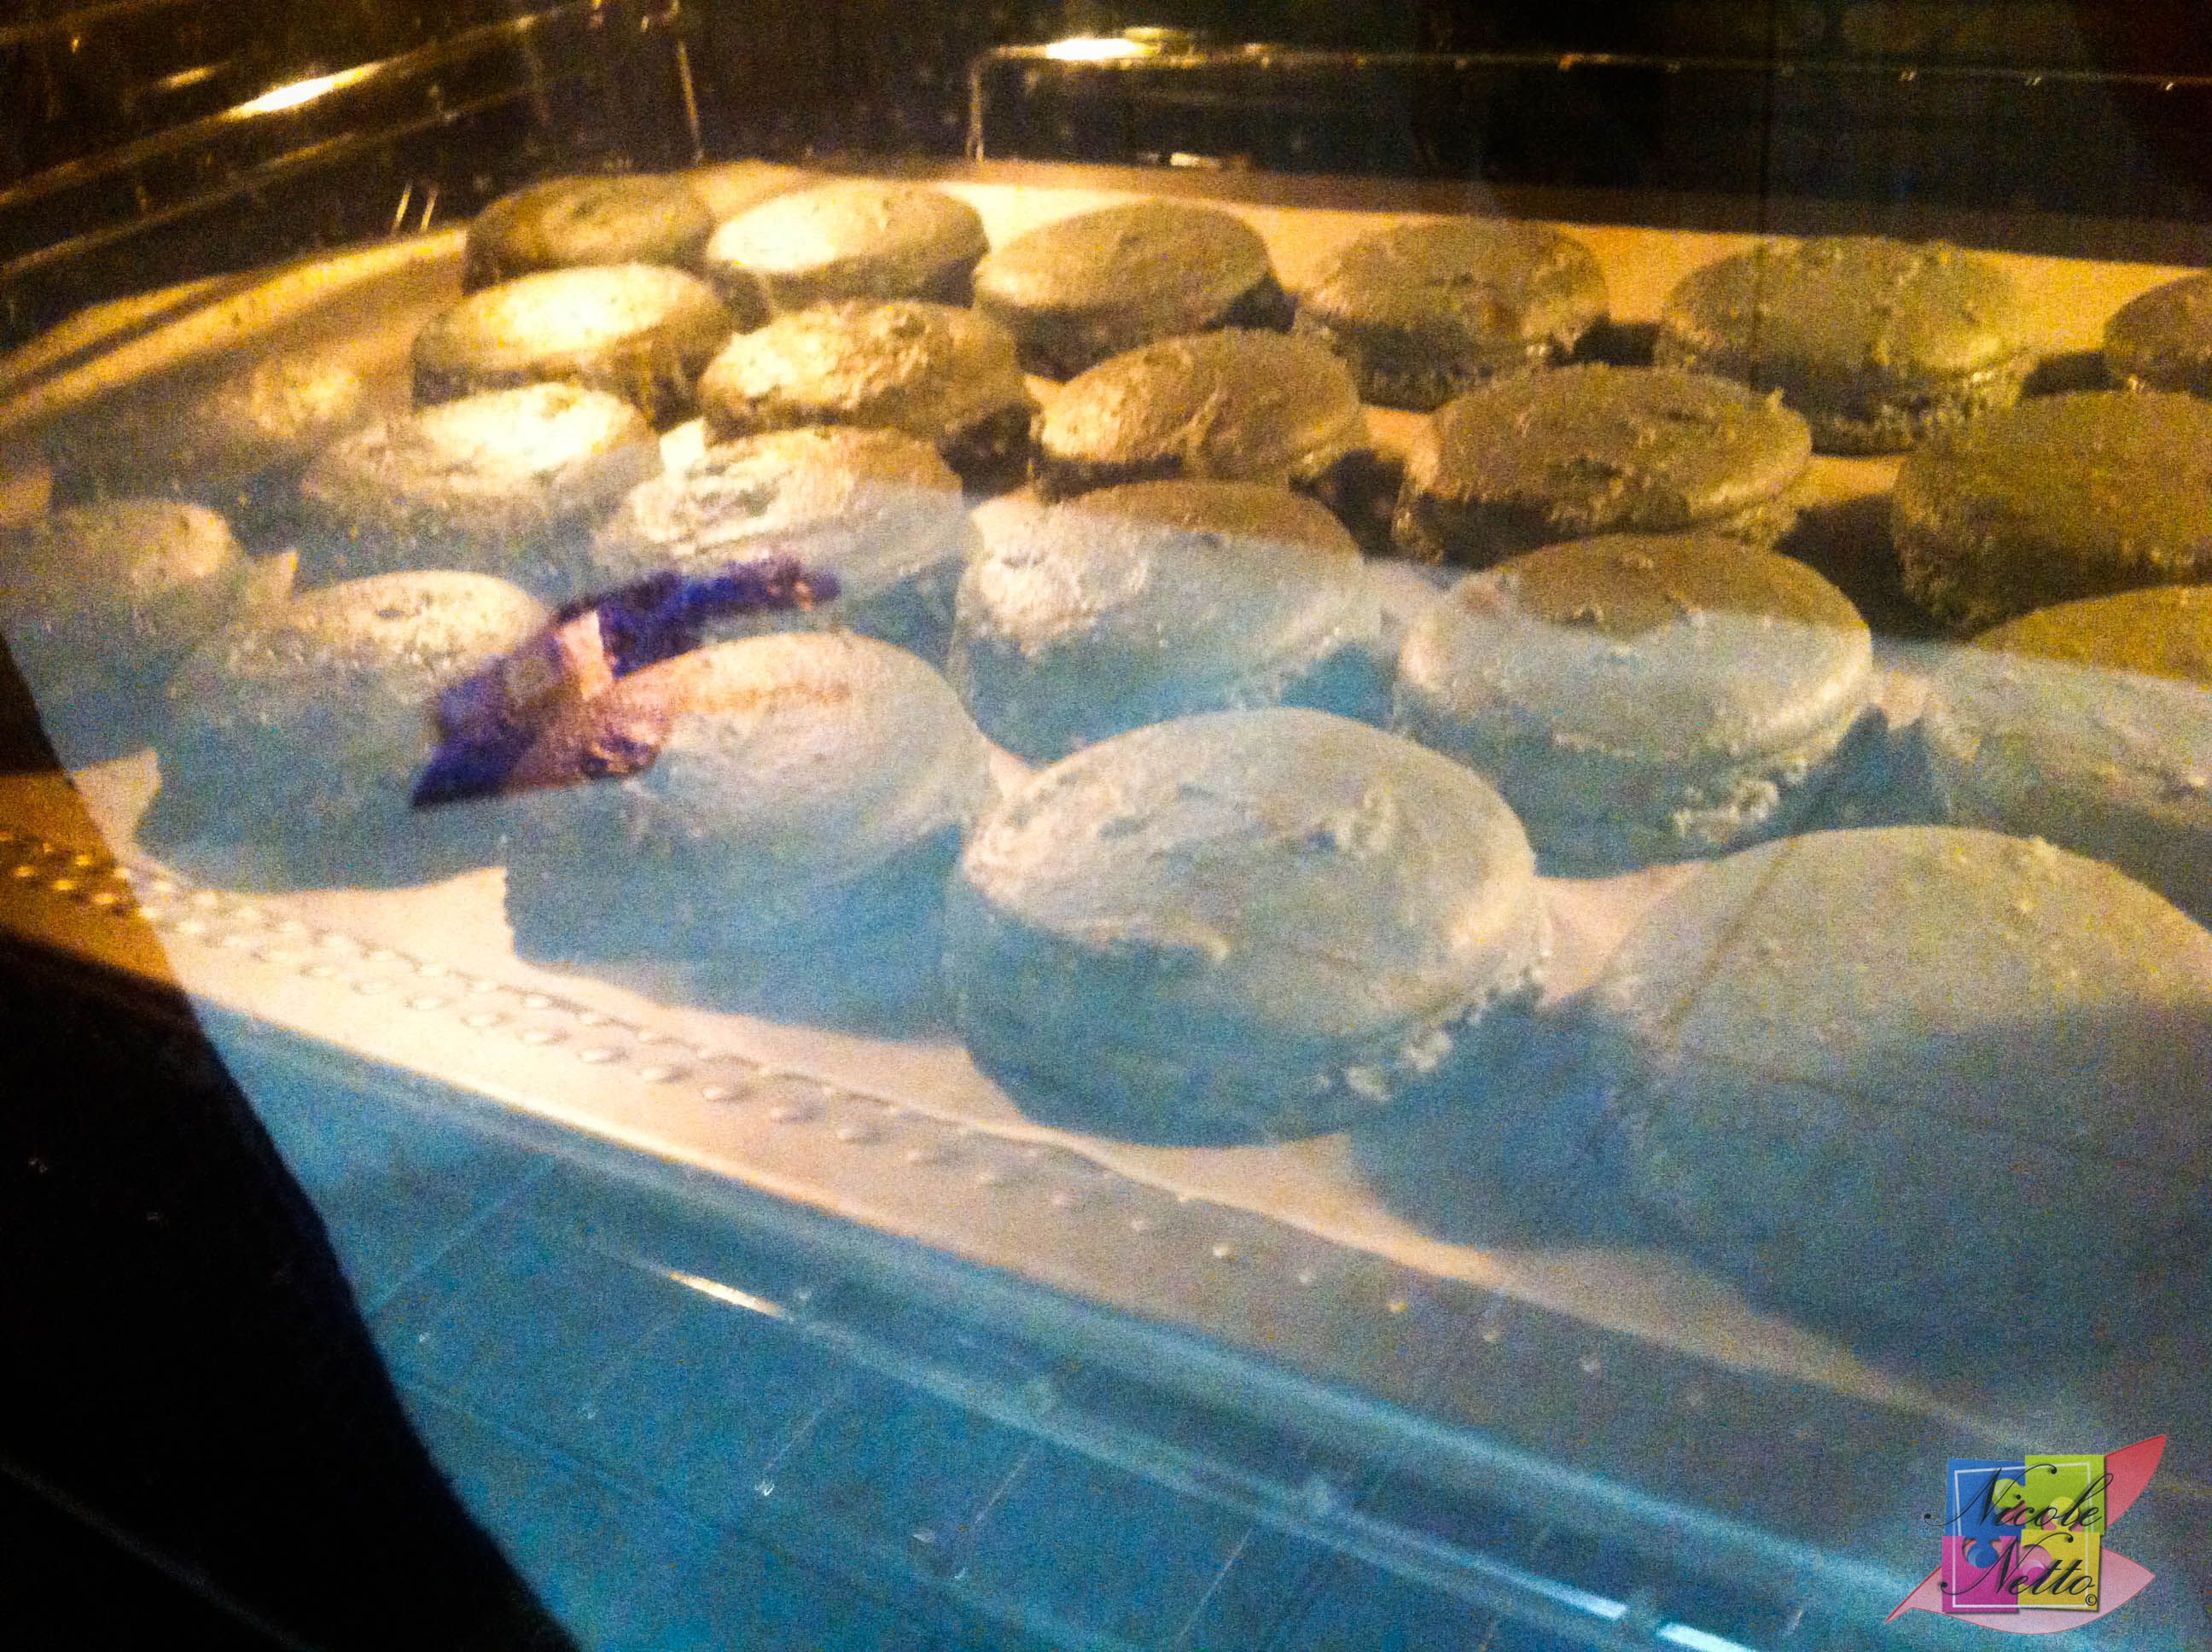
Macaron shells being baked
When they are ready, remove the baking tray from the oven and set aside for 2 minutes. Carefully lift each macaron shell to make sure it’s cooked. If it is still slightly sticky, return the macarons to the oven for 2 to 3 minutes, the check again.
Cool the macarons completely prior to adding on the filling. Select matching sets and set aside prepped for the macaron assembly.
Ingredients – Lavender and Blueberry ganache (filling)
38 gm of thickened OR pouring cream
2 gm of dried culinary lavender flowers
125 gm of white couverture chocolate, chopped or buttons
38 gm of blueberries
Method – Lavender and Blueberry ganache (filling)
I started to make the ganache while the macaron’s were being baked.
Put the cream and lavender flowers in the same saucepan that you did the sugar syrup in, the residual sugar and color should infuse with the filling mixture. Bring the saucepan over medium heat to the boil. Turn off the heat and set aside to cool.
Lavender and cream mixture, being brought to the boil.
Measure out the white chocolate and keep it prepped in a bowl with a strainer OR fine sieve.
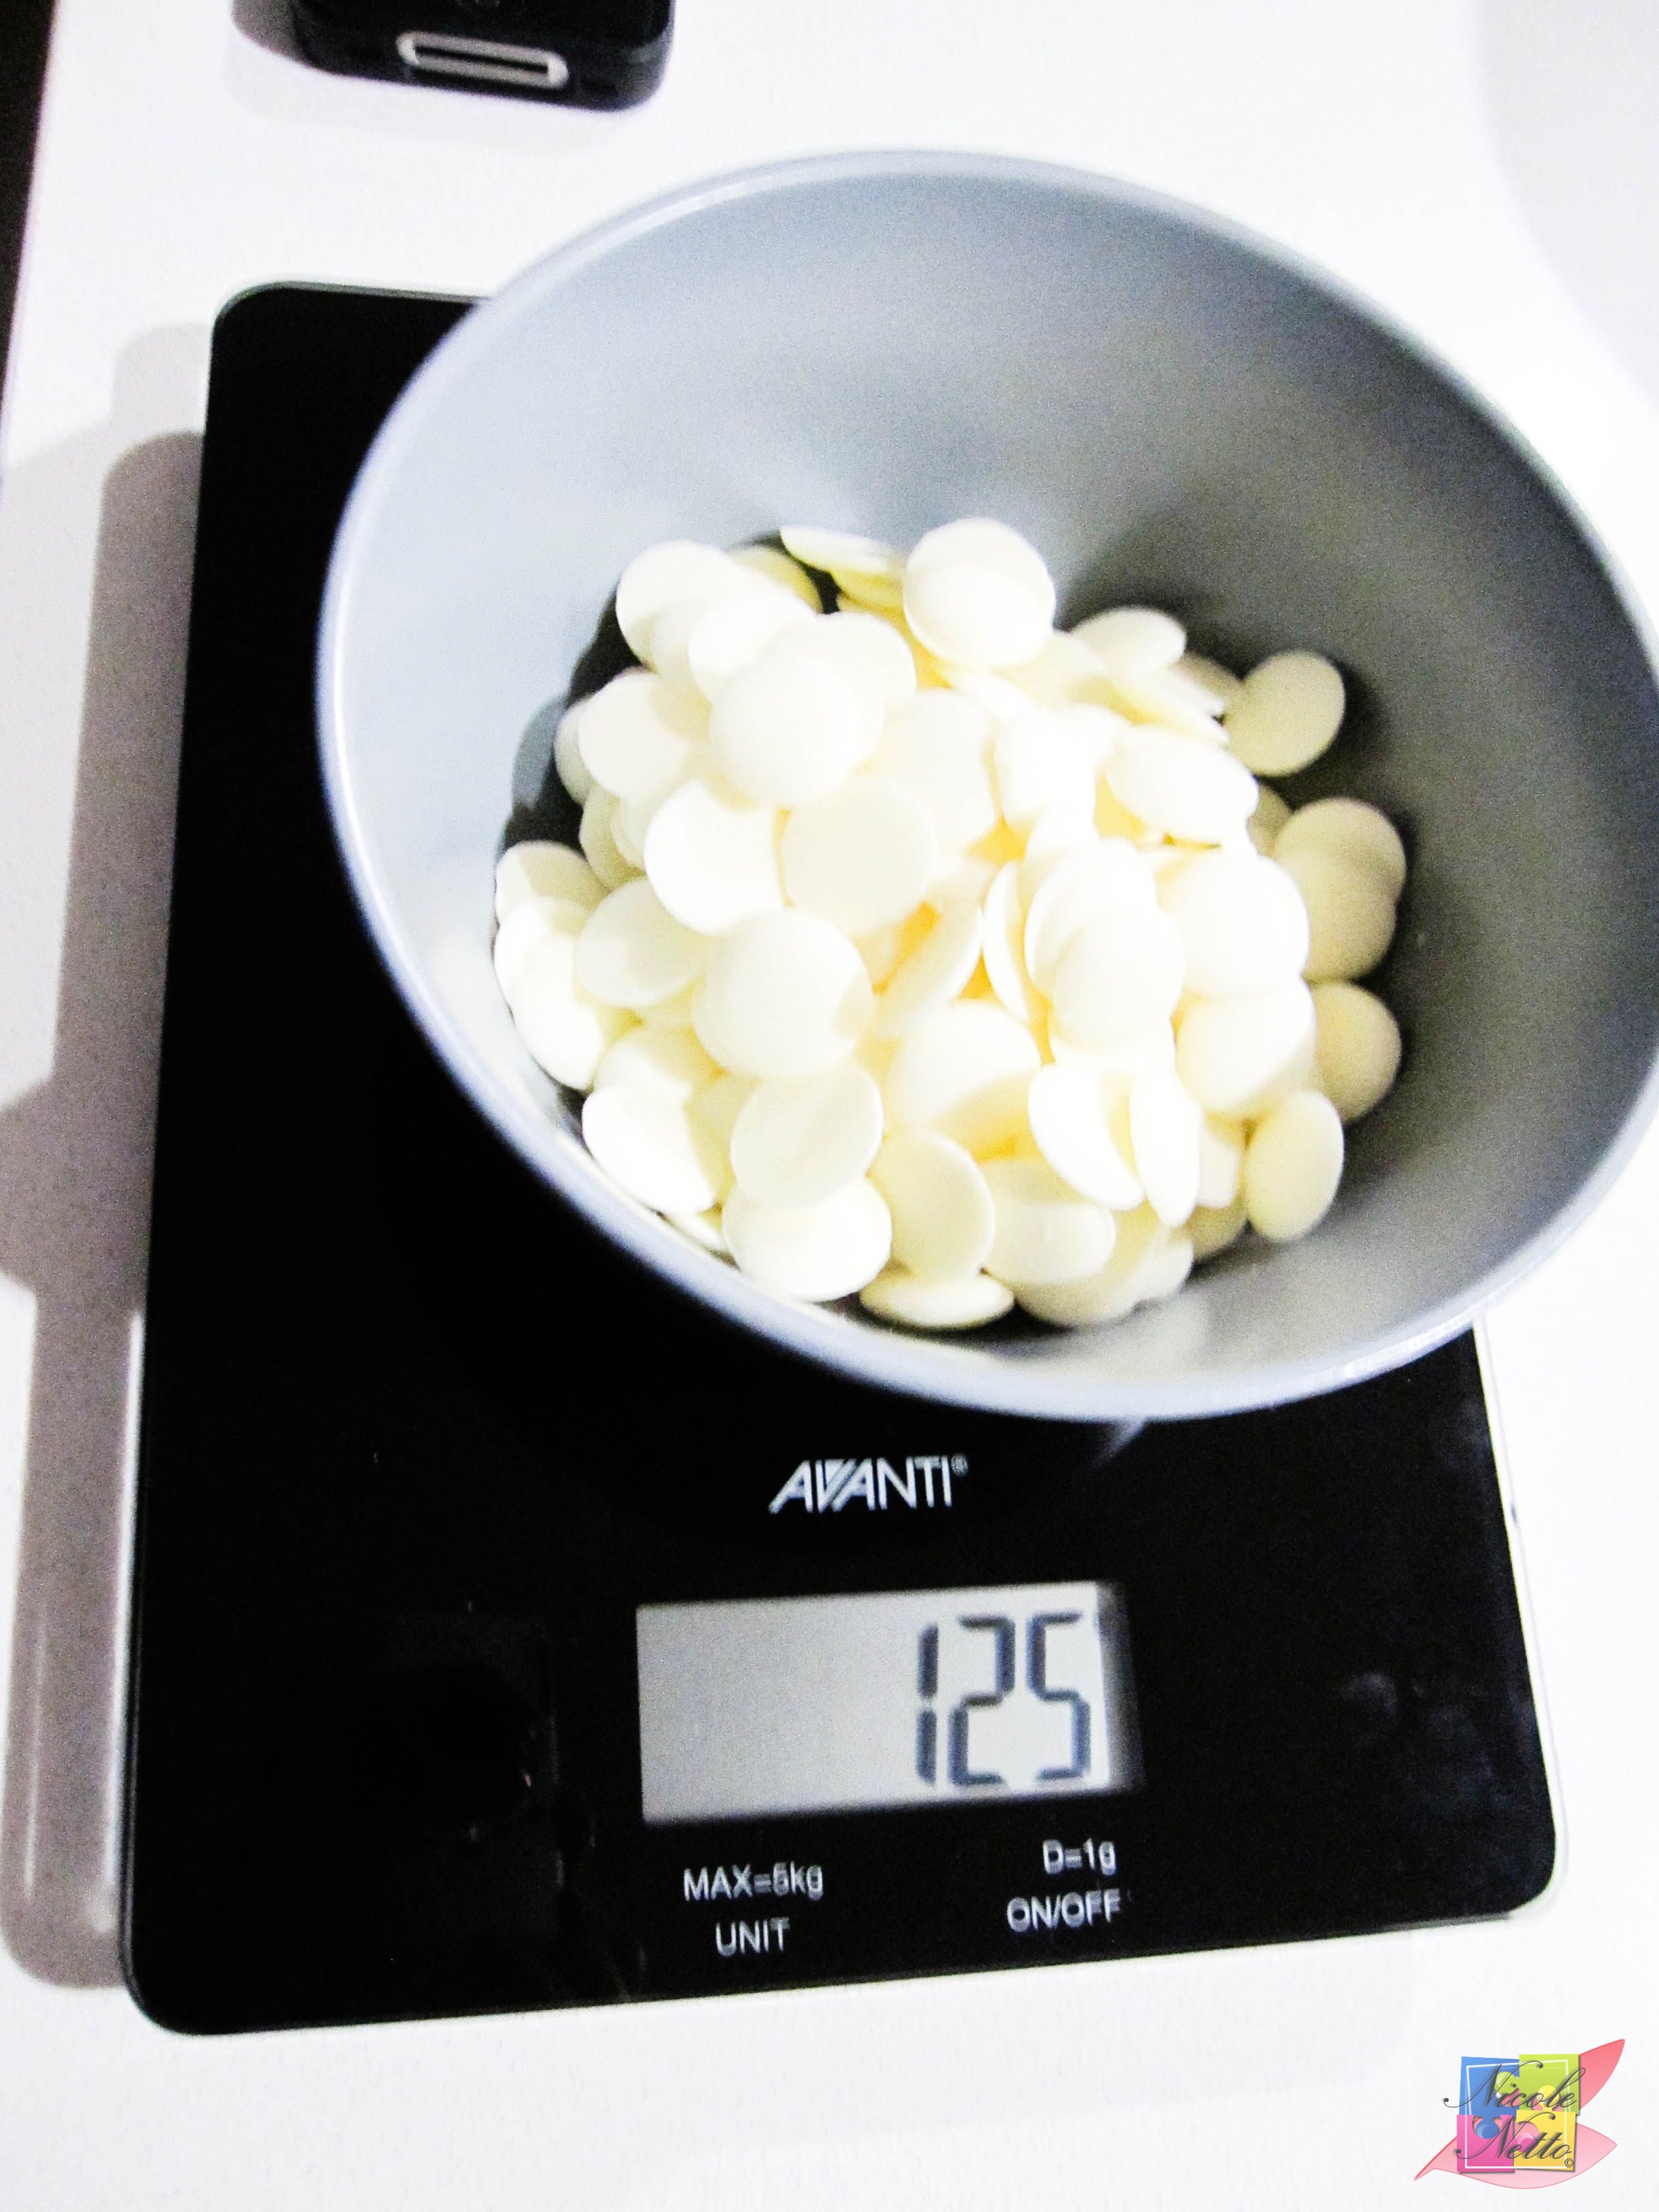
125 gm white chocolate
Prepped white chocolate with strainer
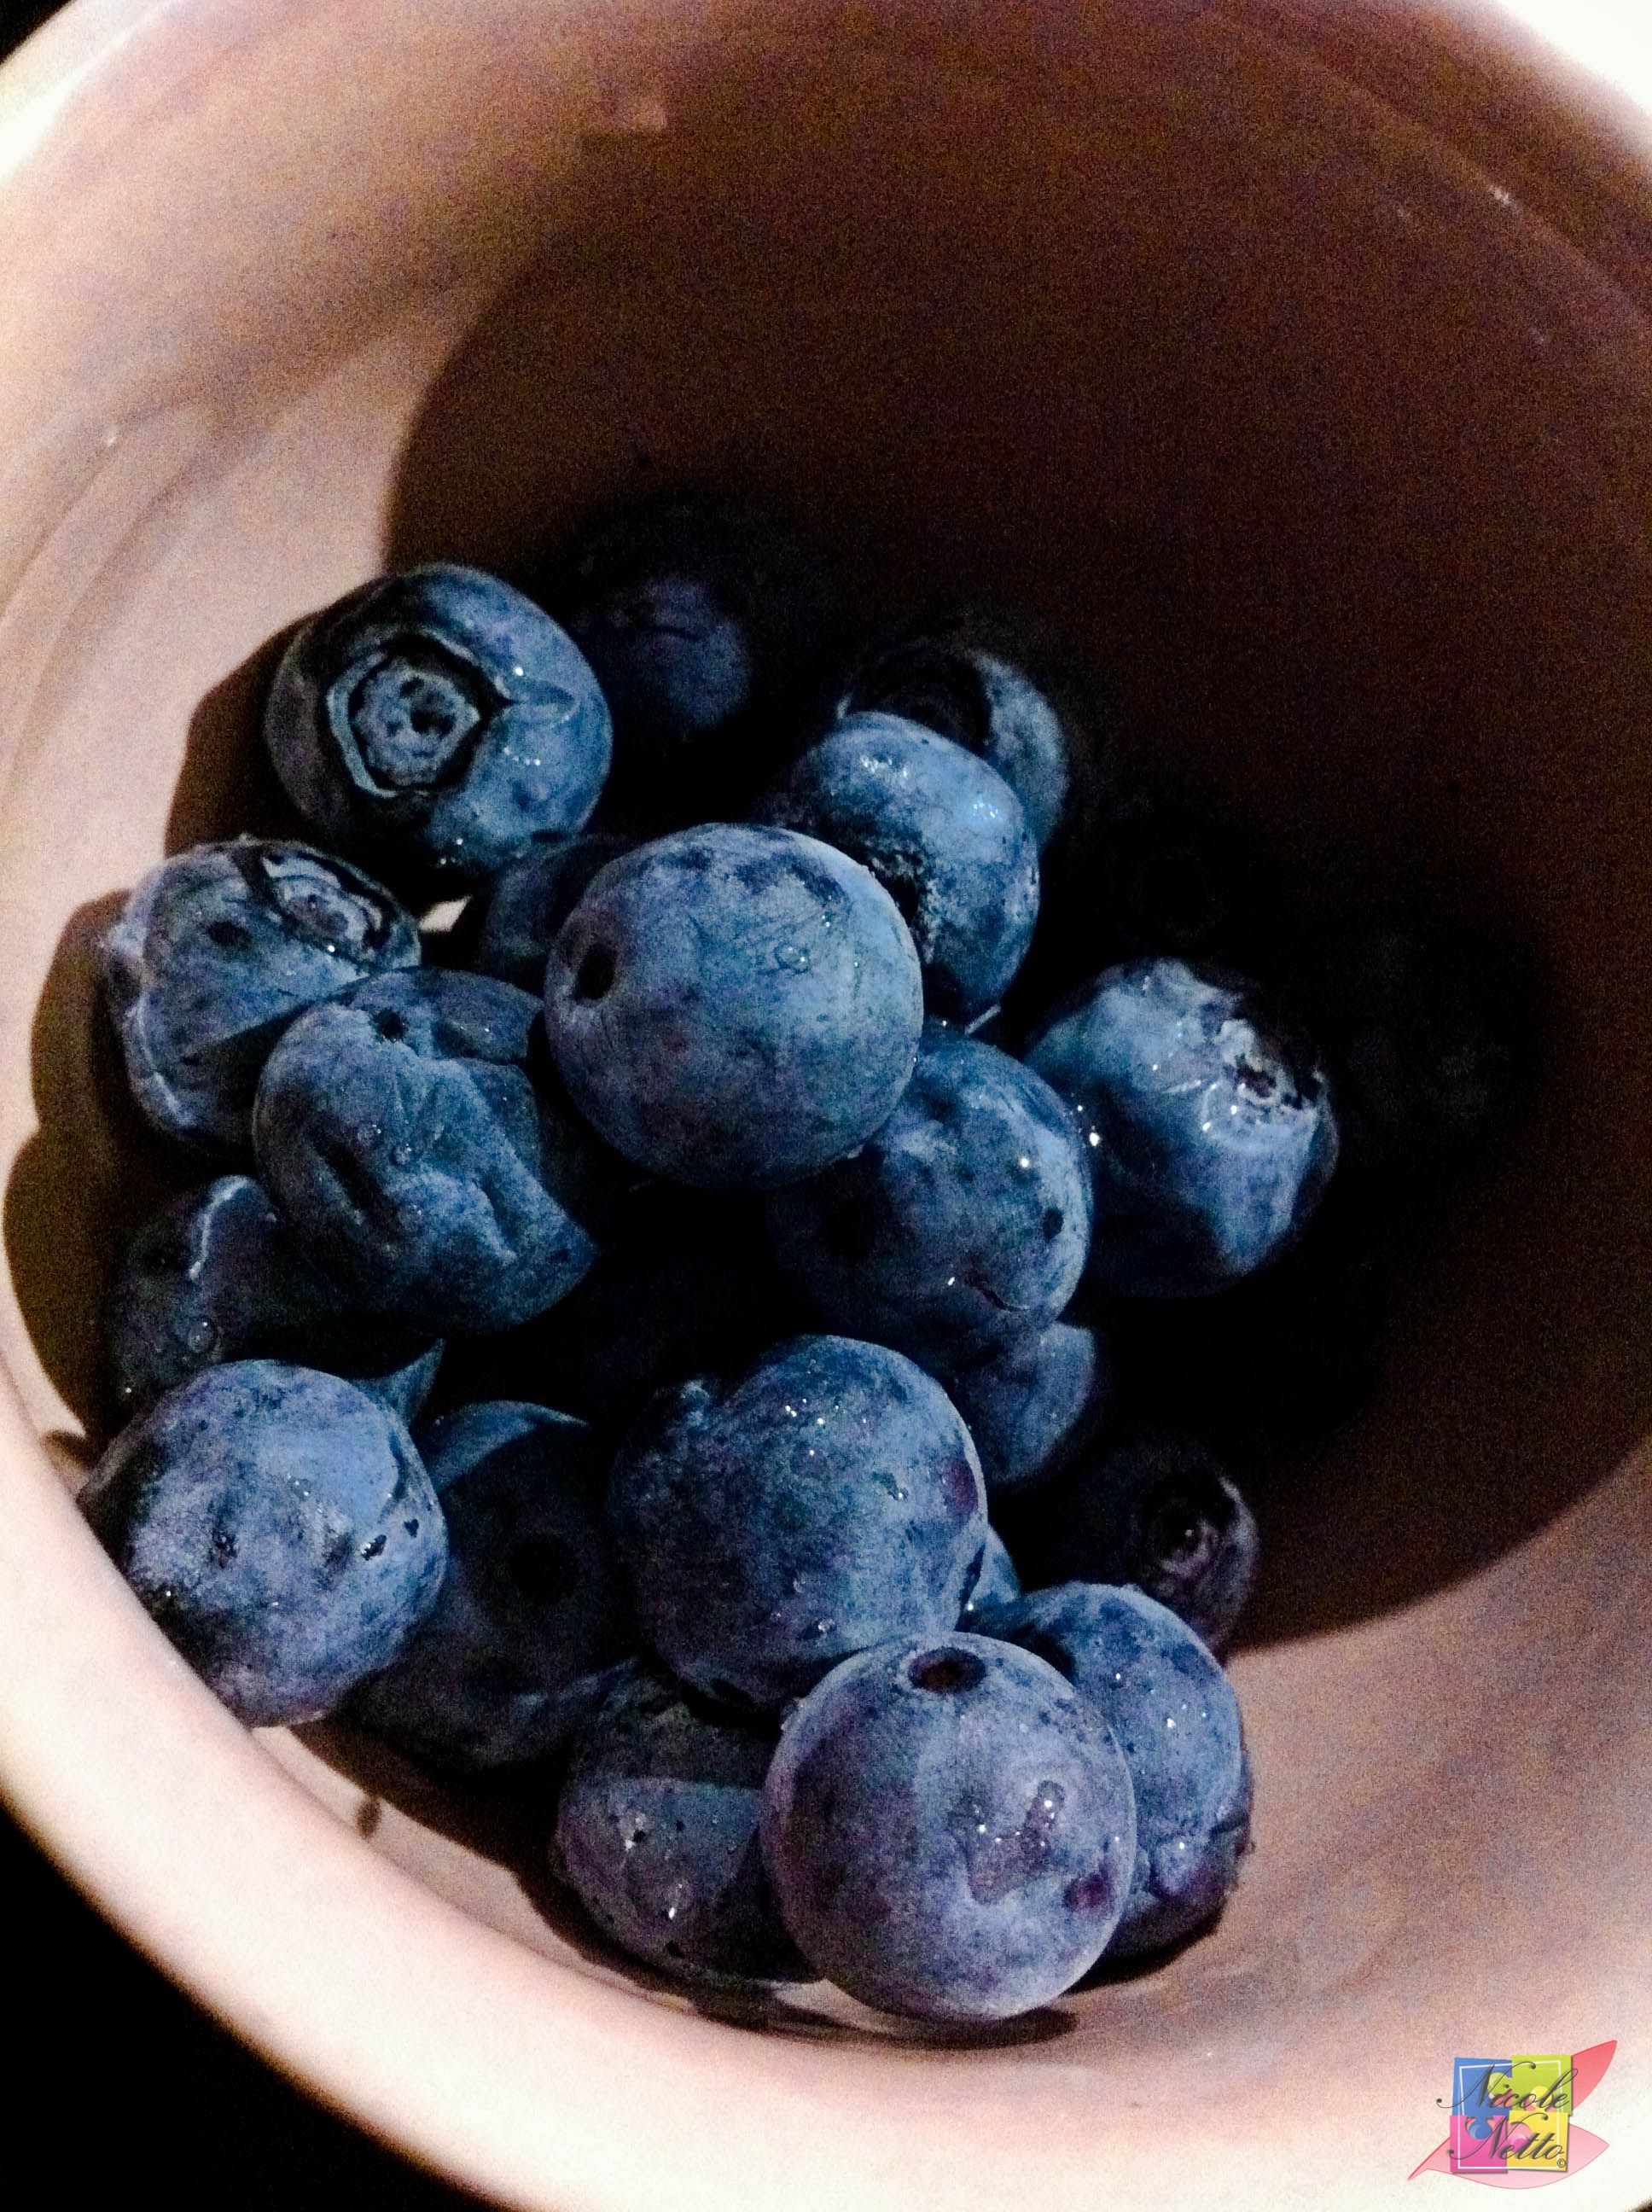
40 gm Fresh Blueberries
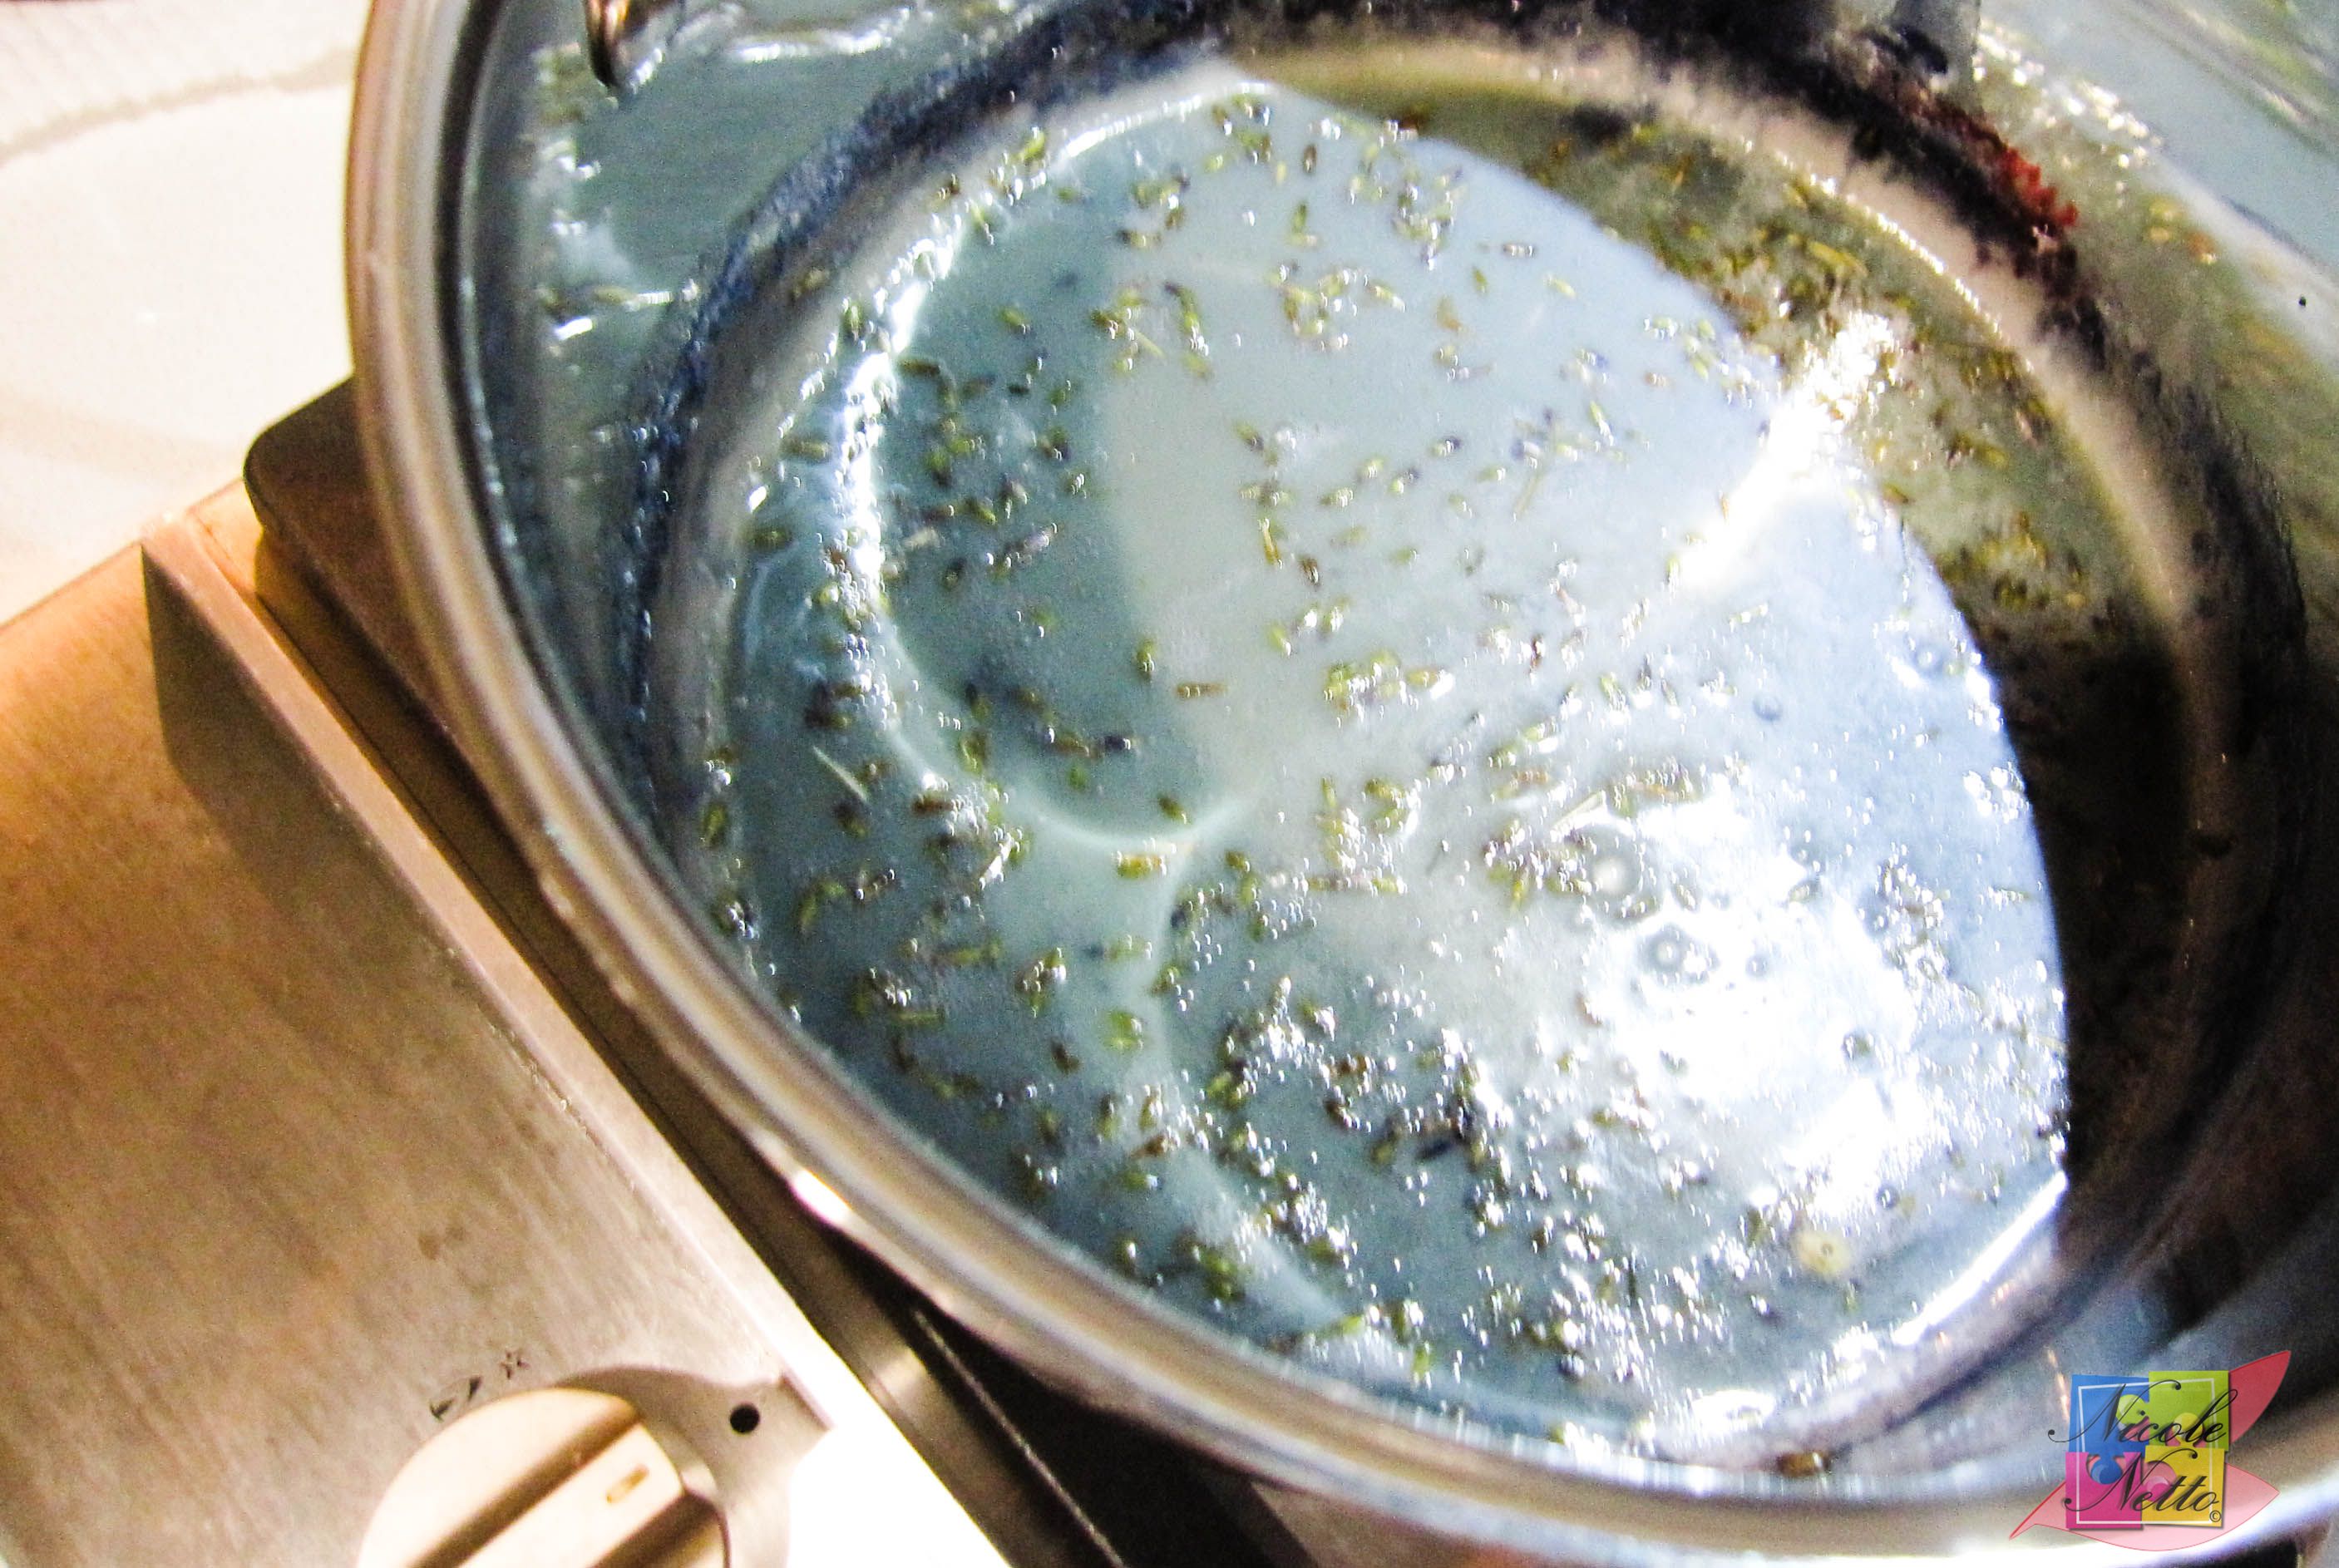
Mash up the fresh blueberries to a fine pulp. Add this mixture to the lavender cream mixture and bring to the boil on medium heat until the mixture reached 60ºC.
Note: Should you wish to modify the colour of the ganache further, this would be the point to add the color in, prior to bringing the mixture to 60ºC.
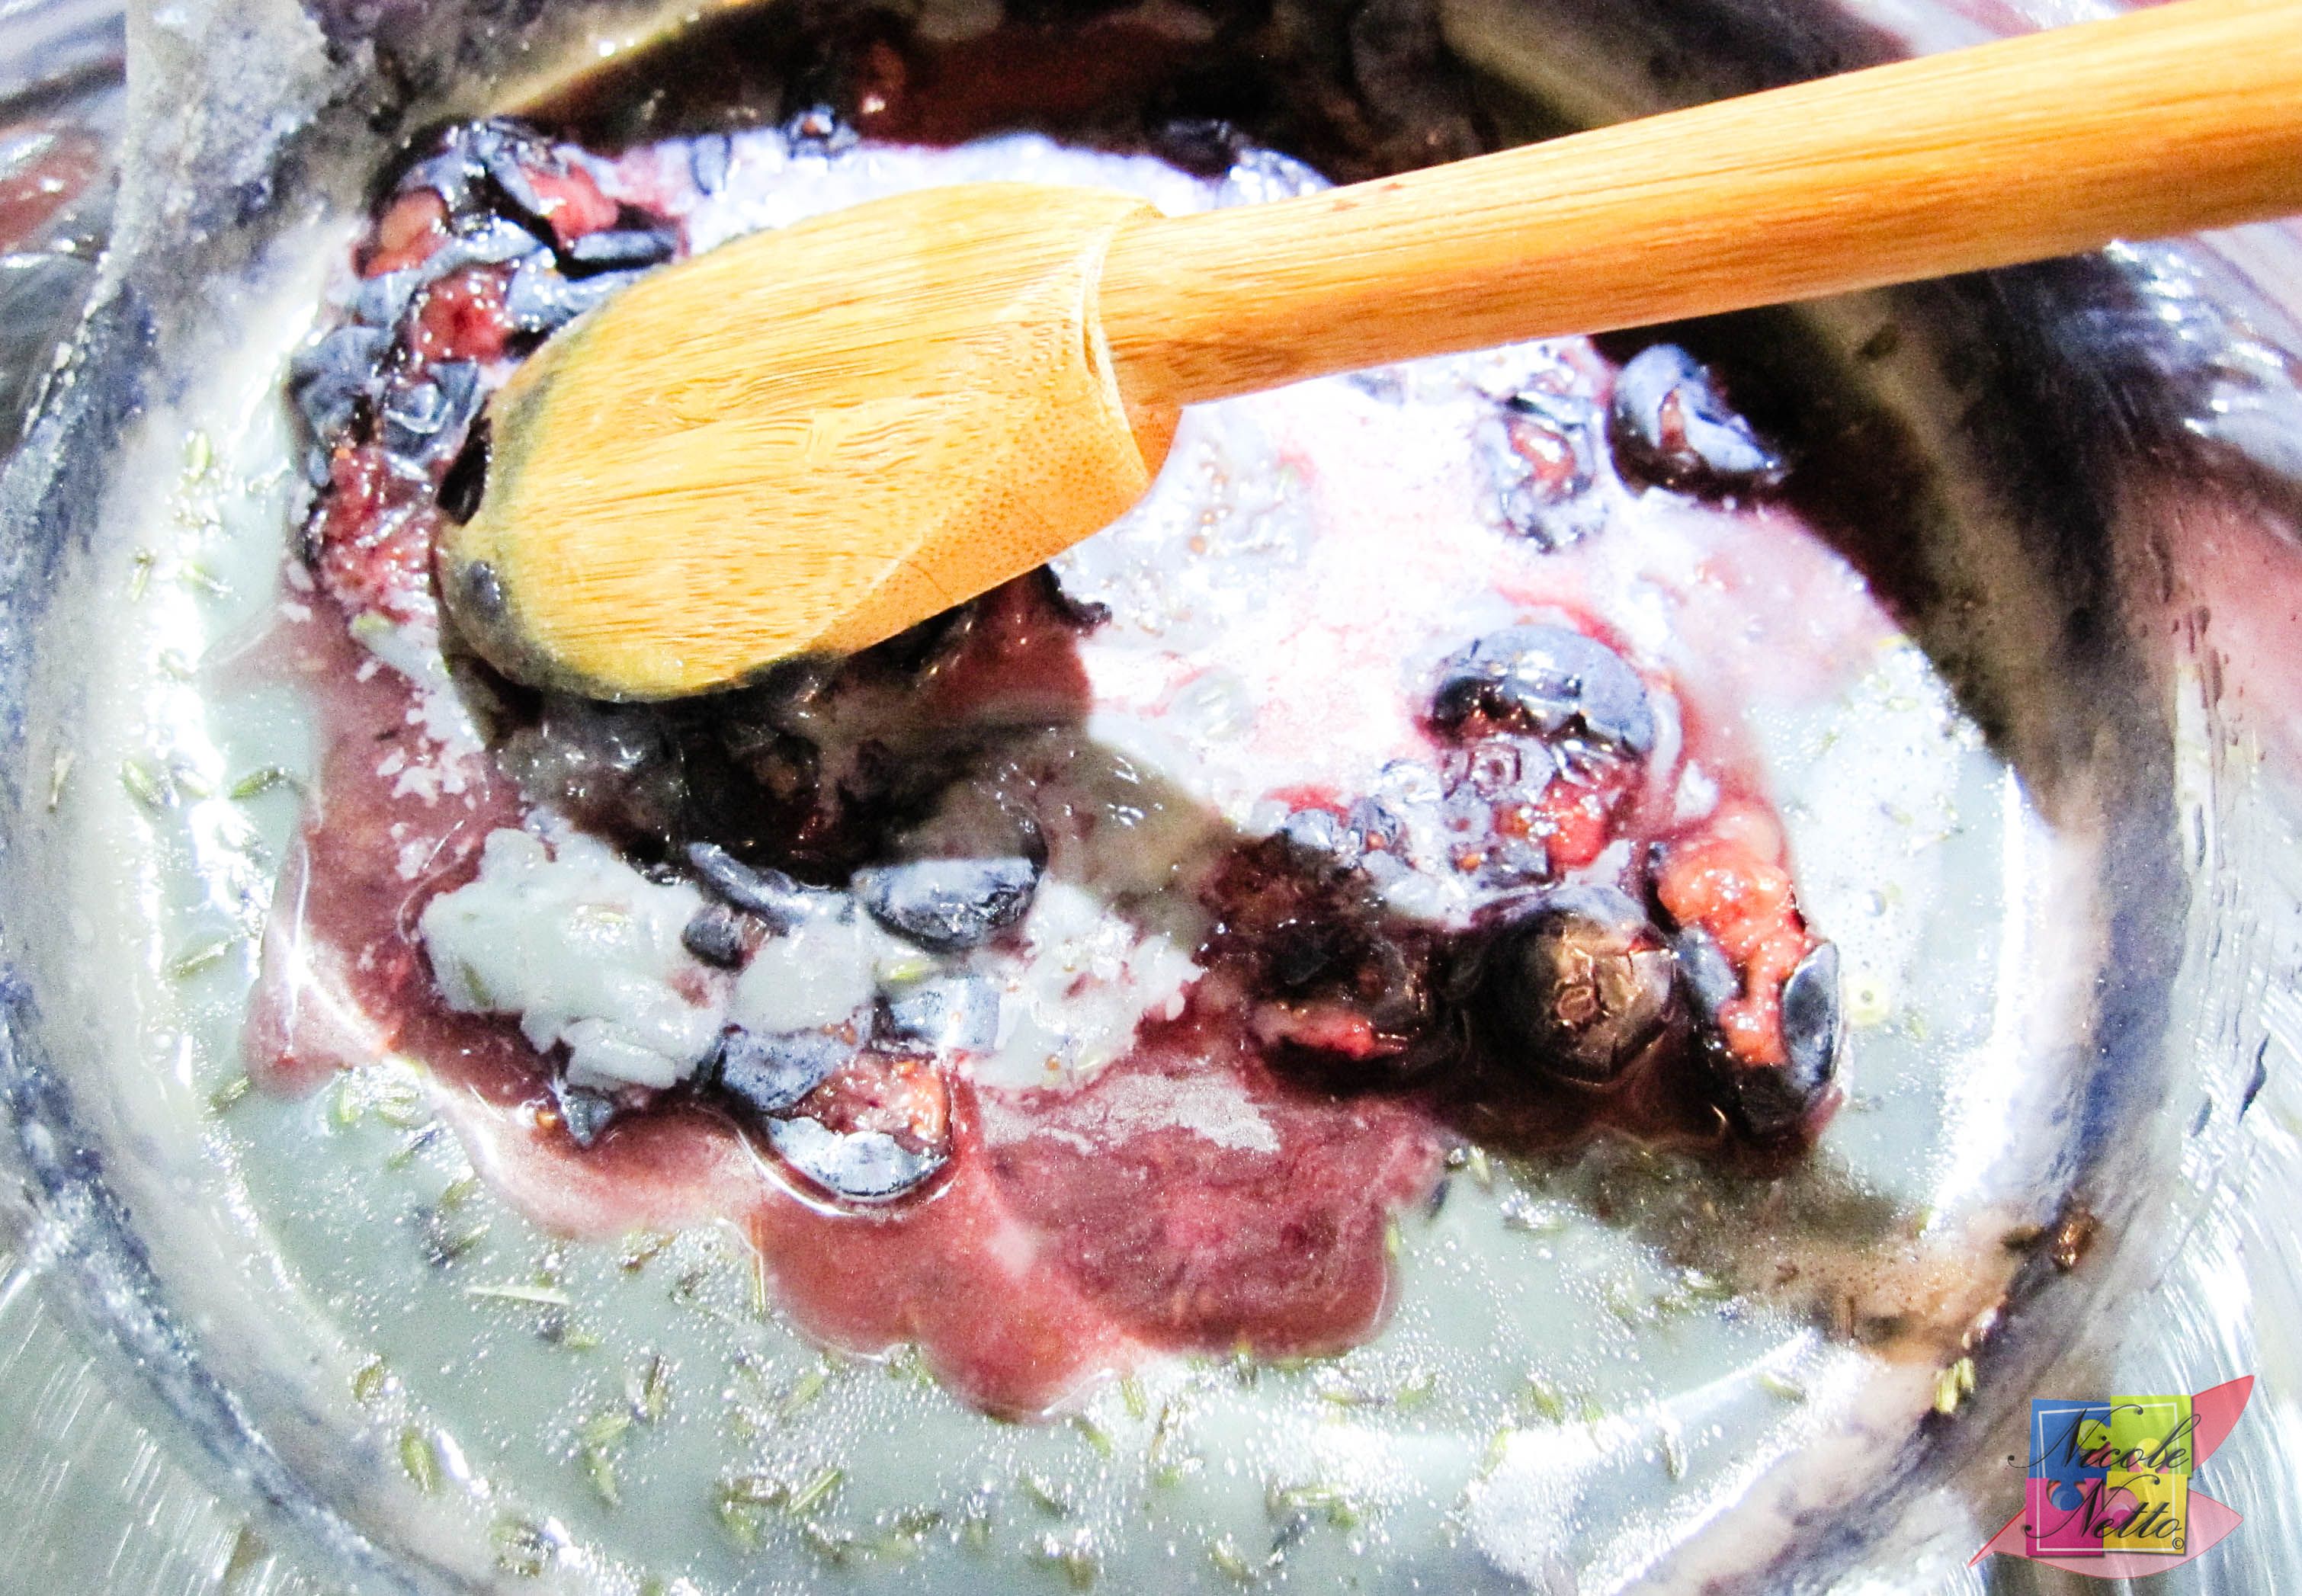
Added blueberry pulp to lavender and cream mixture
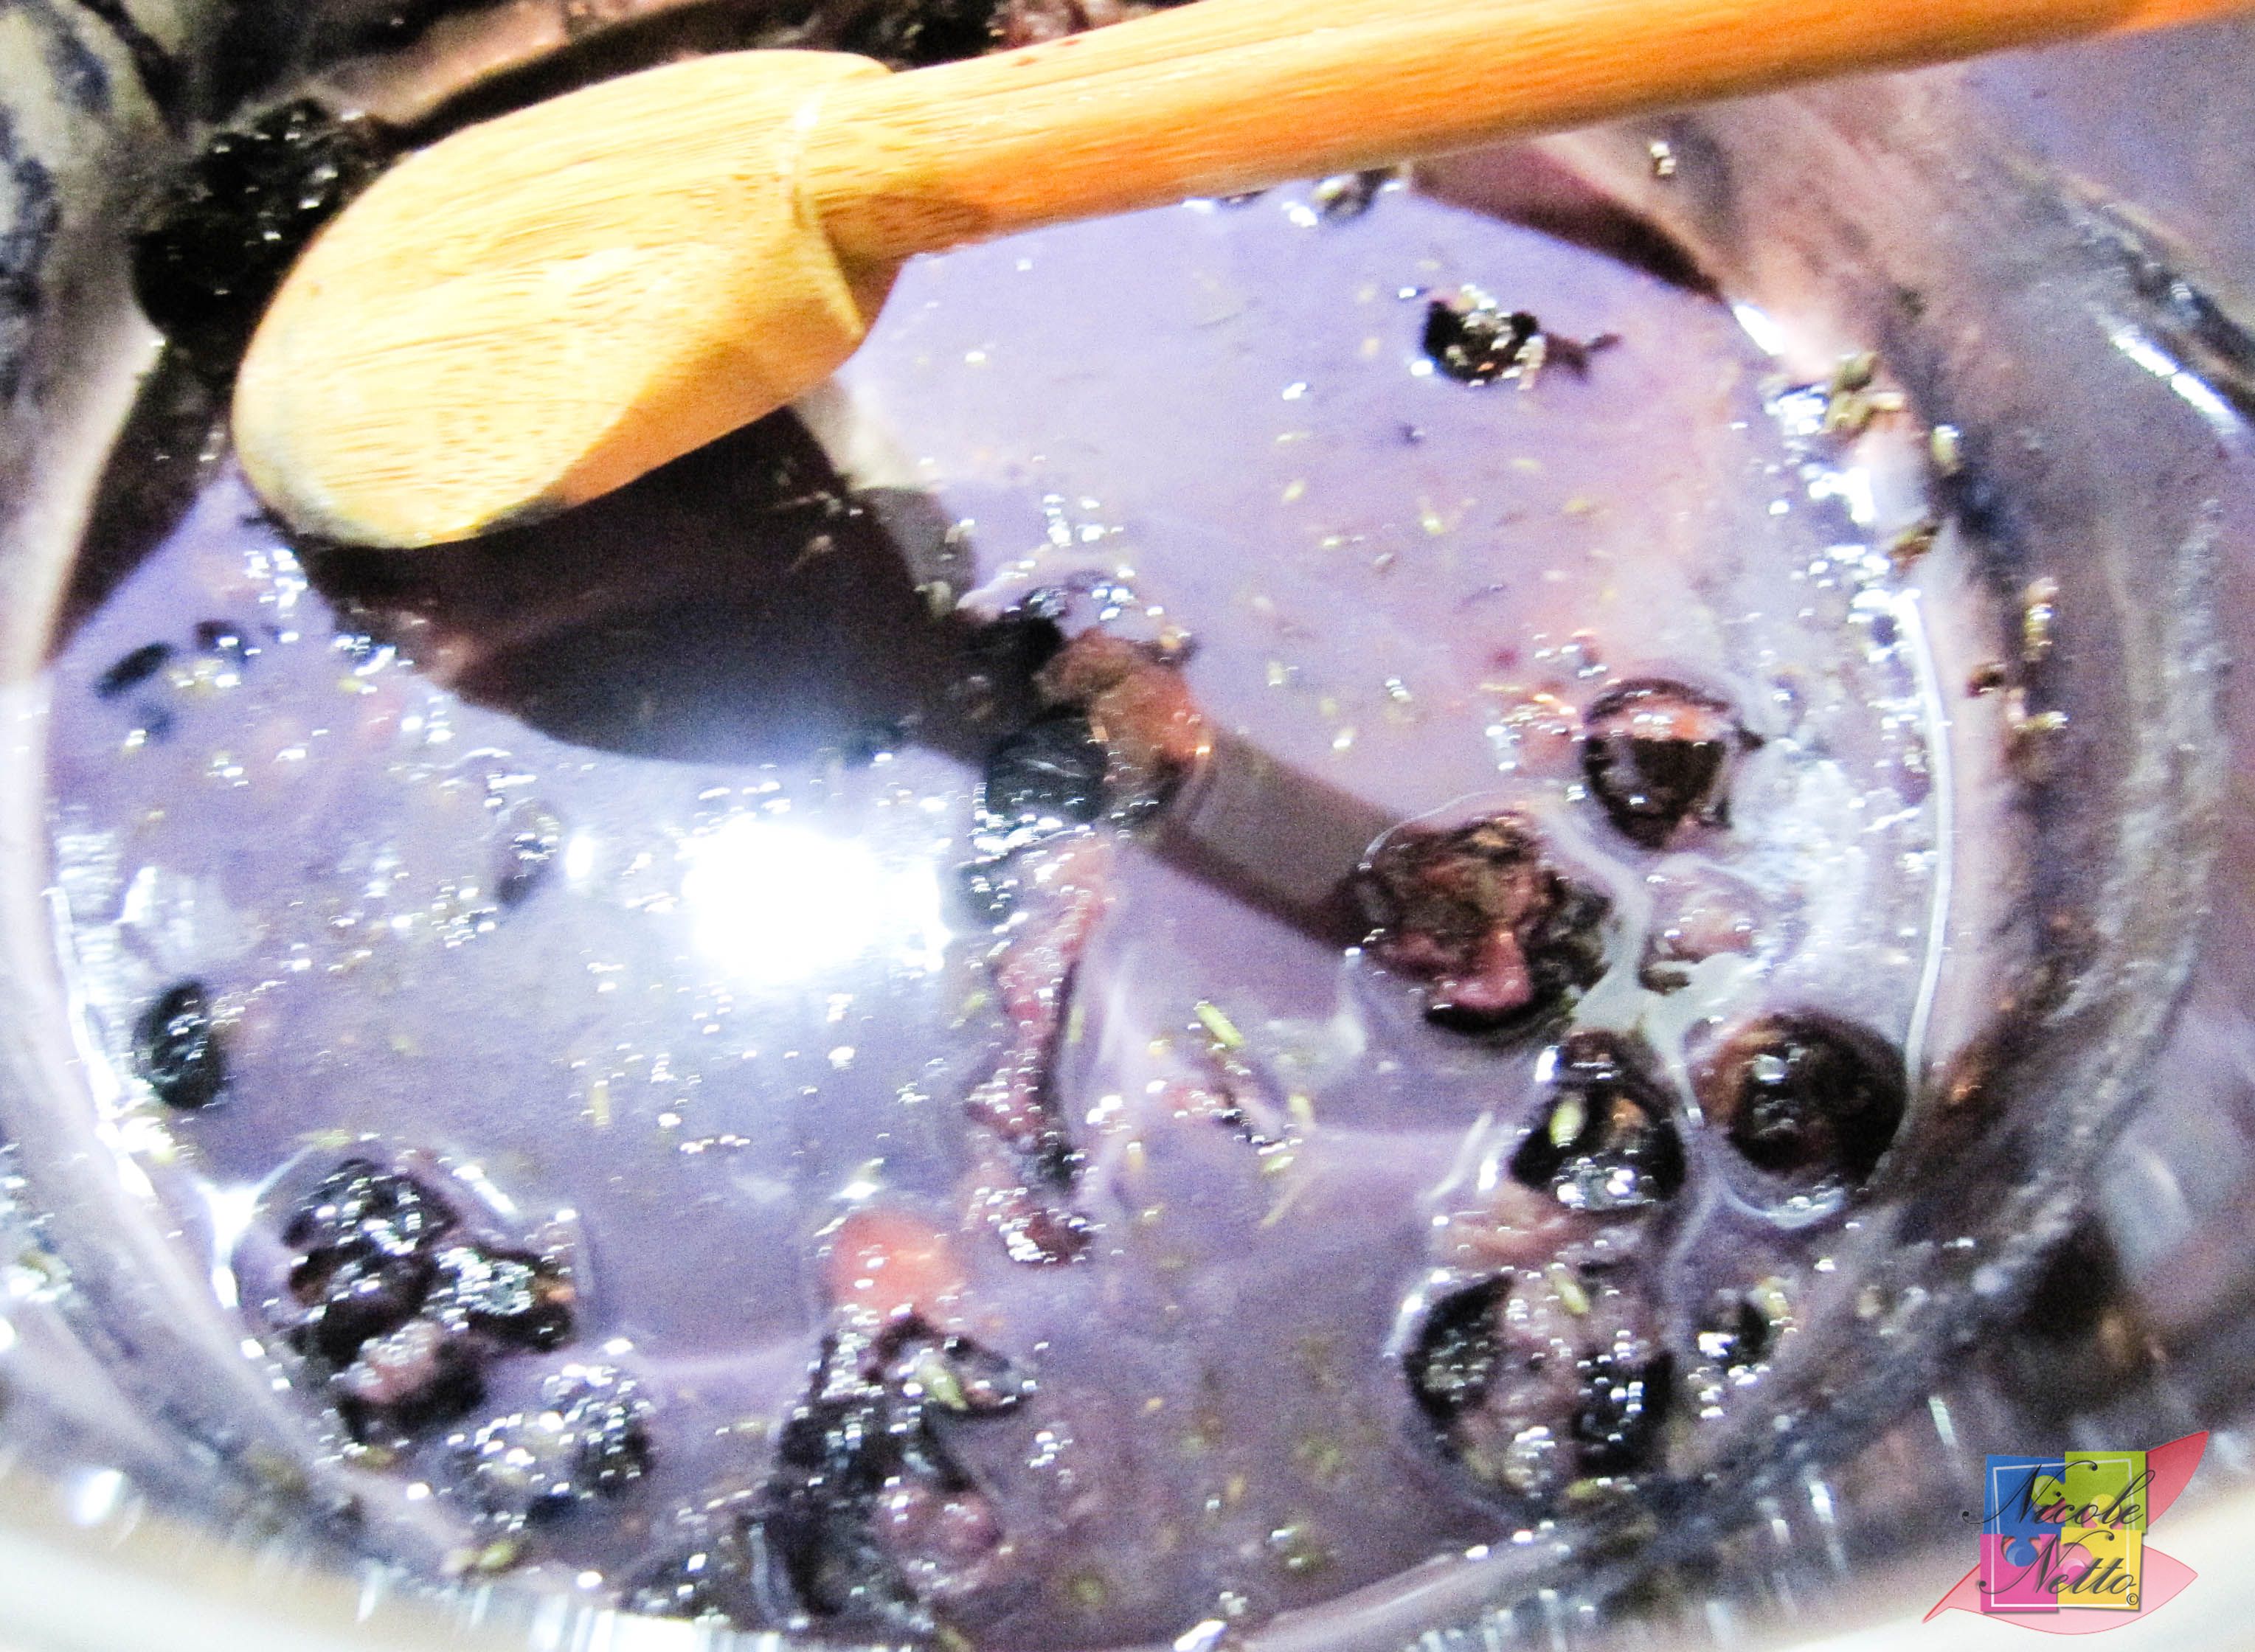
Lavender, cream and blueberry pulp mixture being bought to the boil
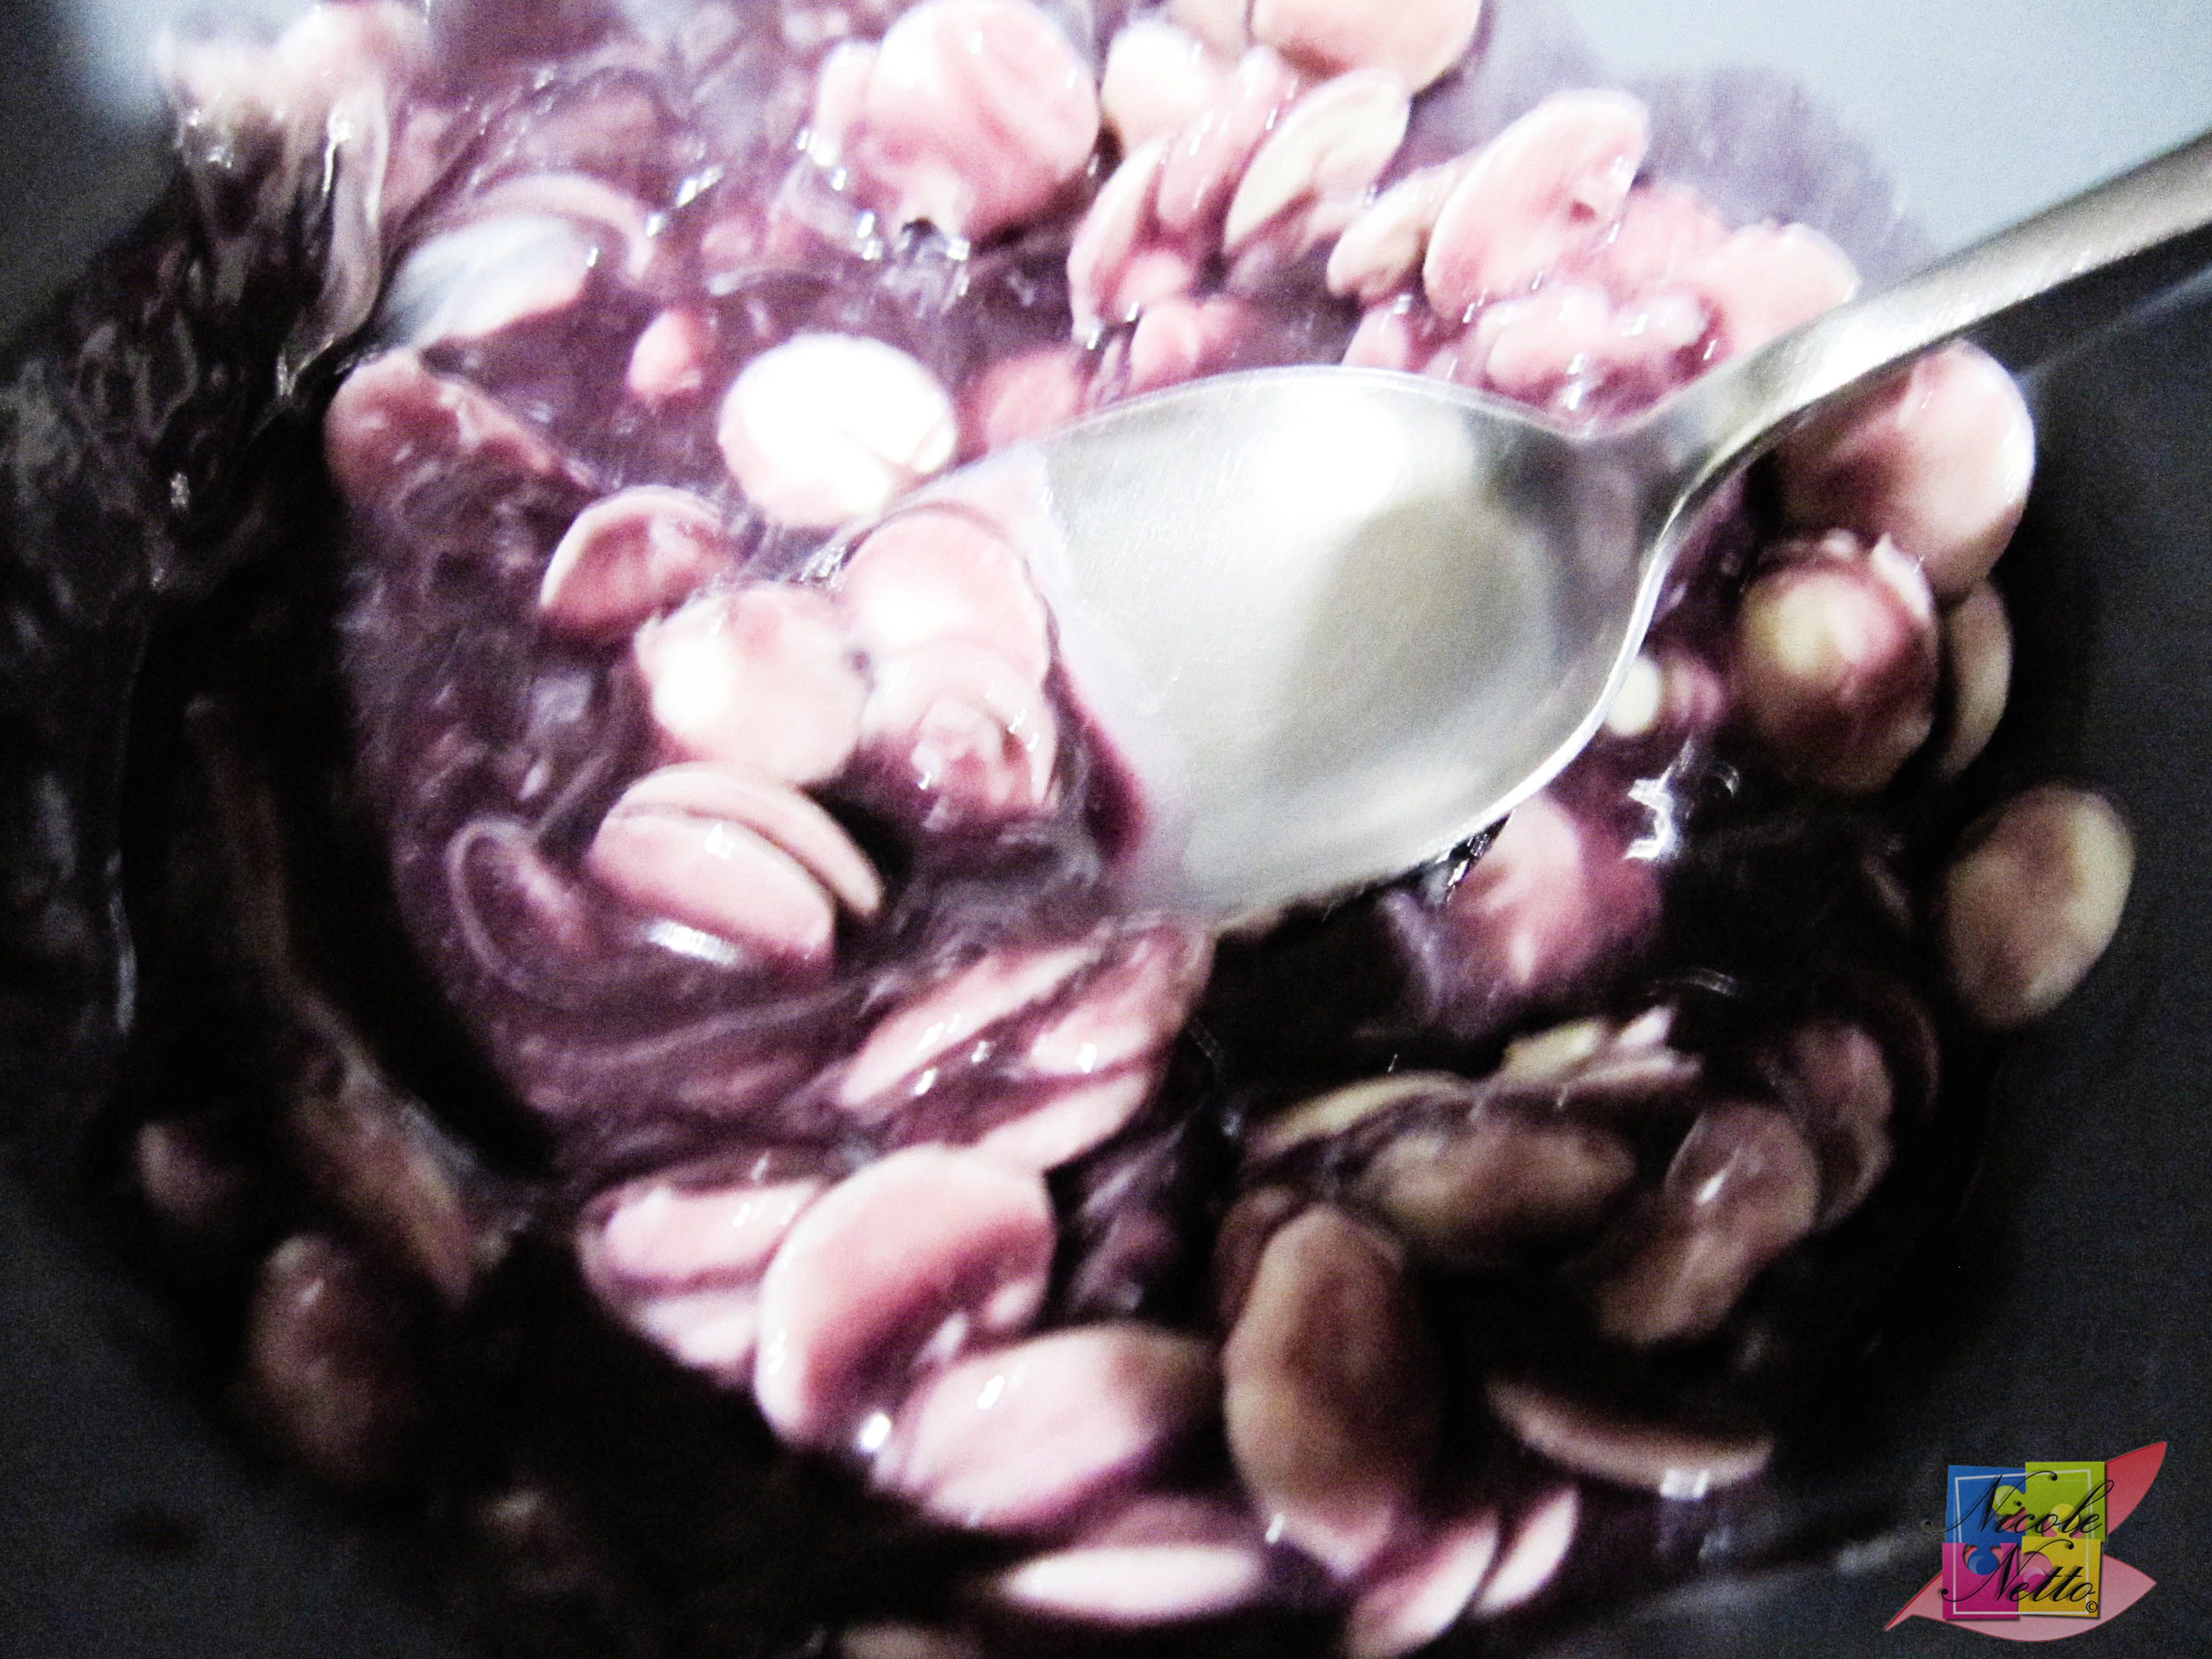
Strained mixture into white chocolate
Lavender and Blueberry white chocolate ganache mixture
Pour this entire mixture through the strainer OR sieve over the white chocolate. Push as much as you can through the sieve and discard the remains in the sieve.
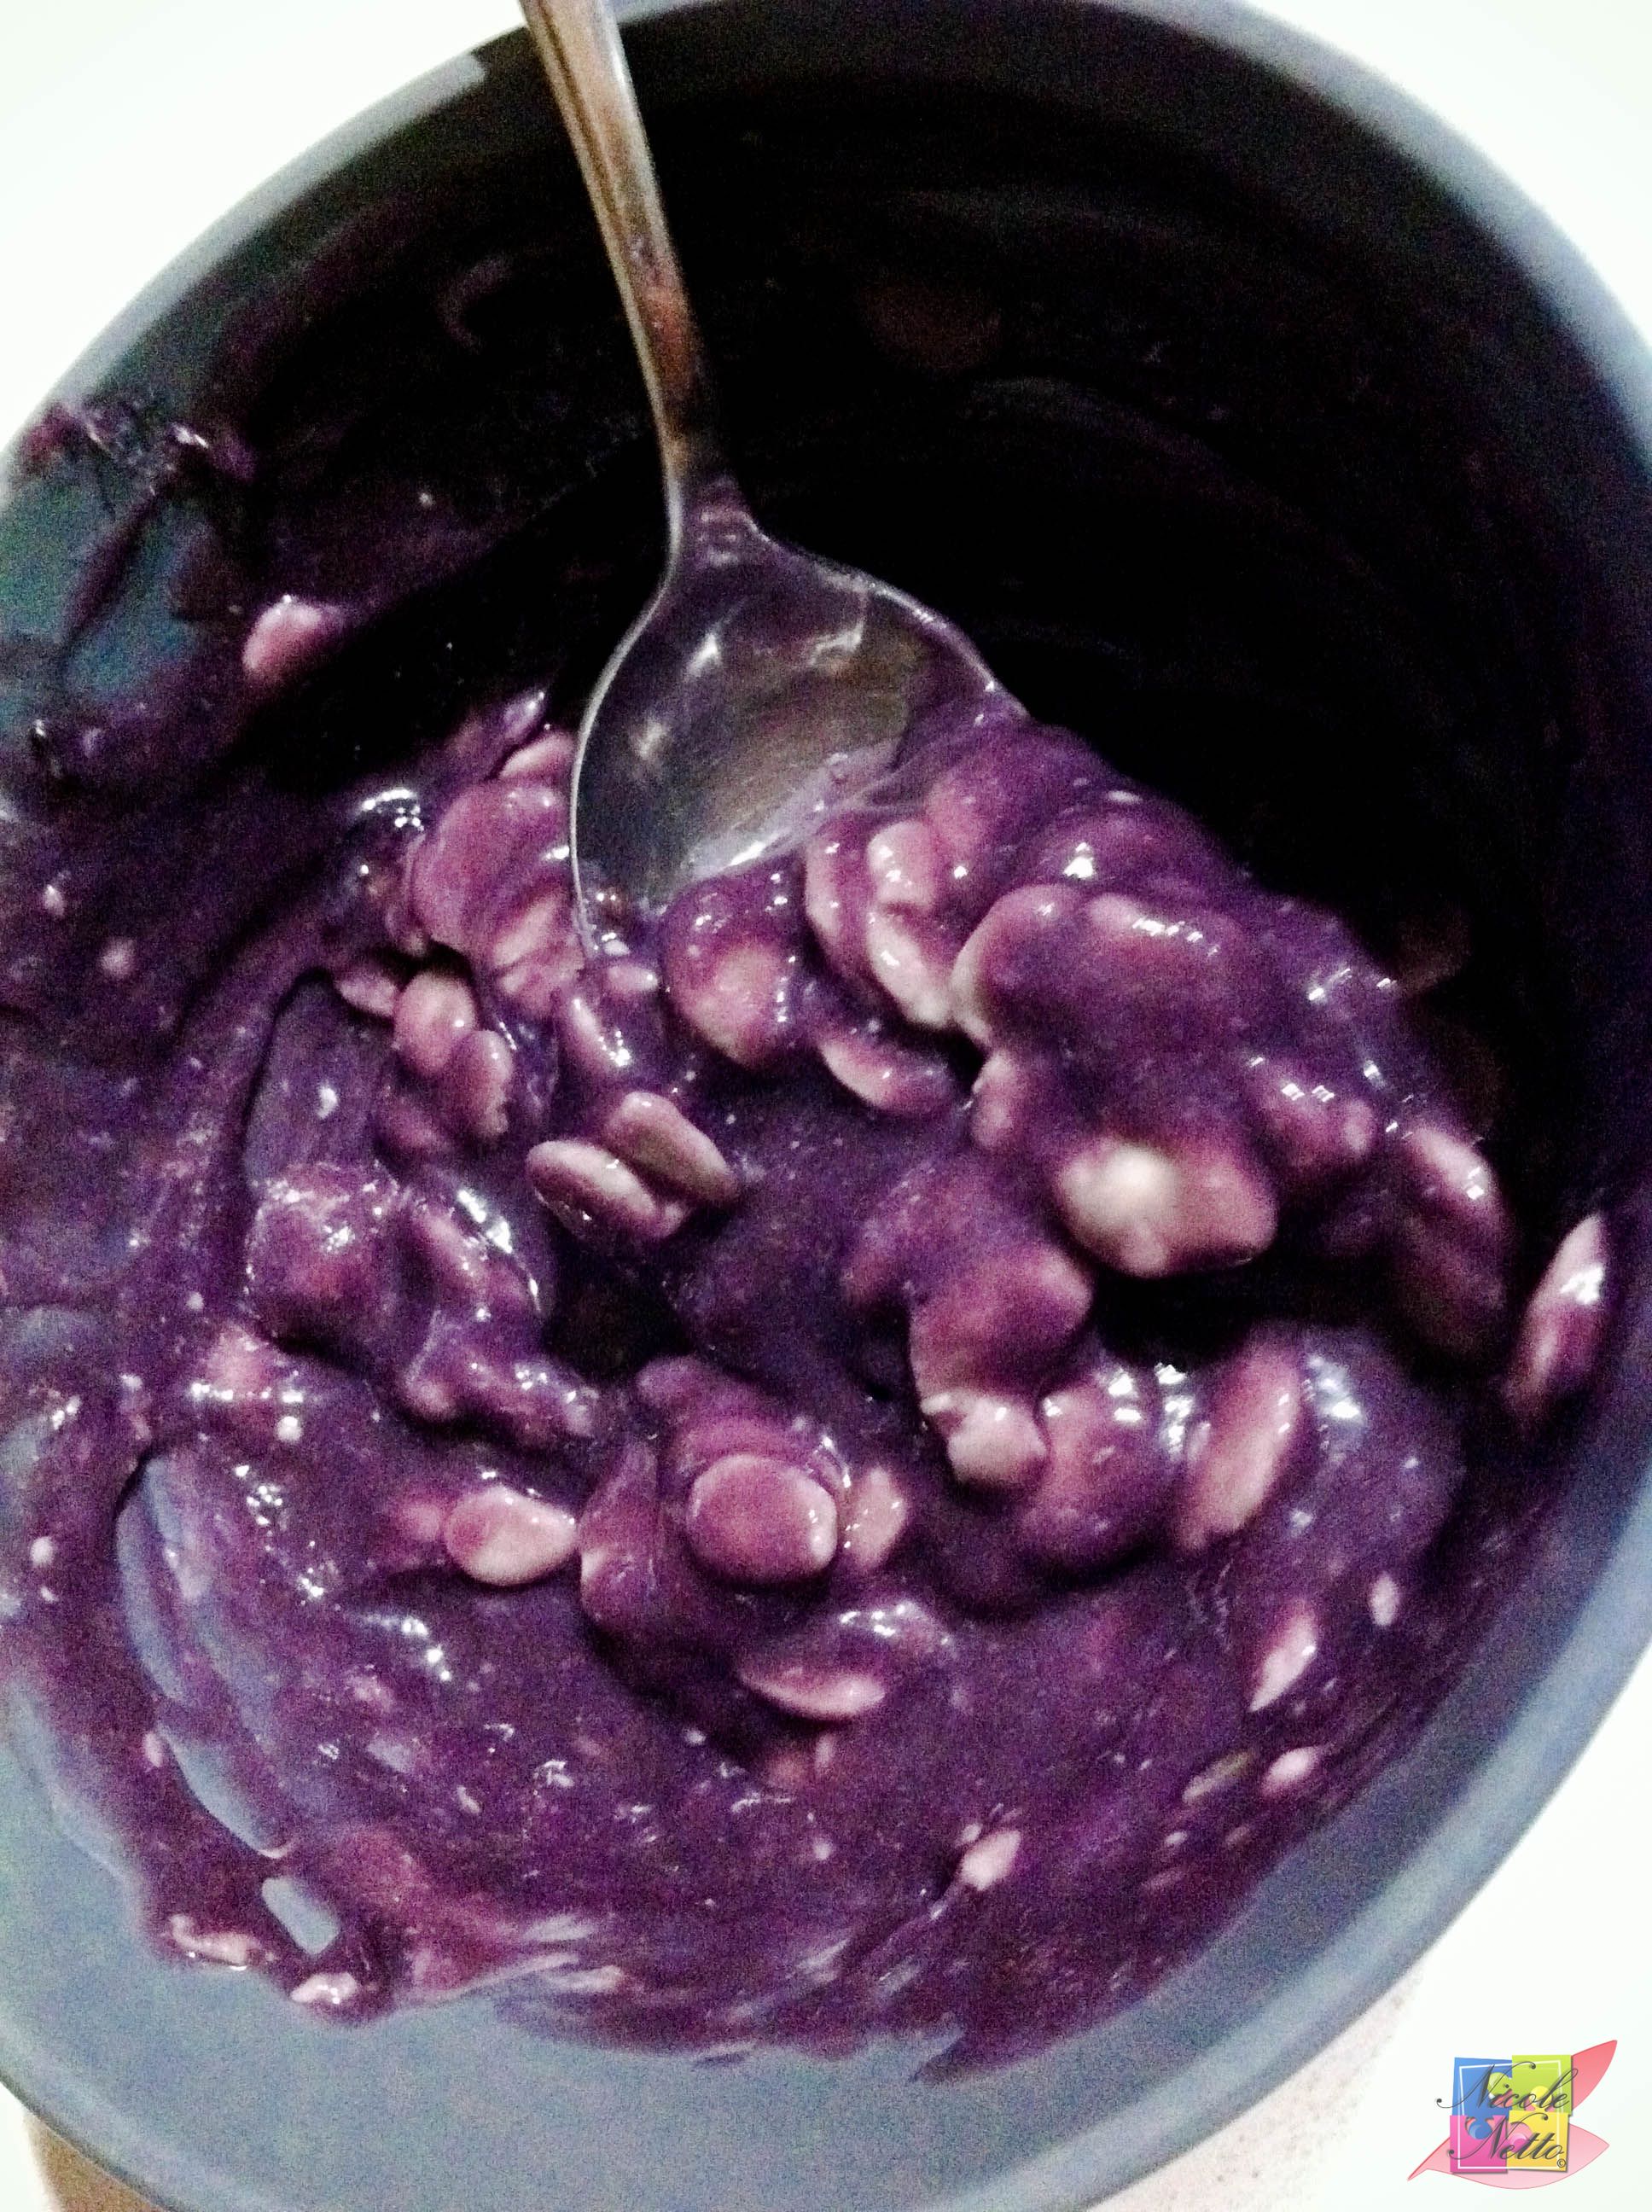
Mix the white chocolate and hot lavender and blueberry cream mixture well to form the ganache. Set the ganache aside to cool and become firm enough to pipe.
At this stage:
If you have a piping bag:
Fill a piping bag with a 7 mm plain nozzle with the ganache and set aside.
If you do not have a piping bag:
Set aside until you are ready to assemble the macarons. Again you can use 2 spoons to fill in the mixture by scoop an appropriate amount of the mixture with one spoon and pushing it out onto the macaron shell with another.
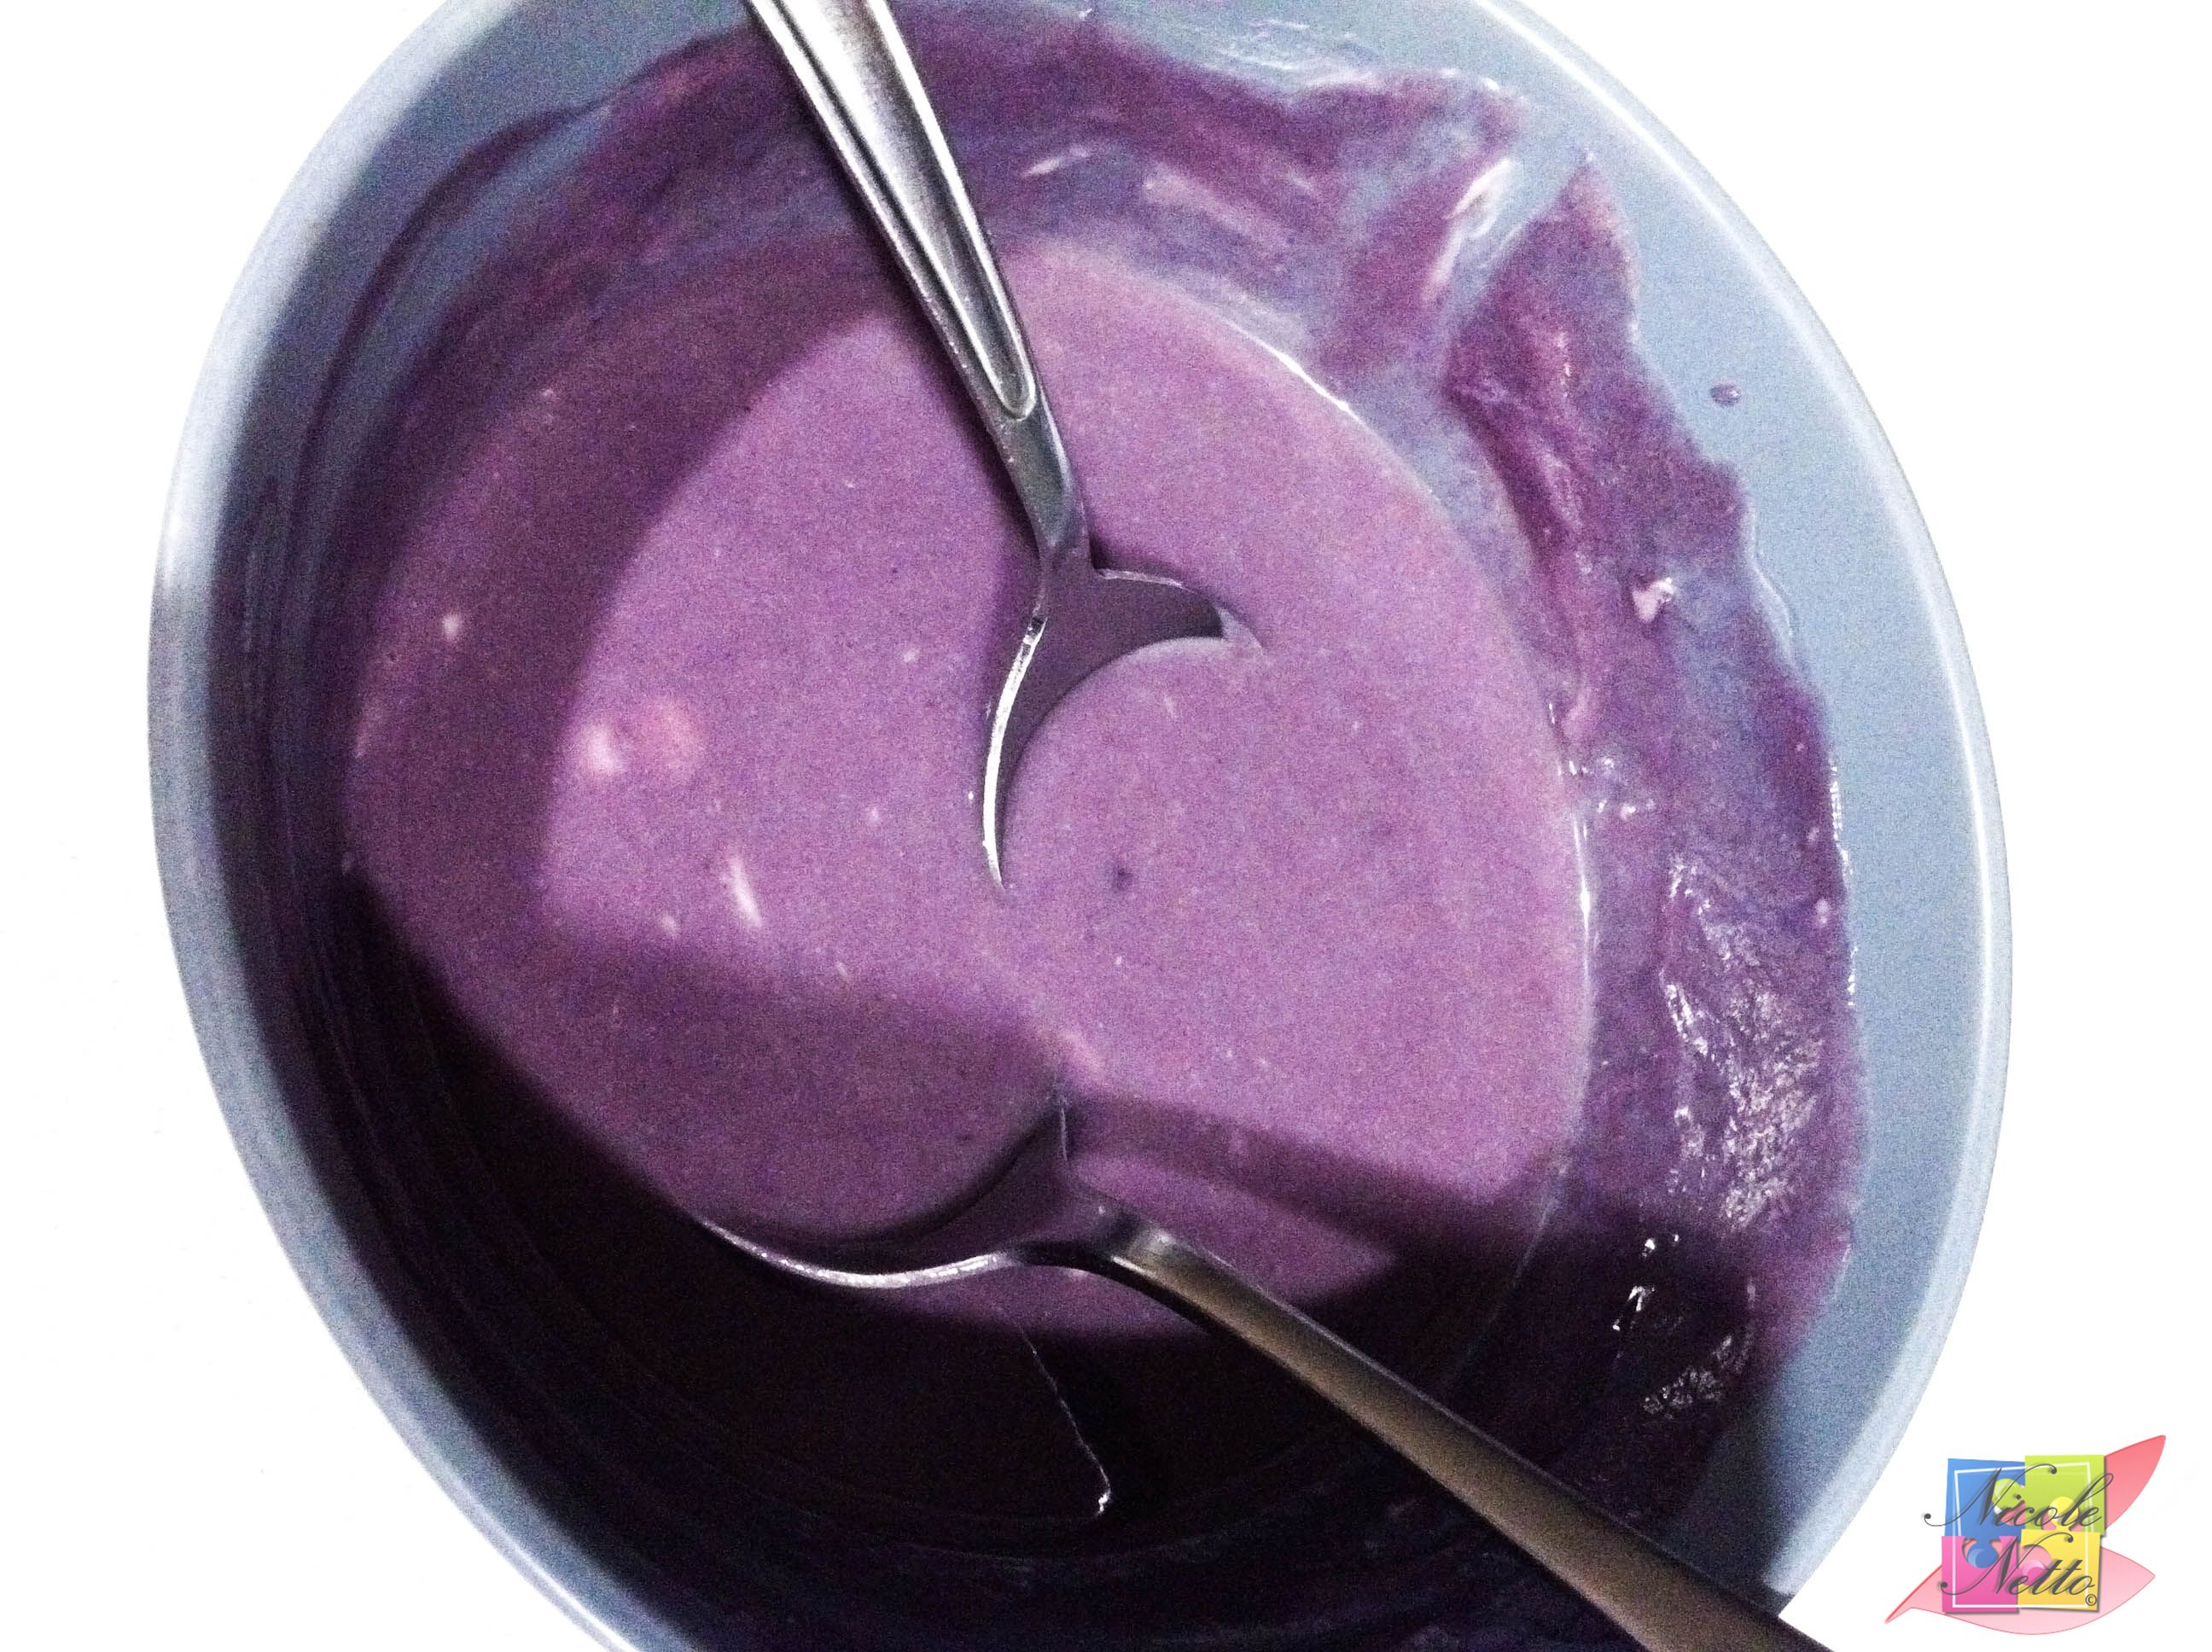
Prepped, cooled and thickened Lavender and blueberry white chocolate ganache
Method – Lavender and Blueberry Macaron
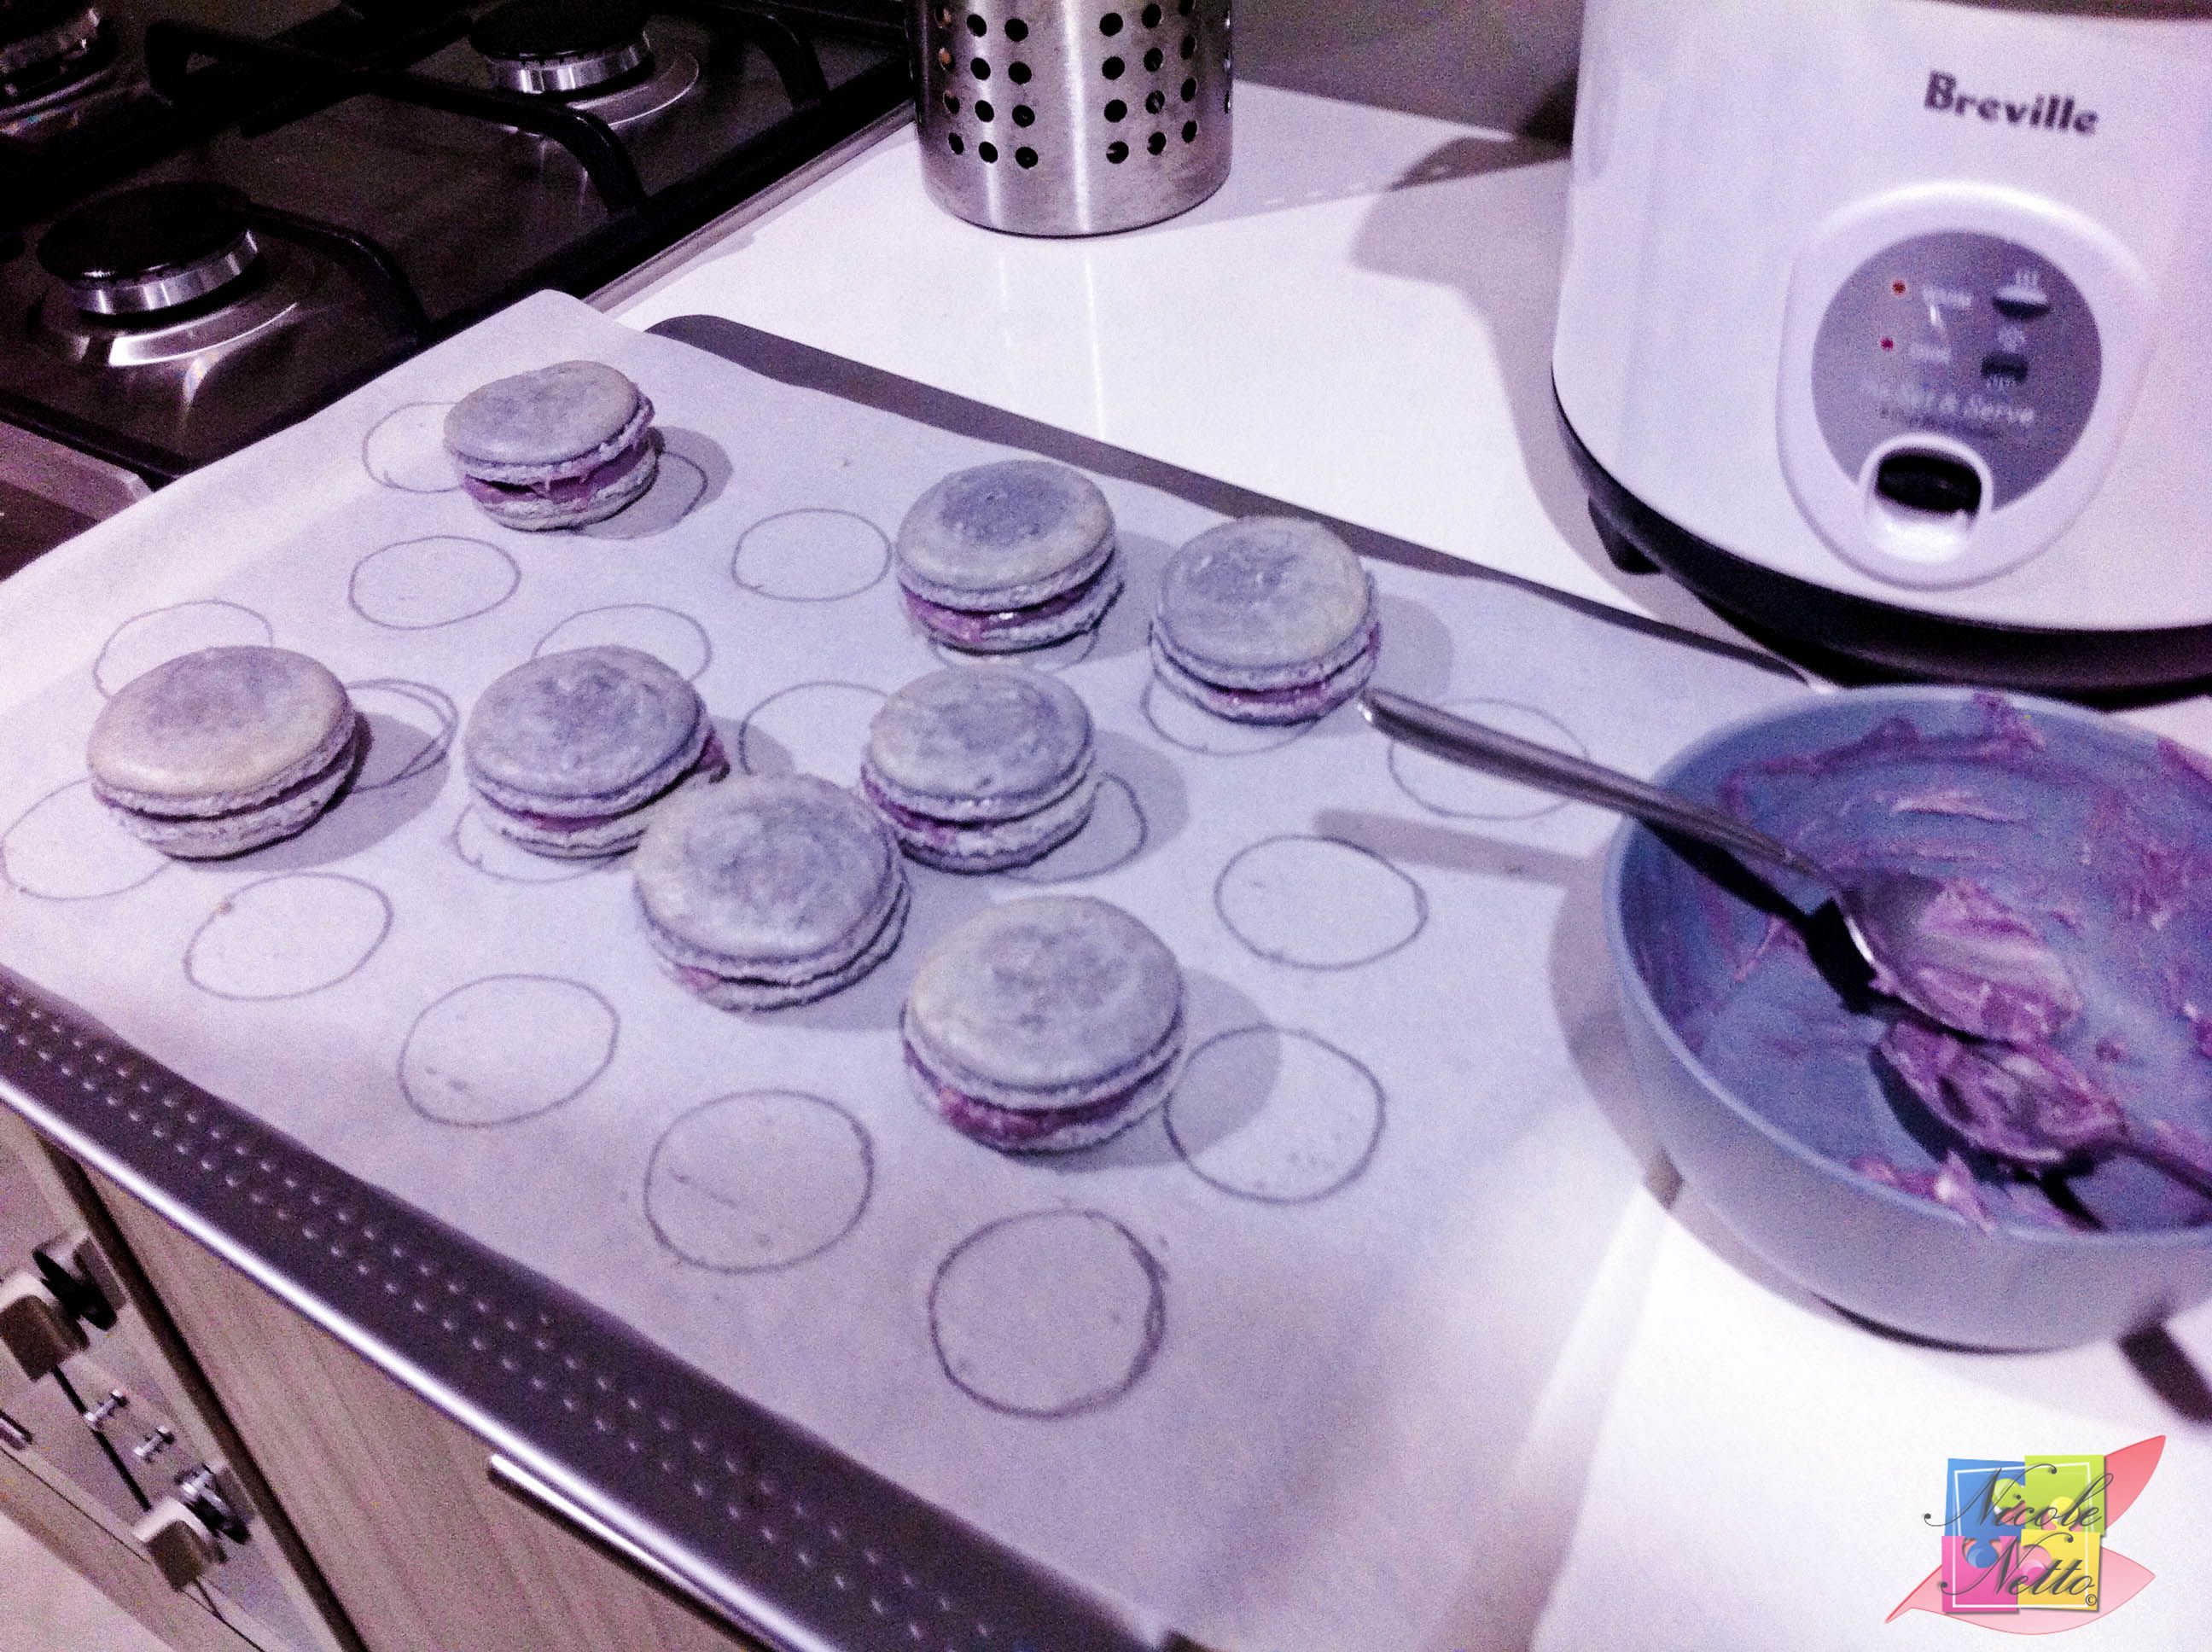
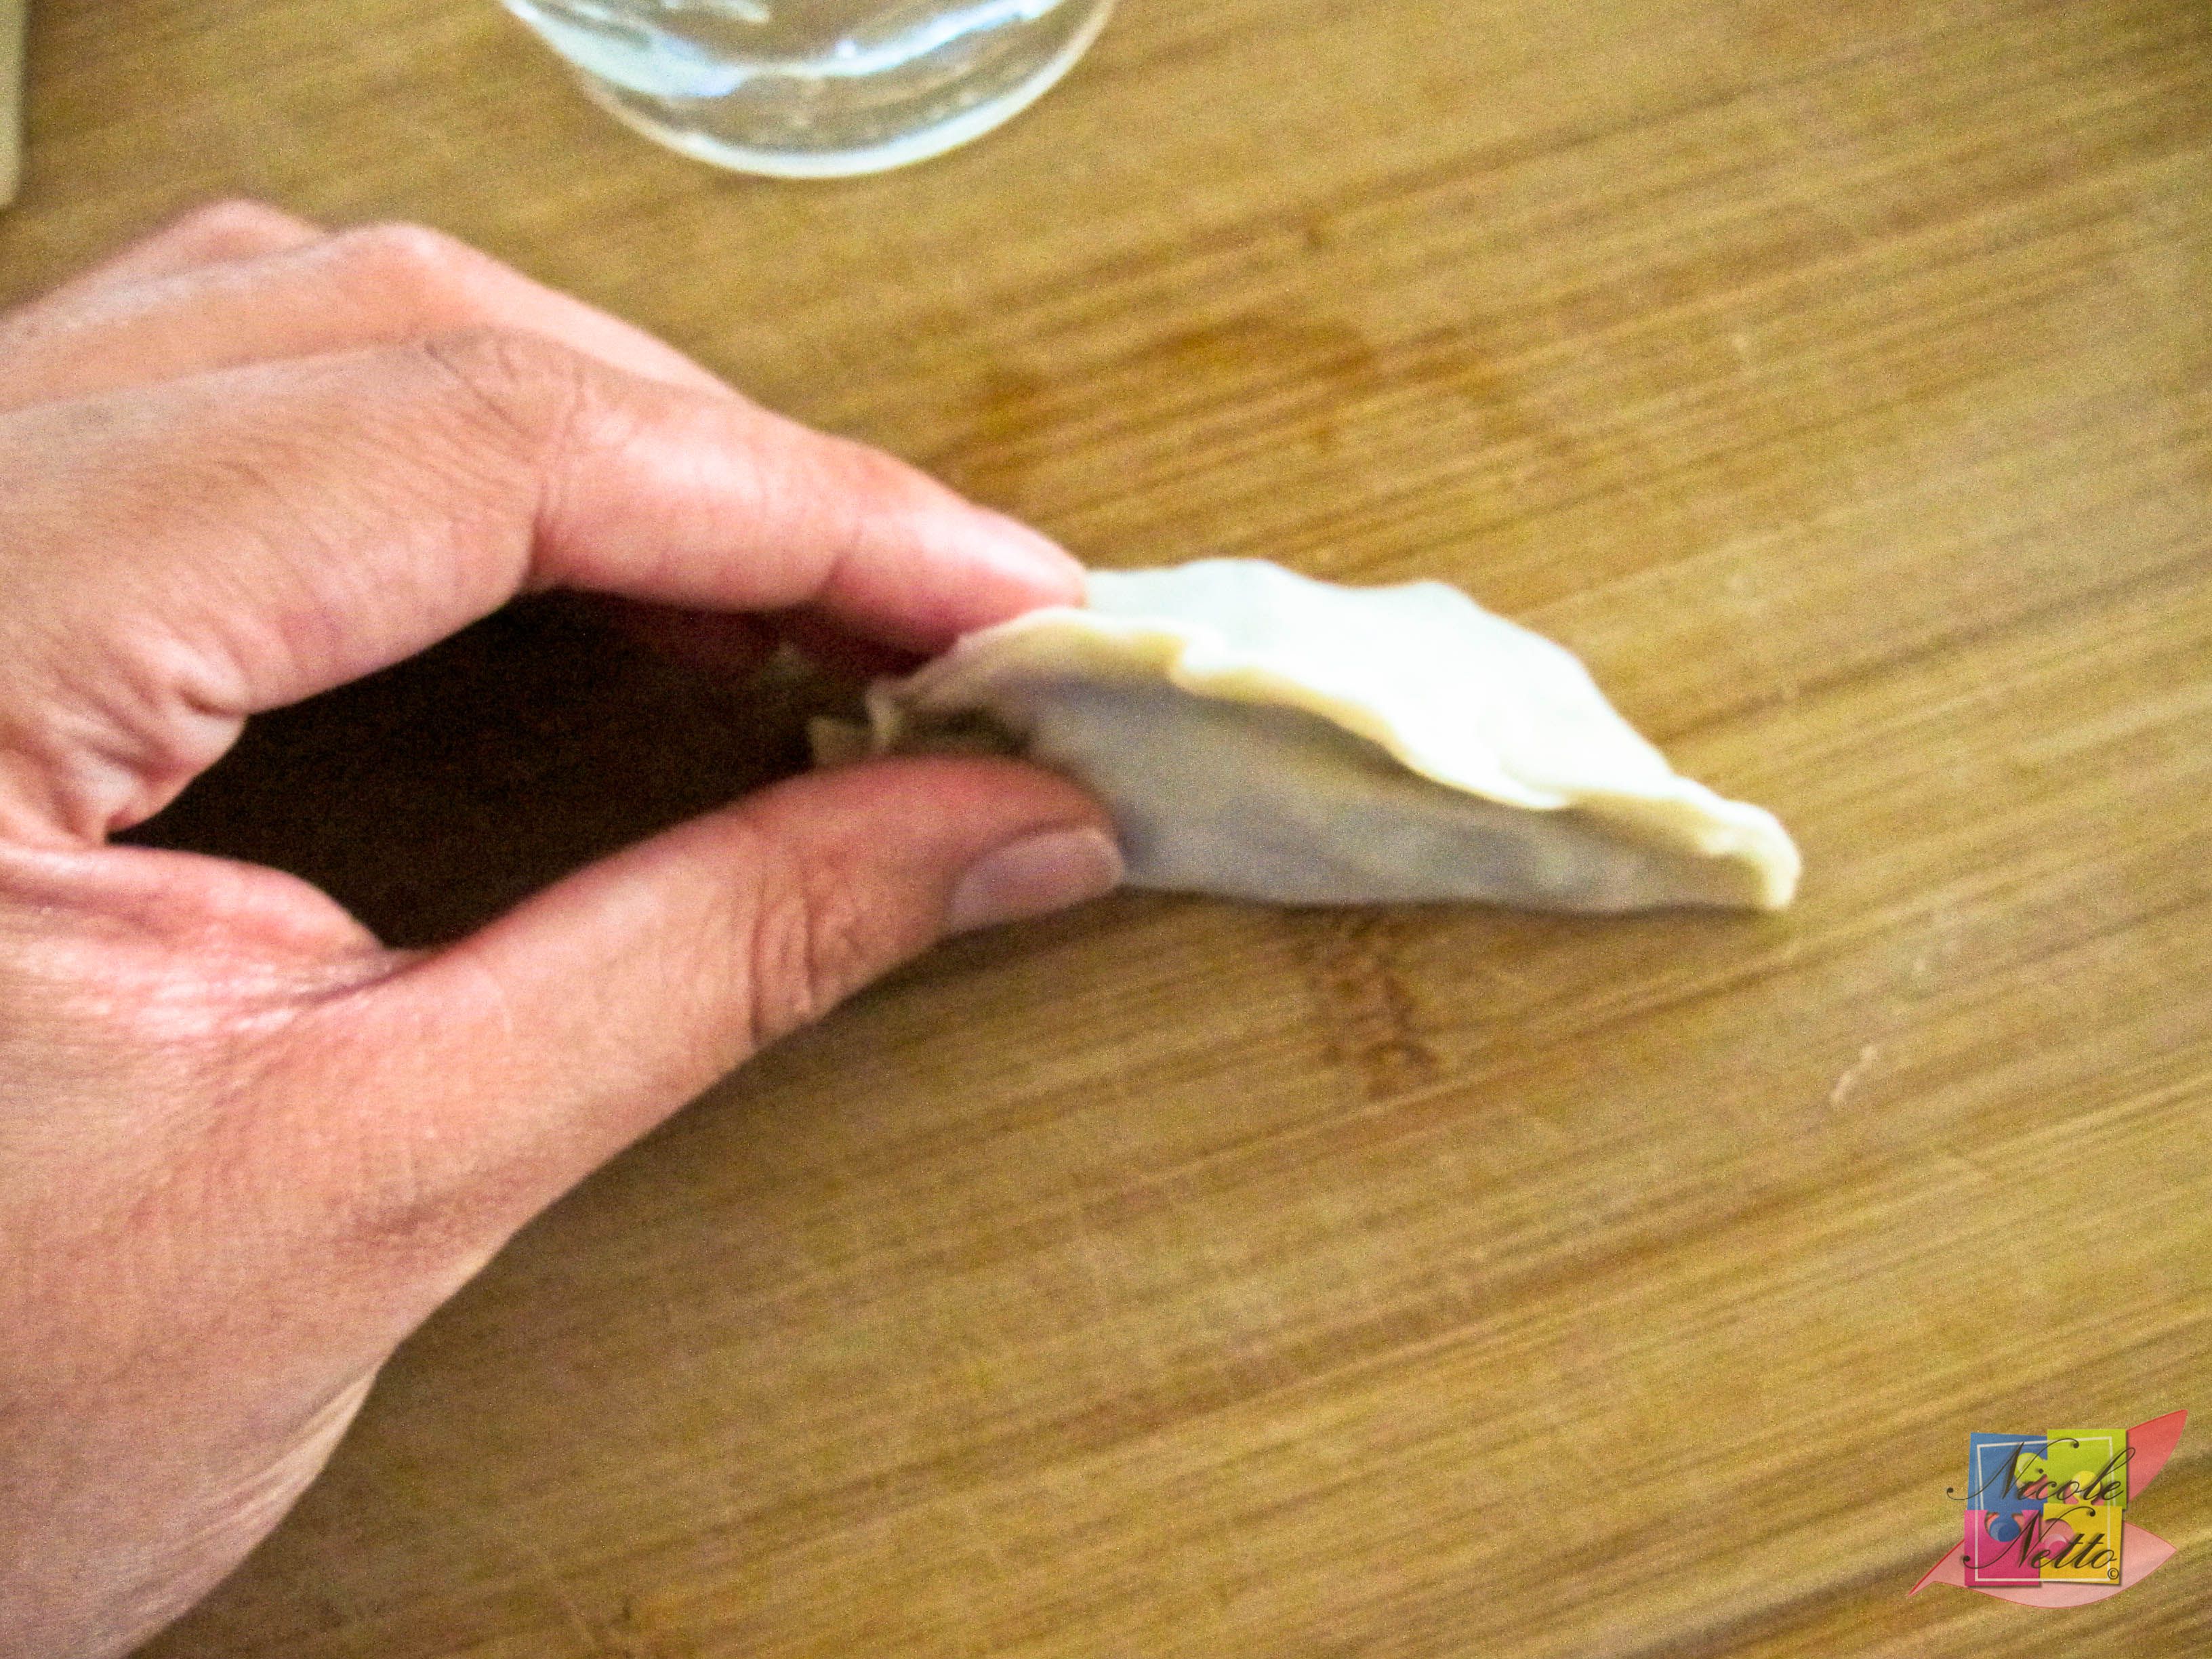
When your macaron shells are sufficiently cooled, take one pair of matched up macaron shells that you have set aside, and pipe OR spoon in a good amount of the ganache.
Gently press the macaron shells, while avoiding cracking the shells, squeezing the ganache filling to evenly spread out in the center.
Baked macaron shells left for cooling
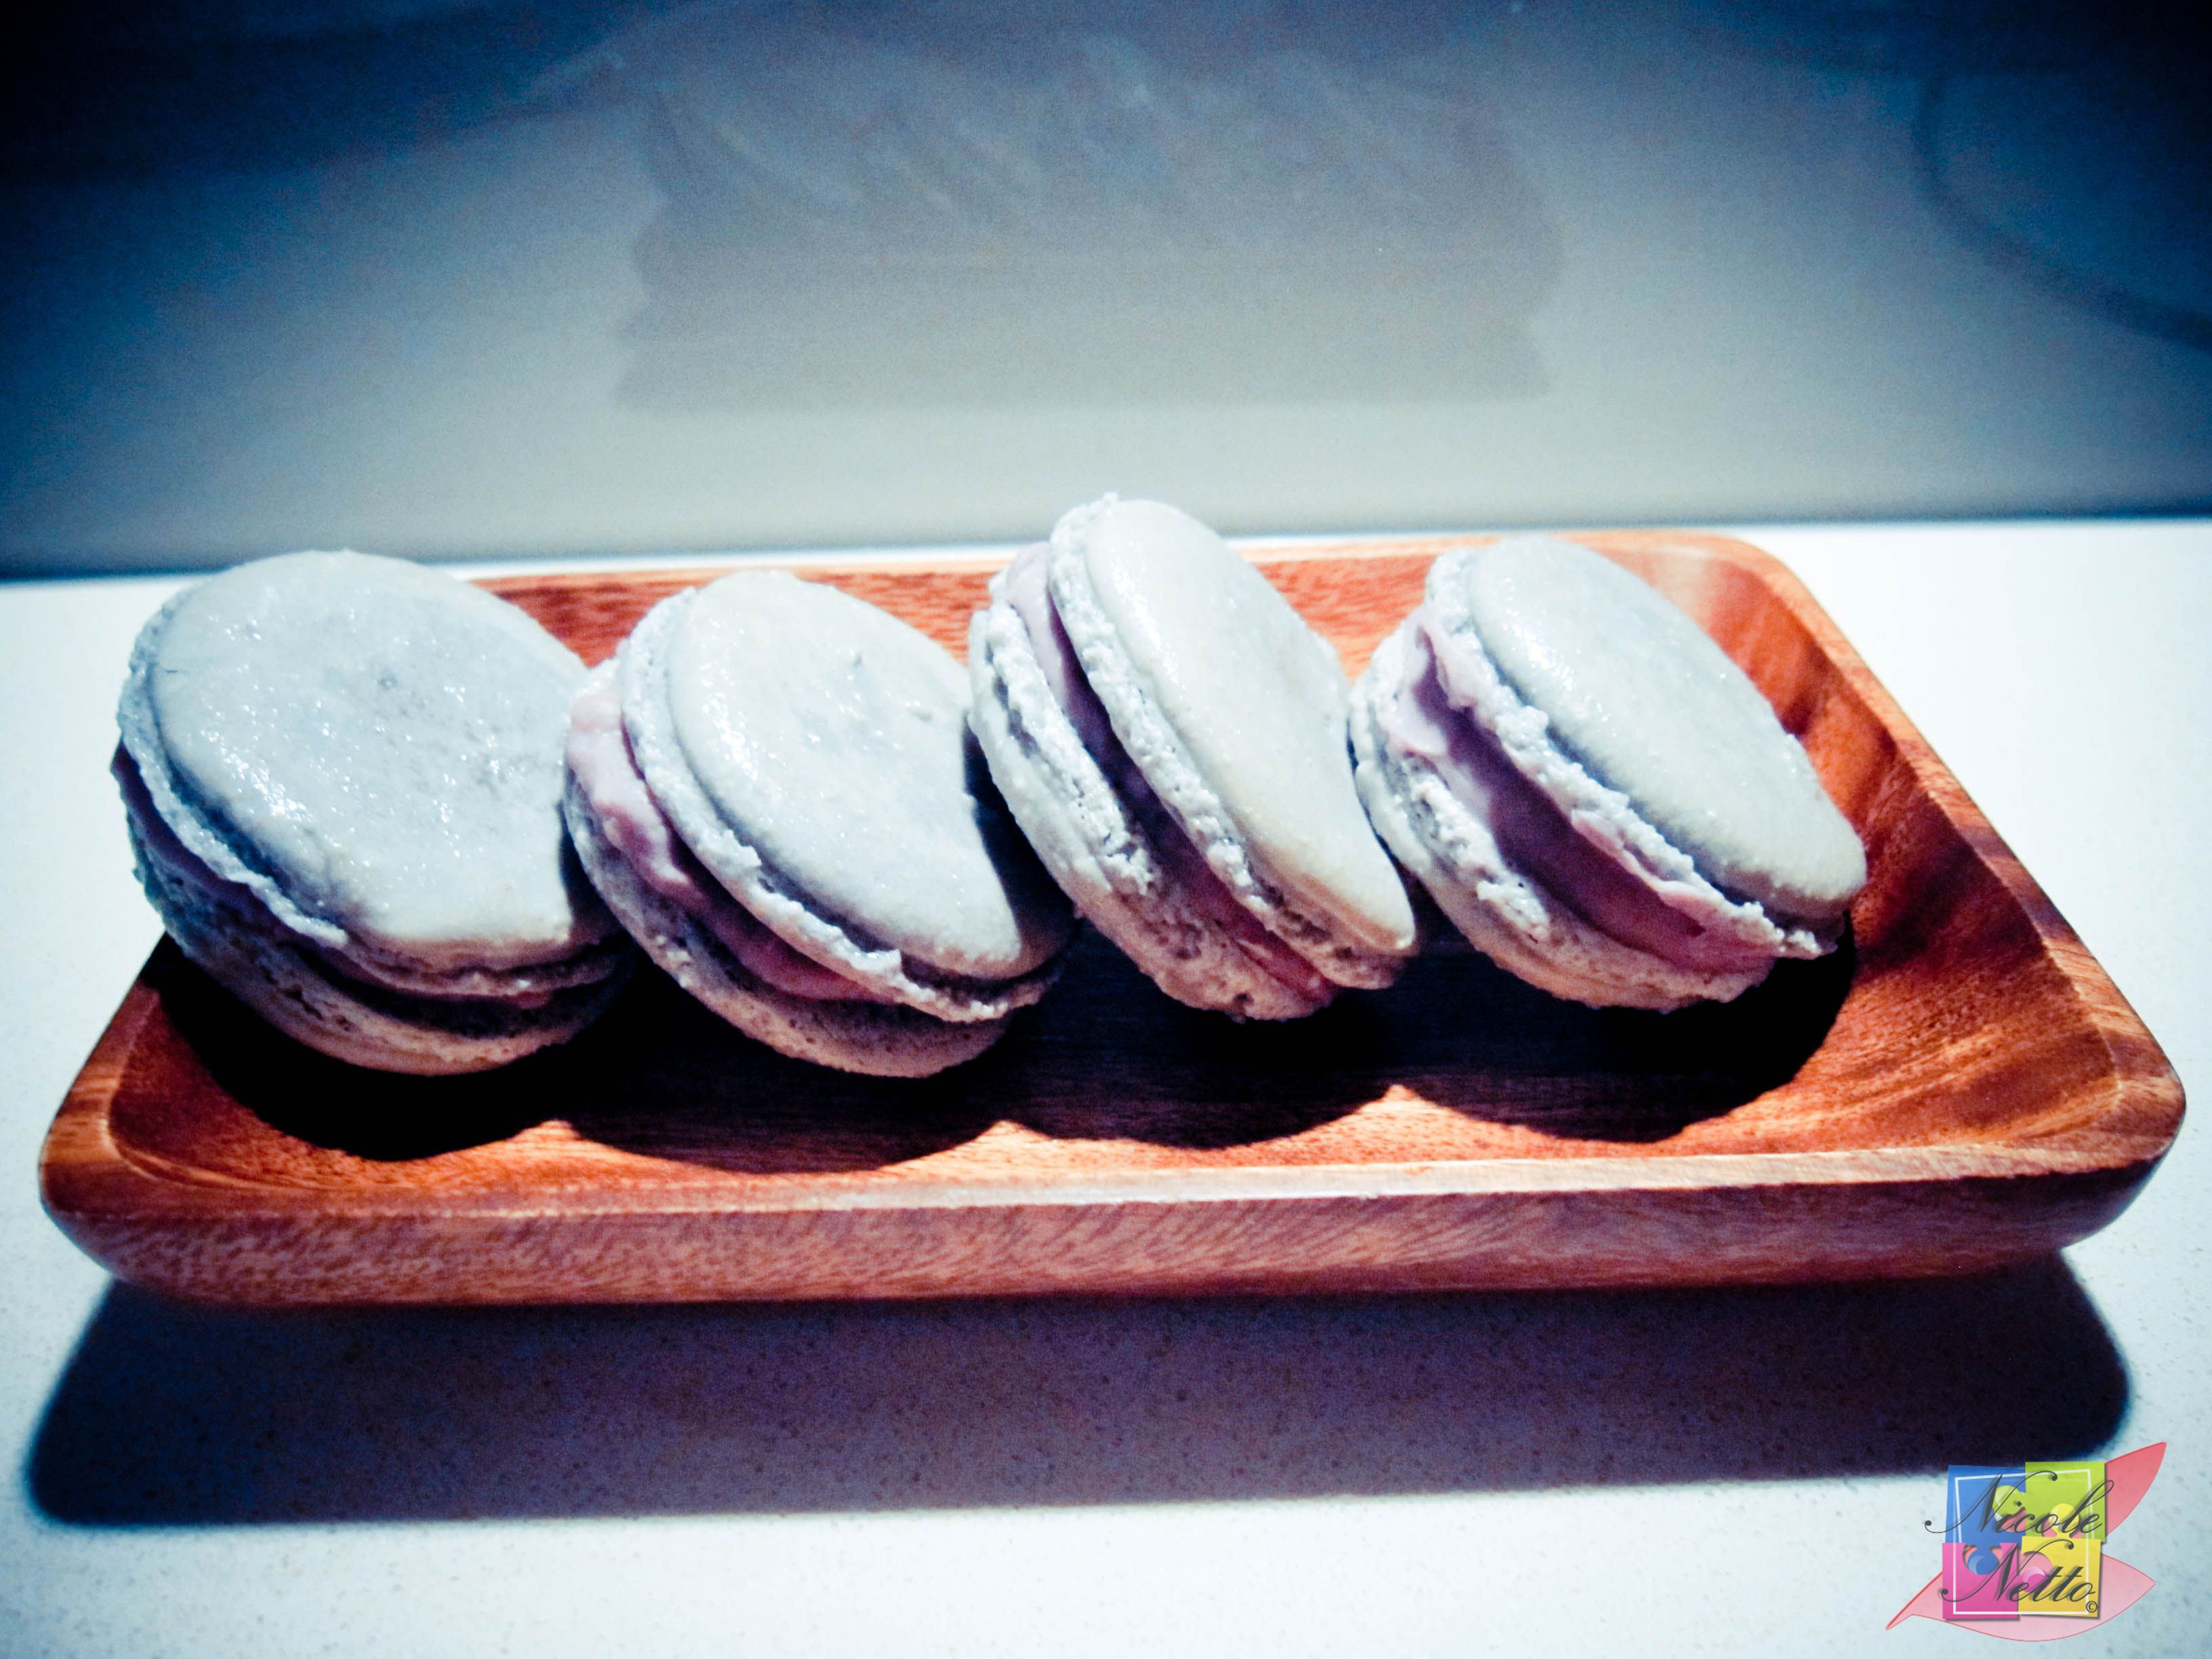
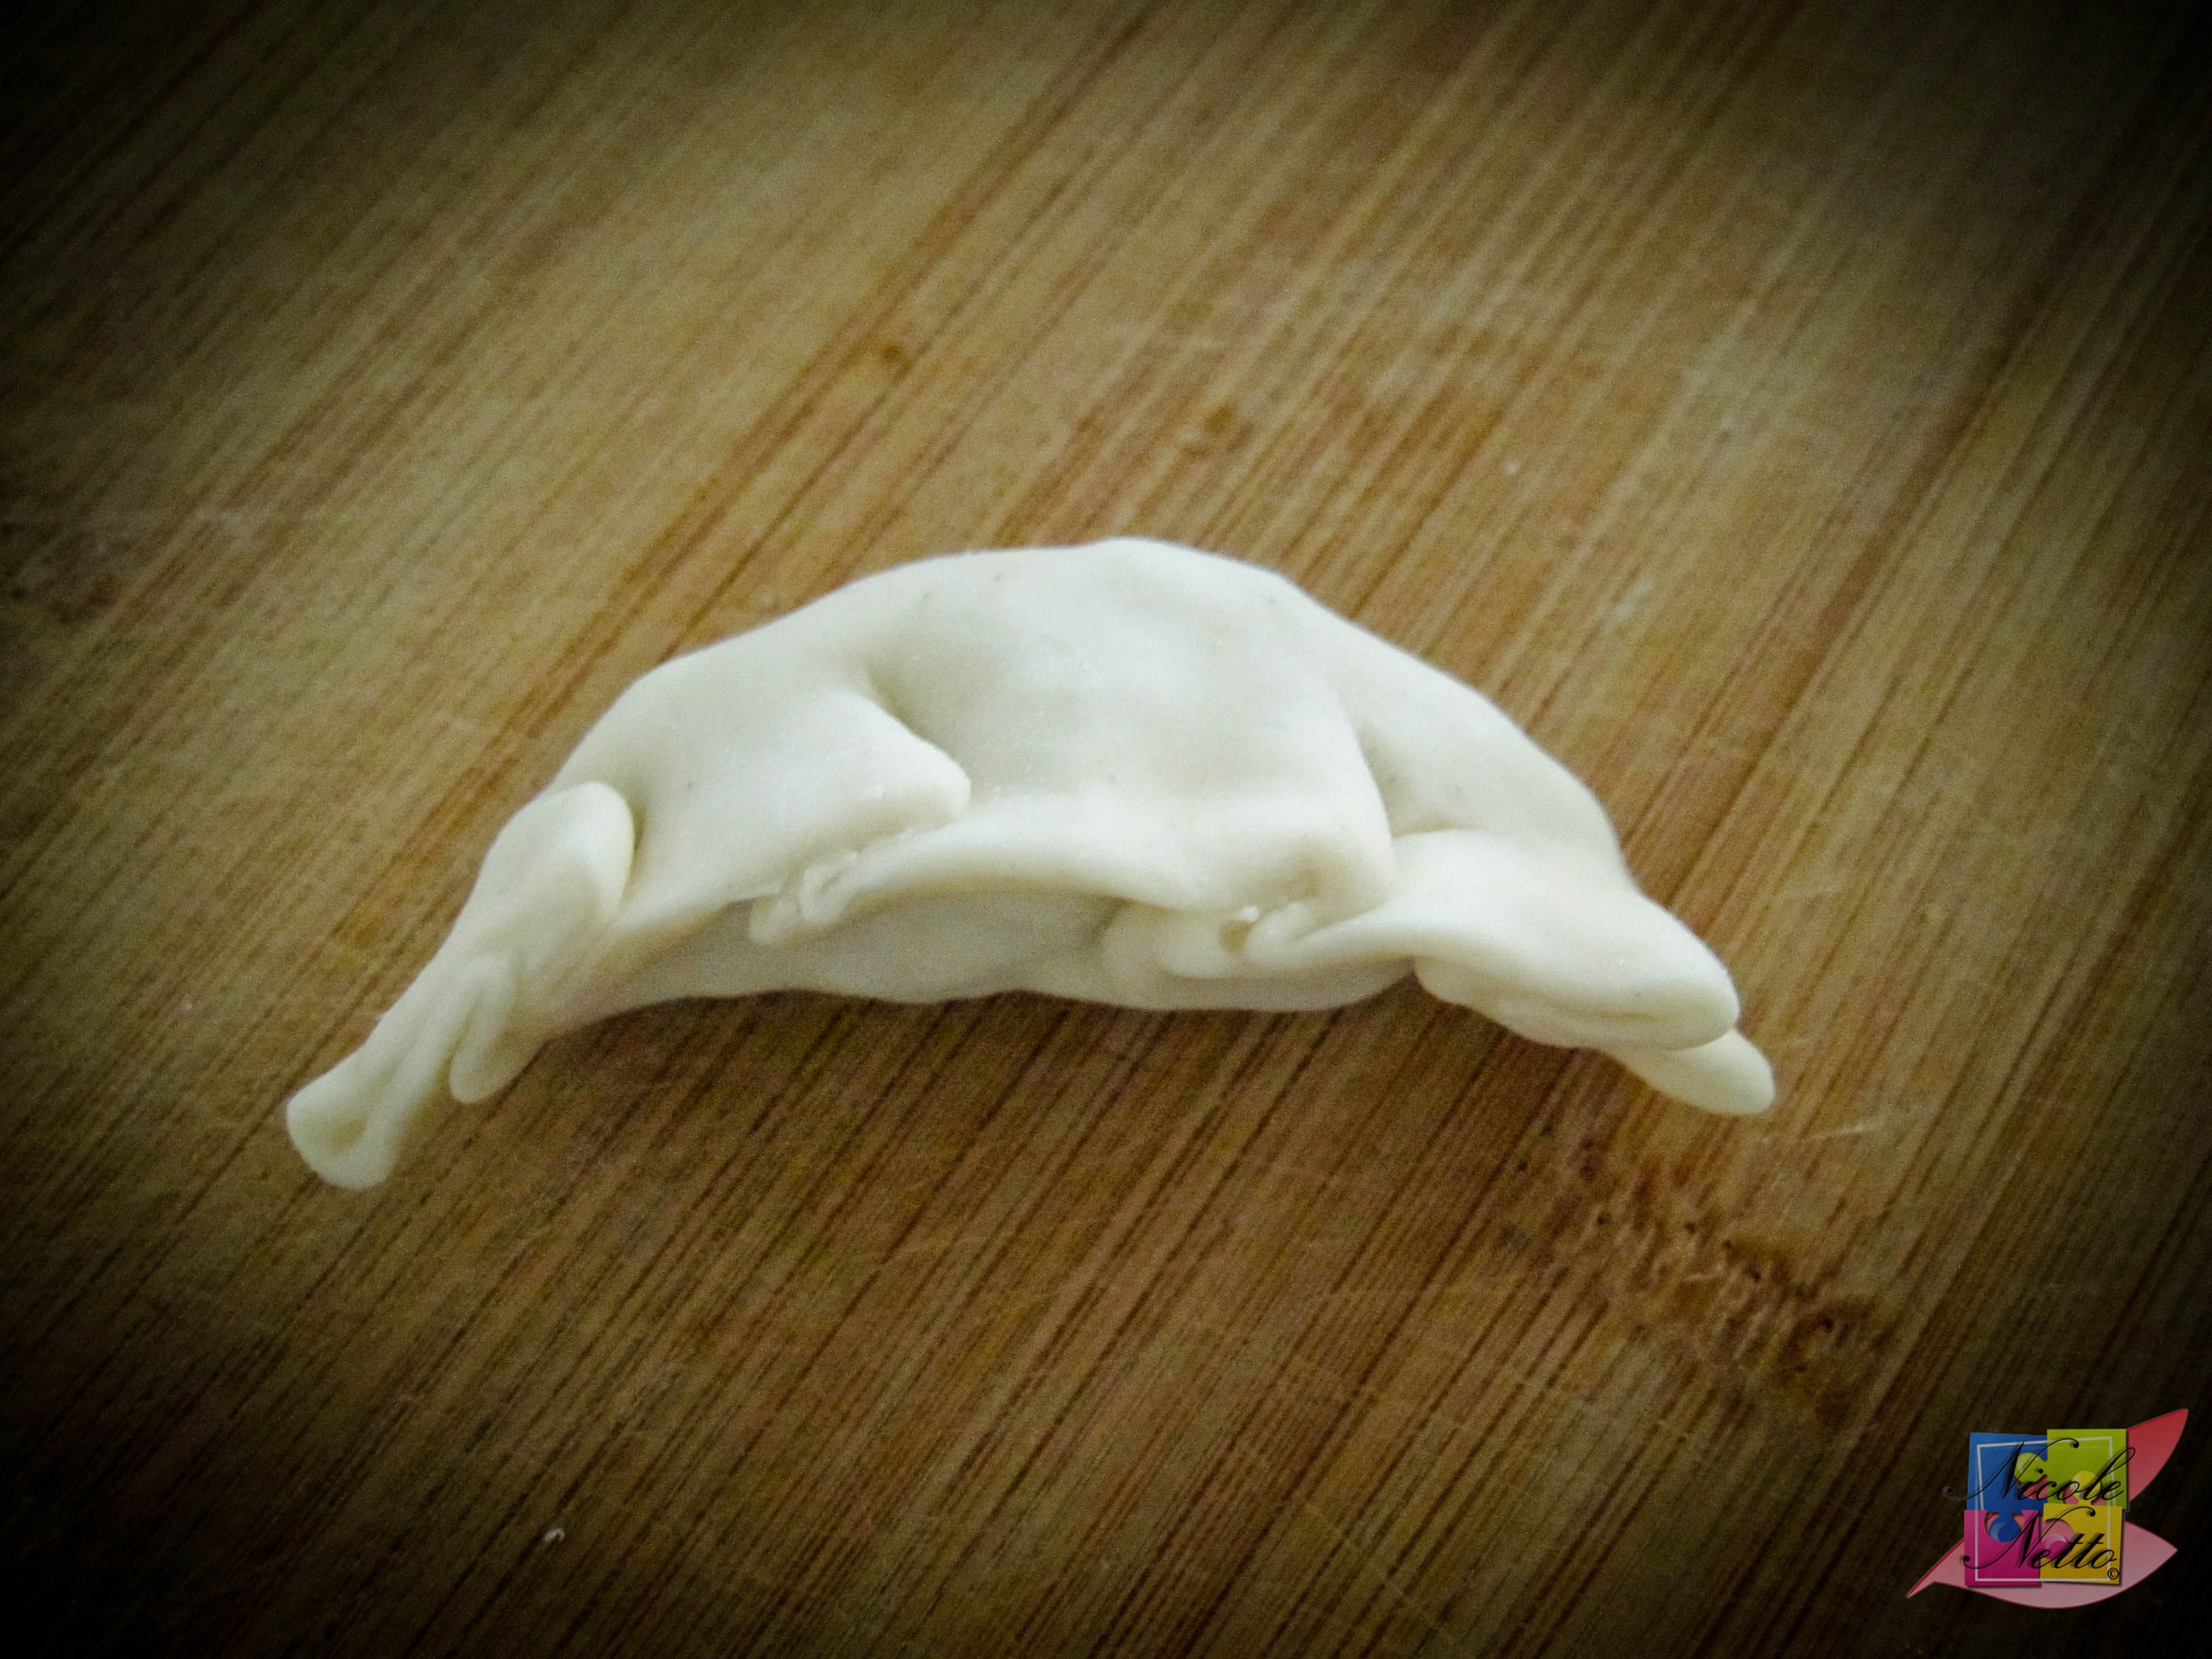
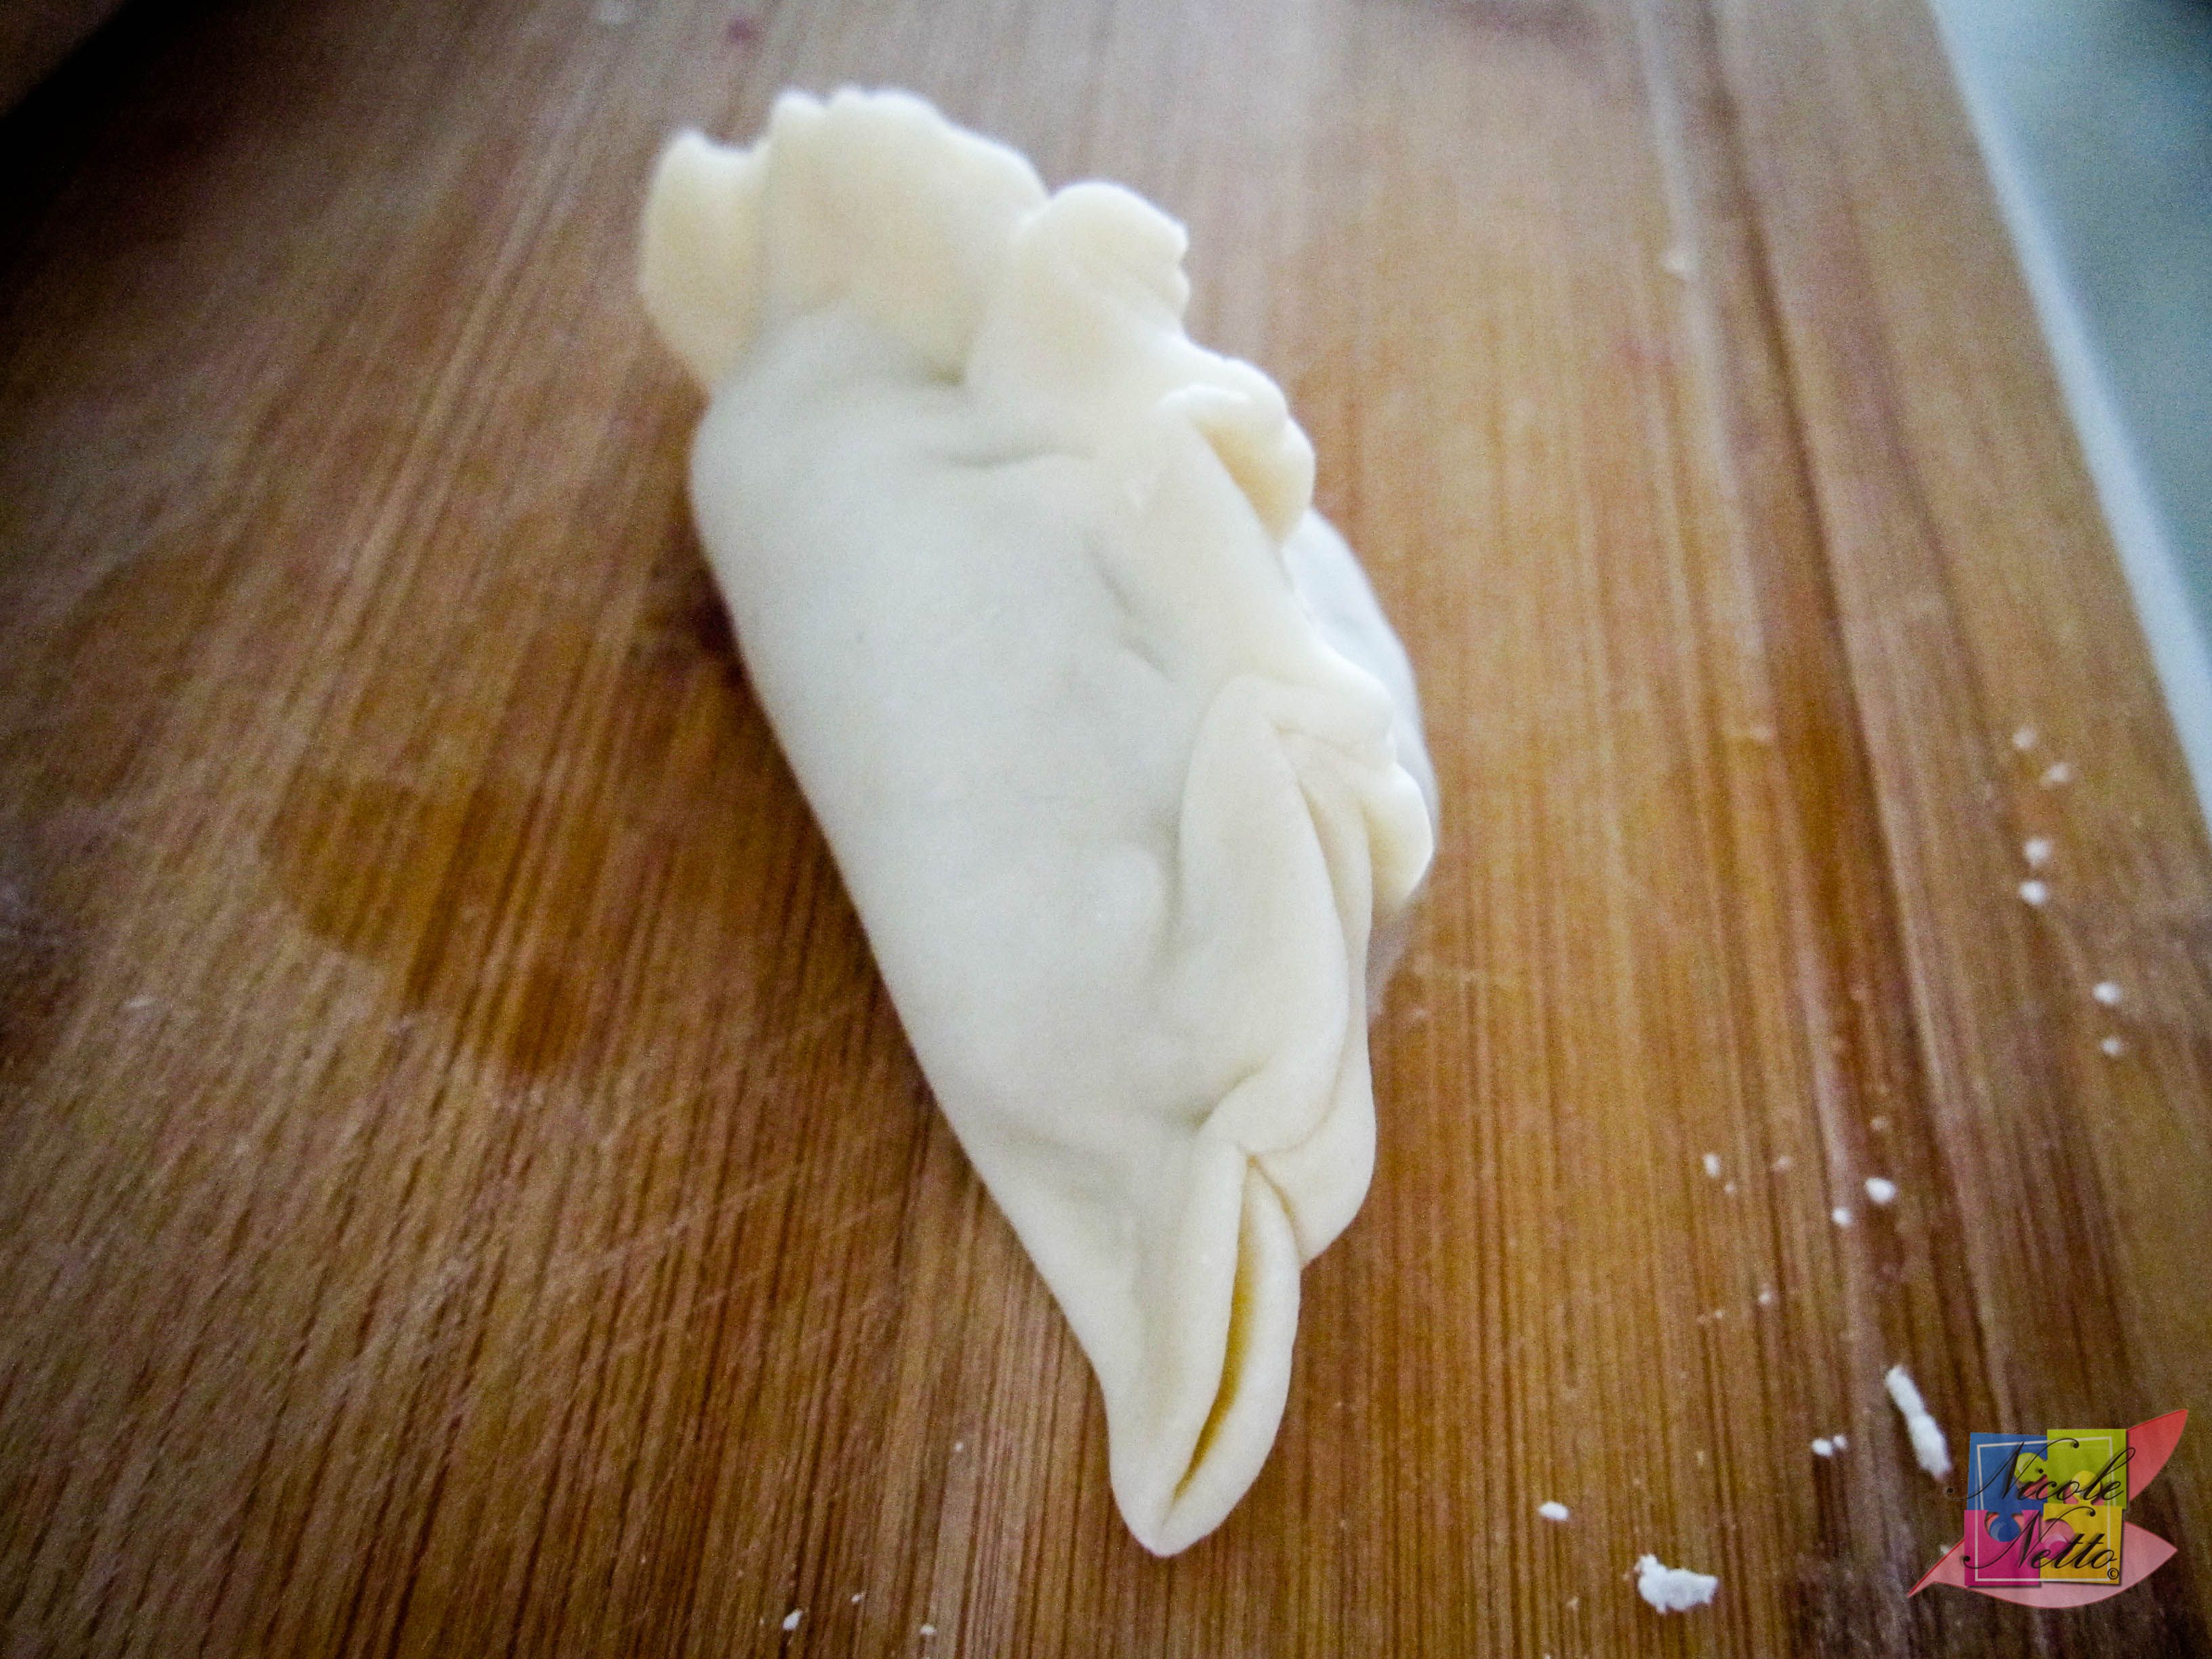
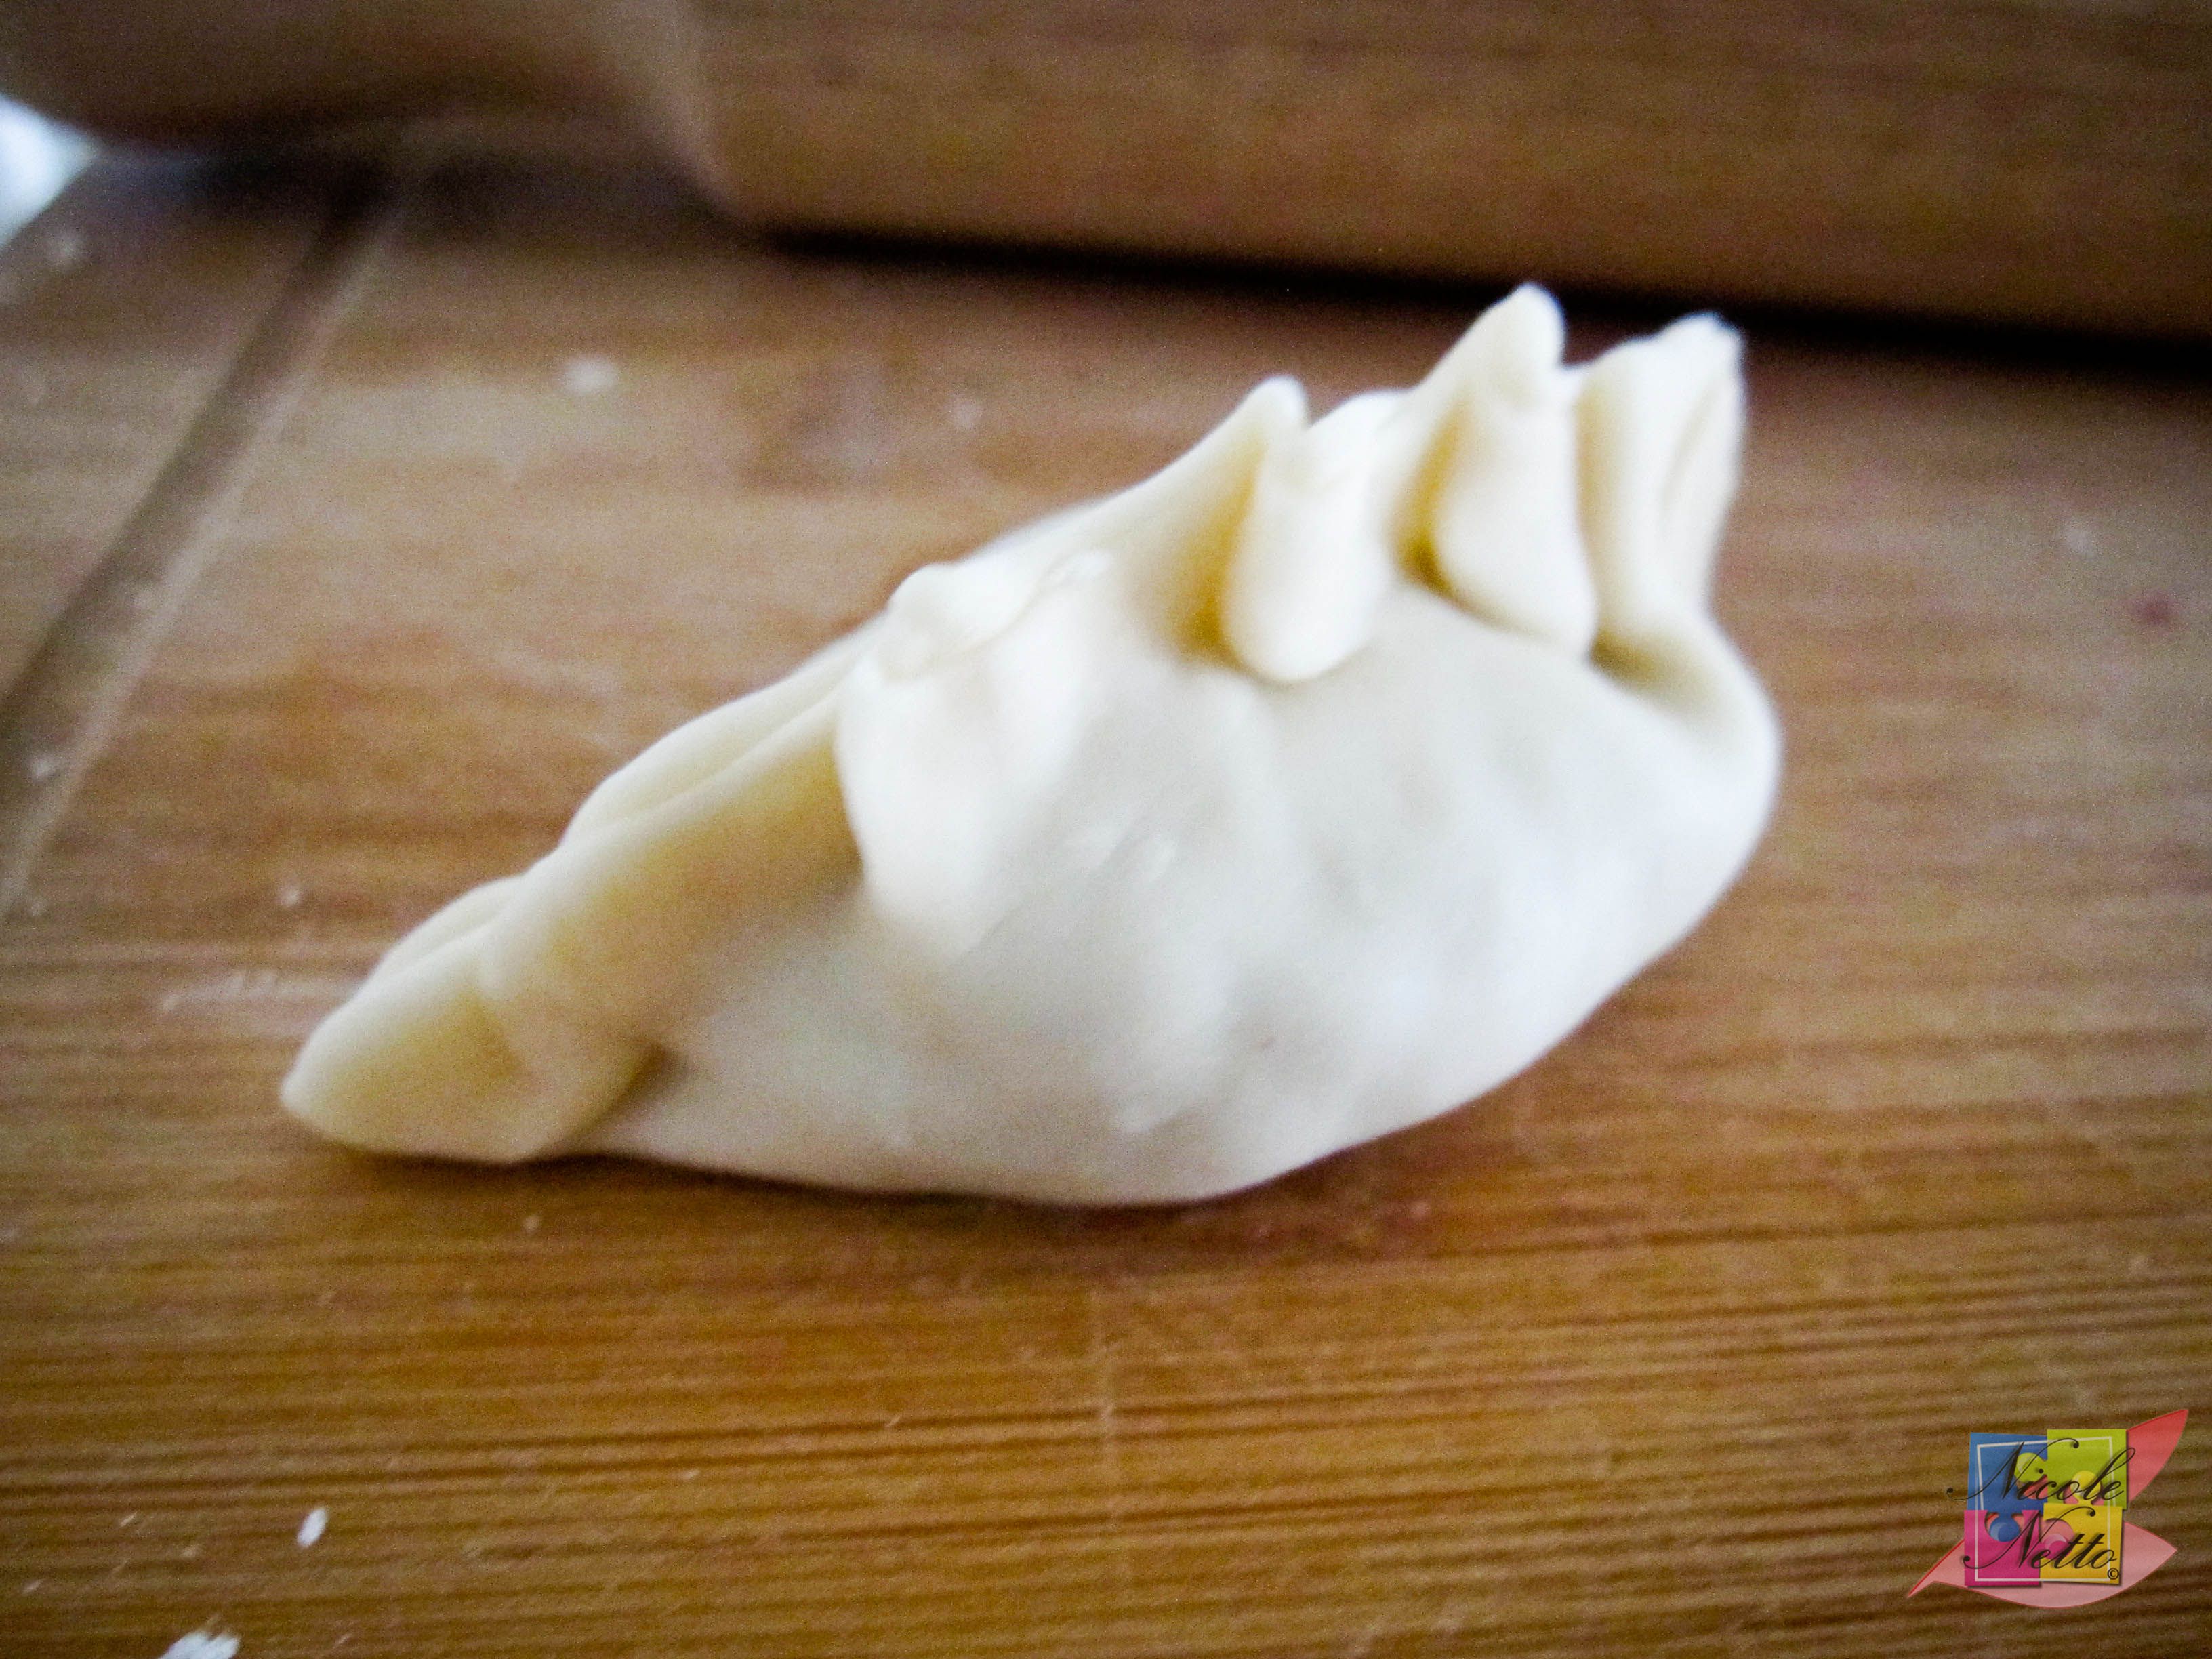
Assembled macarons
Ganache just filled between macaron shells
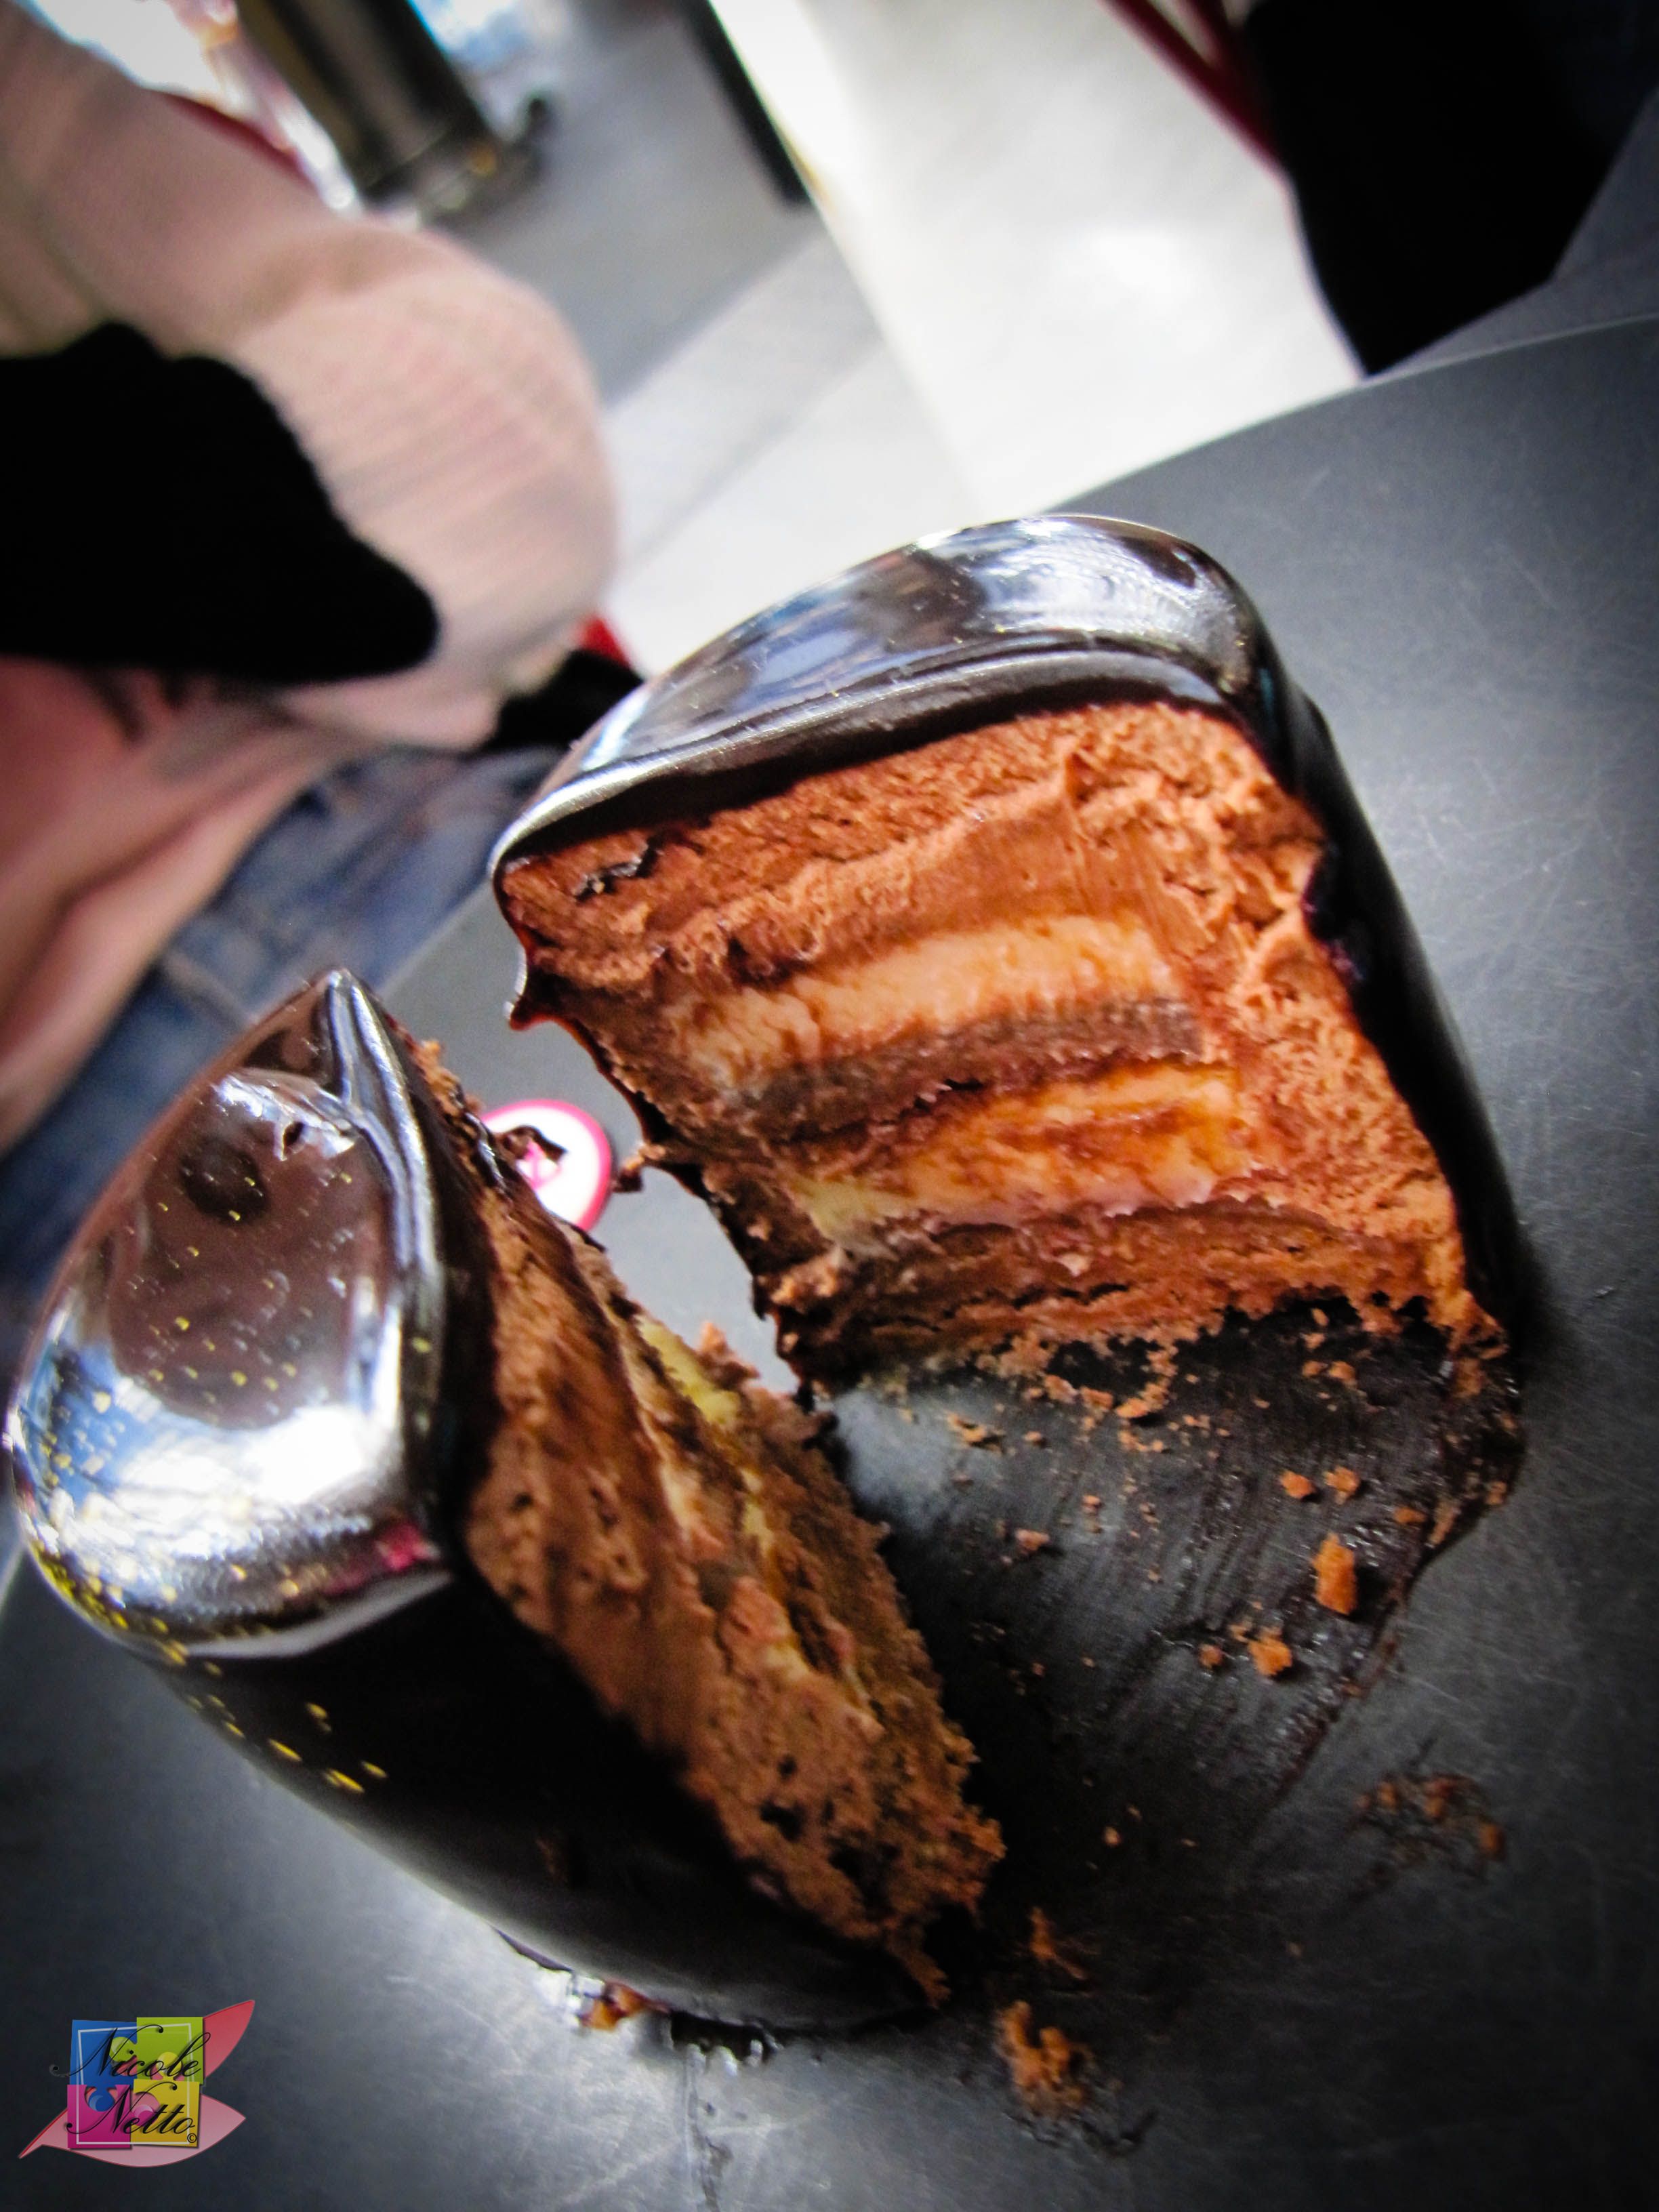
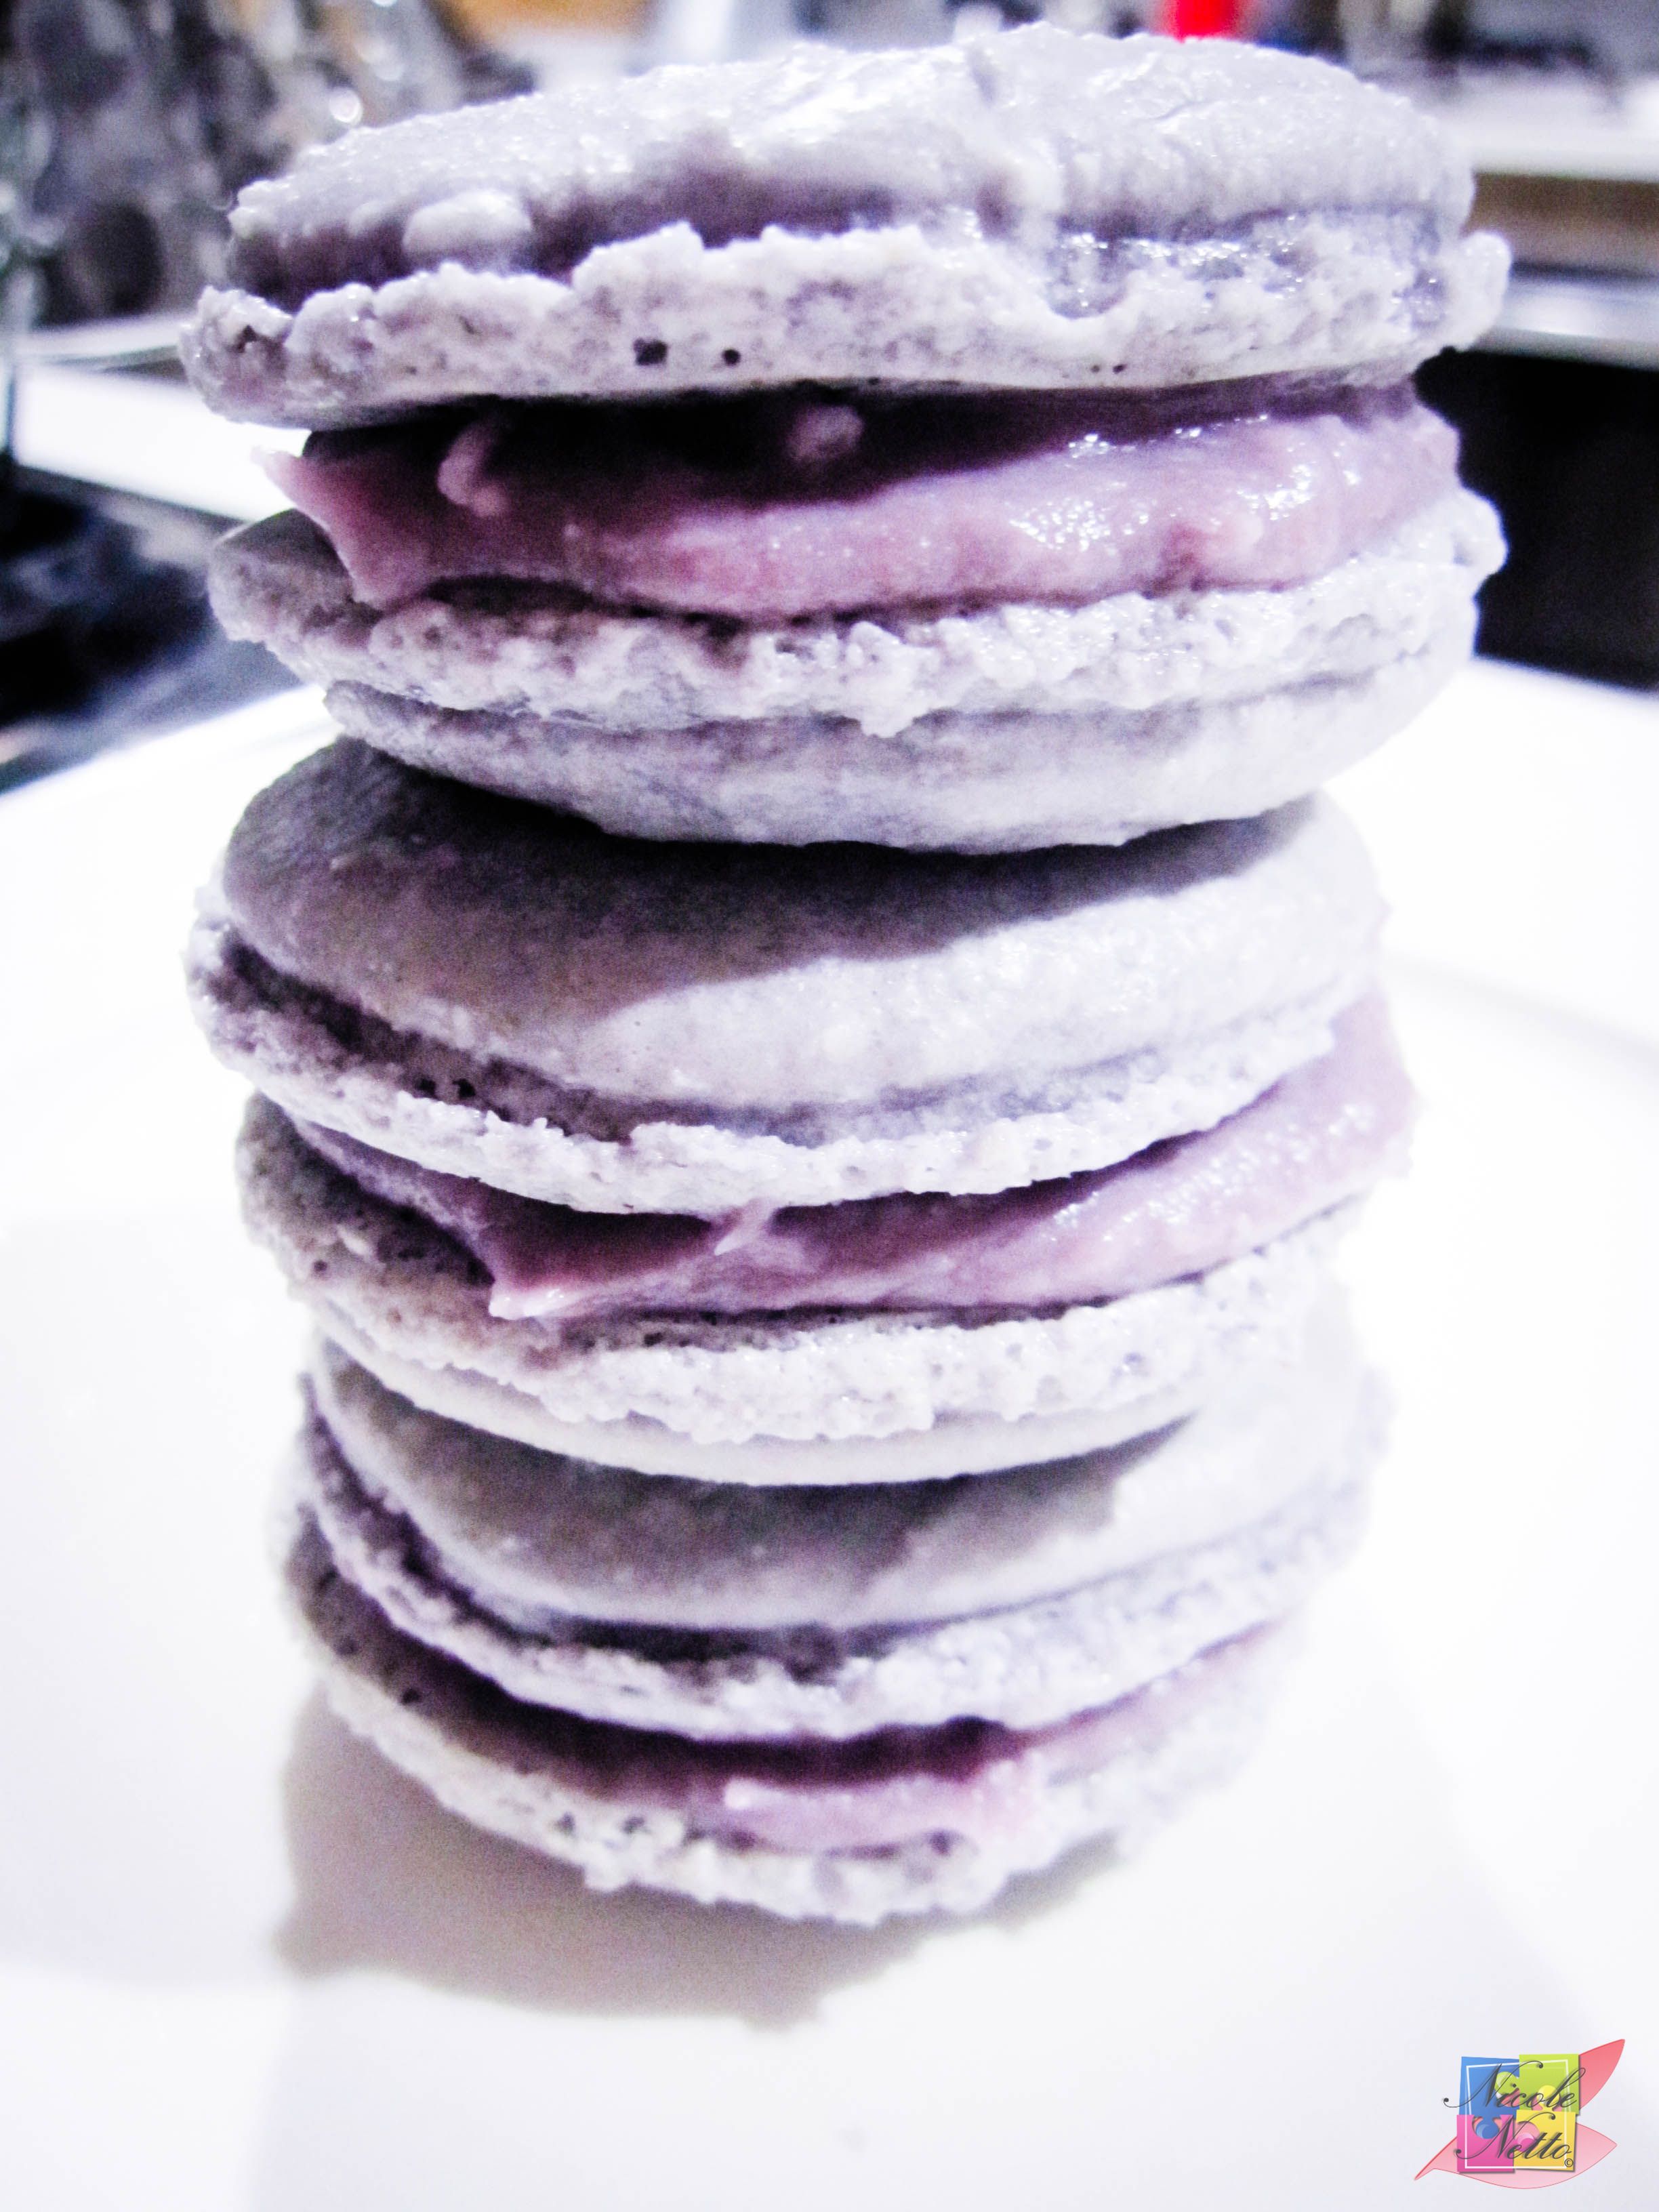
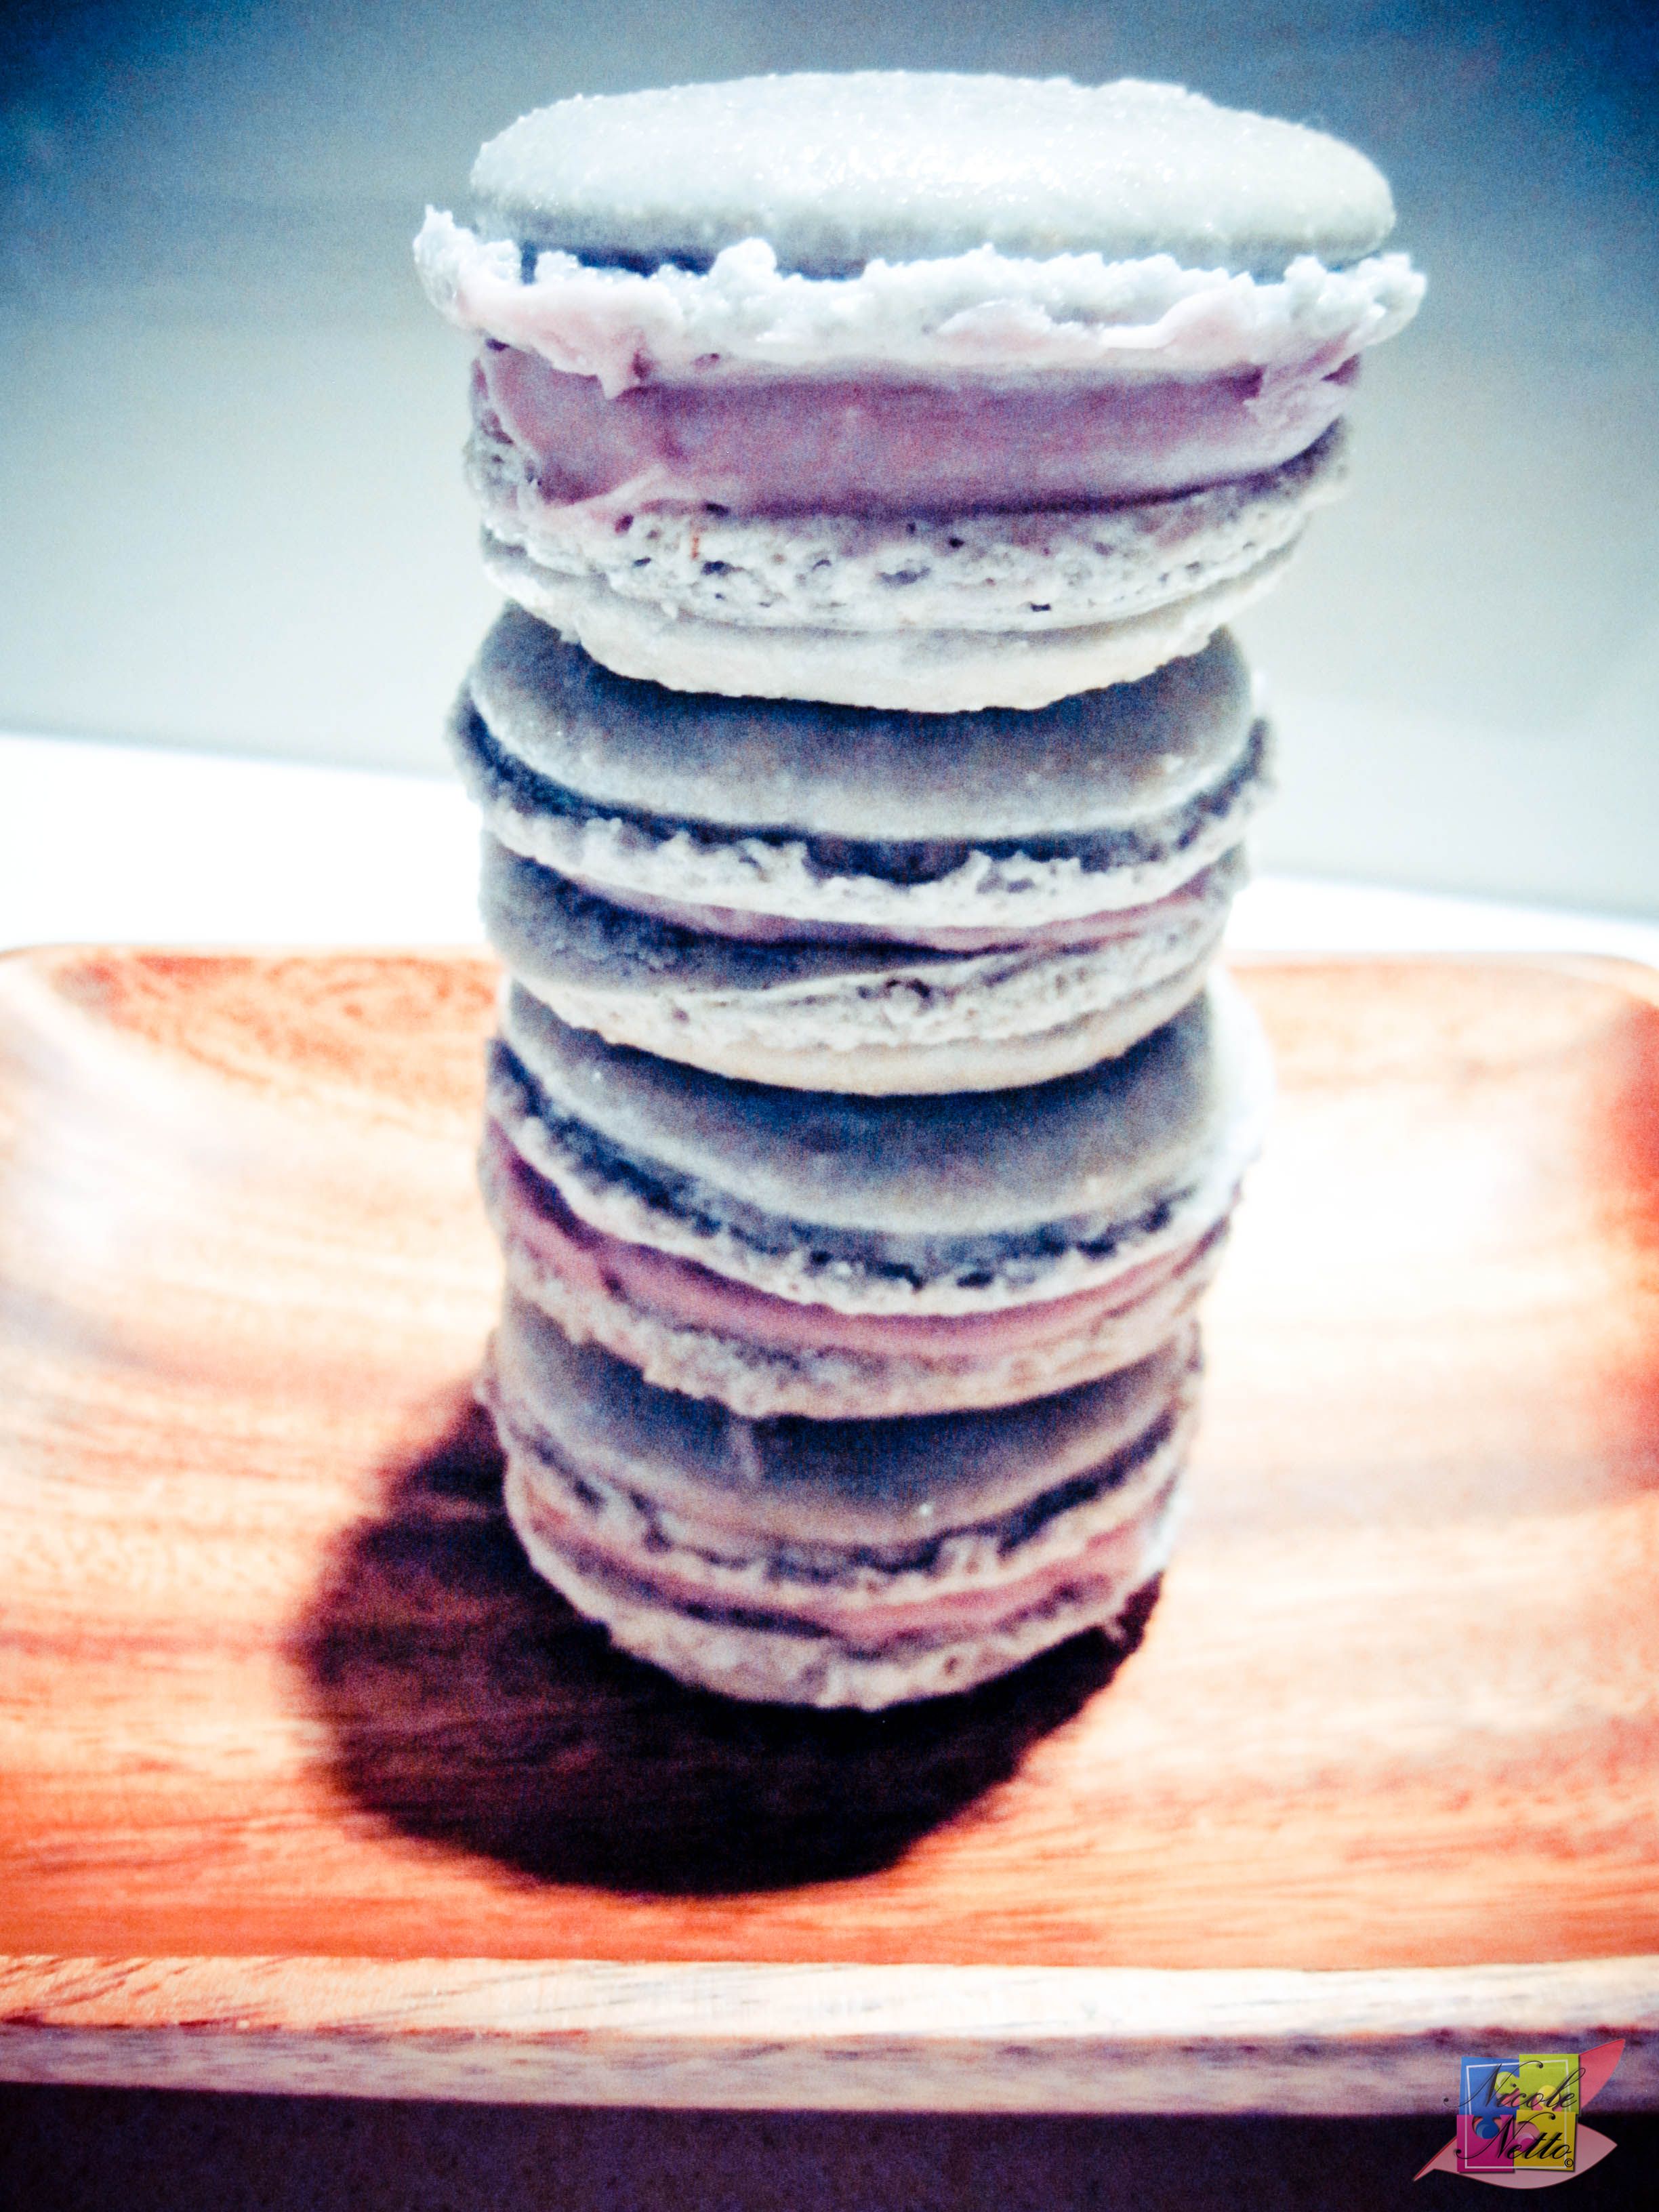
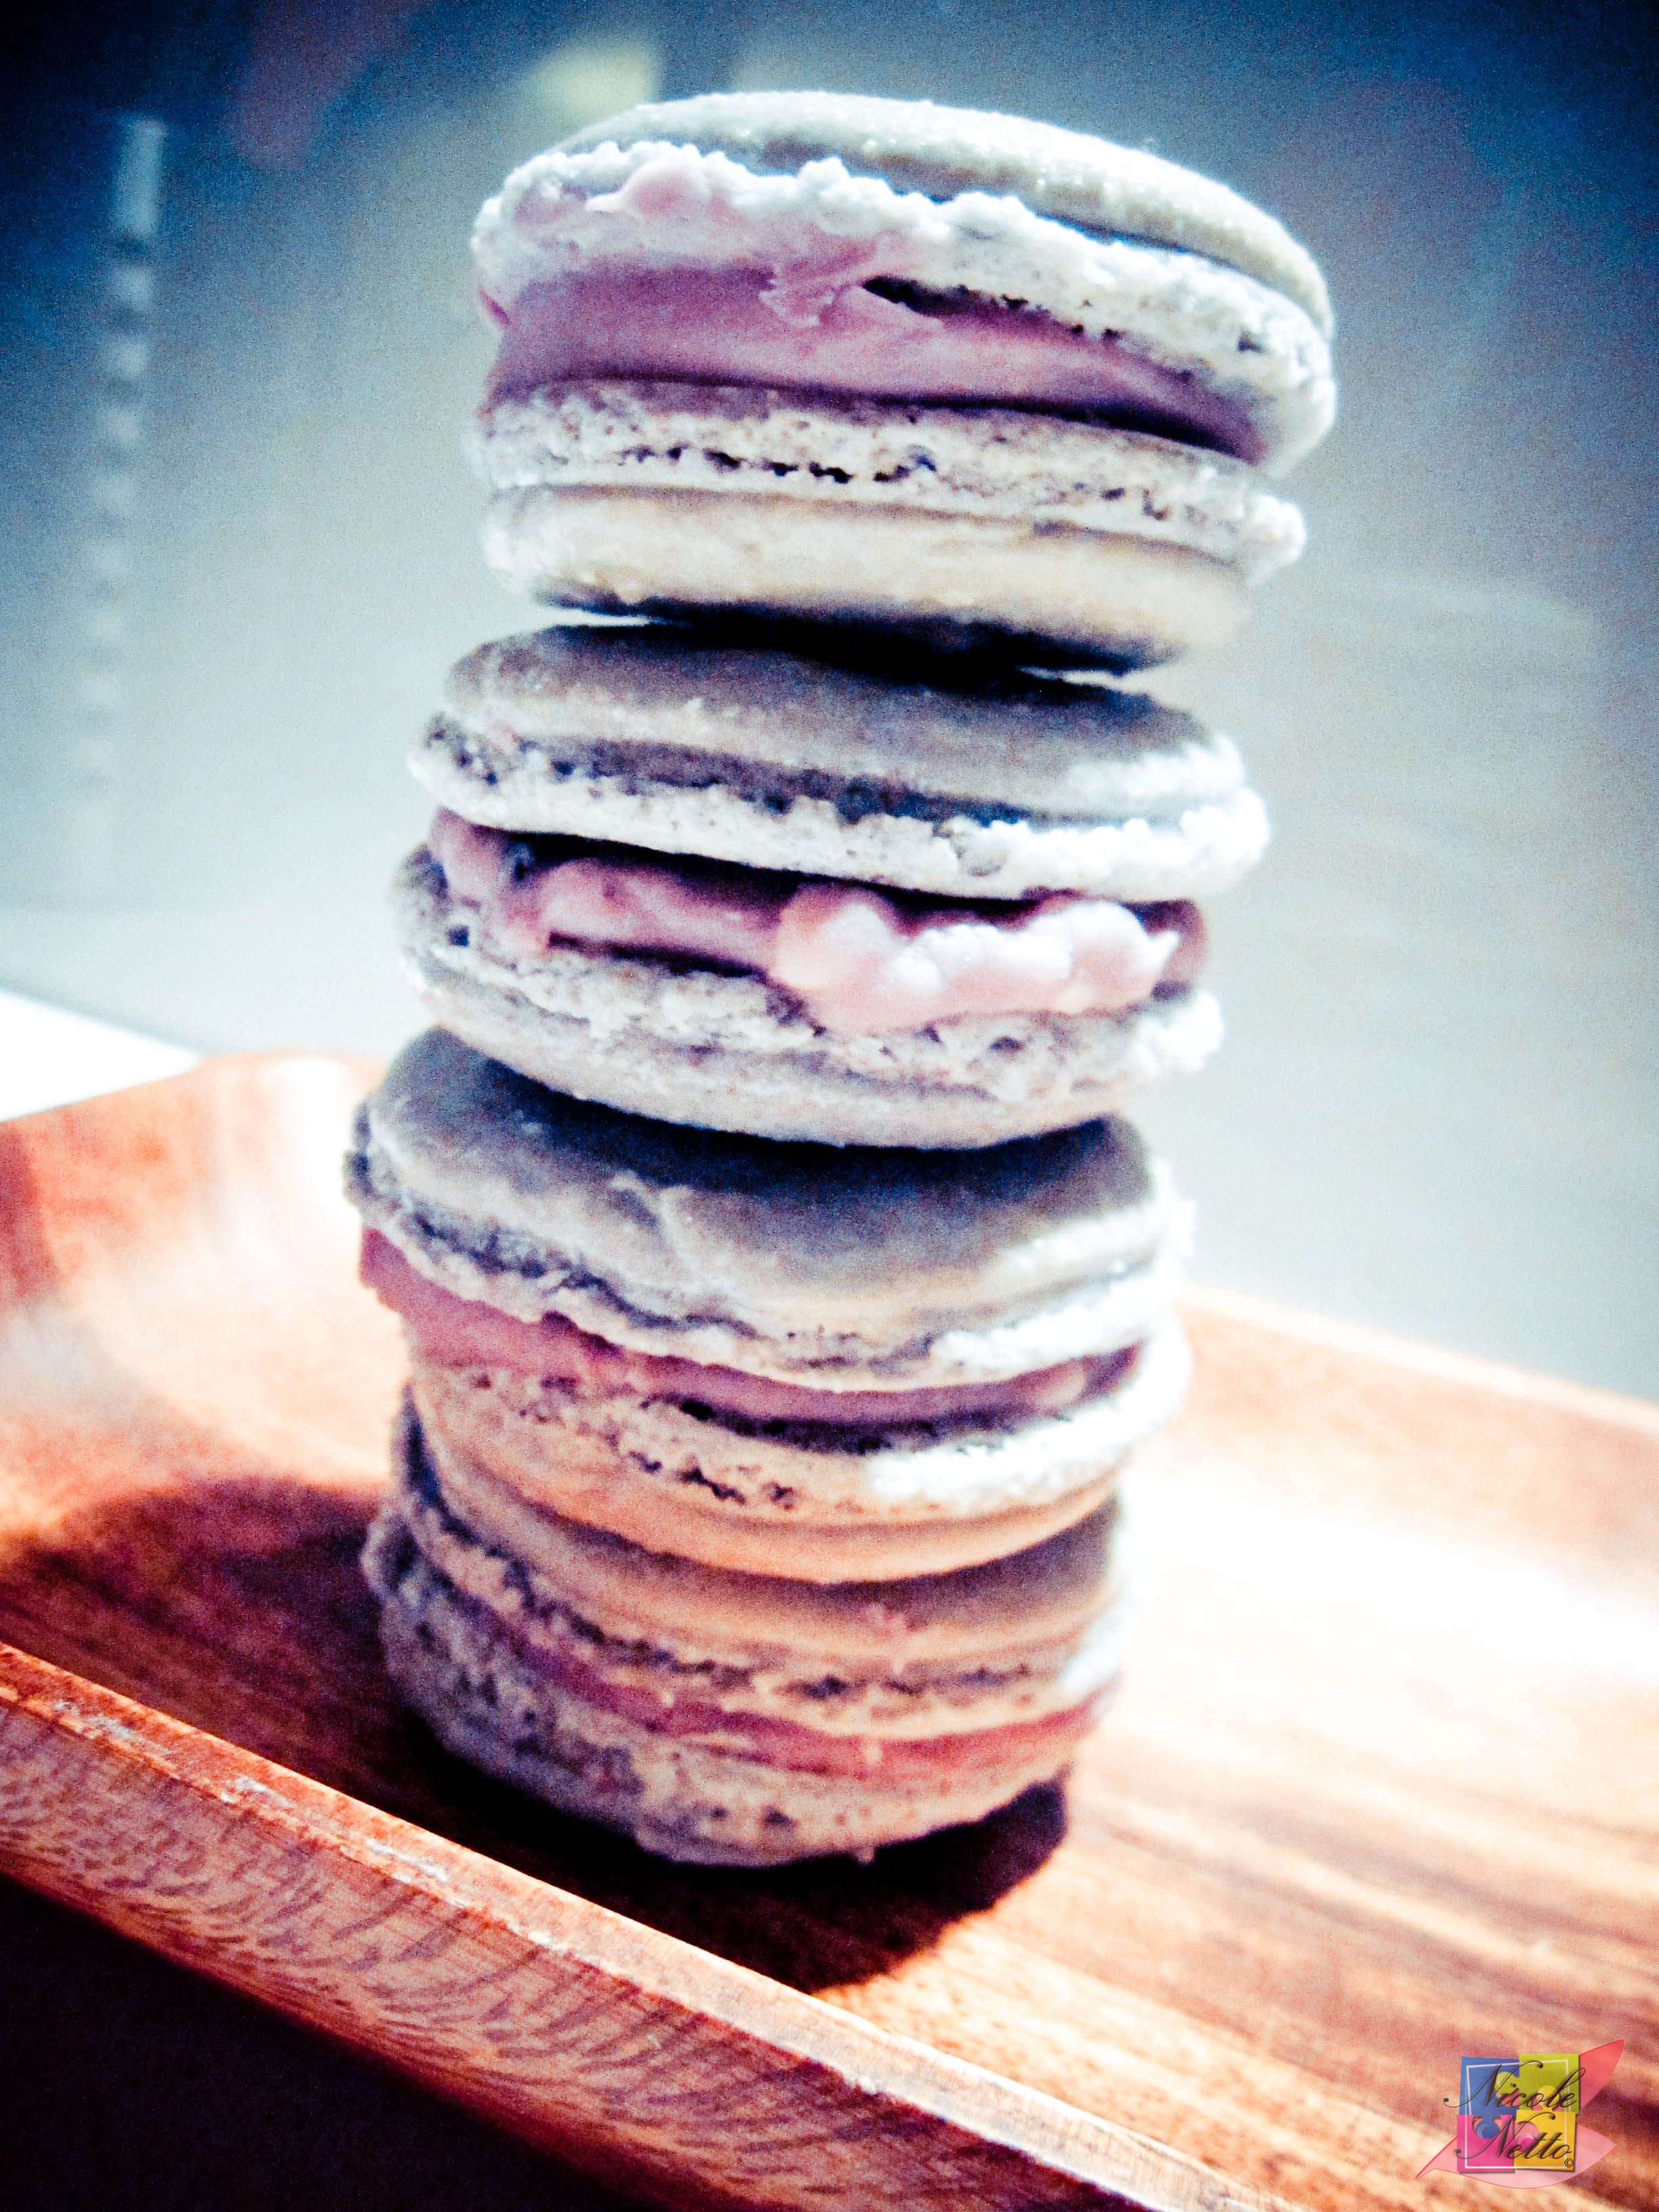
Beautiful layers of a macaron – light crumbly outside, soft middle and chewy ganache center
Put the assembled macarons in the refrigerator of 24 hours to set. Bring them to room temperature prior to being served. Refrigerating these also ensures the filling flavor infuses the macaron shells as well.
Note: I only refrigerated these for about 8 hours prior to sharing these with my work mates and they seemed quite happy.
Any spare macarons can be refrigerated in an air tight container. These are best consumed withing 3 to 4 days.
Do let me know if you try out this recipe and how you go with it!
Refrigerated macaron with set ganache
Purple

Ready to serve!
Bon Appetit!
Lavender and Blueberry macarons – Bon Appetit!


