Pork and Spinach Gyoza
Who doesn’t love a good dumpling?
On any given day – if I get asked what I feel like eating, there’s a good chance that answer, 8 out of 10 times (if not more), would be “dumplings” – particularly duck or pork dumplings, especially if they are pan fried – I do love me a good duck or pork dumpling!
To make pan fried dumplings, I usually purchase frozen dumplings from an Asian grocer at our version of “China town” and steam these, followed by pan frying them to obtain a delicious and lightly crisp result. However, traditionally, ‘pot stickers’ are usually done the other way around i.e. pan fried to lightly brown off the base, and then water is added in after and allowed to cook until the dumplings are steamed to perfection and get that traditional beautiful caramel color on the bottom.
On this occasion, I decided to make them from scratch – dough, filling and all.
If you’re wondering about the difference with a Chinese dumpling and Japanese gyoza, as they are quite similar (like I was, because I wanted to make certain I got the recipe and terminology right), there are a few distinctive characteristics that make them different. Both are made with a flour dough, pinched and can include either a vegetarian or meat filling. However, the Chinese refer to them as “Jiaozi” (Dumpling) or “Wo tip” (Pot stickers), which can be eaten either boiled, steamed, pan fried or deep fried, while the Japanese generally only pan fry these. Also, the Japanese gyoza’s tend to be smaller, have thinner skins and the fillings tend to be lesser and include garlic. The ‘Gyoza’ also tend to be slightly elongated.
With both the pan fried versions, while the Japanese consider ‘gyoza’ as a side dish to compliment rice, the Chinese often consume ‘wo tip’ (Pot stickers) as the main course.
After determining the differences, I decided to dub this post’s recipe as – Pork and Spinach Gyoza!
While this is a time consuming recipe, the results are delicious! It is possible to reduce your prep time down by purchasing frozen gyoza wrappers from an Asian grocer store.
This recipe makes about 30 pieces of gyoza. I would allow for a minimum of 6 – 8 per person if it is being served as a main course meal.
Be sure to adjust quantities accordingly!
Pork and Spinach Gyoza
(Serves 4)
Ingredients – Gyoza Dough:
2 cups All purpose flour
1 tsp Salt
1 cup Water (boiled)
Potato starch or Corn starch (Optional – for dusting – I used All purpose flour)
Gyoza dough
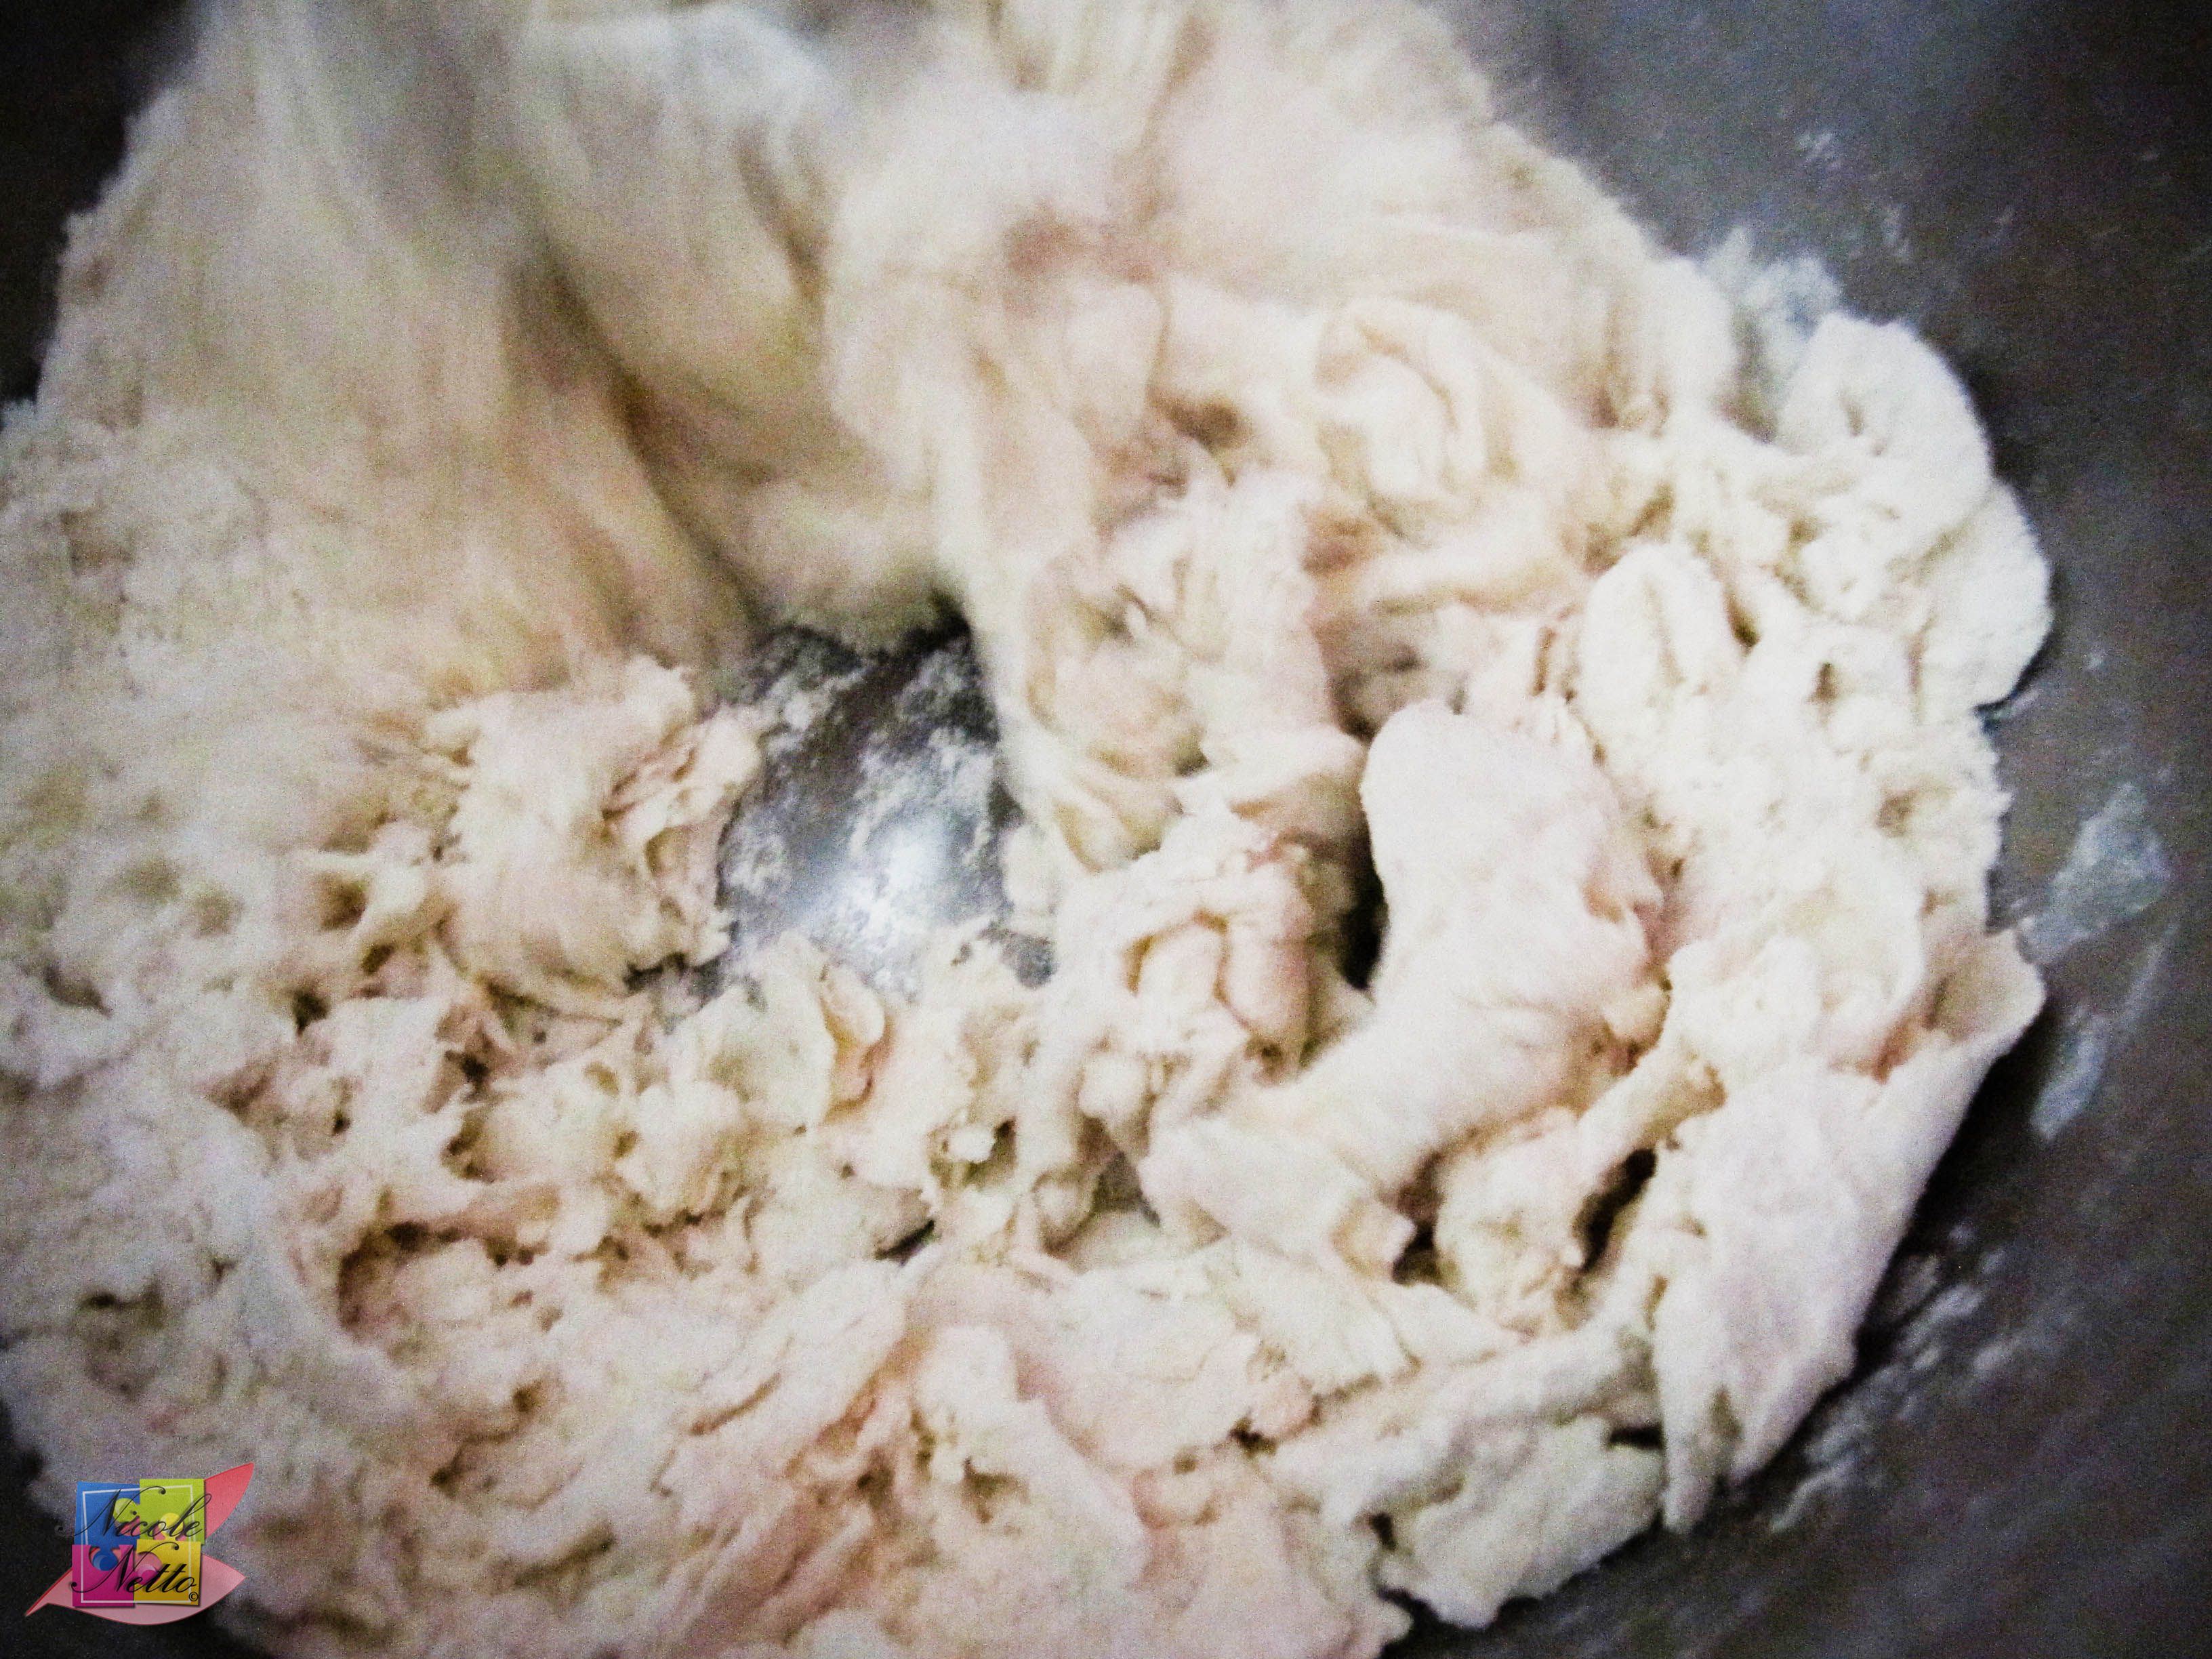
Method – Gyoza Dough:
Mix the flour, water and salt – begin with the flour and salt mixture and keep adding the water, a little at a time, as necessary and knead to form the gyoza dough. The dough will lighten spring back when you have reached the correct consistency.
Set aside covered in cling wrap or a damp tea towels (or damp paper towels) to ensure the dough remains moist while you prepare the filling.
Ingredients – Gyoza Filling:
500 gm Pork mince
100 gm Baby Spinach (finely chopped)
2 Spring Onions (reserve some of the chopped green stalk for garnish – Optional) OR 1 Onion (finely chopped)
6 cloves of Garlic (finely chopped)
1 Tbsp Soy Sauce
1/2 tsp Five-spice powder
100 gm Canned water chestnuts (drained and chopped)
1 Sliced red chilli
3 tsp Cornflour
2 Tbsp Water
Chili oil OR Sesame oil OR Olive oil OR Vegetable oil (for cooking)
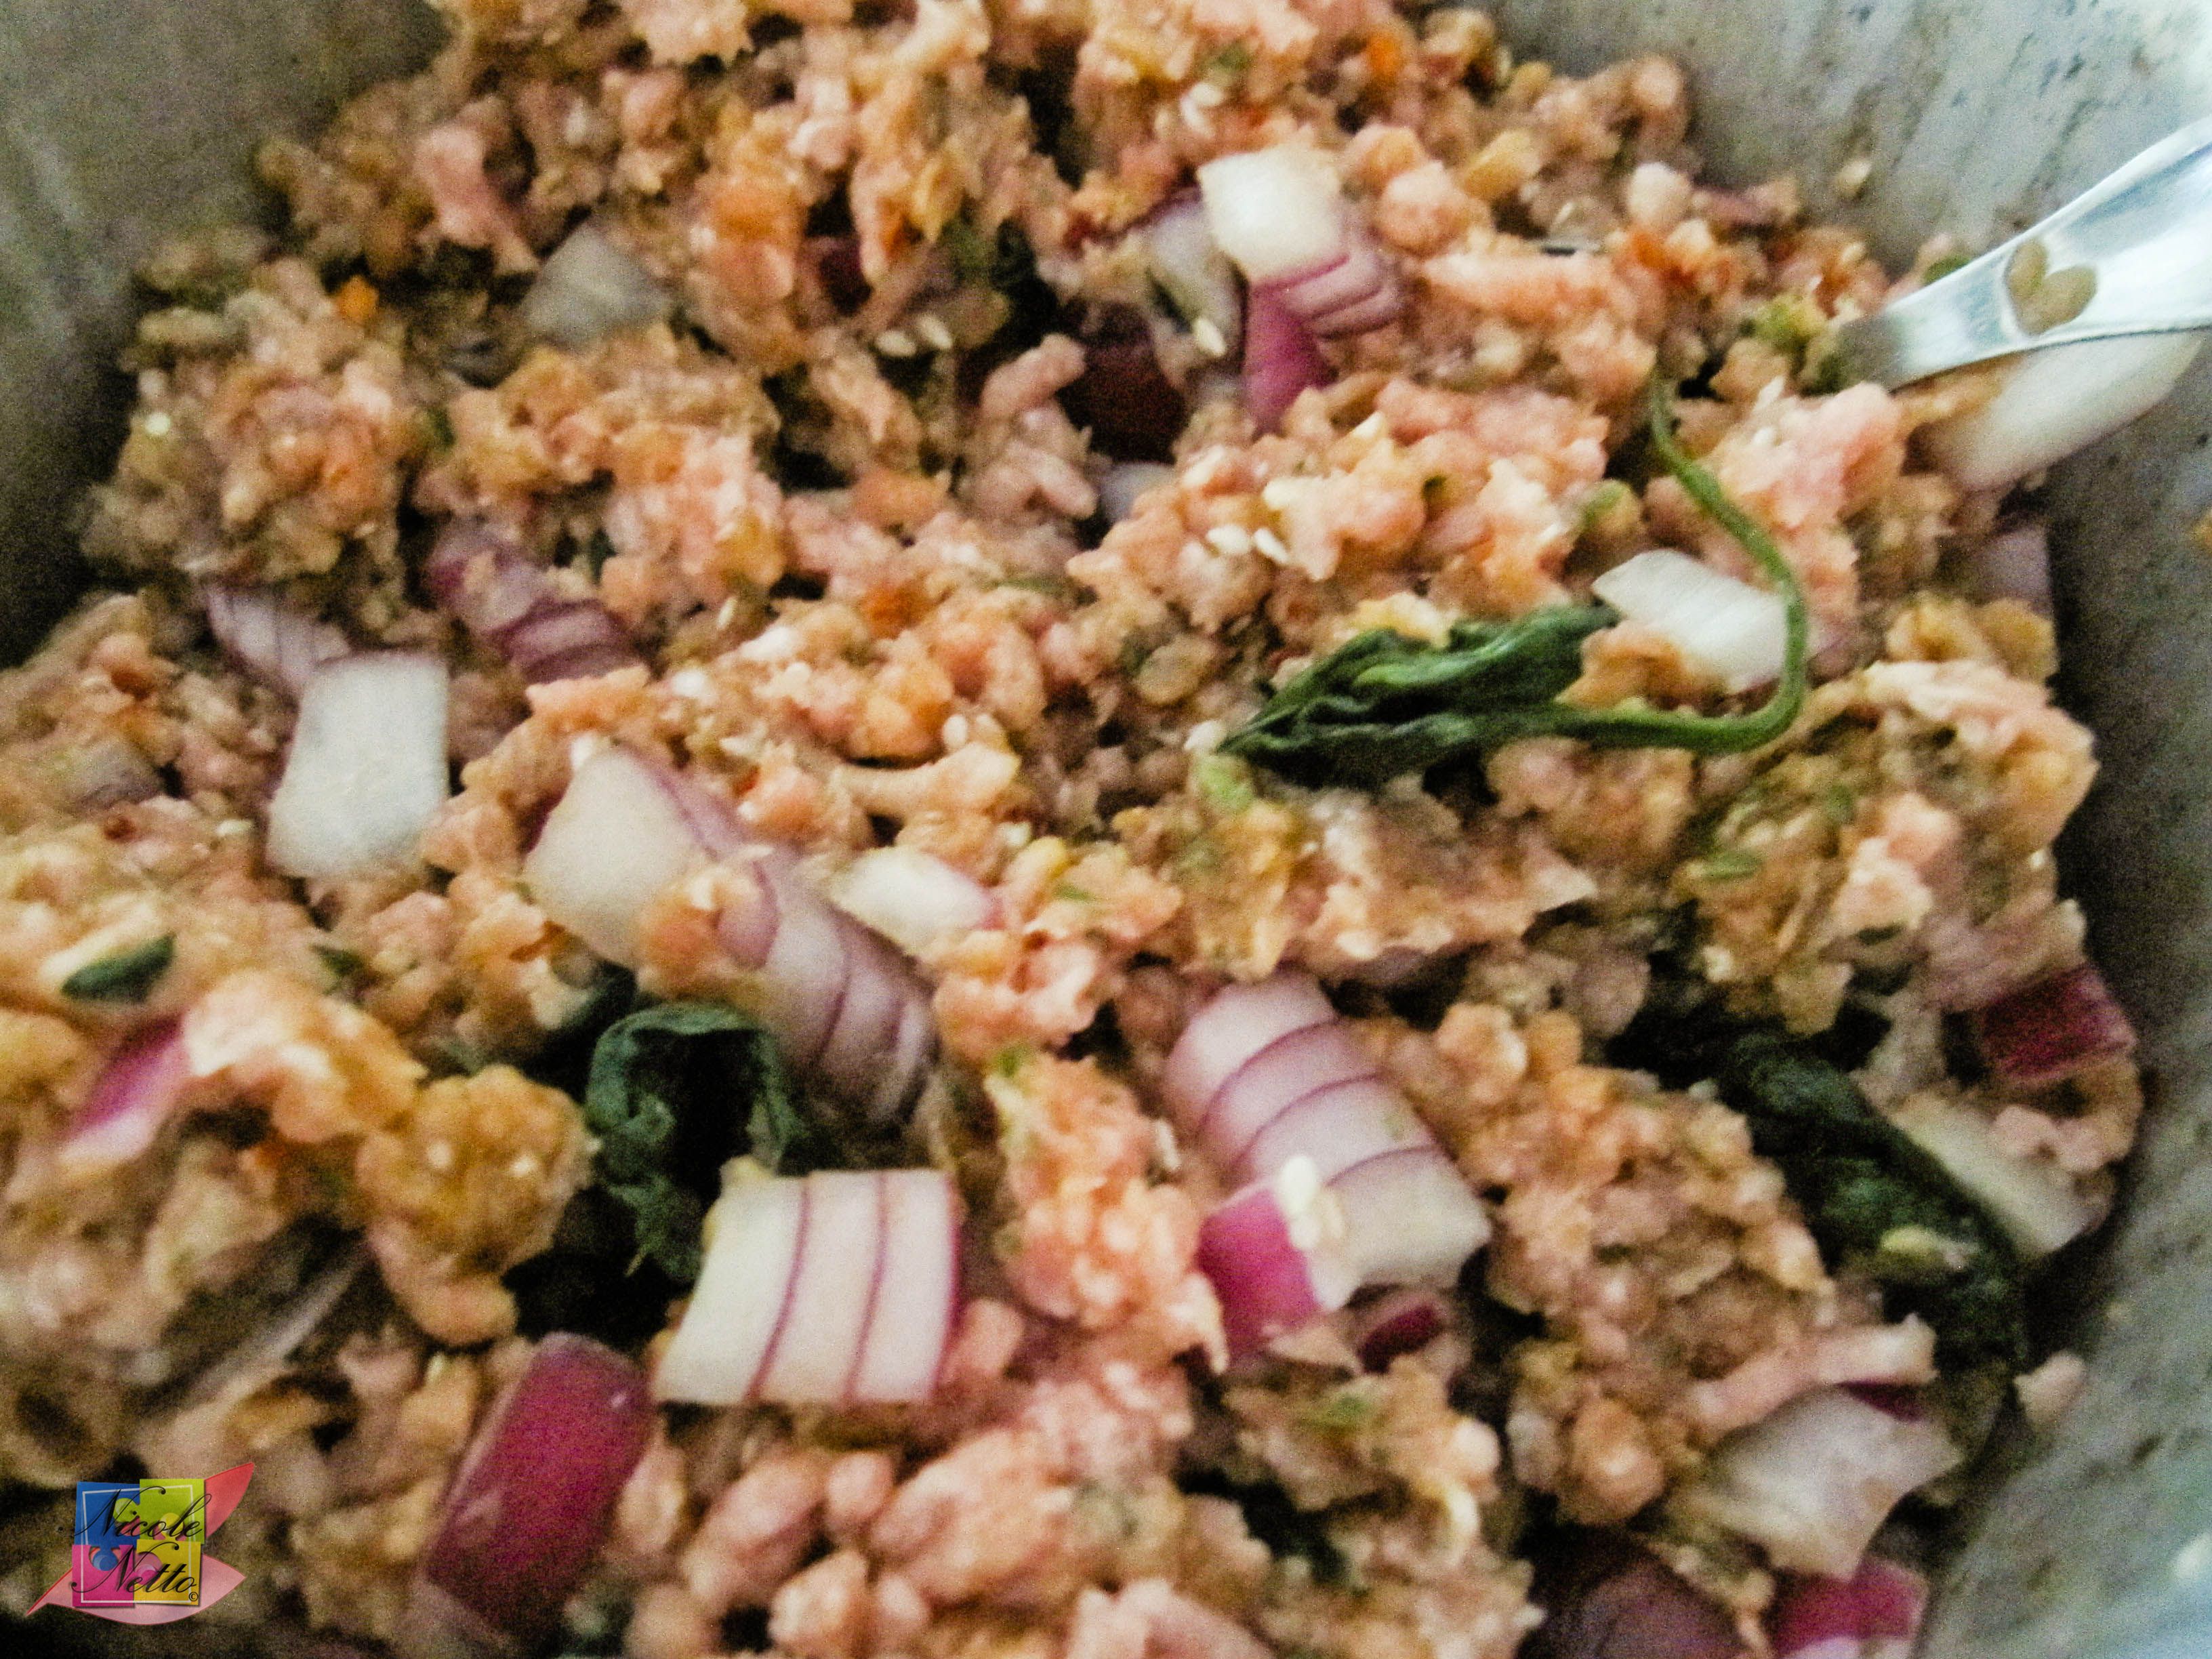
Method – Pork and Spinach Gyoza Filling:
Combine all the pork mince, spinach, spring onion OR onion, garlic, soy sauce, five spice powder, chestnuts, 1 tsp cornflour and chili in a bowl and mix well and evenly. Cover and refrigerate for about 30 minutes.

Pork and Spinach filling with onion
Pork and spinach filling
Method – Pork and Spinach Gyoza:
Unwrap the prepped cling wrapped or dough covered with a damp tea towels or damp paper towels.
Dust some potato starch, corn starch or all purpose flour onto your work surface. Divide the dough in half, and roll one half out into a log about 4 cm in diameter. Cover up the half currently not being used to avoid the dough drying out.
Cut out pieces from the log, about the width of your finger, and leave covered with cling wrap (OR a damp tea towel OR damp paper towel) until you need to roll out a piece.
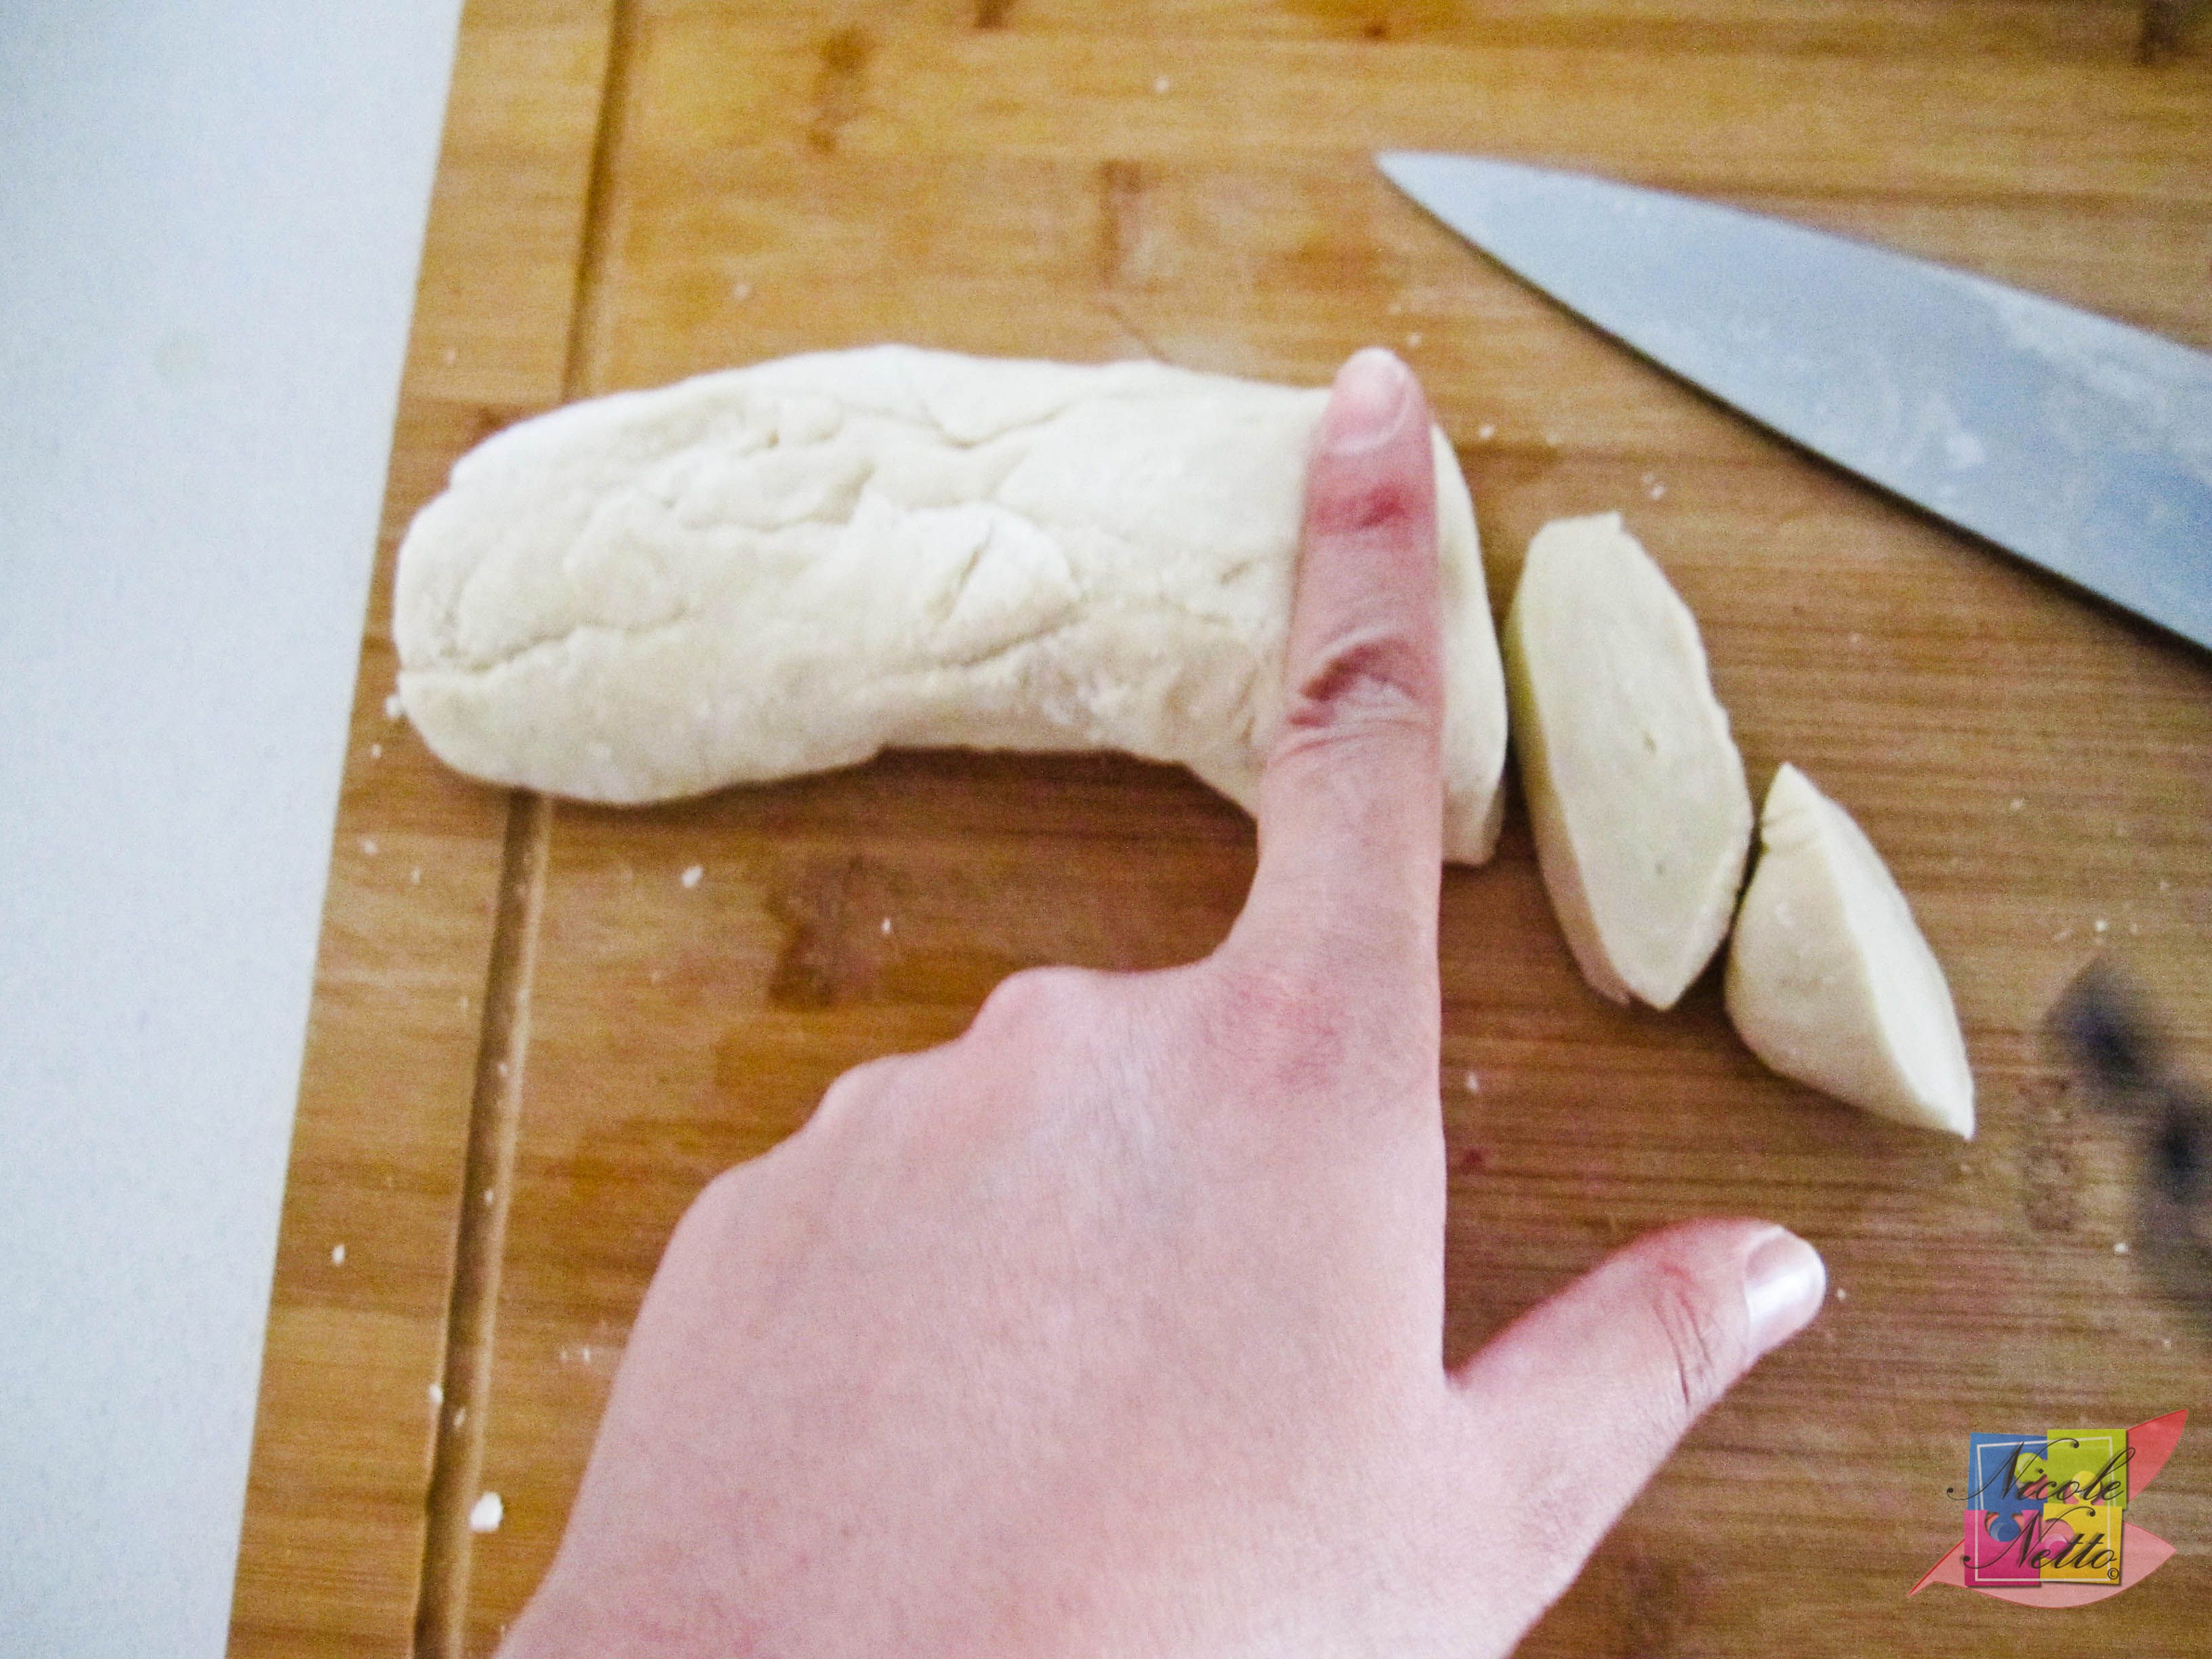
Rolled dough into a log
Cut up gyoza dough portions
Covered gyoza dough portions
Roll a cut piece into a ball. Roll out the dough into a circular shape and as thin as you can (about 1mm thick).
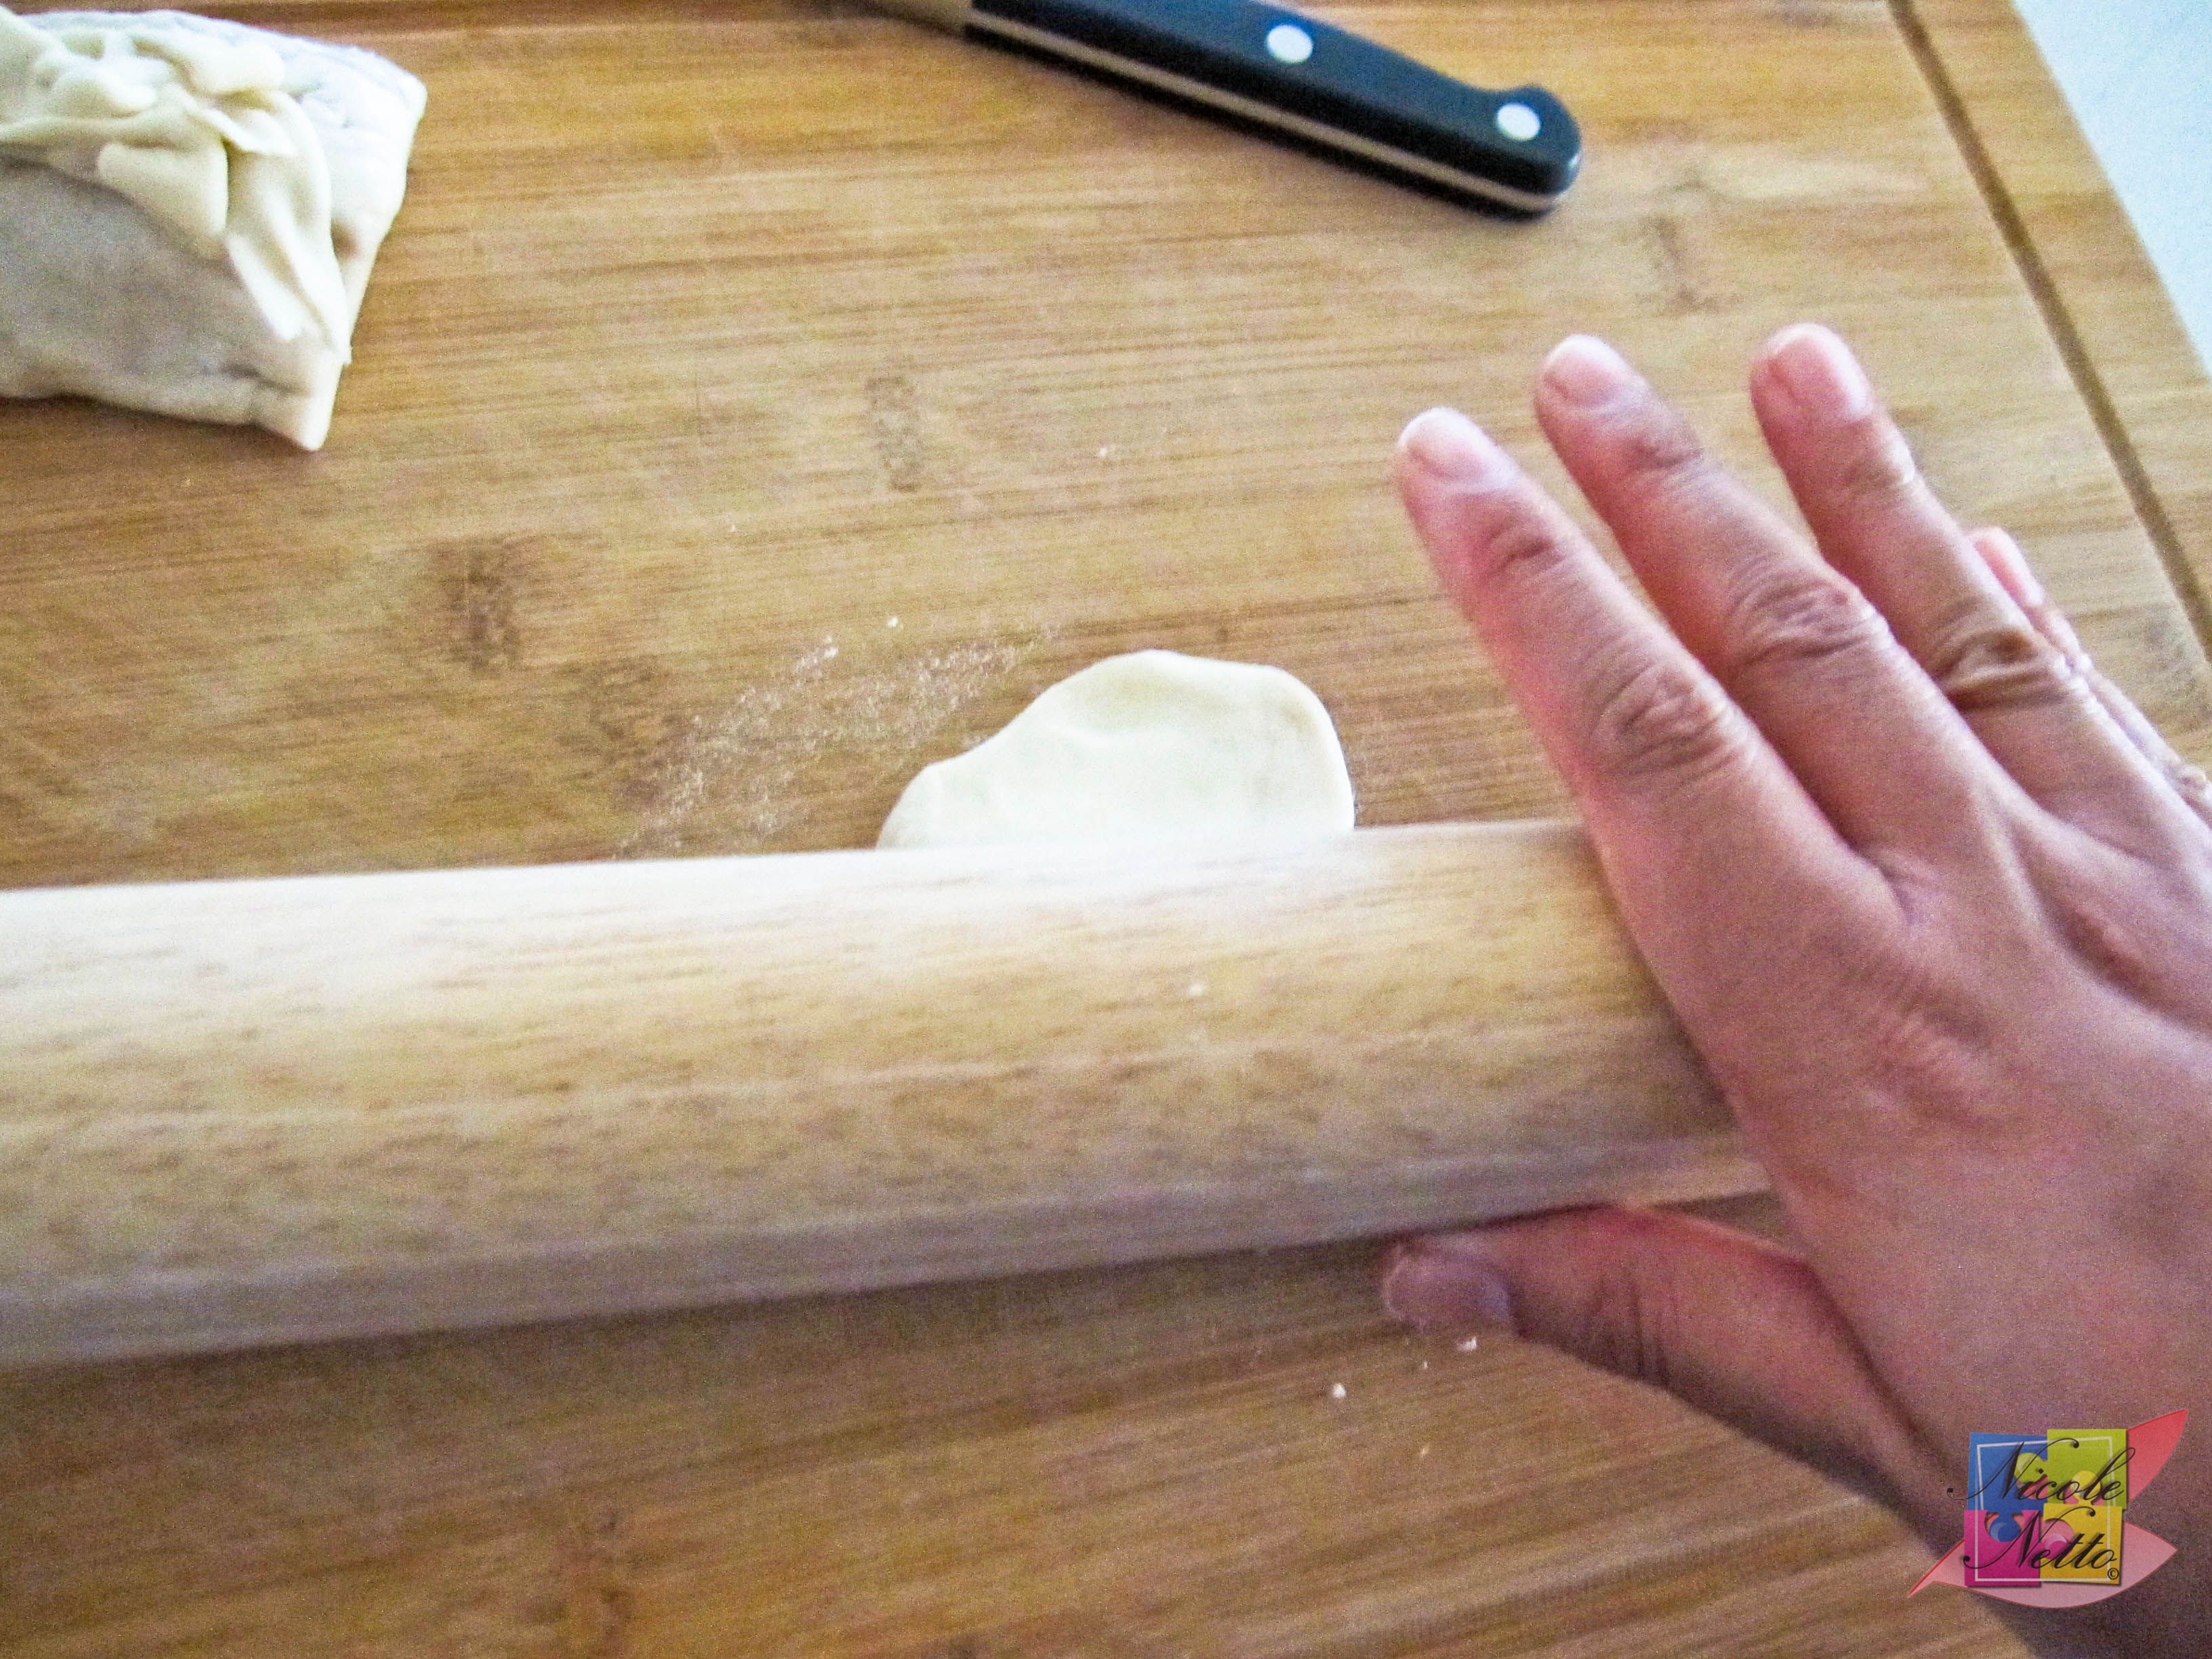
Rolling out the cut piece of dough
Rolled out as thin as possible
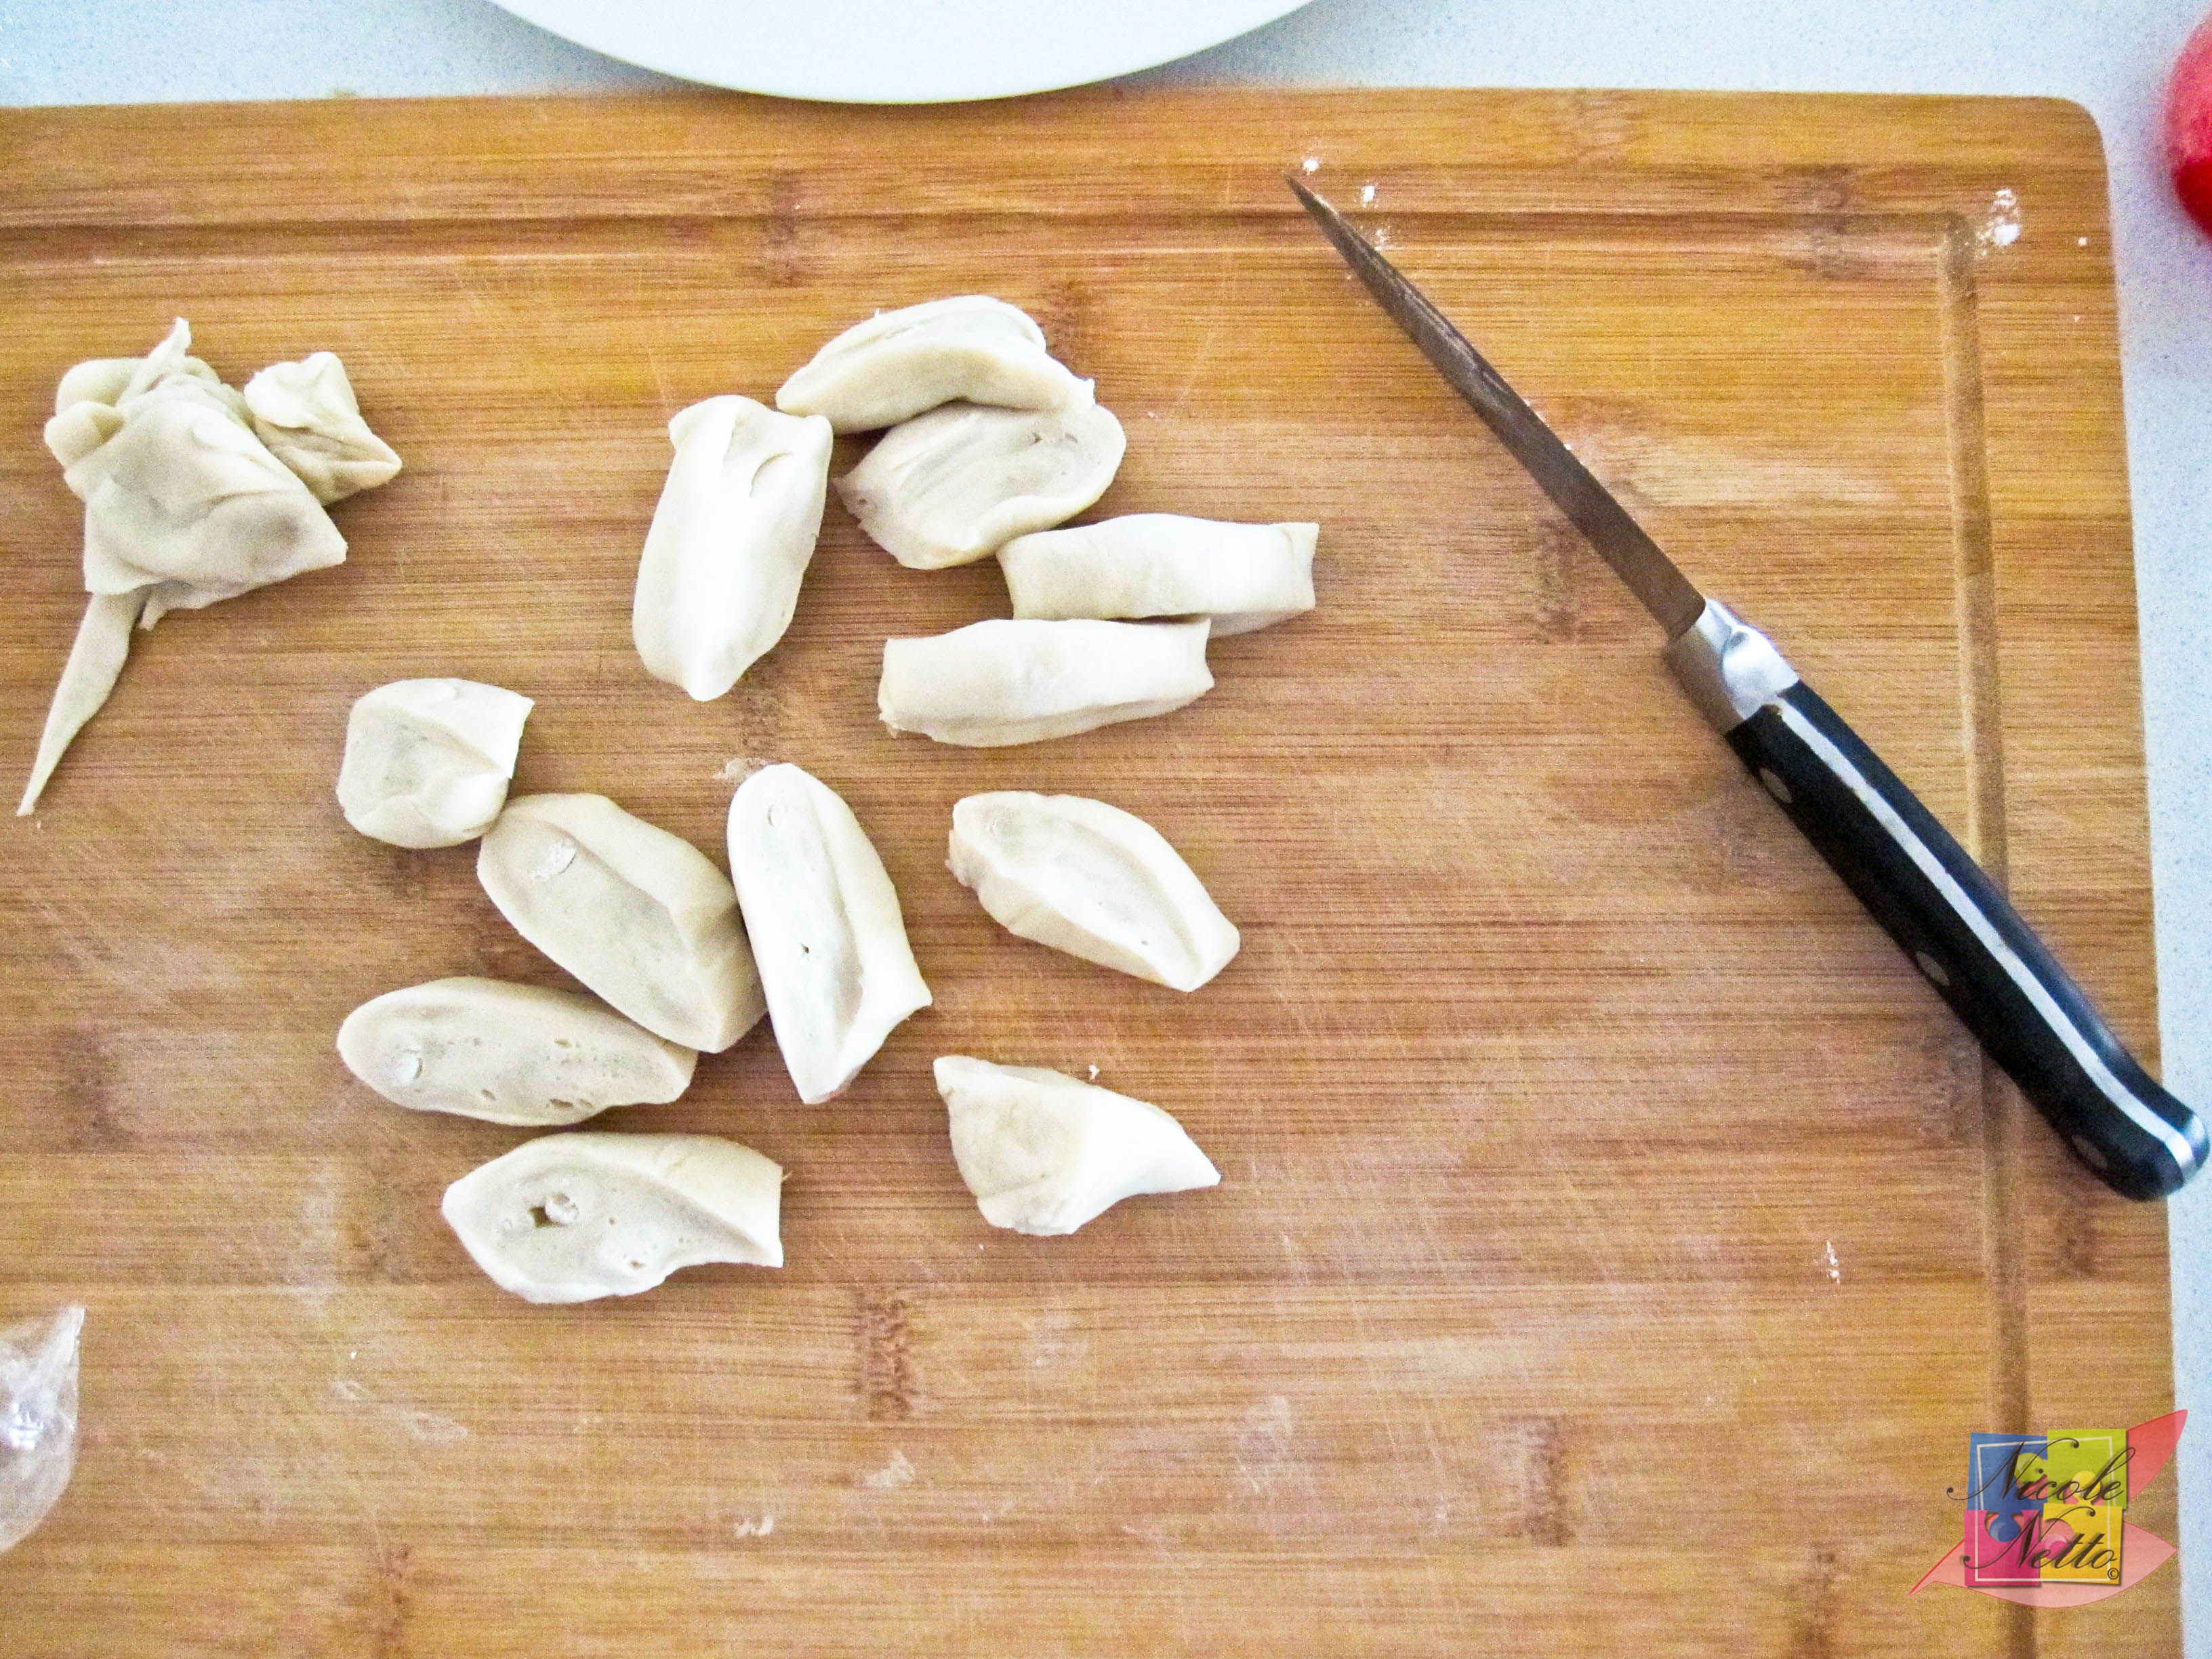
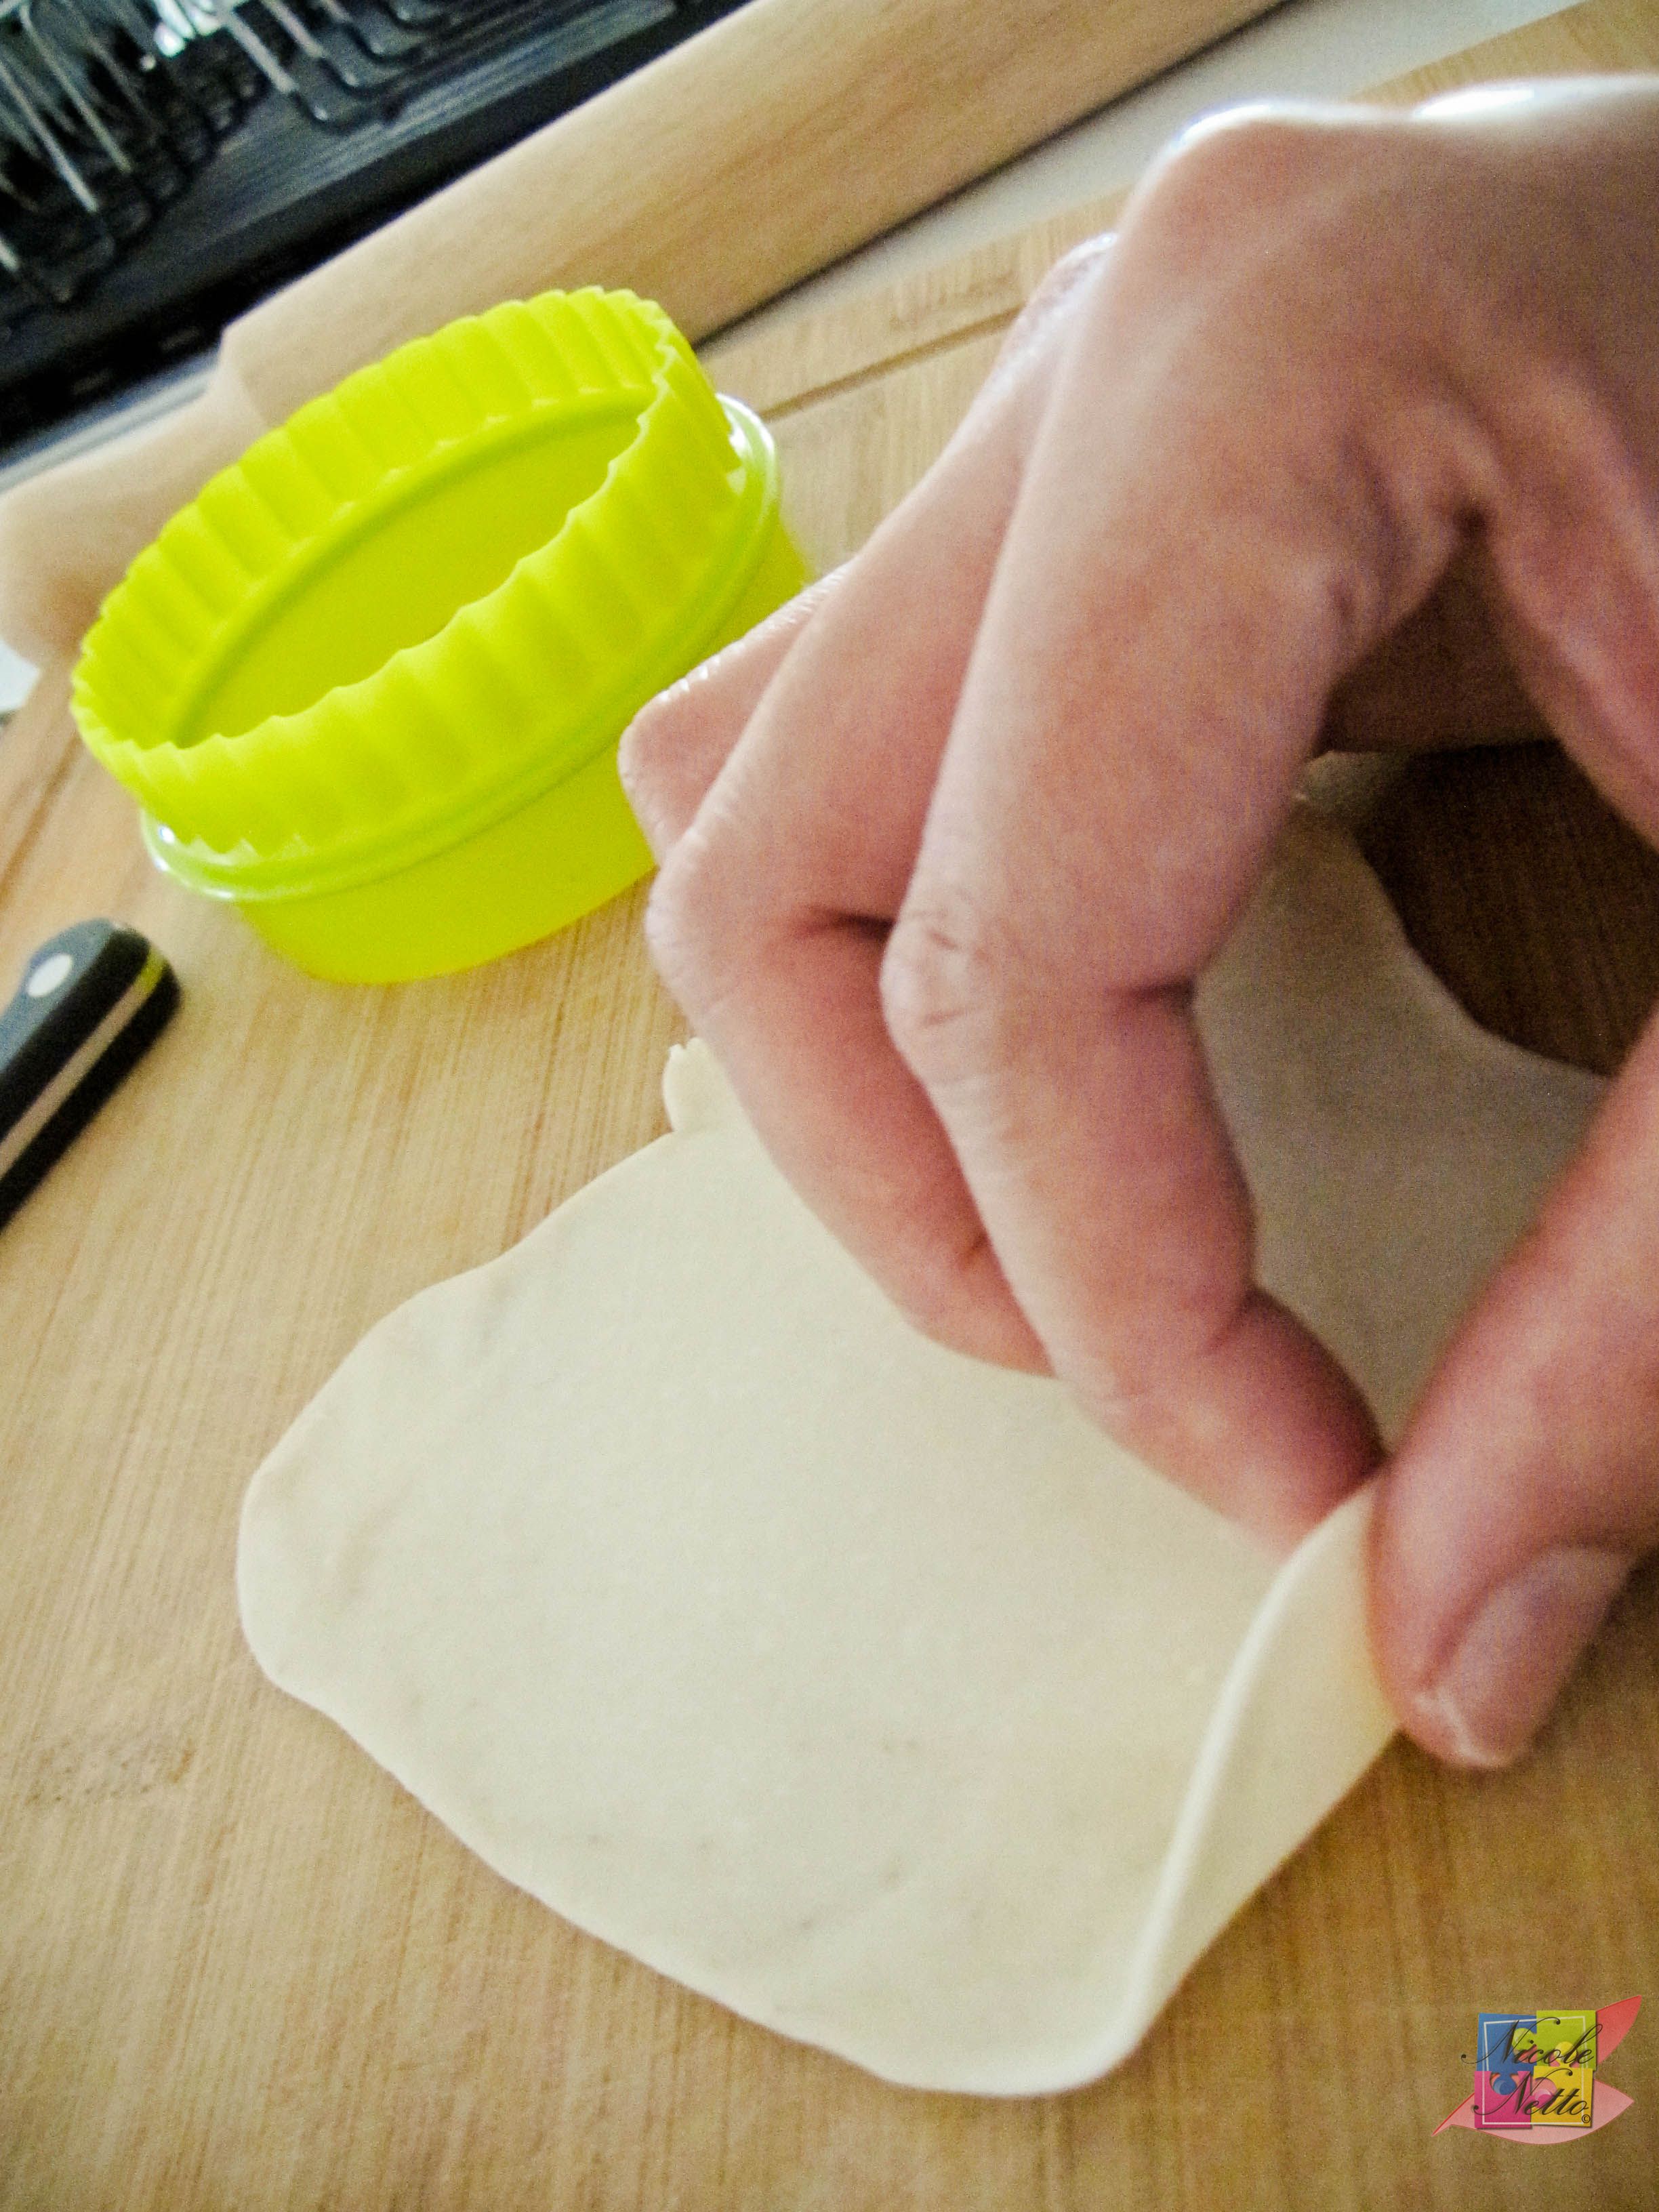
Using a 8cm cookie cutter, cut to form a perfect circular shaped gyoza wrapper. Combine the scraps with the covered second half of dough.
Note: You don’t have to use a cookie cutter if you don’t have one, just roll the dough into a circular shape about 8cm in diameter.
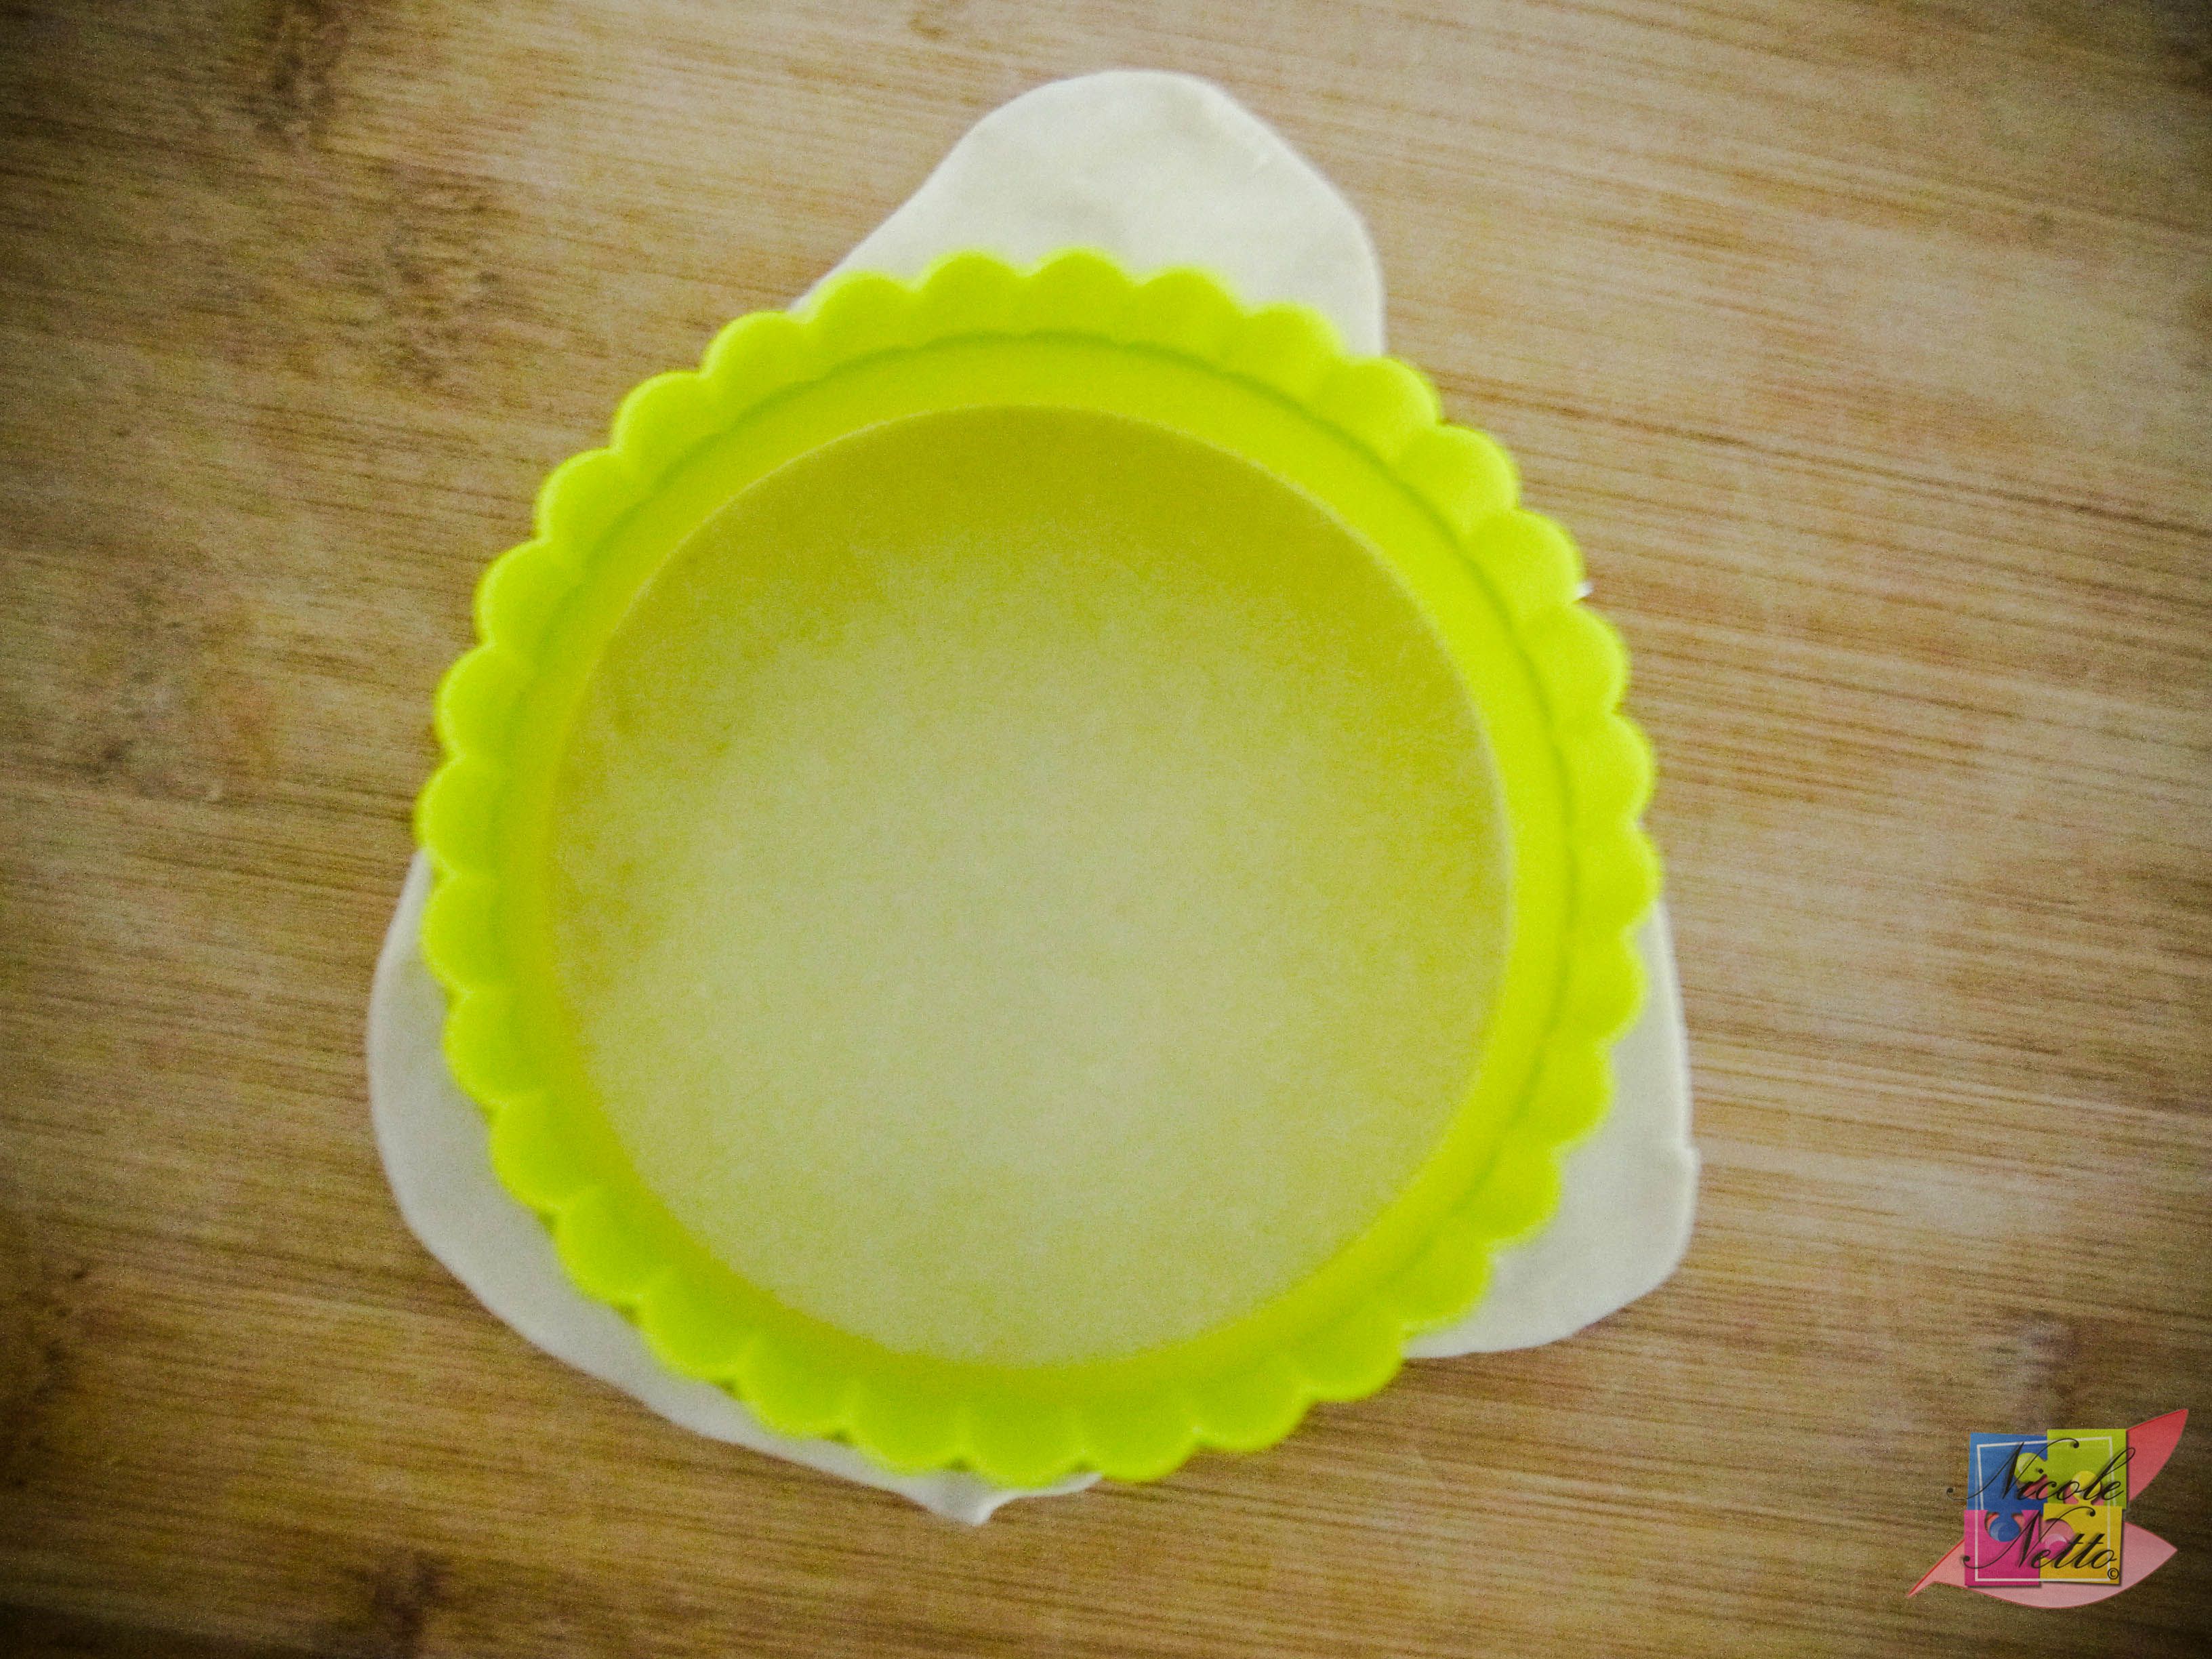
Cutting with a cookie cutter
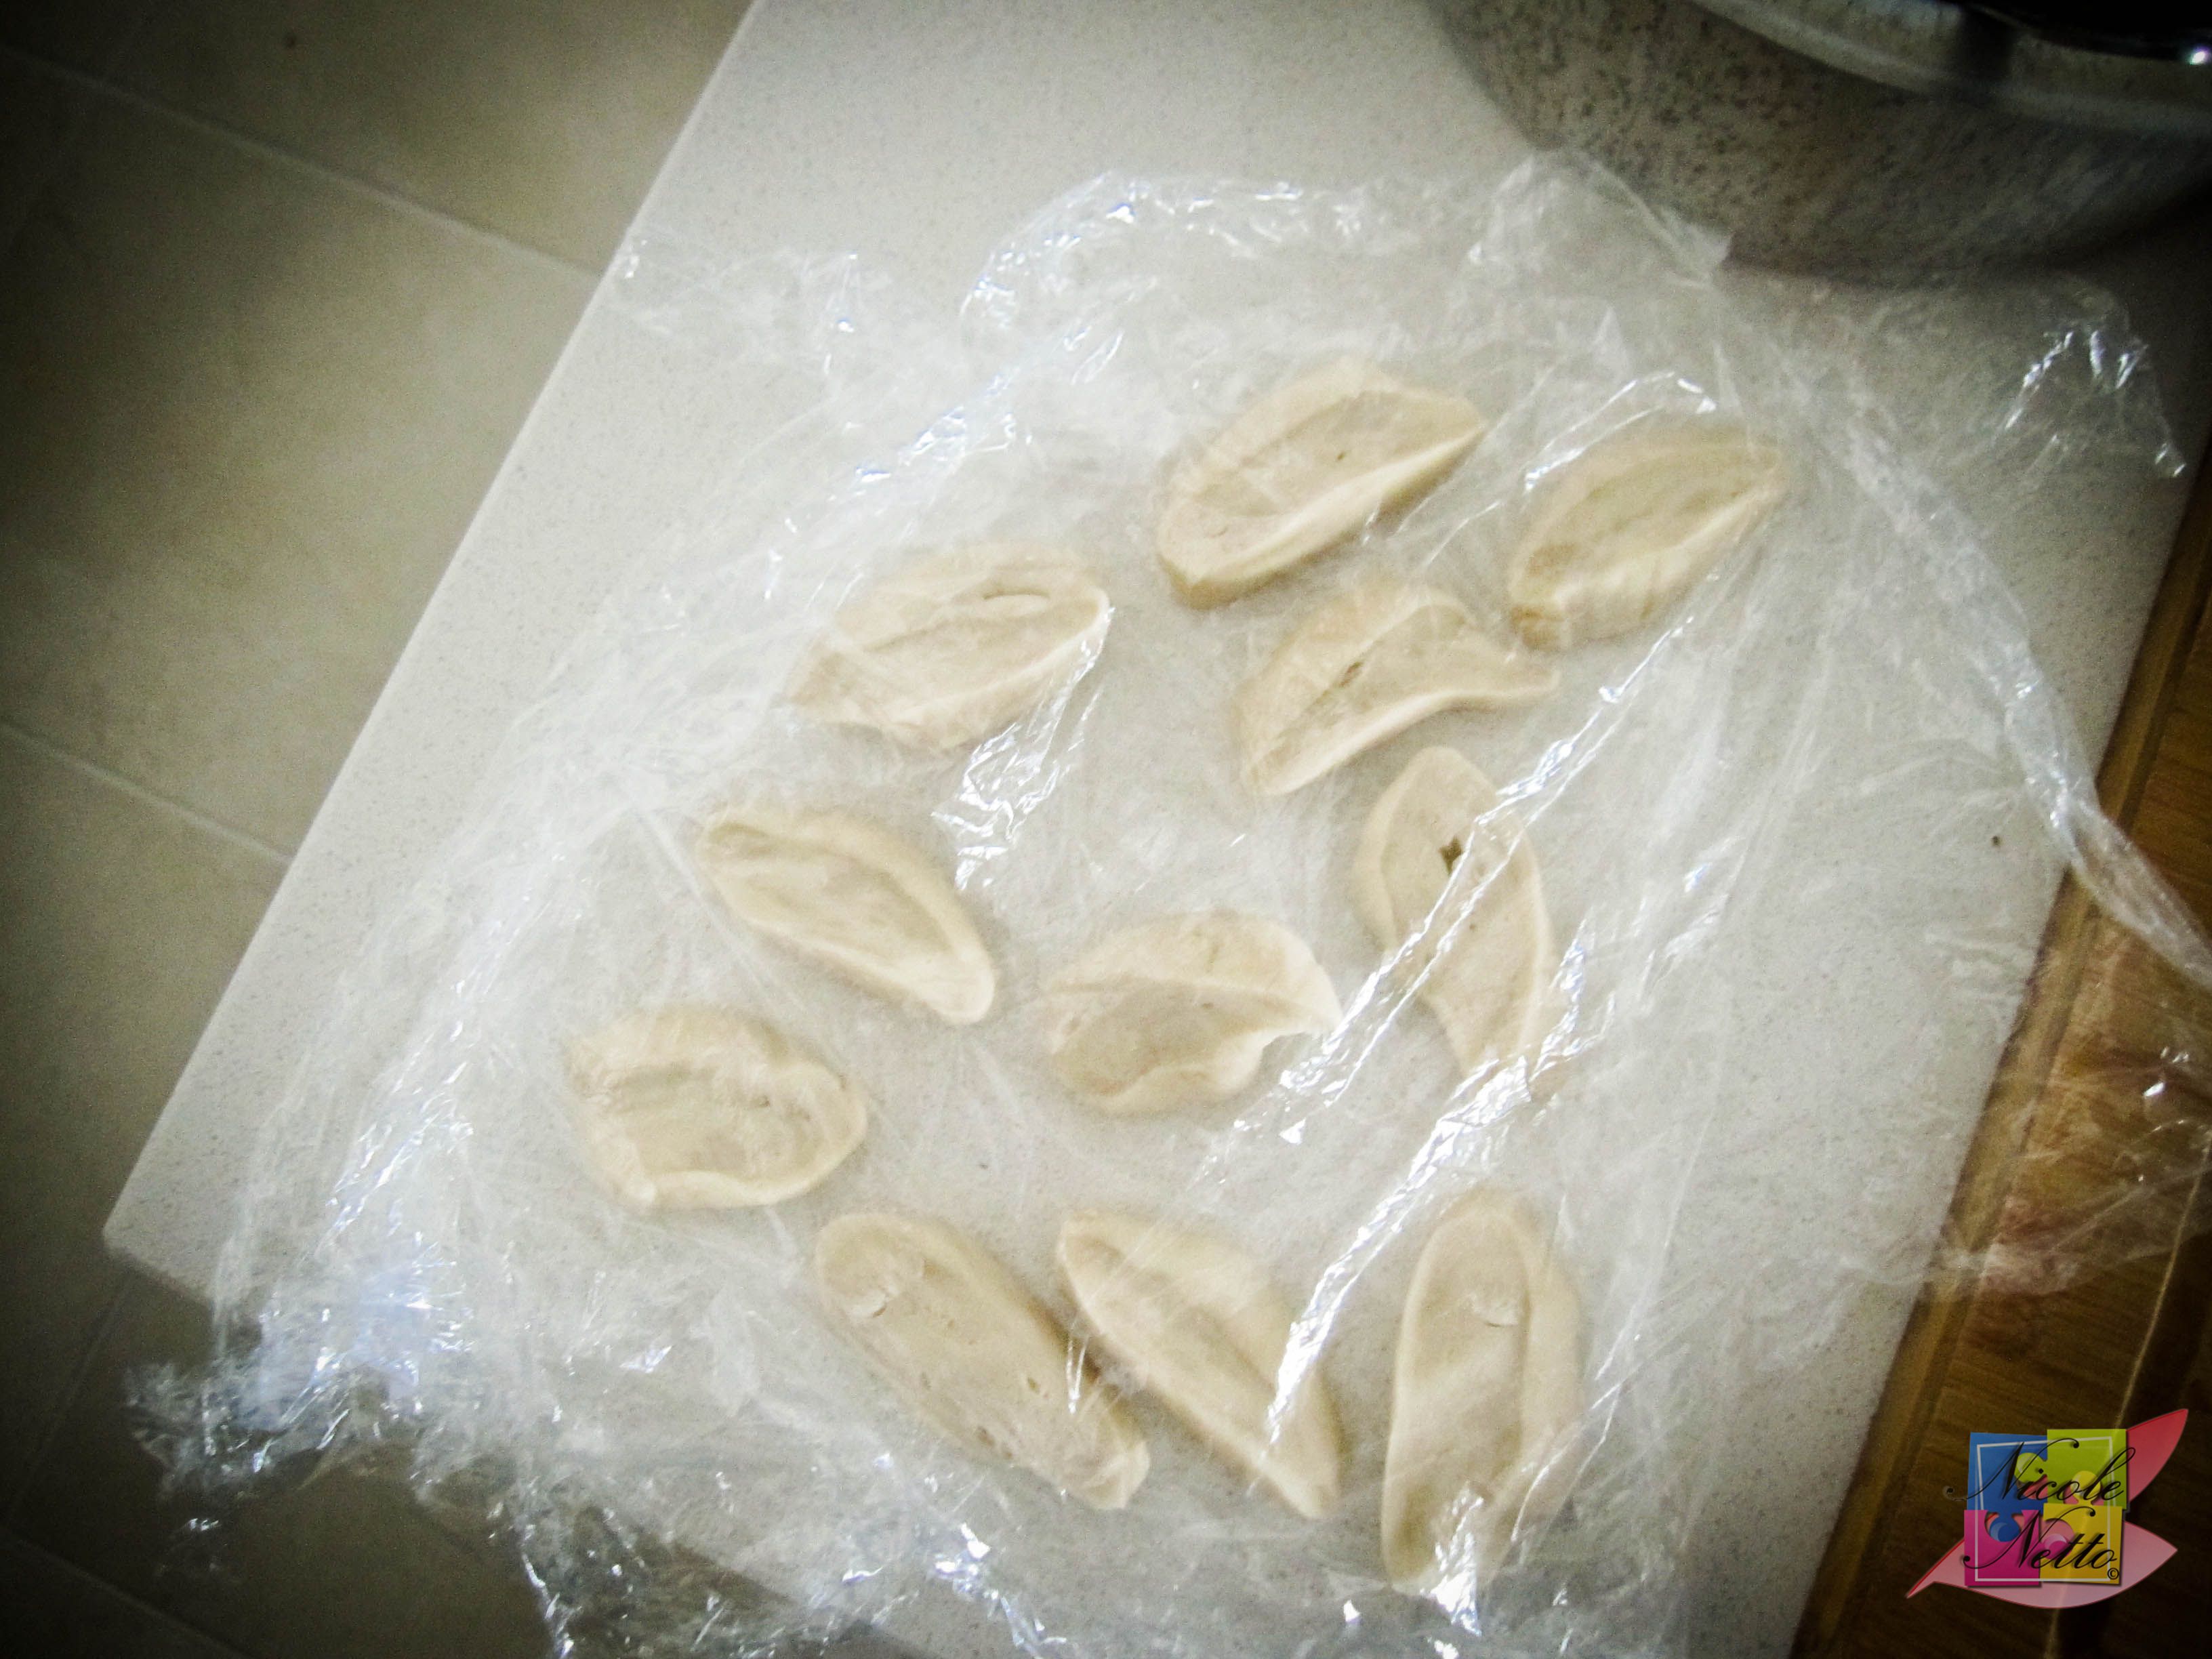
Place wrapper on a plate and dust the plate and between each gyoza wrapper with sufficient potato starch, corn starch or all purpose flour to ensure the stacked wrappers don’t stick together. Ensure wrapper stack is covered with cling wrap while not in use.
Continue the above process until all the dough has been used up.
Remove the refrigerated Pork and Spinach gyoza filling. Mix the remaining 2 tsps of cornflour and water in a small bowl into a paste.
Take a gyoza wrapper and place onto your work space. Brush the edges of the wrapper with the cornflour paste. Place a heaped teaspoon of the filling in the center.
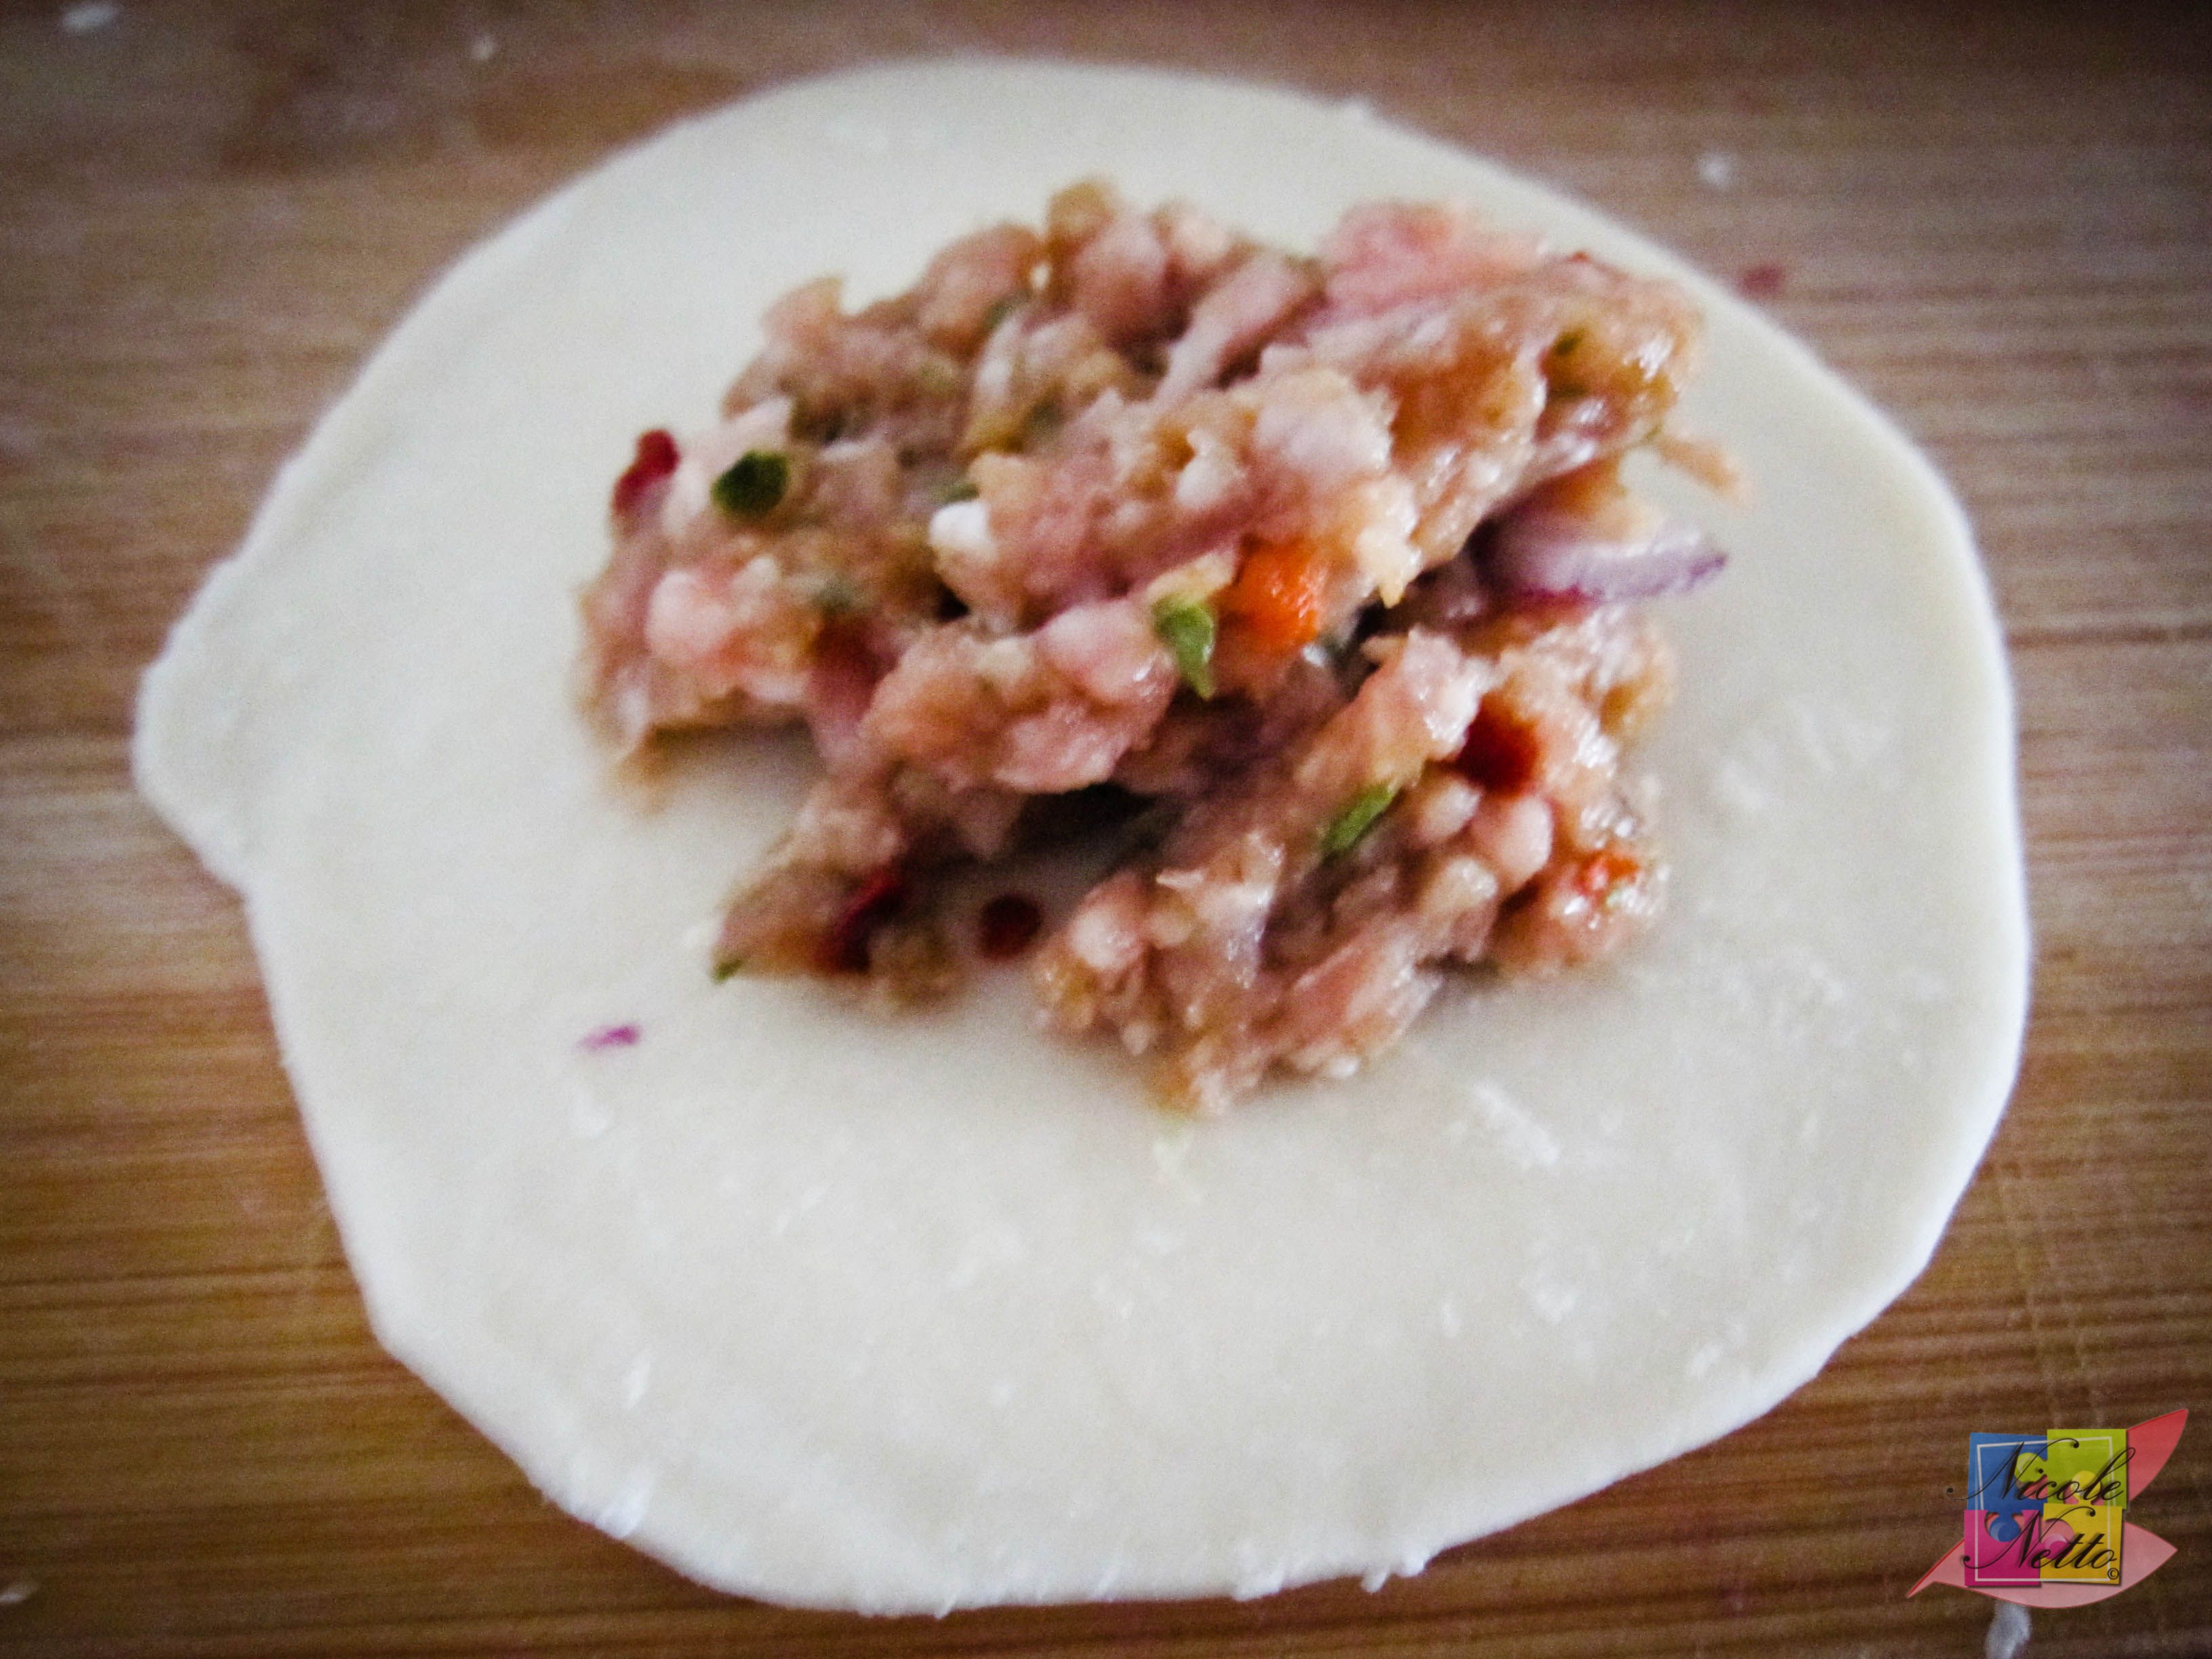
Filling placed in the center of gyoza wrapper
Folded in half

Pinching little pleats onto the gyoza
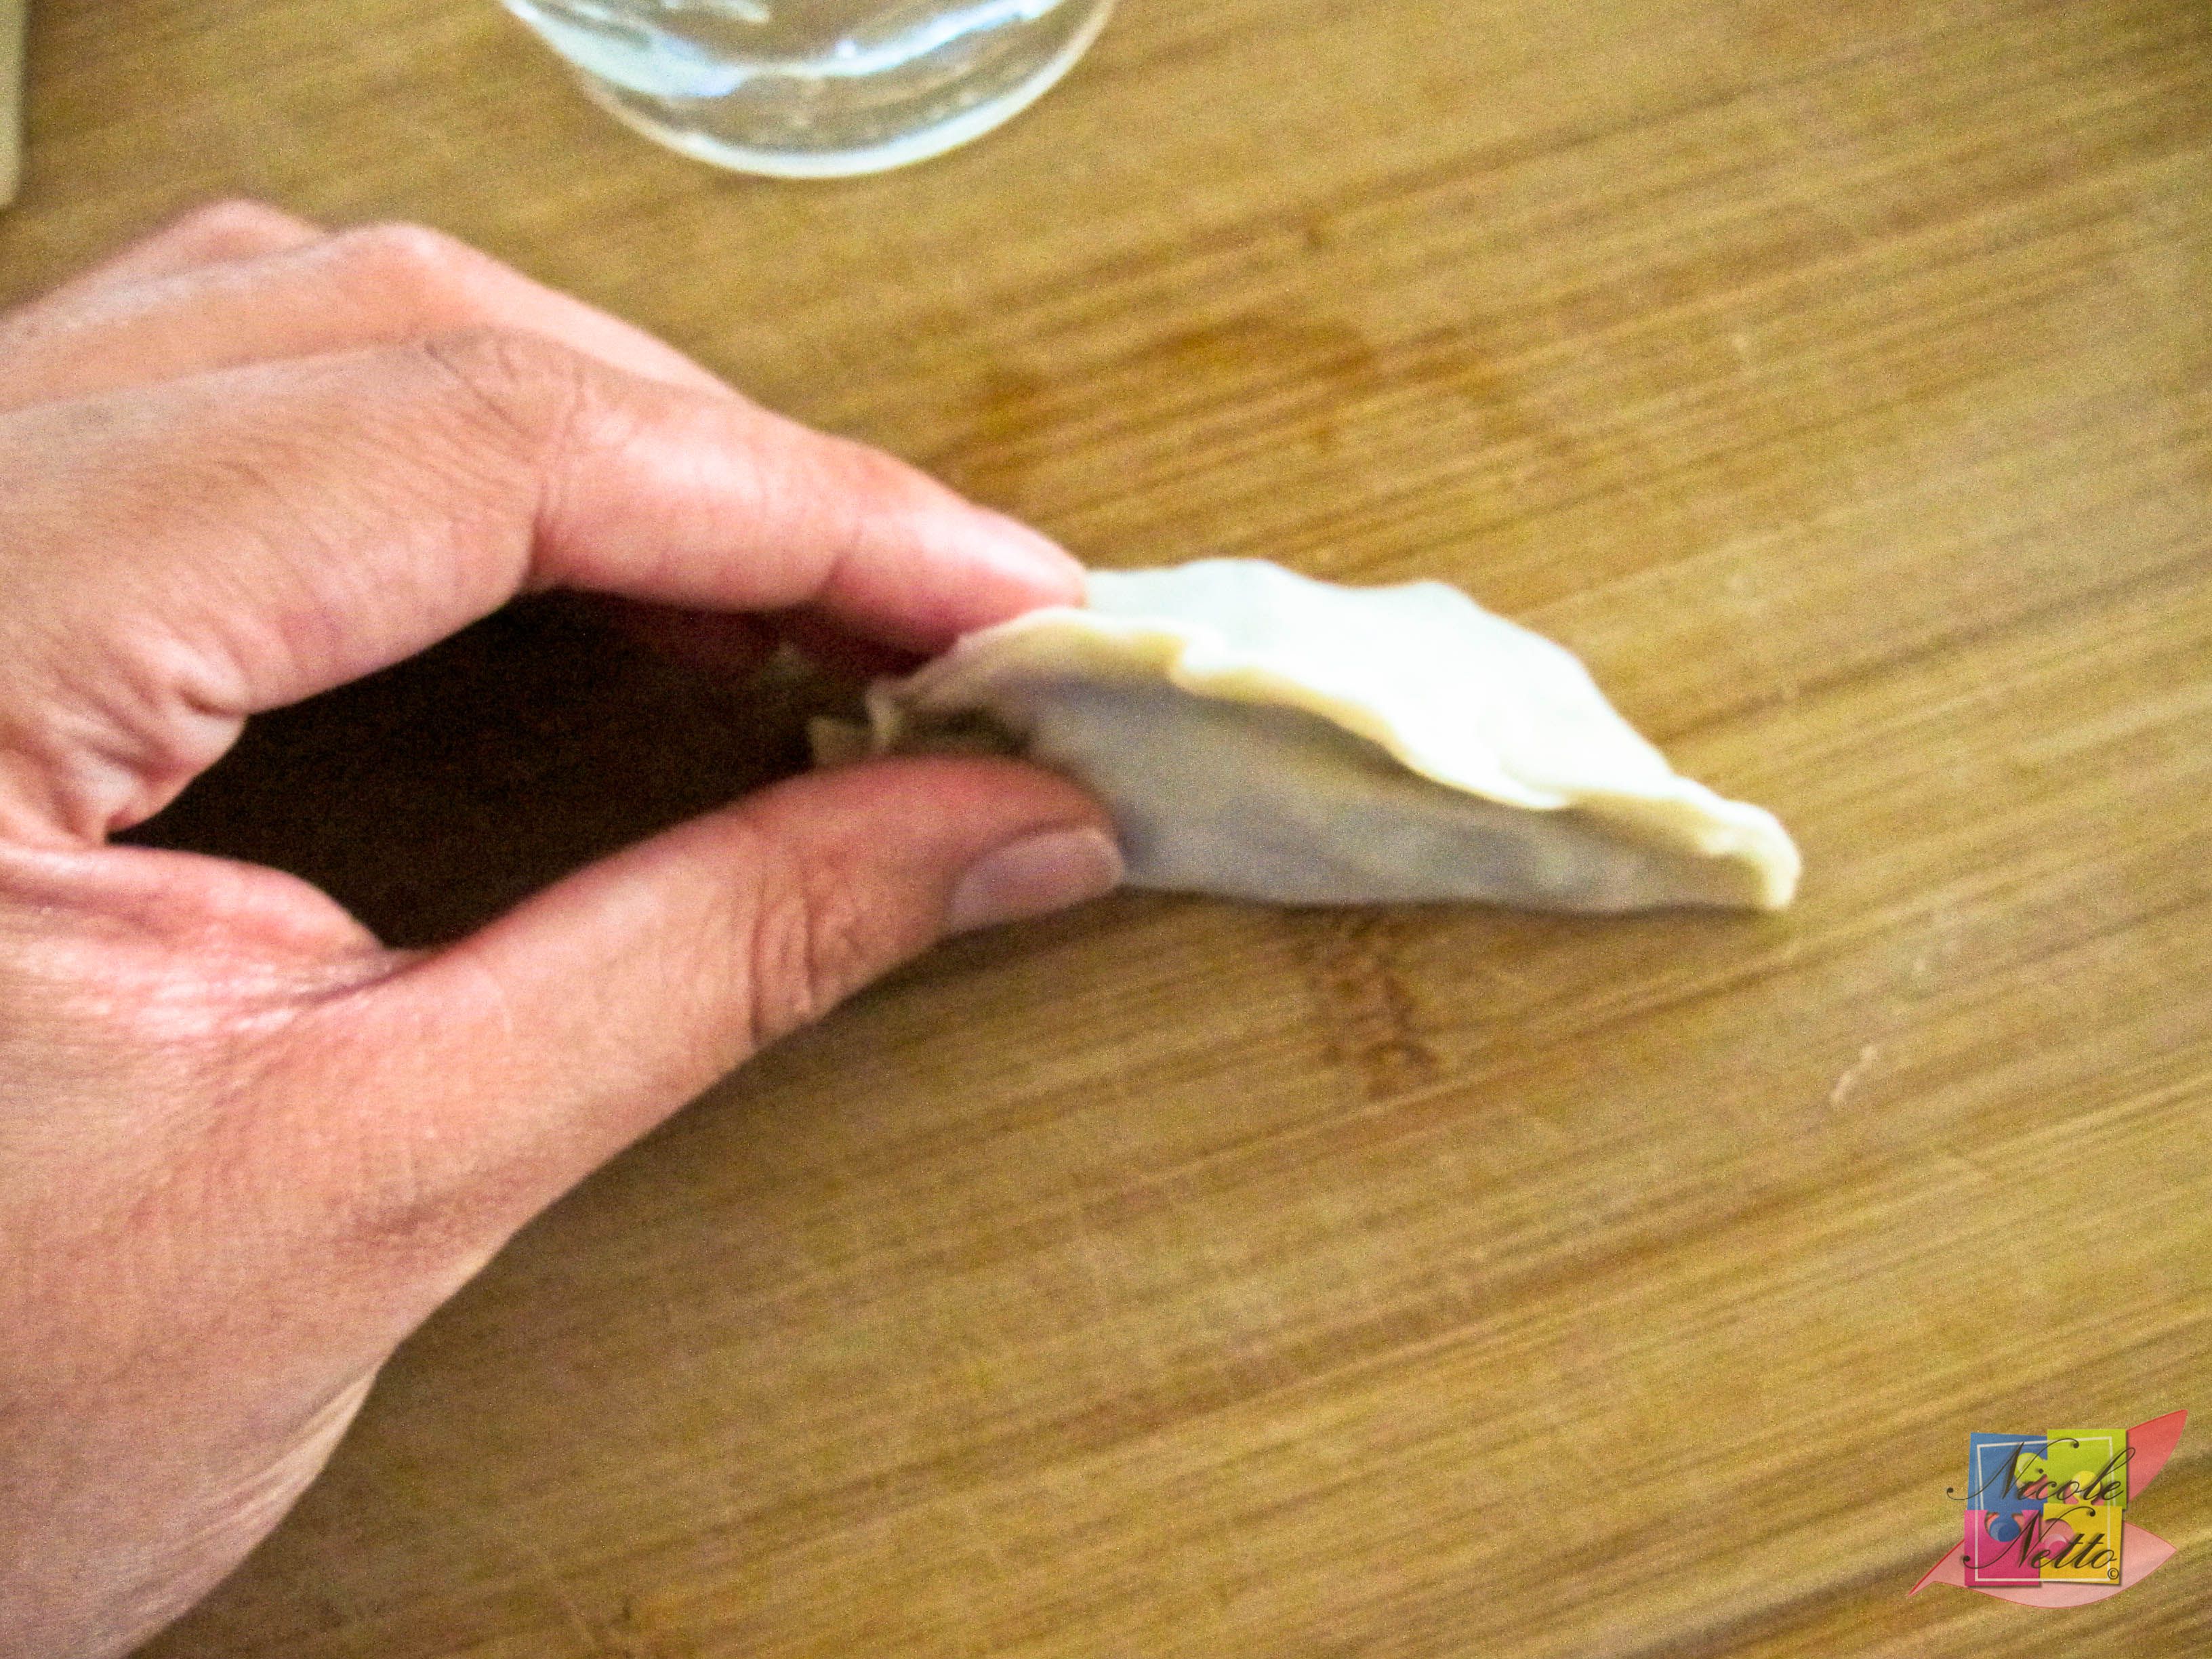
Seal the gyoza by folding it in half and pinching the edges together with tiny folds.
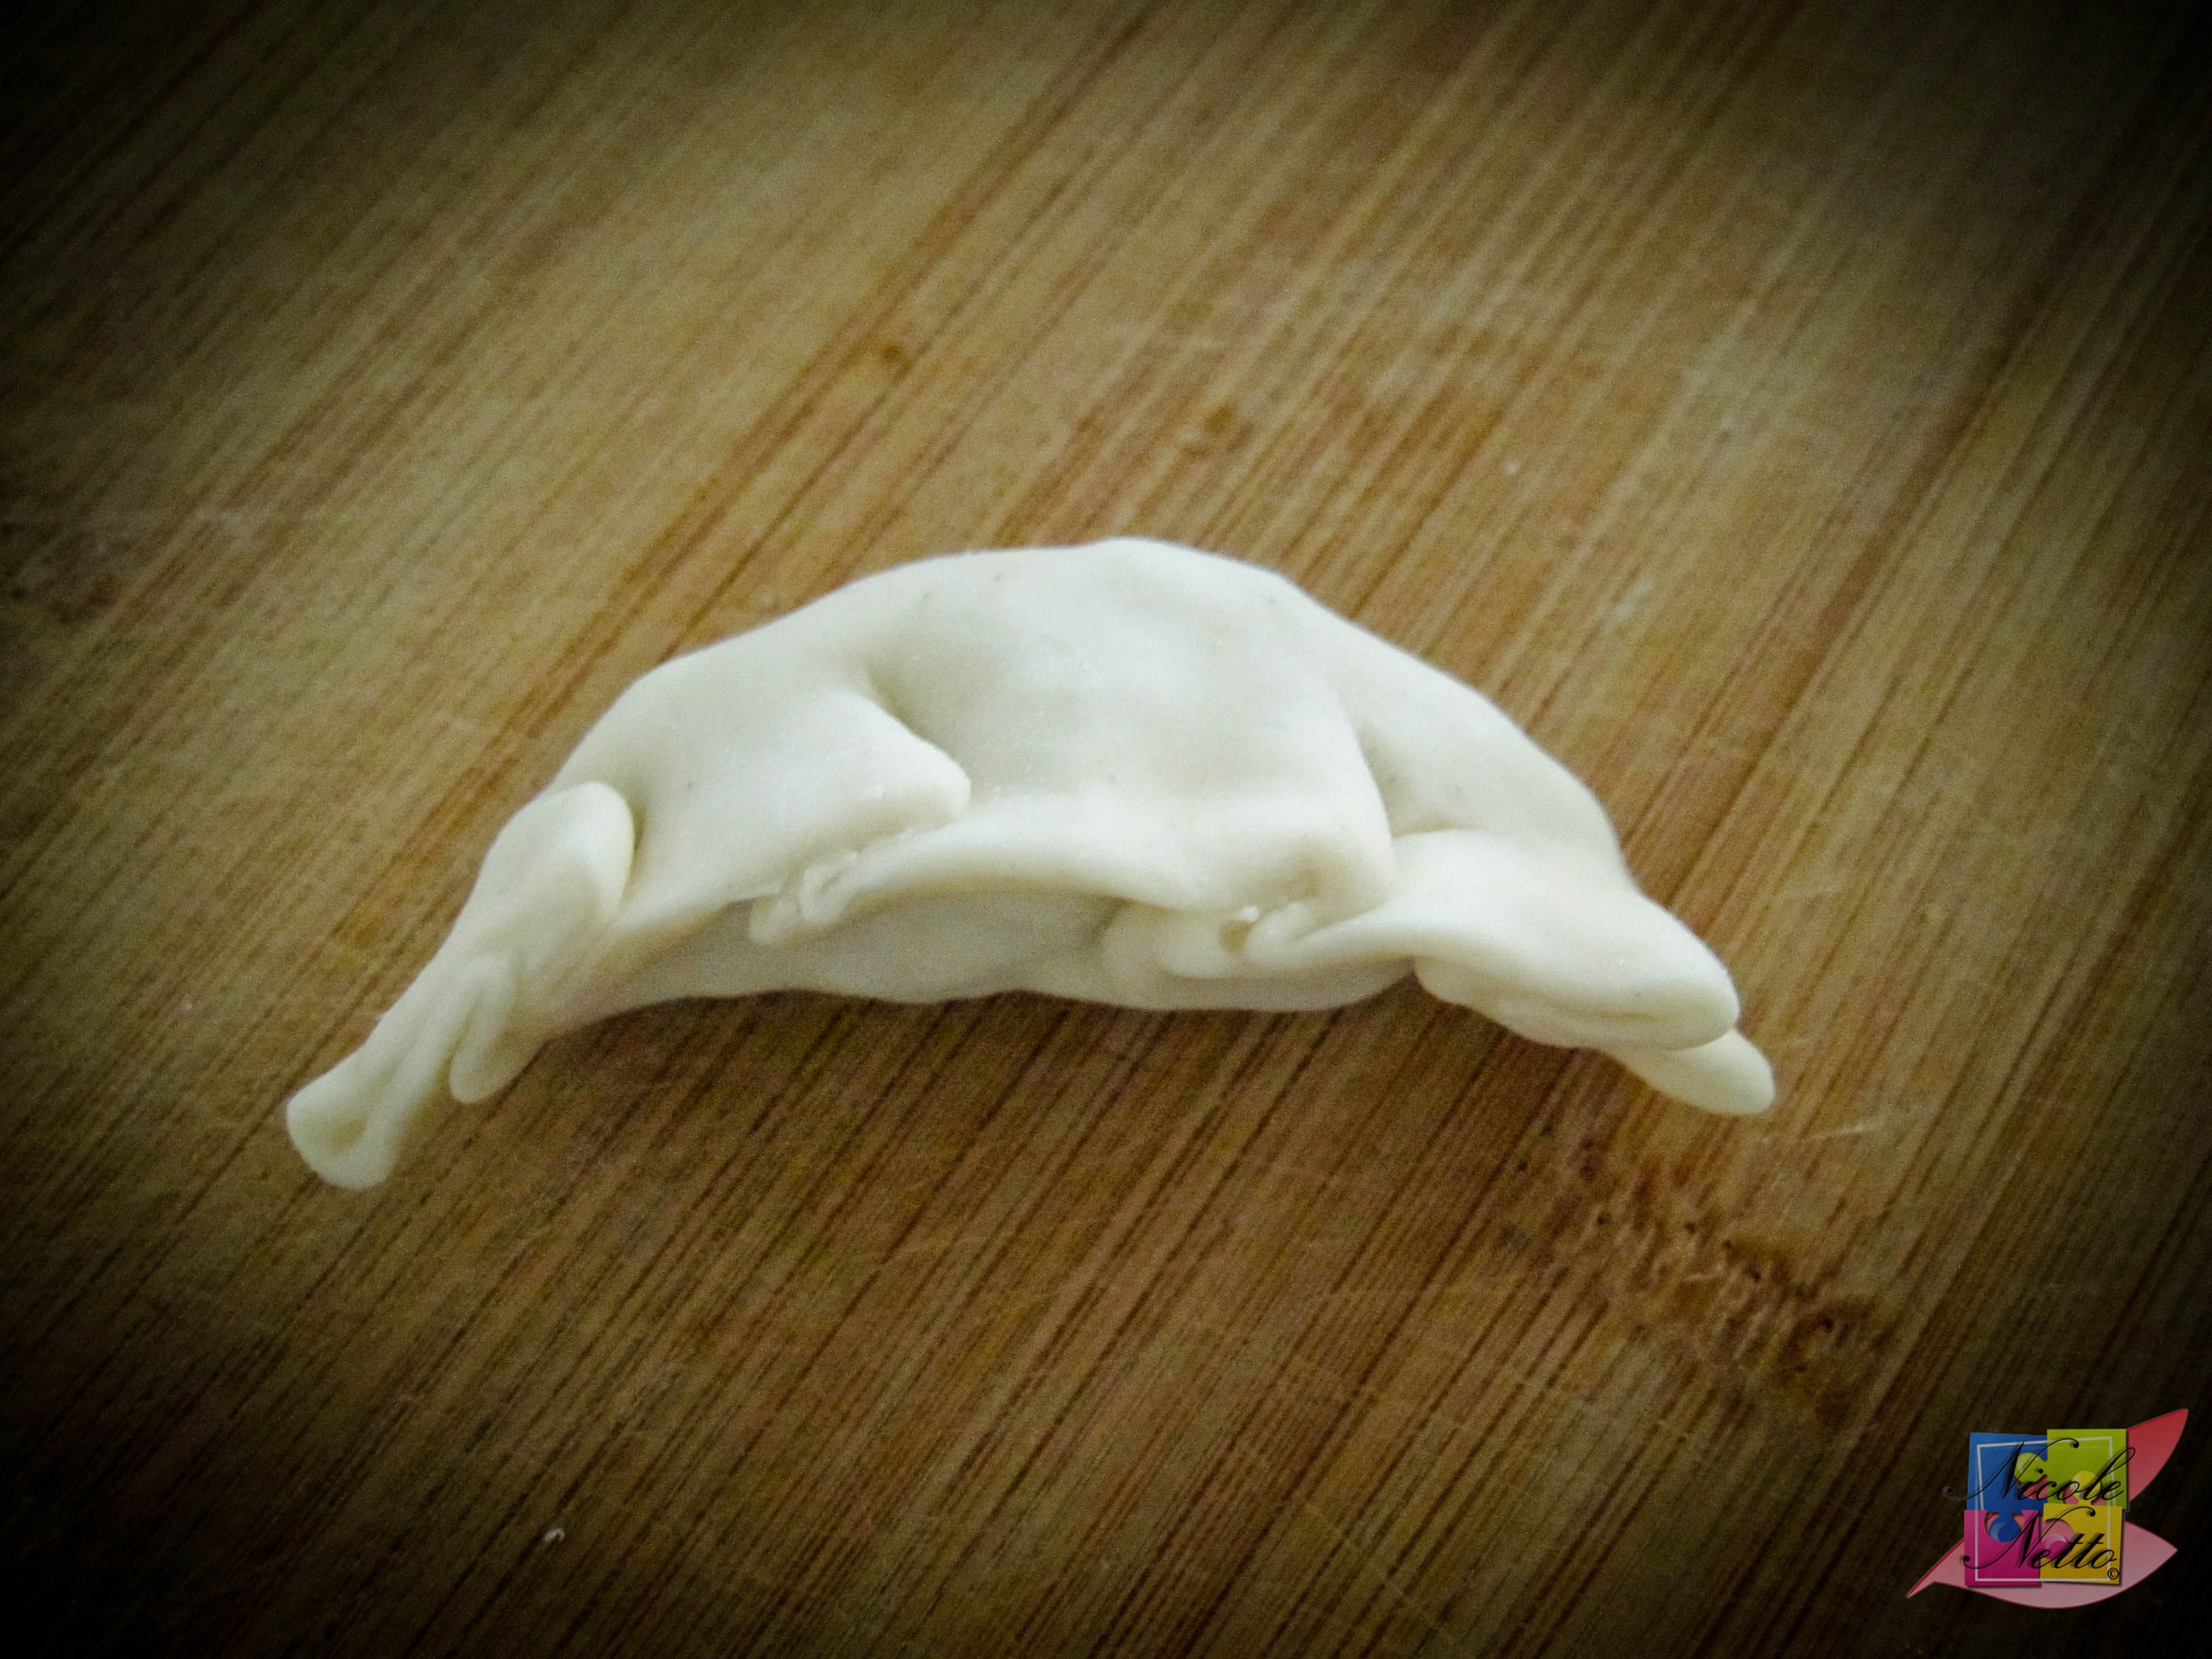
Folded gyoza piece – top view – notice the slightly concaved shape
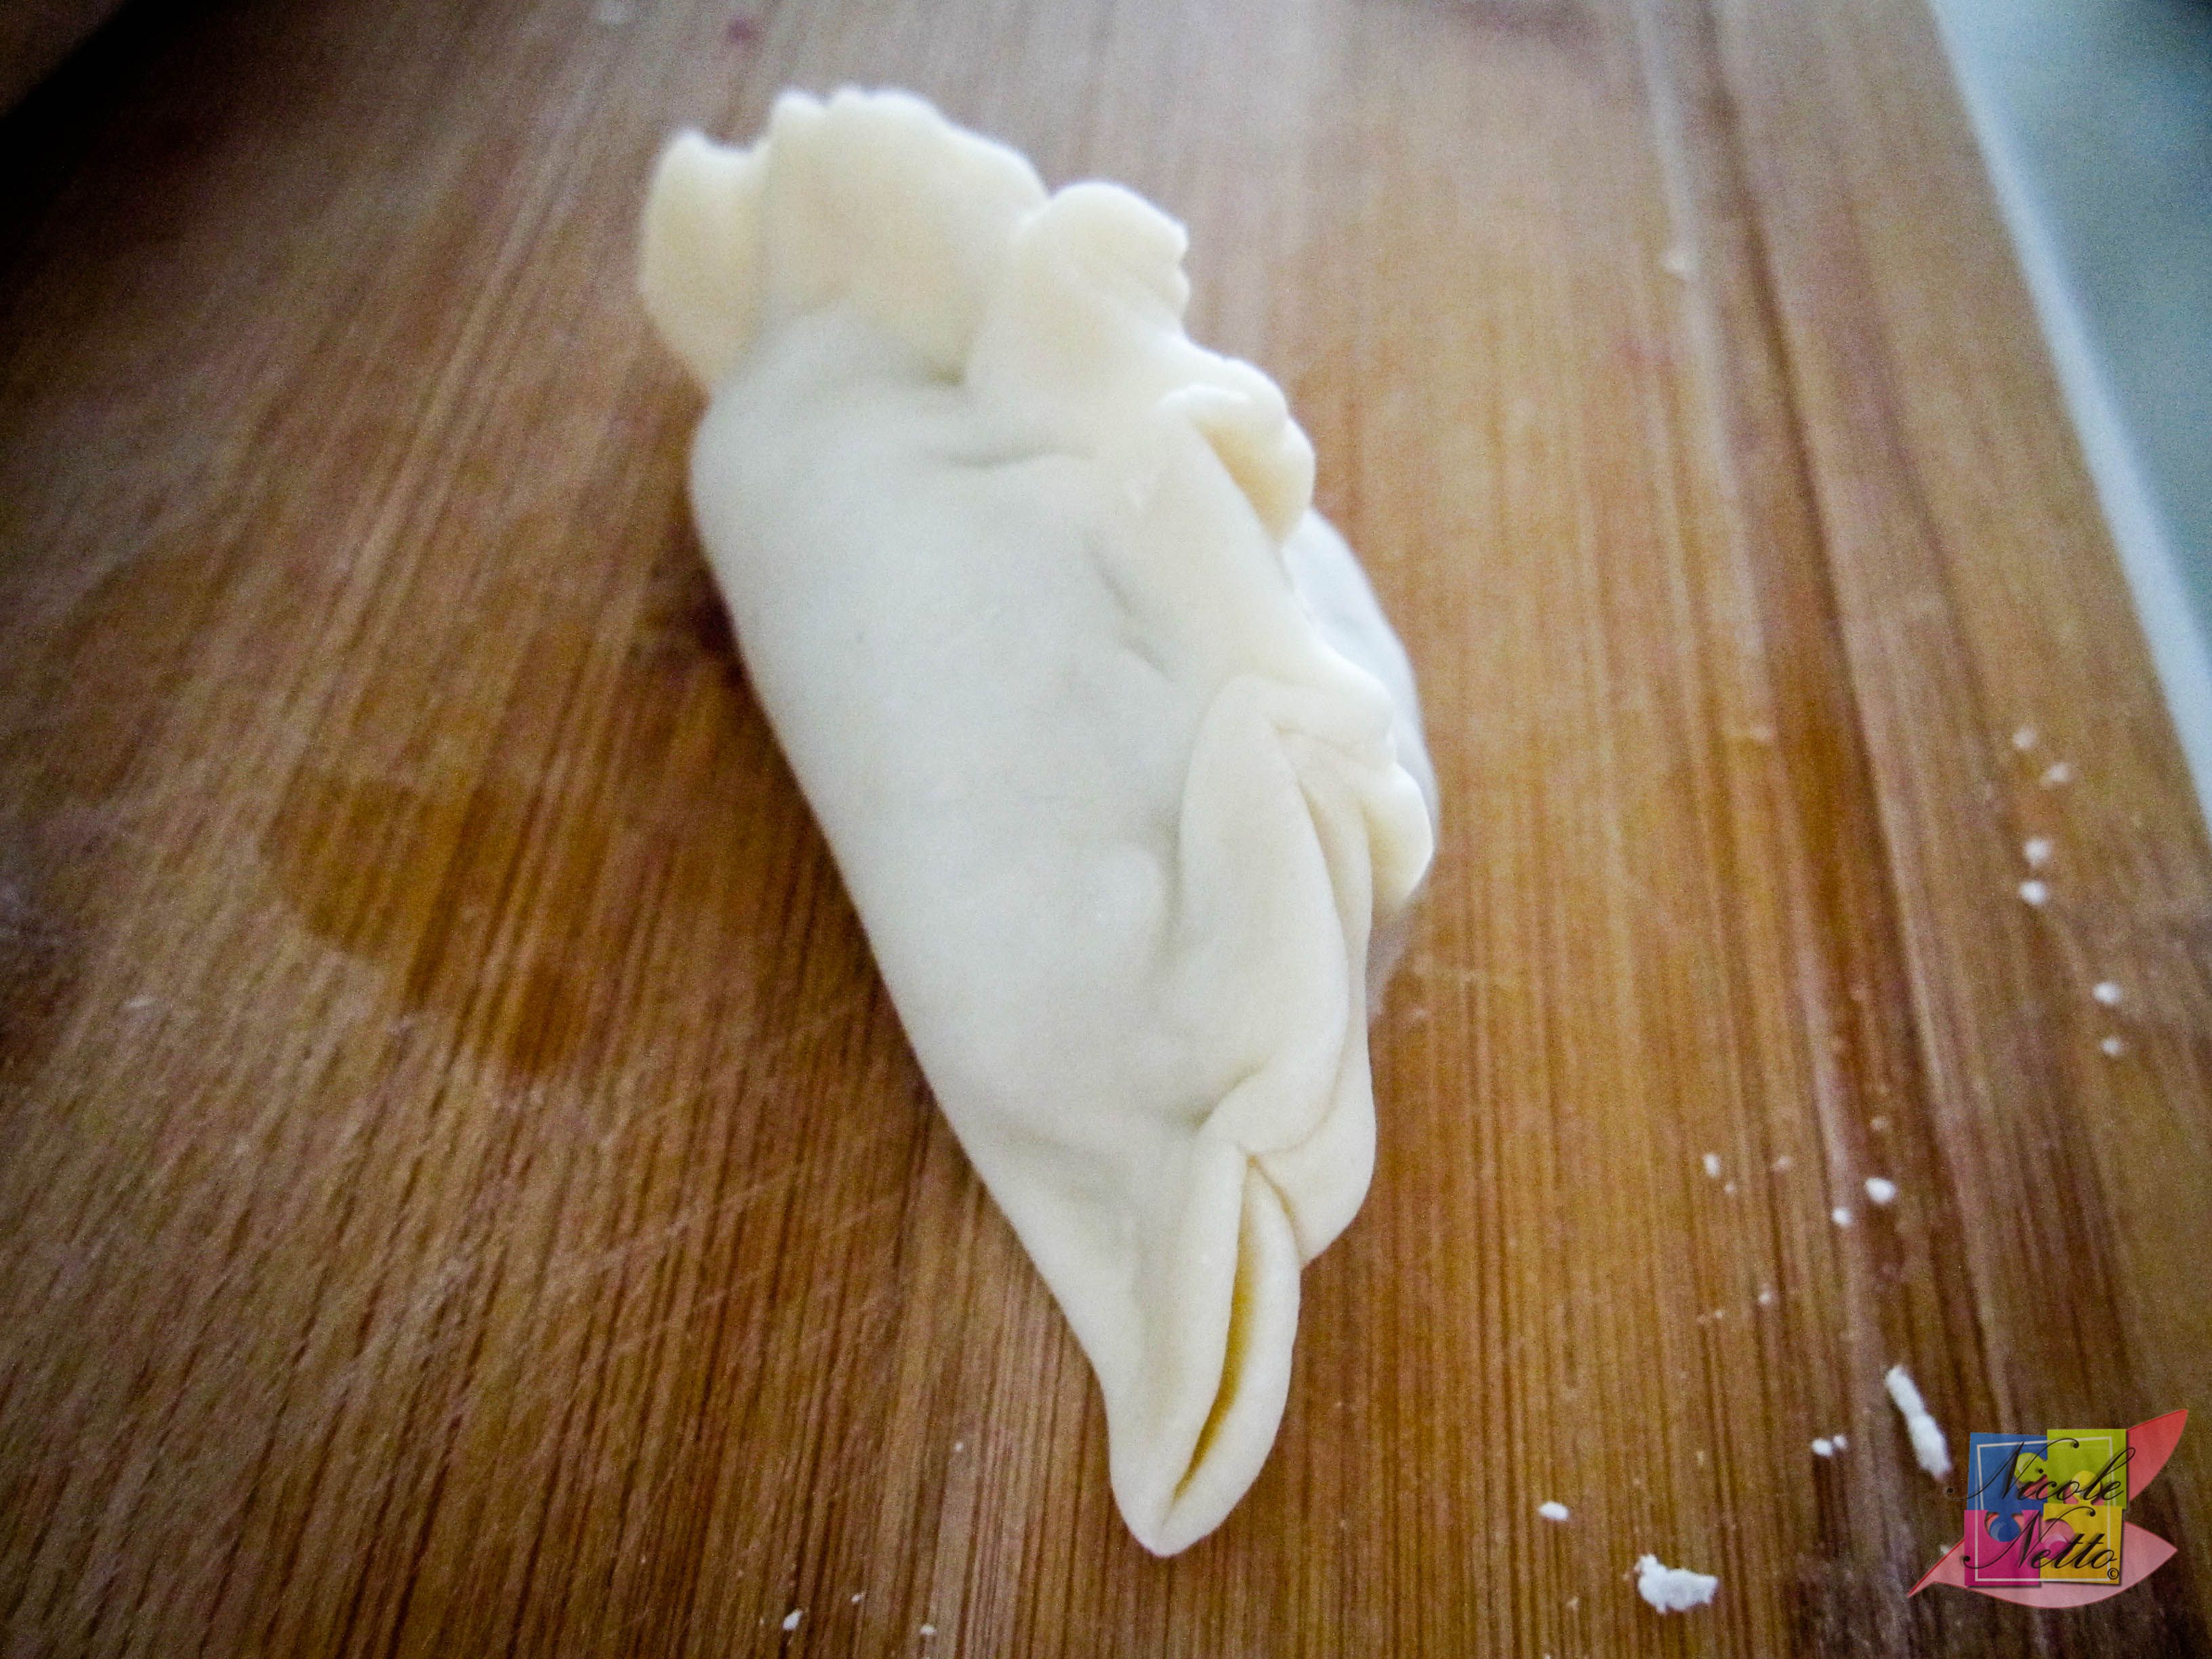
Folded gyoza piece – back
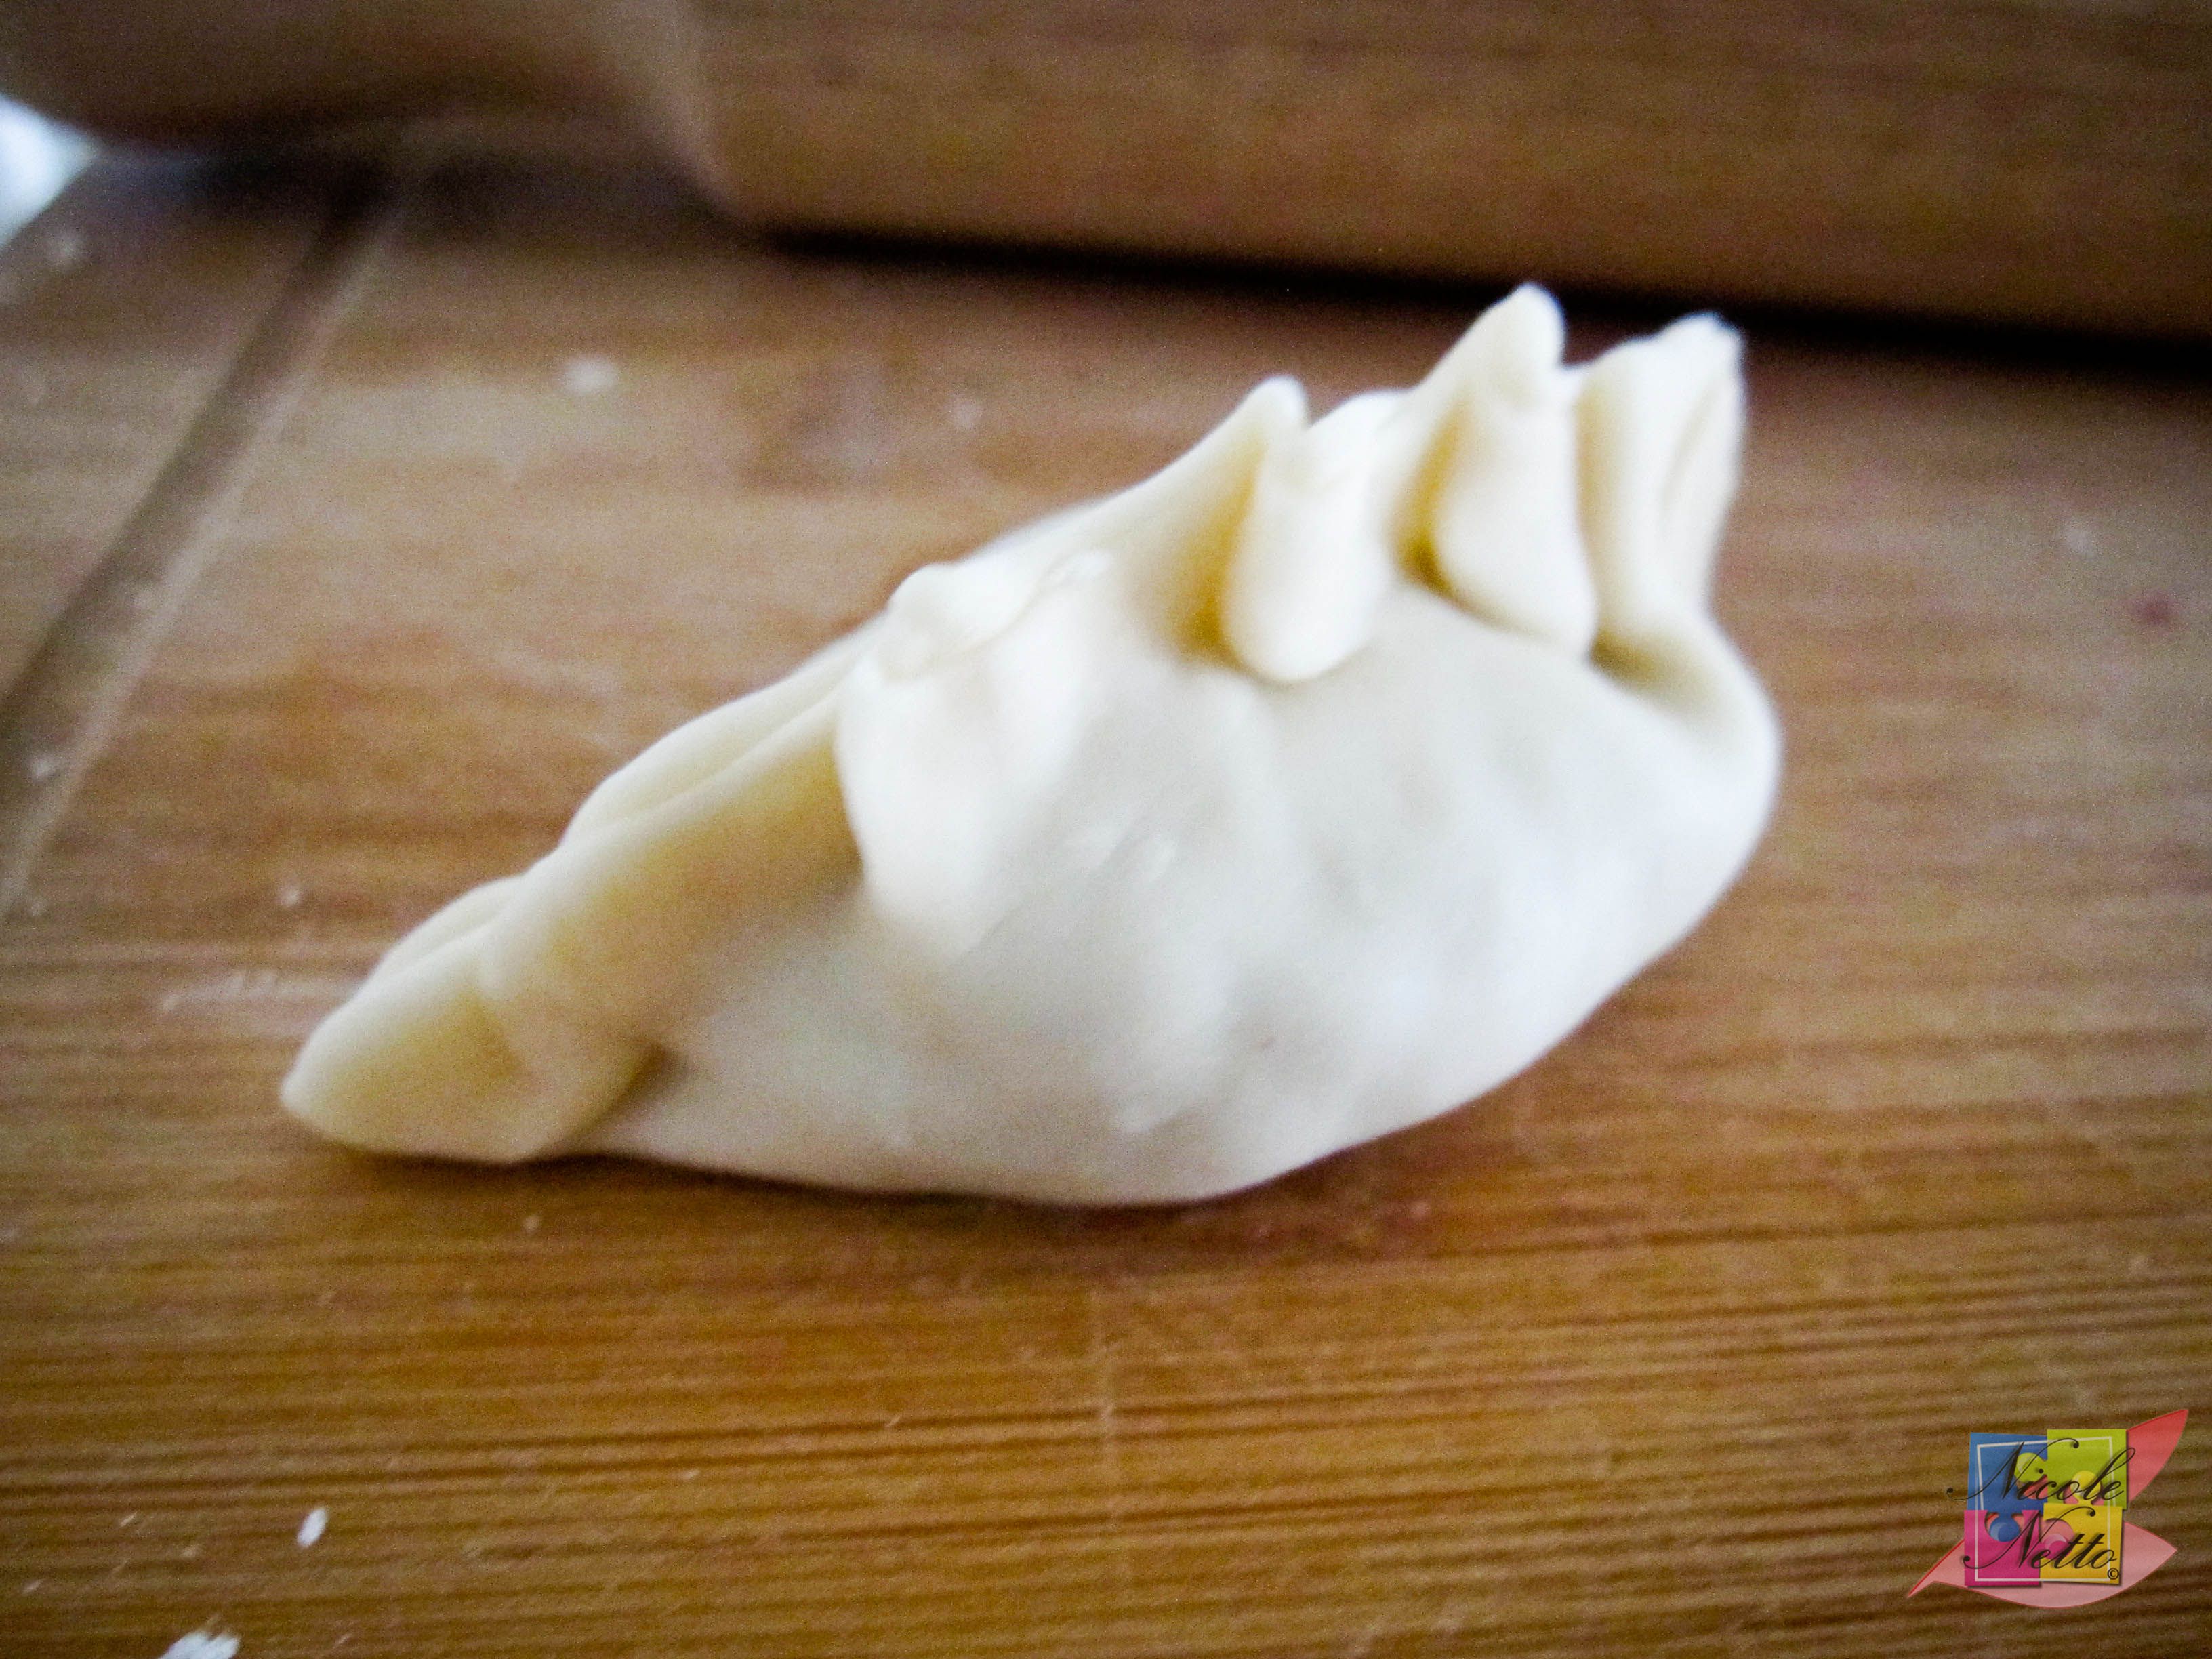
Folded gyoza piece – front
Place on a plate, a good distance apart, and dust with some potato starch, corn starch or all purpose flour to prevent them from sticking together. Cover with cling wrap until you need to use it.

Gyoza lined on a plate
Continue until all the wrappers are filled.
Note: If you aren’t going to cook all the dumplings, freeze meal portions of some dumplings in a freezer bag or container, with sufficient potato starch, corn starch or all purpose flour sprinkled through (to void them sticking together), for another time.
To cook:
Heat a pan to medium-high heat with 3-4 Tbsp of oil (preferably chili oil or sesame oil). Pan fry the dumplings, until the base is lightly browned.

Add in water to just fill in the bottom of the pan, roughly about a 1/2 cm deep. Cover the pan and steam on low heat until the gyoza are lightly translucent and cooked.
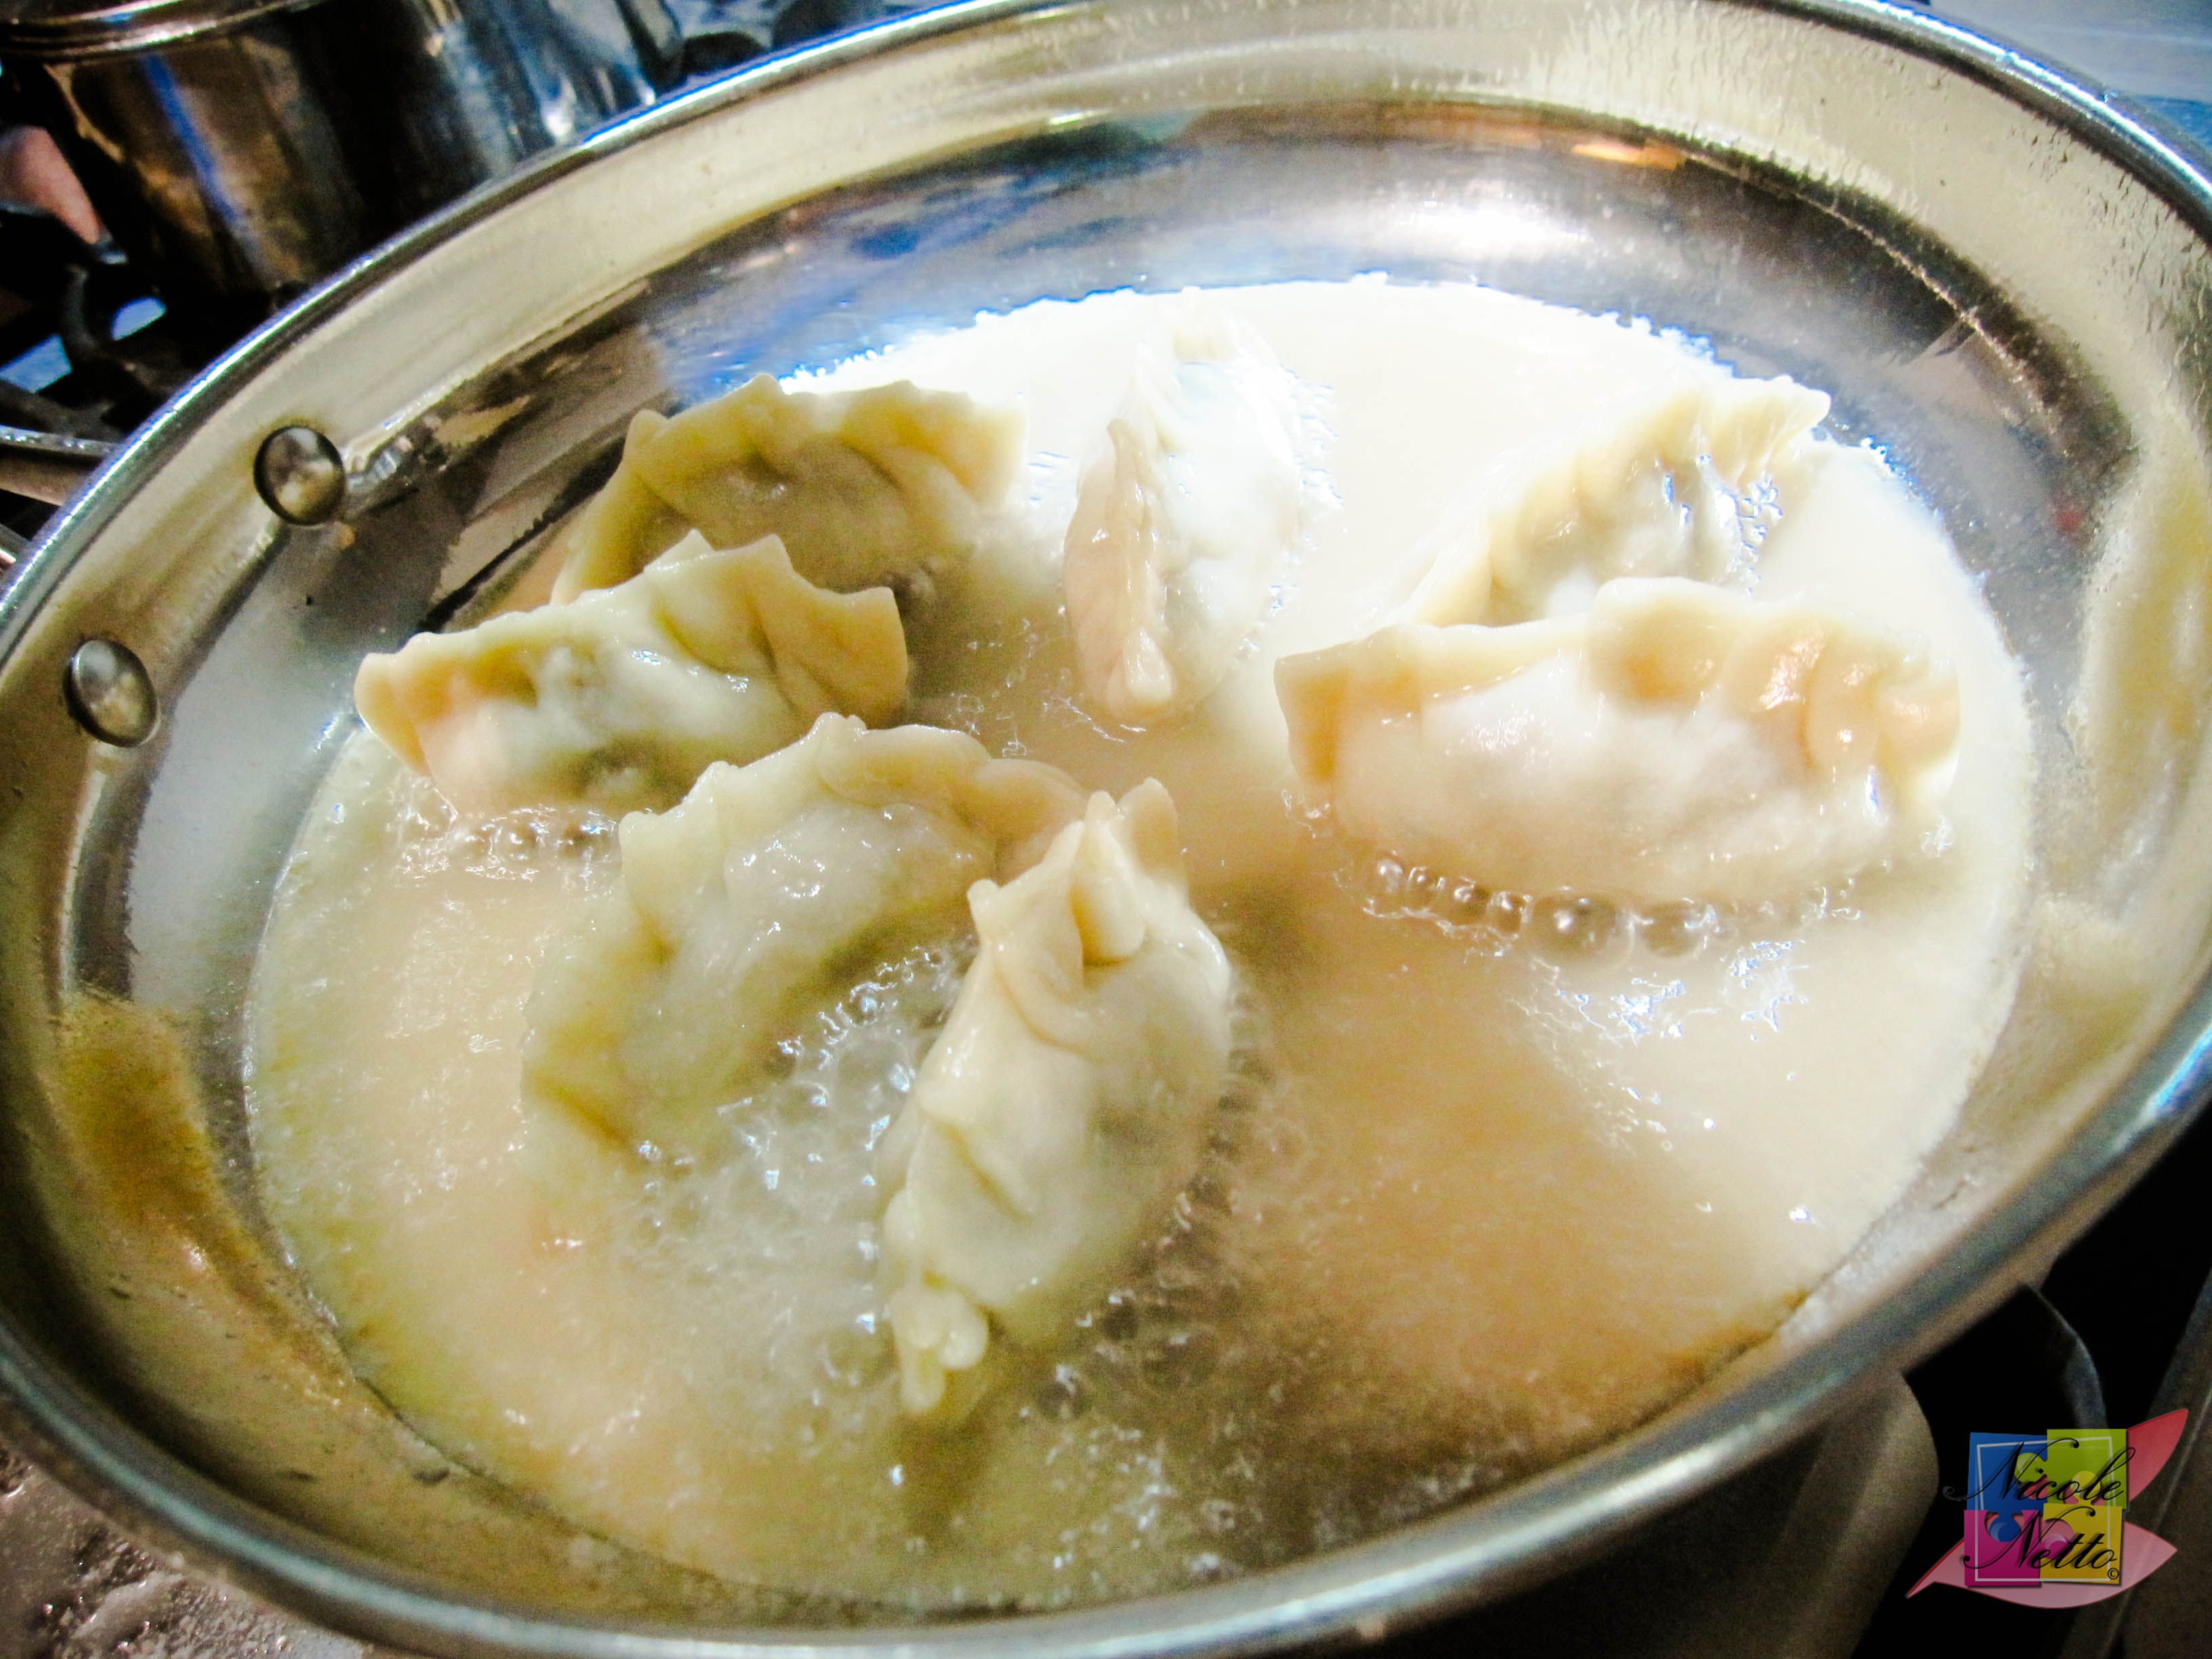
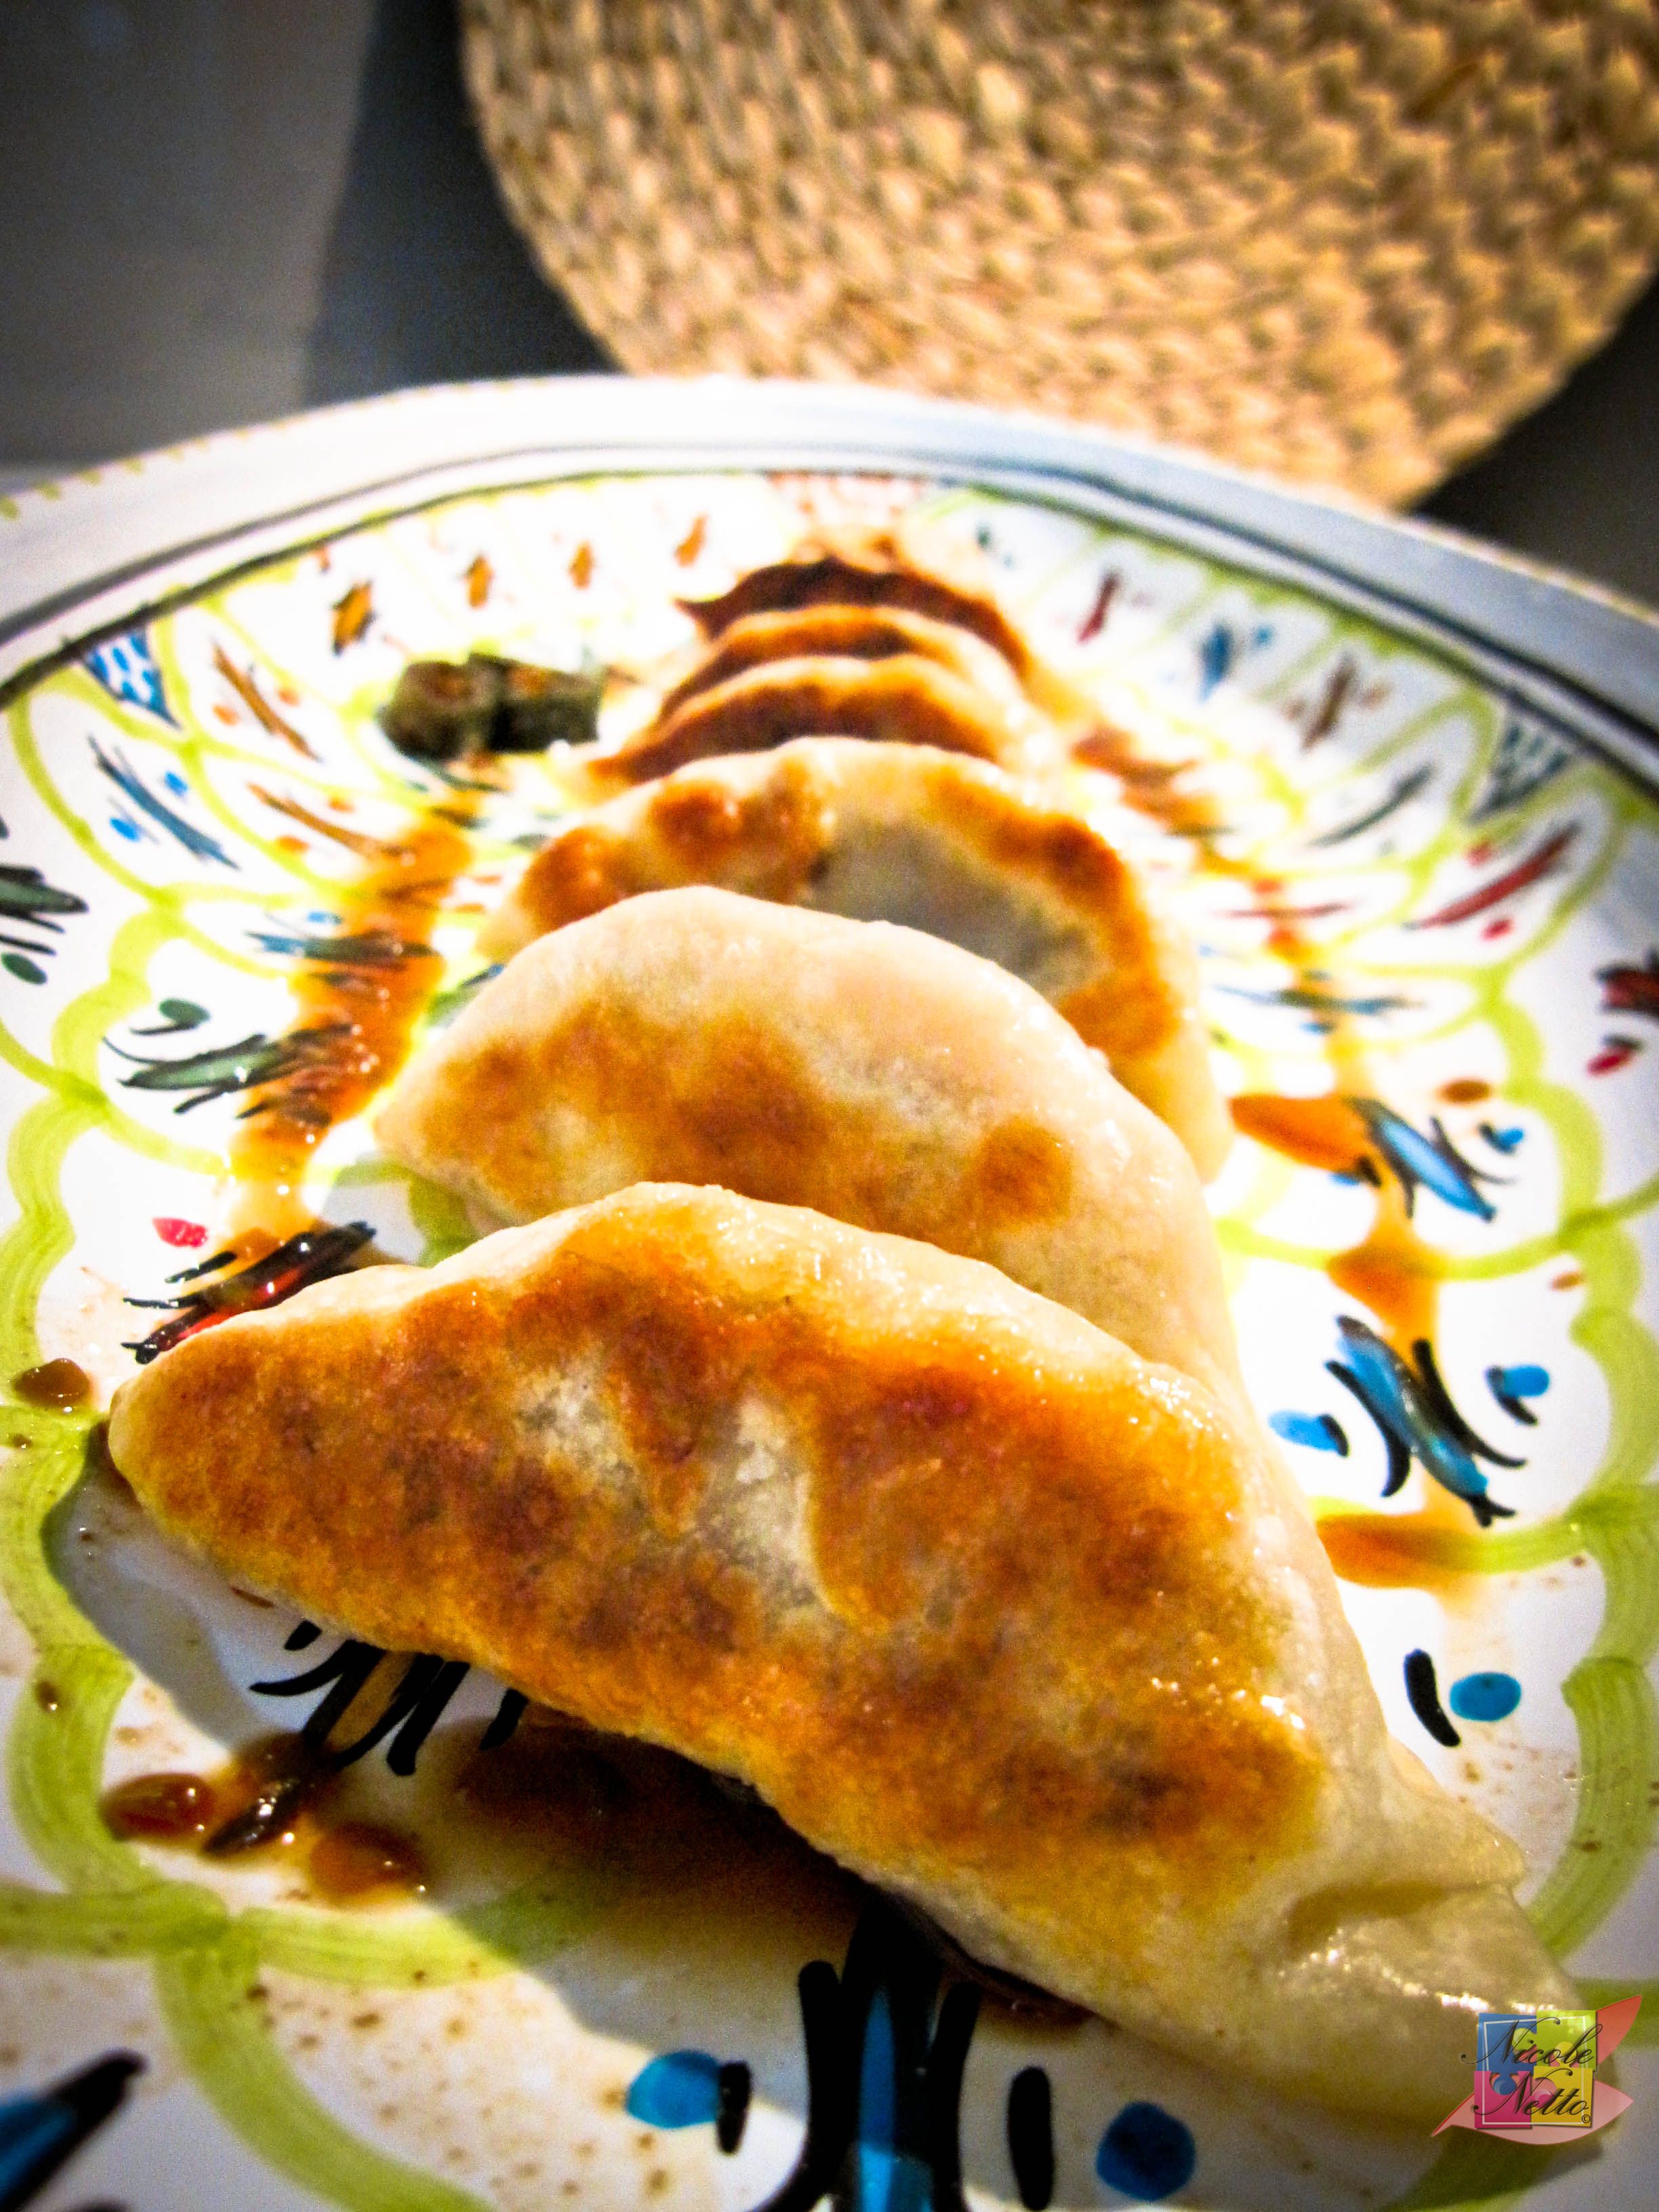
Gently lift each dumpling with a suitably sized spatula or rubber encased tongs to make sure it is not sticking and has attained a beautiful golden brown color and is just lightly crisp.
Remove the cooked golden brown based gyoza carefully.

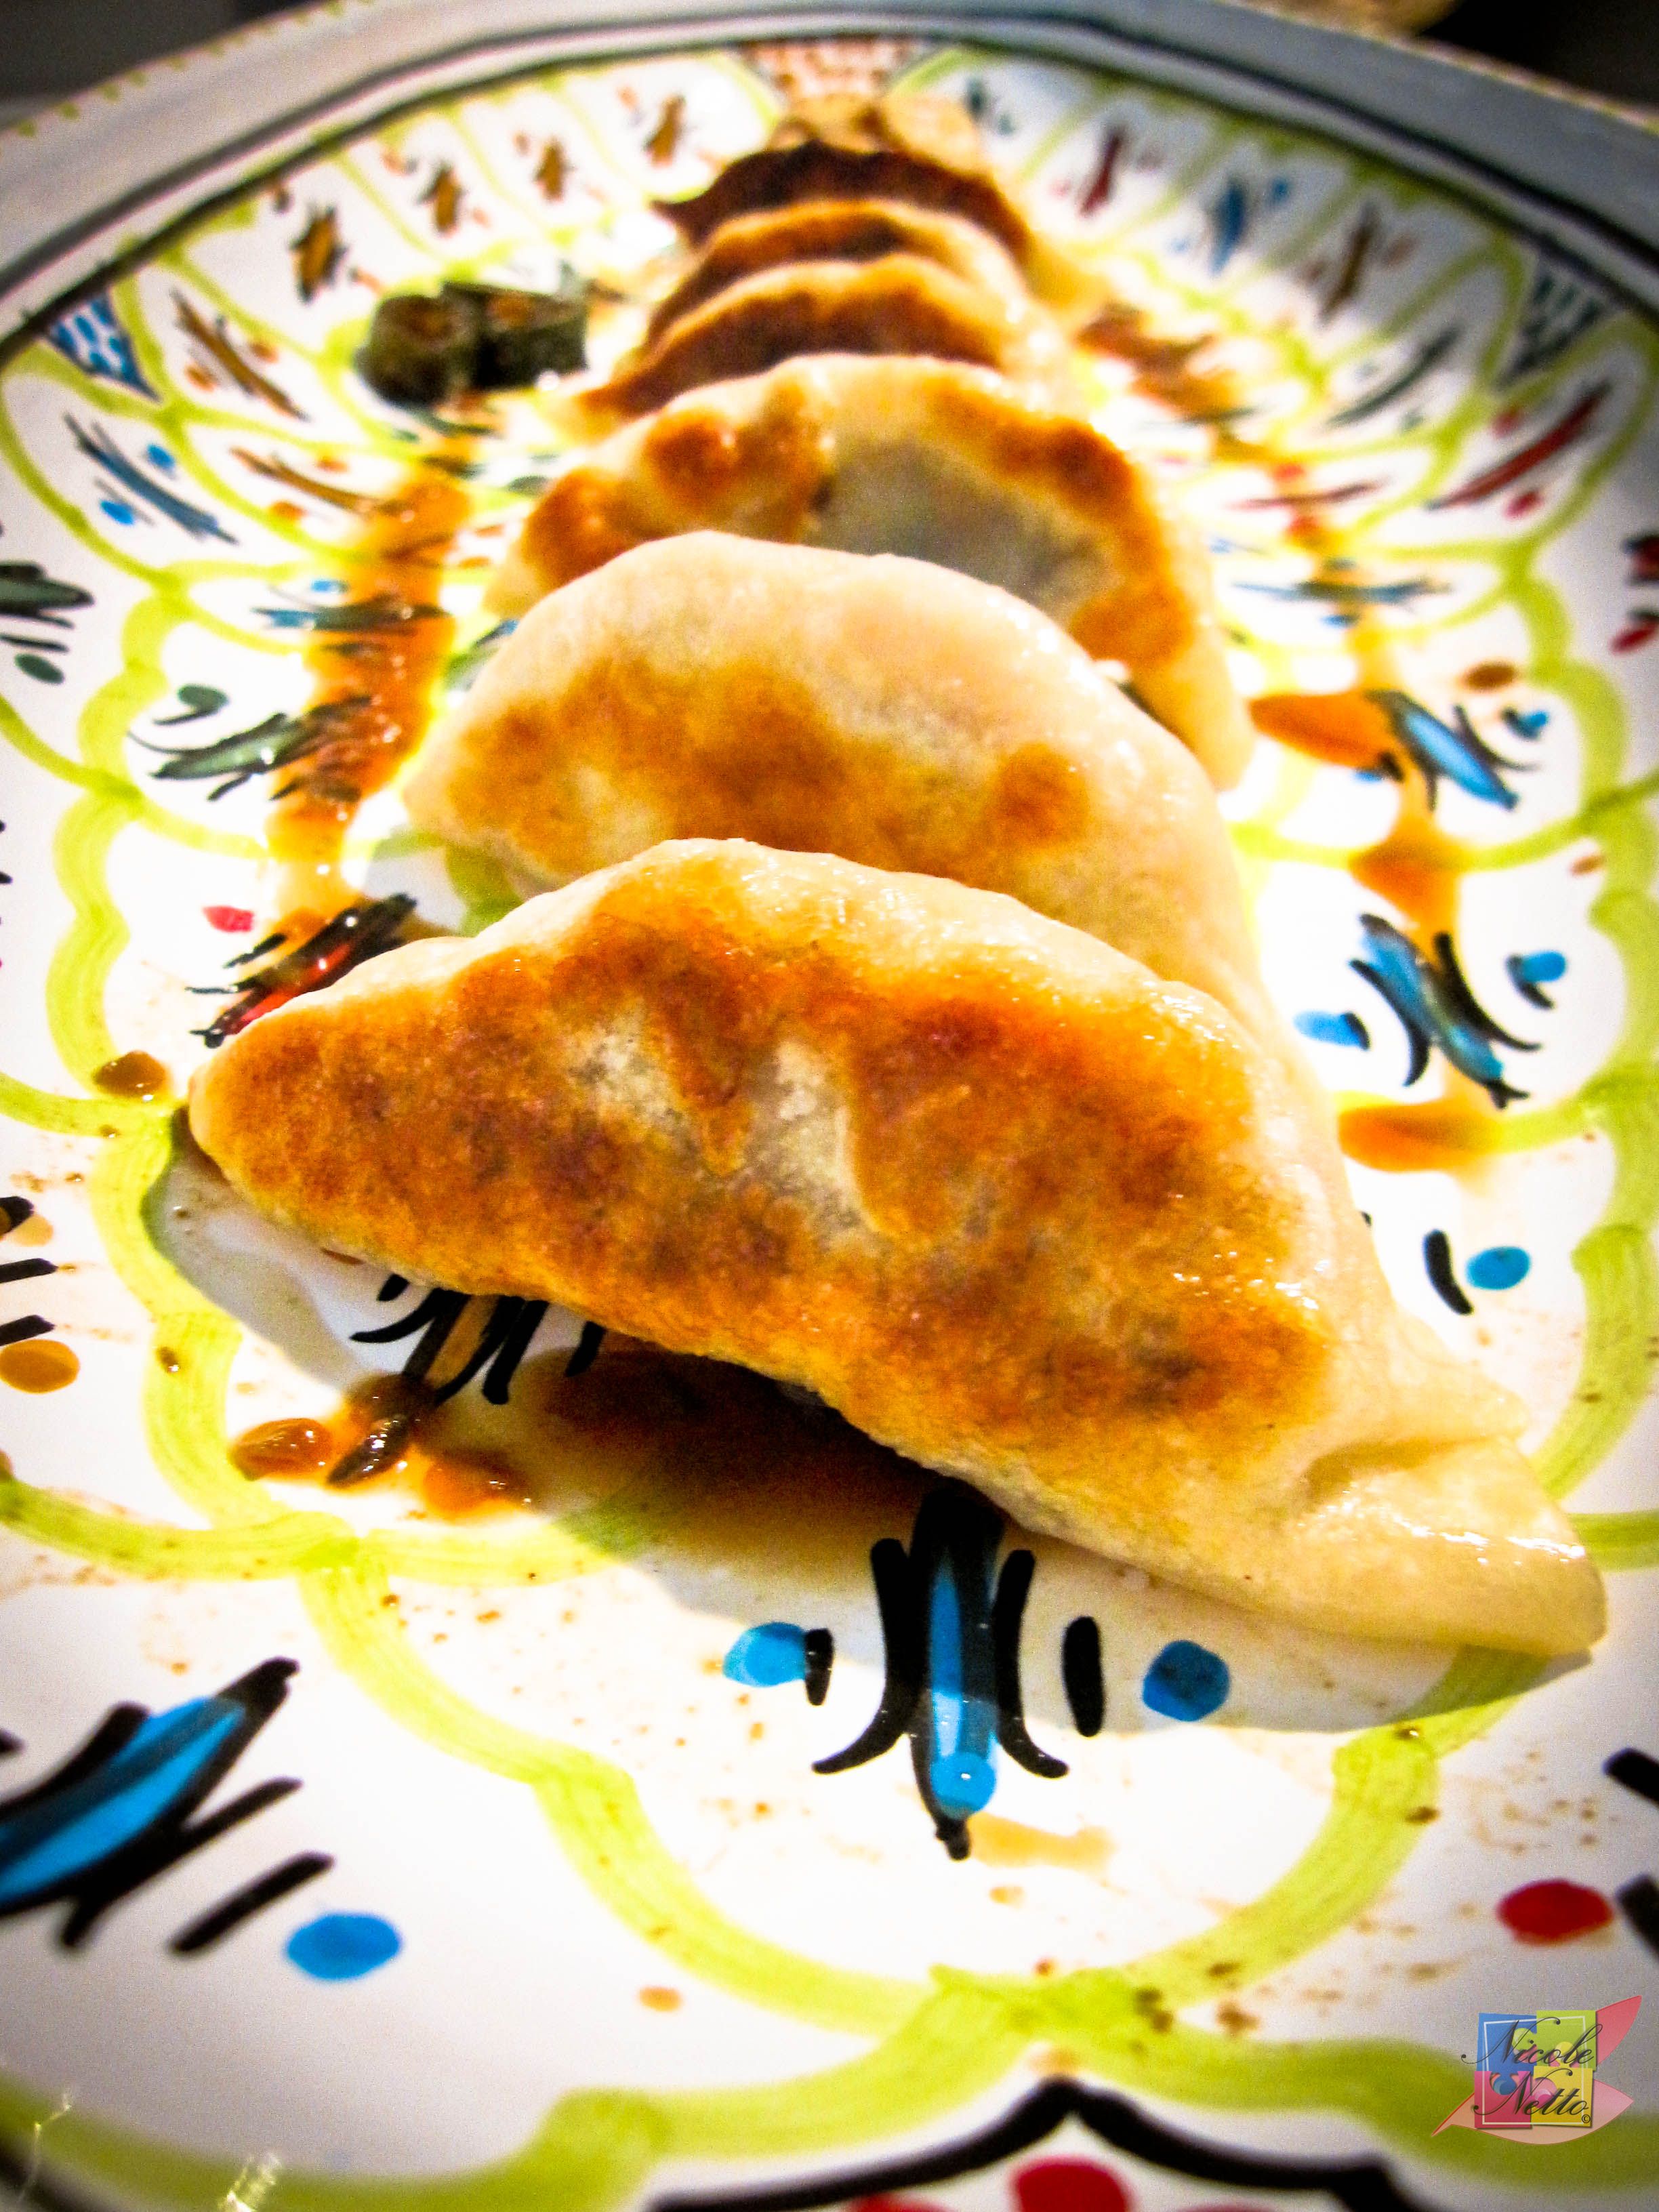
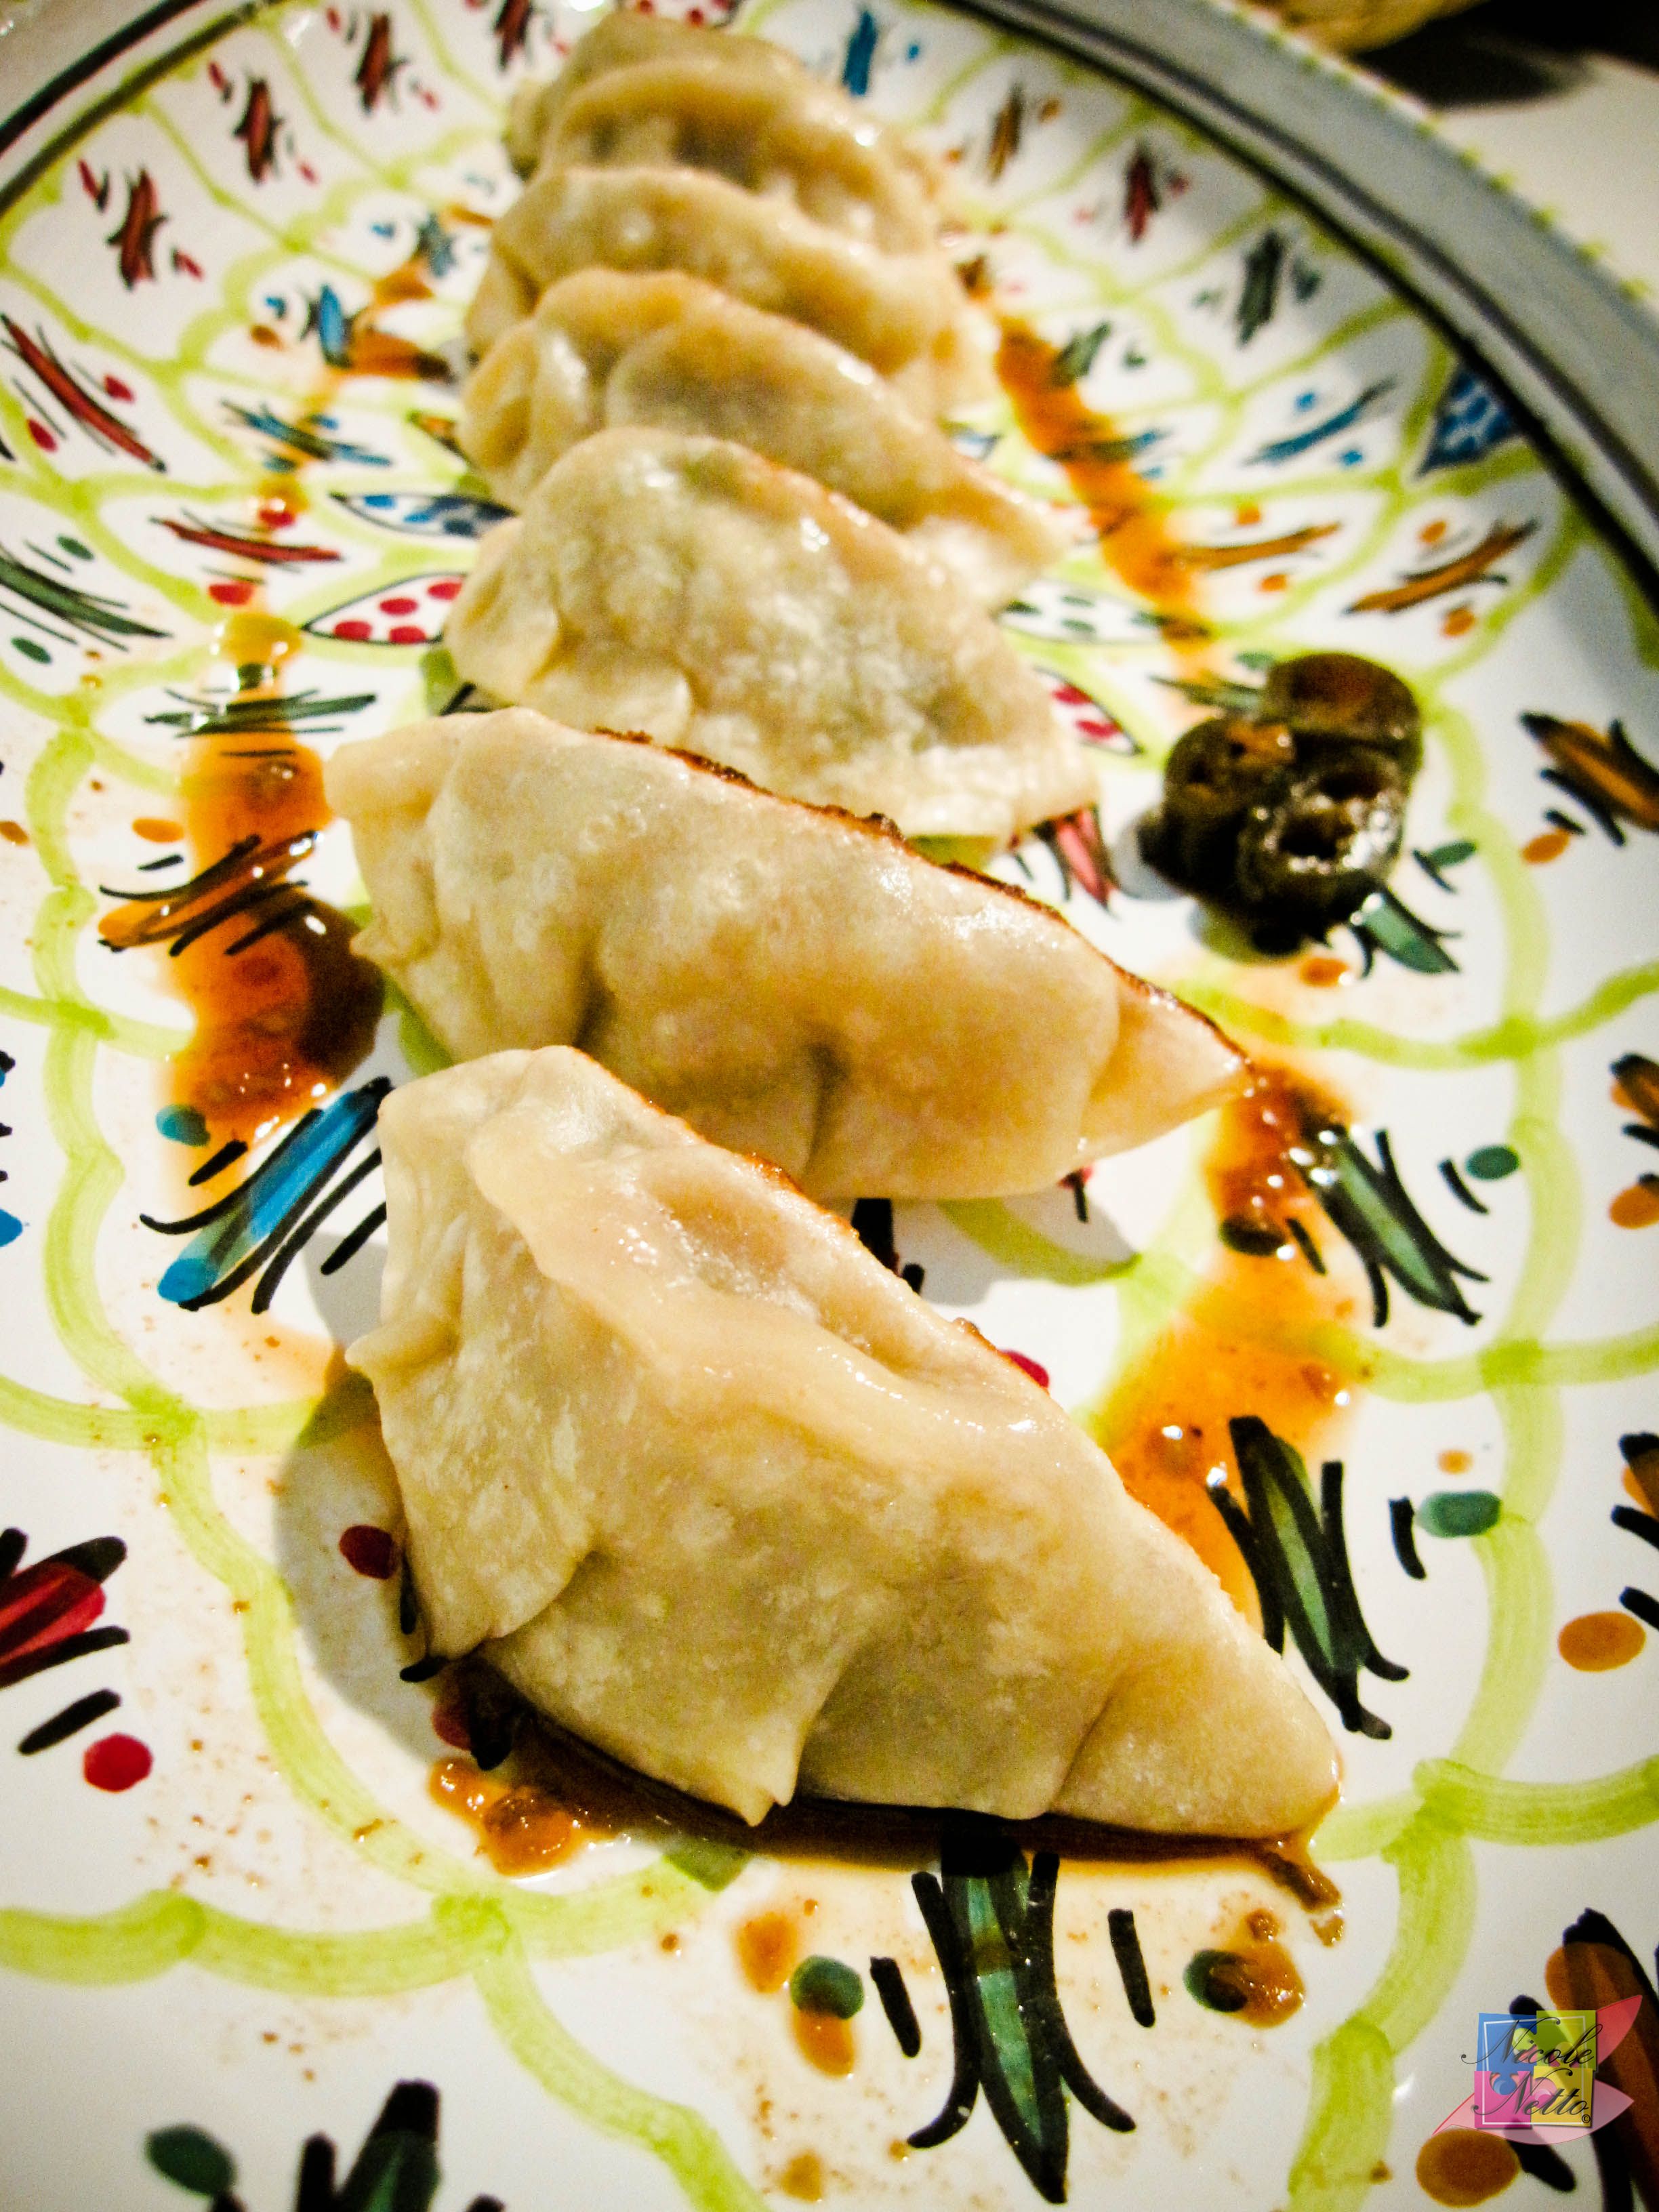
And you’re done! The Pork and Spinach gyoza are ready to be served!

Pork and Spinach Gyoza plated
Dumplings are generally served with Soy sauce or a Soy sauce based dipping sauce. Might I suggest a simple Soy Chilli Dipping sauce? (Click for recipe!)
Do let me know if you try out this recipe and what you think about it!
Yummy little gyozas in a row
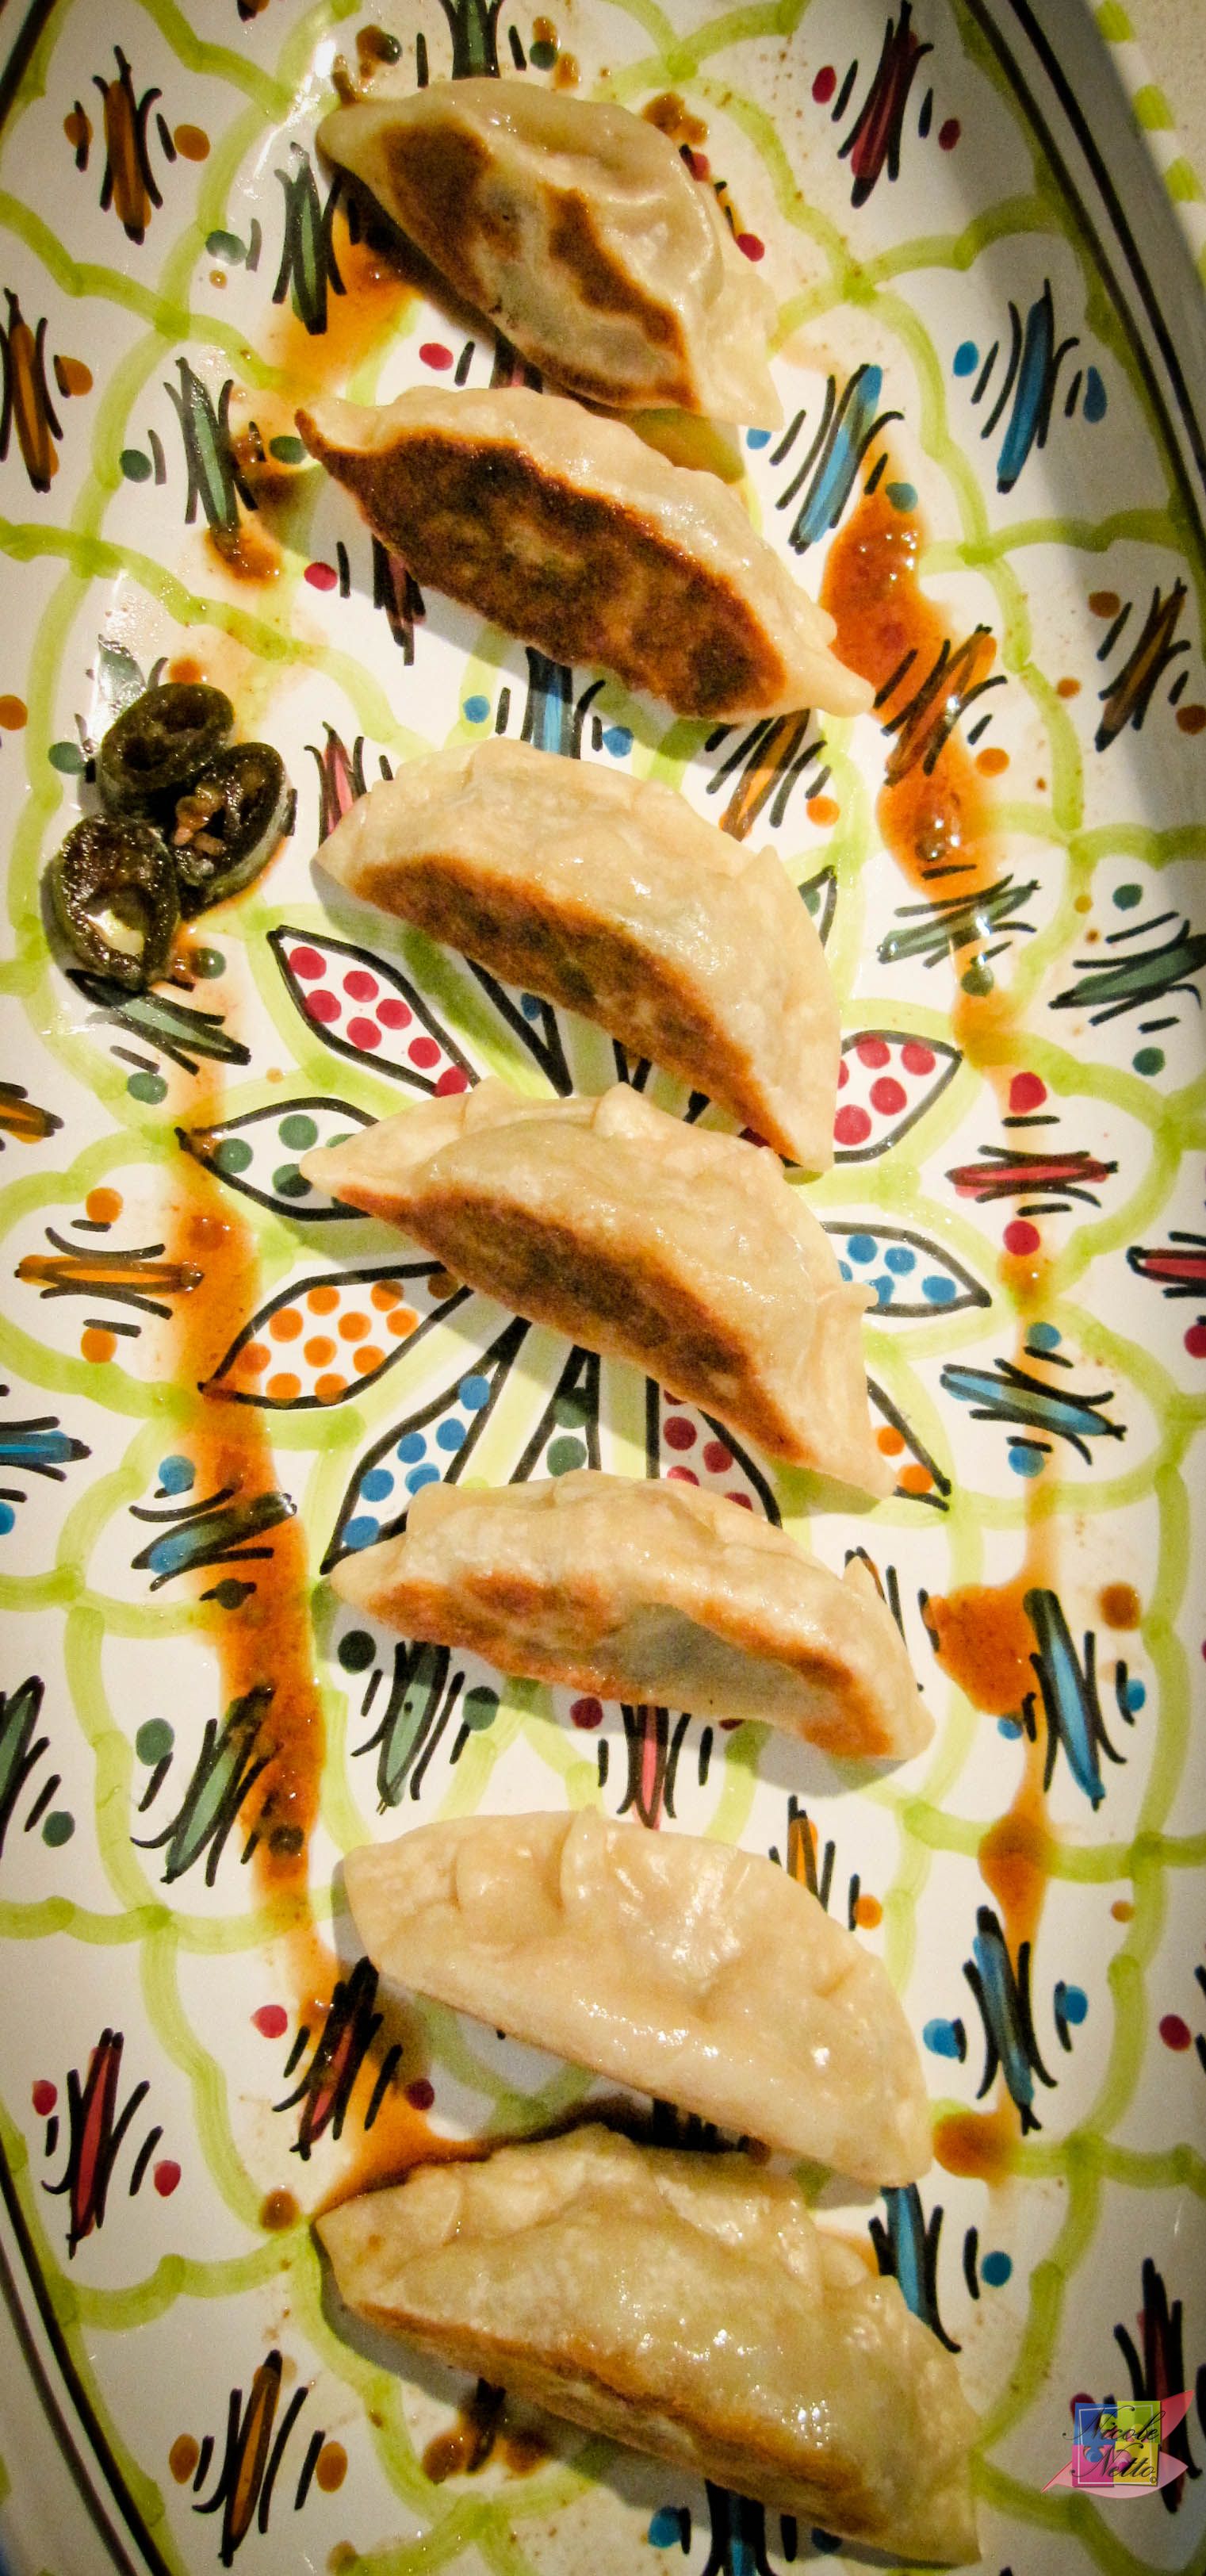
Delicious homemade gyoza
Gyoza Plated