Chicken Lollipops with a Soy Chilli dipping sauce
During my childhood years in Mumbai, it was a rare ritual at our household to dine out. But, whenever we did, one of my family’s favourite restaurant to dine at was called “Uncle’s Kitchen”, which specialized in ‘Indian – Chinese’ cuisine.
Whatever the occasion, this would always be our first restaurant of choice. We didn’t mind the long lines or wait time – the whole experience was something we did together as a family. And of course, we had our favourite dishes that we would order at the restaurant, without fail, with every visit or take away order.

At Uncle’s Kitchen with Mum, 2013
Our favourite entrée was called “Chicken Lollipops”, which is generally served with a Schezwan sauce (a spicy sauce, made with dried Kashmiri chillies, used quite liberally in Indian- Chinese cuisine). However, when I made this dish, I served it with a quick and simple Soy chilli dipping sauce as these Chicken lollipops are quite flavourful and spicy on their own.
Every now and then I tend to crave food that is not easily available to me here in Australia and what better way to indulge in a craving than to recreate it?
This recipe requires chicken wings to be ‘frenched’ (to look like a chicken lollipop). Each wing would give you 2 chicken lollipops when broken down at the movable joint and frenched; one very meaty piece, with a single bone and one not-so-much, with two parallel bones of which the smaller bone should be removed. This step can be a bit time consuming.
‘Frenching’ these wings involves cutting the ligaments near one end of the bone, carefully separating the flesh from the bone and rolling it over towards the other end to form a ‘Chicken Lollipop’.
My trial of this recipe was with 2 chicken wings, so I got 4 pieces of Chicken Lollipops. I would allow for a minimum of 2 chicken lollipops per person as these delicious little blobs of spicy heaven go down quite easy. Be sure to adjust the recipe quantities accordingly.
Chicken Lollipops
(Serves 2)
Ingredients:
2 Chicken wings – ‘frenched’ into 4 pieces
1 tsp Garlic paste
1/2 tsp Ginger paste
1/2 tsp Chilli powder
1 tsp Soy sauce
1/2 tsp Chinese Rice wine vinegar
1/2 tsp Sriracha sauce OR Chilli paste
1/4 cup corn flour
1/8 cup plain flour
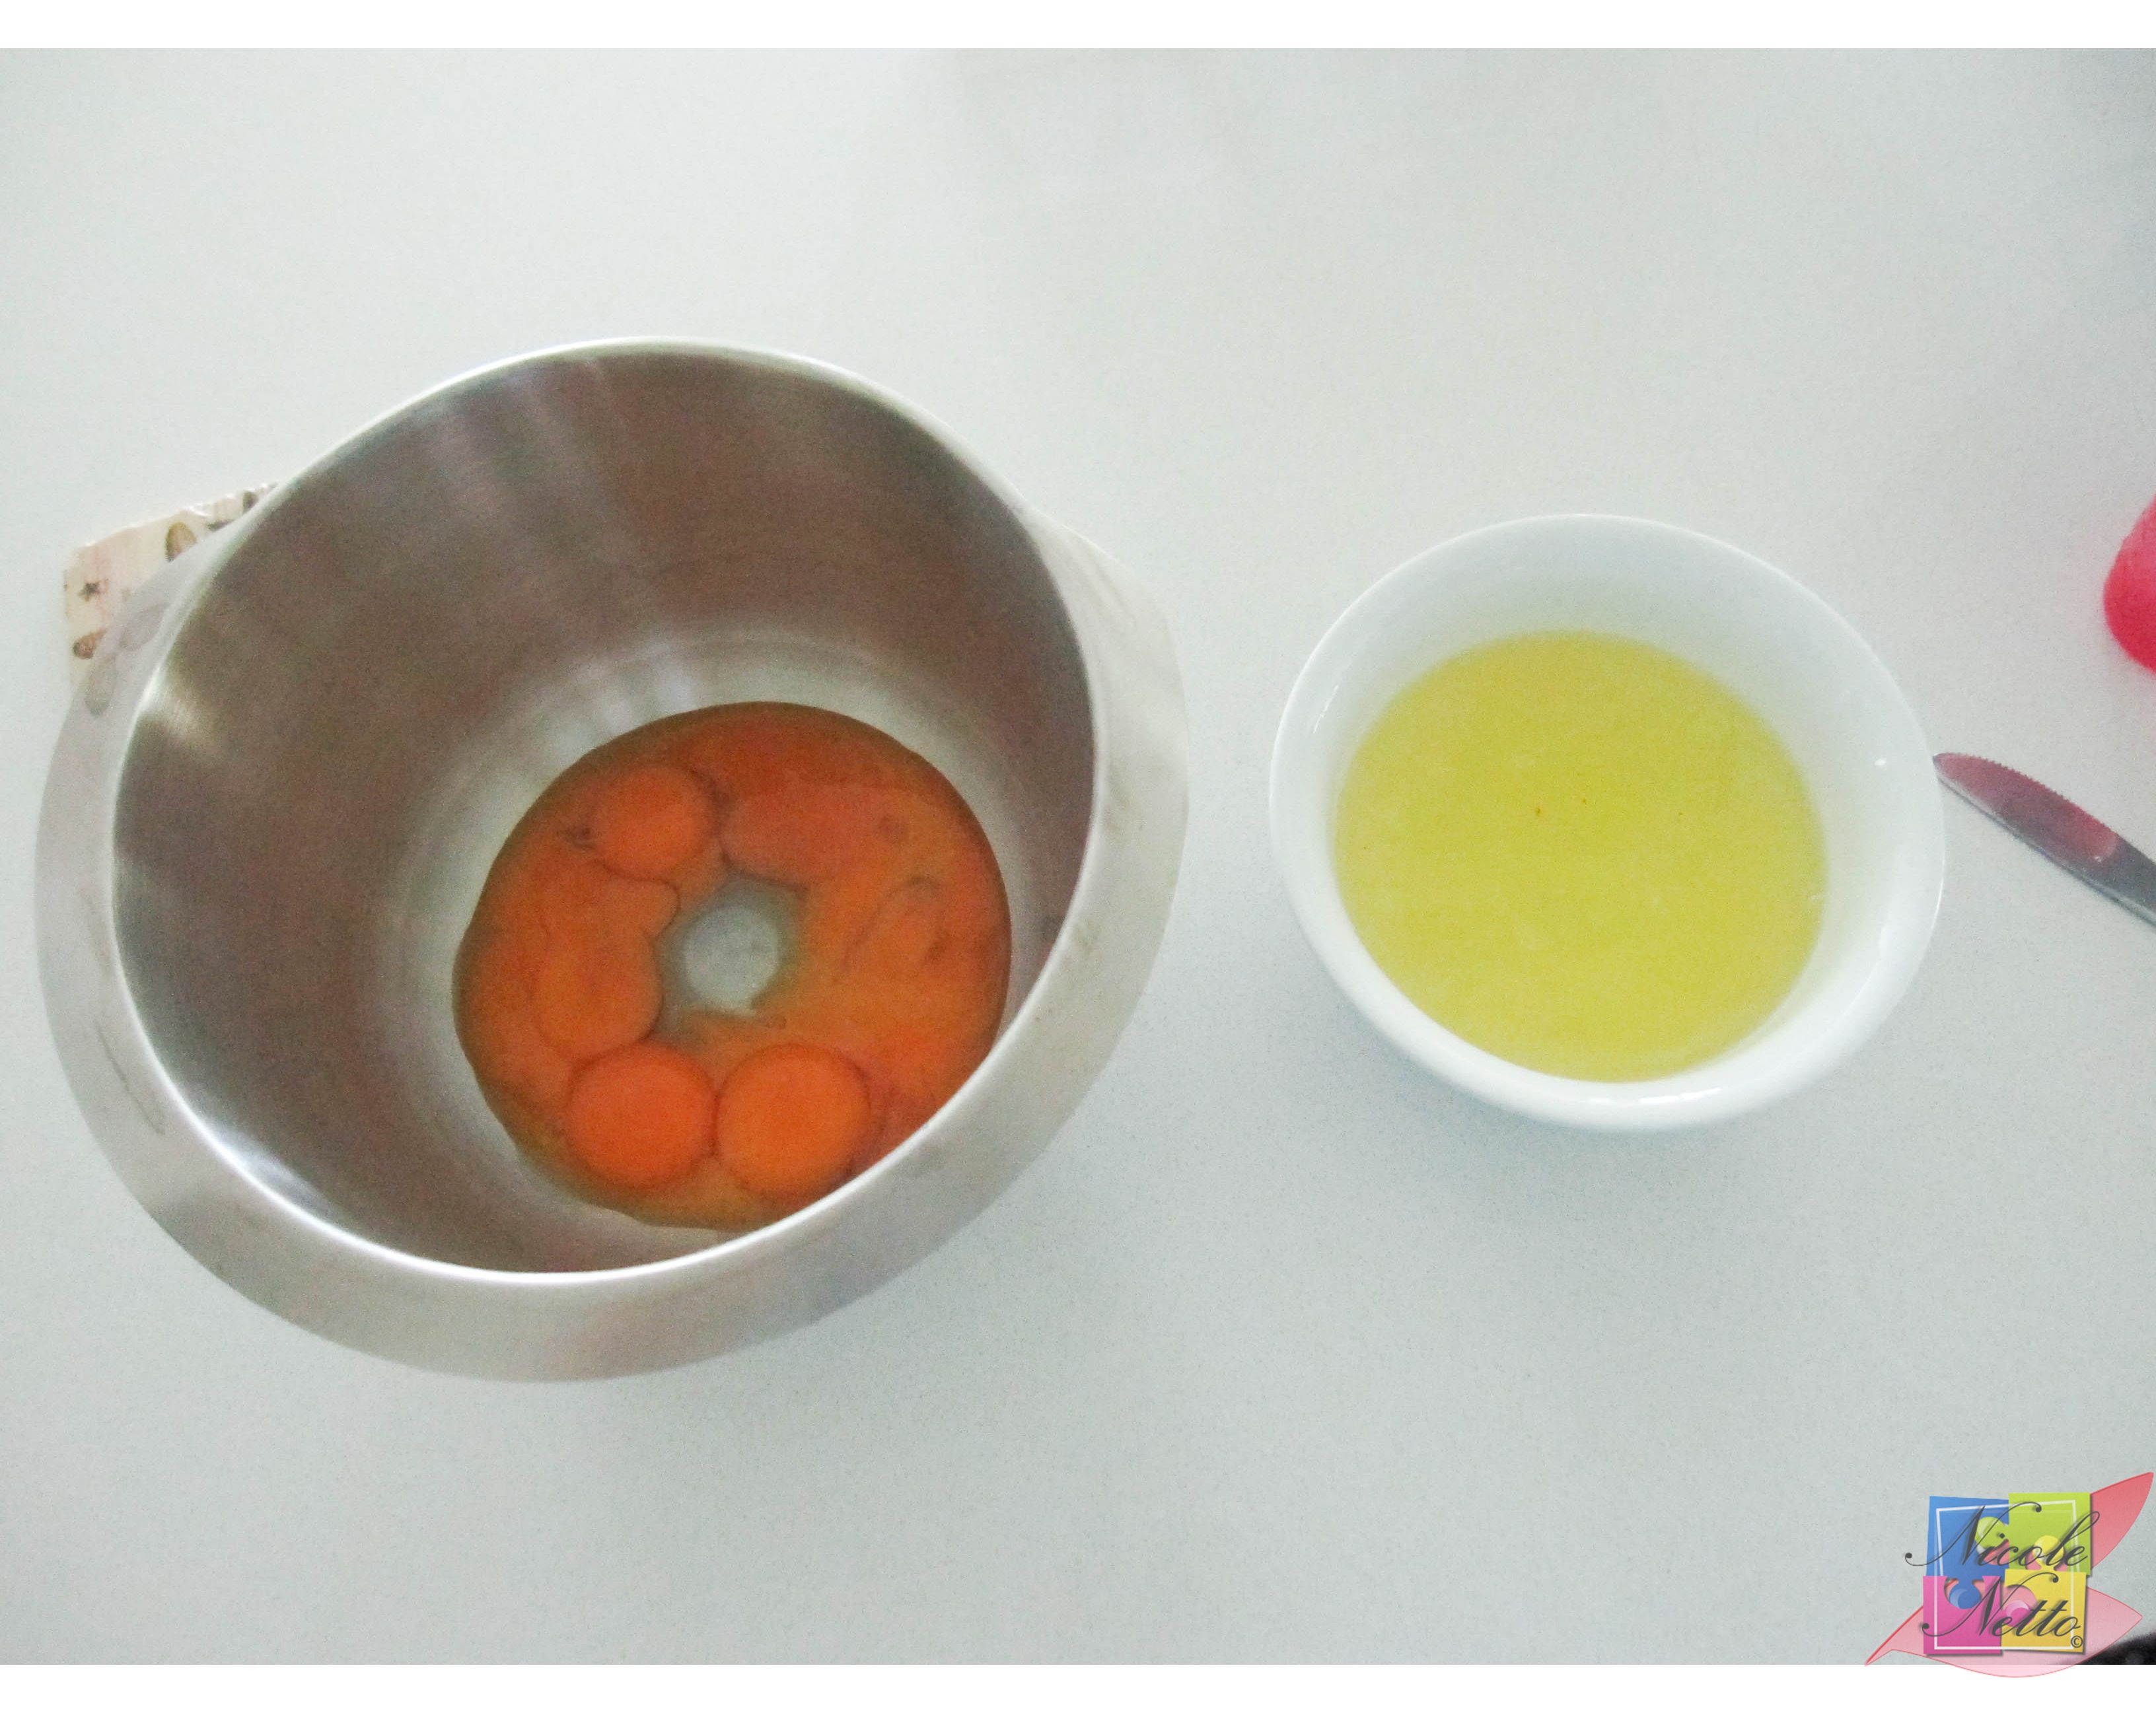
1 egg
Red food colouring
Salt to taste
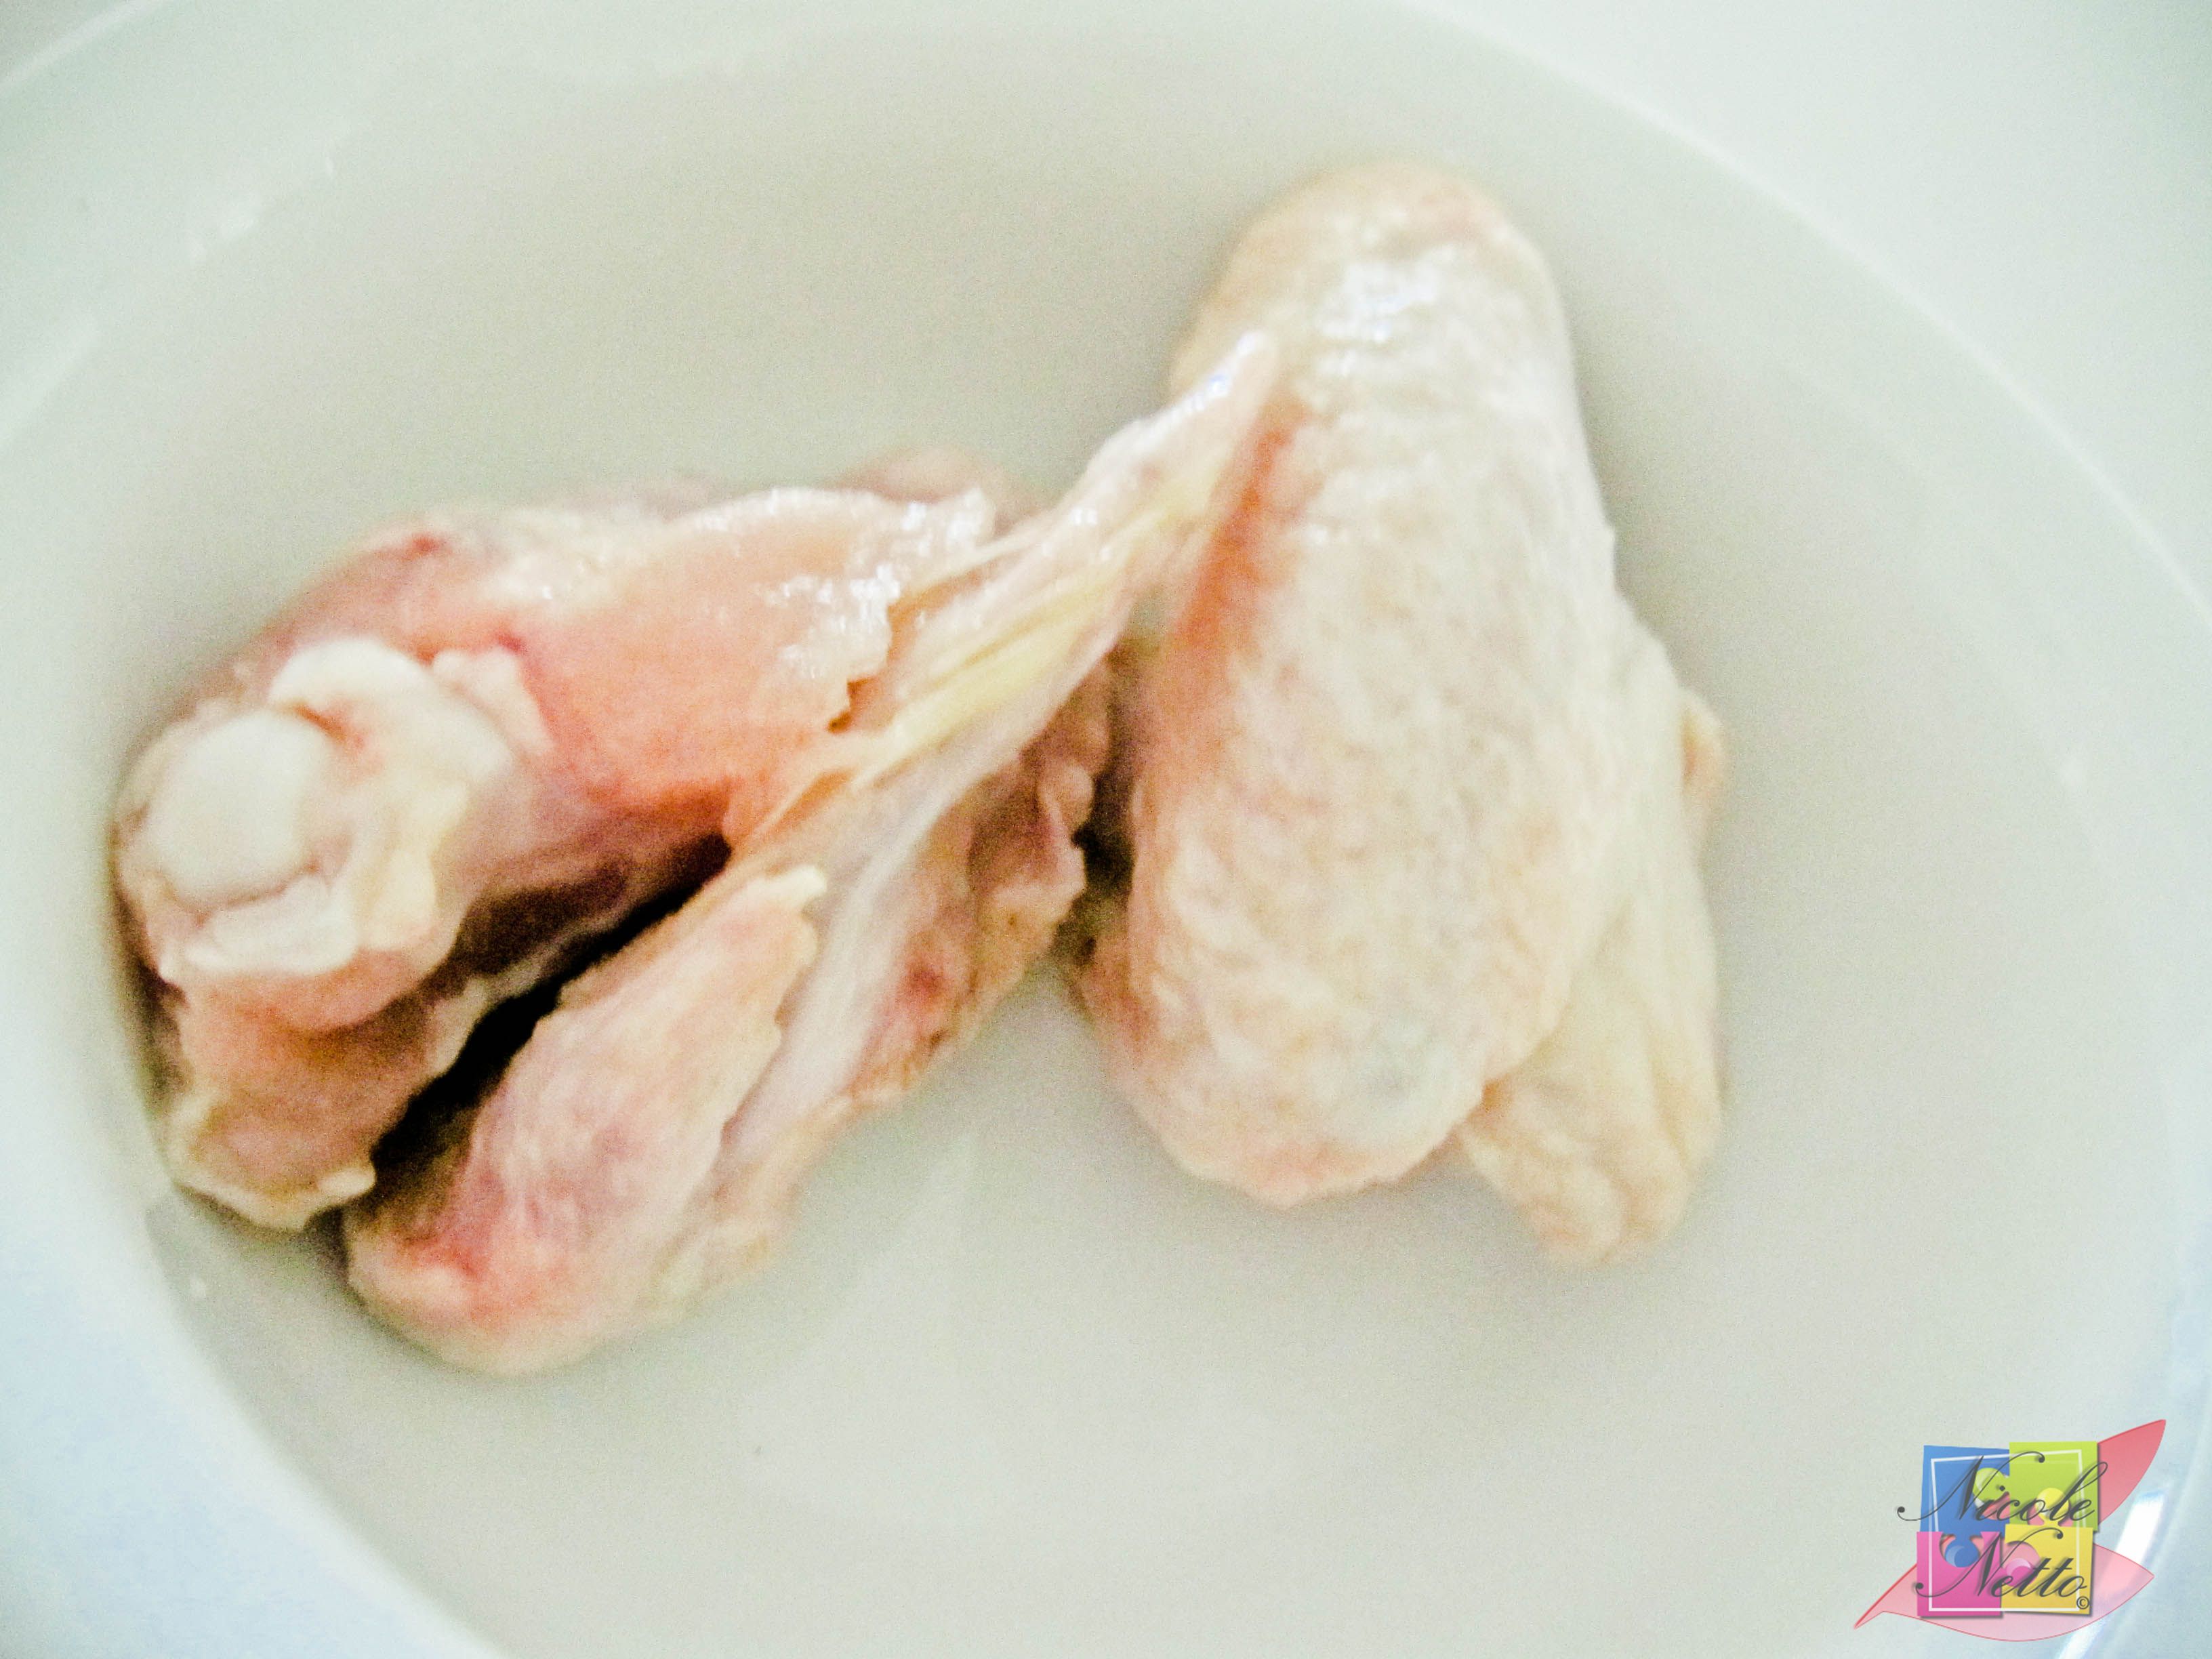
2 Chicken Wings
4 Frenched Chicken lollipop pieces
Method:
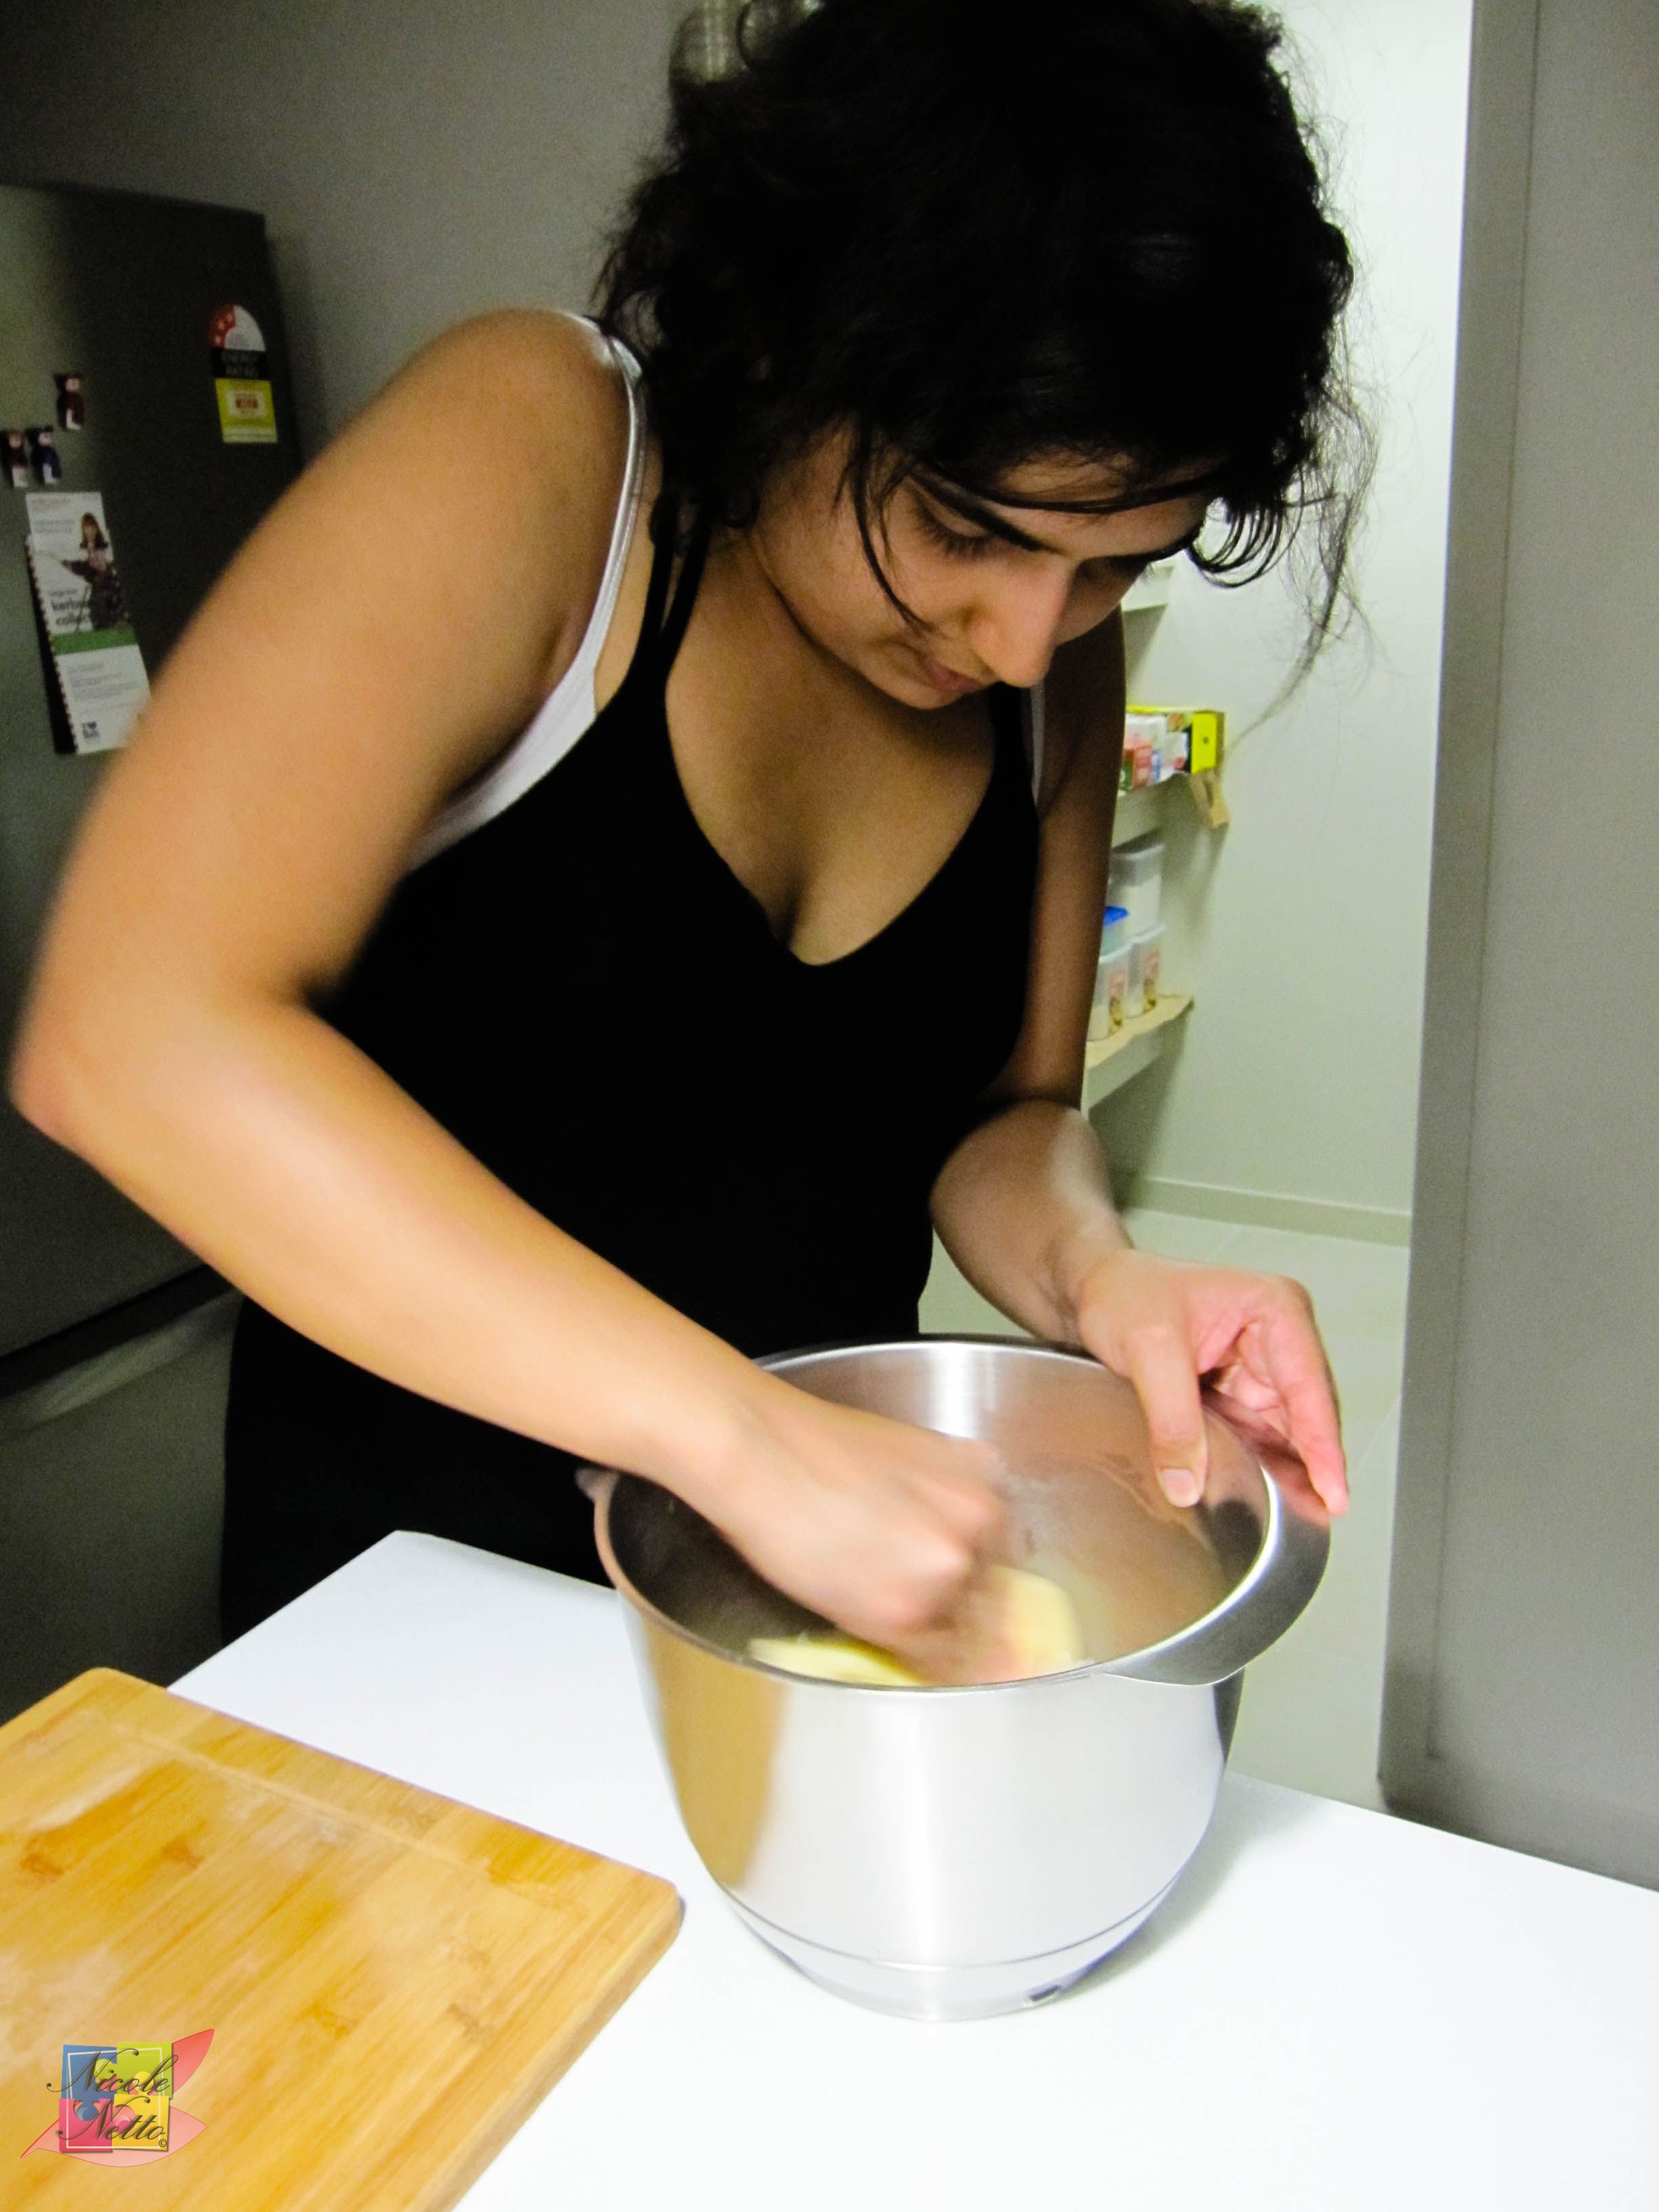
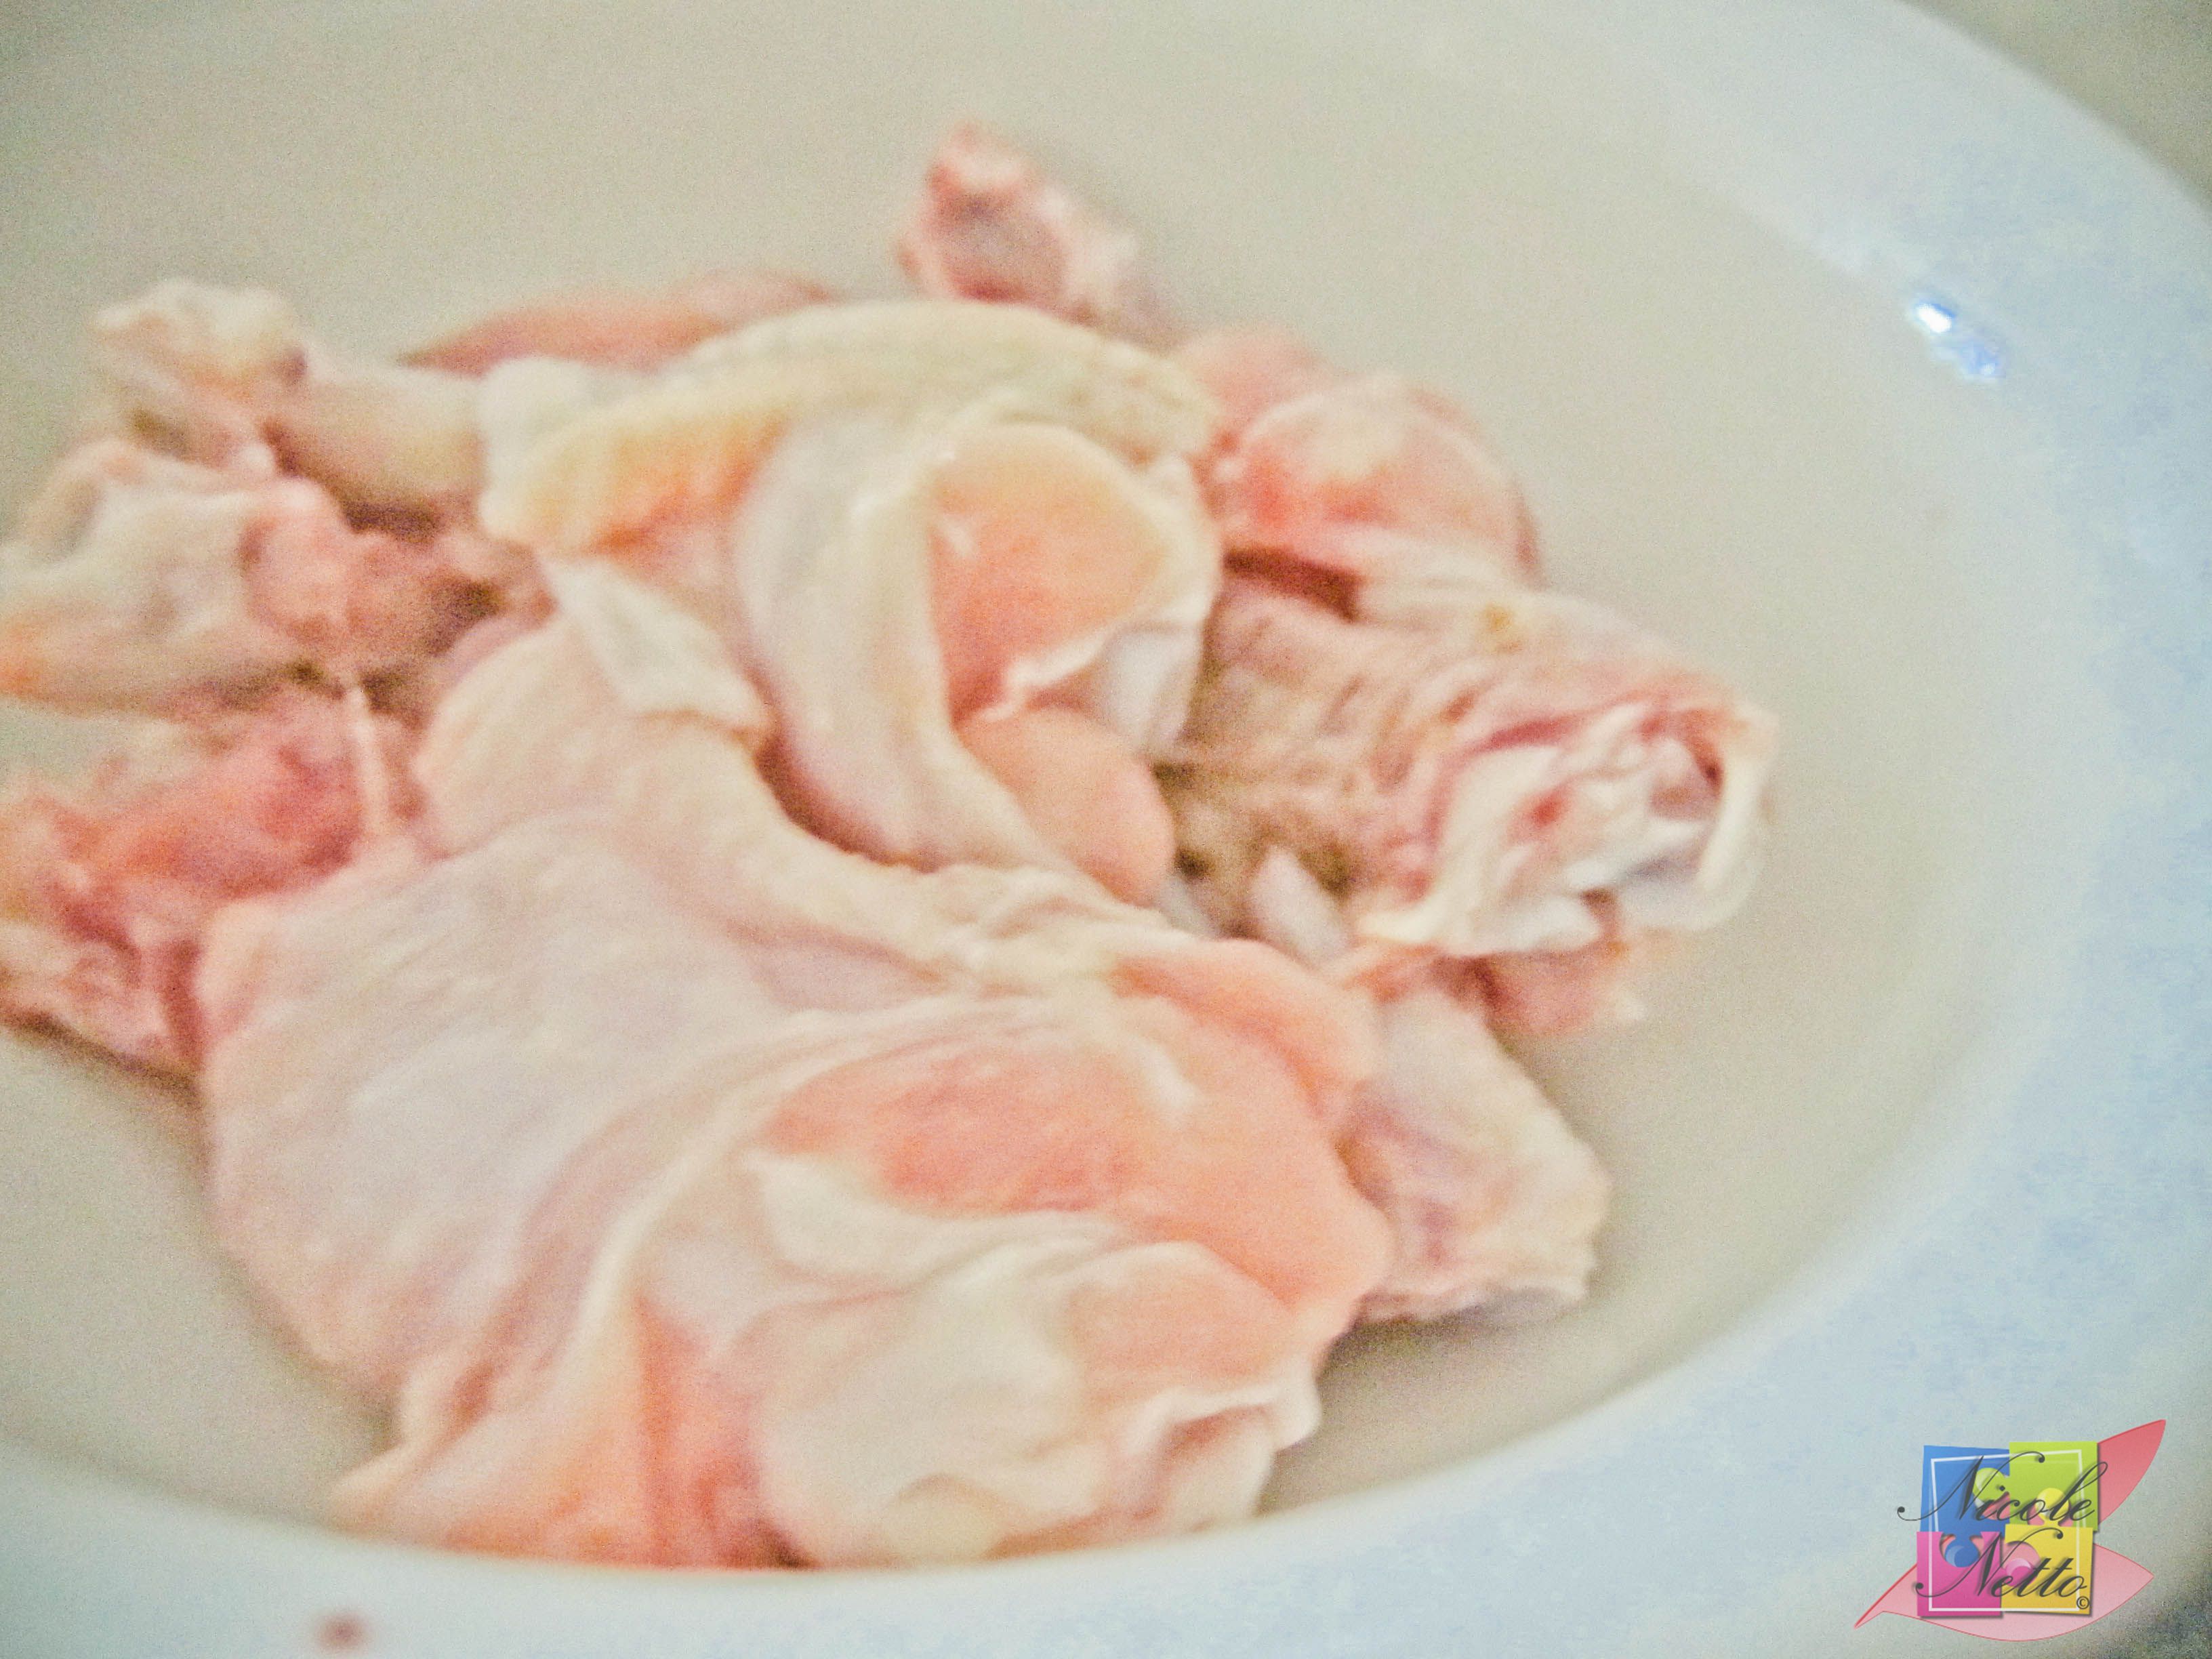
Mix the frenched chicken, garlic paste, ginger paste, chilli powder, soy sauce, chinese rice wine vinegar, sriracha or chilli paste, egg and salt.
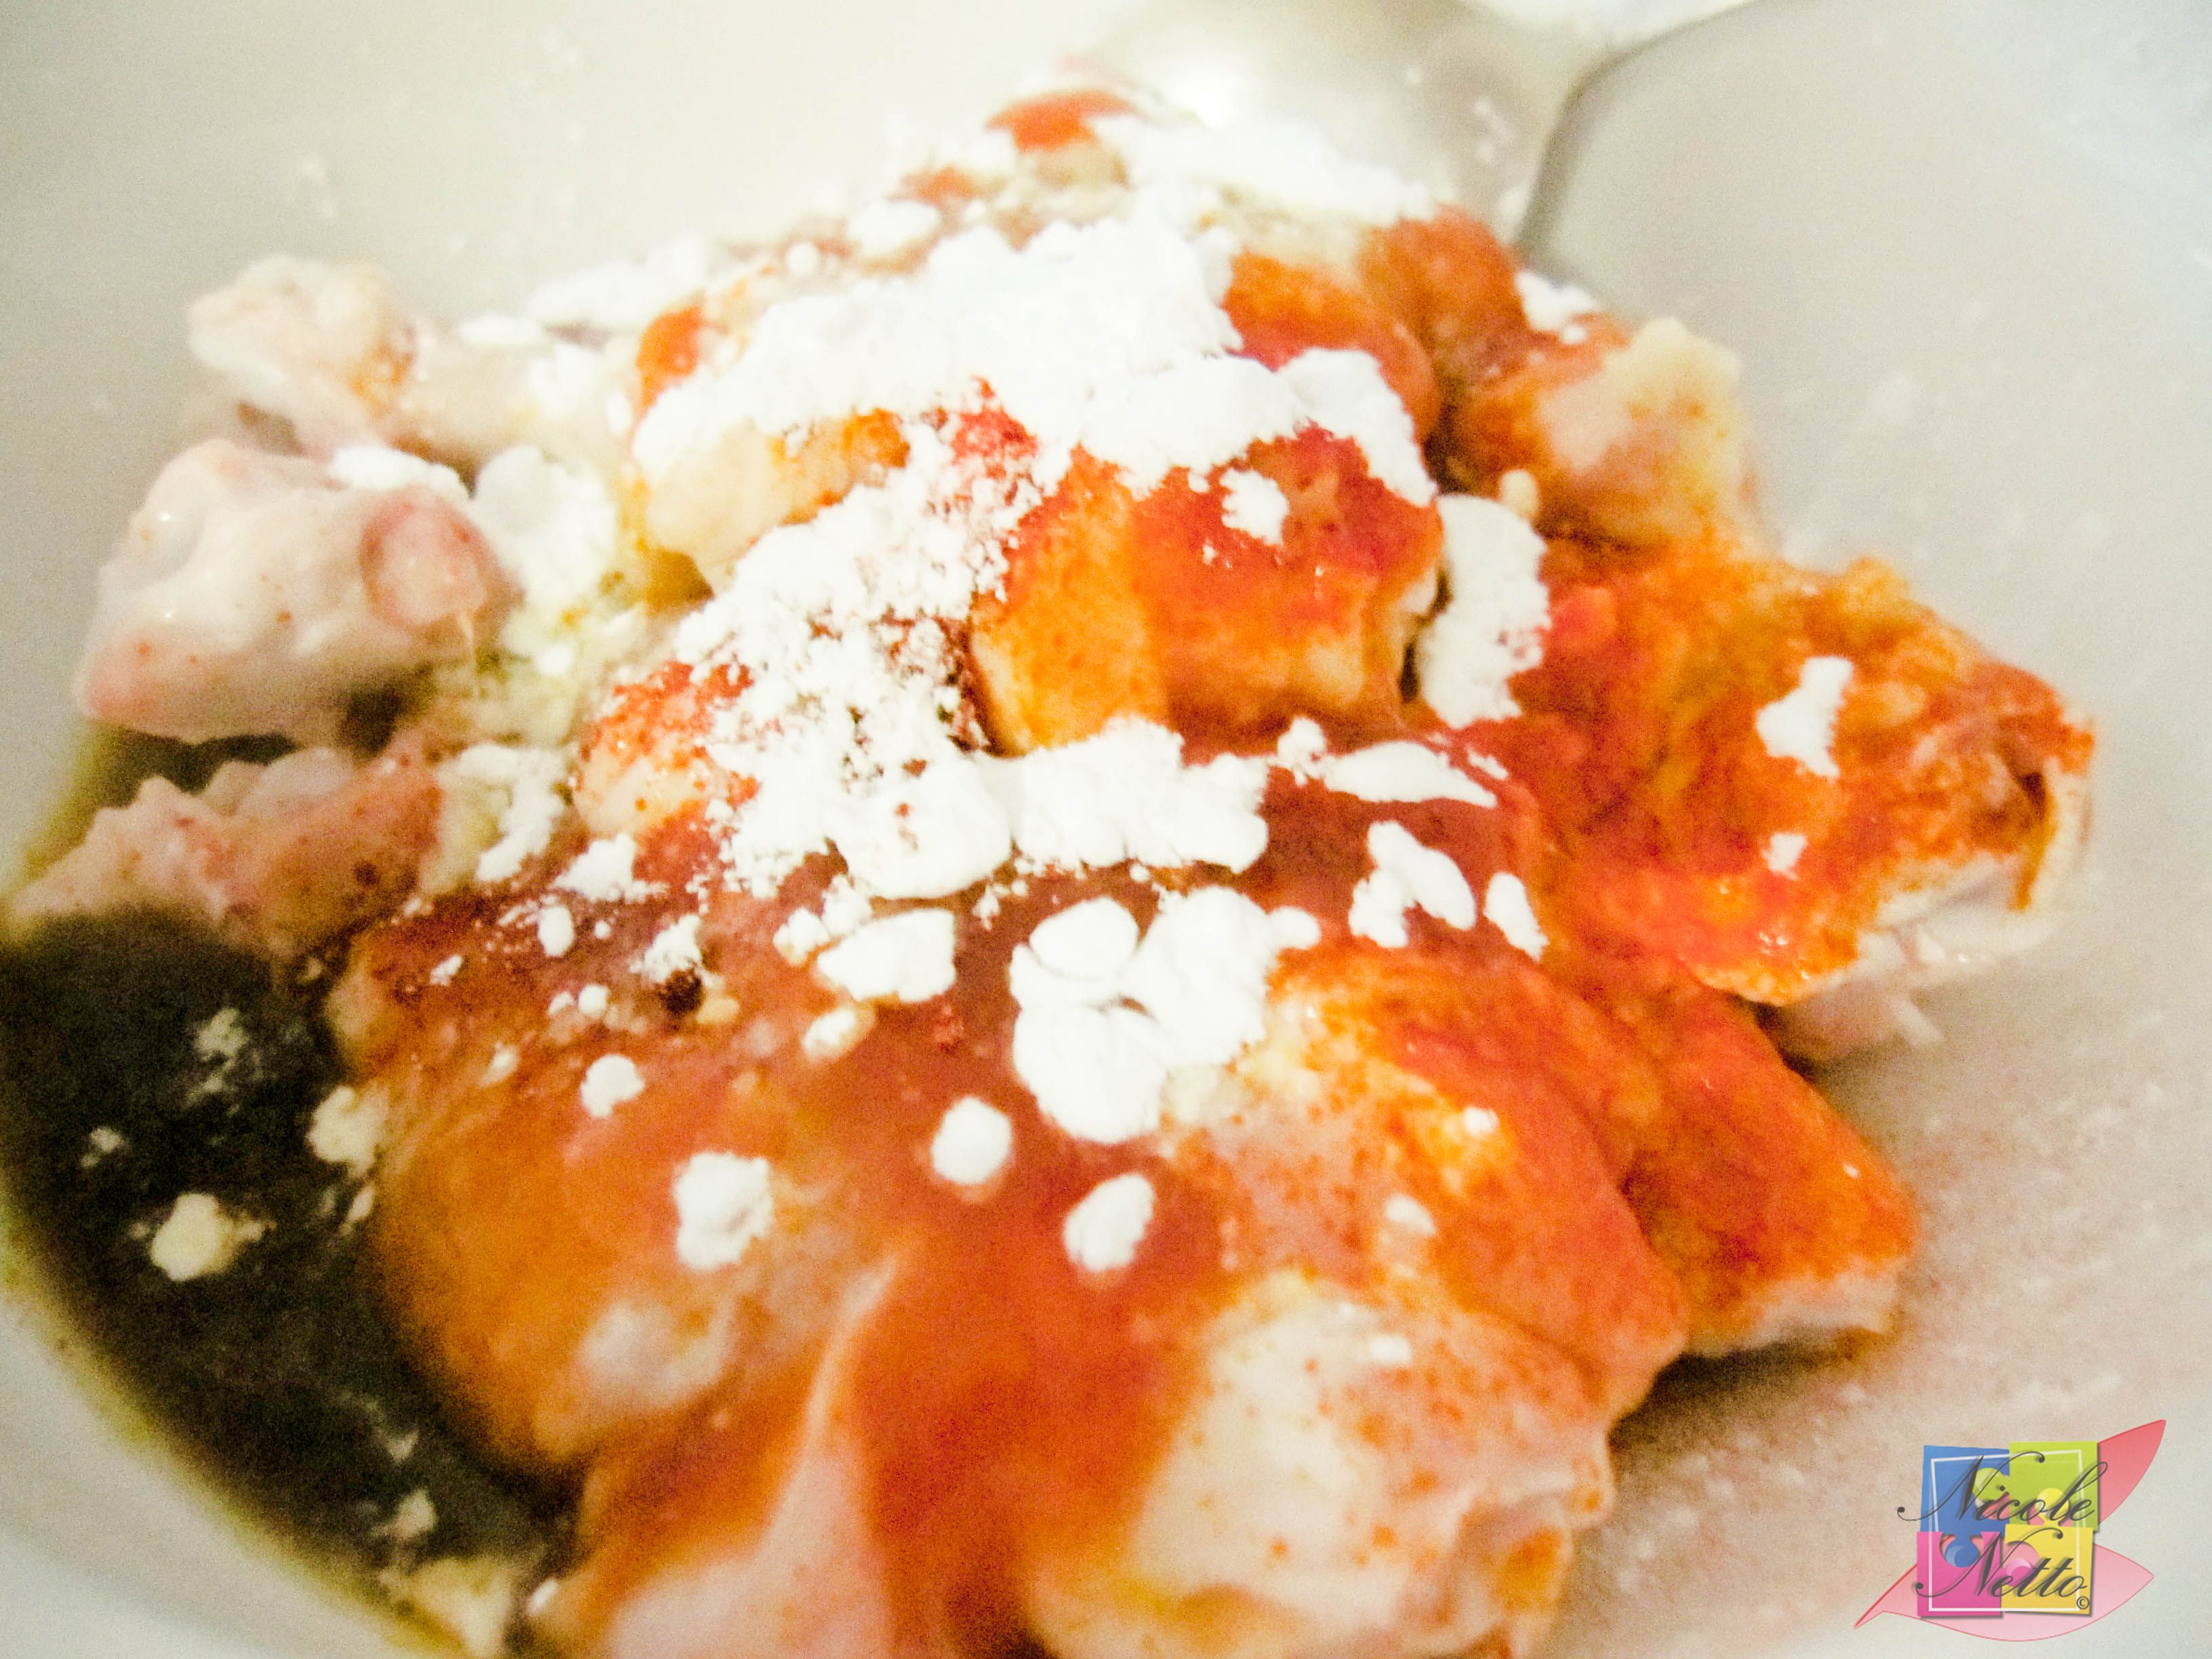
Mixing the ingredients in a bowl
Add in the corn flour followed by the plain flour, a little at a time, making sure to coat the chicken evenly while avoiding any lumps being formed by the flour. Lastly, add the red food colouring and mix well.
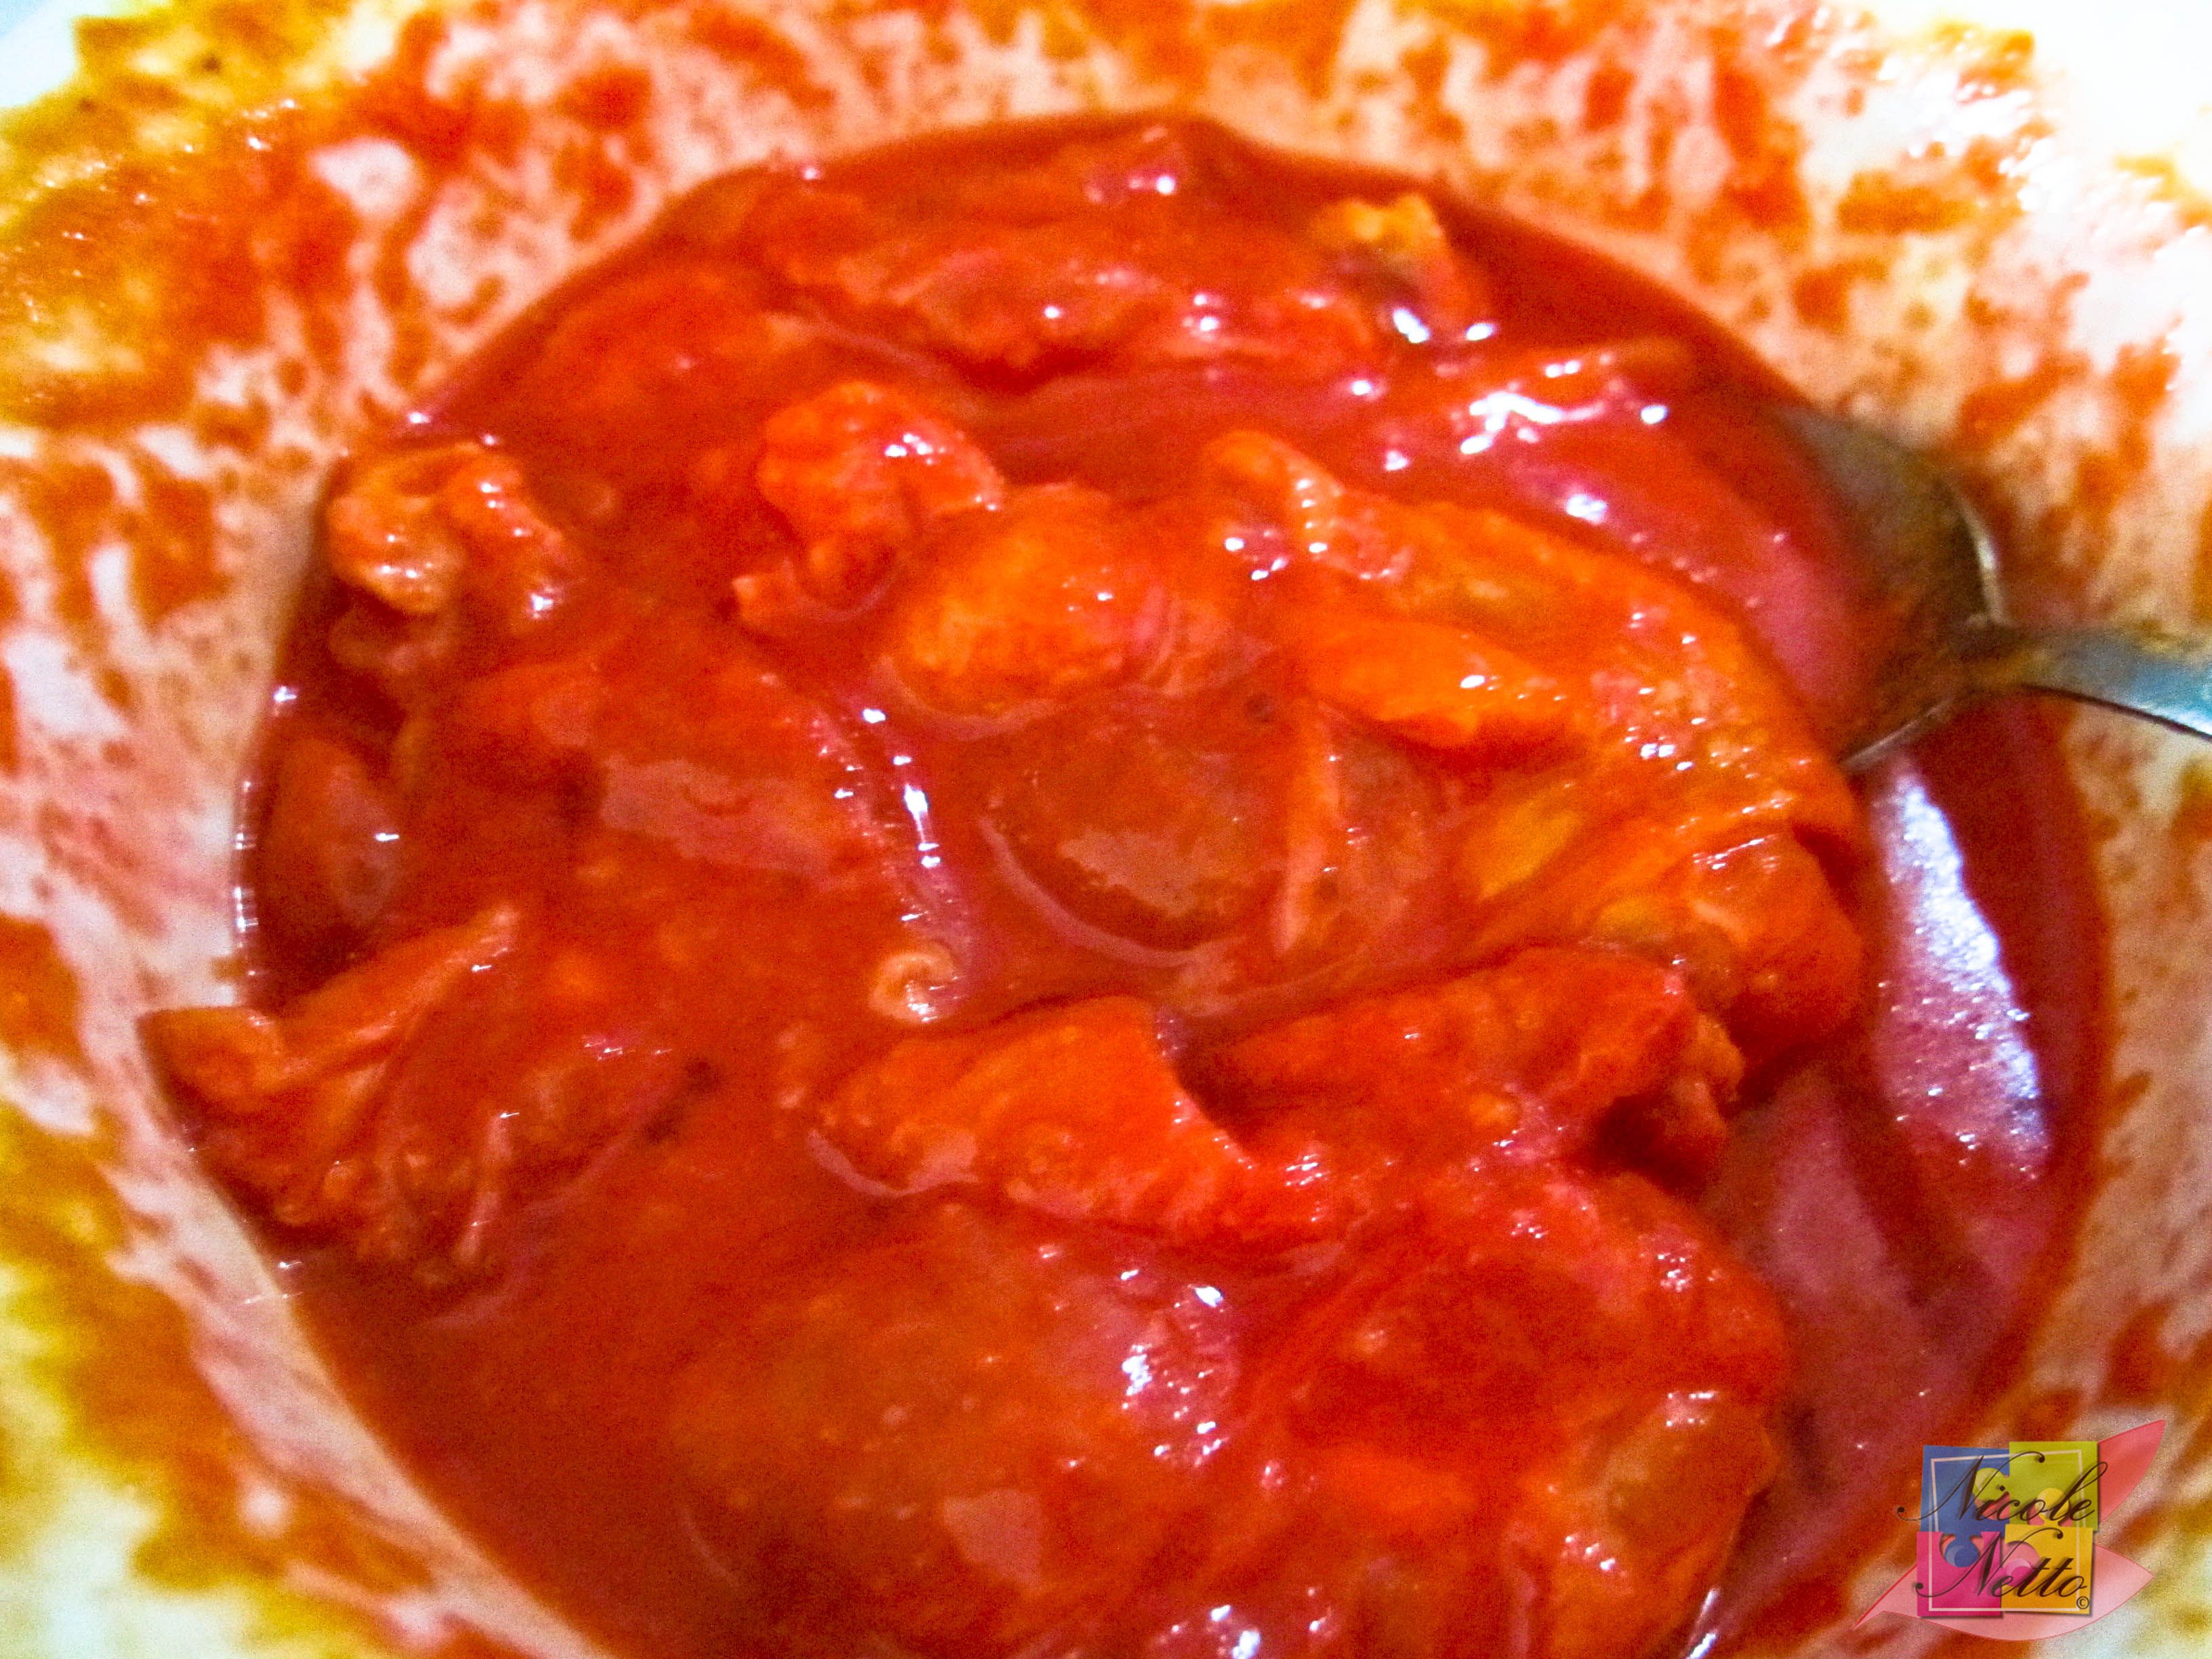
Batter prepped to be left to marinate for an hour or more
Leave the chicken to marinate in this batter for a minimum of an hour (which is what I did and the chicken was still quite well flavoured). Refrigeration overnight is preferred.
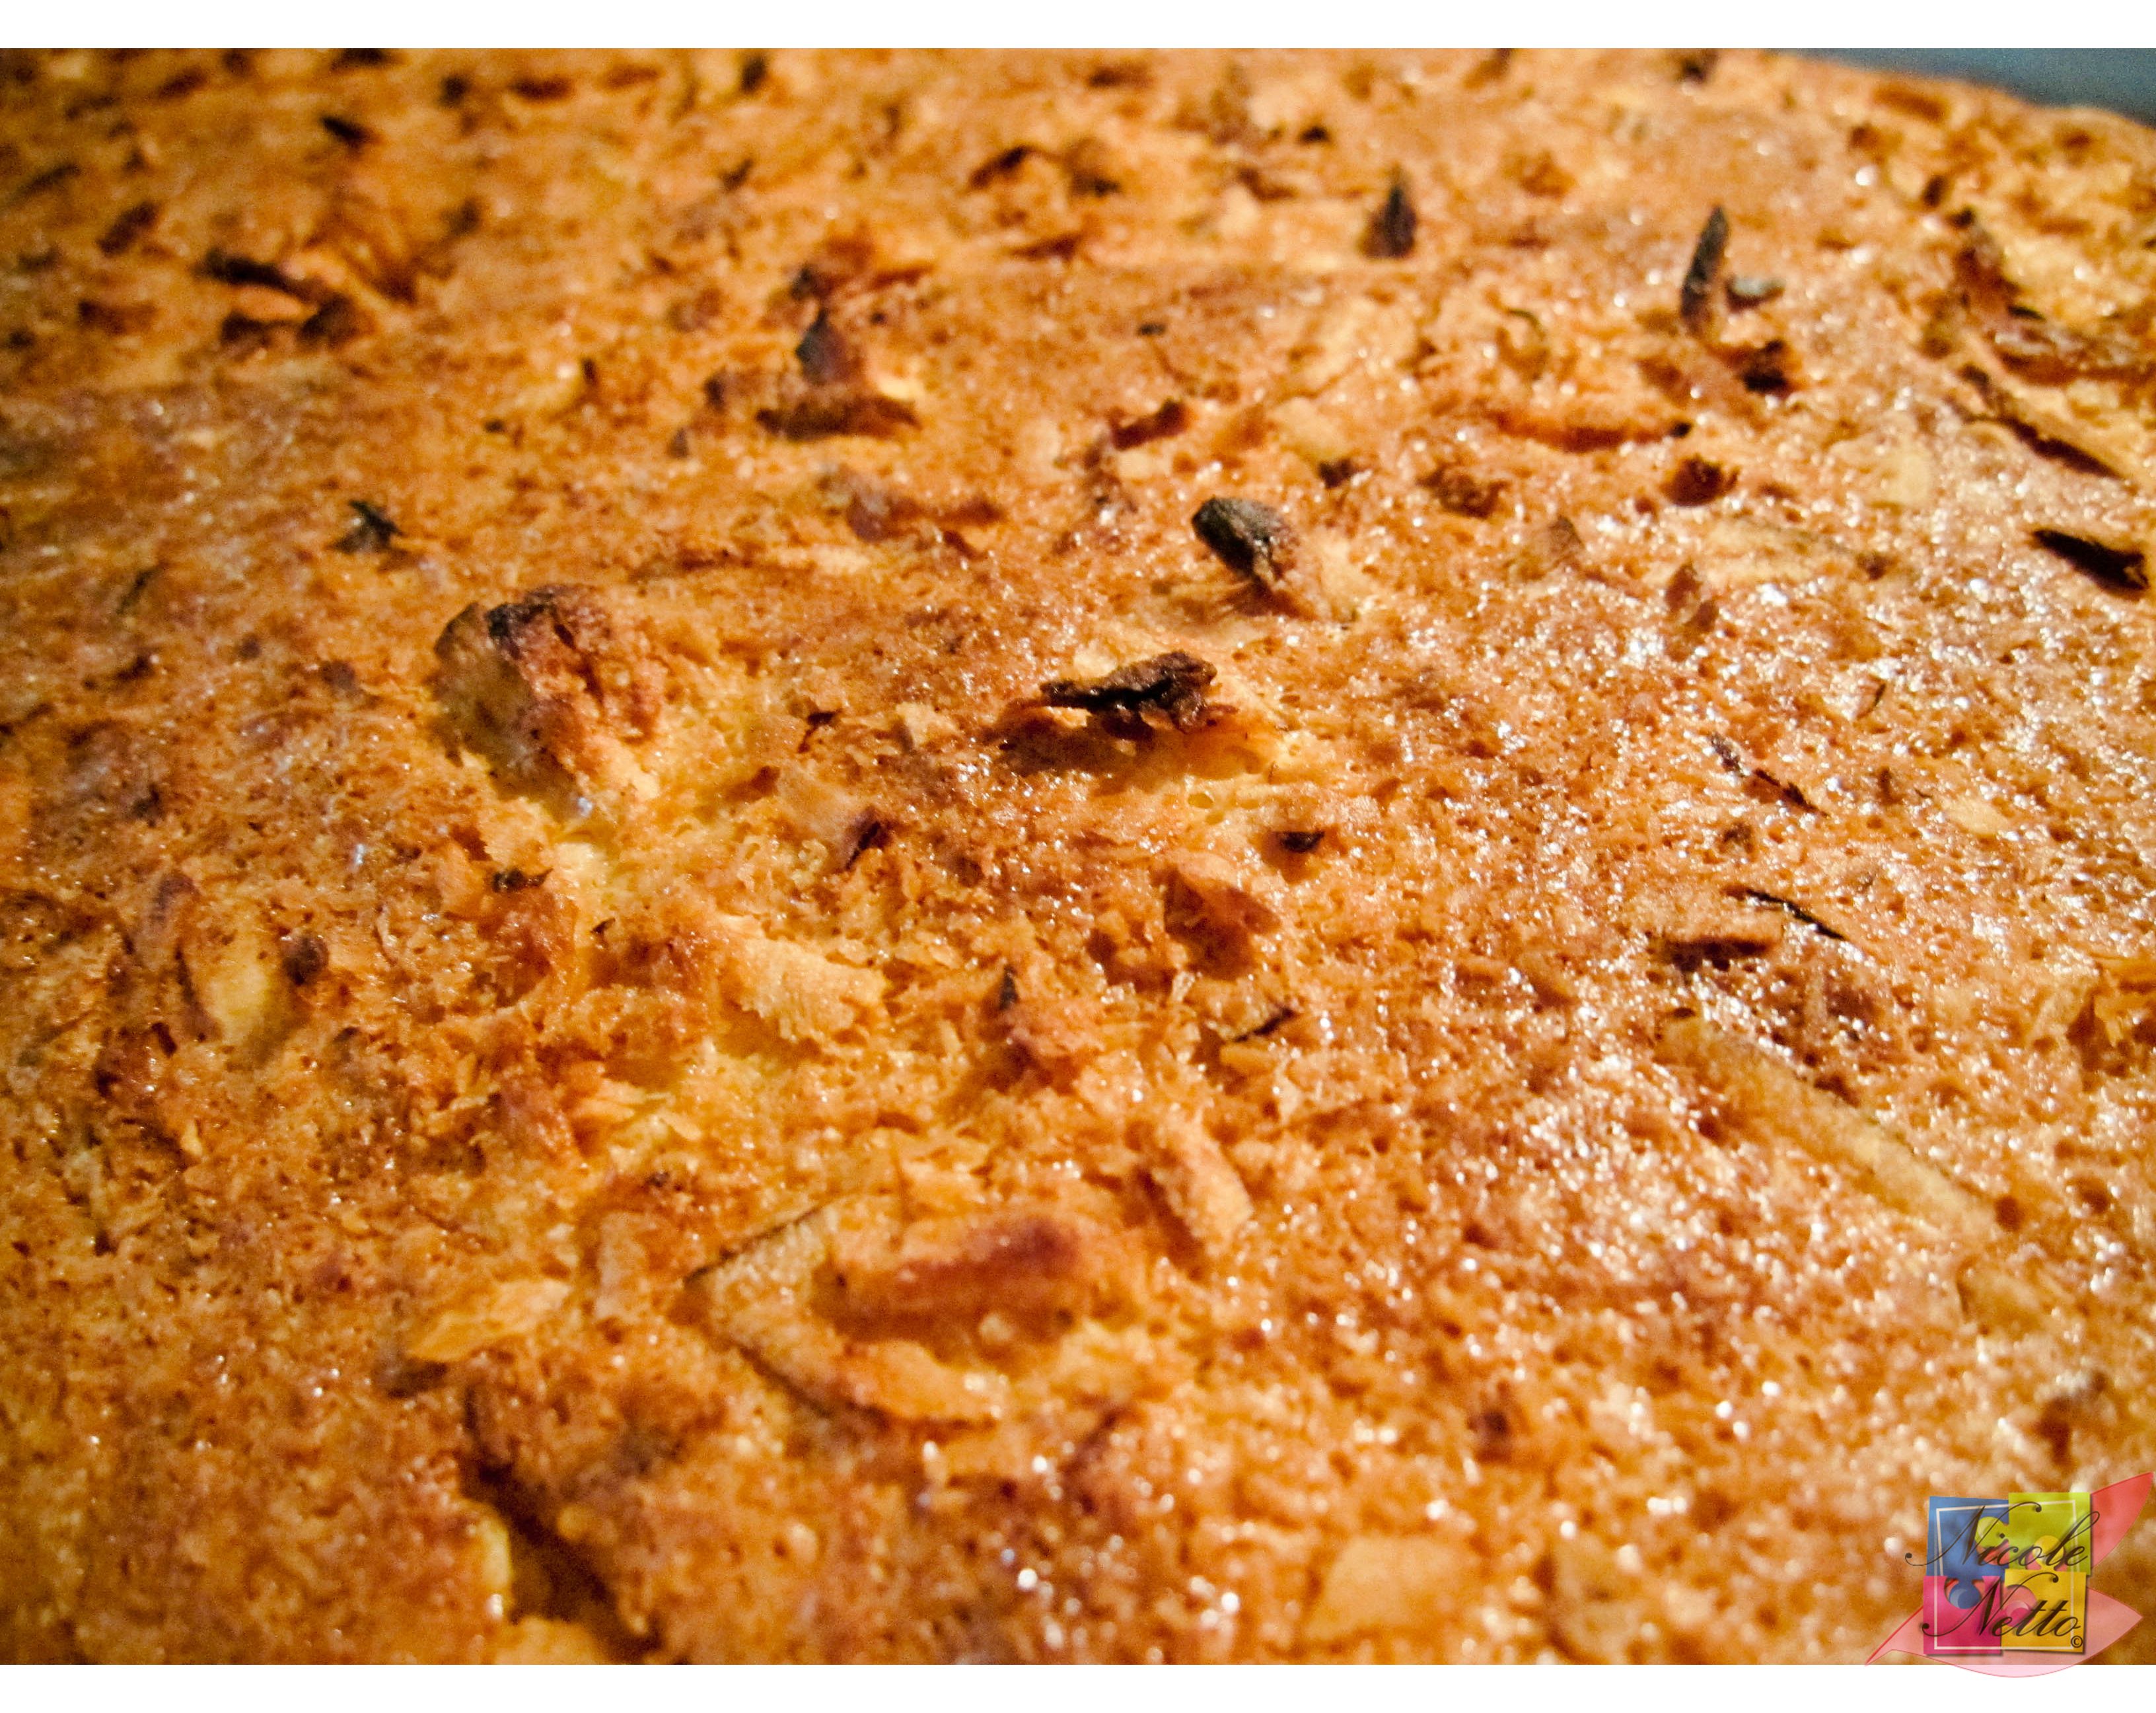
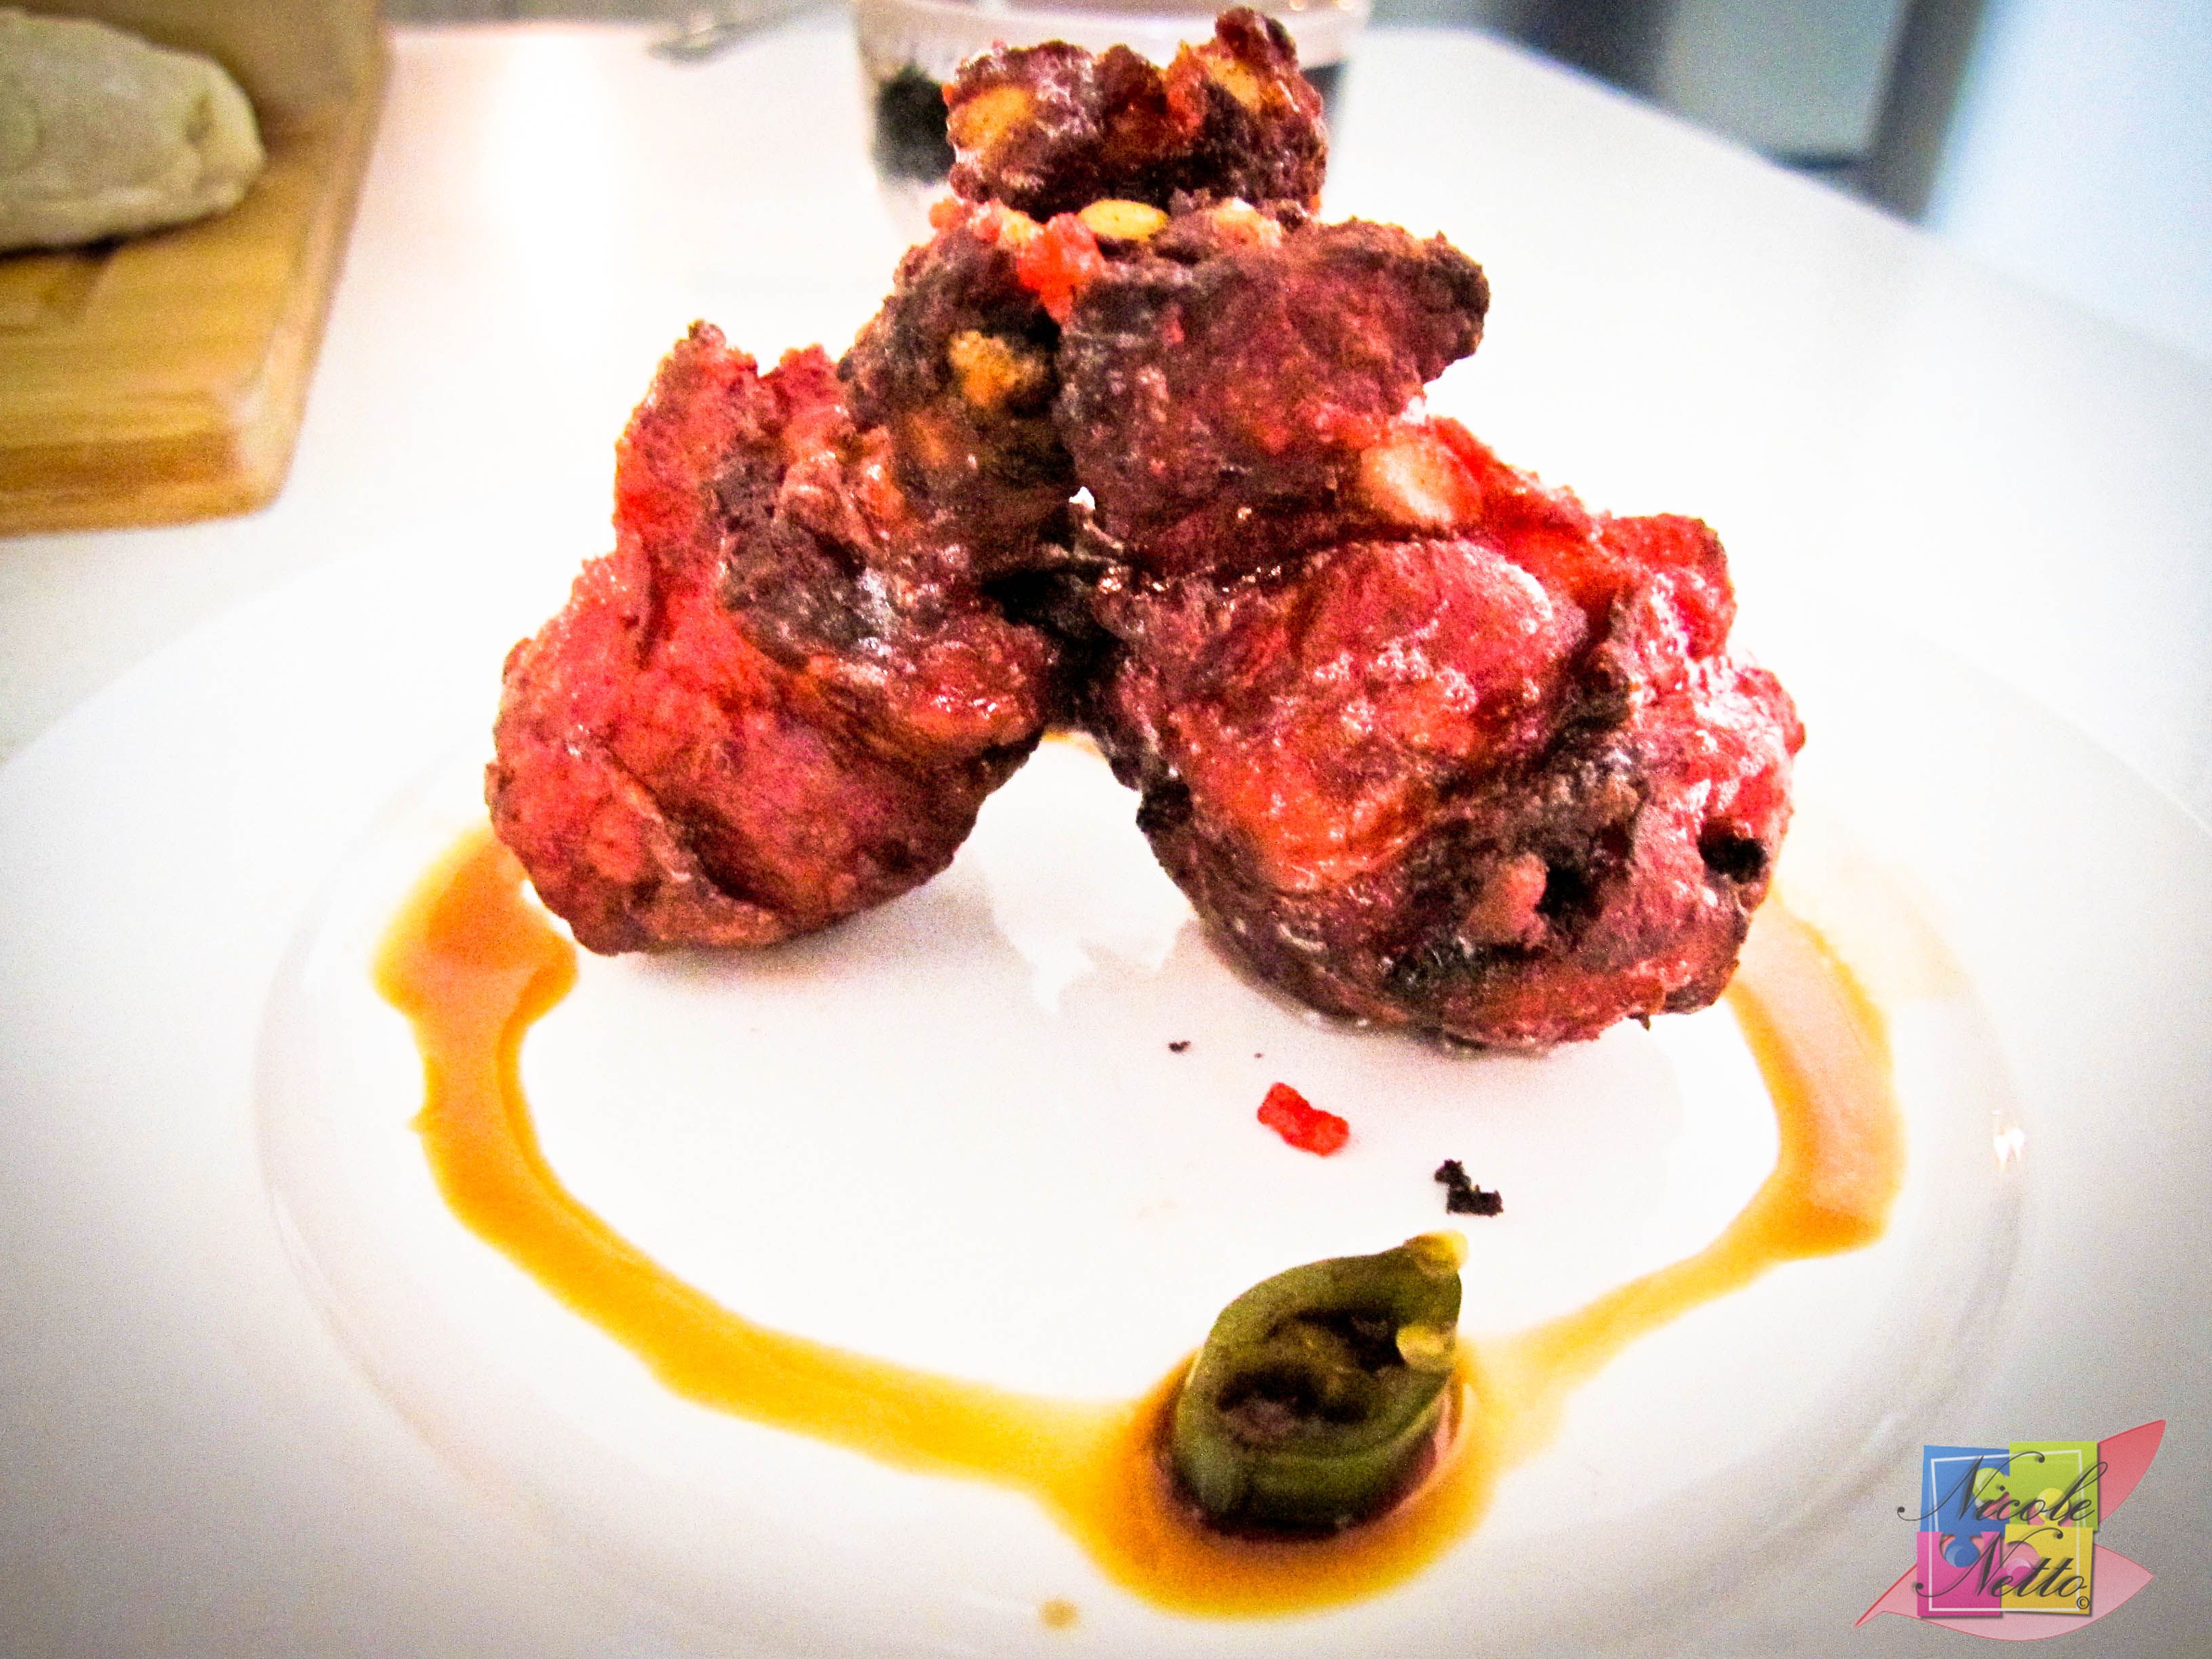
Deep fry the chicken lollipops (well covered in the batter) in medium heat until the chicken lollipops turn into their distinctive beautiful brown toned red colour, slightly crunchy on the outside and juicy and tender on the inside.

Deep frying the Chicken lollipops at medium heat
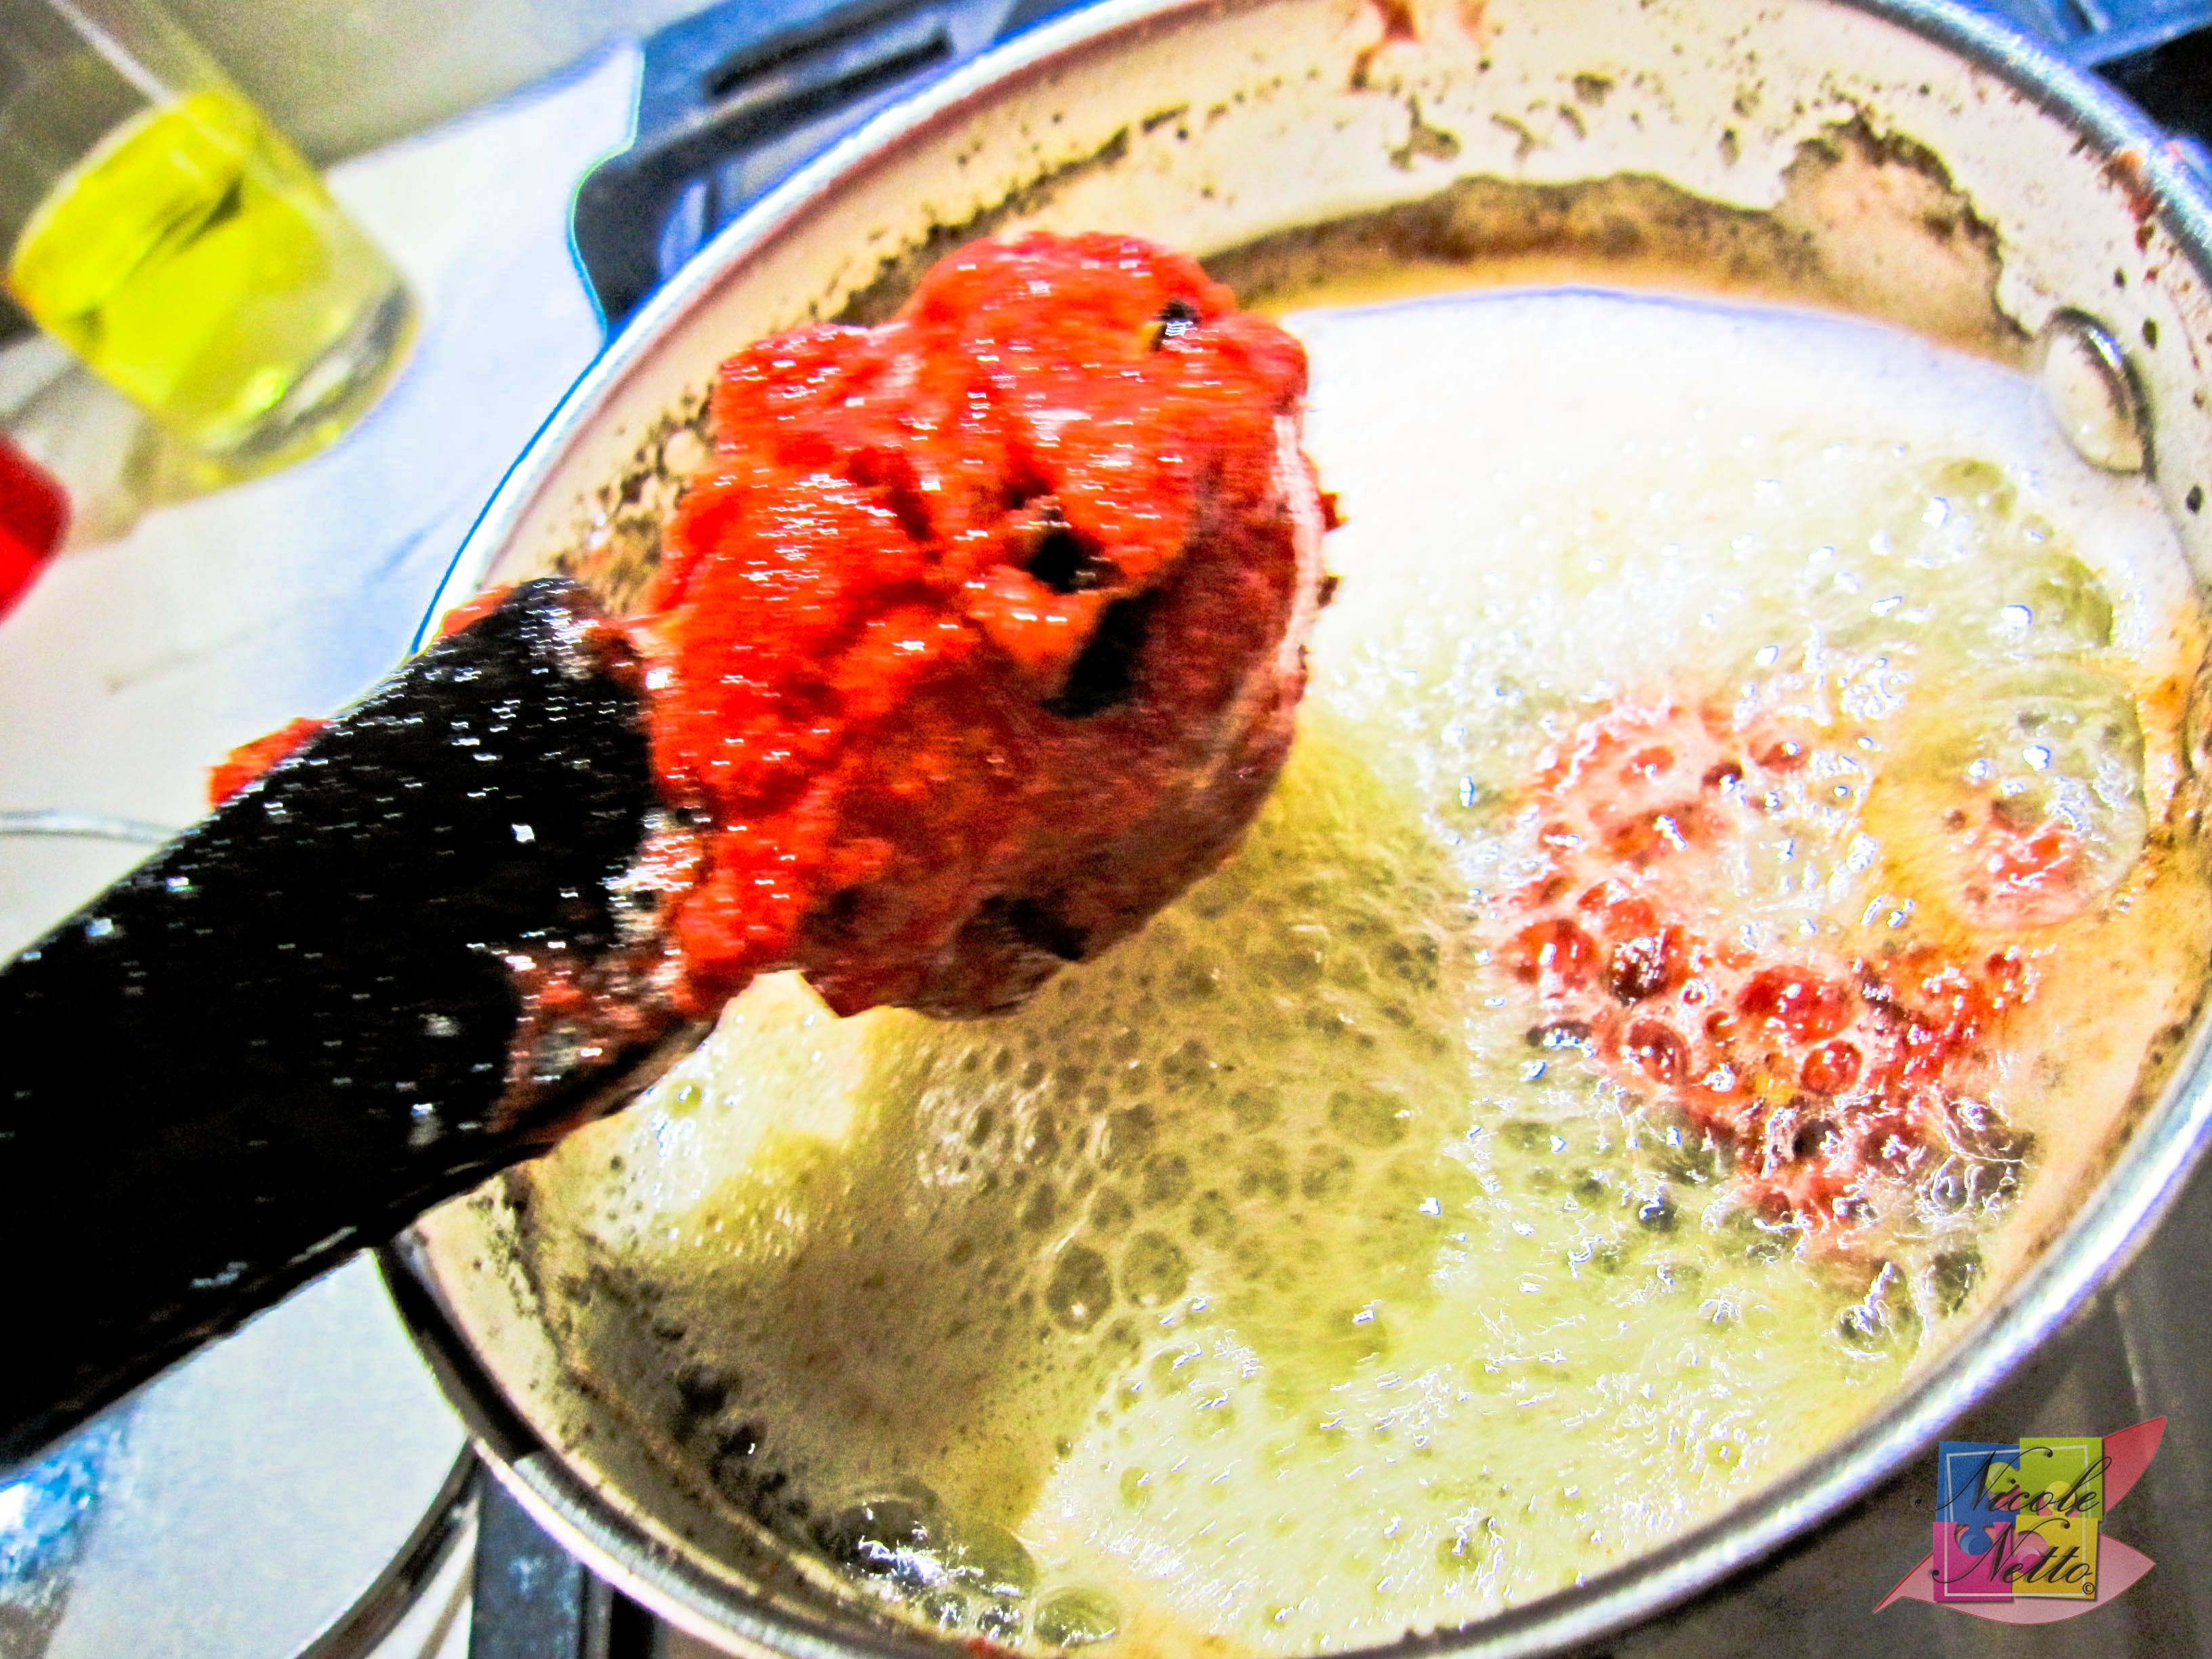
Chicken lollipops – about half cooked
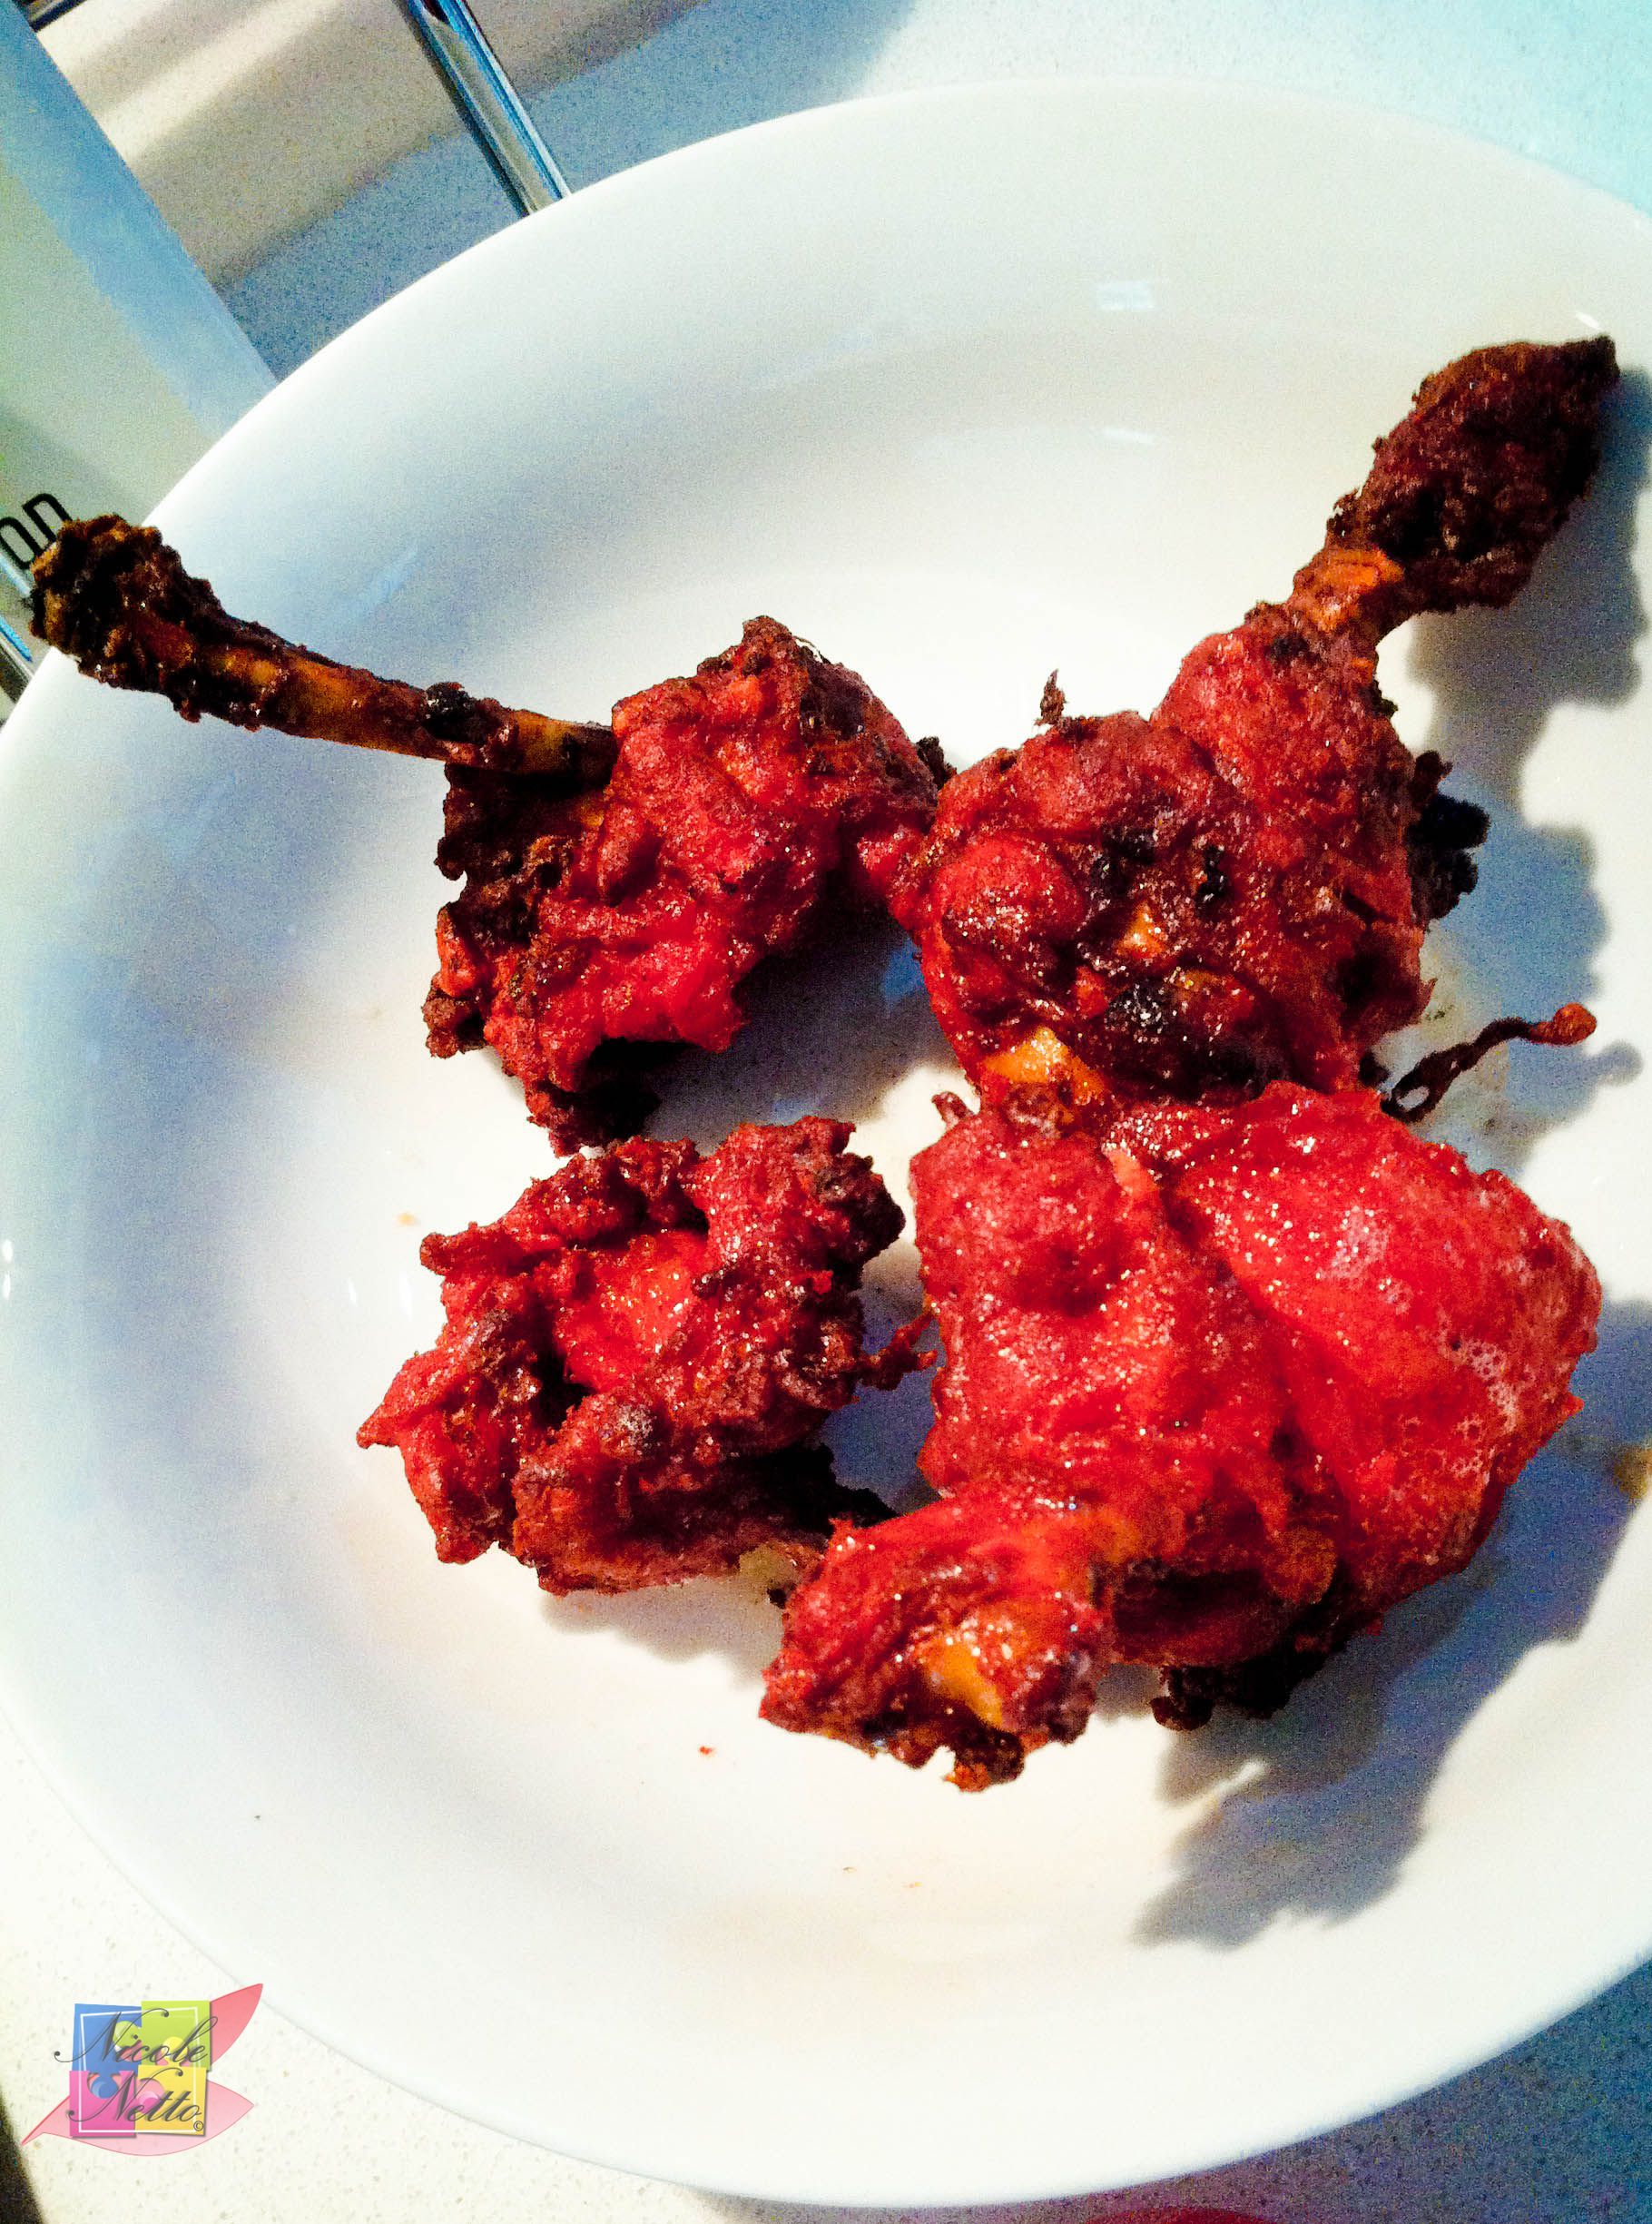
Cooked Chicken lollipops
Serve hot with a Soy chilli dipping sauce (recipe below) or a Schezwan sauce (bottled Schezwan sauce is available at certain Indian stores).
*ahhhhhhhh*
Soy chilli sauce
(Serves 2)
Ingredients:
2 Tbsp Soy sauce
1 tsp Chinese Rice Wine Vinegar
1 Green Chilli finely chopped OR 1 pickled green hot pepper finely chopped
1 Garlic clove, finely minced
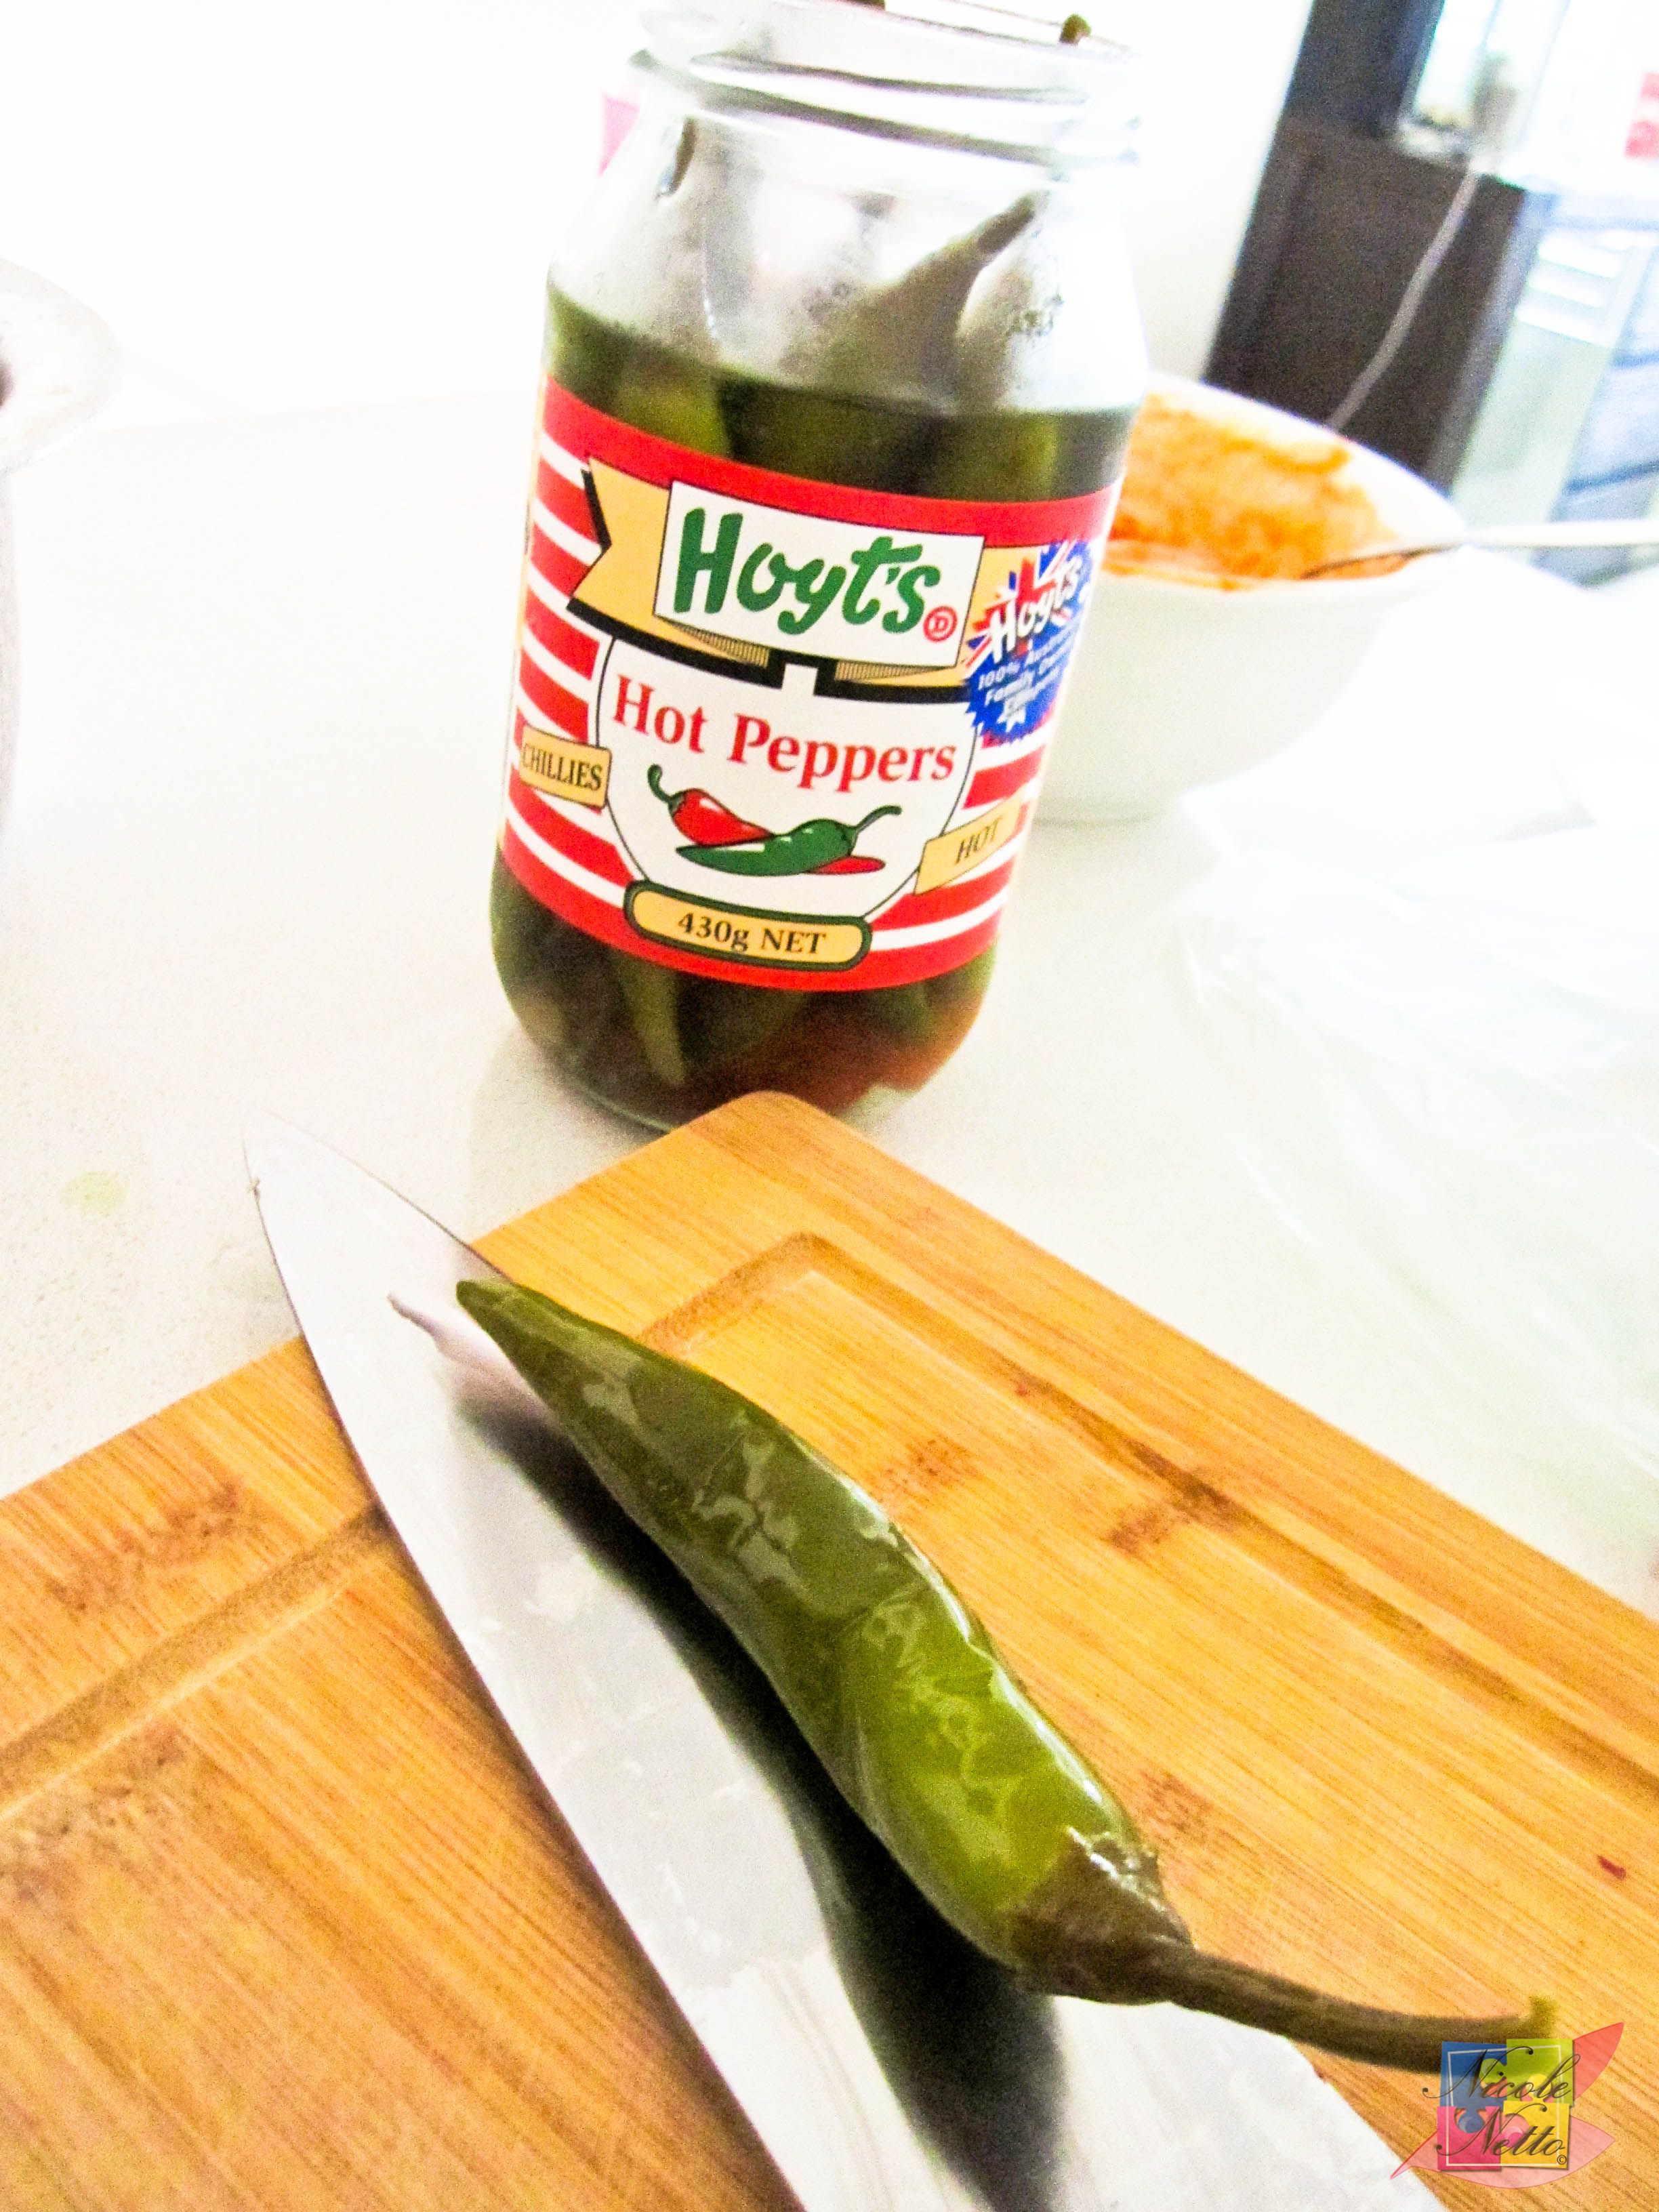
Pickled green hot pepper
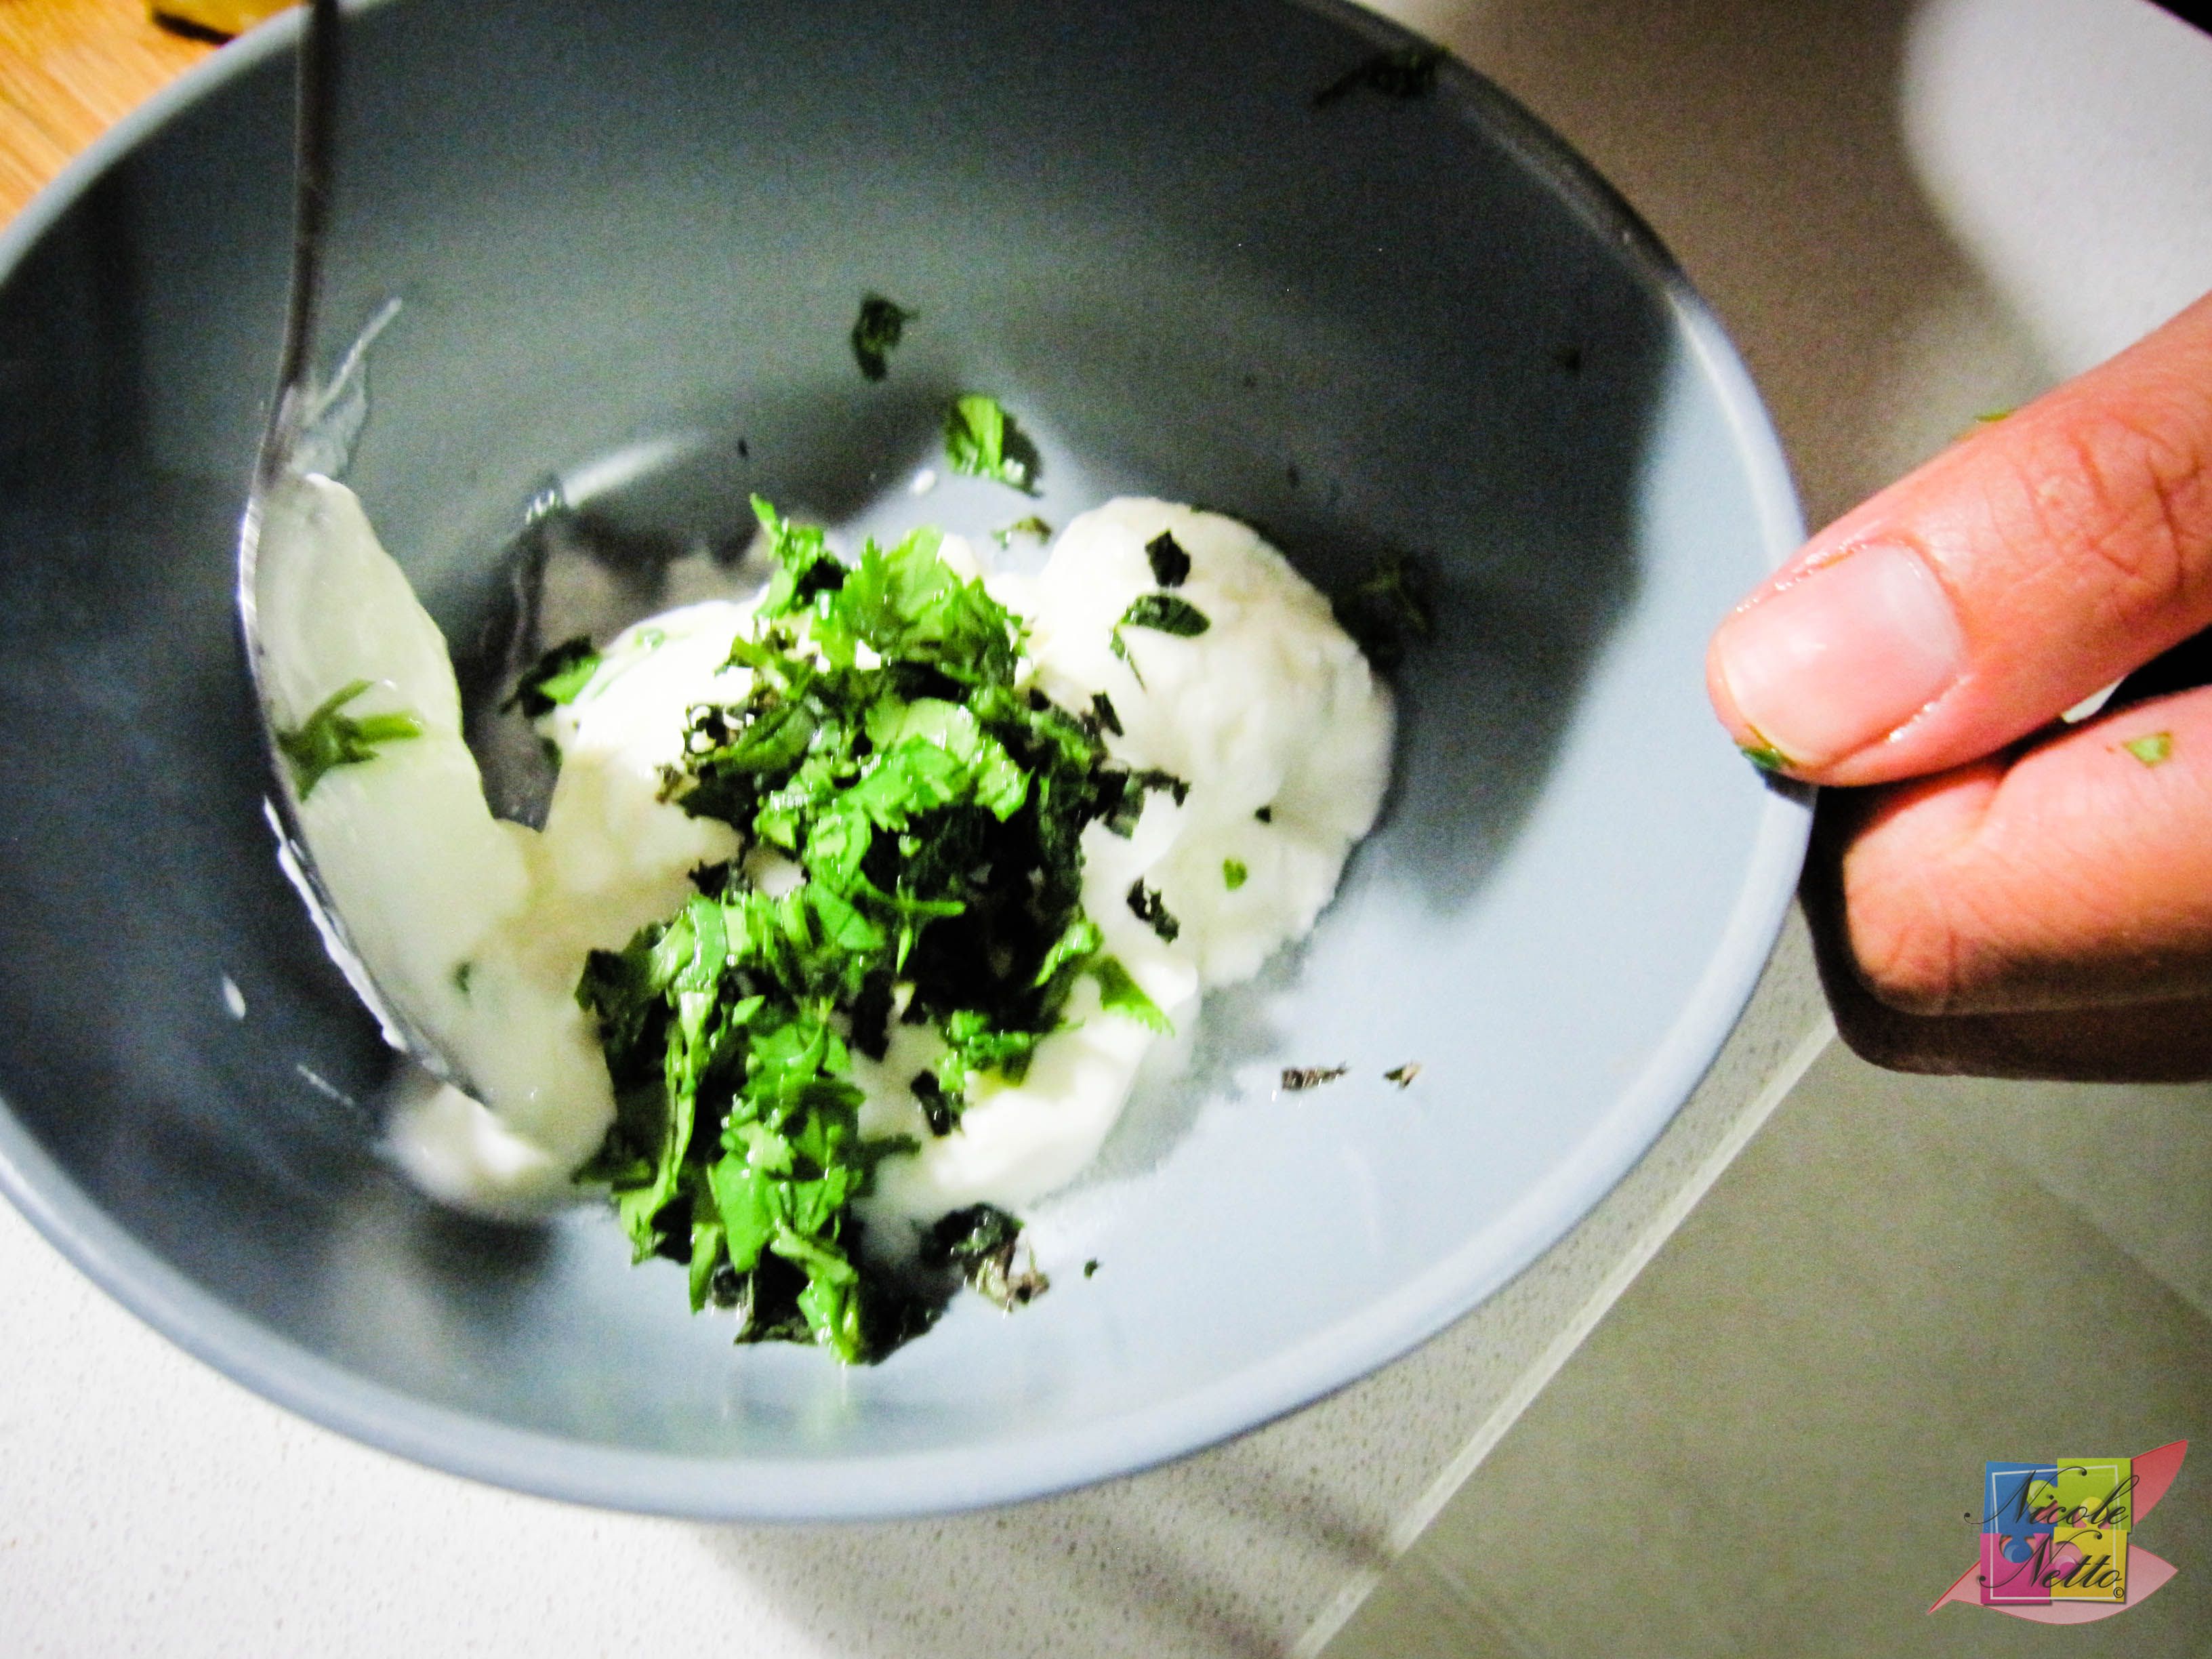
Method:
Mix all ingredients thoroughly in a microwave safe bowl and heat in the microwave on high for 30-40 seconds prior to serving.
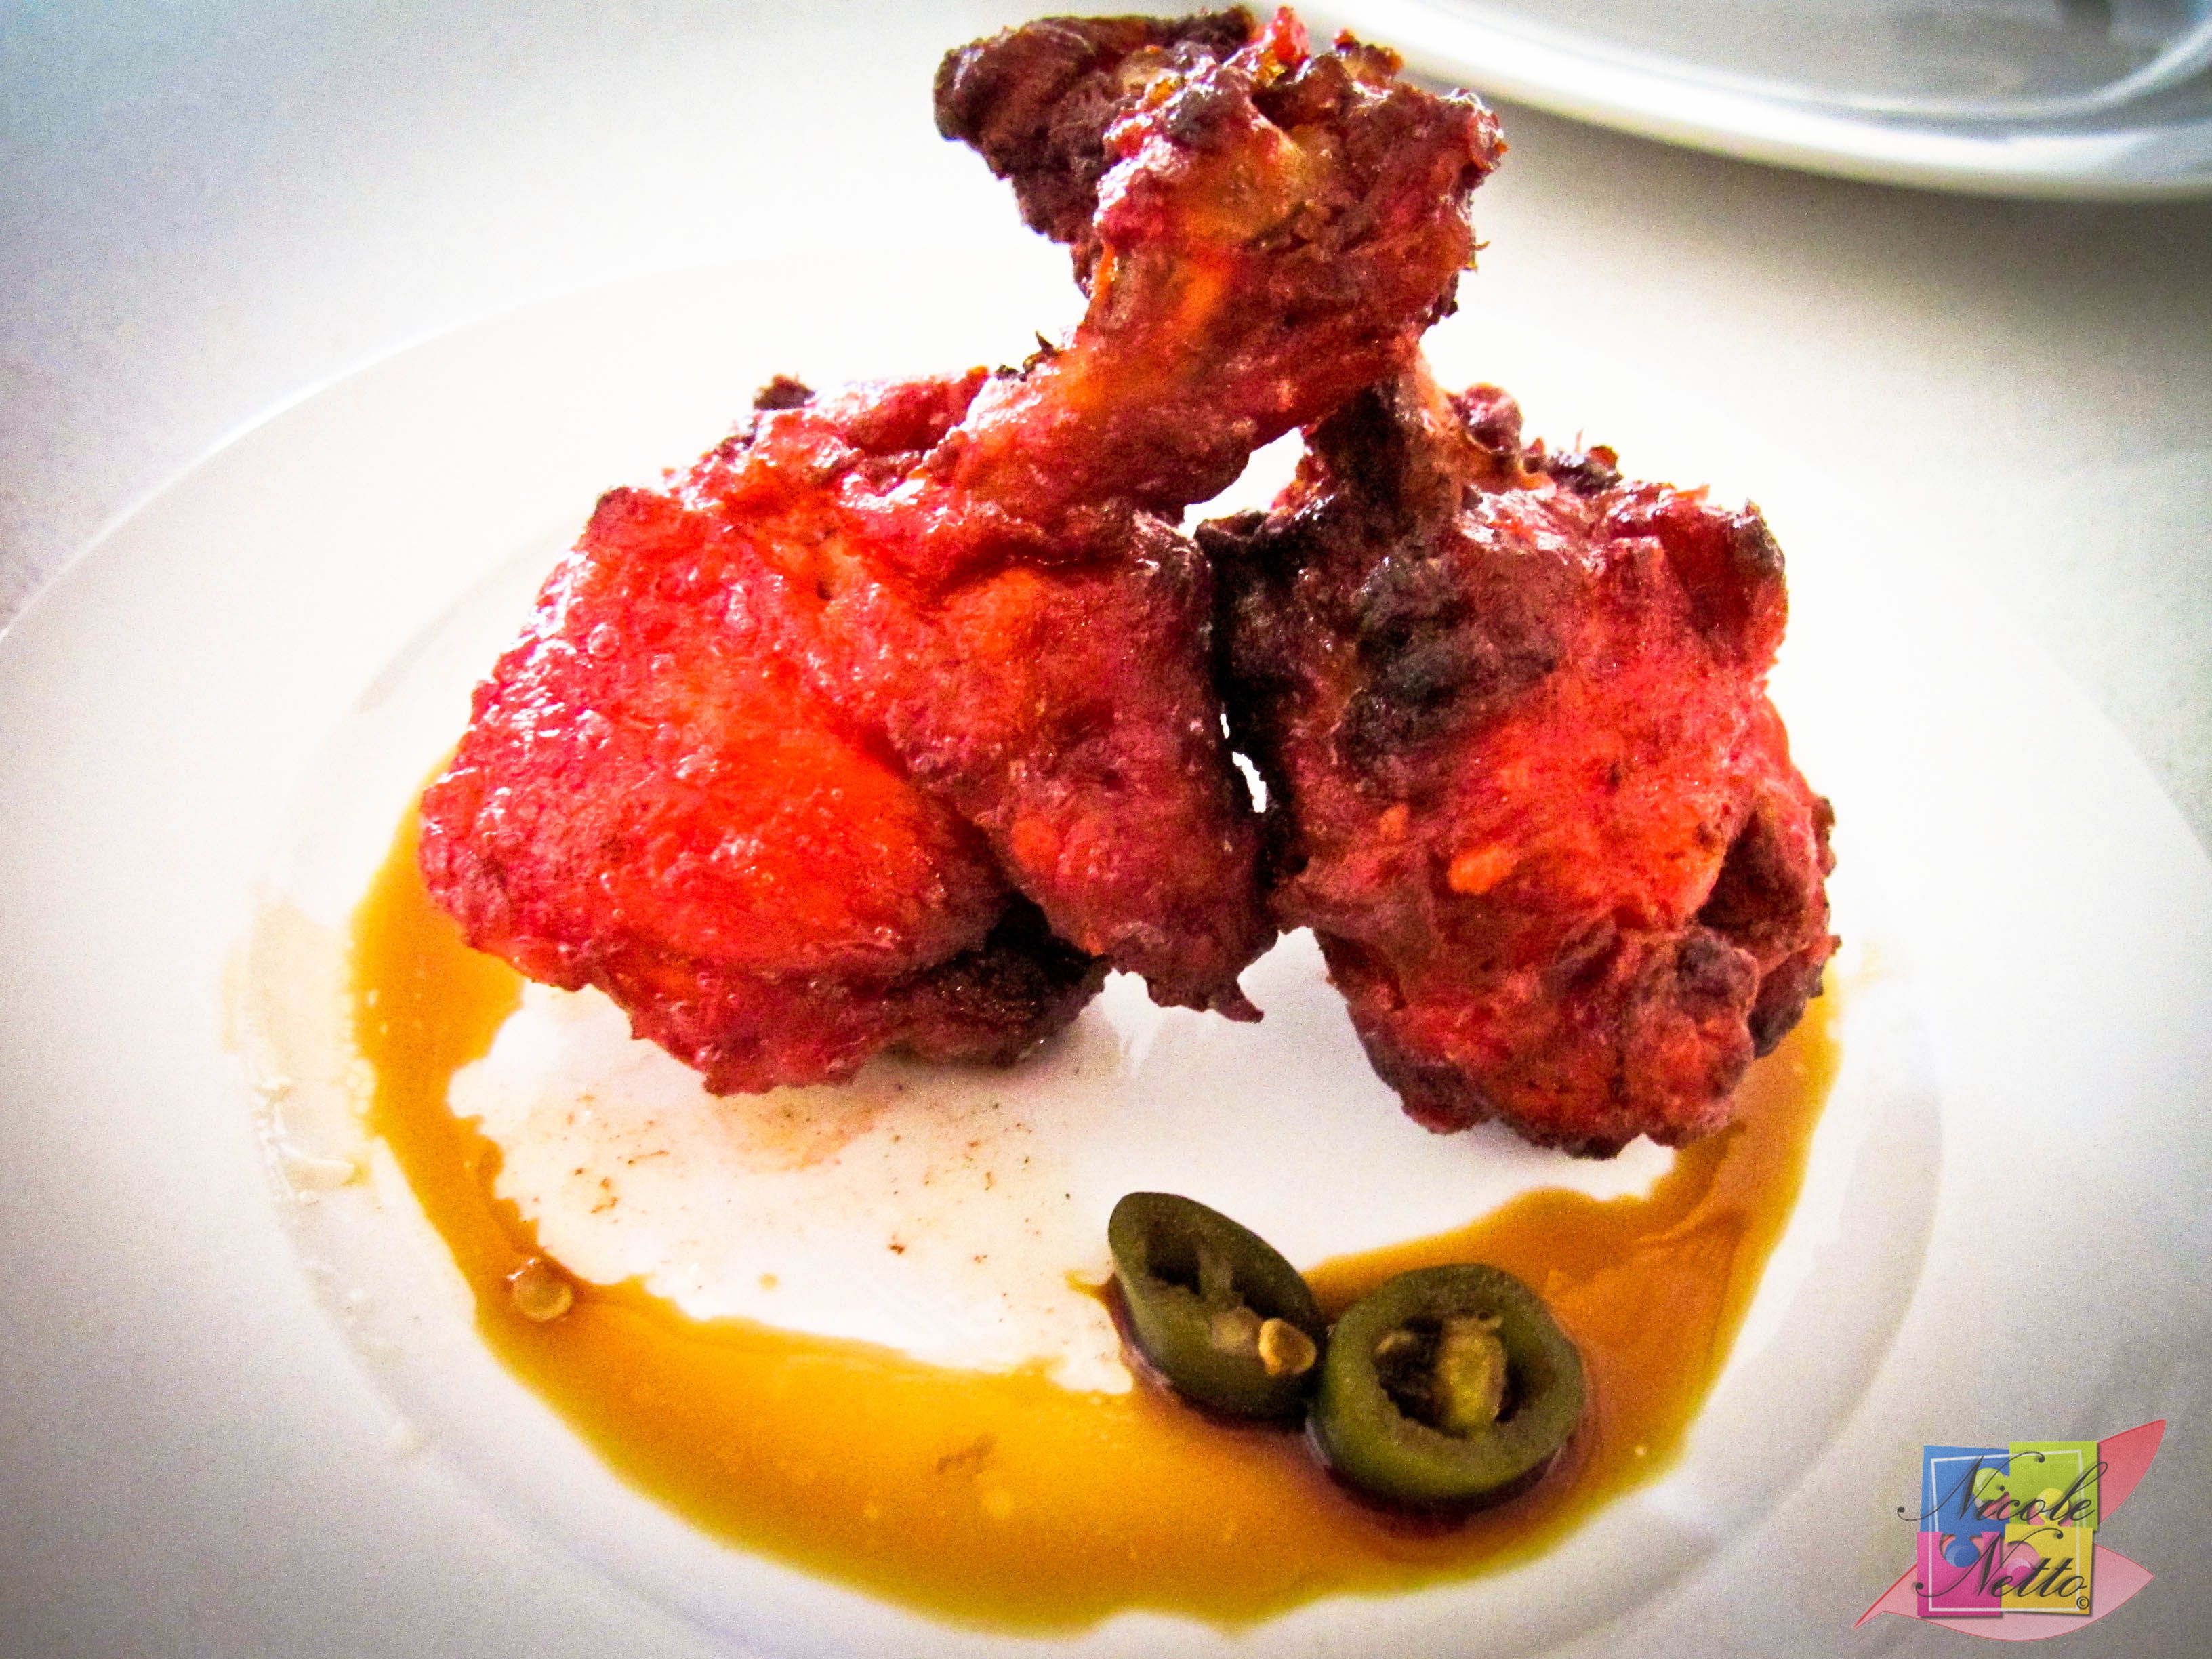
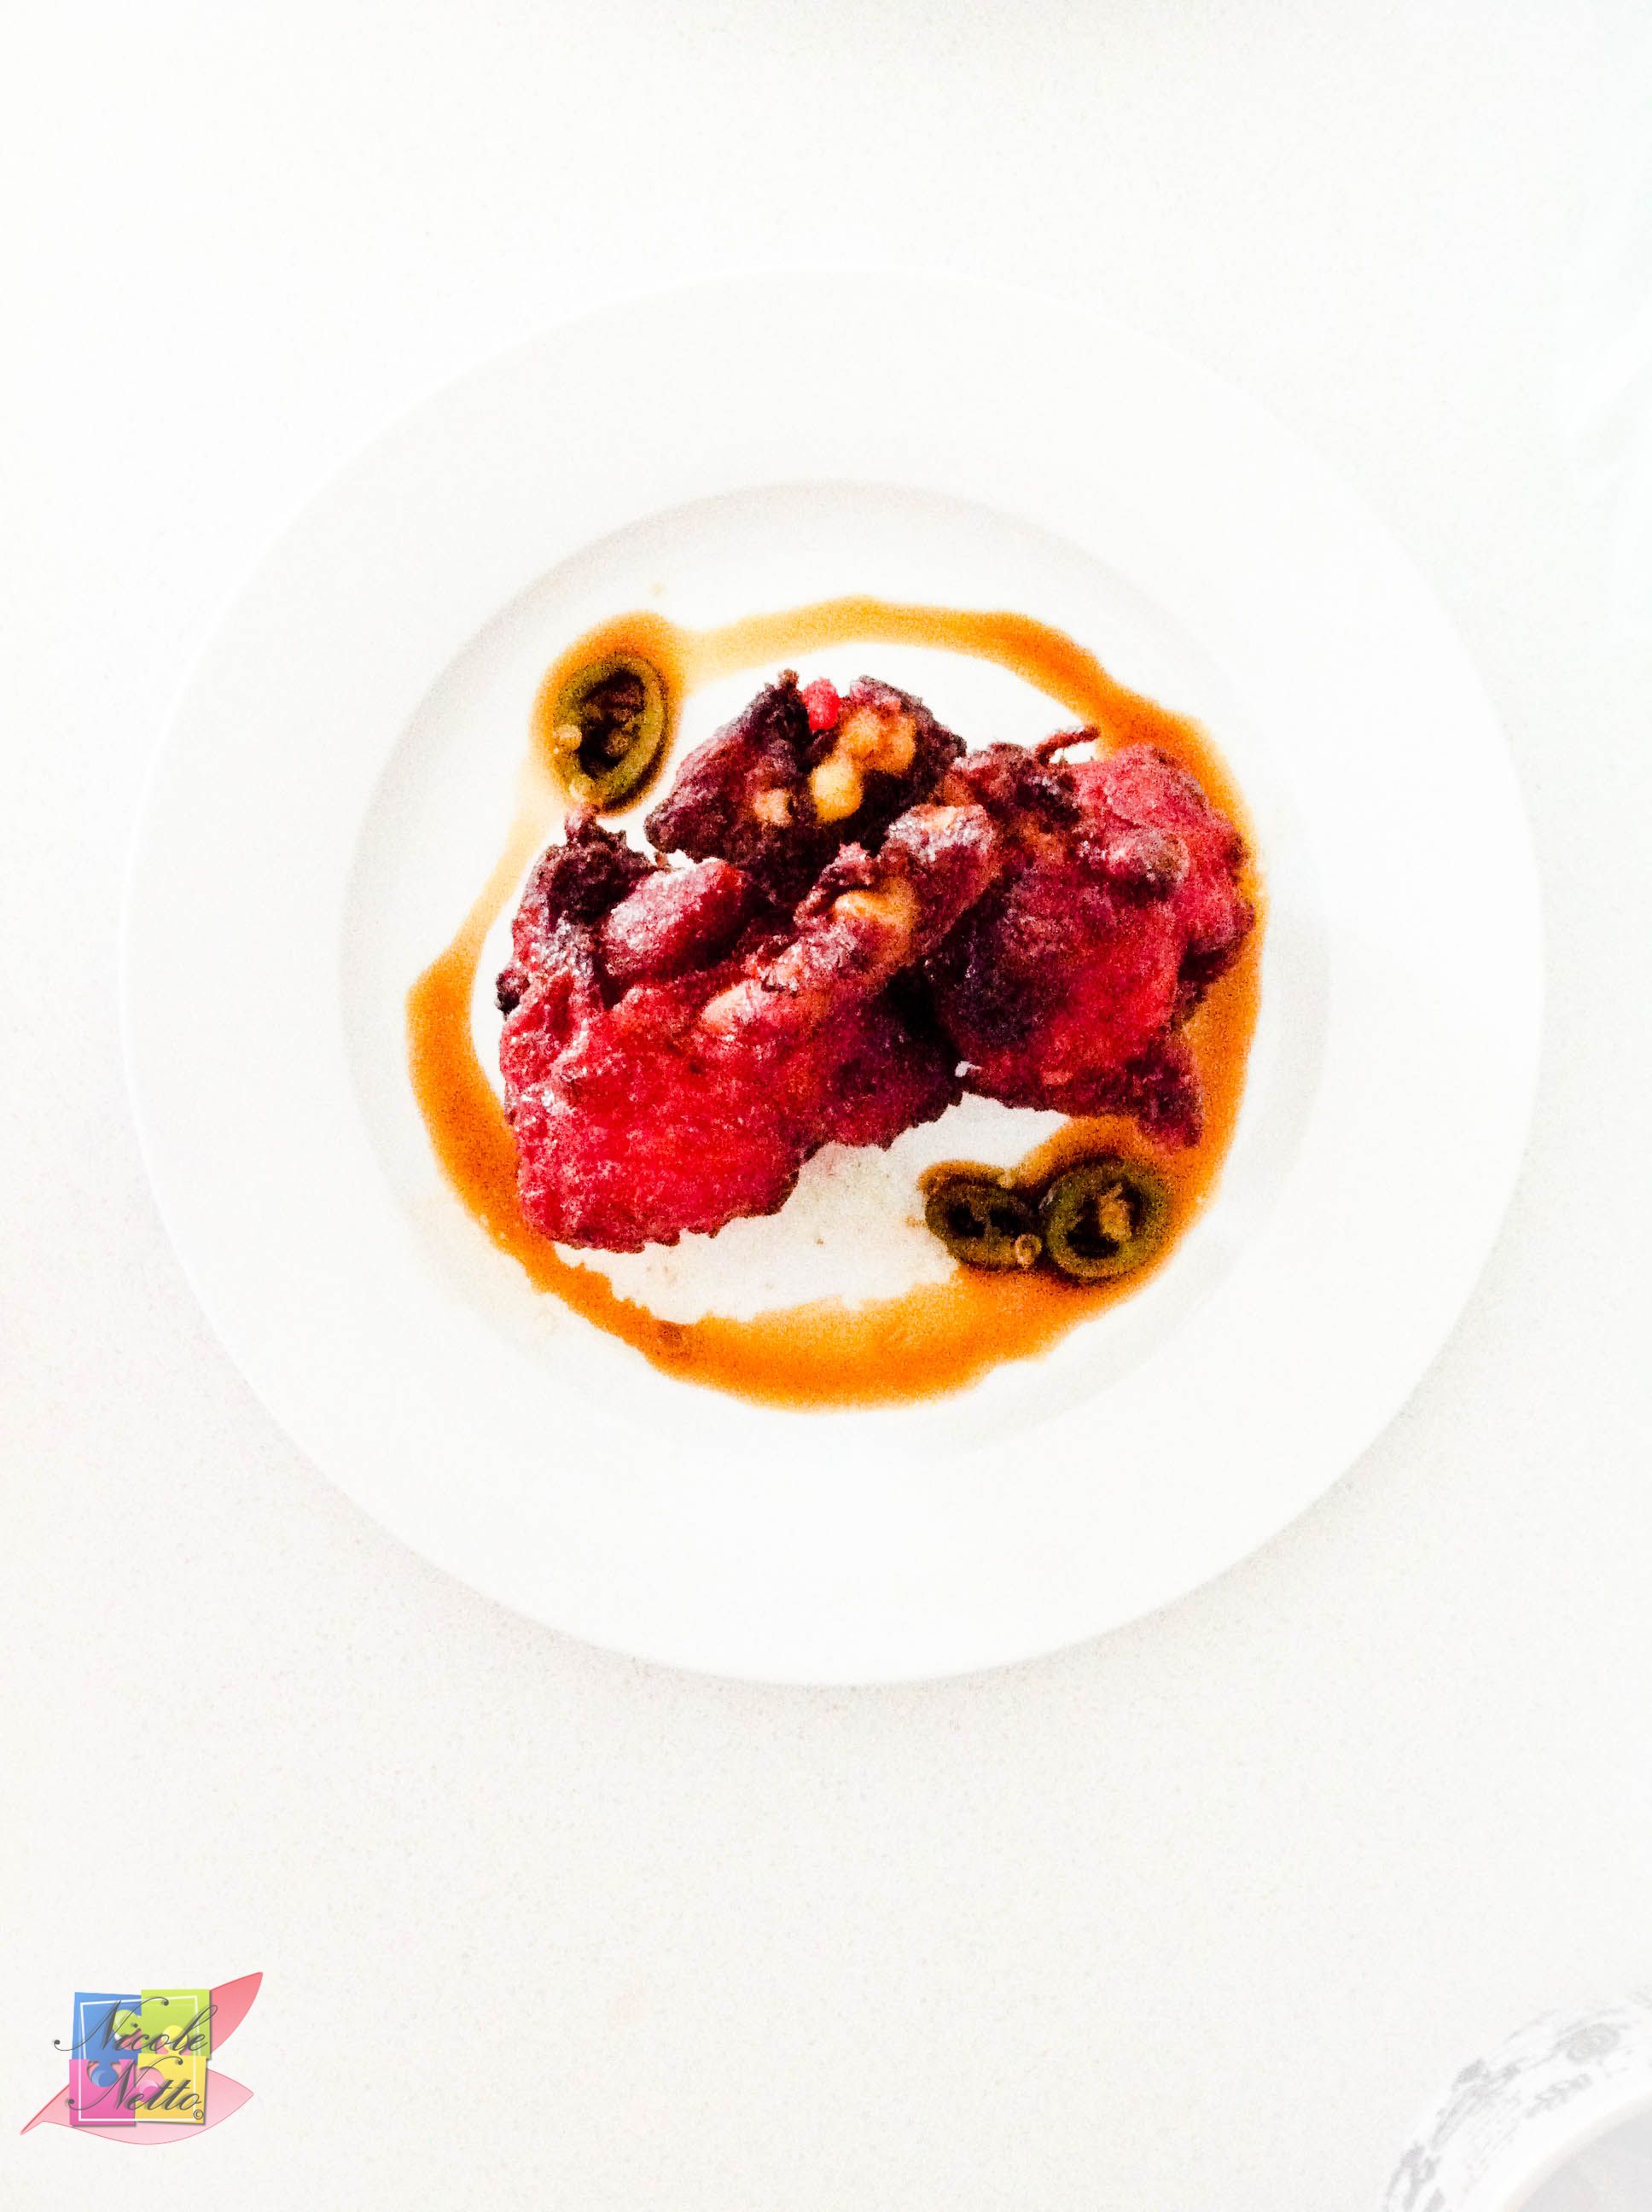
And you’re all set to enjoy this delectable treat:
Plated
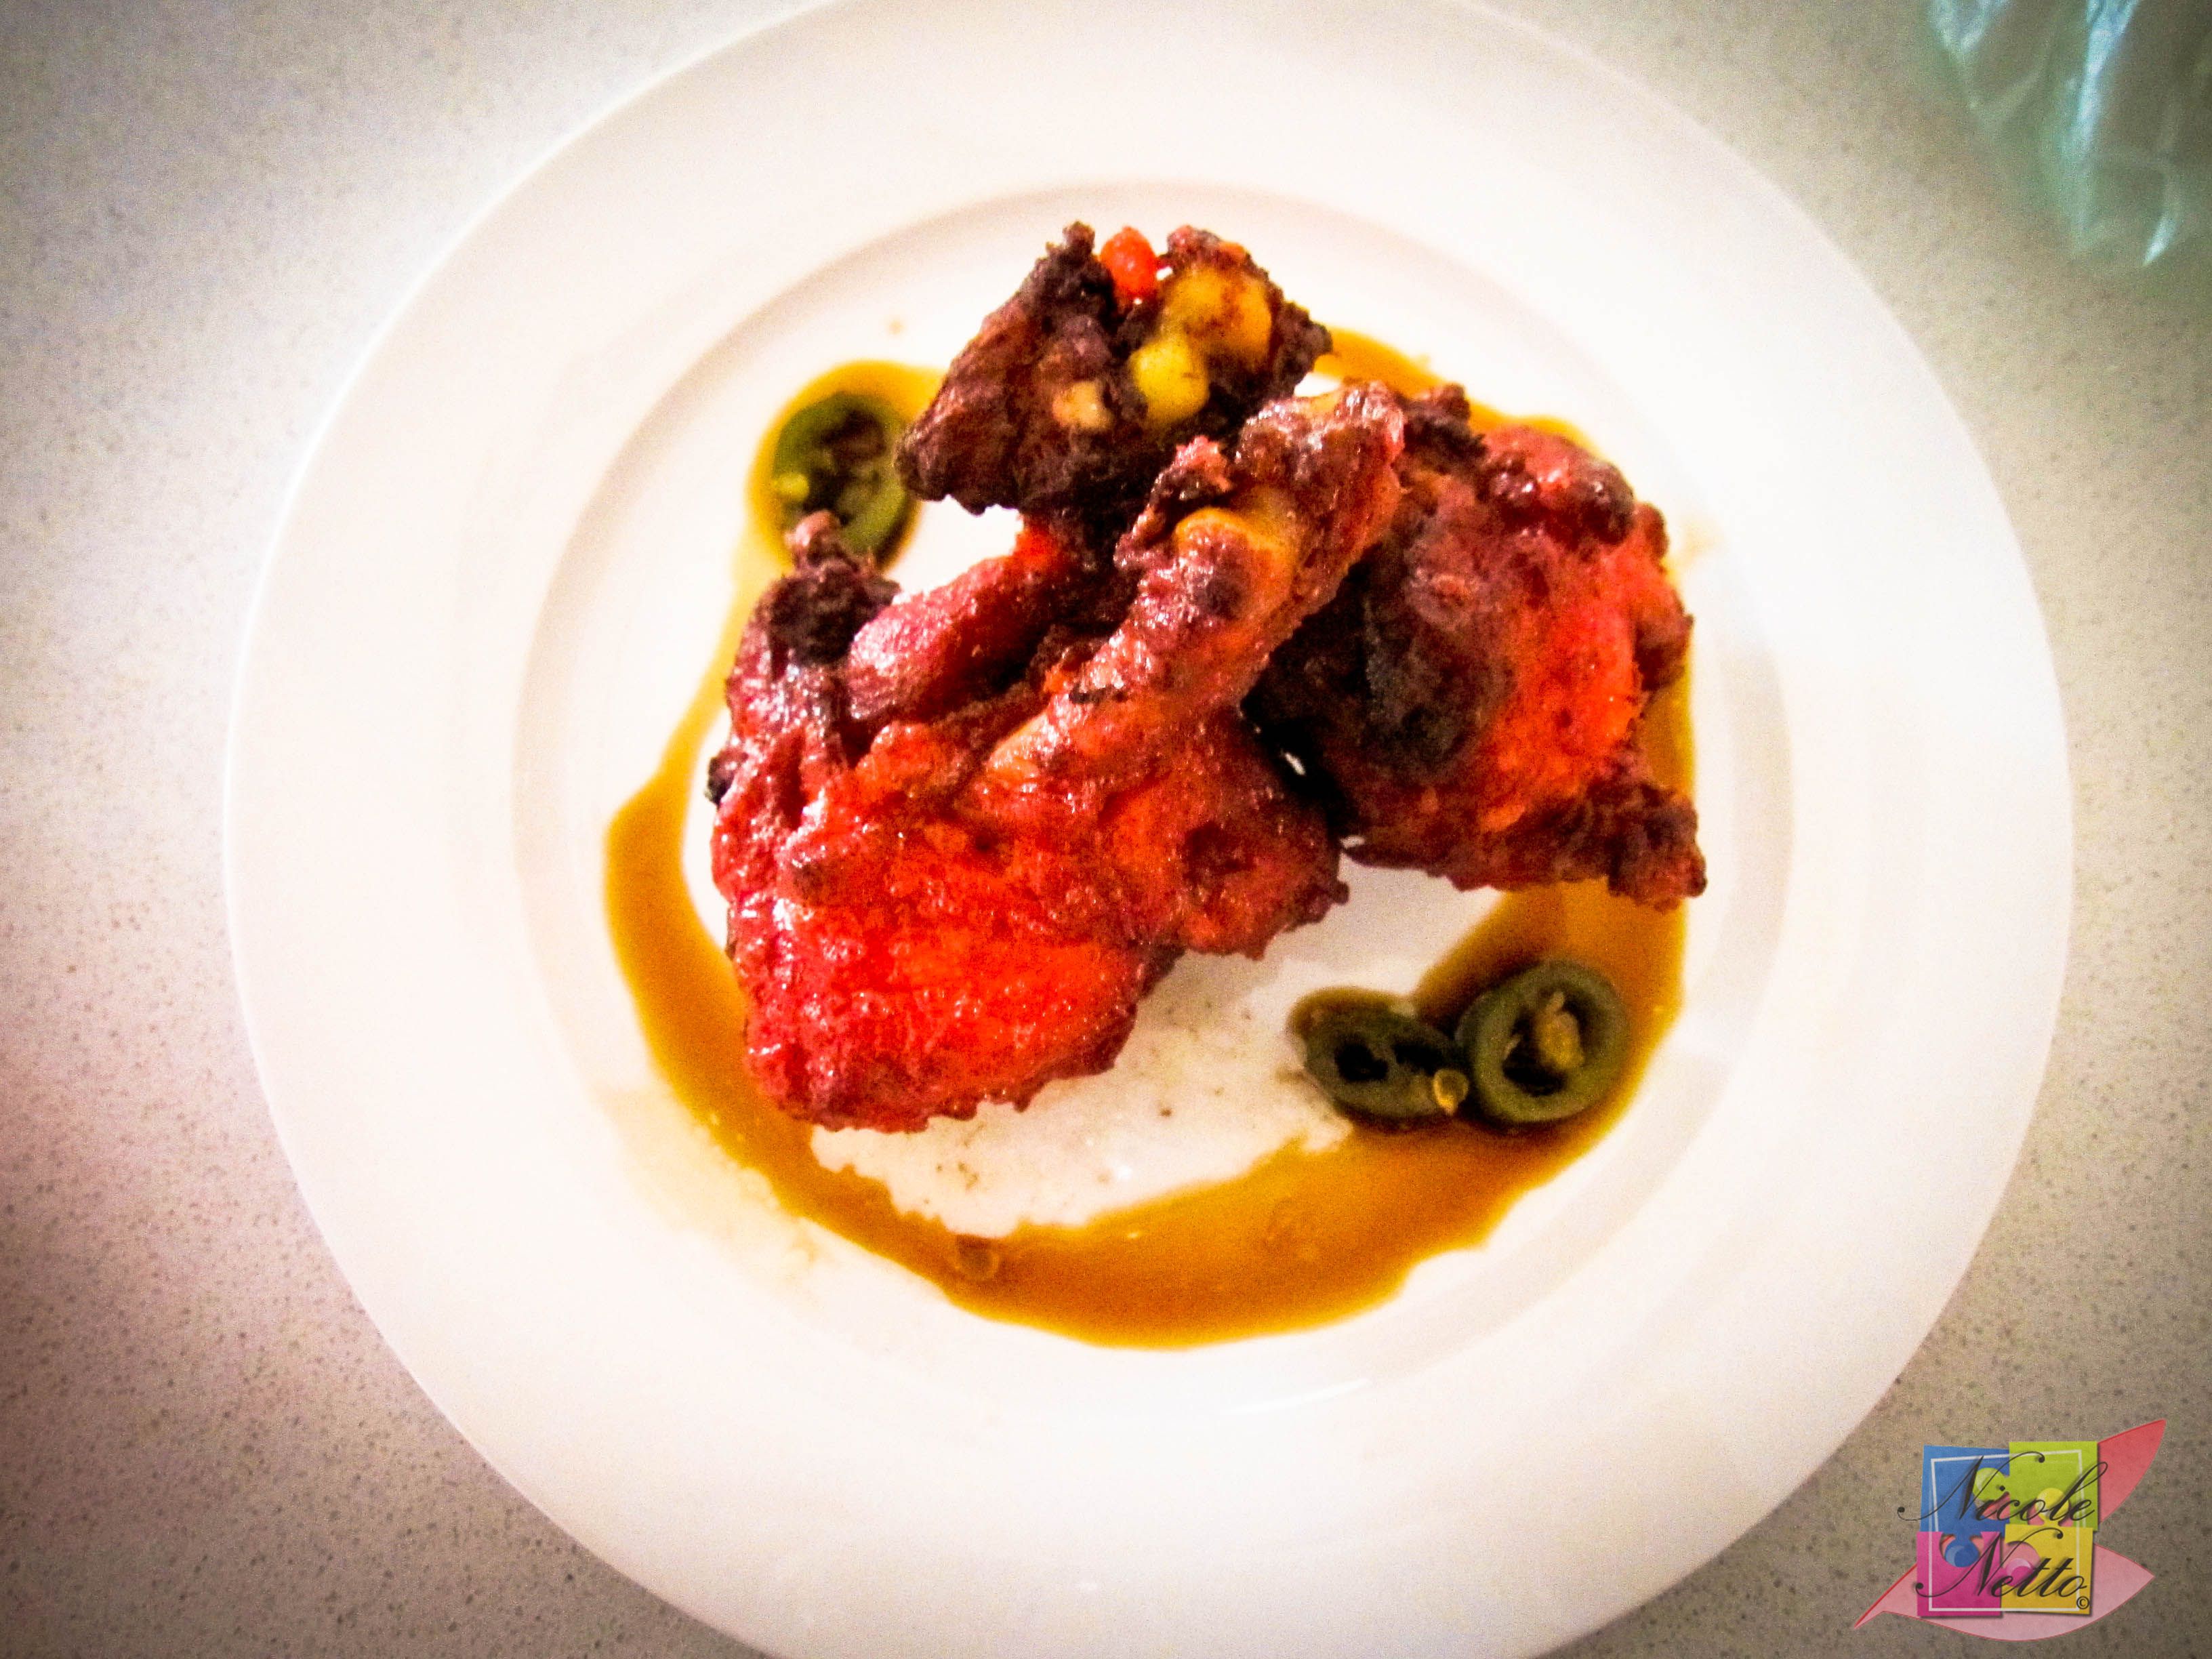
Delicious crunchy chicken lollipops with a Soy Chilli dipping sauce